Walking In A Winter Wonderland Card

By Anna Escalada York

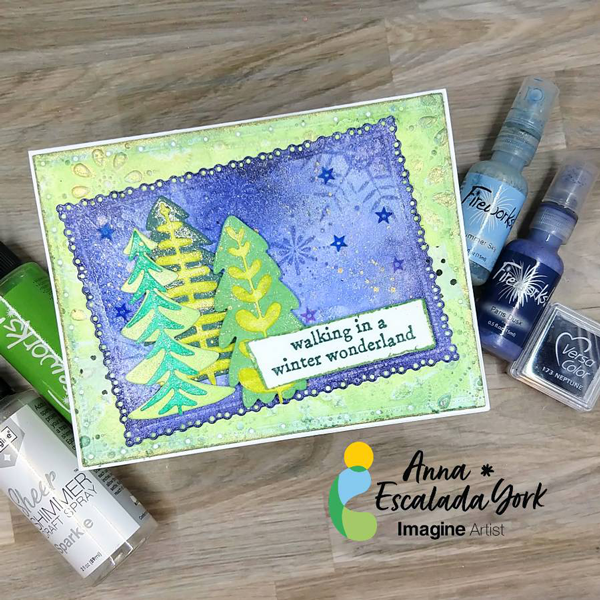
Today’s card is a winter card featuring some of the new VersaFine Clair colors.

Skill: Intermediate
Time: 2 hours

Directions:
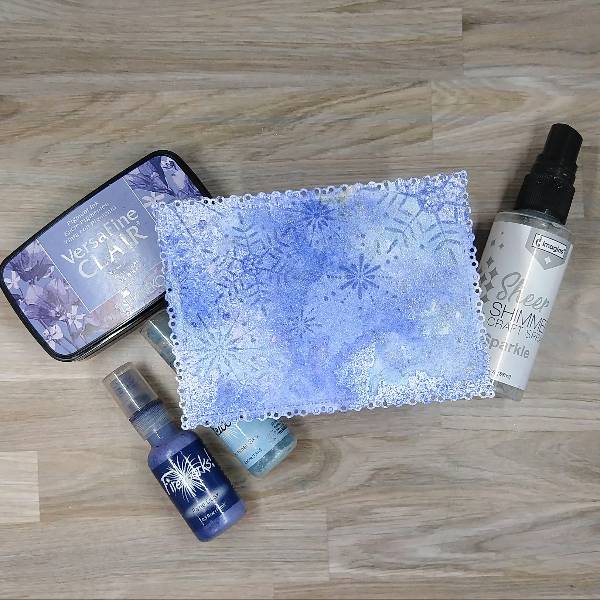
Step 1:

Watercolor smoosh a die cut watercolor paper panel with three sprays sprayed onto a piece of acetate packaging: Summer Sky and Paris Dusk Fireworks! Shimmery Craft Spray as well as Sparkle Sheer Shimmer Craft Spray.

(I accidentally smudged the upper edge of the panel with some yellow ink during the process, but planned on covering the color in the next few steps.)

After the sprays dried, the upper left corner of the panel was stamped with Very Peri VersaFine Clair Ink using a woodblock rubber stamp. The ink was then heat embossed with clear Mboss powder.
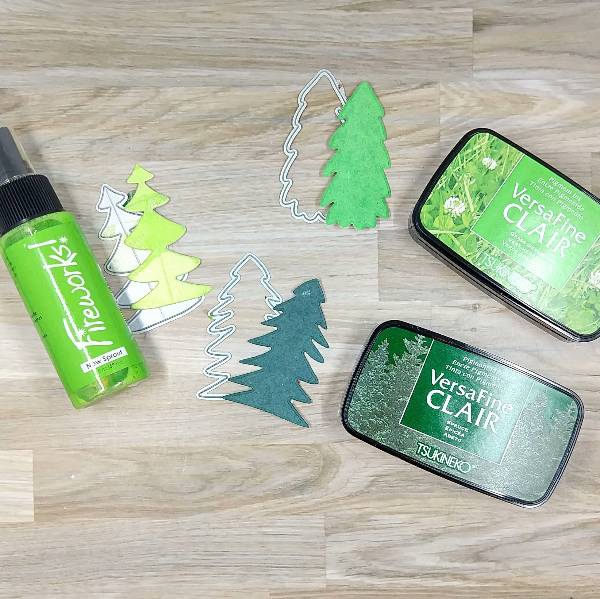
Step 2:

Color small pieces of watercolor paper (or in my case watercolor paper scraps) with a variety of greens: Spruce and Grass Green VersaFine Clair ink and New Sprout Fireworks! Shimmery Craft Spray. The scrap on the left was sprayed multiple times with the Fireworks! Spray and set aside to dry; the two straps on the right were pressed directly into the two ink pads until the whole scrap was colored with the ink. While there was a small space on the dark green tree (on the lower right in this picture) left uncolored, I knew that it would be covered up in the next few steps.)

After all of the papers had dried, I die cut the three small pieces of watercolor paper with three different tree dies.
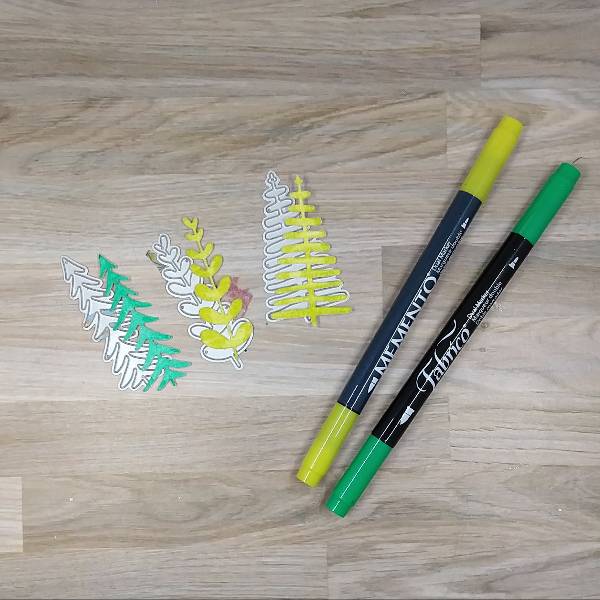
Step 3:

Color three more scraps of watercolor paper with Pear Tart Memento Double Marker and Emerald Fabrico Dual Marker. After the markers had dried, these three scraps were die cut with three more tree die cuts.
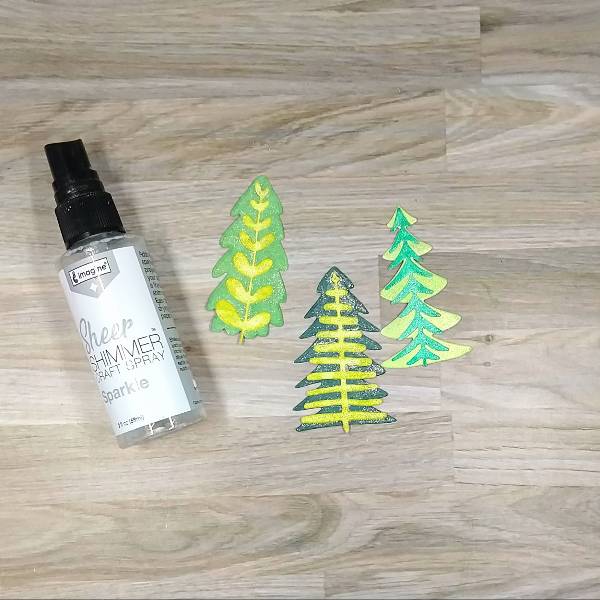
Step 4:

The layers of the dies were glued together. Then Sparkle Sheer Shimmer Craft Spray was sprayed onto more acetate packaging and used to paint sparkle onto the trees.
Step 5:

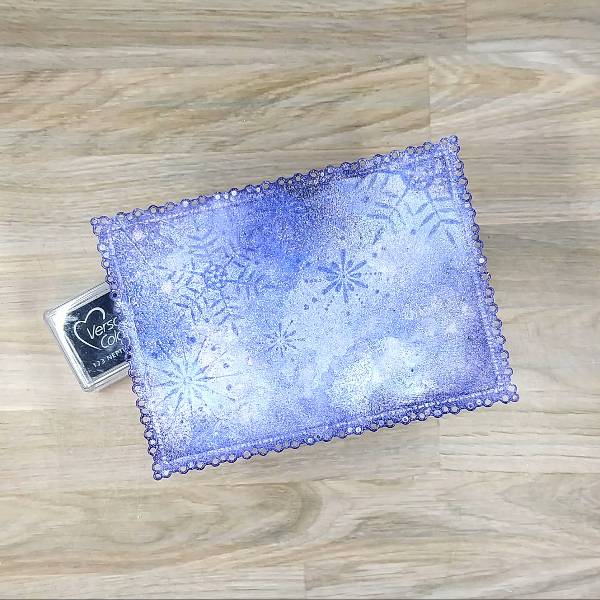
Ink blend the edges of the panel with Neptune VersaColor Ink until it reaches the saturation of color desired. Heat emboss with more of the clear Mboss powder.
Step 6:

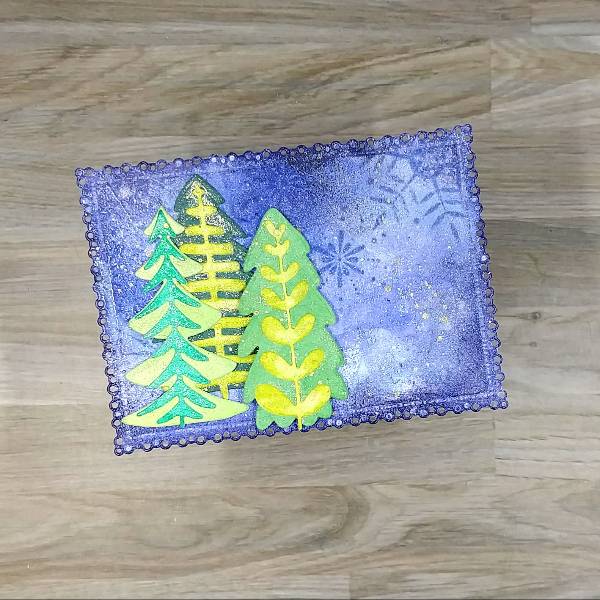
Glue the three die cut trees onto the panel. Splatter with gold watercolor.
Step 7:

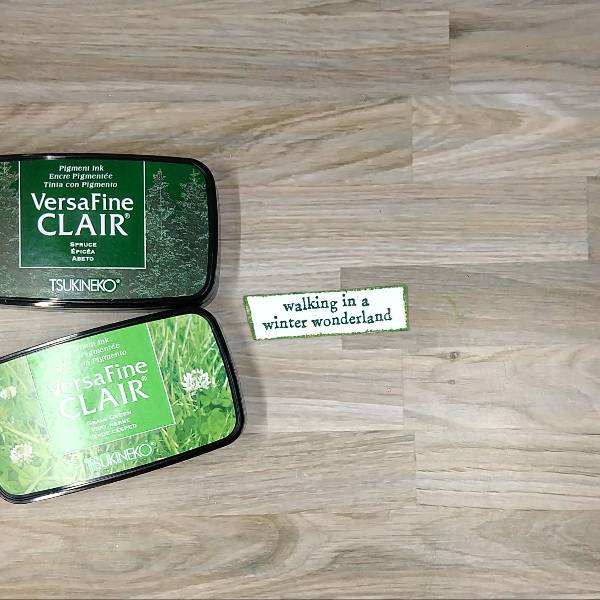
Stamp the sentiment on a piece of watercolor paper with Spruce VersaFine Clair Ink and heat emboss with clear Mboss powder. Trim the paper with a paper trimmer. Distress the edges with a pair of scissors. Then press the edges of the sentiment strip into the Grass Green VersaFine Clair Ink pad. After the ink dried, paint the edges with more of the gold watercolor. Set aside to dry.
Step 8:

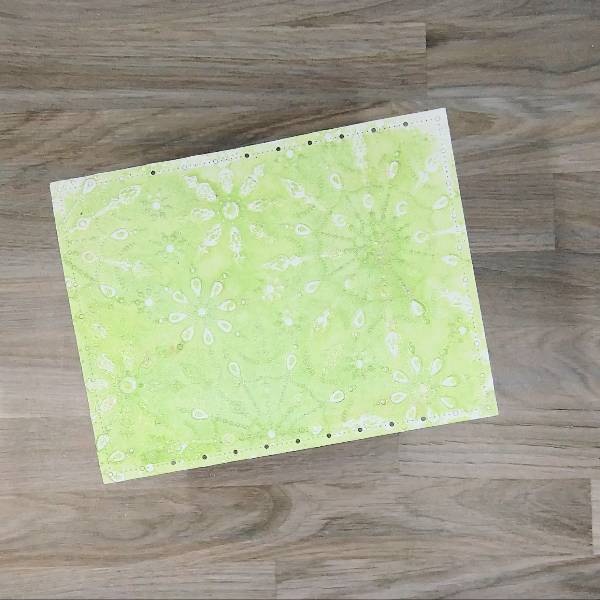
Spray New Sprout Fireworks! Shimmery Craft Spray directly onto an embossing folder. Place a die cut watercolor panel into the embossing folder and run it through a die cutting machine. Set the panel aside to dry.
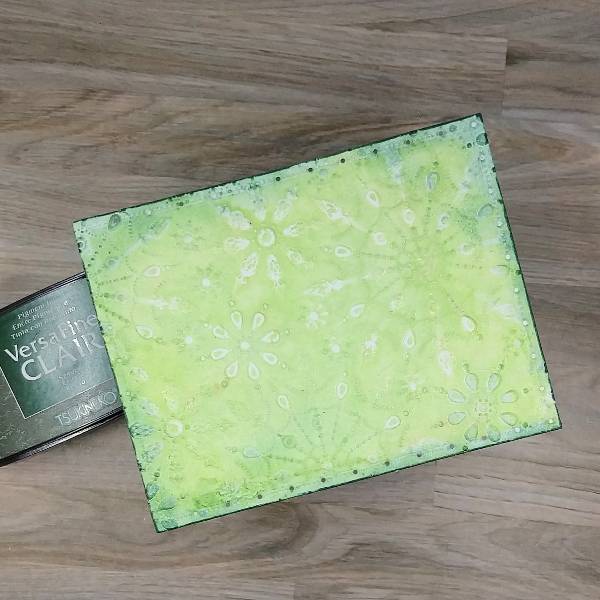
Step 9:

Distress the edges of the panel with scissors. Run the edges of the panel through the Spruce VersaFine Clair ink pad to add ink directly to the edges. Then ink blend the edges with more of the Spruce VersaFine Clair Ink pad using a sponge dauber.
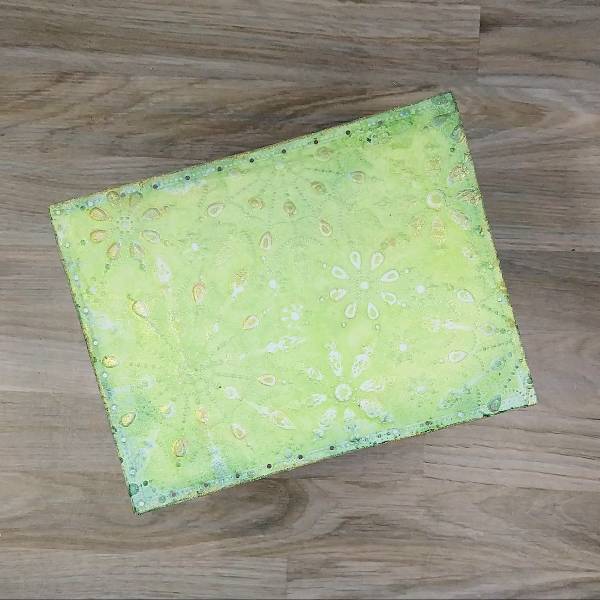
Step 10:

Watercolor the embossed panel with more of the gold watercolor and allow to dry.
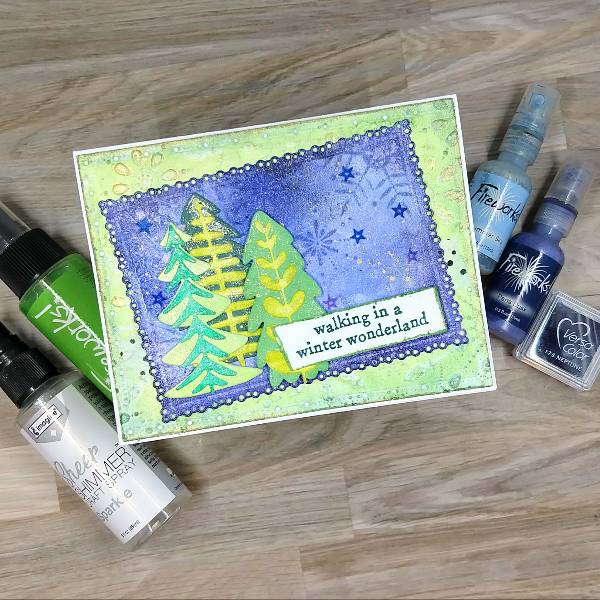
Step 11:

Add a strip of black and white polka dotted washi tape onto the green panel. (The washi tape I used is very wide, so I ripped it into a thinner strip before attaching it to the card panel.)

Glue the smaller (blue) panel onto the larger, green panel at an angle. Glue star sequins onto the blue panel. Finally, glue the whole thing onto an A2-sized white card base.

Art Supplies

Imagine

• Fabrico Dual Marker – Emerald
• Fireworks! Shimmery Craft Spray – New Sprout, Paris Dusk, Summer Sky
• Mboss – Clear
• Memento Dual Marker – Pear Tart
• Sheer Shimmer Craft Spray – Sparkle
• VersaColor Ink – Neptune
• VersaFine Clair ink – Grass Green, Spruce Versa, Very Peri Sponge
• Sponge Dauber

Other
• Altenew – die set – Tree Mix
• Gina Marie Designs – die set – Big and Little Chain Rectangles
• Gina Marie Designs – die set – Pleated Lace Rectangles
• Hero Arts – woodblock stamp – Stunning Snowflakes (retired)
• Kat Scrappiness – sequins – Winter Wonderland mix
• Kuretake – watercolors – Starry Colors
• Sizzix – embossing folder – Jeweled Snowflakes (664489)
• Stampers Anonymous – stamp set – Cozy Christmas
• Watercolor paper
• Die cutting machine Paint brush
• Paper trimmer
• Scissors
• Glue
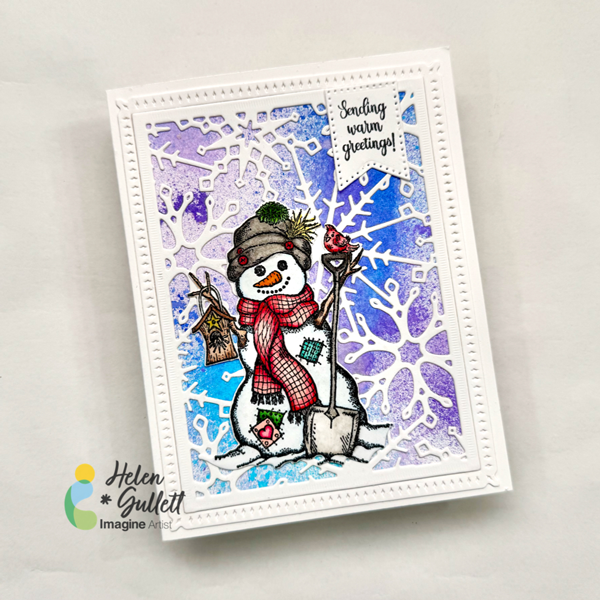
“Sending Warm Greetings” Holiday Card

By Helen Gullett

Hello crafty friends! Winter is here and today we are going to make this winter theme card to send some warm greetings to friends and family. Let’s get crafting!

Skill: Intermediate
Time: 15-20 minutes

Direction:

Step 1

Cut out a piece of the heavyweight white cardstock into 4.25 inch x 5.5 inch.

Put it on the craft mat and make sure there is nothing around it since we are going to play with some craft sprays!

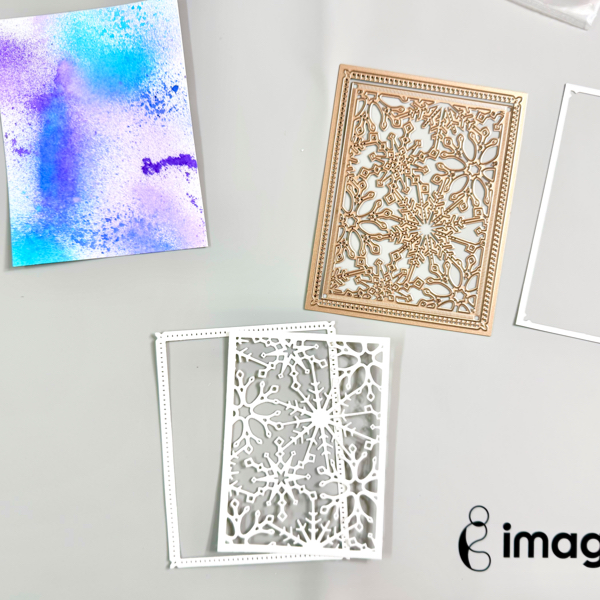
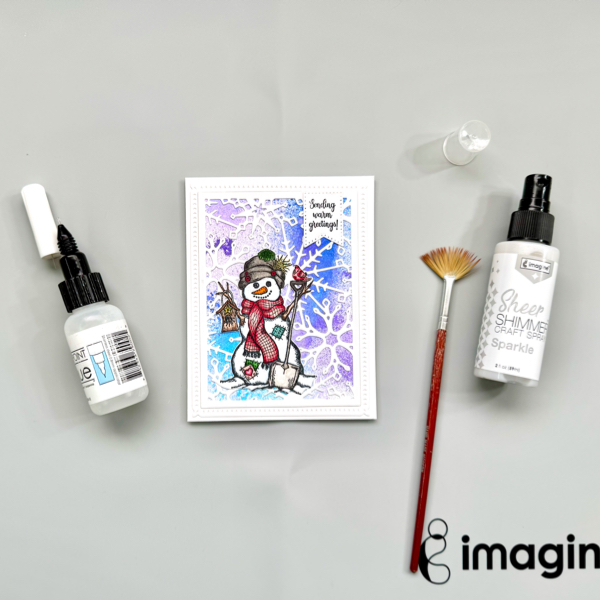
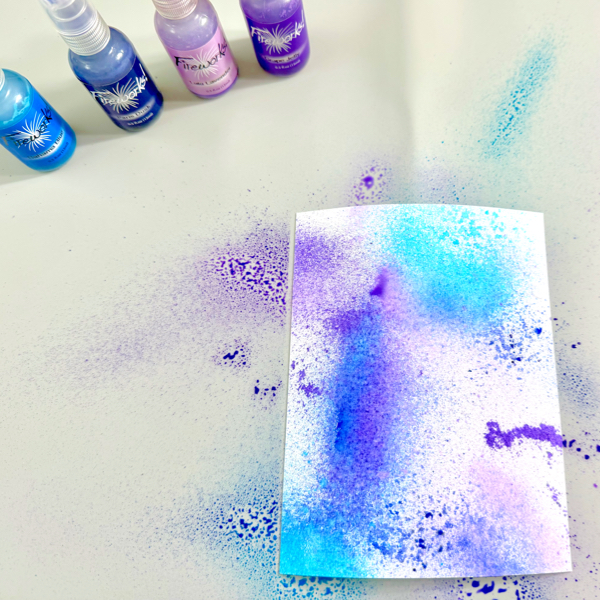
Start randomly spraying some of the Fireworks Shimmer Craft Sprays (Lulu Lavender, Grape Jelly, Bahama Blue, Paris Dusk) on the cardstock to create the background panel.

Set aside to dry or speed up the drying process with a craft heat gun.

Step 2

After removing the cardstock, do not wipe off the extra inks on the craft mat.

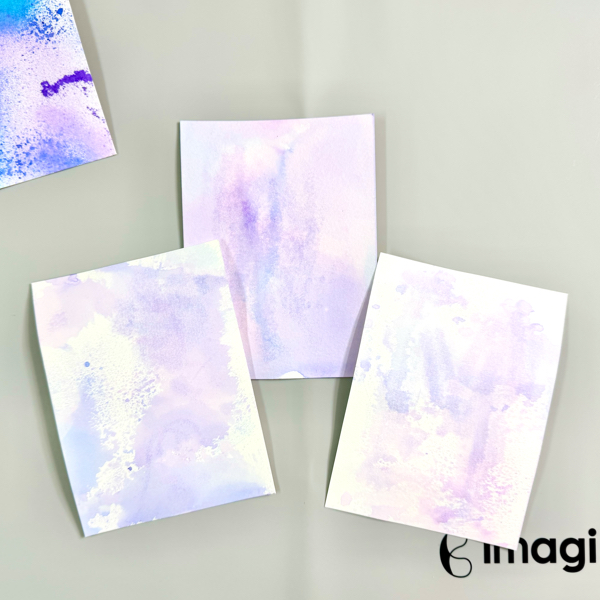
Grab a couple more cardstocks to create more background panels.

Spray extra water to get lighter colors effect on the cardstocks.

Set them aside to dry or speed up the drying process with a craft heat gun.

Step 3

Cut another piece of heavyweight white cardstock with the snowflake background die using the die-cutting machine.

I added extra shim when cutting it because I used an intricate background die.

Step 4

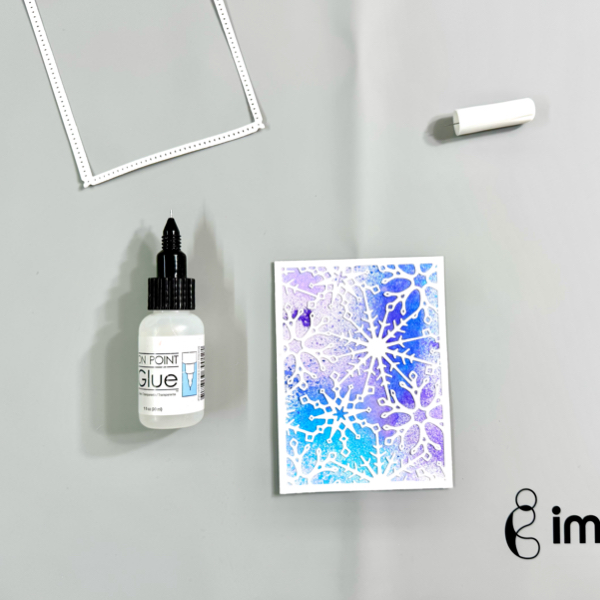
Add the sprayed background panel to the card base with some of the On Point Glue. Press firmly for a few seconds until the glue dries.

Add some of the On Point Glue to the back of the cut out snowflake background panel. The fine point is perfect for this intricate die cut panel. Add it to the card and press firmly for a few seconds until the glue dries.

Step 5

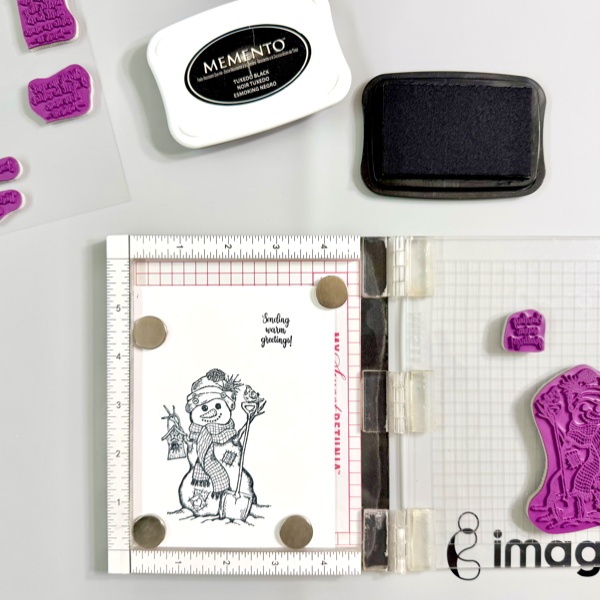
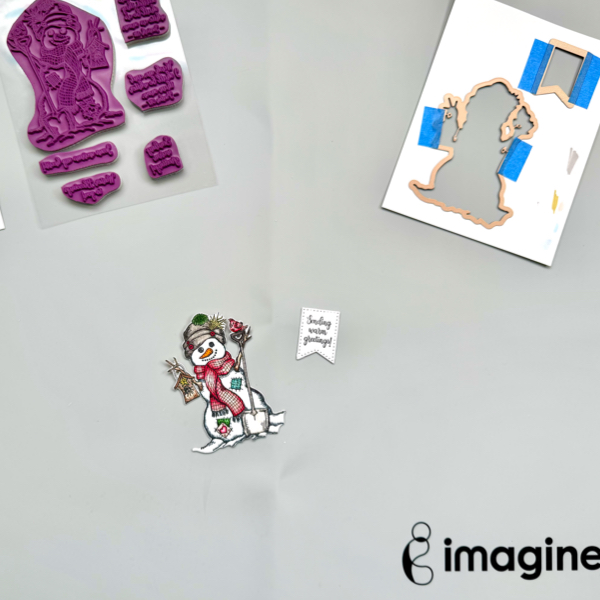
Stamp the snowman image and sentiment on a piece of heavyweight white cardstock with Memento Tuxedo Black ink pad.

Step 6

Color the snowman image with alcohol markers.

Cut out the snowman with a matching die (or fussy cut it with scissors).

Cut out the sentiment with a small banner die.

Step 7

Add both snowman and sentiment to the card with On Point Glue.

Add extra shimmer to the card with some of the Sparkle Sheer Shimmer Craft Spray. I used a fan brush to add the splatters to the card.

Use a craft heat gun dry the splatters on the card.

The card is done… I can say this picture cannot justify the shimmer and sparkle on this card. But I love how this card turned out to be! I hope you will give it a try.

Thanks for stopping by our blog today. Have a wonderful day!

Craft Supplies

Imagine:

Others:

  • White As Snow stamp and die set (Divinity Designs)
  • Snowflake Sky die set (Divinity Designs)
  • Large Banners die set (Divinity Designs)
  • Altenew Artist Markers
  • Heavyweight White Cardstocks
  • MISTI stamping tool
  • Craft heat gun
  • Fan brush
  • Paper trimmer
  • Die cutting Machine

Quick & Easy Christmas Cards using Ornament Punches

By Jessica Lin

Skill Level: Beginner
Time: 30 minutes

Hi everyone, it’s Jessica here. Quick & easy cards are so fun to make, and they are perfect for holiday mass production too! I made several versions today using some punches, and I hope you’ll enjoy this quick tutorial.

Step 1:
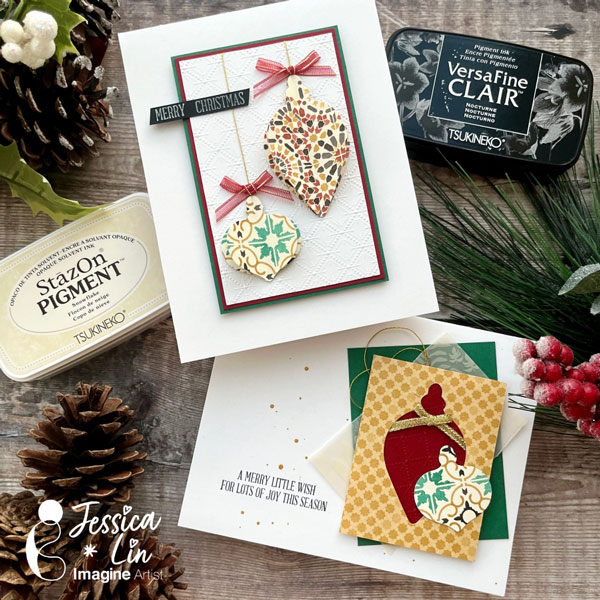
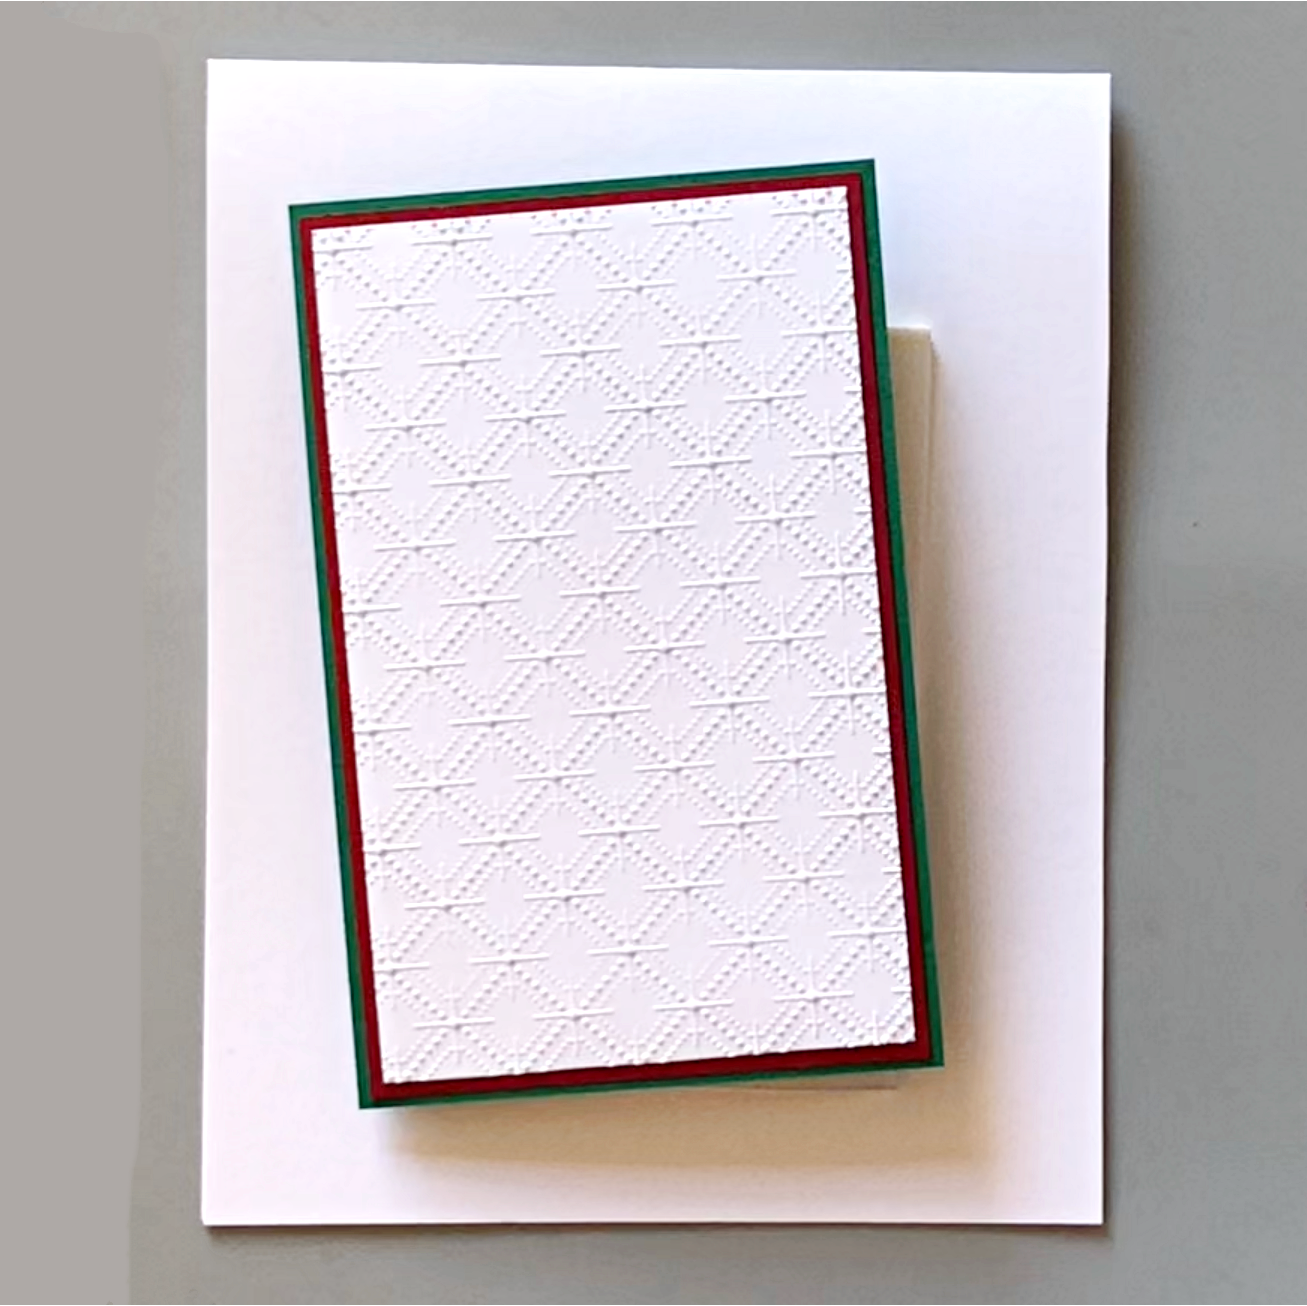
Use Stampin’ Up!’s Gleaming Ornaments punches with patterned paper to create the christmas ornaments. Each ornament needs two pieces; one unscored and one scored in the middle.

Step 2:
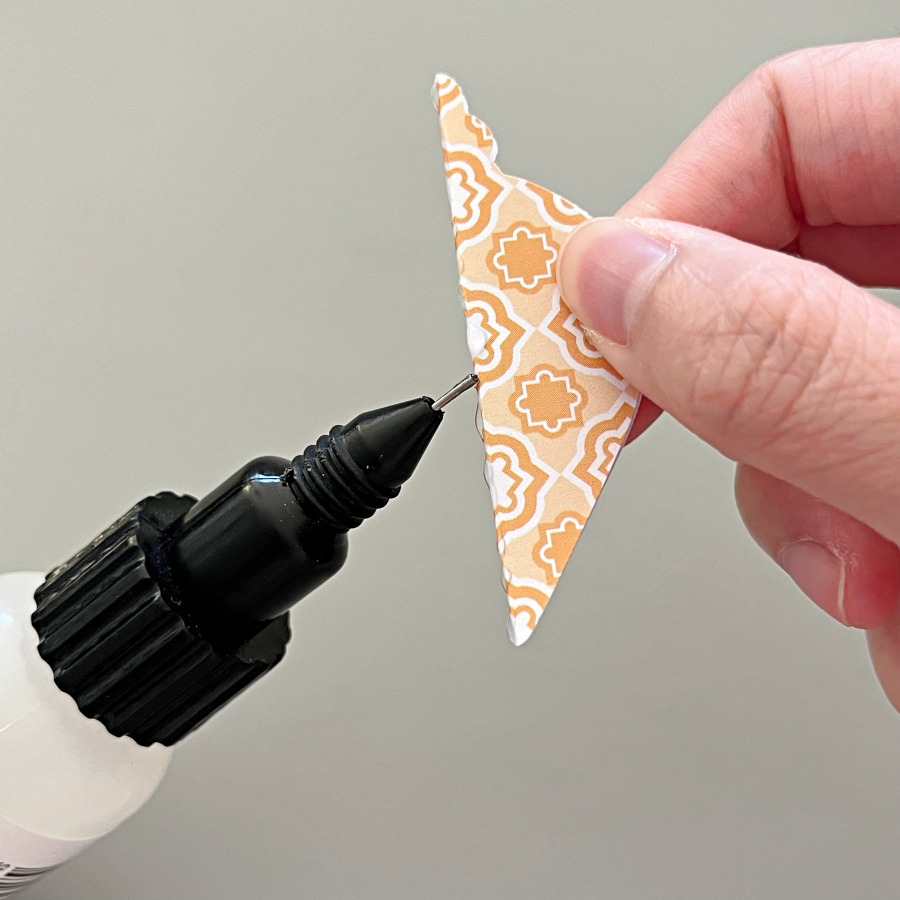
Apply On Point Glue onto the folded crease (backside of the patterned paper) and adhere to the unscored punch piece. Hold in place for 20-30 seconds while the glue dries.

Step 3:
Prepare 3 pieces of cardstock and adhere them together with Tear It Tape. The largest size measures 2 3/4‘’ x 4 1/4‘’, the medium size measures 2 5/8‘’ x 4 1/8‘’, and the small size 2 1/2‘’ x 4’’.

Step 4:
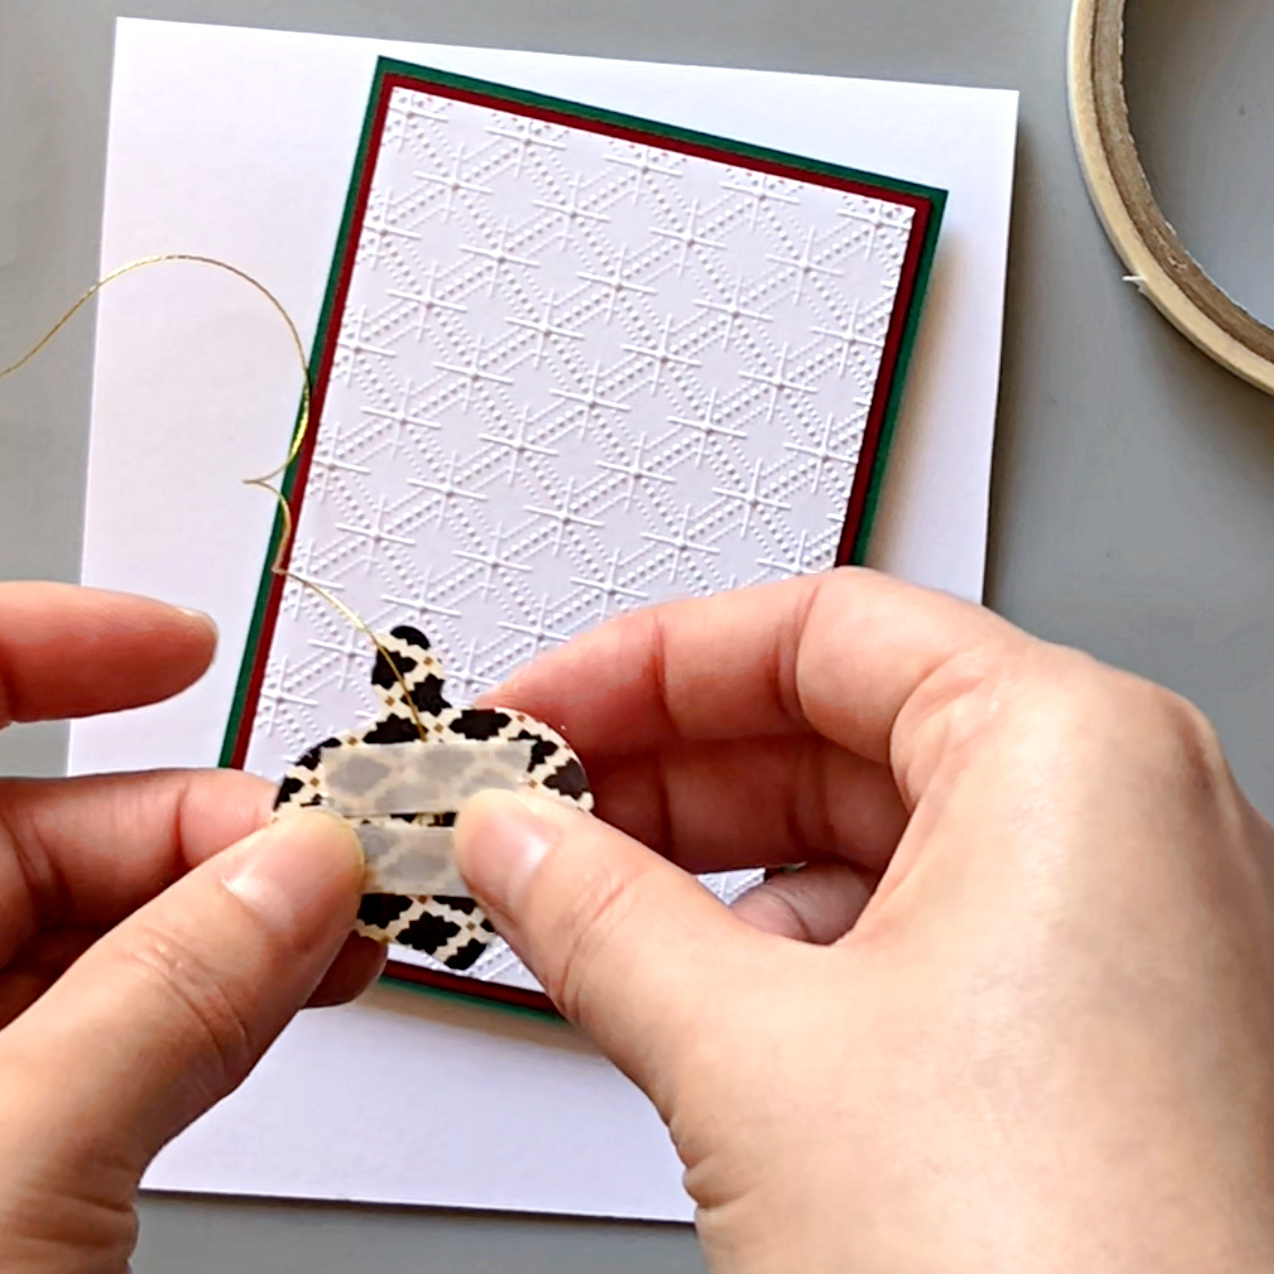
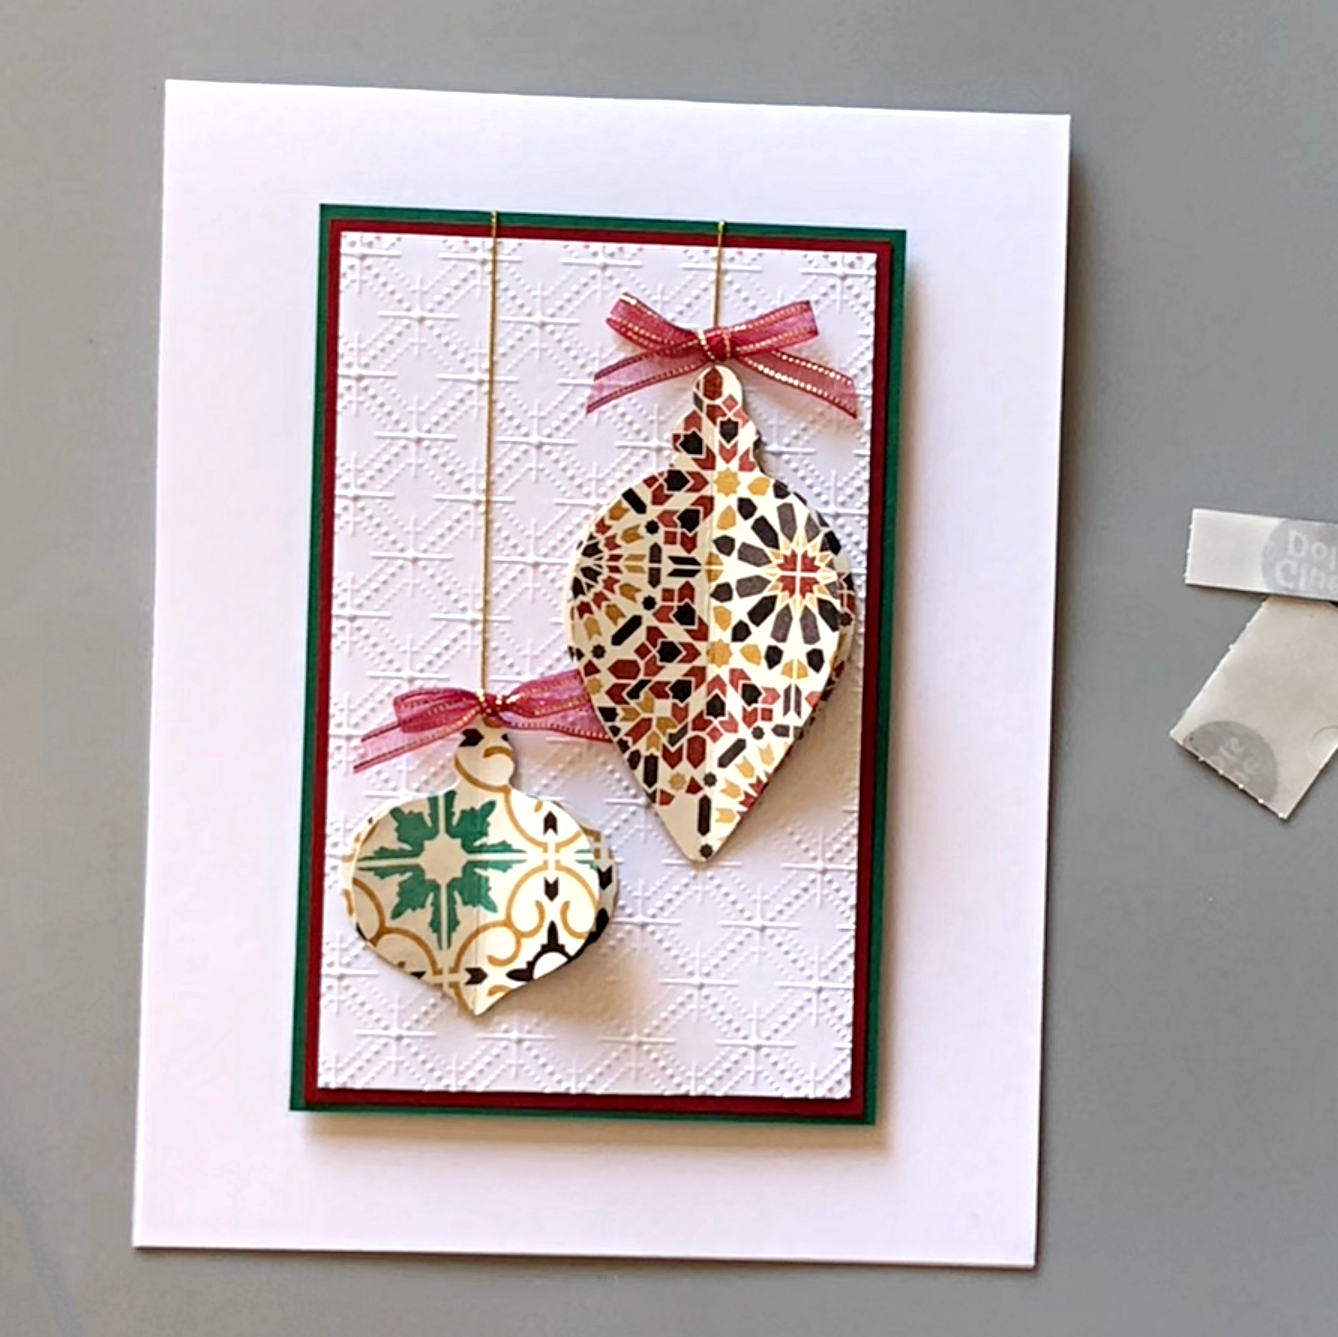
Attach a piece of gold thread to the back of the ornament with Tear It Tape, and adhere to the layered background. Attach the other end of the gold thread to the back of the green cardstock layer.

Step 5:
Adhere tiny bows to the top of the ornaments with glue dots.

Step 6:
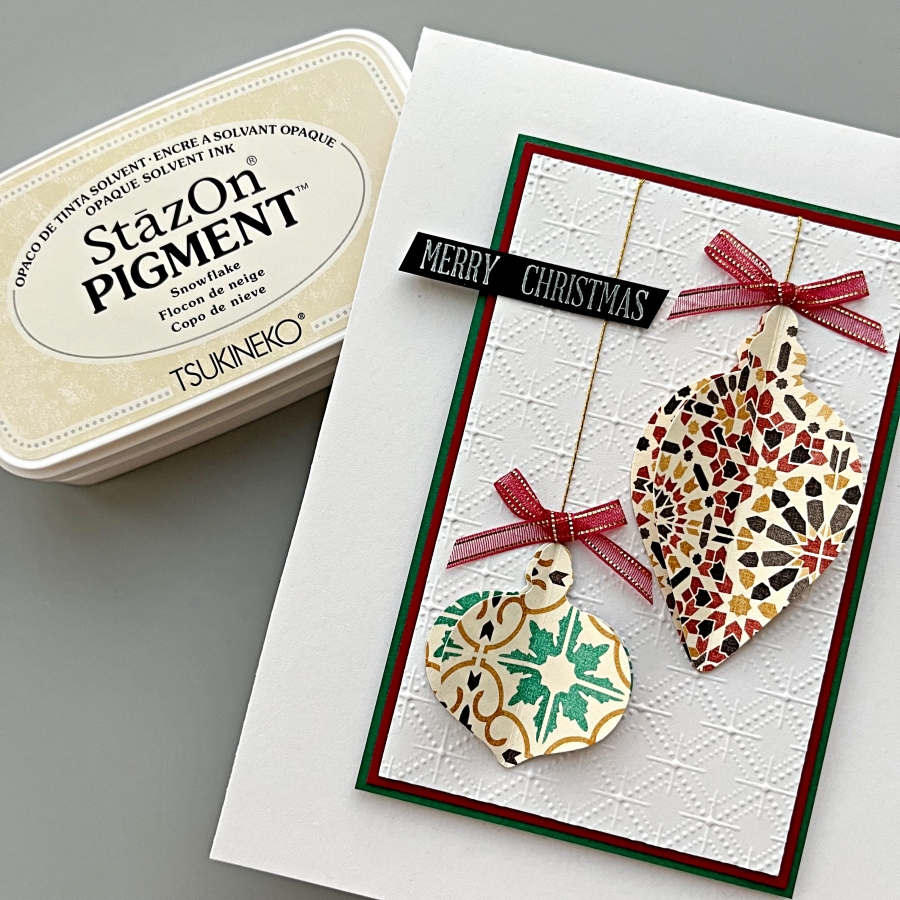
Stamp the sentiment on black cardstock using StazOn Pigment ink. Adhere both the sentiment strip and the layered panel to the card base with Tear It Tape.

Step 7:
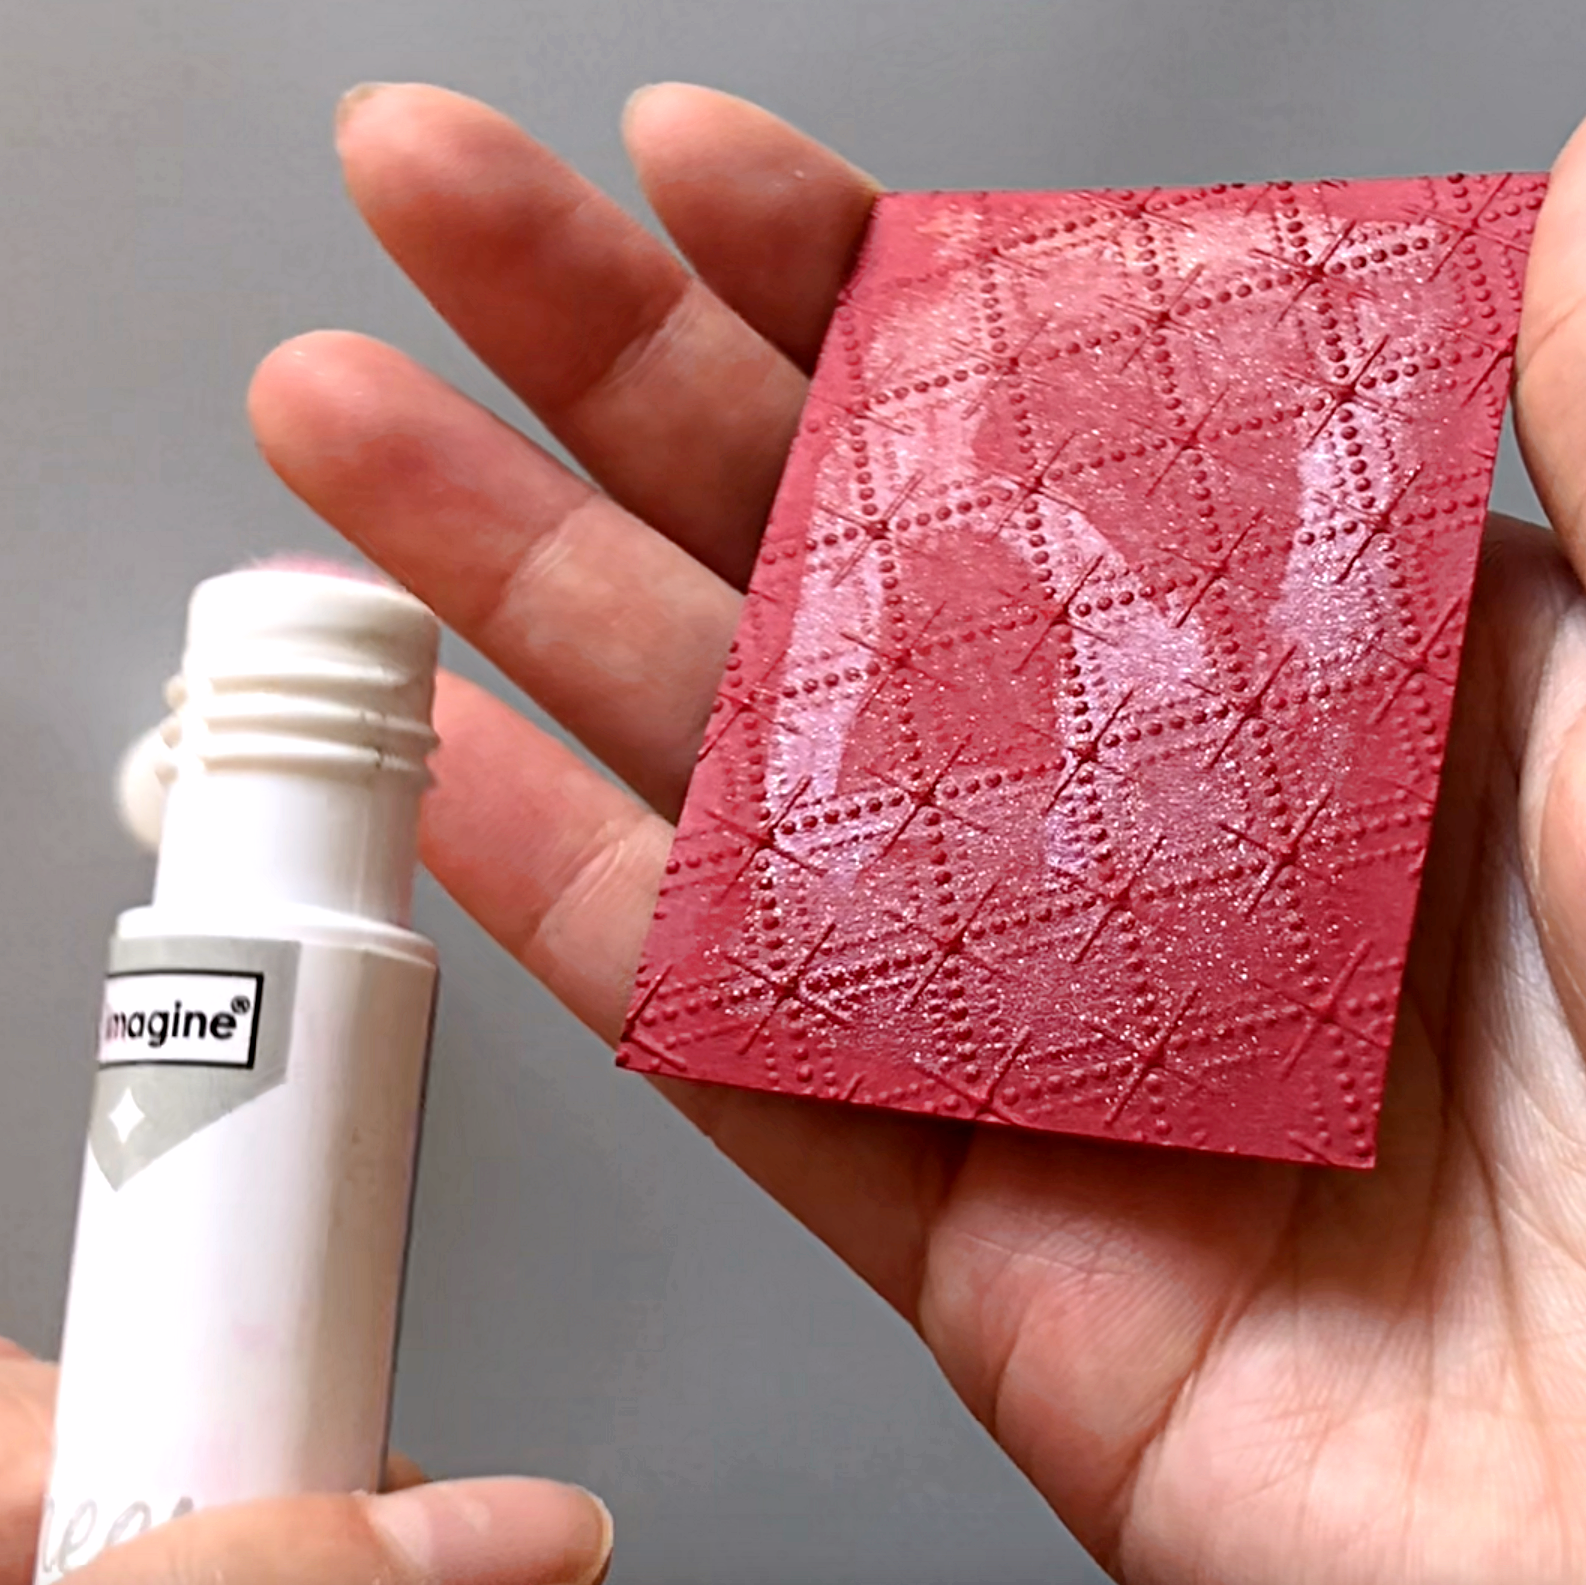
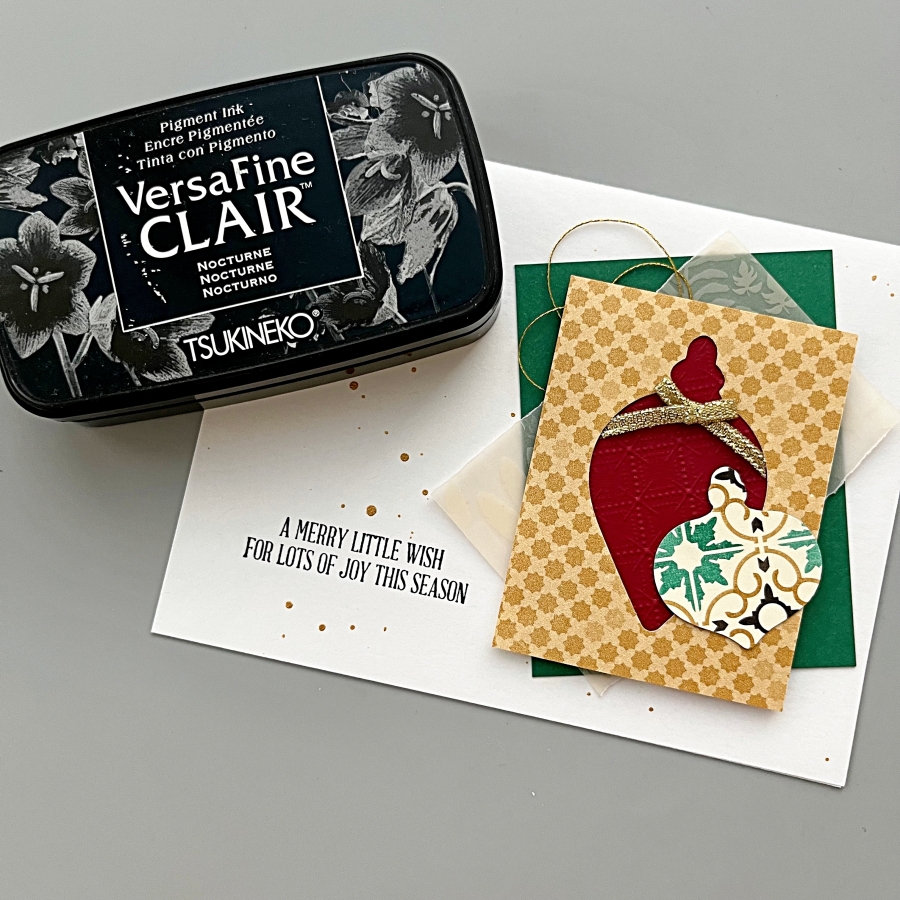
For the second version of the christmas card, I used the negative pieces from the punches and layered red, embossed cardstock underneath. Generously apply the Sheer Shimmer Stix in sparkle to add additional shimmer.

Step 8:
Adhered the patterned paper pieces onto the card base and stamp the sentiment using VersaFine Clair Nocturne ink. For a finishing touch, splatter on gold acrylic paint with a paint brush.

Imagine Supplies:

Other Supplies:

  • Stampin’ Up! – Punch – Gleaming Ornaments Punch Pack
  • Stampin’ Up! – Stamps – A Wish for Everything
  • We R – Tool – Precision Press
  • Gold thread
  • Thin red ribbon
  • Glue Dot
  • White, green, red, black cardstock

Faux Stained Glass Christmas Card

By Ceil Pritchett

Hello Crafty Friends!
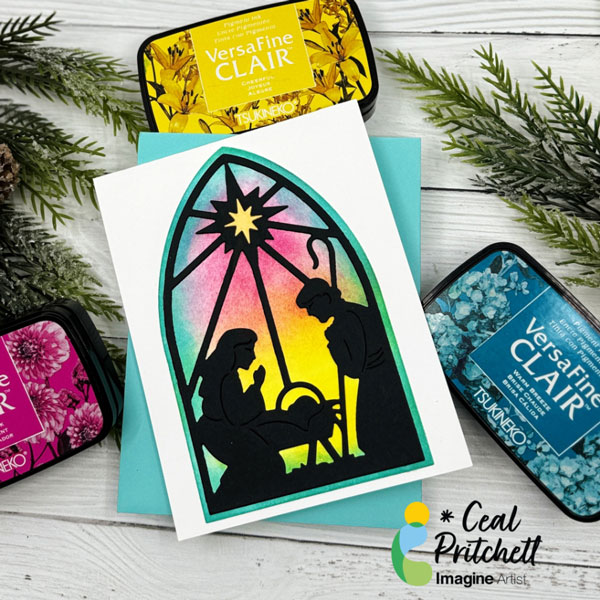
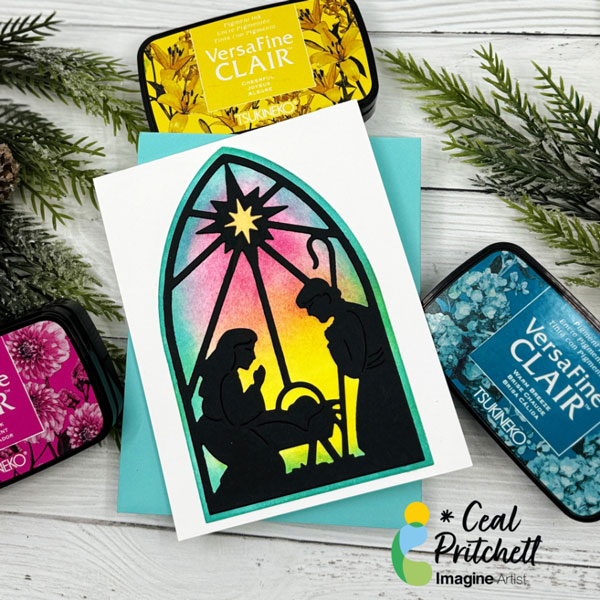
It’s Ceal, here. Today I am sharing how I made this faux stained-glass Christmas Card.

Skill Level: Beginner
Time: 30 Minutes

Directions:


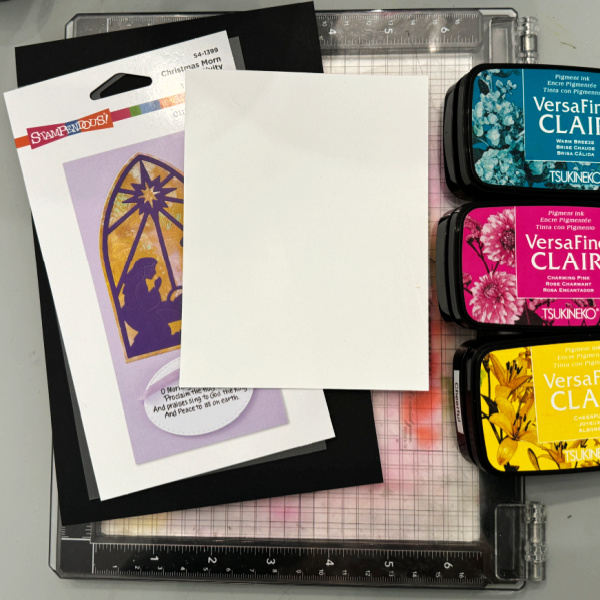
Gather your supplies. You will three inks, Pink, Yellow and Blue. A blending tool, a silhouette die along with black, white and gold cardstock.

Step 1:
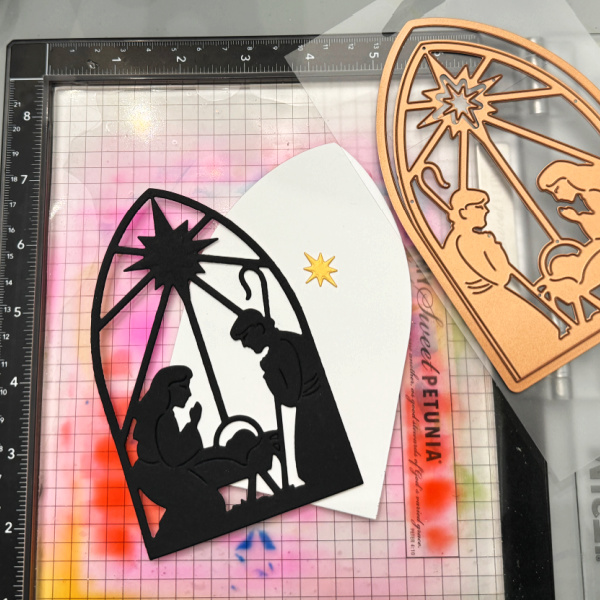
Cut the nativity die out of black cardstock, the backer out of white and the star out of the gold cardstock.

Step 2:
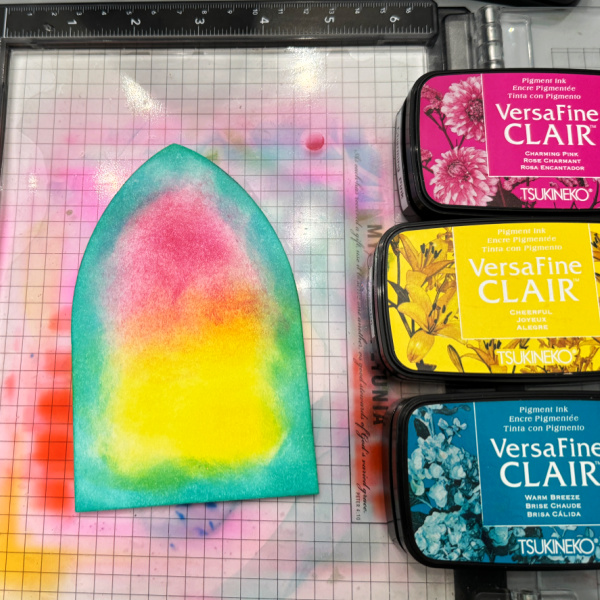
On the backer using a sponge or other blending tool, blend the blue around the outer edge of the panel and the pink and yellow inside the blue.

Step 3:
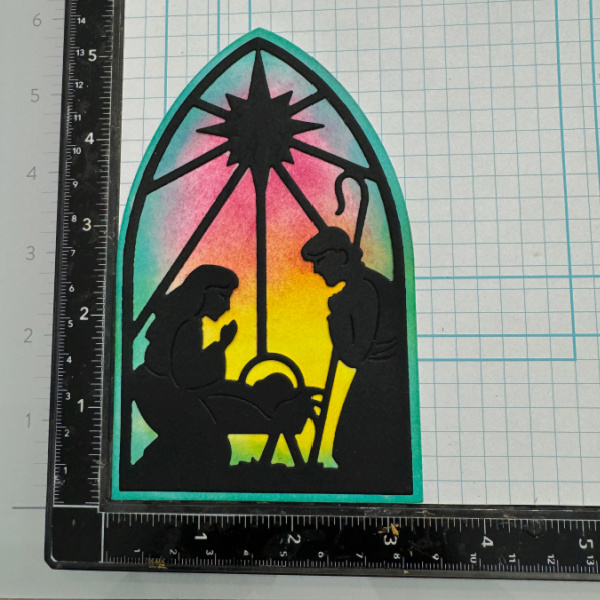
Line up the nativity over the backer and adhere it down with On Point glue. As you can see in the photo above, I use the corner of the MISTI to help me line things up.

Step 4:
Add the window to the card base.

Supplies:

Imagine Products:
• VersaFine Clair – Charming Pink, Cheerful and Warm Breeze
• On Point Glue
• Sponge Daubers
Other Products:
Misti 2.0 – My Sweet Petunia
Nativity Die – Stampendous
White Cardstock – CutCardStock
Black Cardstock – Hero Arts
Gold foil cardstock – Erin Lee Creative

Design a CAS Christmas Poinsettia Card

By Helen Gullet

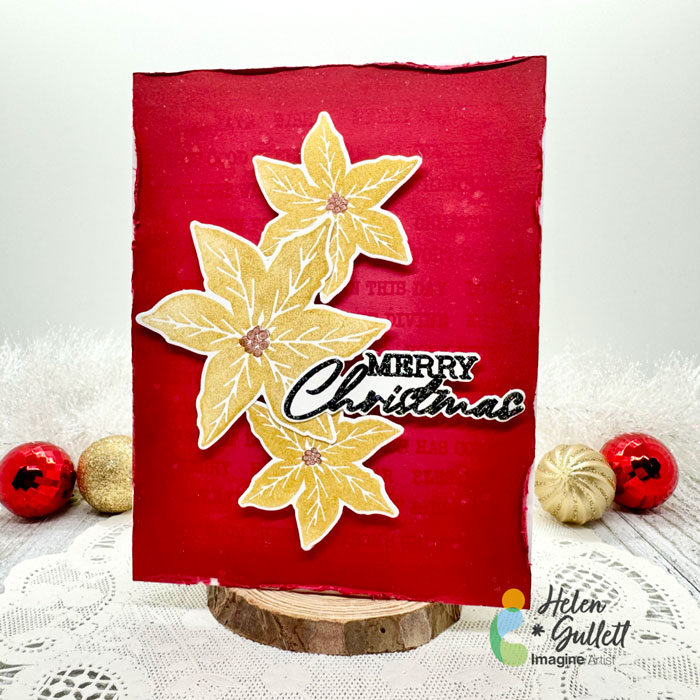
Hello crafty friends! It’s the time of the year to start making some Holiday projects. As for me, I love making and sending handmade Christmas cards. Today, I wanna share how to make this CAS Christmas Poinsettia Card.

Let’s get crafting!

Skill: Intermediate
Time: 15-20 minutes

Direction:

Step 1

Cut out a piece of any color cardstock into 4.25 inch x 5.5 inch that you want to use as your background panel.

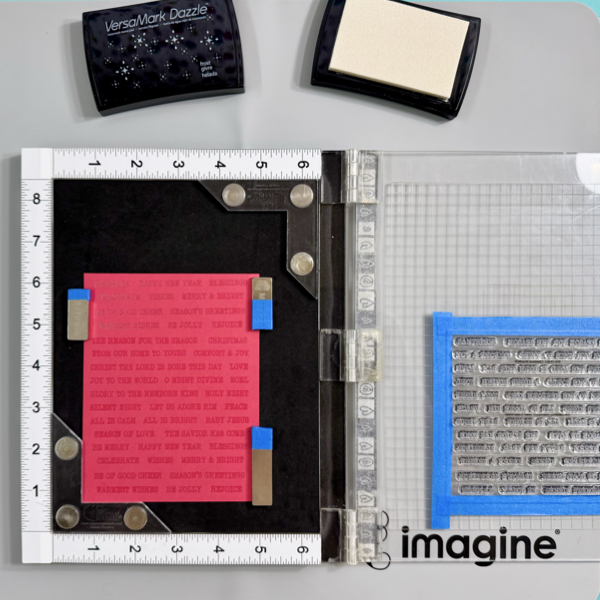
I used all the words on the stamp set I used so I taped the whole sheet on the stamping tool lid instead of taking it out one by one. You can use any word stamp set you have to create a similar background pattern.

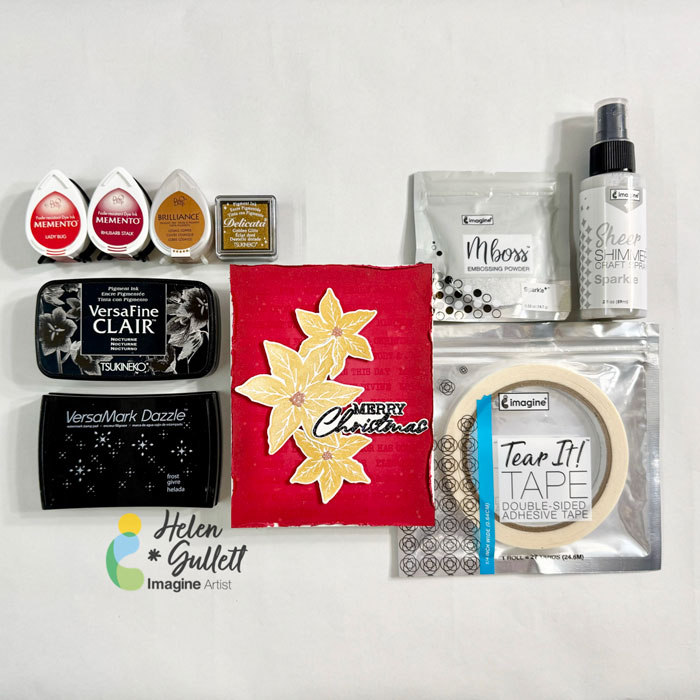
Stamp the words on the cardstock using VersaMark Dazzle. Make sure to cover the whole panel.

Step 2

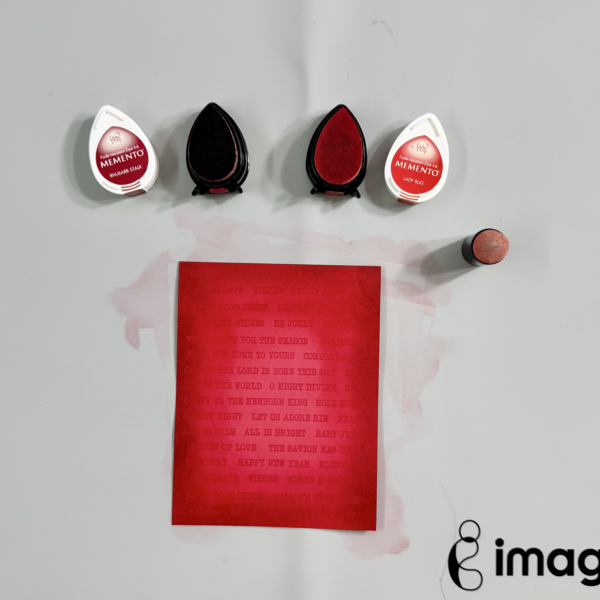
Add some darker shadow to the edges of the background panel using Memento Dew Drop ink pads and finger sponge dauber.

First, add the Lady Bug ink on the panel, then add the Rhubarb Stalk ink, and then add the Lady Bug ink again to blend them together.

Step 3

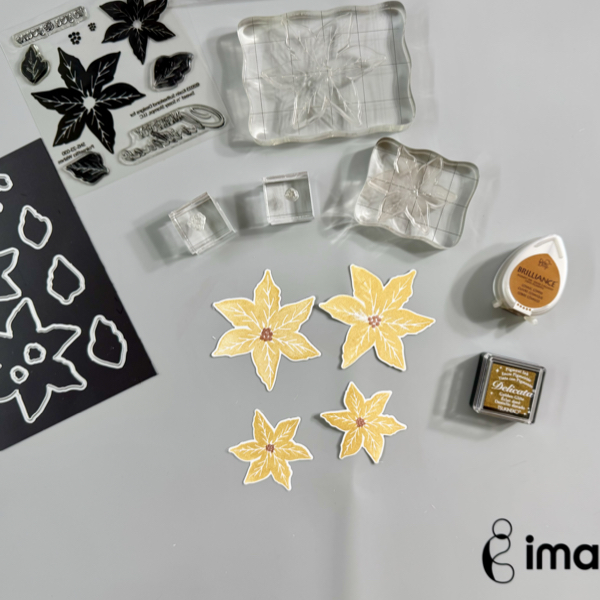
Stamp each layer of the poinsettia flower with the Delicata Golden Glitz ink.

Stamp the middle buds part of the poinsettia with the Brilliance Cosmic Copper ink. Dry the stamped images with a craft heat gun.

Cut each of the images with their matching dies, or you can fussy cut them if you don’t have the matching dies.

Step 4

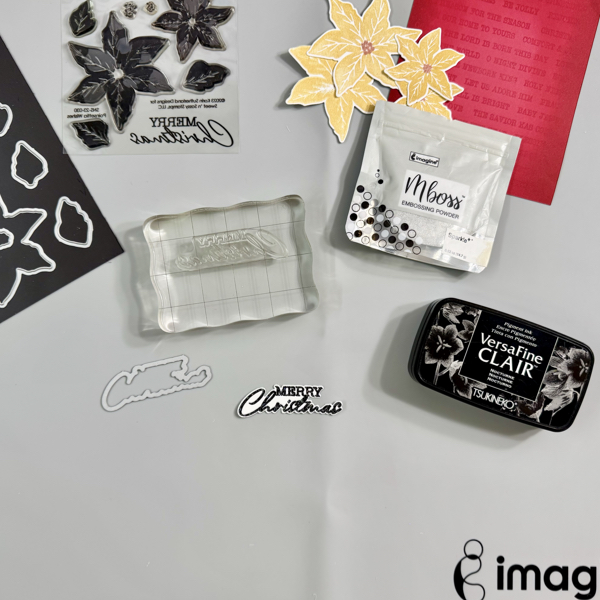
On a piece of white cardstock, stamp the sentiment with VersaFine Clair Nocturne, and then add some of the Sparkle Mboss Embossing Powder, then heat set it with a craft heat gun.

Cut the sentiment with the matching die set, or you can fussy cut it with scissors if you don’t have a matching die.

Step 5

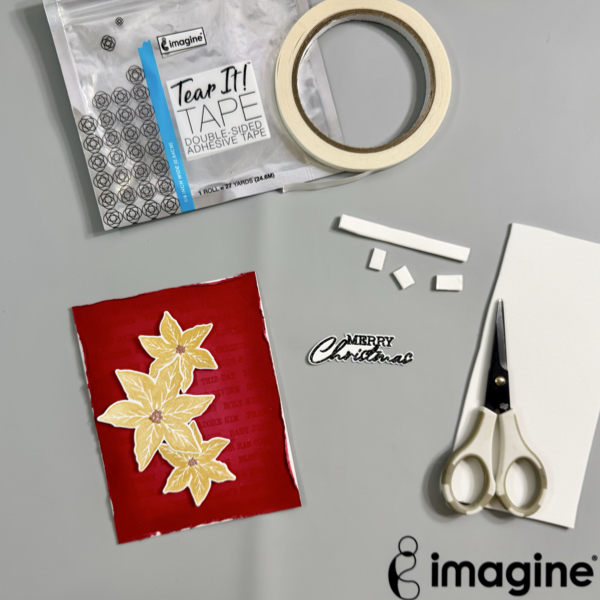
Distress all edges of the background panel with distresser tool or scissors. Add the background panel to the card base with some of the Tear It! Tape.

Add the poinsettia flowers and the sentiment to the card with some of the fun foam and Tear It! Tape for some dimension.

Step 6

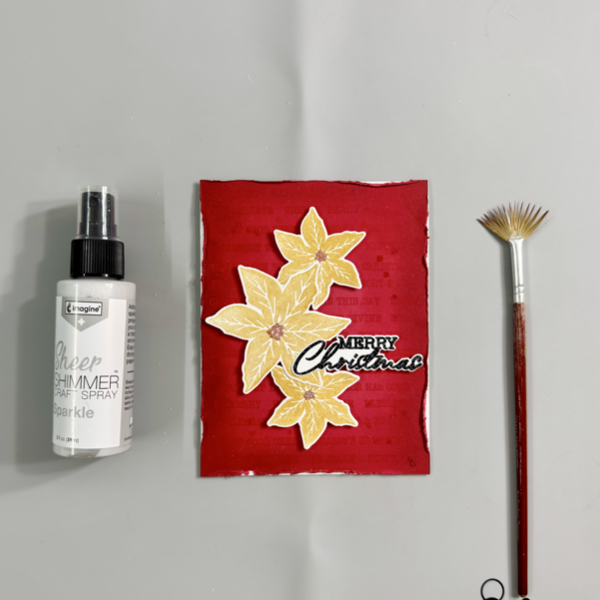
For more extra sparkle to the Christmas card, add some splatters of the Sheer Shimmer Craft Spray using a fan brush.

Use the craft heat gun to dry the splatters.

Hope this Christmas card gives you an idea to start your Holiday projects. Thank you for stopping by our blog today. Have a fabulous day!

Craft Supplies

Imagine:

  • Memento (Rhubarb Stalk, Lady Bug)

Others:

  • Poinsettia Wishes Stamp & Die Bundle (Creative Worship Stamps)
  • Neenah Solar White Cardstock 80 lb
  • Neenah Cardstock Multi colors
  • Fan brush
  • MISTI stamping tool
  • Stamping Blocks
  • Micro-tip scissors
  • Craft heat gun
  • Paper trimmer
  • Die cutting Machine

Merry Christmas Stenciled Card

By Ceil Pritchett

Hello crafty friends!
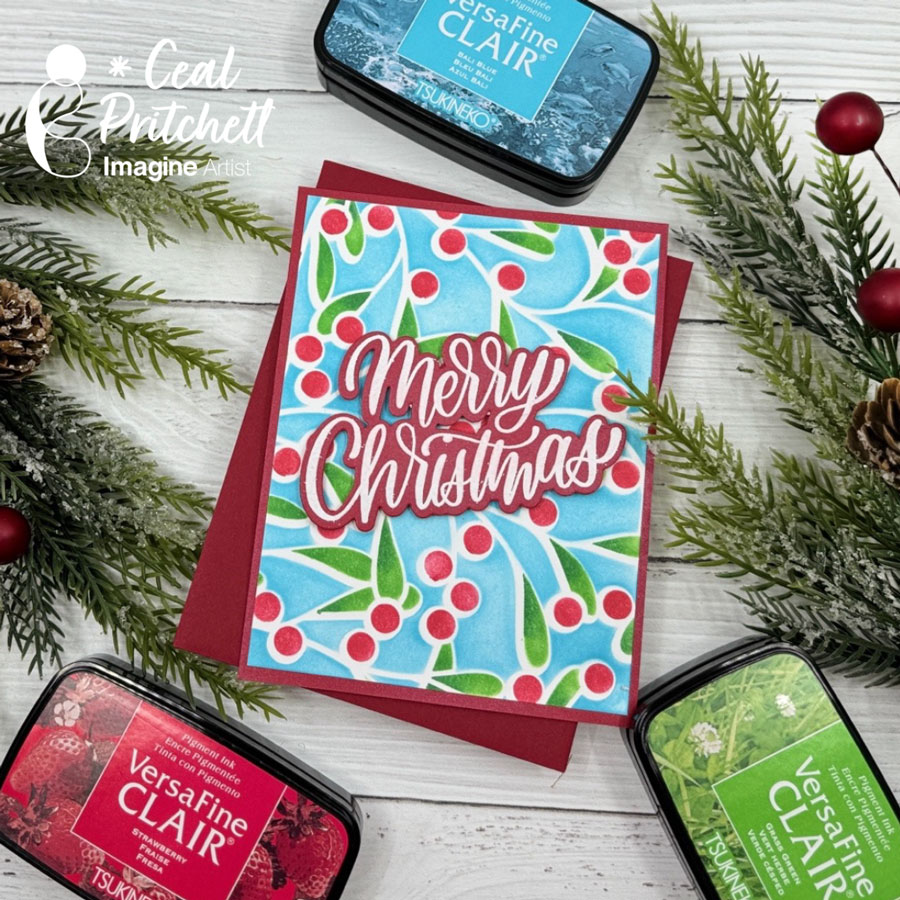
Today I am sharing how to create this stenciled Christmas card that would be a quick and easy card to make multiples of.

Skill Level: Beginner
Time: 15 to 20 minutes

Directions:

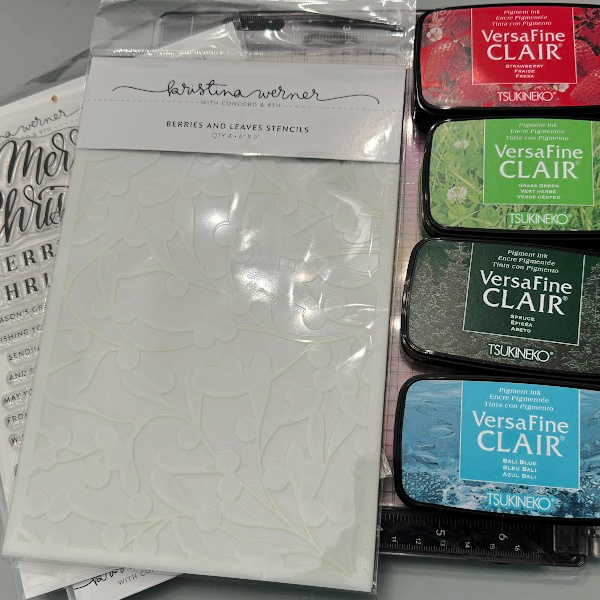
Gather your supplies. You will need several colors of ink; I used a nontraditional color along with the red and green. You will also need Layering stencils, some VersaMark ink, embossing powder and a die cut machine.

Step 1:
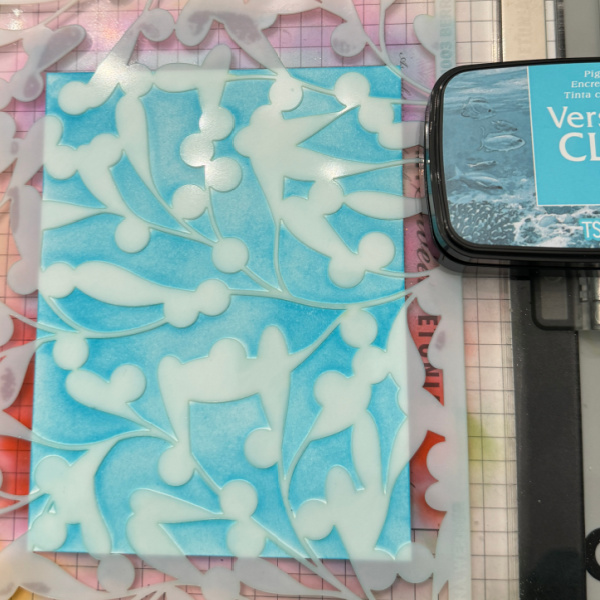
Using a grip mat or other sticky mat to hold your panel of white cardstock. Lay you stencil over the panel and ink blend the background color.

Step 2:
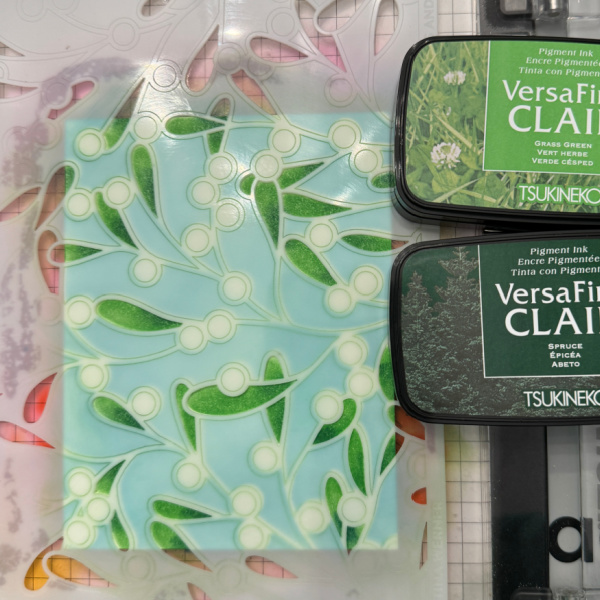
Remove the first stencil and place the next stencil over the panel and apply the next color. Since the second stencil is leaves, I used two different colors of green.

Step 3:
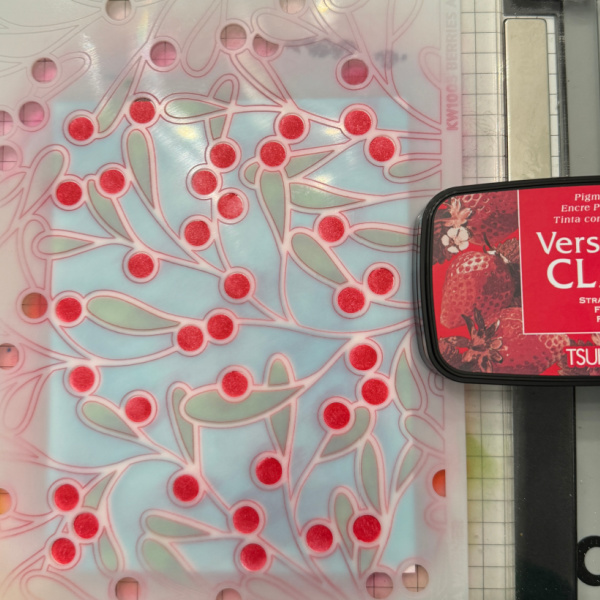
Remove the second stencil and lay the next stencil over your panel and apply the next color. With it being berries I used our new color strawberry with is perfect for berries.

Step 4:
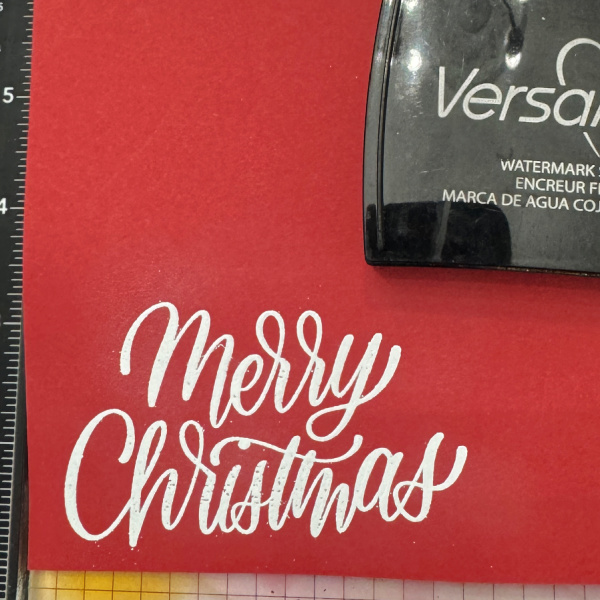
Stamp the greeting in VersaMark ink and emboss with white powder. Die cut it out with coordinating die and assemble the card.

 Supplies:

Imagine Products:
VersaFine Clair – Bali Blue, Grass Green and Strawberry
VersaMark

Other Products:
Neenah Classic Crest Solar White 120lb – CutCardStock
Neenah Classic Crest Solar White 80lb – CutcardStock
Poppy Cardstock – PaperTrey Ink
White Embossing Powder – Hero Arts
Merry Christmas Stamp – Kristina Werner C9
Merry Christmas Die – Kristina Werner C9
Misti Stamping Tool – My Sweet Petunia
Grip Mat – Waffle Flower crafts