By Anna Escalada York
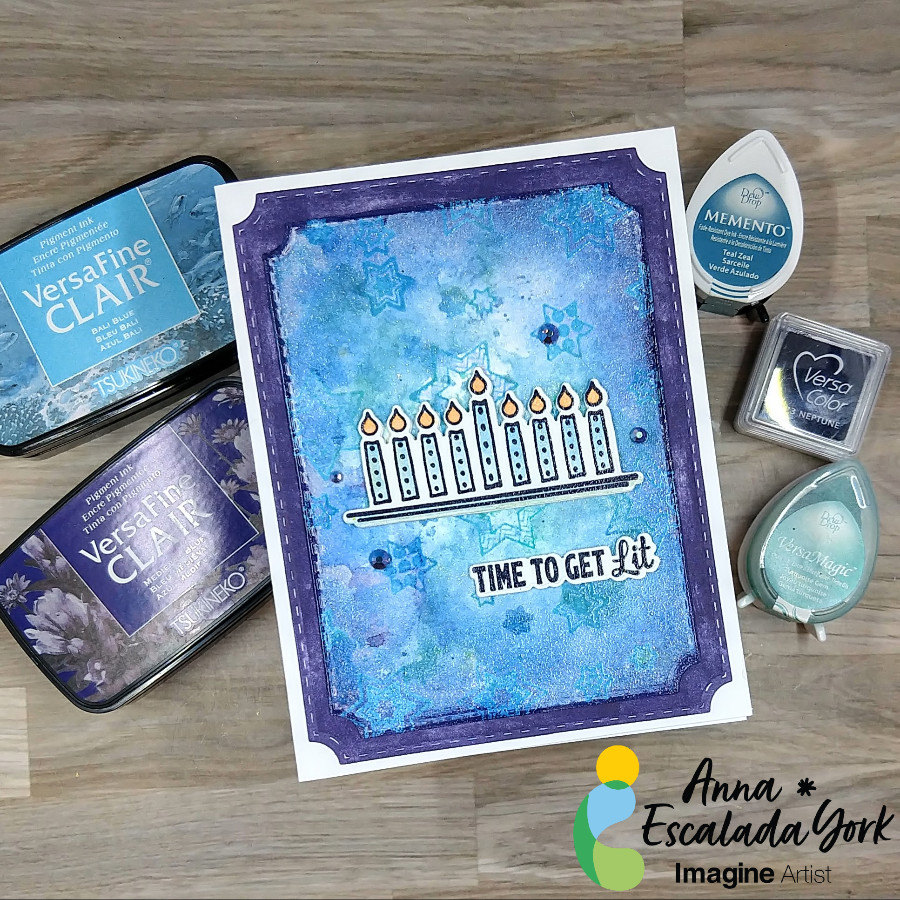
Since we are deep in holiday card making seasons, I am sharing a Hanukkah card featuring a lot of different blues.
Skill: Intermediate
Time: 2 hours
Directions:
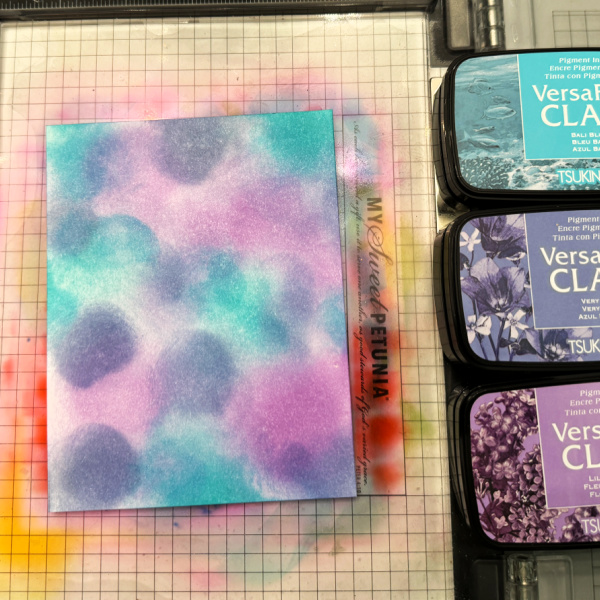
Step 1:
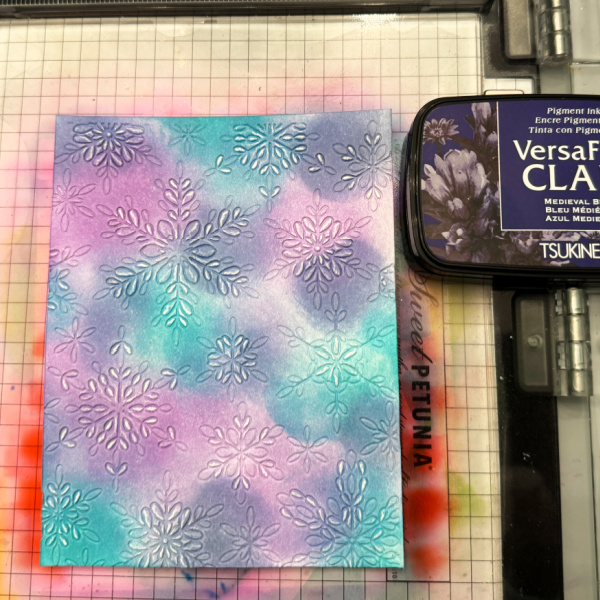
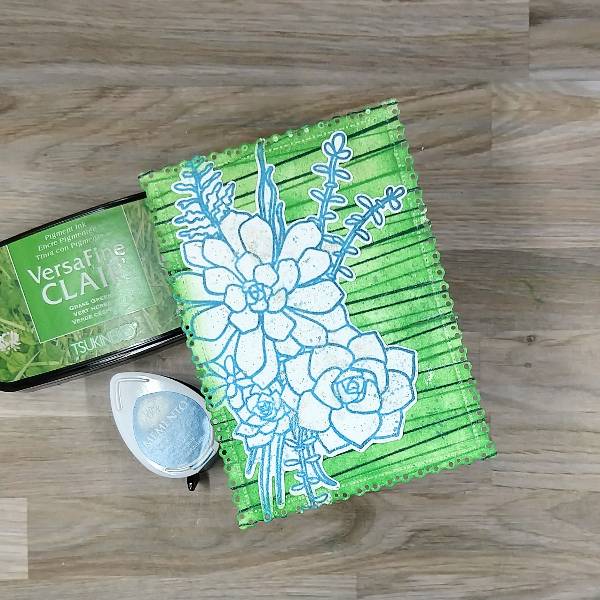
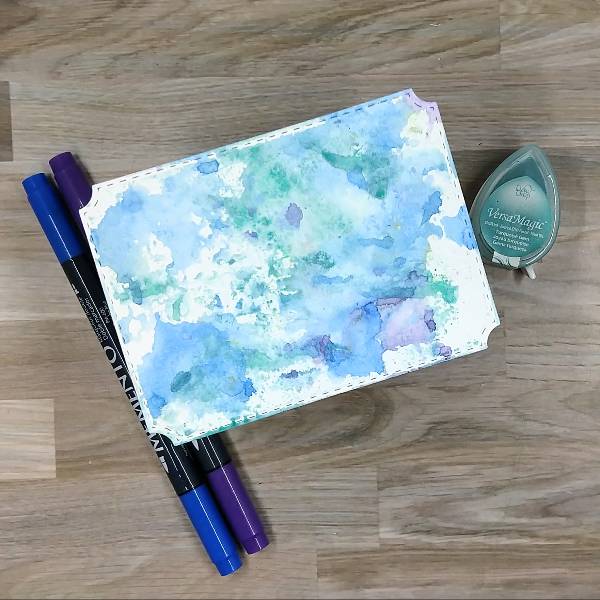
Watercolor smoosh Danube Blue and Grape Jelly Memento Dual Markers as well as Turquoise Gem VersaMagic Chalk Ink mixed with water on a piece of scrap acetate packaging onto a watercolor panel. Allow the panel to dry.
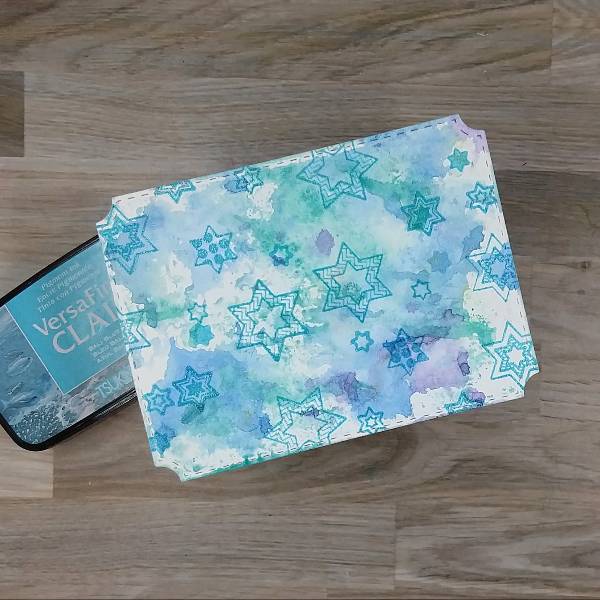
Step 2:
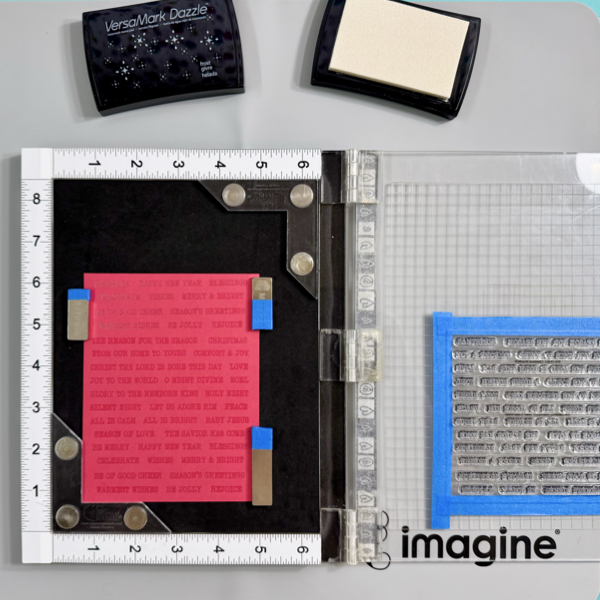
Arrange a variety of six-sided stars onto one side of the watercolor panel in a stamp positioner. Stamp the stars onto the panel with Bali Blue VersaFine Clair Pigment Ink and then heat emboss with clear Mboss powder. Flip the panel and repeat the process. Move any of the stars around on the stamp positioner to fill in any holes on the panel.
Step 3:
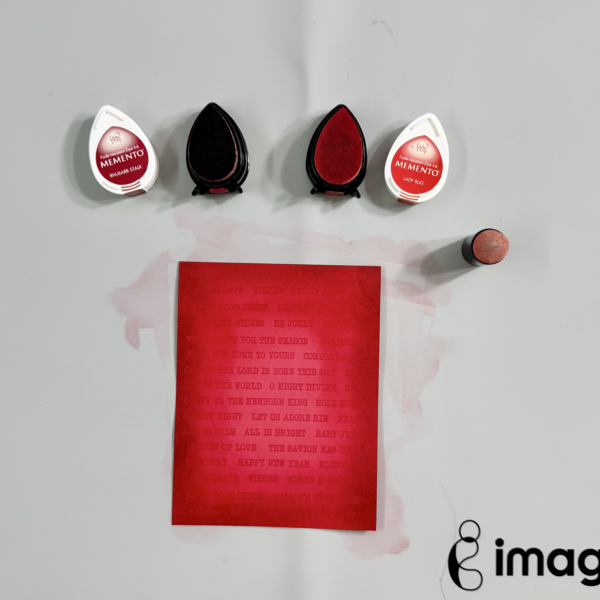
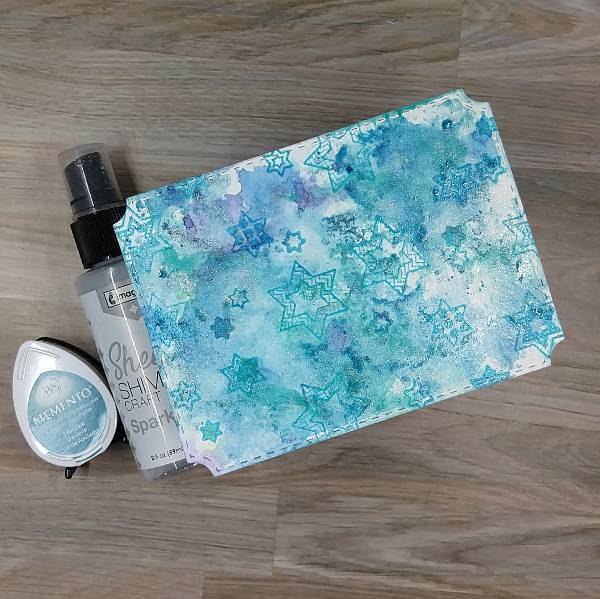
Watercolor smoosh the panel again, this time with Teal Zeal Memento Dye ink mixed with Sparkle Sheer Shimmer Craft Spray on the acetate packaging.
Step 4:
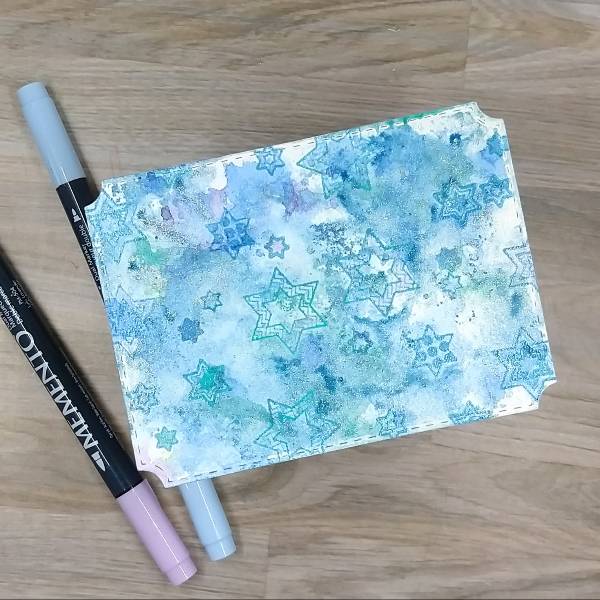
Color in the six-sided stars with Summer Sky and Lulu Lavender Memento Dual Markers.
Step 5:
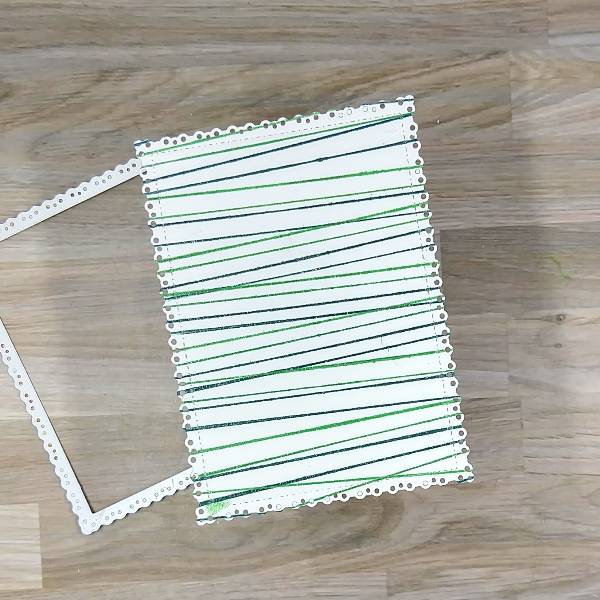
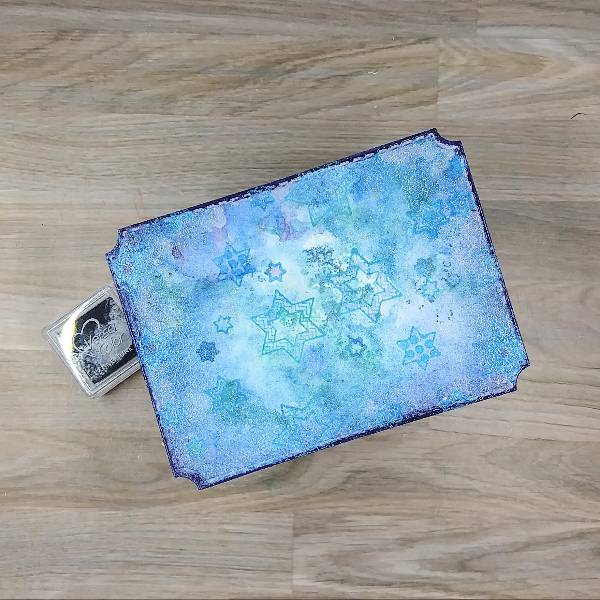
Ink blend the edges of the panel Neptune VersaColor ink with a sponge dauber. Run the edges of the panel through the Neptune VersaColor ink pad and then heat emboss with more clear Mboss powder.
Step 6:
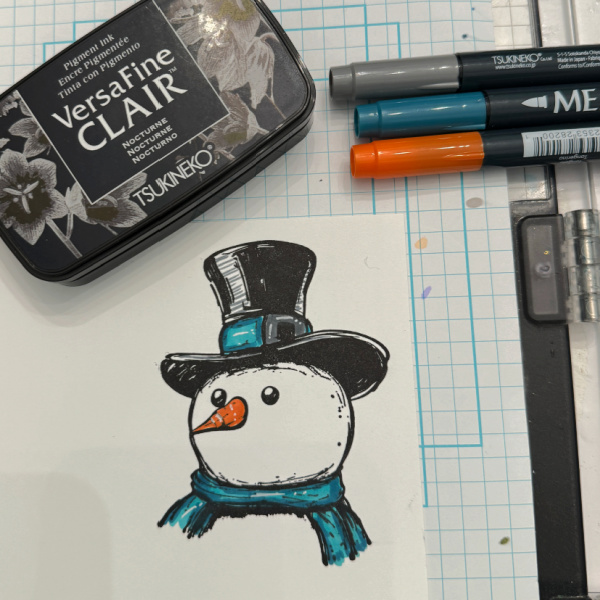
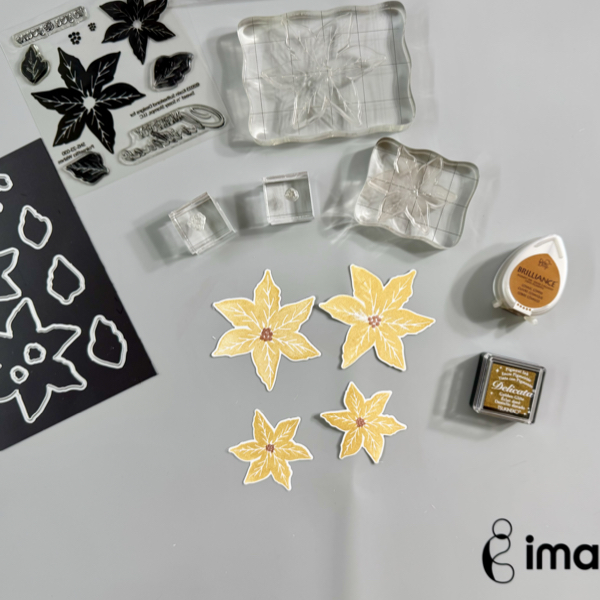
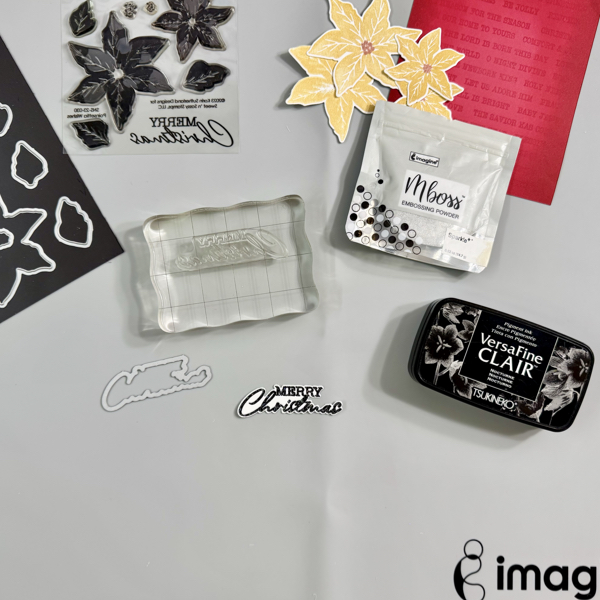
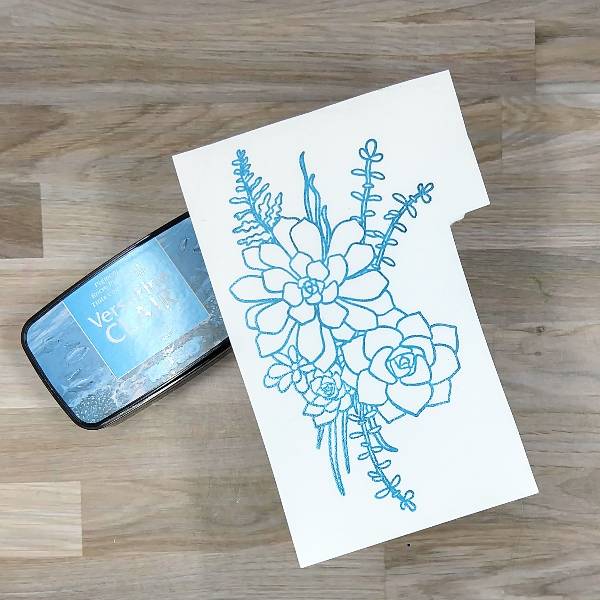
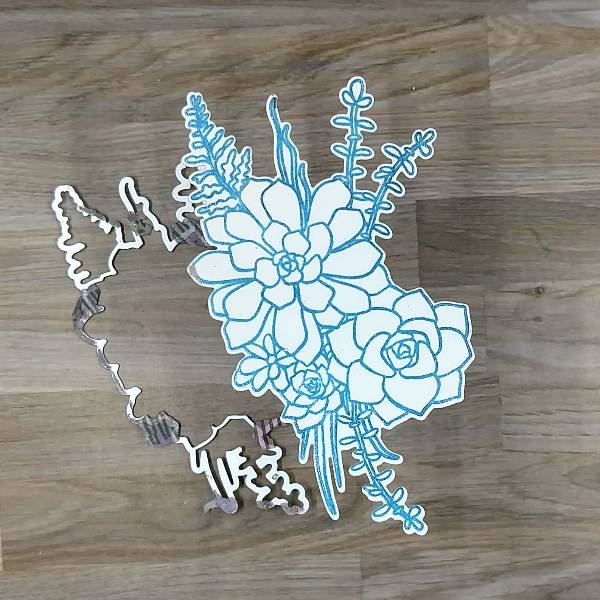
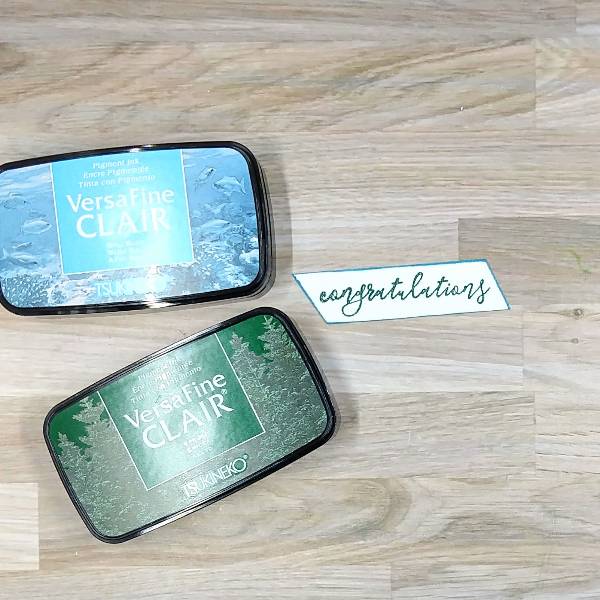
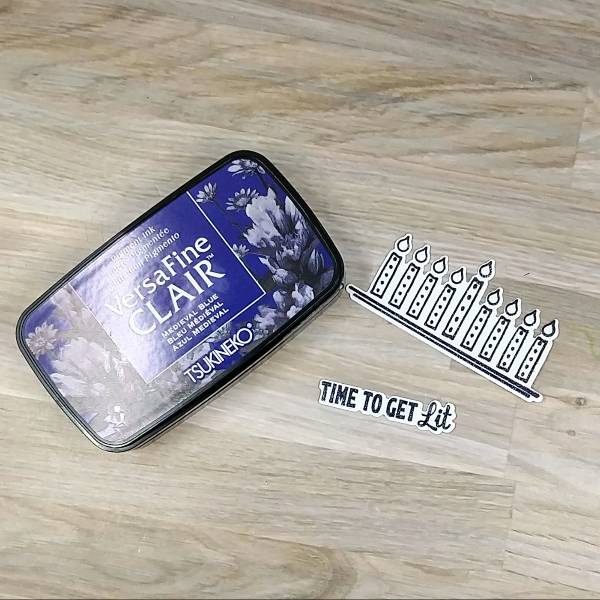
Stamp the menorah and sentiment on watercolor paper with Medieval Blue VersaFine Clair ink. Heat emboss with more clear Mboss powder. Then die cut with the corresponding dies from the matching die set.
If desired, die cut some scraps of cardstock with the two dies two more times (to create two layers to glue behind the menorah and two layers to glue behind the sentiment) for strength and dimension.
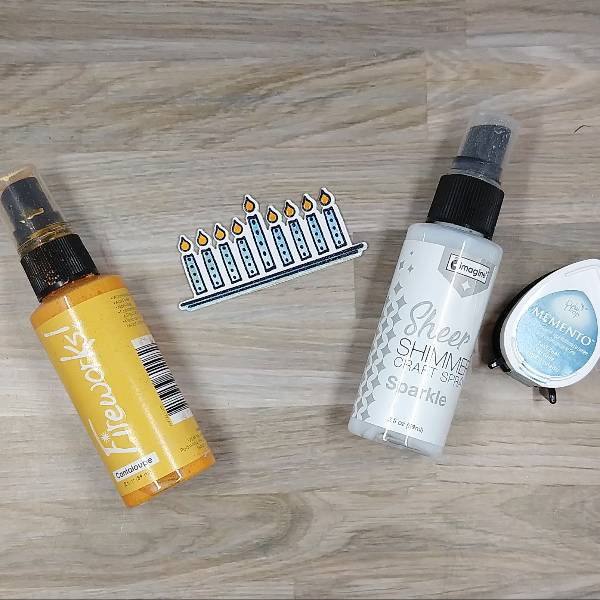
Step 7:
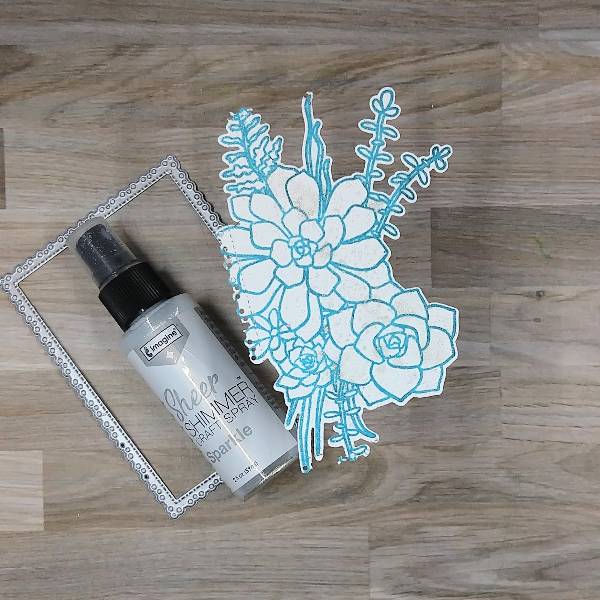
Watercolor the flames with Cantaloupe Fireworks! Shimmery Craft Spray. Then use some of the remaining Teal Zeal Memento dye ink mixed with Sparkle Sheer Shimmer Craft Spray (from step 3) to watercolor the tops of each candle. Add some of the Sparkle Sheer Shimmer Craft Spray (by itself) to the bottom of each candle.
If desired, watercolor the base of the menorah with more of the same Tael Zeal Memento dye ink mixed with Sparkle Sheer Shimmer Craft Spray.
Set the die cut aside to dry.
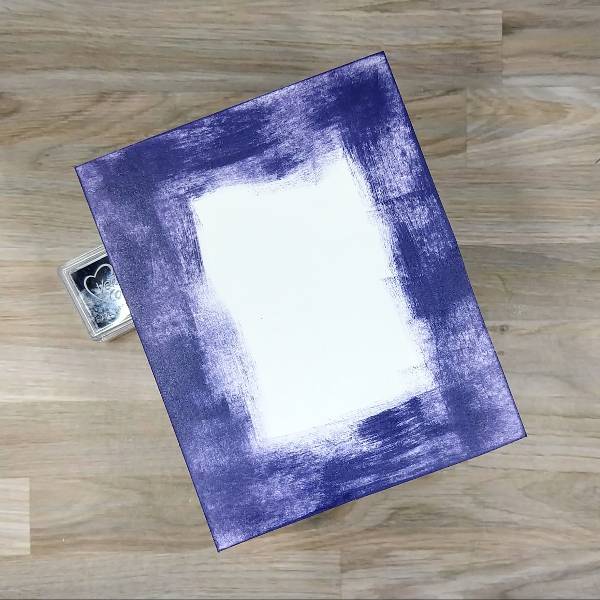
Steps 8 and 9:
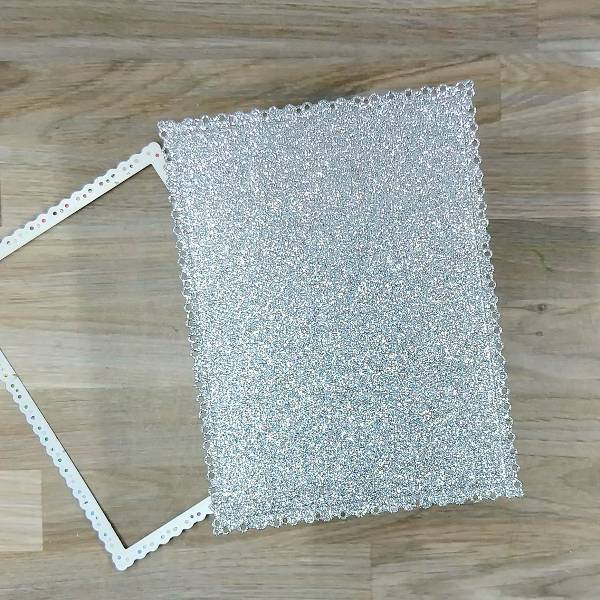
Add Neptune VersaColor ink directly to another panel of watercolor paper that is slightly larger than the first panel. You may need to do this a few times to get the coverage you want. Allow the panel to dry.
(And this is where my camera crashed after taking pictures so I can’t share the next few steps.) Die cut the panel with a die slightly larger than the stamped panel.
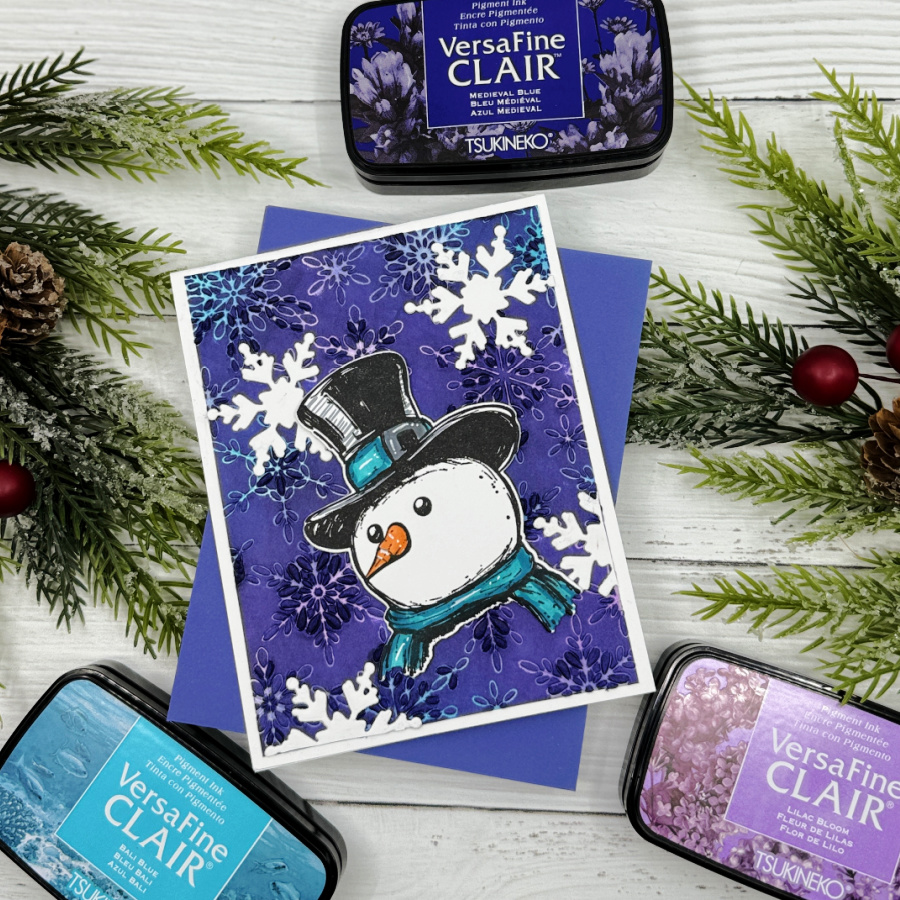
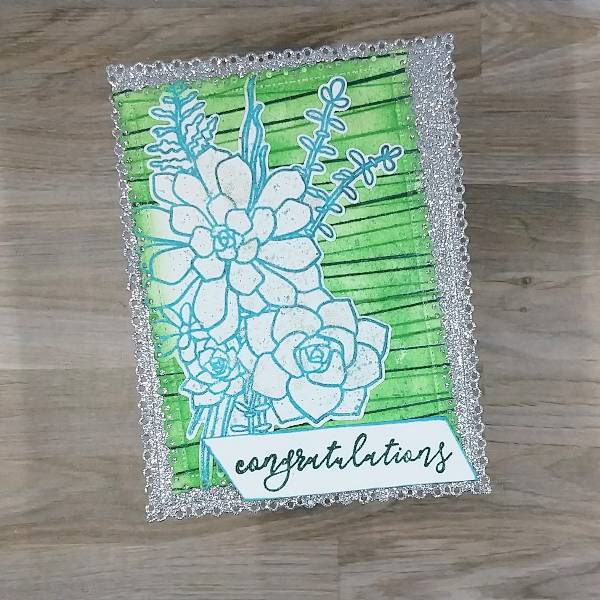
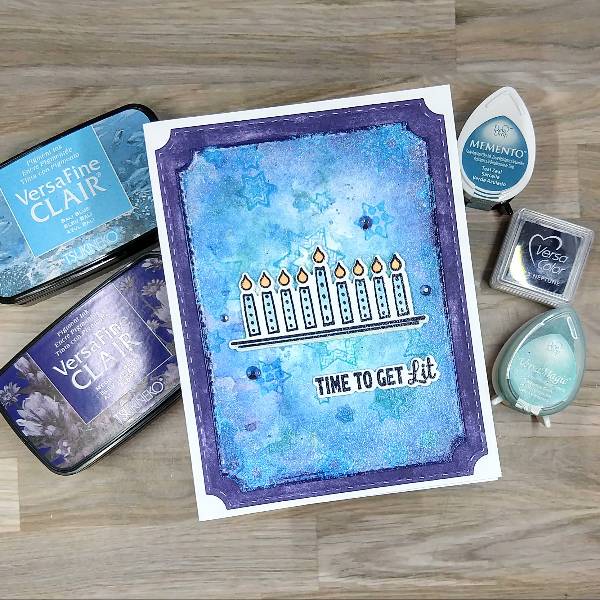
Then glue the two panels together, glue the menorah onto the center of the top panel and the sentiment a little lower and right of the sentiment. Then glue blue gems around the menorah.
Steps 10:
Glue the panel onto an A2-sized white card base.
Art Supplies
Imagine
• Fireworks! Shimmery Craft Spray – Cantaloupe
• Mboss – Clear
• Memento Dye Ink – Teal Zeal
• Memento Dual Marker – Danube Blue, Grape Jelly, Lulu Lavender, Summer Sky
• Sheer Shimmer Craft Spray – Sparkle
• VersaColor Ink – Neptune
• VersaFine Clair ink – Bali Blue, Medieval Blue
• VersaMagic Chalk Ink – Turquoise Gem
• Sponge Dauber
Other
• Crafty Meraki – embellishments – Meraki Sparkle Prismatic Blue
• Pink & Main – die set – Notched Corners
• Simon Says Stamp – die set – Light the Menorah
• Simon Says Stamp – stamp set – Light the Menorah
• Watercolor paper
• Die cutting machine
• Paint brush
• Paper trimmer
• Scissors
• Glue