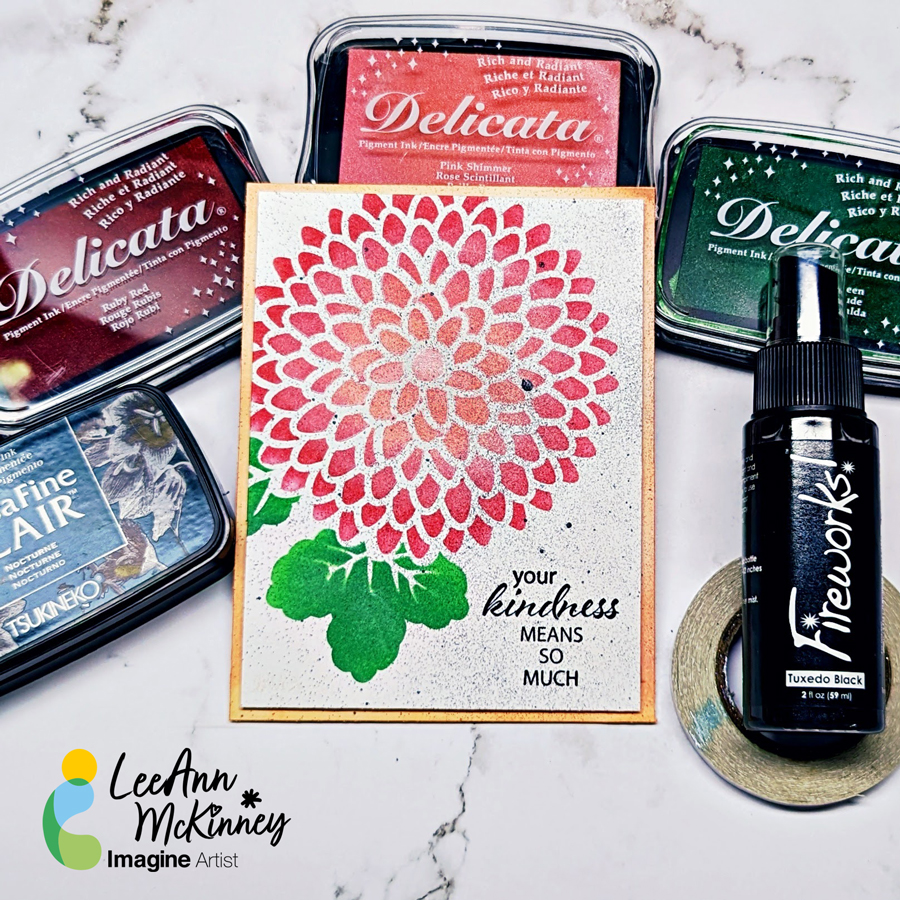
Hi there friends and fellow crafters, LeeAnn here with a fairly easy, beginner level card that anyone can do with a stencil, some inks and a few blender brushes.
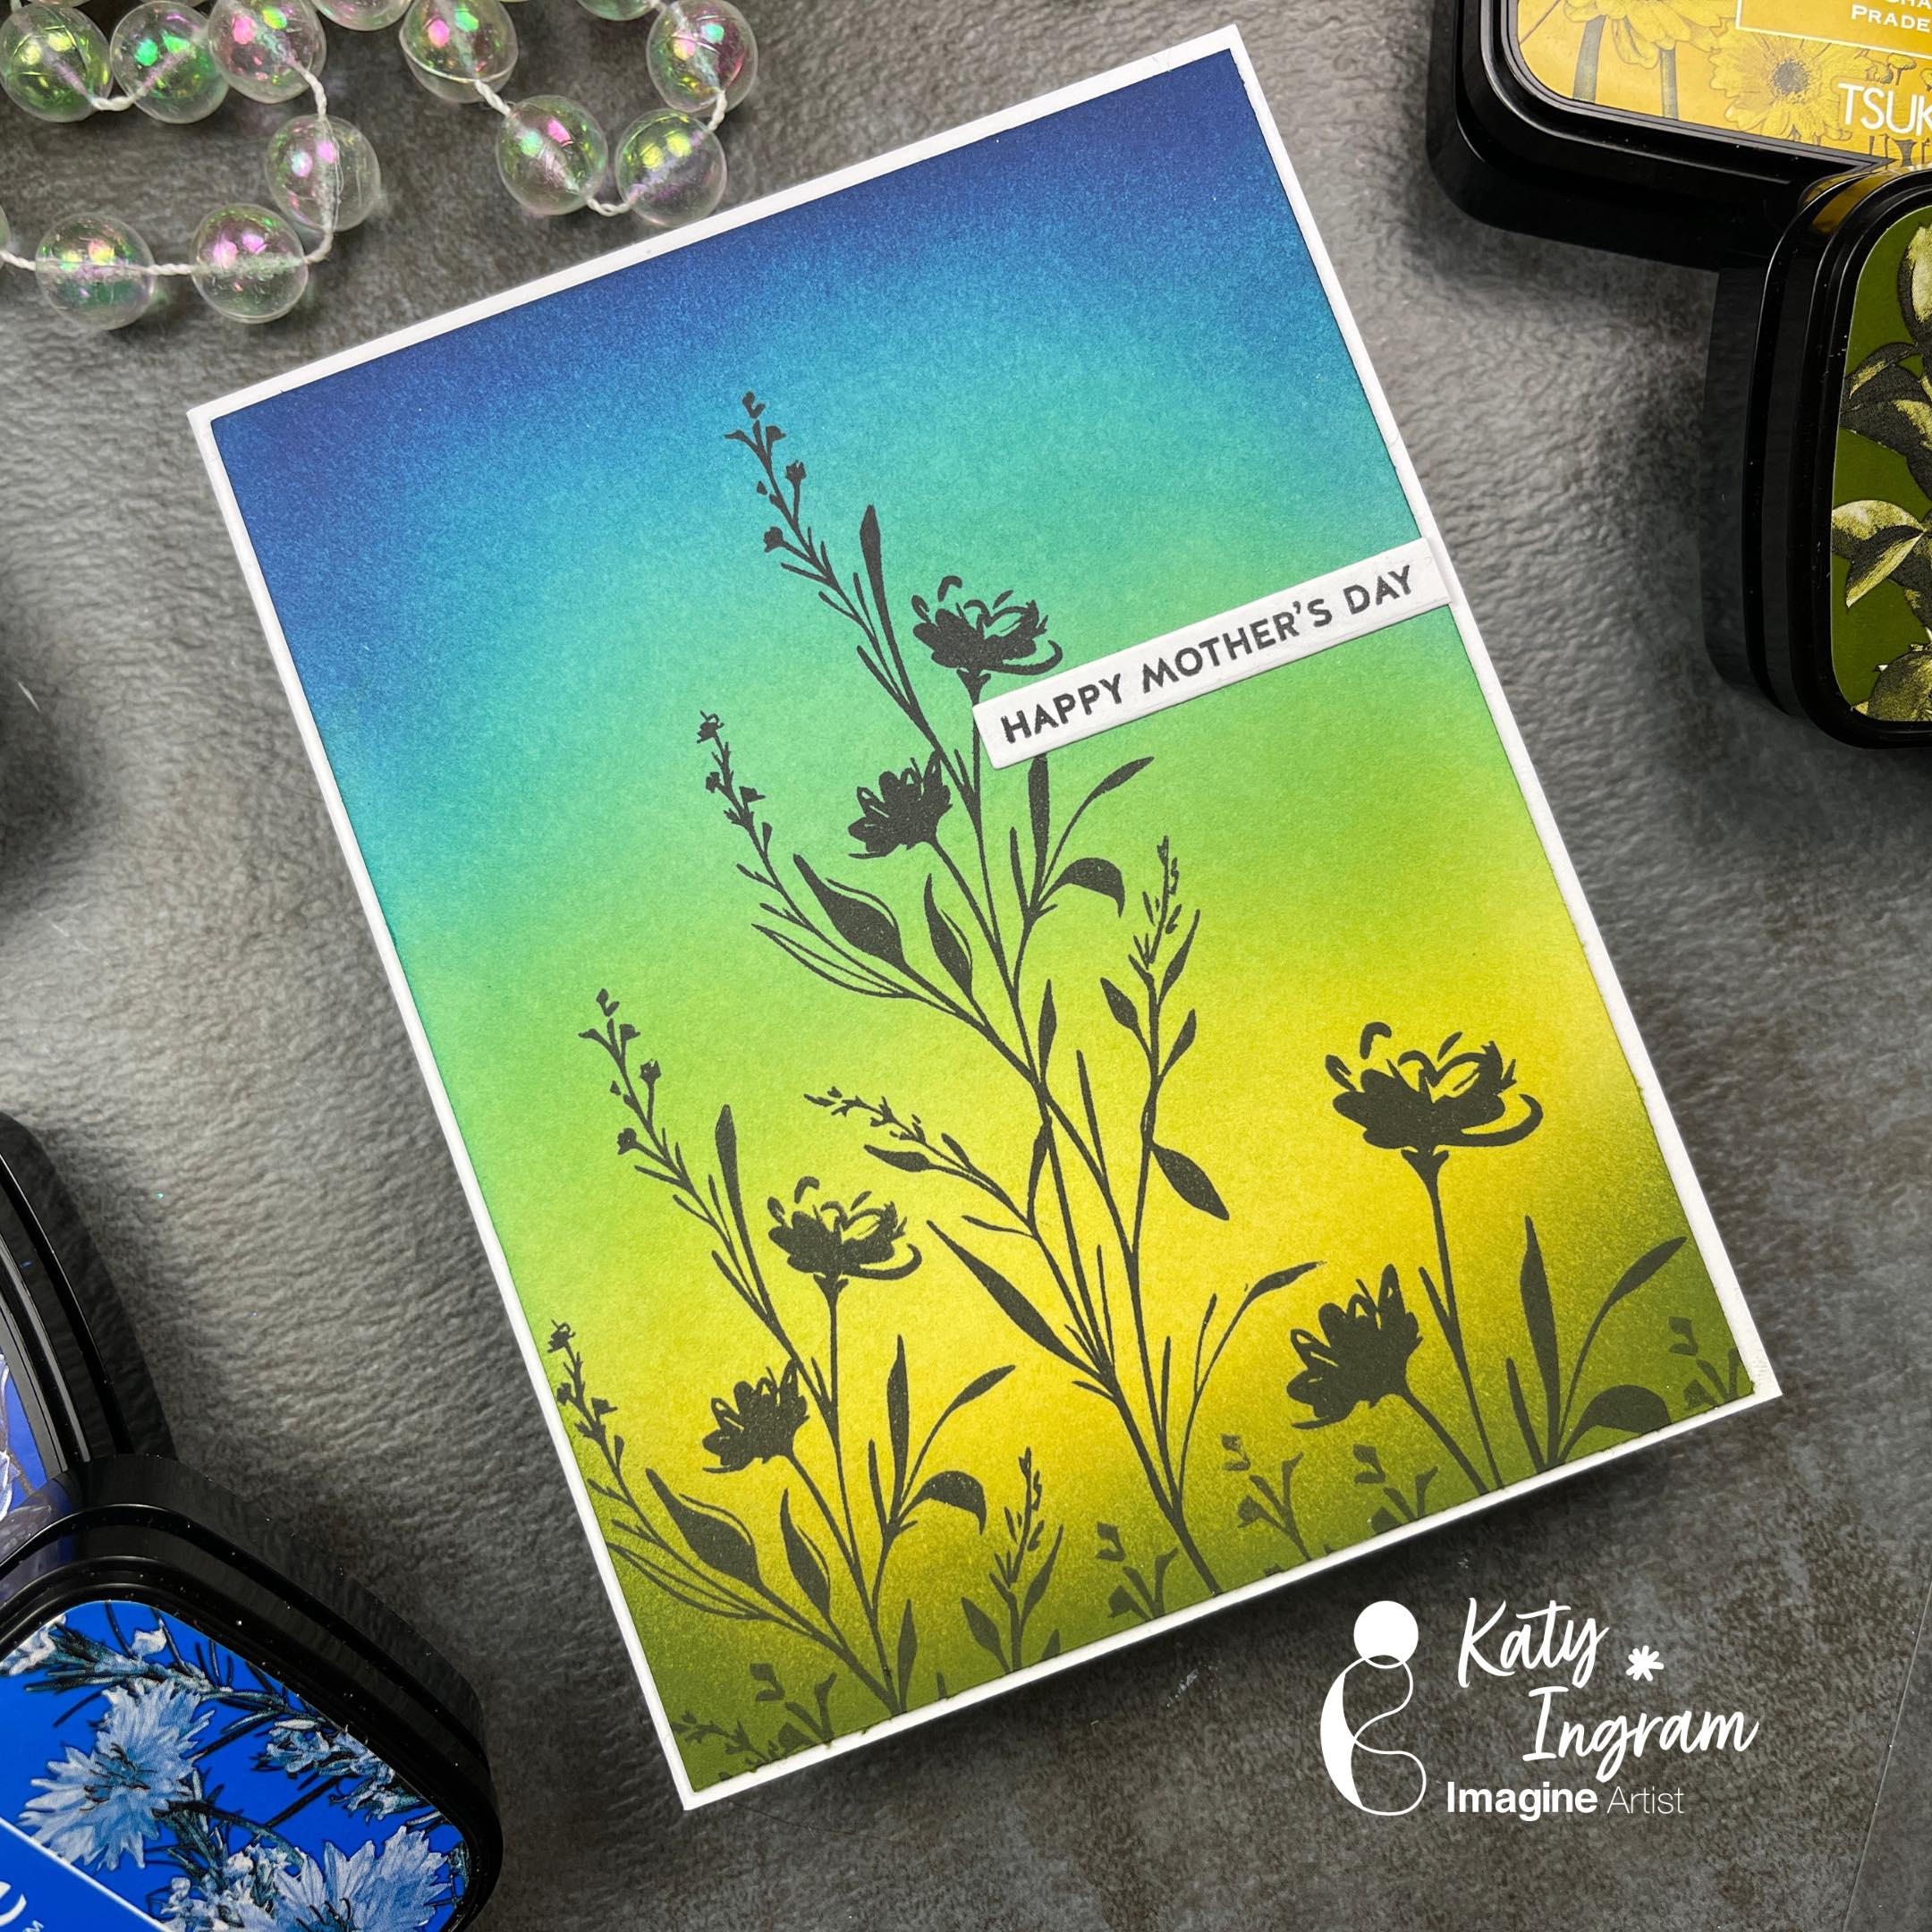
Hello Friends! Katy here and today I am excited to share a really cool color combination using VersaFine Clair inks.
In today’s video tutorial, I am sharing how I use 5 unlikely VersaFine Clair ink colors to create a beautiful background for silhouette stamps and turn it into a clean and simple Mother’s Day Card. Video has all the details.
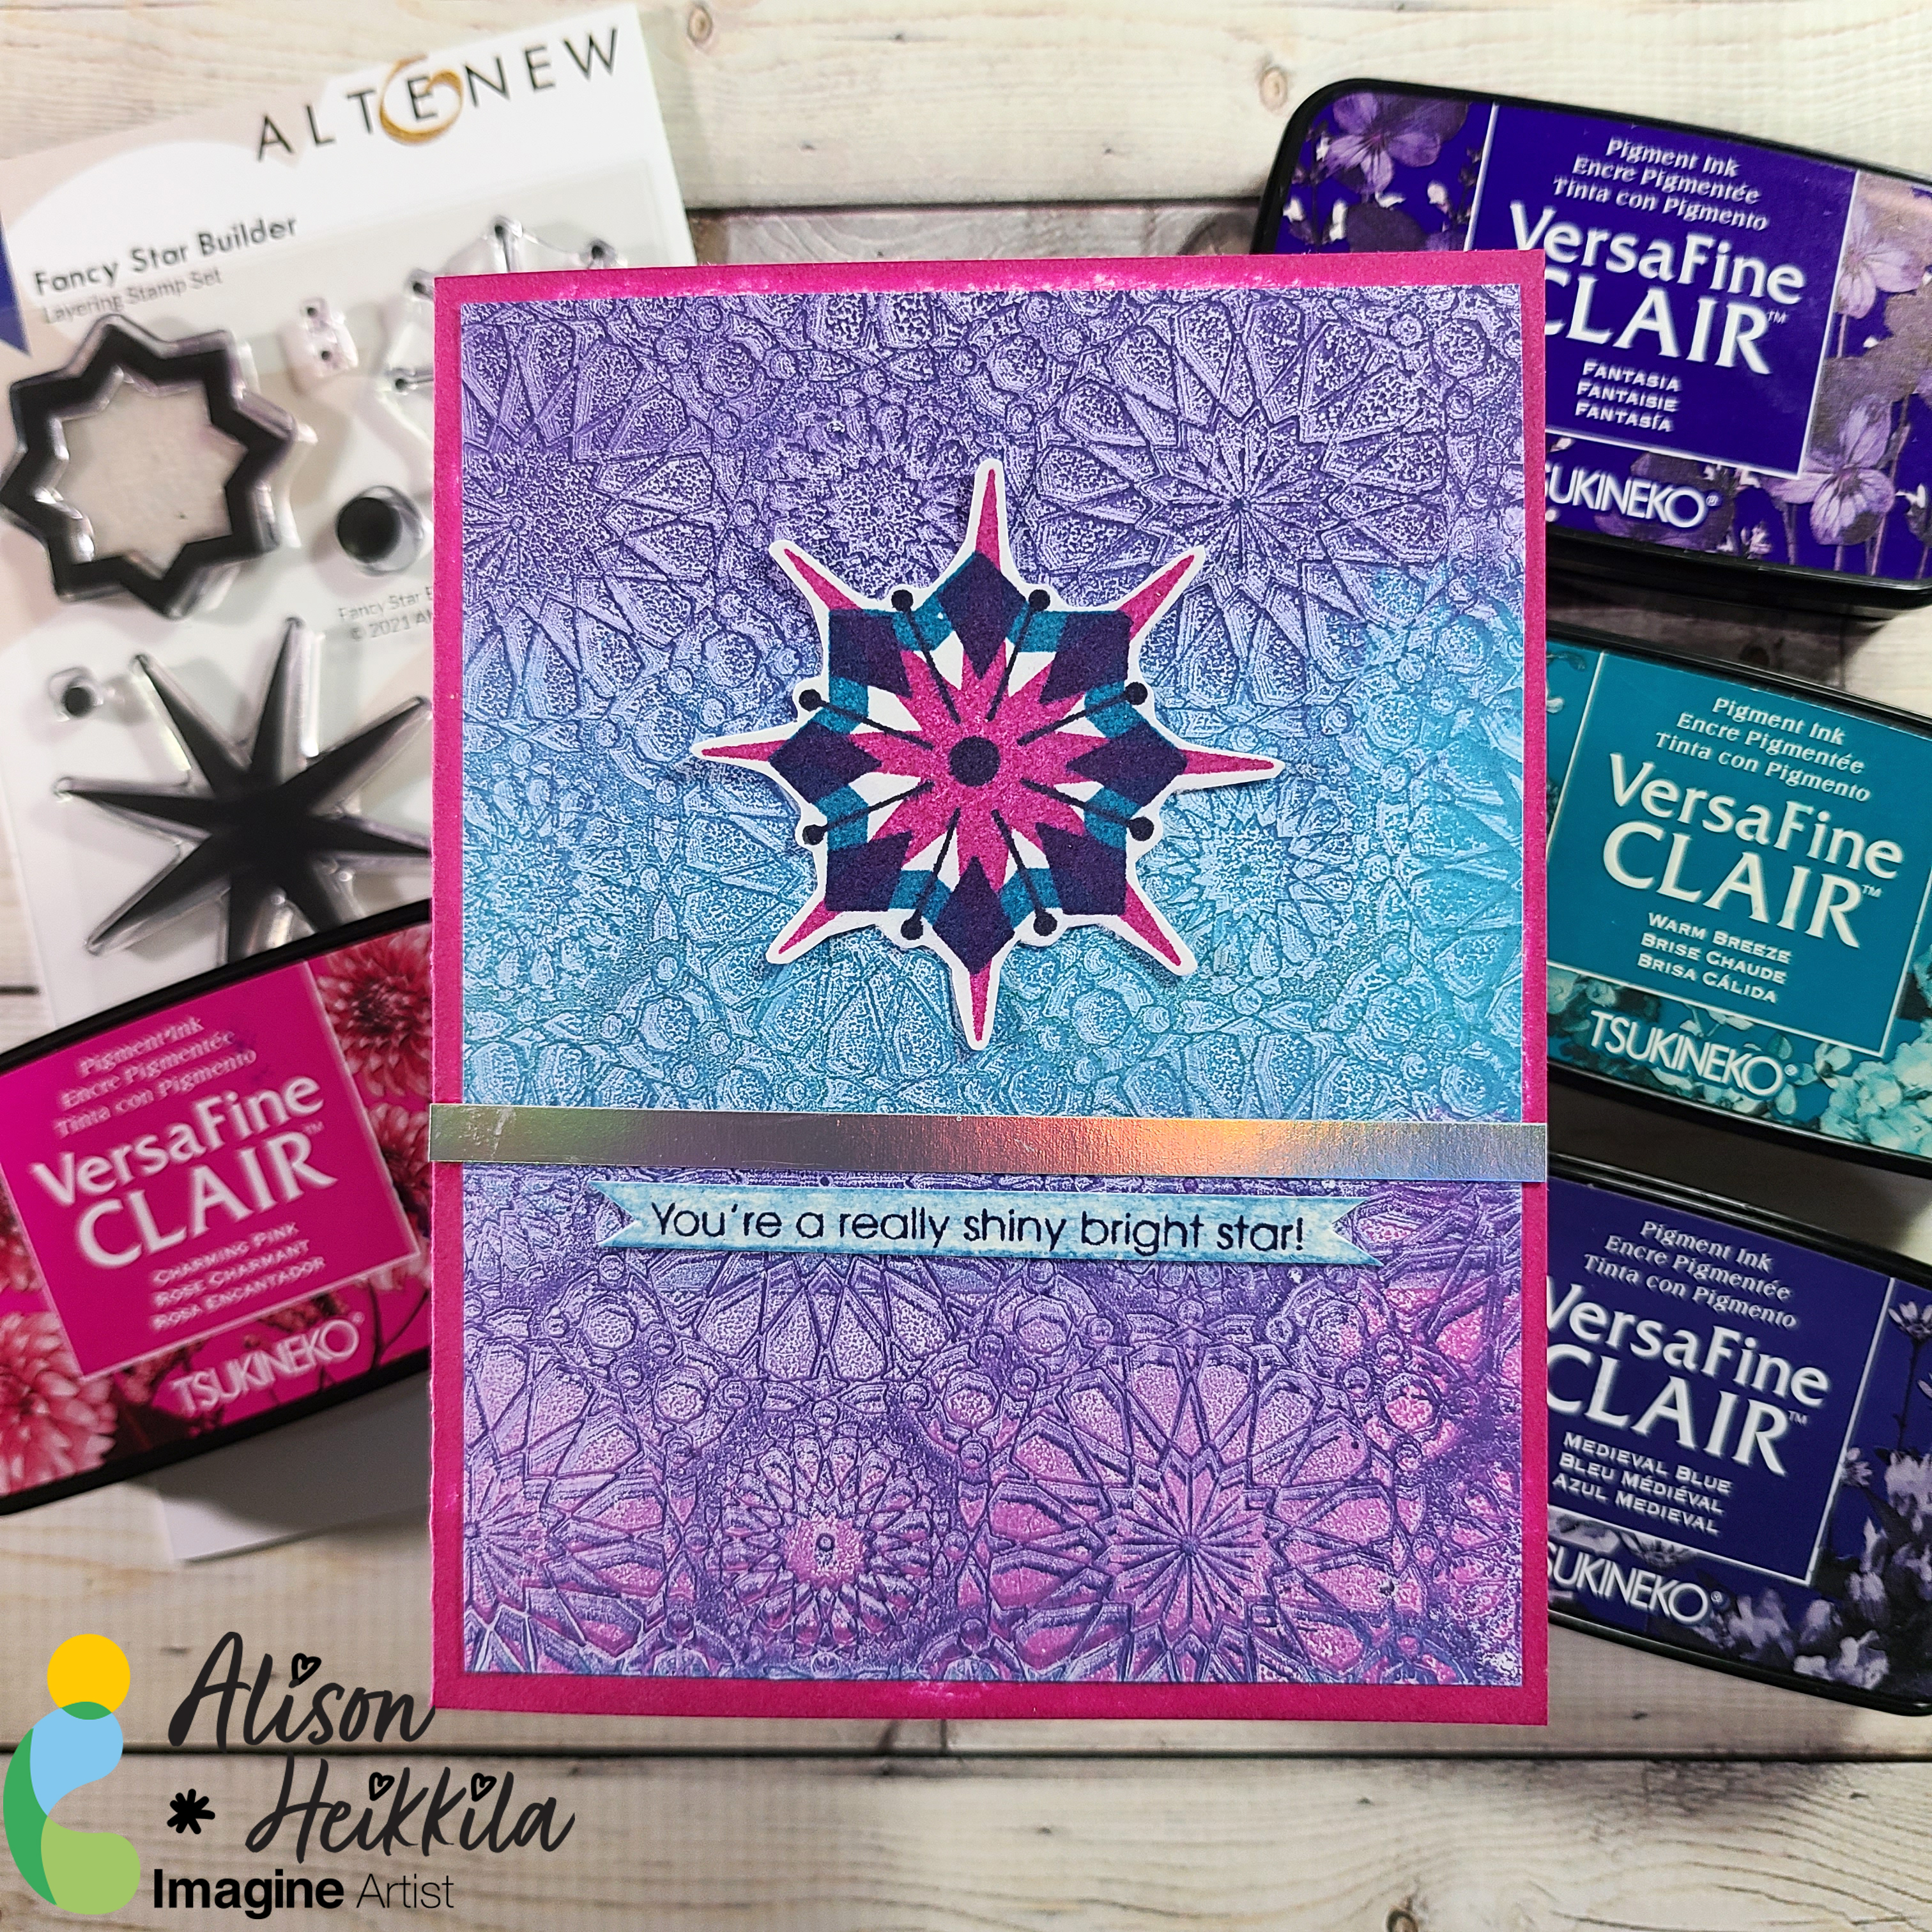
Hello! @AlisonHeikkila here and today and we’ll be focusing on a couple of fun ways to use VersaFine Clair Inks. I love experimenting with different ways to use inks, so I decided to play on my Gel Press Plate and use a detailed 3D Embossing Folder. VersaFine Clair Inks are also great with layering stamps because you can get such crisp images.
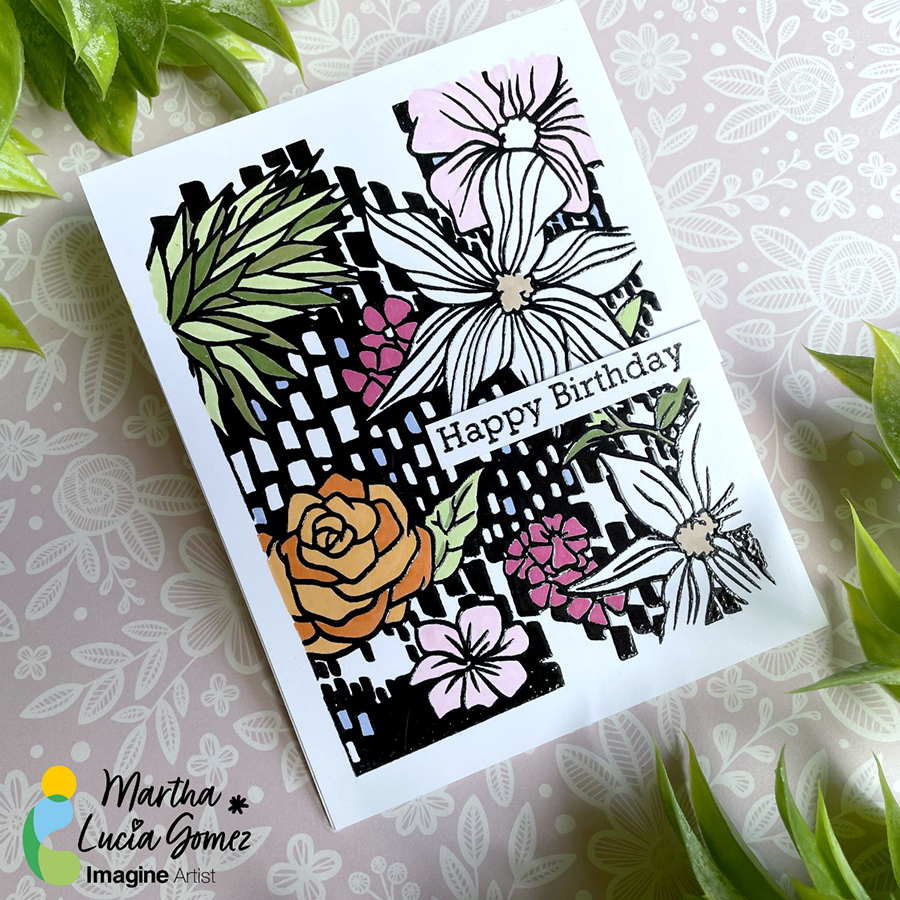
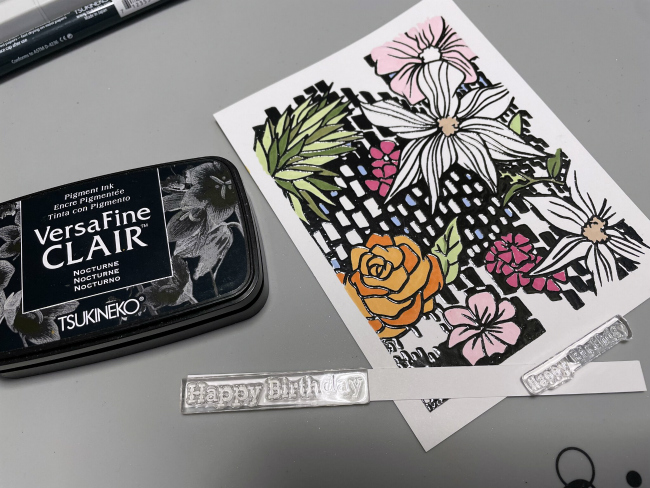
Hello there! Today’s tutorial is about a Birthday Card using a background stamp but adding texture and color. To make this, I used VersaFine Clair Nocturne, Clear Embossing Powder and Memento Markers.
Skill: Beginning
Time: 45 minutes
Directions:
Step 1:
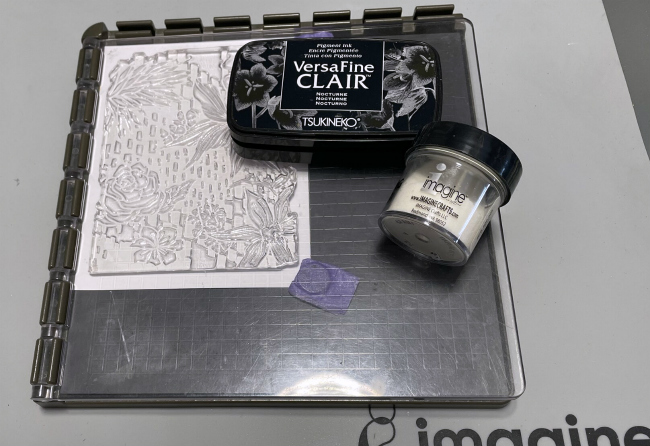
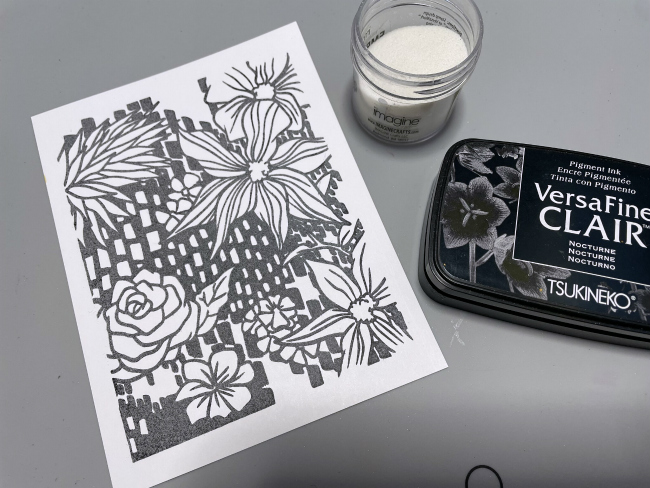
Take a piece of white smooth cardstock, ink well your background stamp with VersaFine Clair Nocturne Ink and stamp your image pressing hard to obtain a crispy image. You can use any stamping tool.
Step 2:
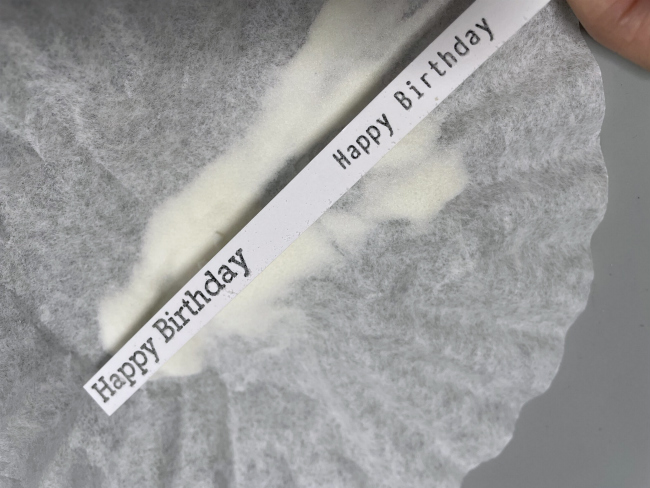
Cover the stamped image with Clear Embossing Power or MBoss. Melt the powder with the heat tool.
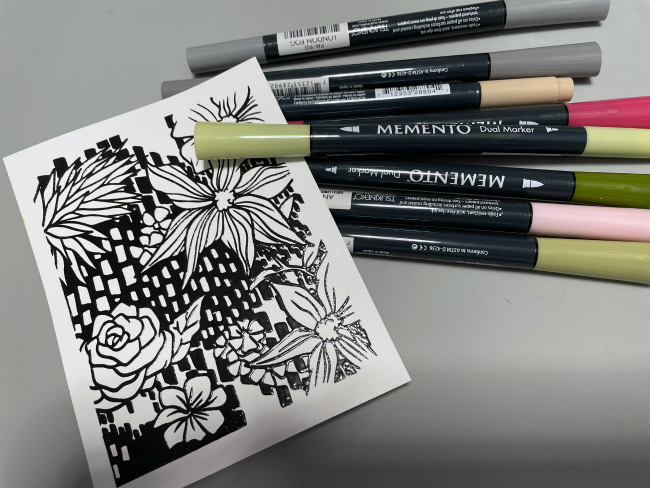
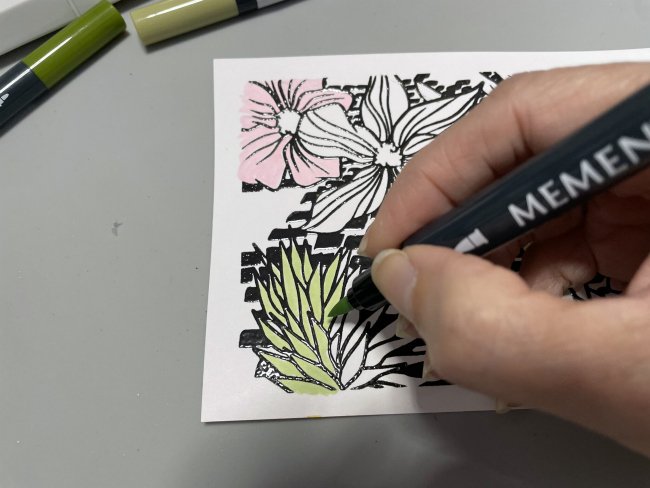
Step 3:
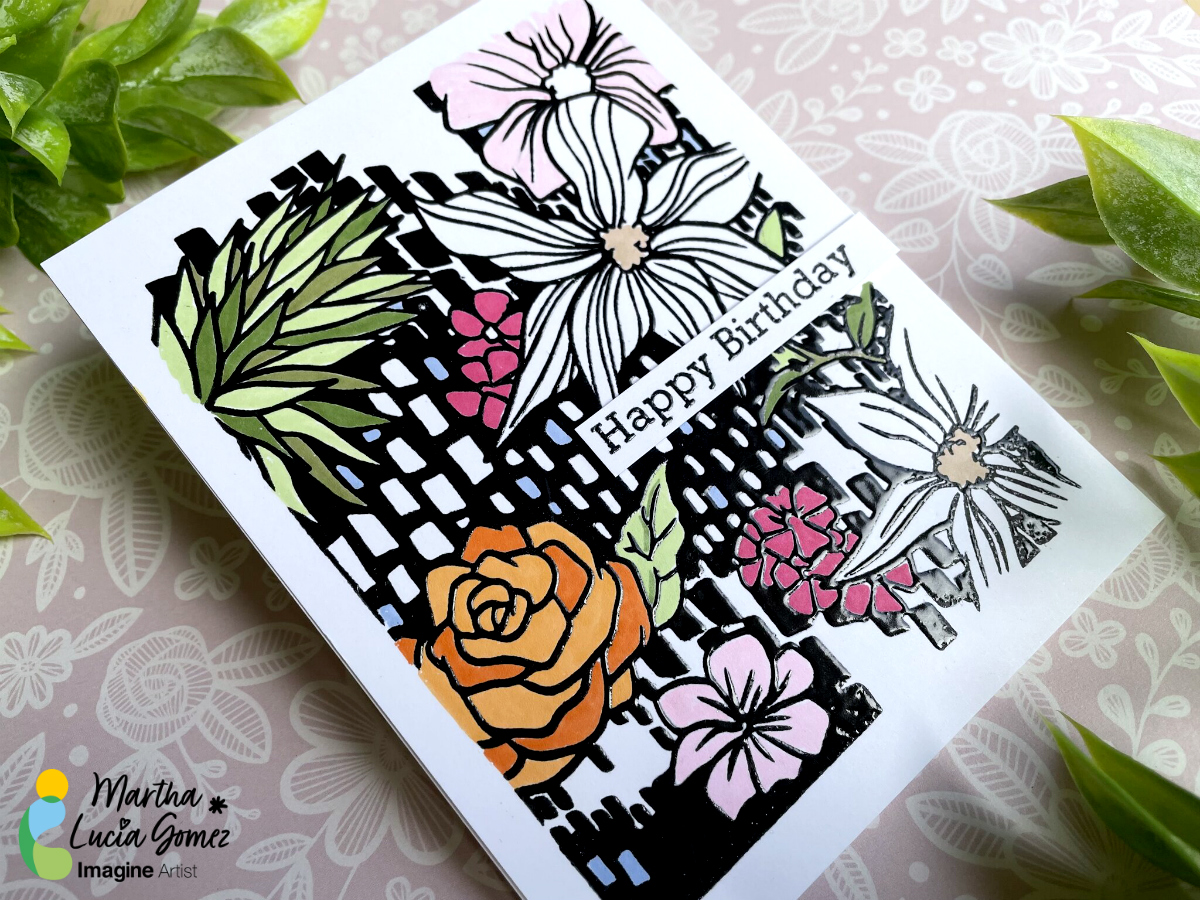
To enhance the details of the stamp, color it partially with Memento Markers. The VersaFine Clair in is a safe ink to work with these Markers or with any type of Alcohol Markers.
Step 4:
Combine the tones of your markers to have different shadows. In my sample I used Memento Markers in colors Angel Pink, New Sprout, Pistachio, Bamboo Leaves, Rose Bud, Desert Sand, Cantaloupe, Tangelo and Summer Sky.
Step 5:
If you want you can resize the stamped layer and paste it over a card base. You can use Tear It! Tape to paste it.
Step 6:
In a separate piece of white cardstock stamp the birthday sentiment using the same products used to create the background. I used VersaFine Clair Nocturne and Clear Embossing Powder.
Finalize your card pasting the sentiment with crafty foam tape.
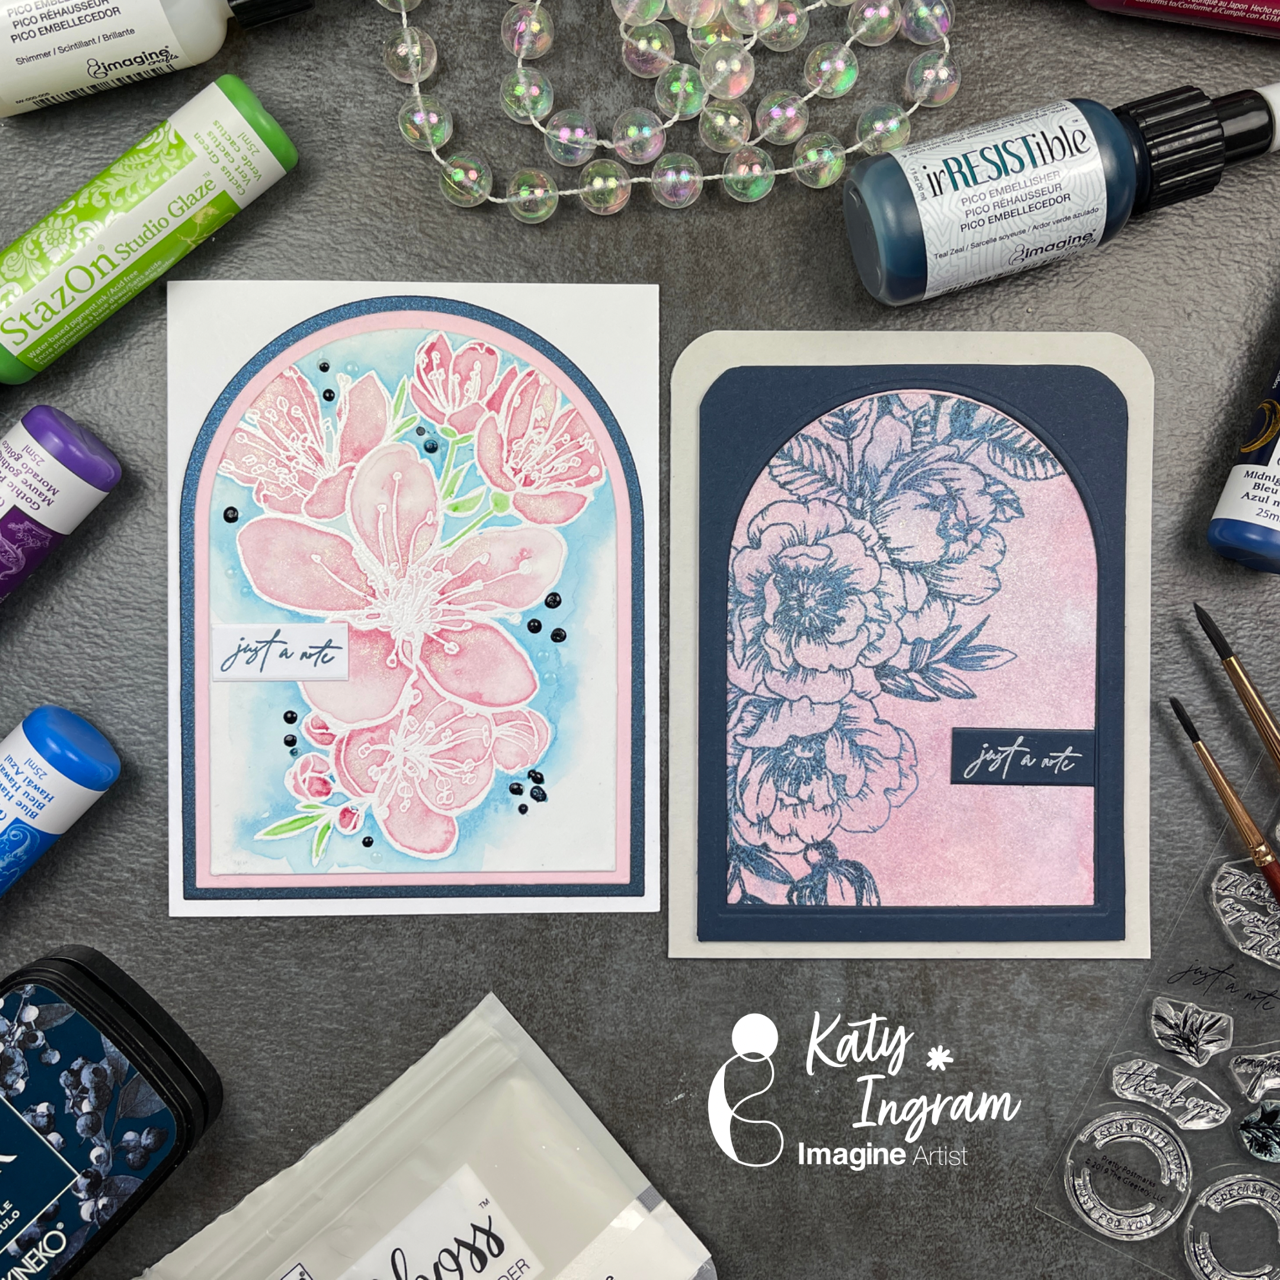
Hello Friends! Katy here and today I am sharing two ways to watercolor with StazOn Studio Glaze.
In today’s video tutorial I am sharing two watercolor techniques. The first is traditional watercoloring with a watercolor brush and the second technique is the popular ink smooshing technique. Both are great ways to use StazOn Studio Glaze and I hope you hive it a try. Check out the video to see the process in action. I hope you enjoy and thanks for stopping by.
Hello there! Today’s tutorial is about texture without dimensions. Do you know that you can create a flat card with these two ingredients and just one type of ink? Well, the Delicata is the ink that can bring you these possibilities and more. I decided to make this card using two colors of Delicata, Ruby Red and Rose Gold.
Skill: Beginning
Time: 45 minutes
Directions:
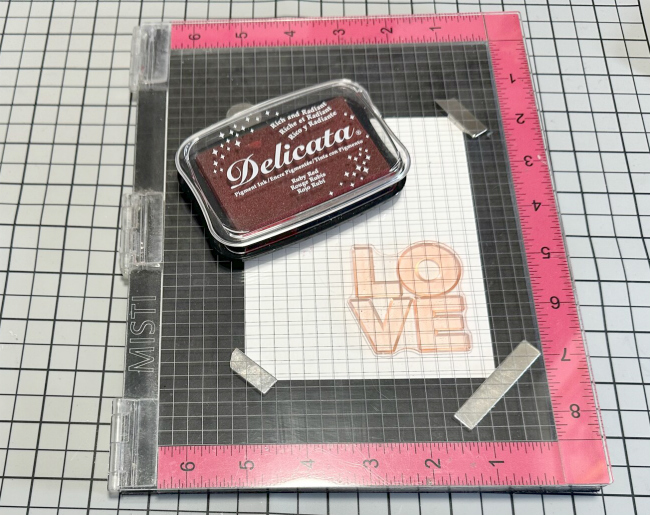
Step 1:
Take a piece of white smooth cardstock and solid stamps to create your design. In my sample, I am using hearts in different sizes and the Love Sentiment. First, ink the sentiment using the Ruby Red Delicata Ink. The Delicata is a pigment ink that dries within minutes on porous papers and never loses the luster. You can also obtain a Metallic touch with it if you don’t emboss the stamped images.
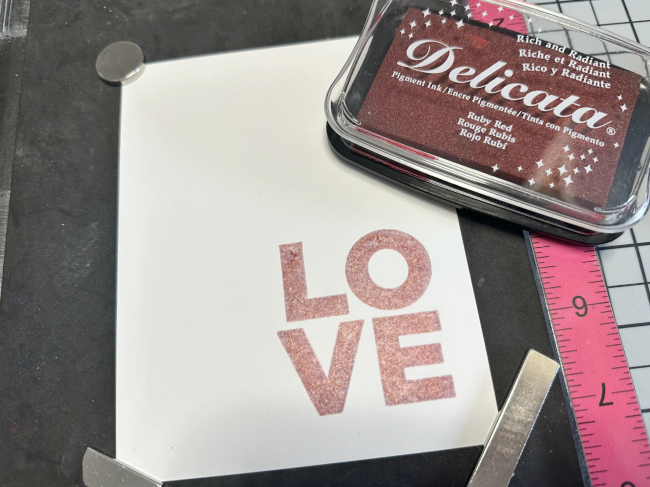
Step 2:
If you want to obtain more texture and coverage, you can stamp the same image several times. In my sample, I stamped it three times.
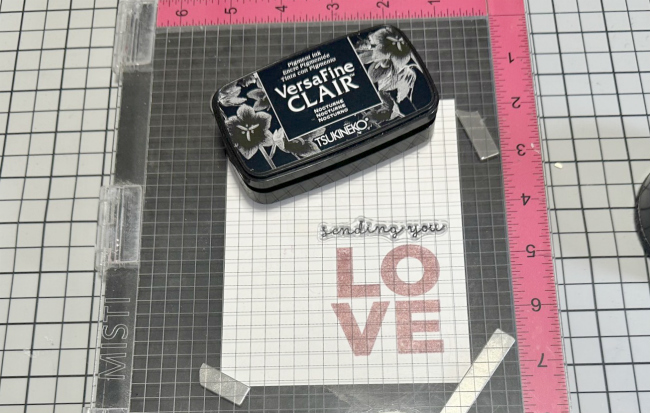
Step 3:
To complete the sentiment, you can stamp a complement using the same ink or other ink. On this sample, I used VersaFine Clair Nocturne. On it, you can notice the different textures of both inks and the soft color of the Delicata.
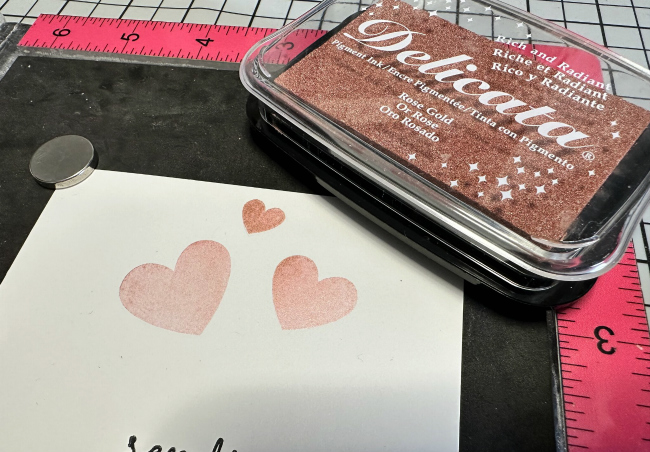
Step 4:
Now is the time to create more texture. This time, I used Rose Gold Delicata Ink to create it and hearts in different sizes. I stamped them randomly on the upper part of the card. Using a stamping tool, you can create different tones with the same ink and color, depending of the times that you stamp your image.
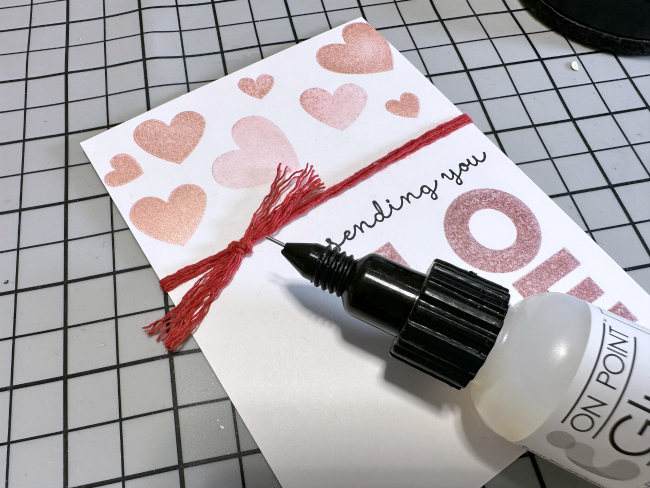
Step 5:
After finalizing the stamping process, I decided to embellish the card with a few loops of red twine. I used a dot of On Point Glue to secure just the knot.
Step 6:
Due to the dimension created with the twine, I pasted the decorated layer over a red card base using crafty foam tape. And voila, my soft and textured Valentine’s Card is ready!
Thanks for stopping by and don’t forget that you can explore more textures with other colors of Delicata Ink.