by Elina Stromberg
Heat embossing is an easy but versatile technique that will bring your stamped projects to a new level. You will be amazed how easily this technique will transform your stamped images into shiny, non-fading, water-resisting decoration elements! Most crafters use heat embossing together with stamps, but this technique can also be used in various ways to create cool effects on your project backgrounds.
For heat embossing you don’t need too many supplies; embossing powder, a sticky stamping ink, and a heating tool will take you a long way. A heating tool (or a heat gun) is a dryer that blows very hot air. The temperature is much higher than of a hairdryer, so be careful not to touch the nozzle as it may burn your fingers! The magic of heat embossing is in the melt, and the embossing powder will need heat to start melting. Therefore, a hairdryer cannot be used for this purpose as the air is simply not hot enough. The results of heat embossing are gorgeous; it’s almost like magic on paper! Even if you don’t have too much experience of paper crafting, I recommend you give this technique a try; it’s so easy that you will master it in no time at all!

 VersaMark |
 Mboss in Black |
|---|---|
 Watercolor Set |
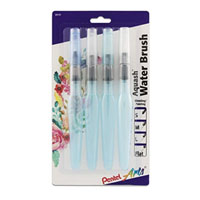 Waterbrush |

|
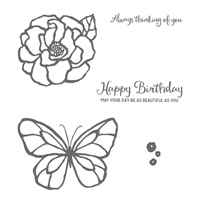 Stampin Up – Beautiful Day |
|

|
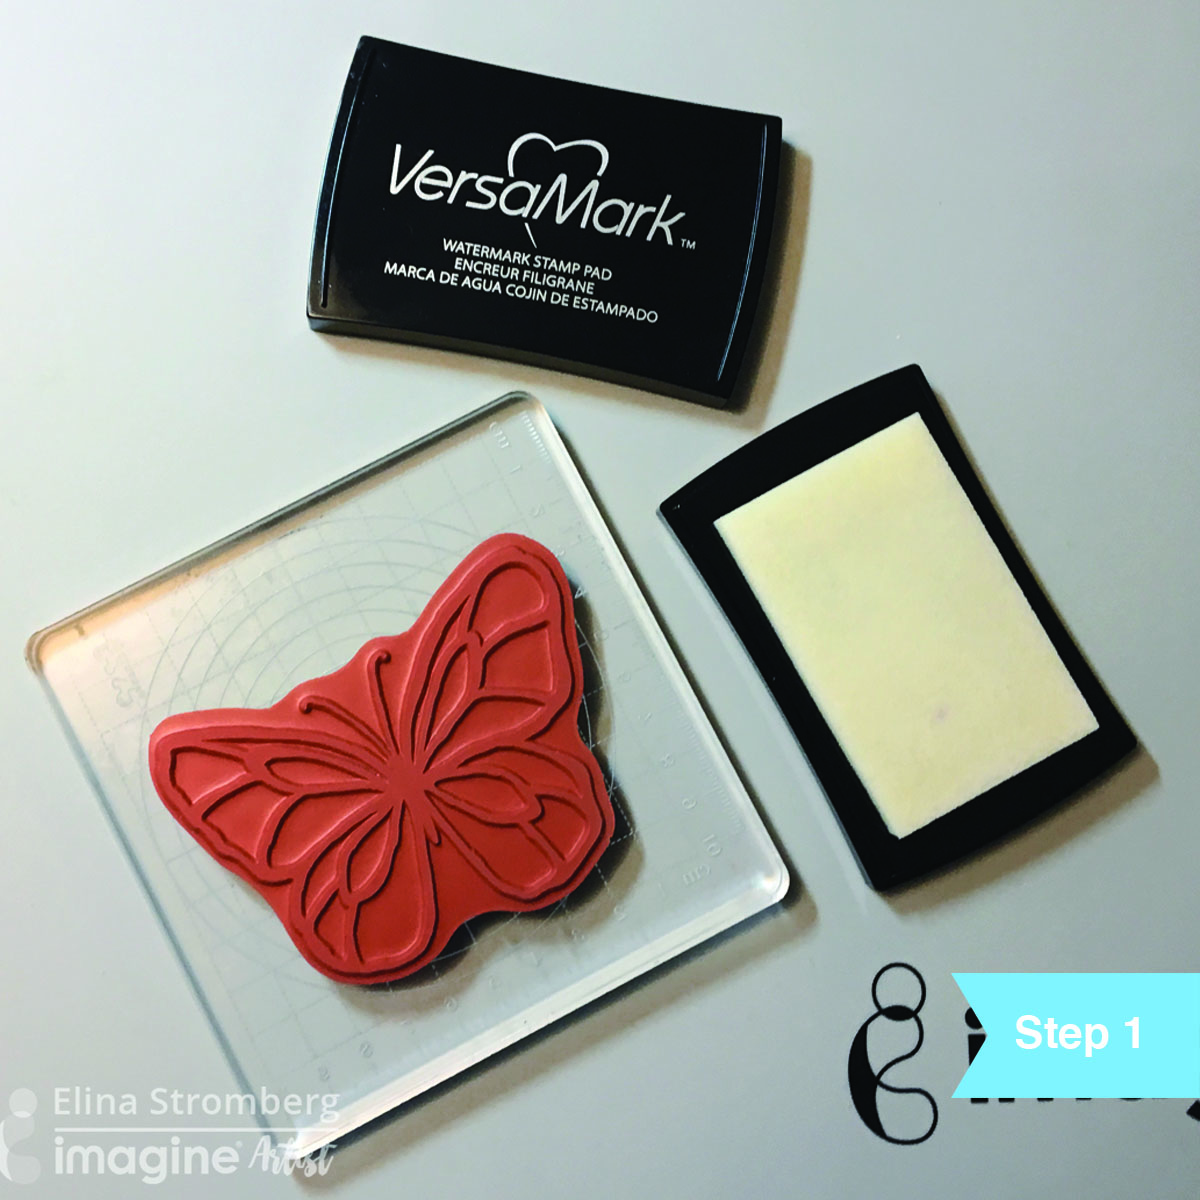
For heat embossing, you need an ink that is sticky. The ink acts as a glue and the fine embossing powder sticks to the ink until it’s melted. My personal preference for this technique is VersaMark as it dries slowly allowing me to work at my own pace without any rush. I can also stamp several images on one go without worrying for the ink to dry too quickly.
Stamp the image on white paper. I used a smooth watercolor paper, as I wanted to color the embossed image with watercolors.
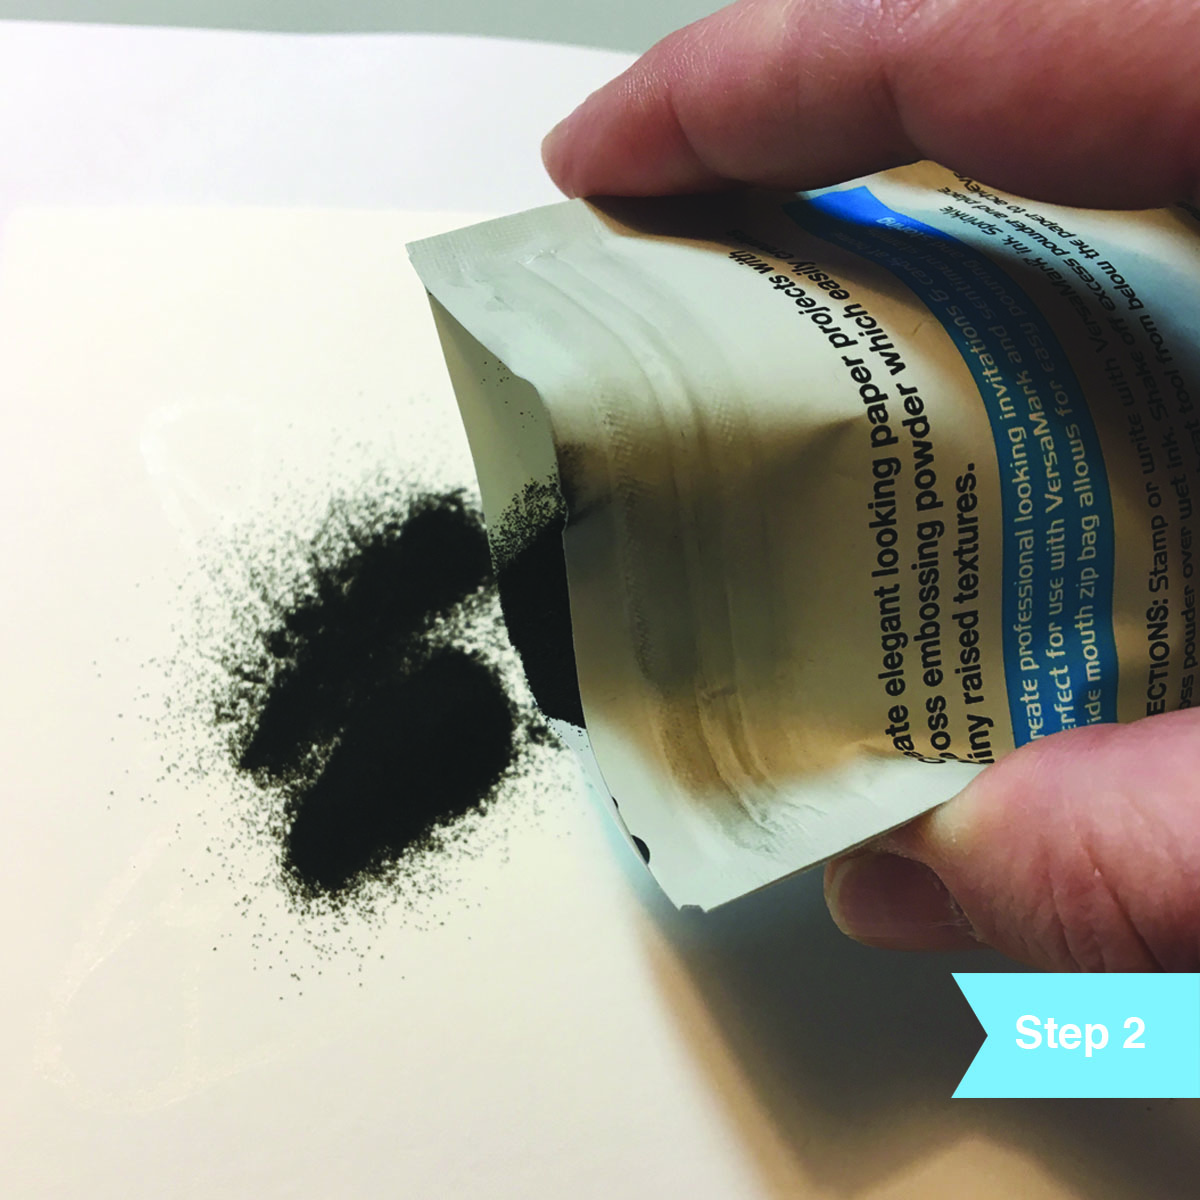
Place your stamped paper on a piece of scrap paper (a sheet of printing paper will do great). Sprinkle a generous amount of embossing powder over the stamped image. Lift the stamped cardstock and pour the leftover embossing powder onto the scrap paper. The powder sticks to the sticky ink. Tap the stamped cardstock a couple of times to get rid of more excess powder. Set the stamped paper aside and funnel the leftover powder back into the container. The leftover powder can be used over and over again! If for some reason the powder would stick on unwanted areas, you can brush off the excess powder with a small paintbrush before heat setting the powder.

Keeping the heating gun nozzle a few inches away from the cardstock, heat the embossing powder until it’s completely melted. Be careful not to overheat it. You will notice when the powder starts melting as it turns from matt grainy to smooth and shiny.

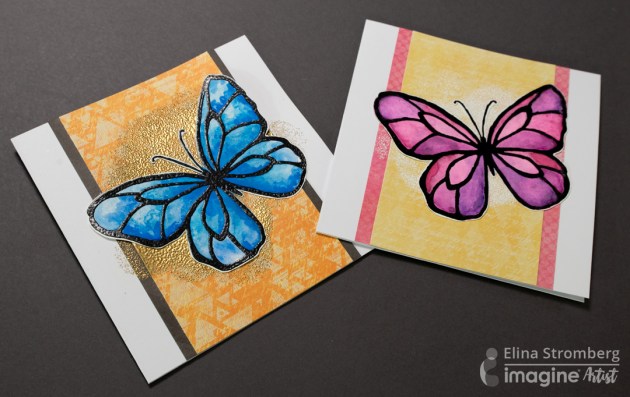
Paint the embossed image with watercolors. The heat embossed image resists watercolors, allowing you to block colors from mixing. I decided to use the butterflies for decorating cards, so I cut them out with scissors. I glued two panels of patterned papers on a simple white card base. For making my beautiful butterflies pop I added simple heat embossed texture on the background: I started with dabbing clear VersaMark in on the center of my background. On my first card, I used white embossing powder for the background, and for the second one gold. Heat embossing is an easy way to add a hint of metallic shimmer to your card! Once the powder had cooled, I glued the butterfly on the card front. Done!