by Lindsay Adreon

Rinea foil is a fun product to work with, but because it is a nonporous surface it can be a bit tricky to stencil on. I am sharing three different ways to add stenciling to your foiled projects in my video tutorial today! They’re all different and have different results, so everyone can find something that works for them!
Skill: Intermediate
Time: 1 hour for 3 cards
Directions
Supplies
Imagine
- Creative Medium – Irridescent Blue
- StazOn Pigment Inkpad – Piano Black
- Memento DewDrop Inkpad – Morocco, Cottage Ivy
- VersaFine Clair Inkpad – Nocturne
- VersaMark Inkpad
- Mboss Embossing Powder – Birthday Party
- Jumbo Ink Dauber
- Ink Blushers
- Palette Knife
- Imagine Craft Mat
- On Point Glue
Other
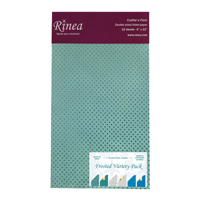
- Rinea Foil – Earth Tones Variety Pack, Floral Variety Pack
- The Crafter’s Workshop Stencils – Plaid Fringe, Floral Spectacle, Lattice (Cake & Cookie)
- Lawn Fawn – Scripty Hello Die
- Kat Scrappiness – Upper Case Condensed Alphabet Dies
- Heat Gun
- Gridiron Embossing Folder
- The Stamp Market – Succulent Stamp Set
- Foam Tape
More stenciling techniques – https://youtu.be/M6swiKN0tG4