By Helen Gullett
Hello crafty friends! Today, I want to share this personalized wood phone stand project. I
got this wood phone stand in my stash for a while and waited to be decorated. This fun
DIY idea to personalize home decor you can do using stamps and ink pads only. So…
Let’s get some stamping on wood done!
Skill: Beginner
Time: 15-20 minutes

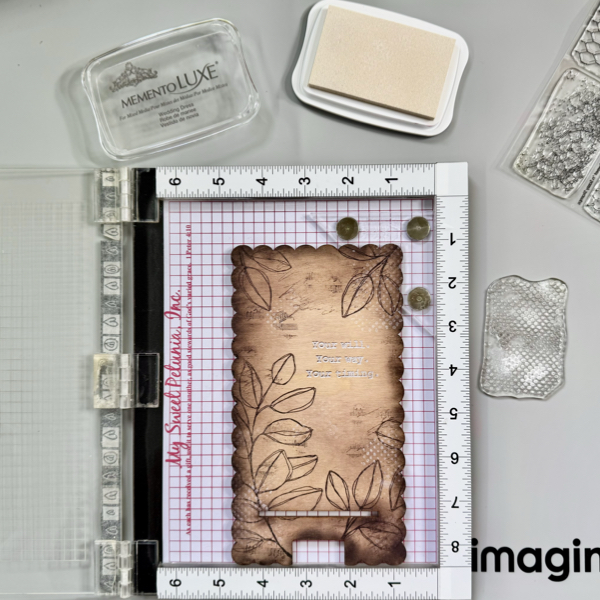
Step 1
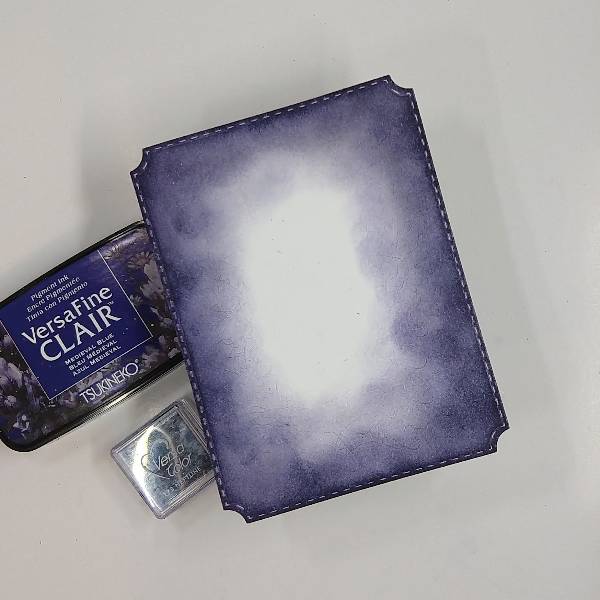
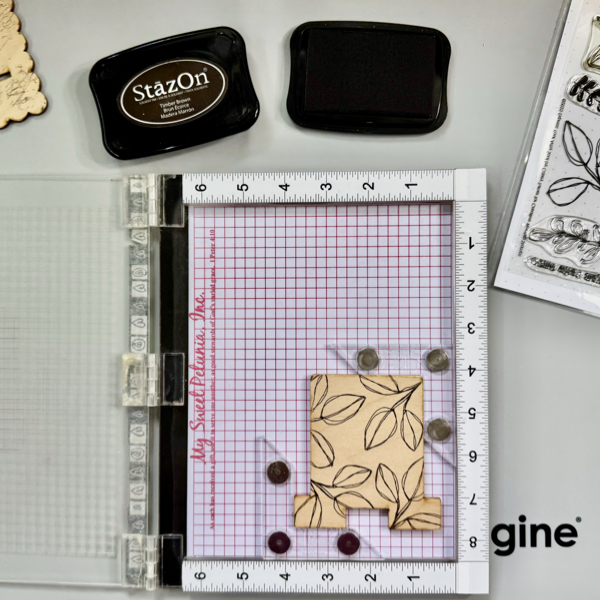
Put the large piece of the wood phone stand on the stamping tool and secure it with the
corner magnet (or couple magnets) around it so it won’t move when stamping on it. This
piece of wood has a smooth surface that is ready to be stamped. If your wood is not
smooth enough, make sure to prep your wood surface with sandpaper and wipe it clean
with a paper towel or wipes.
Stamp the leaf branch image on the wood with the StazOn Timber Brown ink pad on
one of the corners, and then turn the wood piece around to stamp the other corner.
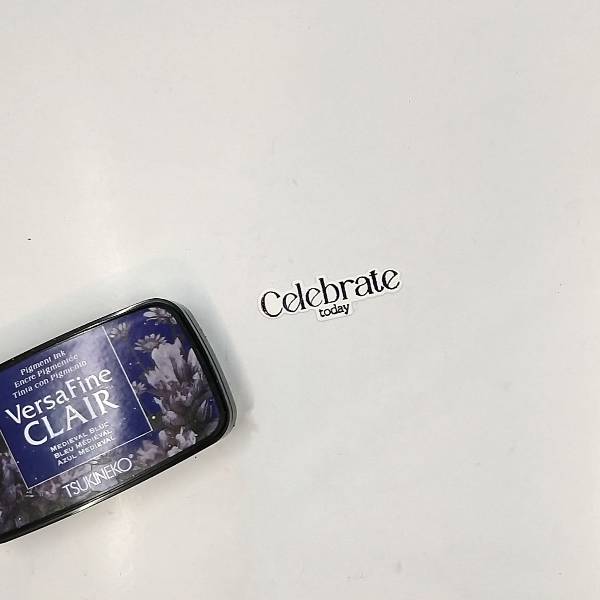
Stamp the phrases on the wood with the StazOn Timber Brown ink pad.
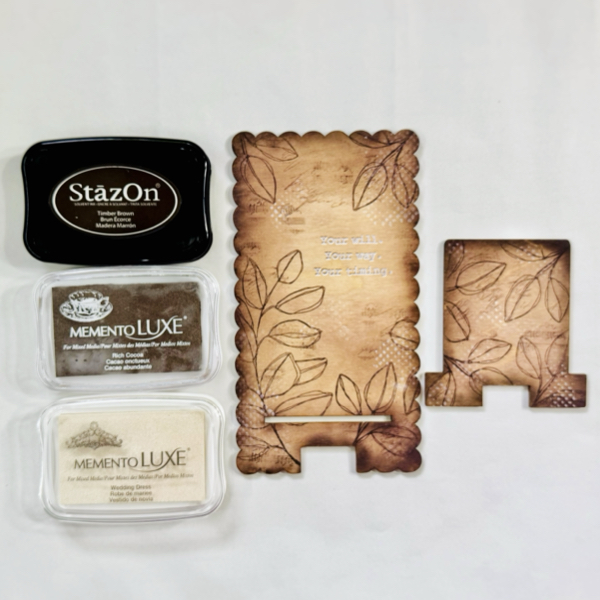
Step 2
Repeat step 1 to stamp on the smaller part of the wood phone stand. I used the smaller
branch leaf image for this one and used the same StazOn Timber Brown ink pad.

Step 3
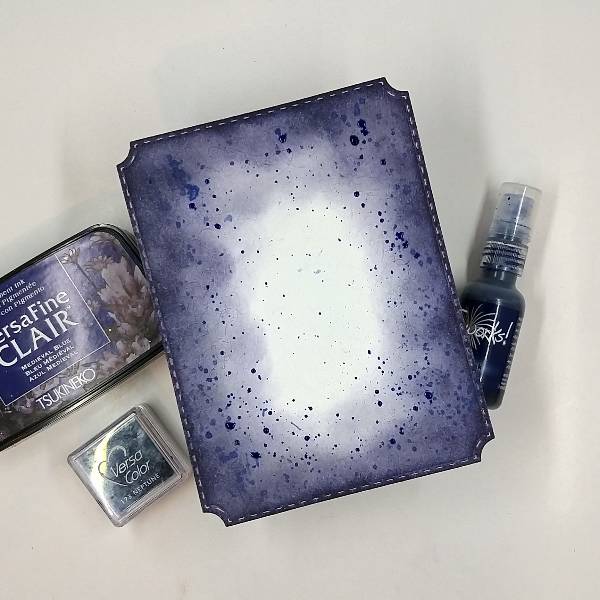
After stamping all the wood pieces with the leaf branches, the next step is adding more
textures on the background.
Use the scribble image and vintage music sheet image to stamp on the wood phone
stand piece randomly with the StazOn Timber Brown ink pad.
And then, using a sponge dauber and the StazOn Timber Brown ink pad to add more
shadow around the edges.
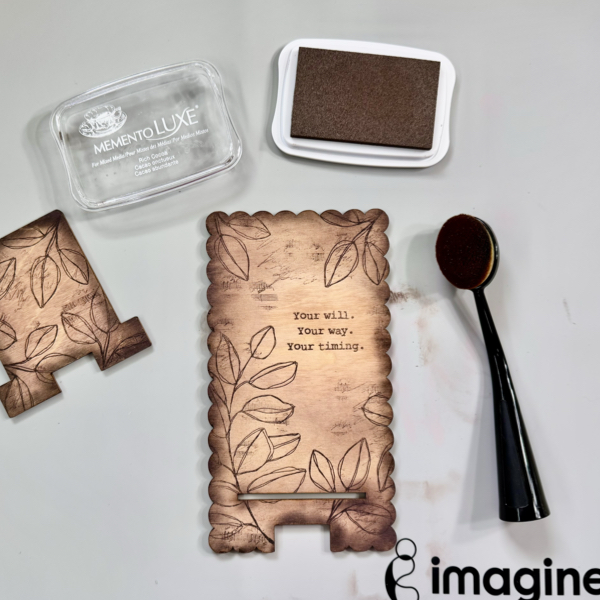
Step 4
Use the big oval blending brush and the Memento Luxe Rich Cocoa ink to some vintage
color to the wood phone stand pieces.
If it is too much ink, use baby wipes or a damped paper towel to remove some of the
ink.
Step 5
Add some shadow to the word phrases by stamping them a little bit overlapping with the
Memento Luxe Wedding Dress.
Then, randomly stamp the dots image on the large wood phone stand piece with the
Memento Luxe Wedding Dress for extra texture on the background.
Step 6
Repeat step 5 for the smaller wood phone stand piece to match with the large wood
phone stand piece.
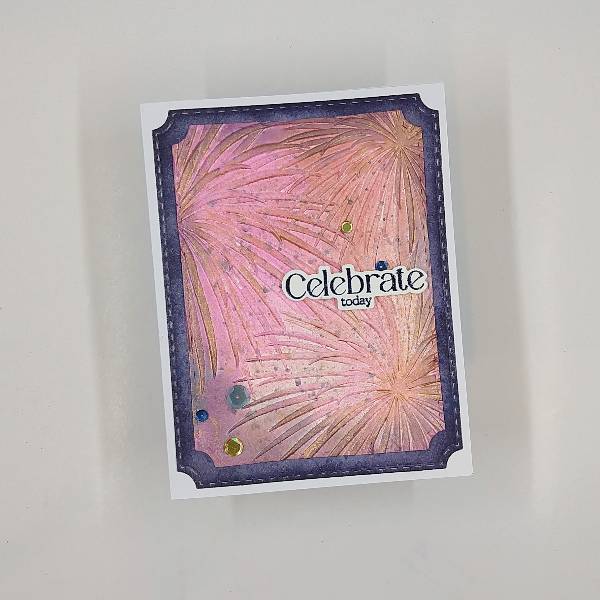
Slide in the small wood phone stand piece through the slot to put them together. Simple
as that.
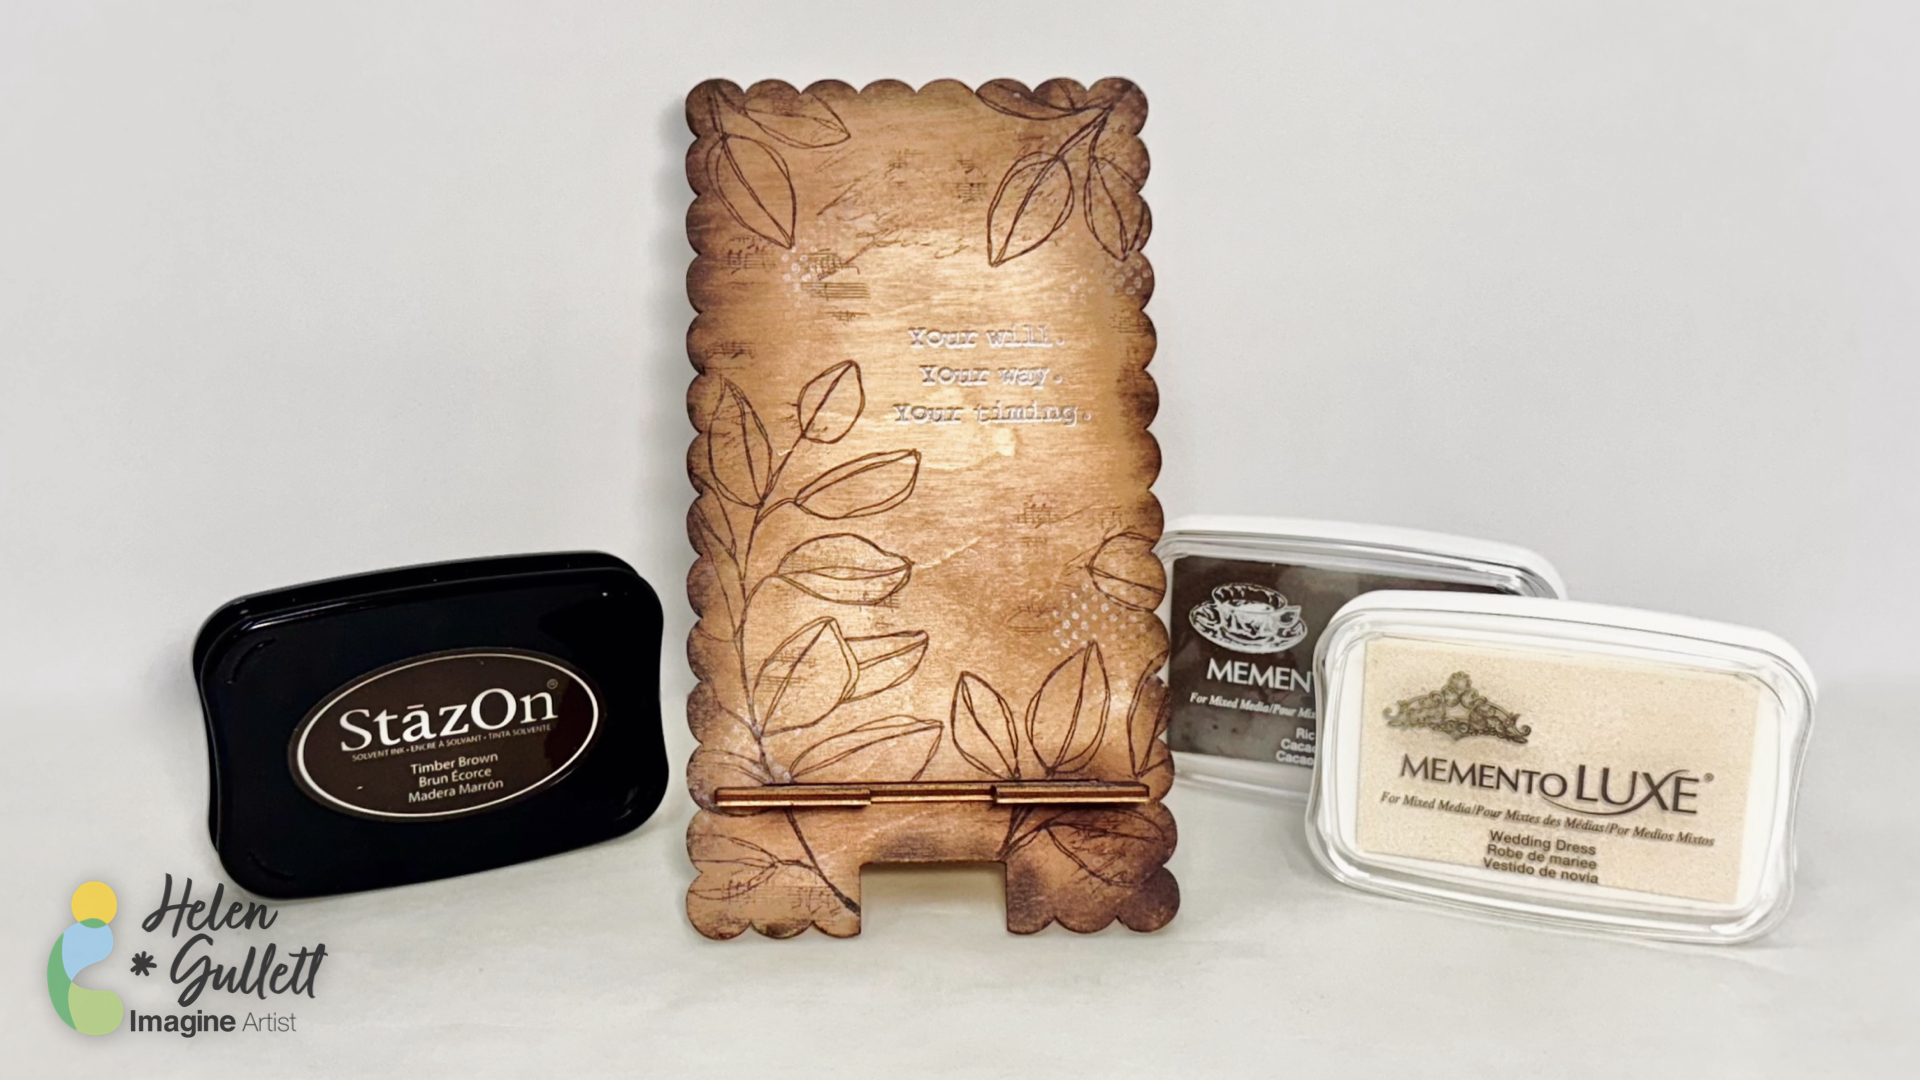
This is how the wood phone stand looks when it is done. The StazOn ink pads are
perfect for stamping on wood and it dries fast, too. They are great for DIY projects.
Craft Supplies
Imagine Crafts:
● StazOn (Timber Brown)
● Memento Luxe (Rich Cocoa, Wedding Dress)
● Sponge Dauber
● Imagine Craft Mat
● Staz-On All Purpose Stamp Cleaner
Others:
● Peaceful Botanical Stamp Set (Creative Worship Stamps)
● Vintage Sheet Music Tile Stamp Set (Creative Worship Stamps)
● Texture Tiles 12 Stamp Set (Creative Worship Stamps)
● Scallop Wood Phone Stand (Clear Scraps)
● Stamping tool (corner magnets, extra magnets)
● Oval Blending Brush
● Paper Towel / baby wipes