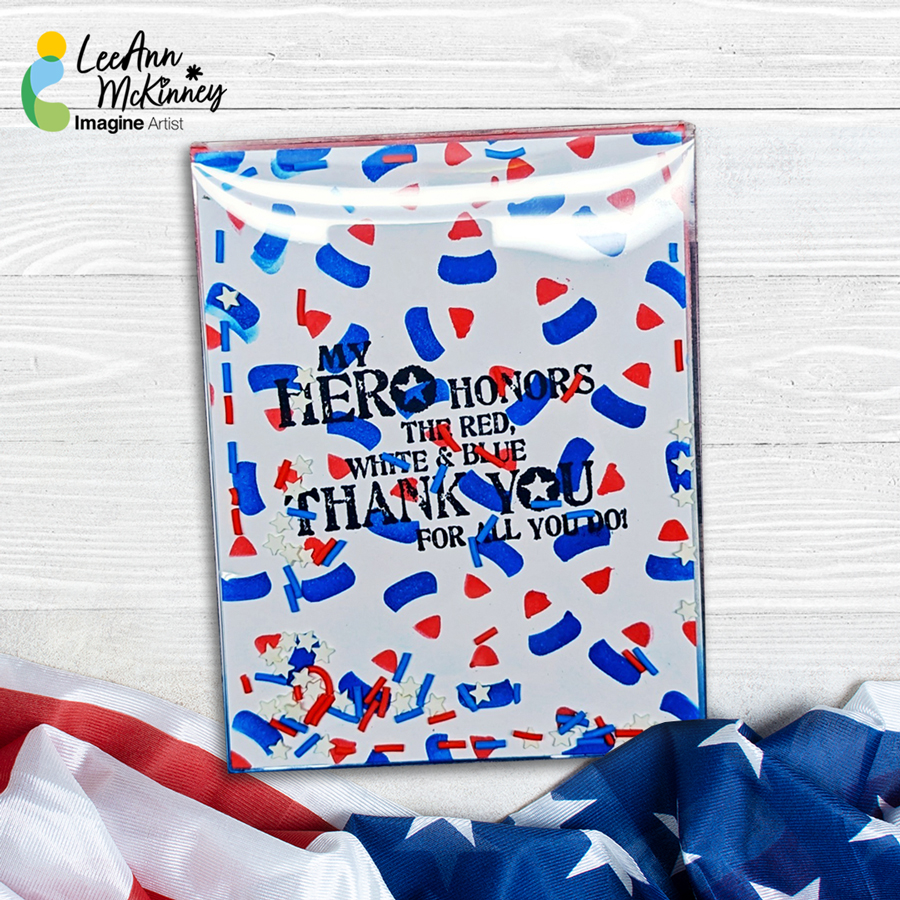
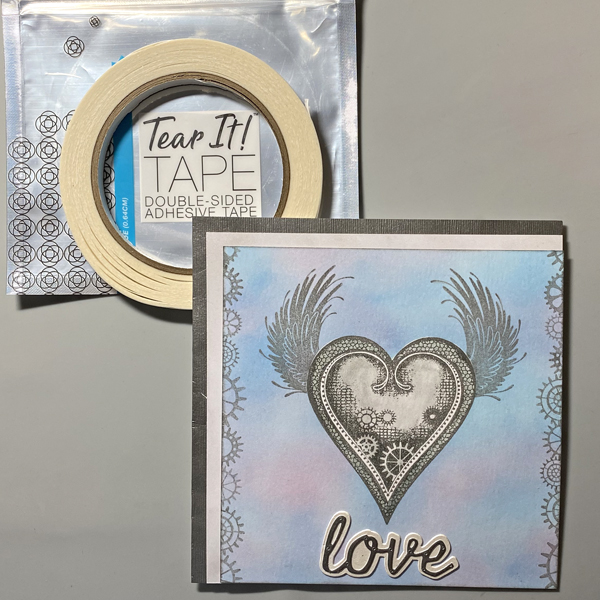
– Howdy friends and fellow crafters, LeeAnn here and today I have to share with you a fun and easy shaker card that I made using paper, a layering stencil, a shaker pocket and some shaker bits.
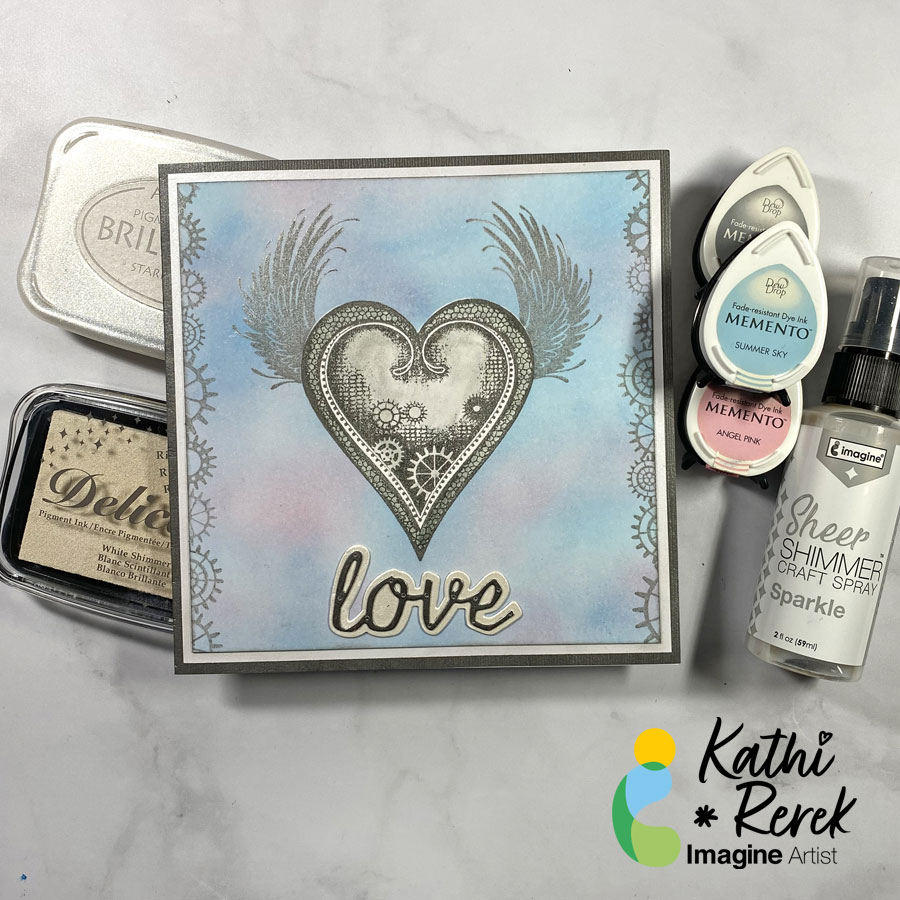
It’s Spring and love is in the air. Let’s combine the metallic look of Brilliance ink, the shimmer of Delicata Ink, pastel colors, and Steampunk imagery to create a Steampunk Love card.
Skill Level: Beginner to Intermediate
Time: 1 hour
Directions:
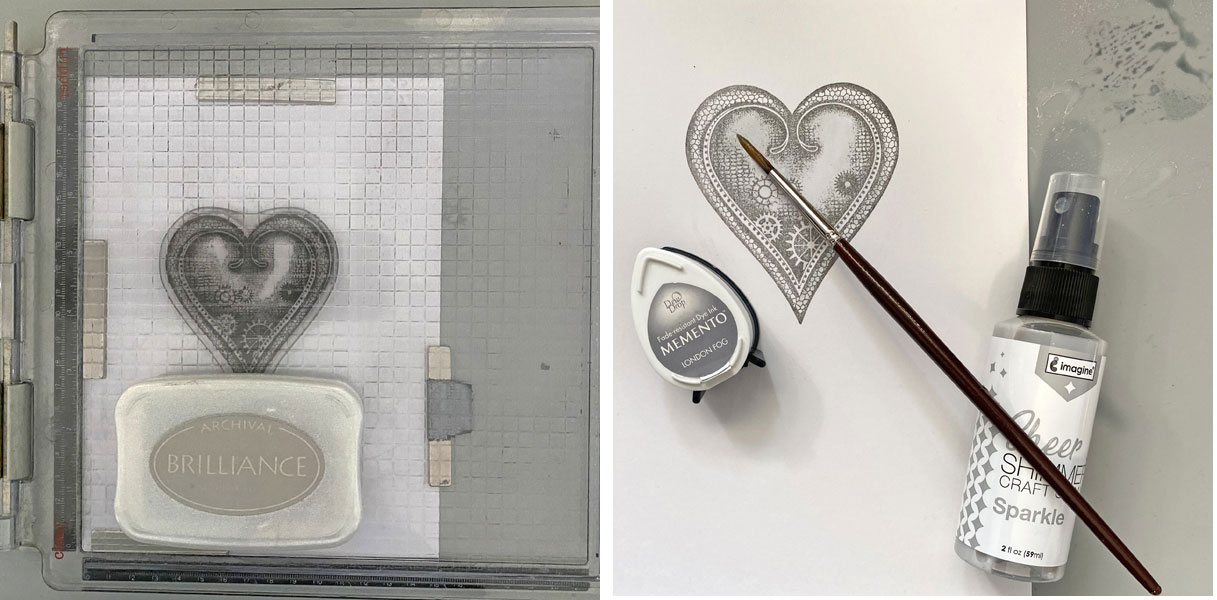
Step 1:
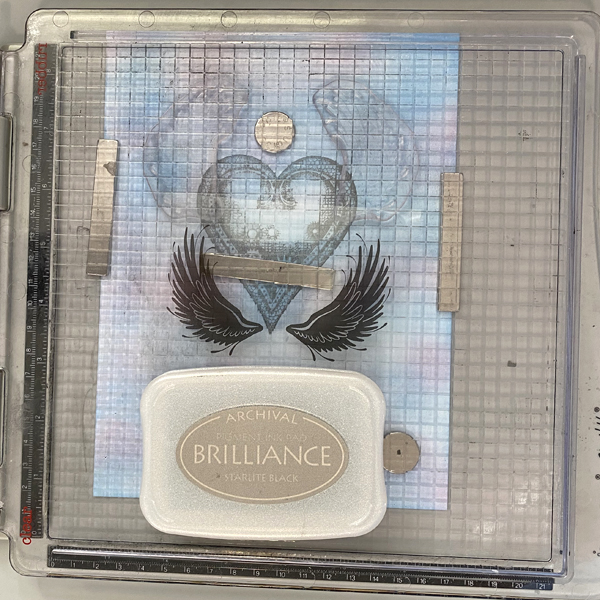
Use a stamping platform and Starlite Black Brilliance ink to stamp the Steampunk Heart twice – once onto a 6” x 8” piece of Mixed Media paper and a second time onto Repositionable Label paper. Heat set the Mixed Media paper panel.
Smoosh London Fog Memento ink onto craft mat. Spritz it with Sheer Shimmer Sparkle Craft Spray.
Use a paint brush to color the center of the heart.
Step 2:
Fussy-cut the label paper heart and place it atop its counterpart on the image panel.
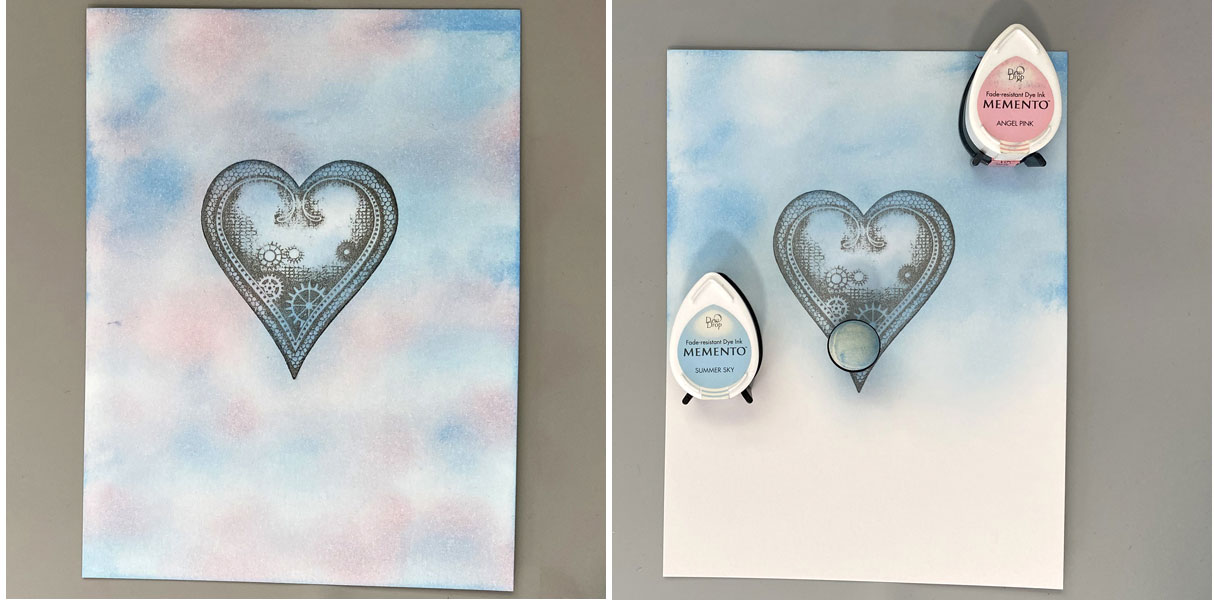
Step 3:
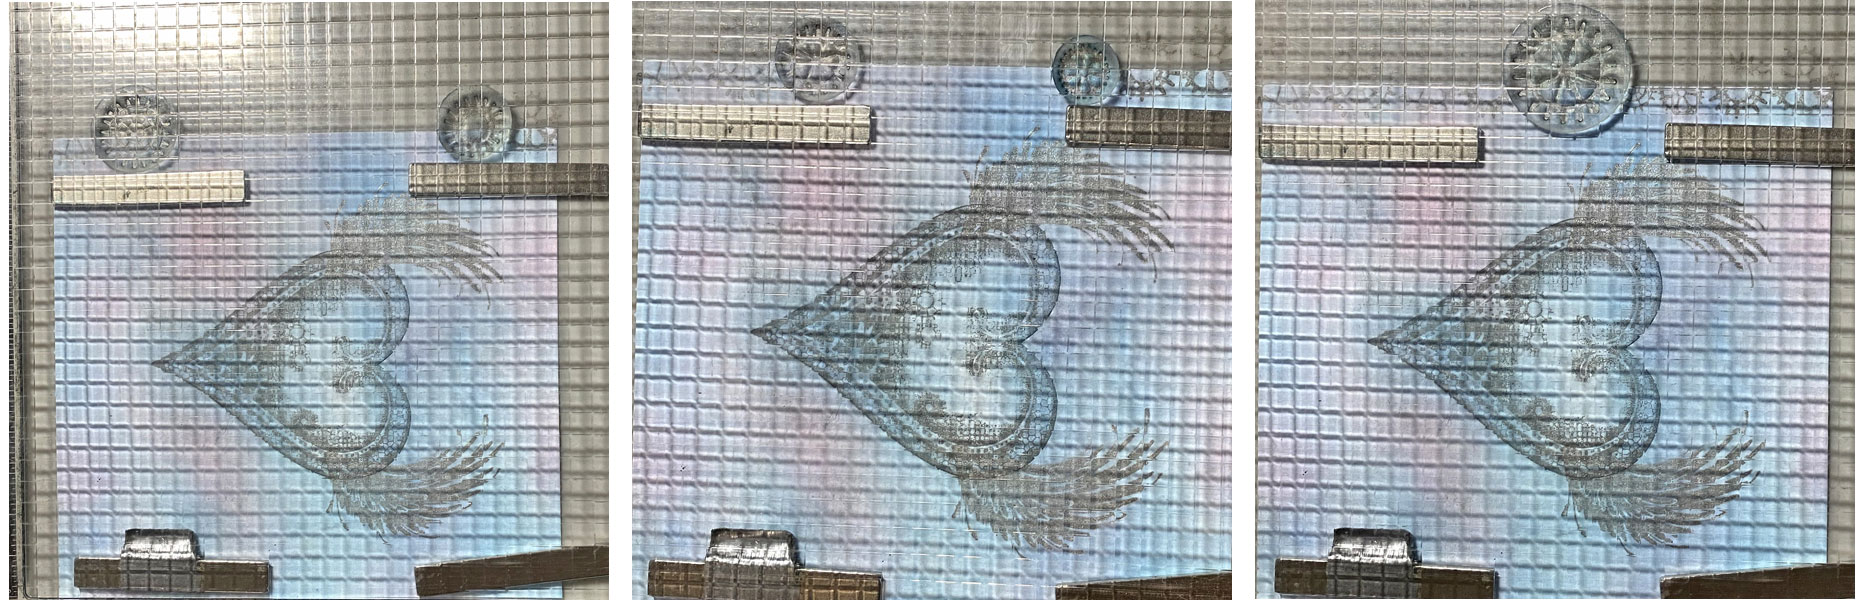
Use a Sponge Dauber to sponge Summer Sky Memento Ink horizontally across the image panel. Don’t worry about leaving white areas.
Use a Sponge Dauber to sponge Angel Pink Memento Ink onto the white areas of the image panel. You’ve now created a stormy sky!
Step 4:
Use a stamping platform to position the wing stamps facedown on the masked steampunk heart.
Ink with Starlite Black Brilliance Ink and stamp. Repeat if necessary to attain a clean image. Wipe remaining ink off of the stamp. Heat set the image panel.
Step 5:
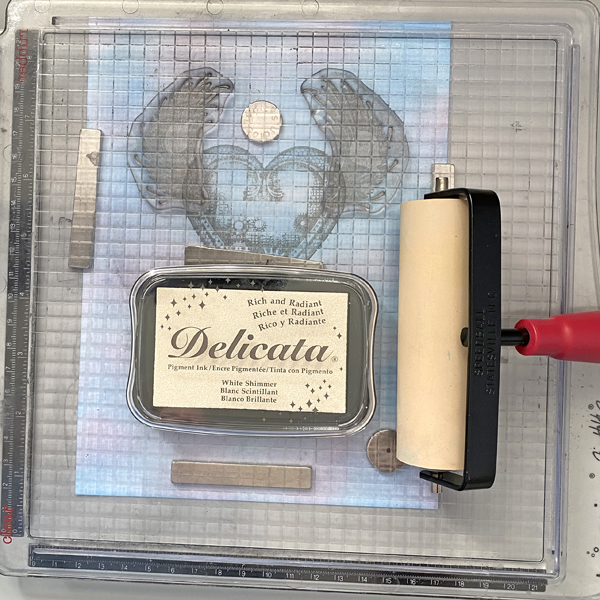
Use a brayer to apply White Shimmer Delicata Ink to the wing stamps. Stamp.
Step 6:
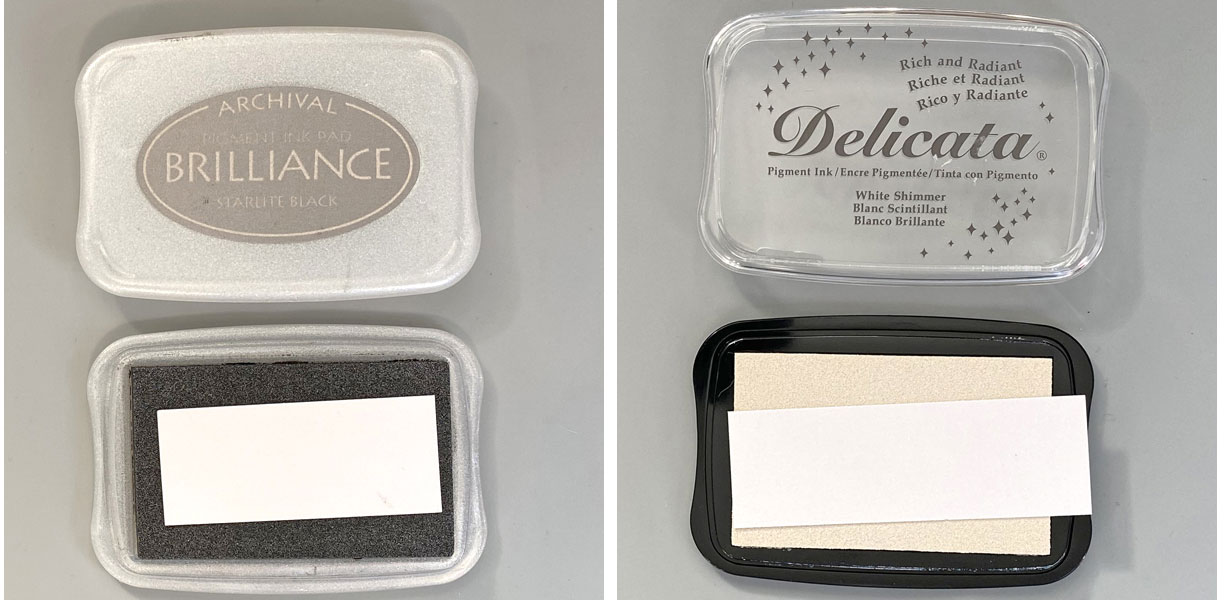
Smoosh a 1” wide strip of white cardstock onto the Starlite Black Brilliance Pad. Smoosh a second 2” wide strip of white cardstock onto the White Shimmer Delicata Ink Pad.
Heat set both panels.
Step 7:
Apply Tear-It! Tape to the backs of both panels.
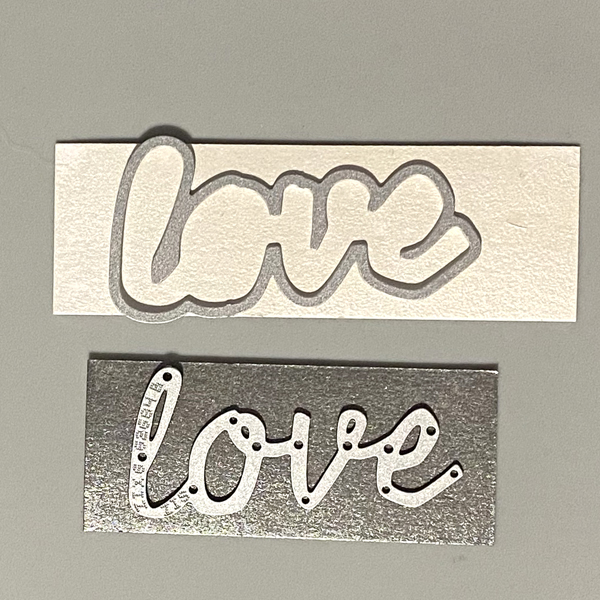
Use the “love” Shadow die to cut the White Shimmer Delicata inked cardstock.
Use the “love” die to cut the Starlite Black Brilliance inked cardstock.
Adhere the Starlite Black “love” die-cut to atop the White Shimmer Delicata “love” shadow die. Set aside.
Step 8:
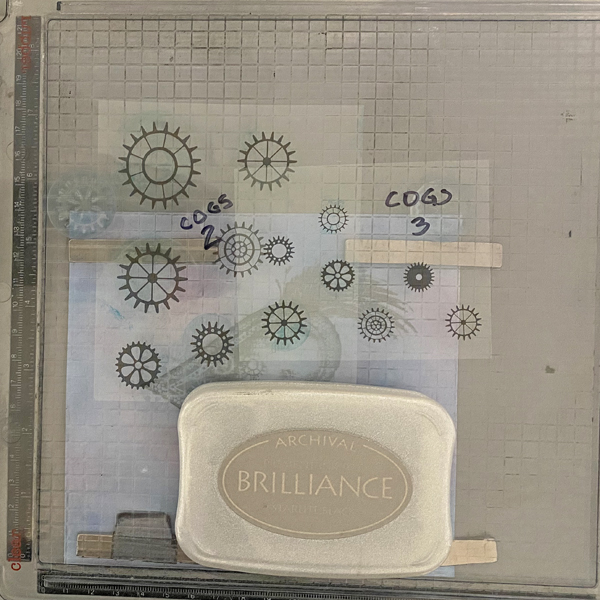
Position the stamped image panel so that it’s horizontal on the stamping platform so that different cogs will be stamped along the edges of the image panel.
Step 9:
Position cog stamps from both Cogs Clear Stamp Set 2 and Cogs Clear Stamp Set 2, facedown on the left and right of what is now the top of the image panel. Ink the stamps with Starlite Black Brilliance Ink, stamp, and heat set. Remove and clean the cog stamps.
Position two different cog stamps from the same set facedown towards the center top edge of the image panel. Ink the stamps with Starlite Black Brilliance Ink, stamp, and heat set. Remove and clean the cog stamps.
Position a large cog stamp facedown in the center of the cogs. Ink the stamp with Starlite Black Brilliance ink, stamp, and set. Remove and clean the cog stamps.
Step 10:
Flip the image panel so that the clean edge is at the top of the platform. Repeat Step 9 to complete a second cog border.
Trim the image panel to 5.5” square and edge with Starlite Black Brilliance Ink. Heat set the entire panel.
Step 11:
Use White Shimmer Delicata Ink to sponge a piece of 5.75” square white cardstock. Heat set.
Step 12:
Cut a piece of 12×12 Avalanche cardstock to 6” x 12”, score, and fold to form a 6” square card.
Place a piece of scrap paper into the card. Use a Sponge Dauber to apply Starlite Brilliance Ink to the outer .25” edges of the card. Heat set.
Step 13:
Use Tear It! Tape to adhere the shimmery white 5.75” square to the card.
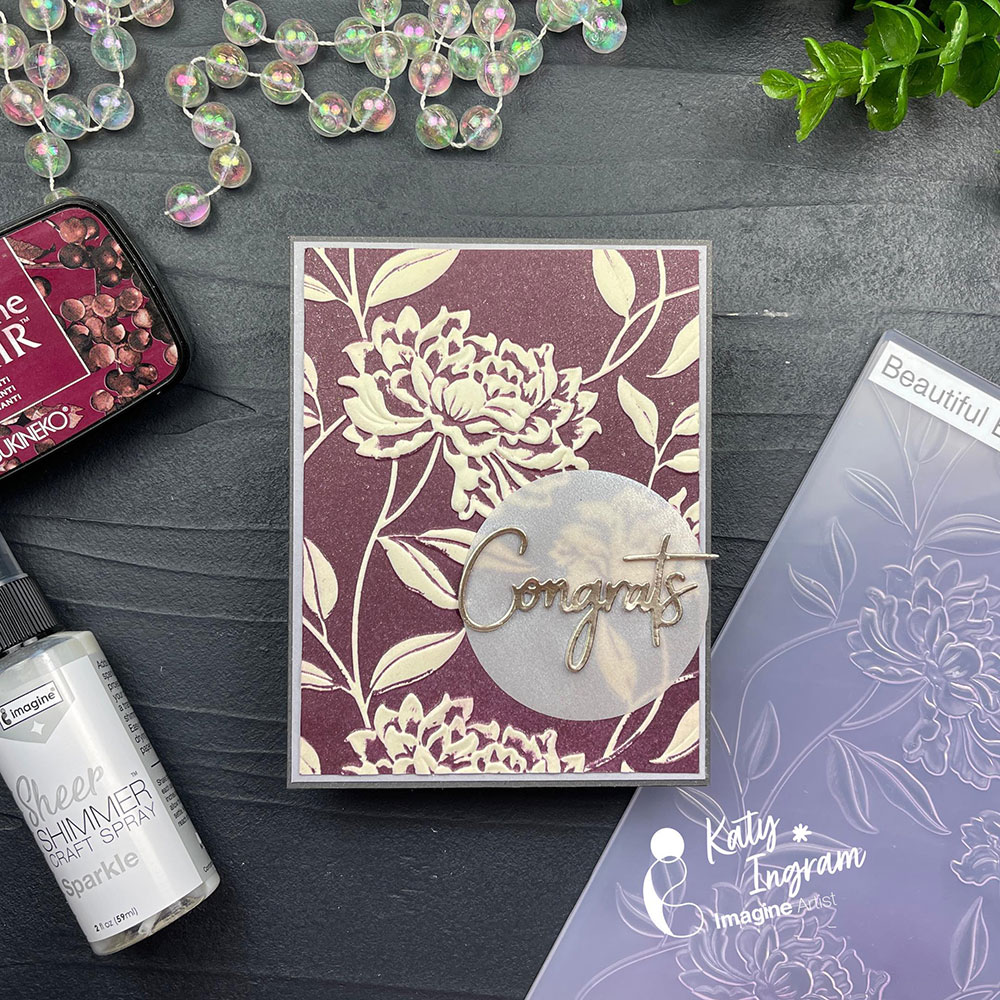
Hello Friends! Katy here and today I am sharing a super quick technique using VersaFine Clair.
In todays video tutorial I am sharing how I use VersaFine Clair in the color Chianti and some cream card stock with a 3D Embossing folder to create a quick, but elegant card. In the video I also share cleaning up the embossing folder so you have minimal to no staining. All this in just over 3 minutes! Check it out below.
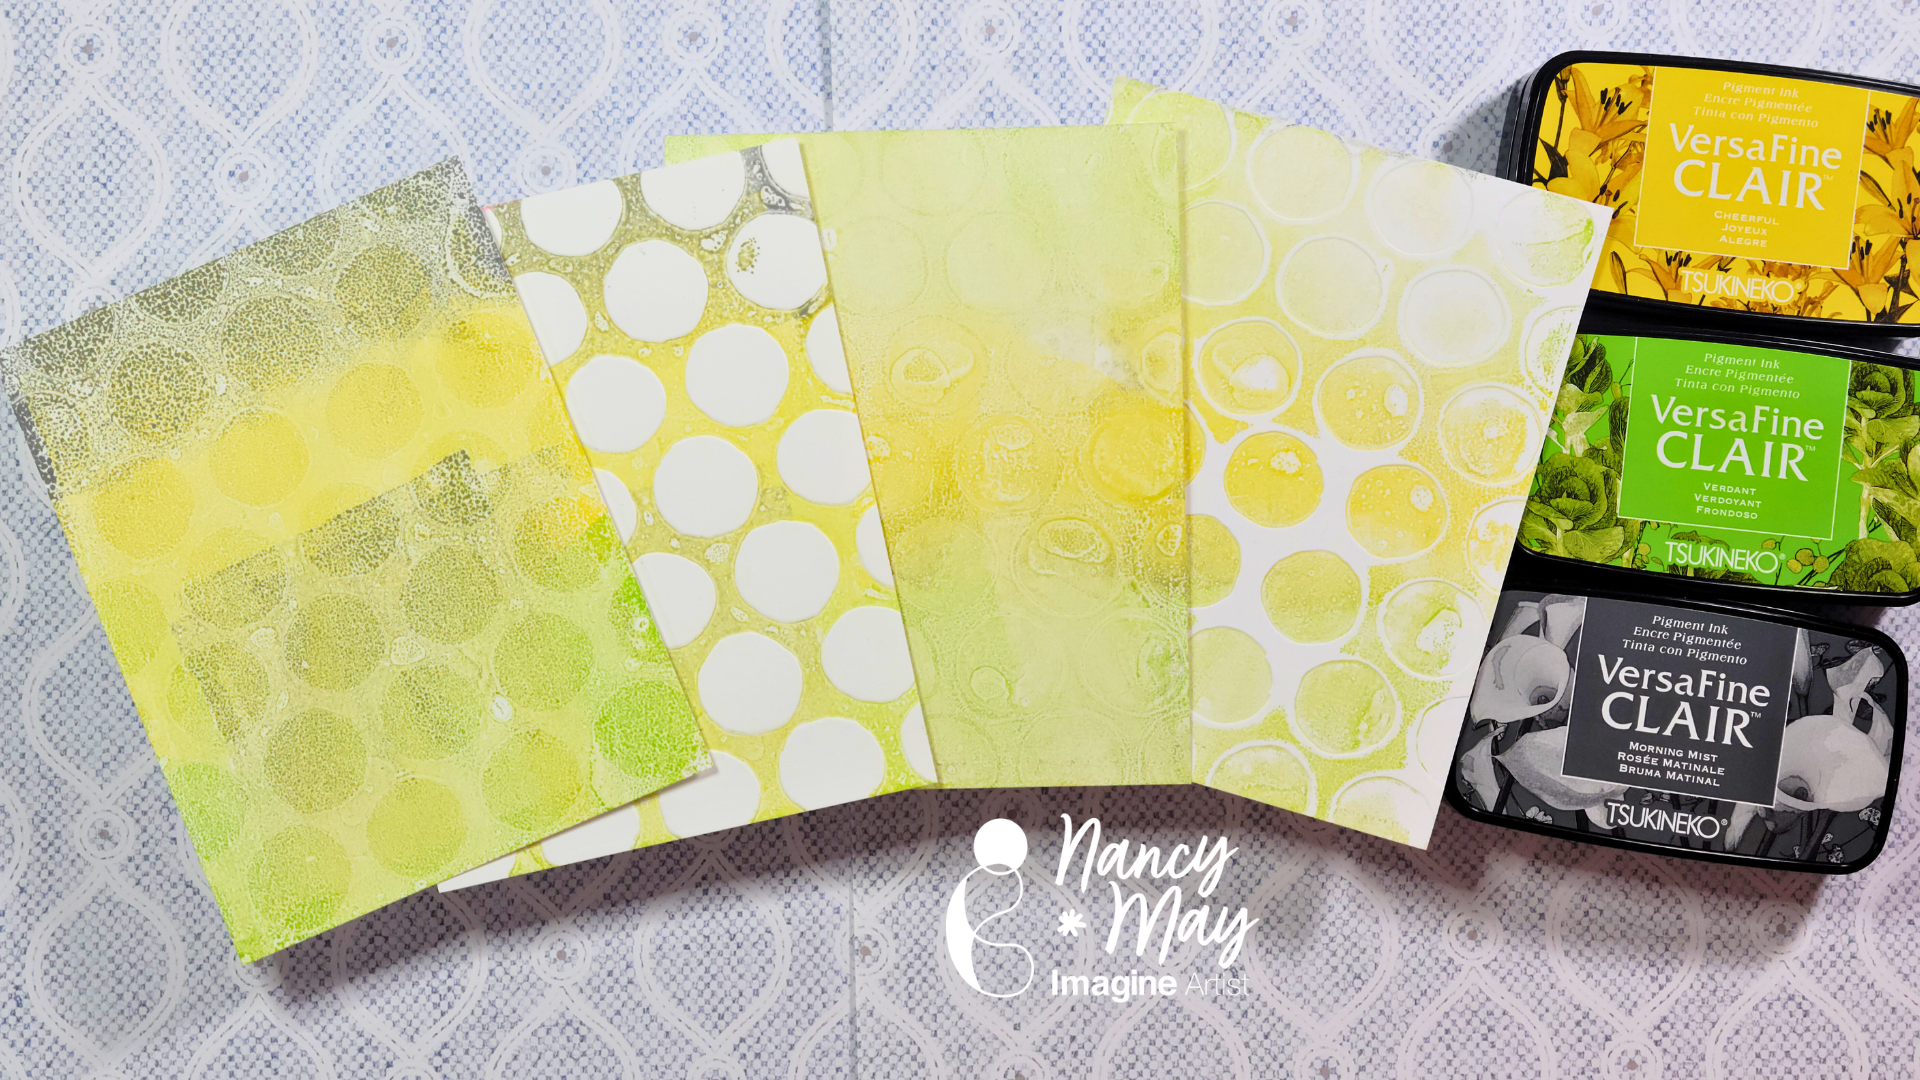
Hello friends! This is Linh (or LV Handcrafted on all the socials). In today’s video I’m showing two techniques for creating background panels that you can either cut down or die cut from! One technique features the ever-so-popular ink “smooshing” and the other features creating monoprinting with a gel plate! These techniques are fast and easy to make multiples of if you ever need to make the same card en mass. I made a set of 6 Artist Trading Cards (ATC) using one panel for the background and the monoprint for die-cutting.
•When I lose my mojo it helps to just play and experiment with no particular direction or intent; simply allowing the process to guide me. That is where I am at today, so lets play with a bunch of different inks, sprays, embossing folders and a gel plate. Again, our focus is on exploration and discovery versus a completed project. Come back next time to see how some of the backgrounds become finished projects.
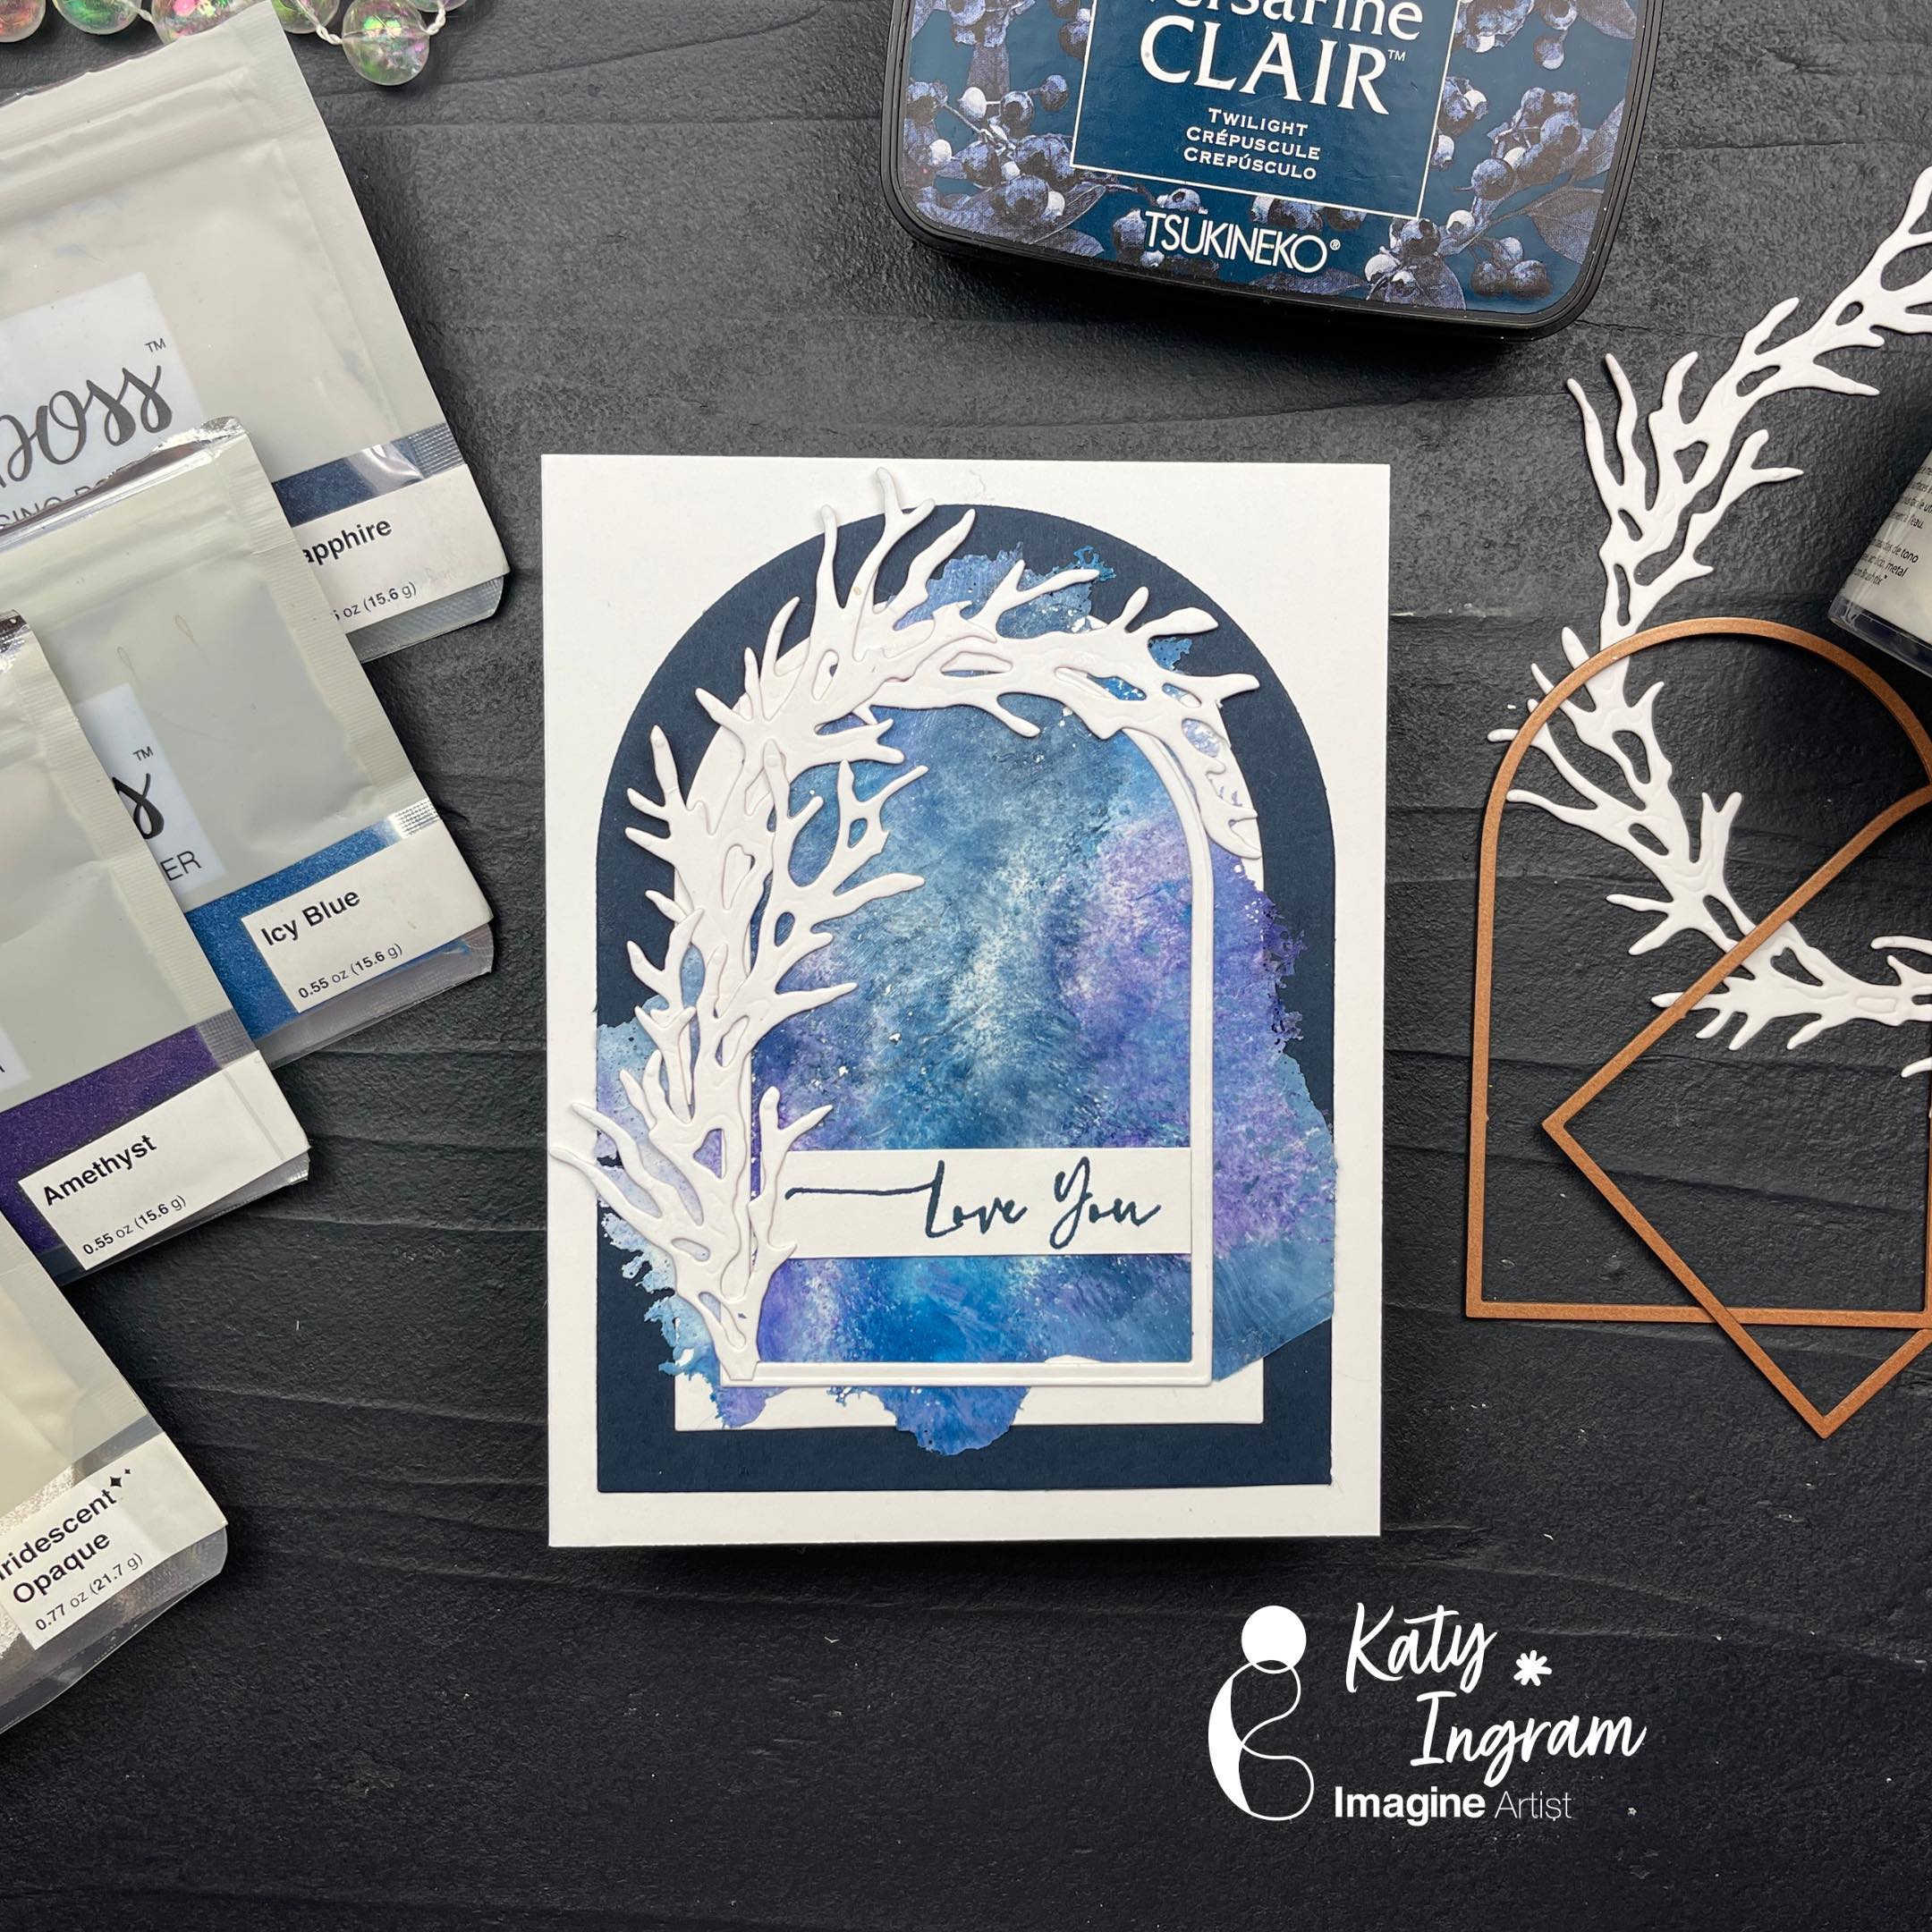
Hello Friends! Katy here and today I have a really fun technique using MBoss Embossing Powders to make paper thin backgrounds, AKA Embossing Skins.
In todays video tutorial I am sharing how I made some backgrounds using embossing powders with an iron, you can also use your heat gun. You will also need some parchment paper/baking paper. This is a quick technique, but so addicting!
The best part, you can use any embossing powder, including the ones that don’t emboss very well any more. This is a great technique to use those particular powders up so they don’t go to waste!
I have lots of tips and things to share in the video, check it out below.