Let’s Make a St. Patrick’s Day Card Using M’Boss

By LeeAnn McKinney


Hi there inky friends. LeeAnn here and today I am bringing you a fun card I made using VersaMark Clear Sticky Ink and Emerald Green M’boss. I absolutely love heat embossing, it is one of my 3 favorite techniques for my projects and I am so happy to share it with you.


Art Supplies

Imagine

• Imagine Craft Mat

• Delicata Golden Glitz

• Memento Dandelion Dye Ink

• Imagine Tear It Tape

• VersaMark 

• Emerald Green M’boss

Other

• Prickly Pear Shamrock Background Stamp – https://www.prickleypear.com/shamrock-background/

• Prickly Pear Luck of the Irish – https://www.prickleypear.com/luck-o-the-irish-red-rubber-stamp/

How to Create a Faux Stained Glass Window Using StazOn Studio Glaze

By Jowilna Nolte 

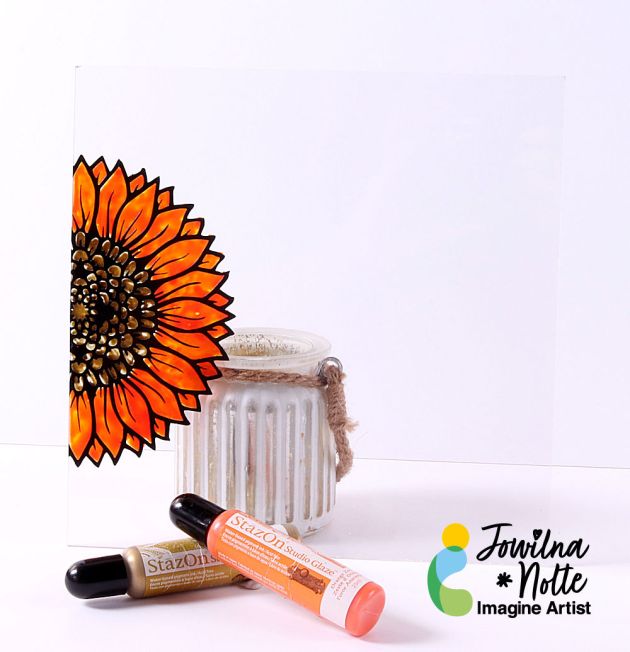
There are so many ways you can use your crafting supplies to create fabulous home décor elements and to alter things around the house. One thing I have always wanted to try is making a stained glass window but without all the really hard work – so I grabbed some StazOn Studio Glaze Gold and Orange Zest and made my own faux window.


Skill Level: Beginner

Time: 15 minutes plus drying time left overnight.


Directions:
 

Step 1

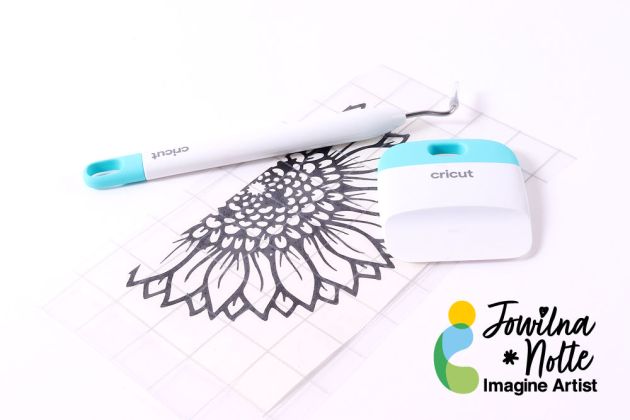
I cut a sunflower to mimic spring on my Cricut Maker machine out of black permanent outdoor vinyl. Weed the design and add transfer tape.
 

Step 2

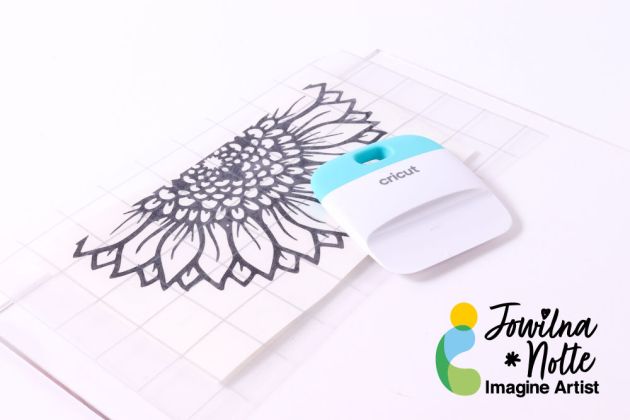
Place the design onto a sheet of clear acrylic cut to size. Mine measures 8×8”. Then burnish the design onto your acrylic sheet to transfer the design.

TIP: If you don’t have a cutting machine you could do this step by stamping a large image onto your acrylic sheeting using Black StazOn ink instead. Then proceed to finish the same way I did. I wanted bold black lines, but the StazOn stamped images are great if you have a bold stamp design.


Step 3

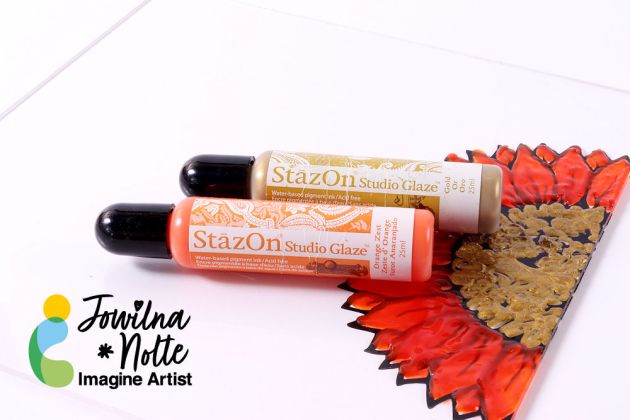
I selected two colors of StazOn Glaze and started coloring my design on the back of the acrylic sheet. I did this really roughly. It doesn’t matter that you go over the lines since the black lines will hide that.
 

Step 4

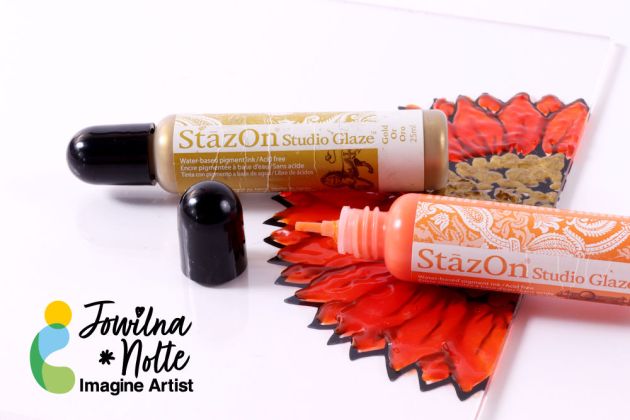
Once the first layer StazOn is dry, you can go back and add another layer to fill in any other areas that may still be open or exposed as the glaze dries and settles. I may skip this step since I am quite happy with how it turned out.

And there you have a really pretty faux stained-glass window – or in my case, I think I pop it into a frame and hang it up on a white wall – I rather like the look of this quick and easy project.
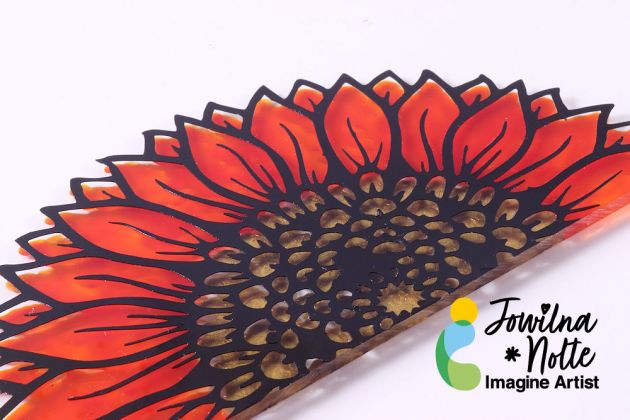
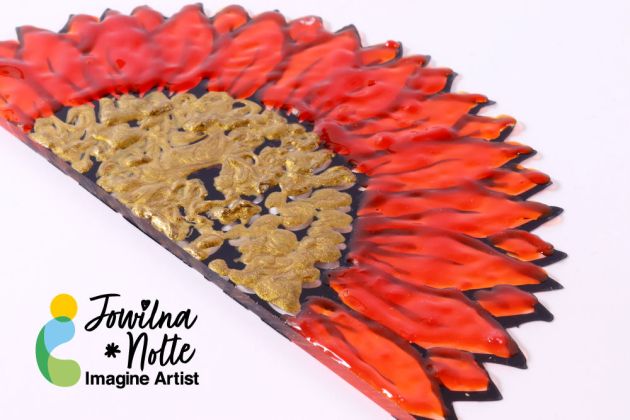
 

Note that the back of the image will have loads of texture and be uneven, and the front will be perfectly smooth and looks amazing.

Now go have fun with your StazOn Studio Glaze.


Art Supplies:


Imagine:

StazOn Studio Glaze Gold
StazOn Studio Glaze Orange Zest

Other:

Acrylic sheet
Cricut maker cutting machine
Cricut Tools
Black Vinyl

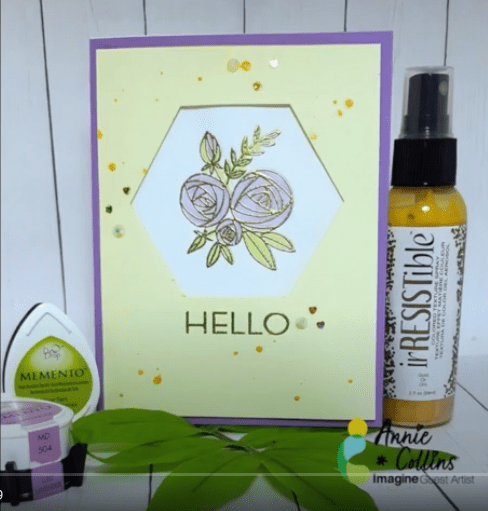
Learn How to Make a Pastel Floral “Hello” Card

By Annie Collins

Hello Crafty Friends – Annie here with a lovely Pastel Spring Floral Card.
Today, I am using Memento Inks to watercolor an embossed image.


Art Supplies

Imagine

• Memento Inks: Lulu Lavender, Lilac Posies, Pear Tart, & New Sprout

• VersaMark Ink

• Irresistible Craft Spray – Gold

• Mboss Embossing Powder: Gold

• Tear It! Tape

• On Point Glue


Other Supplies

• Altenew Stamps: Rosie Posy

• Recollections Brand 110# Cardstock: White

• Recollections Brand 80# Cardstock: Cream, White and Lavender

• EK Success Powder Tool

• Heat Tool

• Watercolor Brush 0

• Water


How to Create Some Fresh and Funky Cards for Valentine’s Day

By Jowilna Nolte 

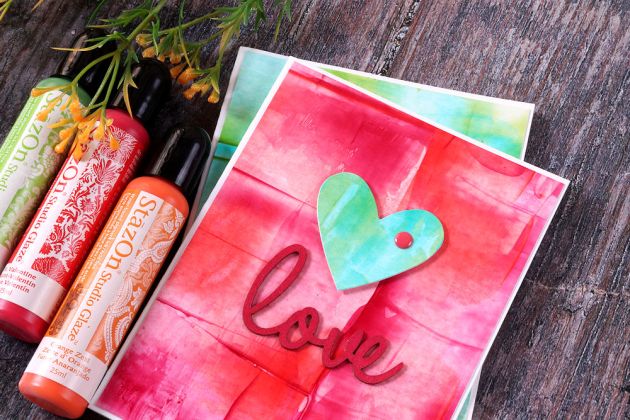
Hi everyone, on today’s blog, I am sharing some fun cards I created using StazOn Studio Glaze.
I love this stuff for the fun effects you can achieve as well as the vibrant and amazing colors in the range.

Skill Level: Beginner

Time: 20 minutes

Directions:

Step 1
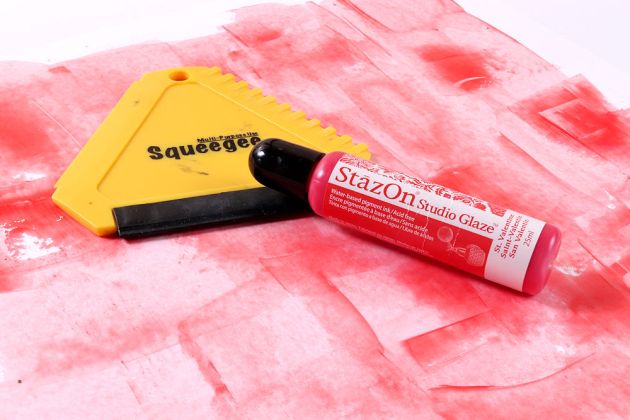
Squeeze some glaze onto your squeegee and swipe your first color over a sheet of smooth white cardstock.
You can leave this to dry for a few minutes.


Step 2
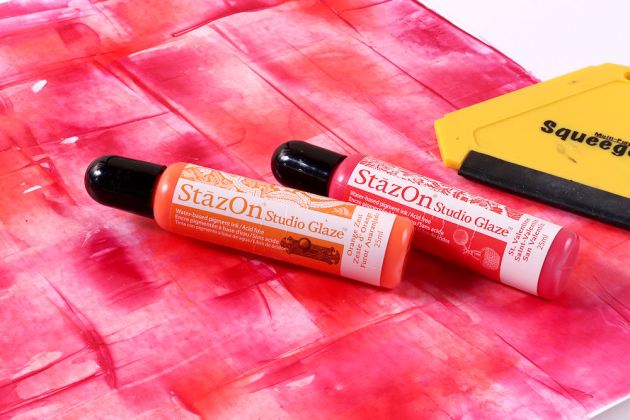
Apply a second color to your squeegee and swipe it over the first color. I use the rubber side on my squeegee but also sometimes use one of the other edges.
Both edges work perfectly, and you can always create some effects using the textured sides.


Step 3

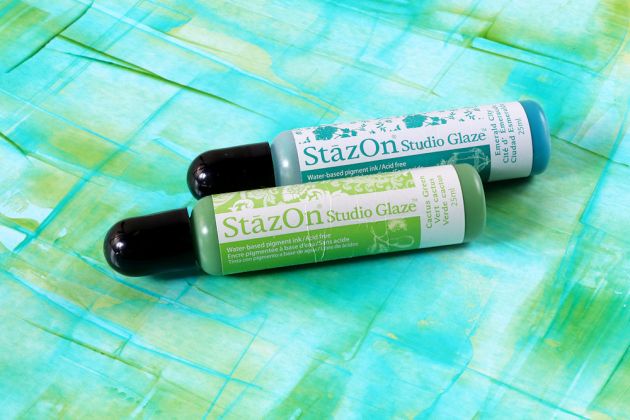
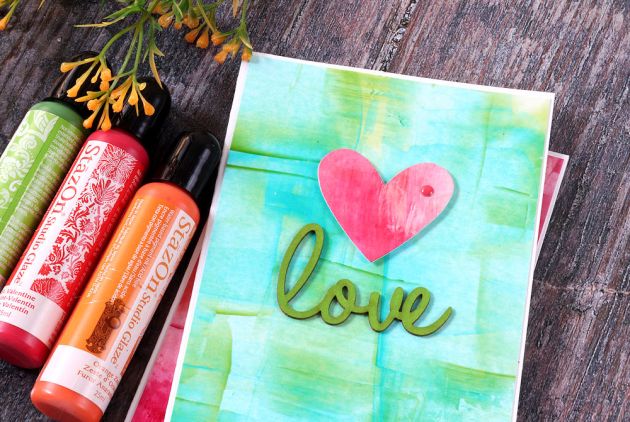
I also used a second color combination and created another sheet for a fresh spring look.


Step 4

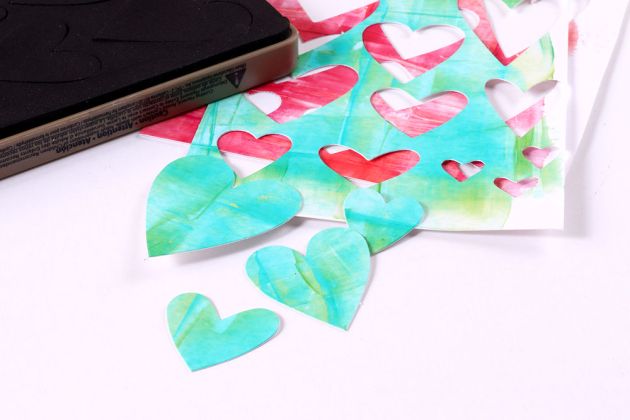
Once your background is dry, use a heart or flower die-cut and die-cut some shapes using your die-cutting machine.


Step 5

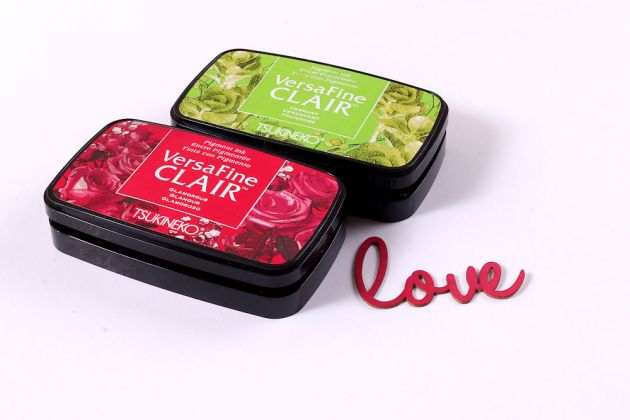
Use your VersaFine Clair ink and color some chipboard words by directly inking the words.
Once dry, you can adhere them to your card.


Step 6

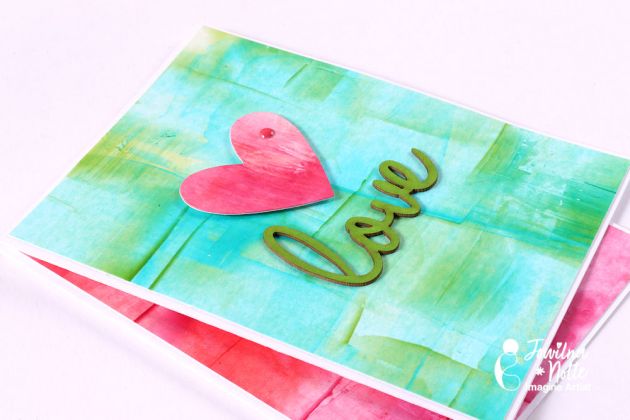
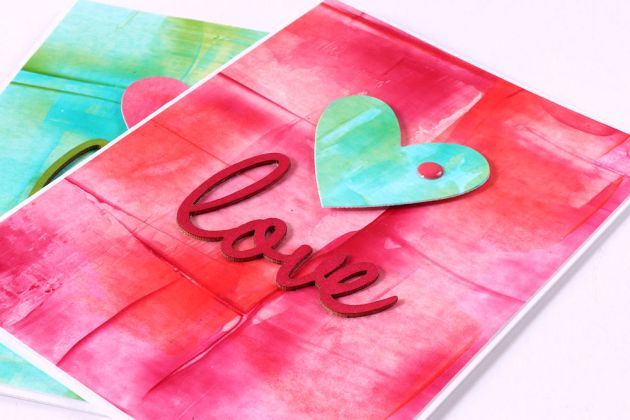
Assemble your card by adhering the hearts to your background using foam tape.
Adhere the “love” word using On Point Glue and finish off your card with an enamel dot.


And in a few easy steps, you have a gorgeous set of cards using some fun backgrounds and hearts.

For me the shine, texture, and patterns achieved are what makes these cards so special, and I just love using these glazes.

Until next time – keep on creating!

Art Supplies

Imagine

• StazOn Studio Glaze Orange Zest
• StazOn Studio Glaze St. Valentine
• StazOn Studio Glaze  Emerald City
• Multi-Purpose Squeegee Blue
• On Point Glue
• VersaFine Clair Glamorous
• VersaFine Clair Verdant 


Other 

• White Cardstock
• Heart Die-Cut: Tim Holtz
• DIY Cuts Machine: Kaisercraft
• Chipboard Word: Kiriche Laser
• Enamel Dots
• Foam Tape
• Smooth White Cardstock

Create a Beautiful Layered Floral Card with Stamping and Stenciling

By Jowilna Nolte 

Today I am sharing this quick video on how I use my stamps and stencils together with pigment and dye inks to create beautiful layers for a card. In just a few easy steps you can combine your stamps and stencils to create an interesting effect by simply layering them over each other. Pick 3 ink colors to make them shine in this technique. I chose Radiant Neon Electric Pink, Memento Luxe Angel Pink and Memento Dew Drop Tangelo. Now it’s time for you to create your own magical effects!

Skill: Beginner, Intermediate, Advanced

Time: 30 minutes or less

Directions:

Supplies:

Imagine:

• Radiant Neon Electric Pink

• Memento Luxe Angel Pink

• Memento Dew Drop Tangelo

• Tear It! Tape Clear

• VersaFine Clair Nocturne (black)

• Sponge Daubers

• Inkblushers

• Imagine Craft Mat

Other:

• Stamps Altenew, Joy Clair

• White Cardstock – Technique

• Embellishments

• Stencil – Celebr8

• Couture Creations Stamp Press

• Couture Creations Mini Buillotine


Create a Shimmery Valentine’s Card Using Brilliance Inker

By Jowilna Nolte

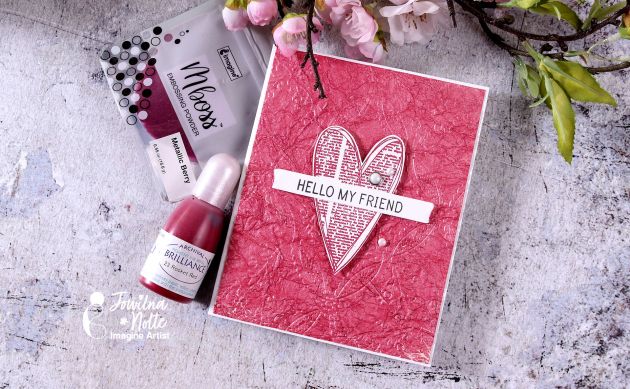
Today I am showing you how to create a gorgeous shimmering background for your Valentine cards using a few tricks. First I used a piece of shimmering faux leather paper, added some Brilliance Rocket Red inker to it, and then used a unique rich metallic raspberry MBoss powder for added texture. For the focal point, I embossed a heart and then added some finishing touches for a quick and shiny card – perfect for friends. In just a few steps I created this card with loads of elegance, shine, and personality.


Skill: Intermediate

Time: 25 minutes


Art Supplies:

Imagine

• Brilliance Rocket Red Inker

• MBoss Metallic Berry Embossing Powder

• VersaMark Dazzle Champagne

• VersaFine Clair Nocturne

• Imagine Craft Mat

• Tear It Tape

• Inkblushers

• StazOn Stamp Cleaner

Other:

• Heat Gun

• Couture Creations Stamp Press

• Couture Creations Mini Guillotine

• Stamps – Joy Clair, Carabelle

• Cardstock – American Crafts

• Embellishments