By Helen Gullett
Hello crafty friends! Today we are going to do some monoprinting with VersaFine Clair inks and a gelli printing plate to create some fun backgrounds. And also, we will do some coloring with Memento Markers.
Let’s get crafting!
Skill: Intermediate
Time: 30 Minutes
Direction:
Step 1
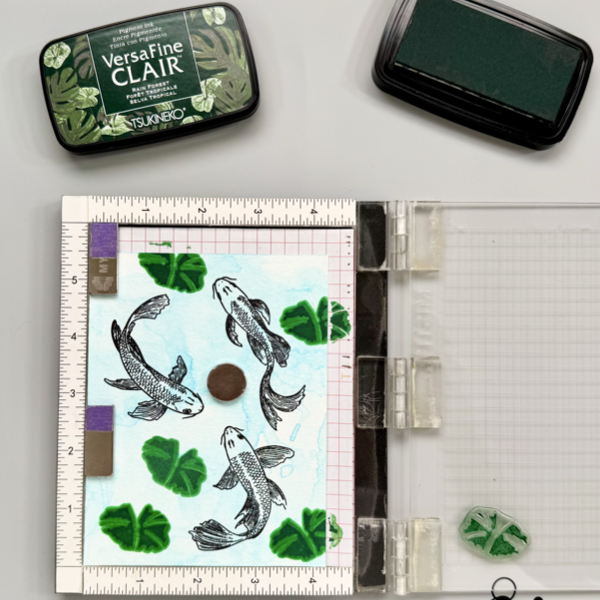
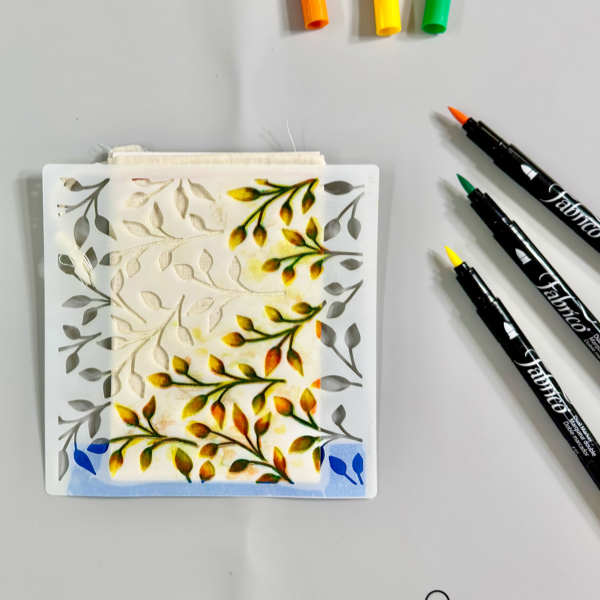
Put the gelli printing plate directly on the Imagine Craft Mat. Make sure it lays flat.
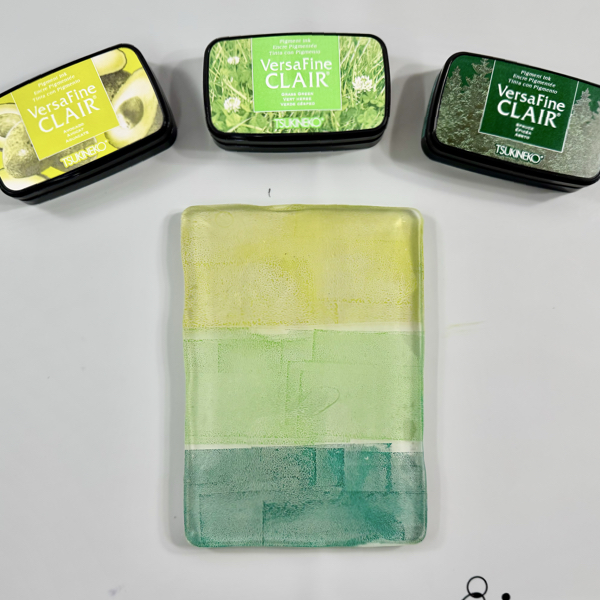
Dab some of the VersaFine Clair inks on the gelli printing plate, do this one color at a time and do not mix them together.
Step 2
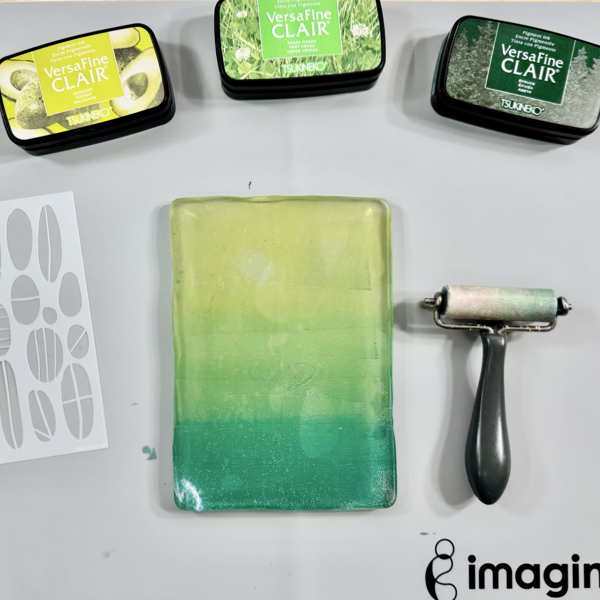
Mix the inks on the gelli printing plate with the mini roller. Mix the color from top to bottom, gradually.
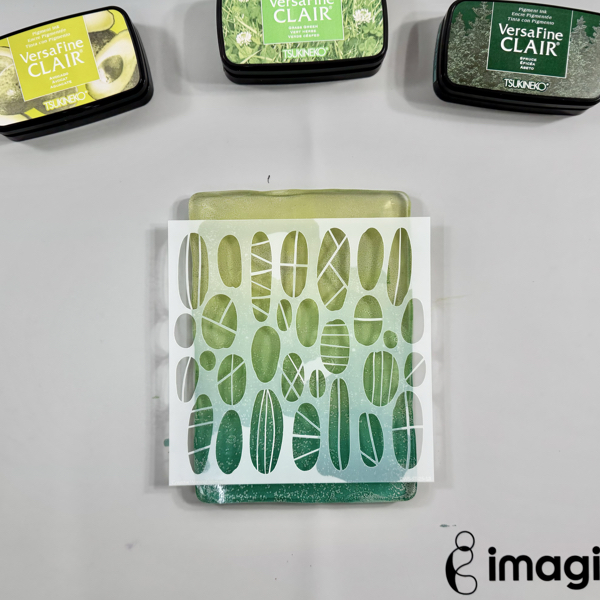
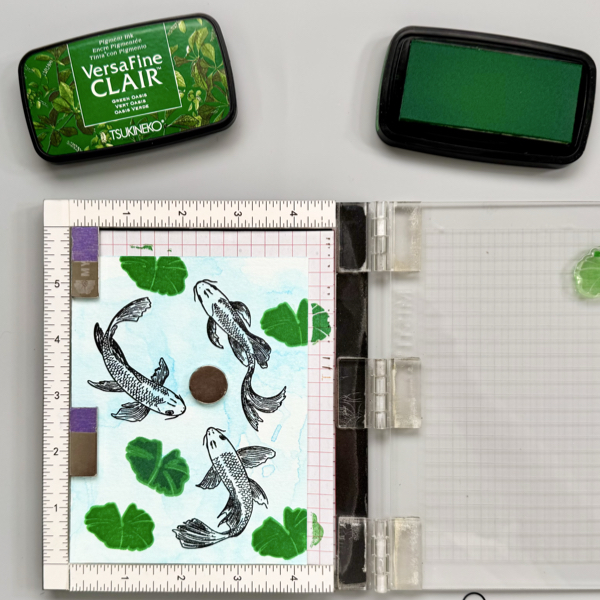
Step 3
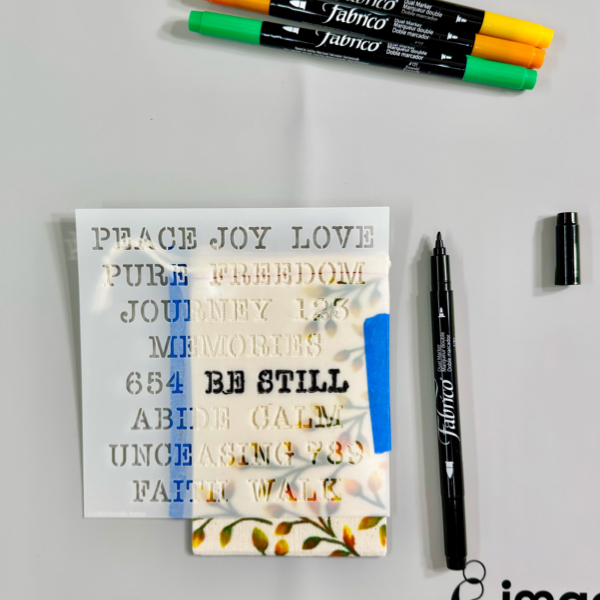
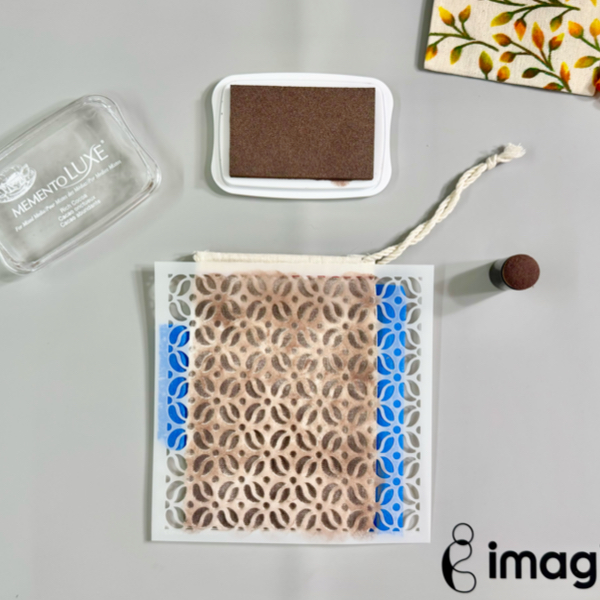
Put the stencil on the gelli printing plate.
Gently press the stencil to the gelli printing plate.
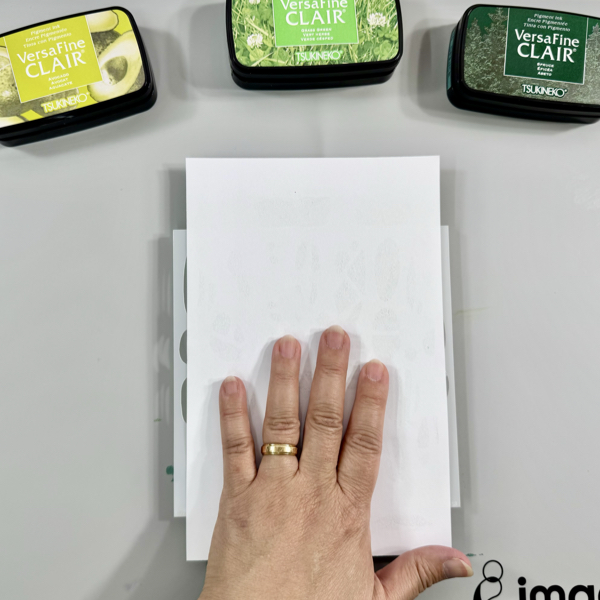
Step 4
Get a piece of printing/copy paper (preferably thickness 24 lb or more), you can cut it in half or use full size.
Add the paper to the gelli printing with stencil and gently press it down to get ink off the plate.
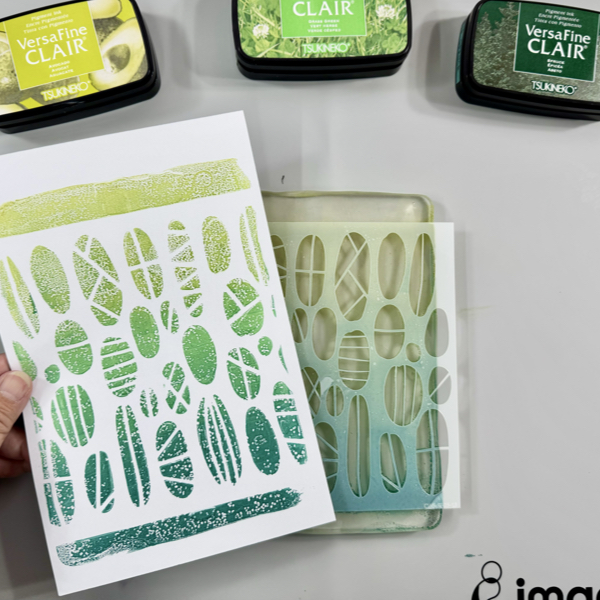
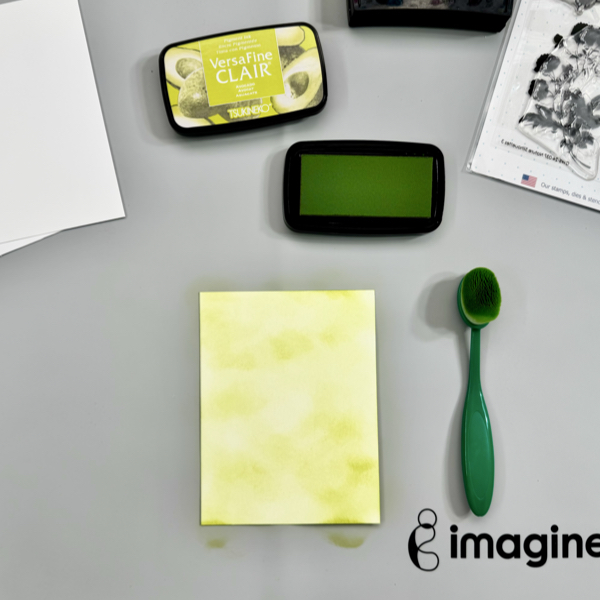
Step 5
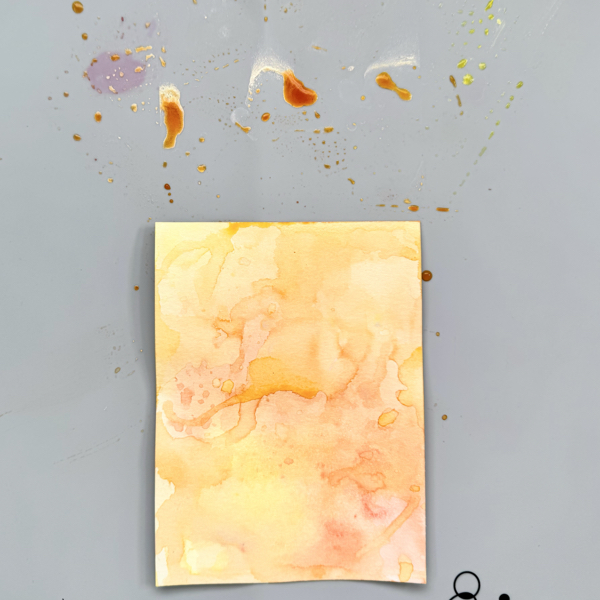
Carefully pick up the paper off the gelli printing plate from one corner.
This is the first printing. For this time, you can keep it aside for future projects.
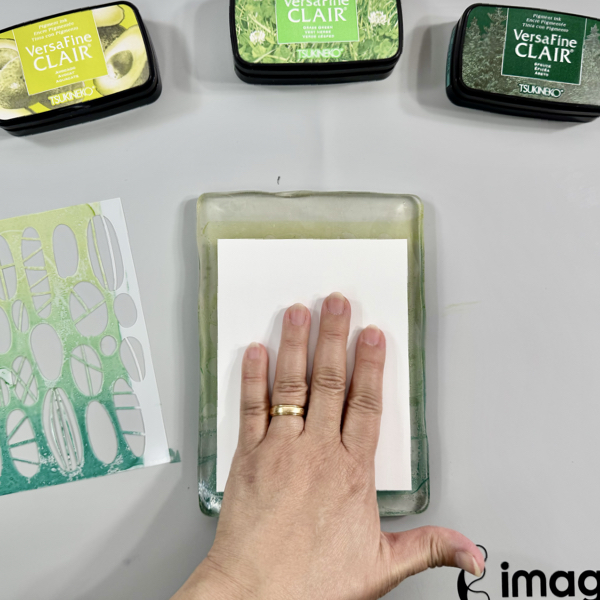
Step 6
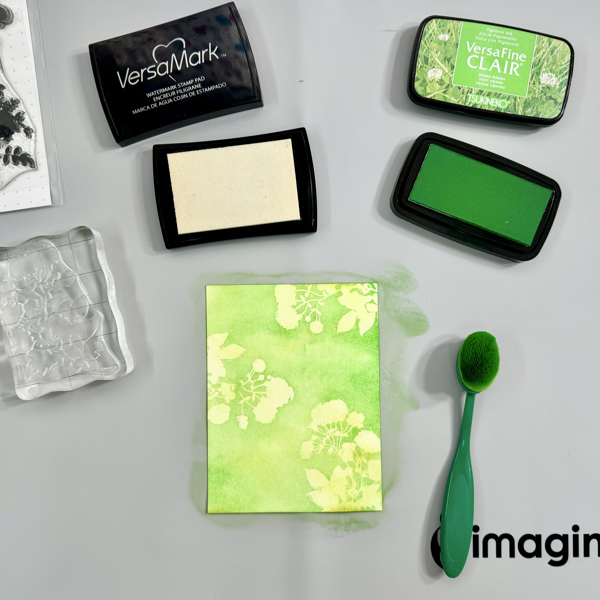
Carefully remove the stencil off the gelli printing plate.
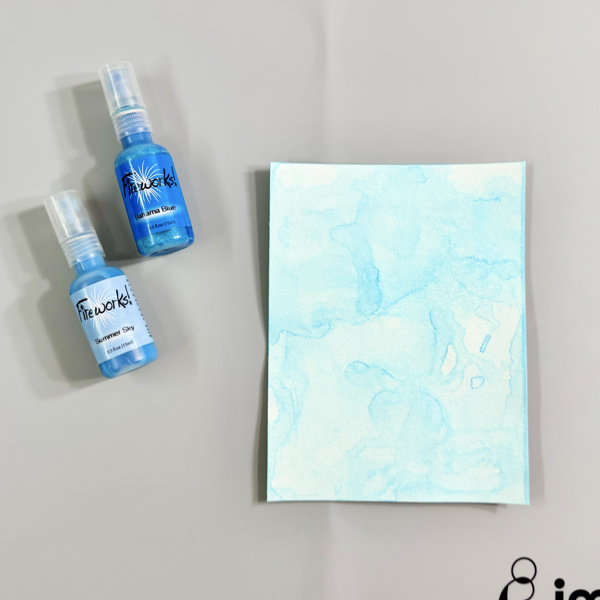
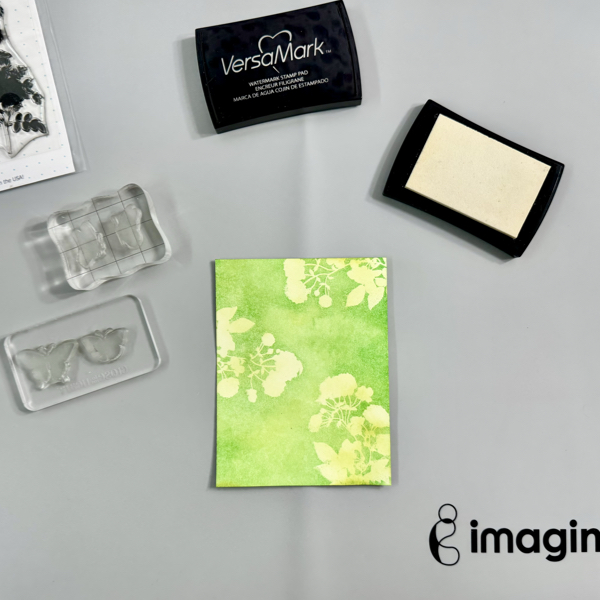
While the inks are still wet (this is why VersaFine Clair inks are the best for this project!), put a piece of white cardstock to the gelli printing plate and gently press down to pick up the ink off the plate.
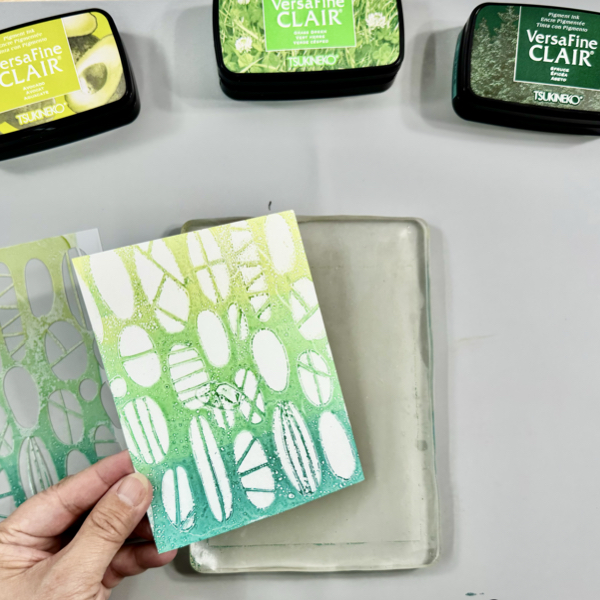
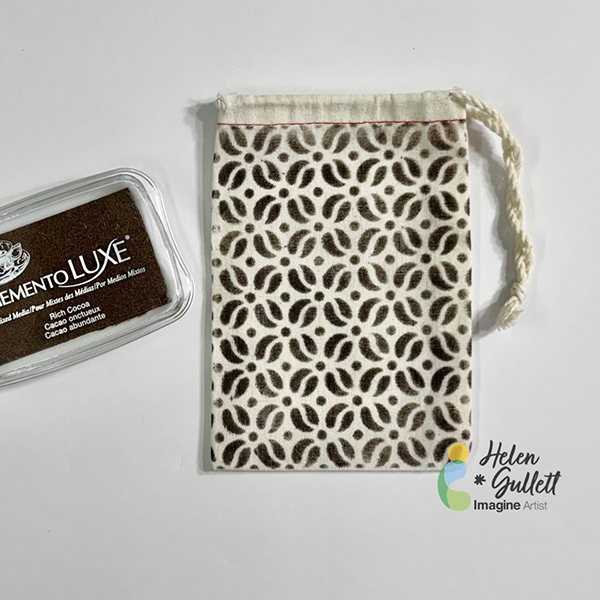
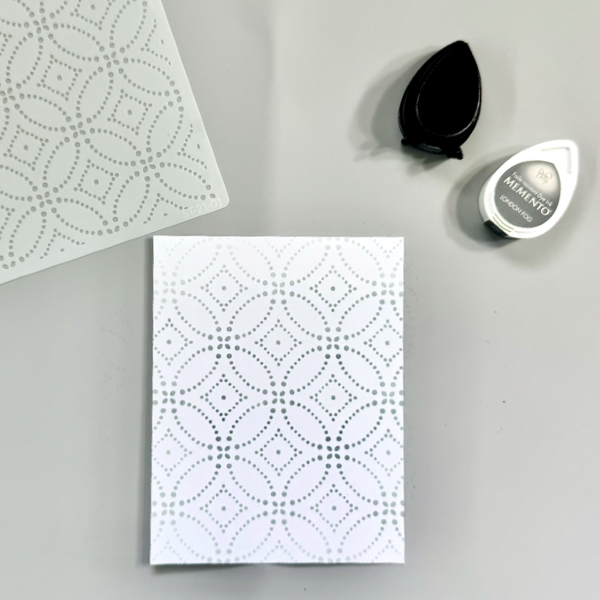
Step 7
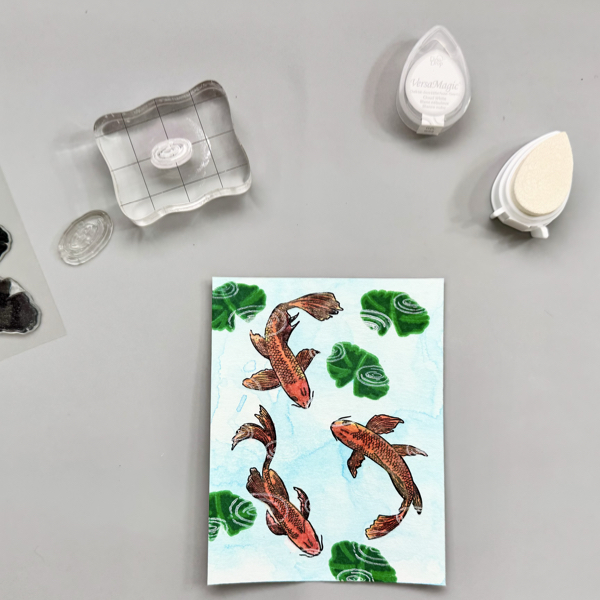
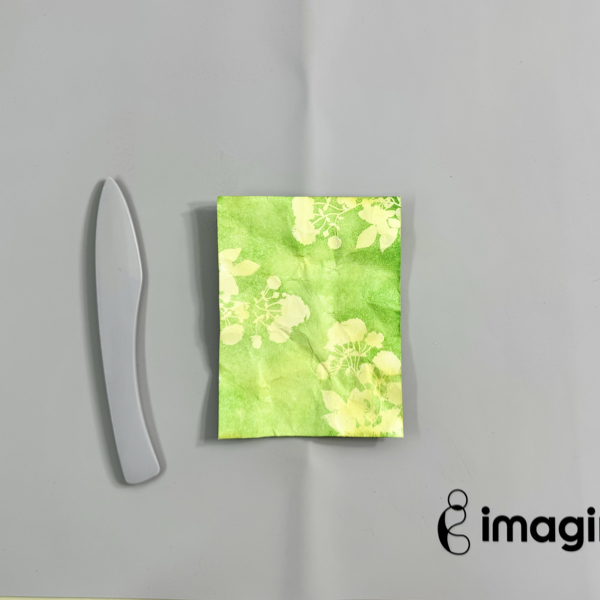
Carefully pick up the printed cardstock of the gelli printing plate.
You get the second print which is a different pattern than the first one.
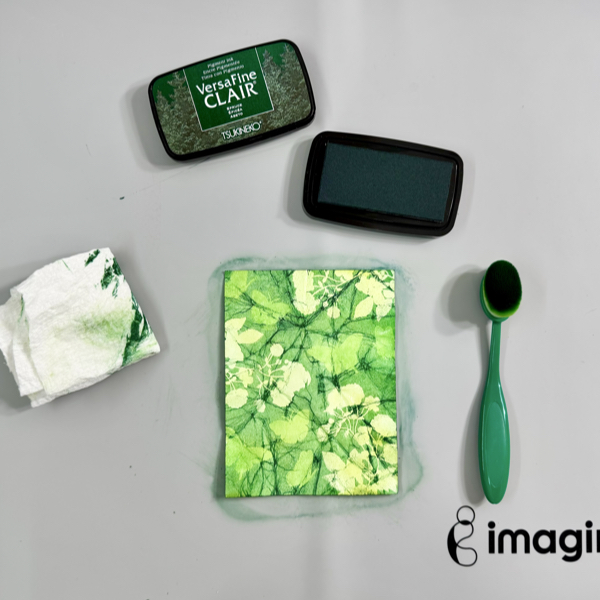
Use a craft heat gut to dry the ink well.
This is the print that we will use for the background of the card.
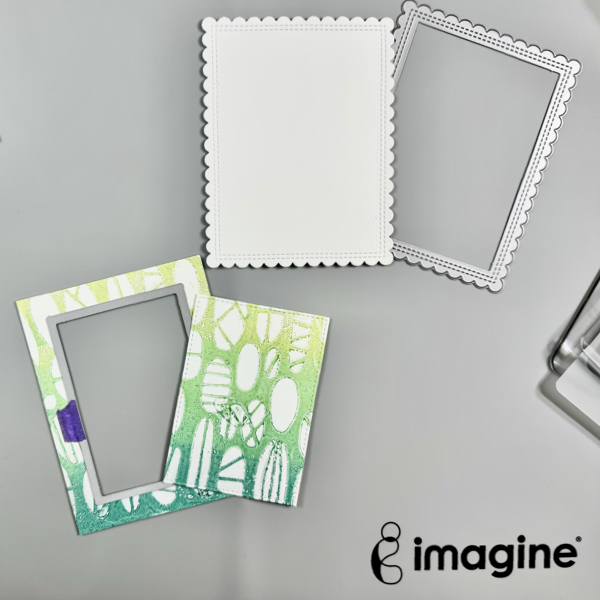
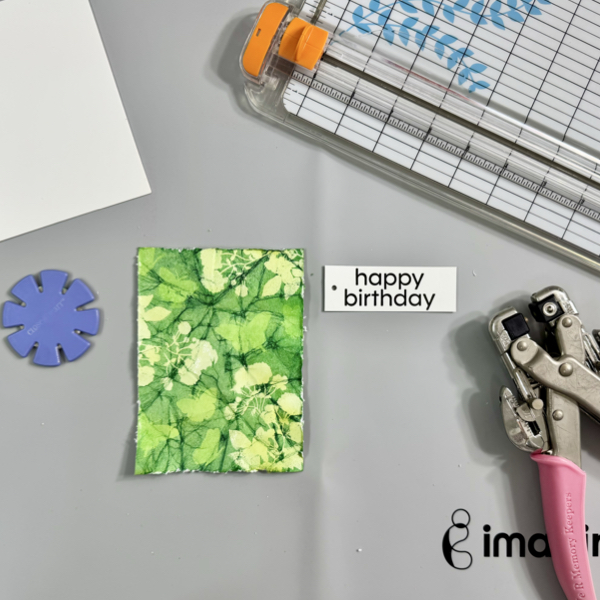
Step 8
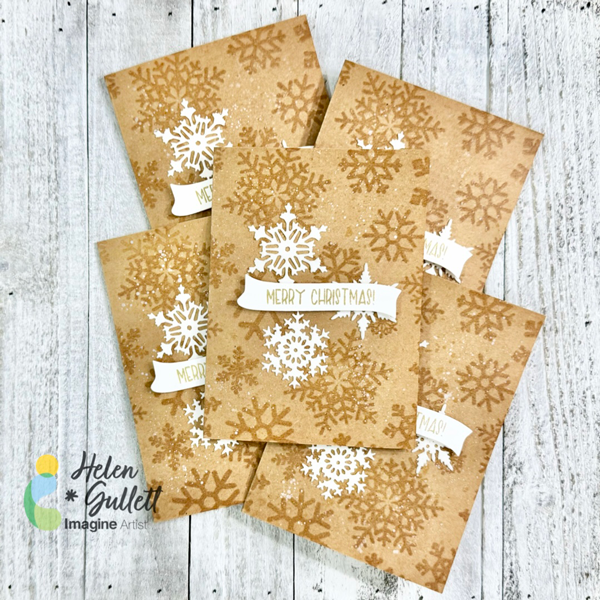
Once the printed background dried well, cut it with a rectangle die form the Stitched Rectangle dies set.
Then cut another piece of white cardstock with the scallop rectangle die from the same set.
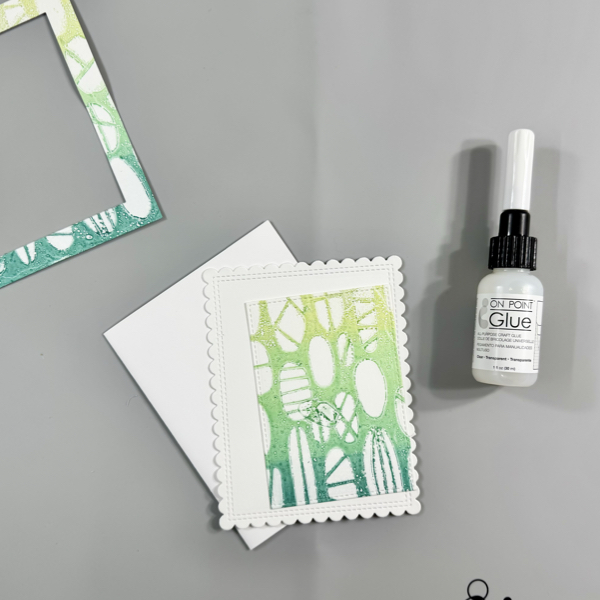
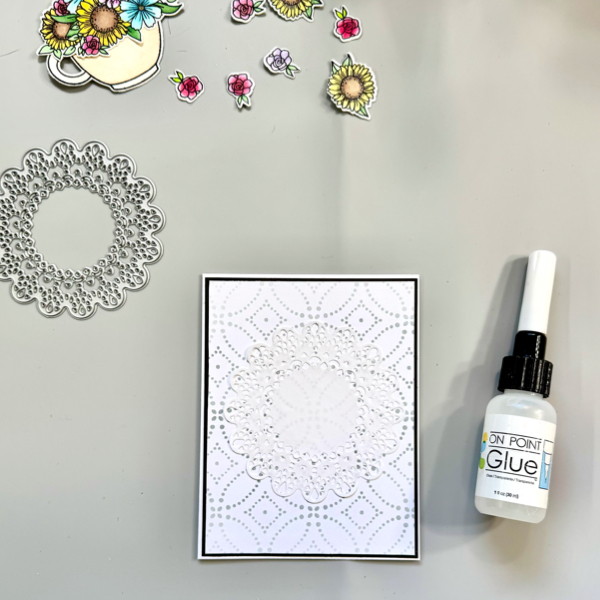
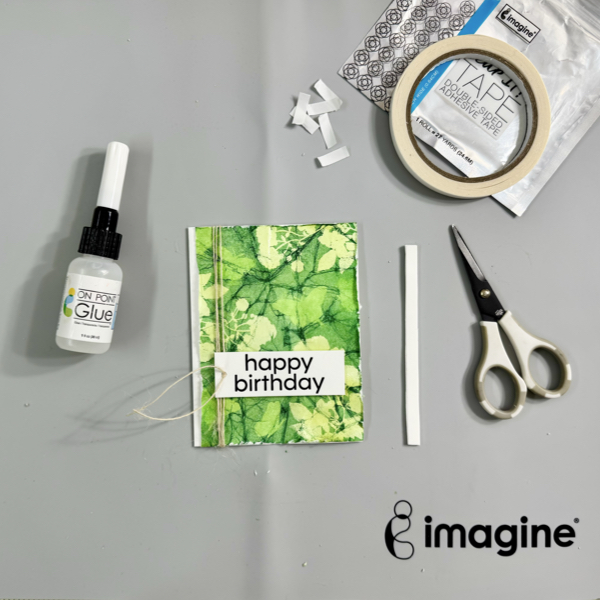
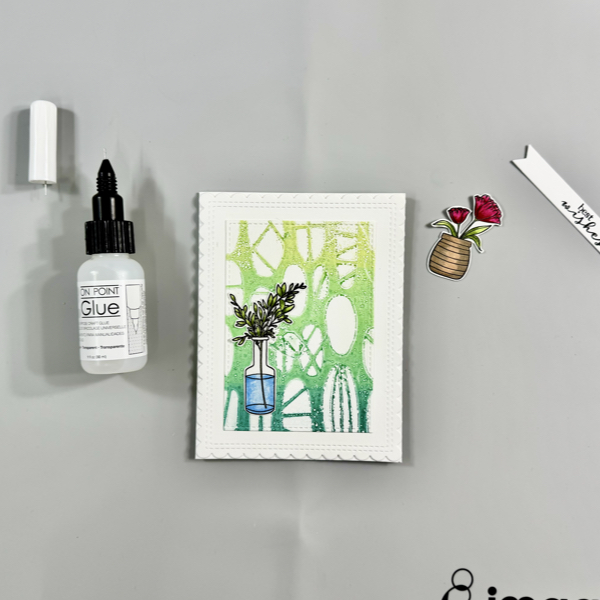
Step 9
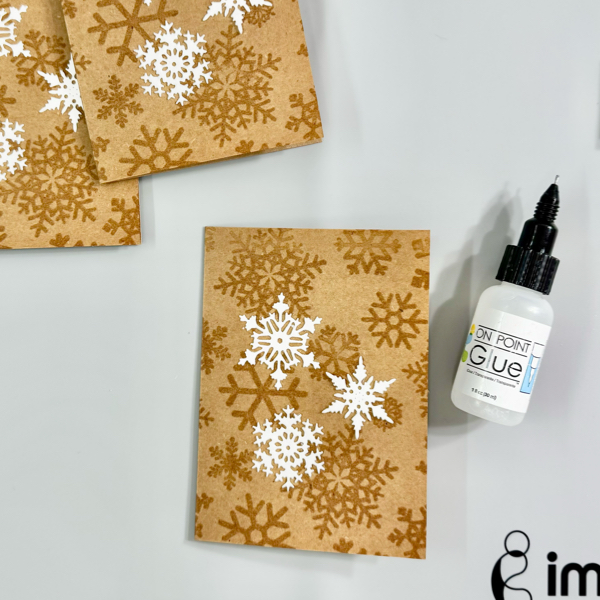
Add the white scallop background panel to the card base using the On Point Glue.
And then, add the printed background panel to the card using the same glue.
Set it aside to dry (optional: you can put a couple of large acrylic stamping blocks on it to hold it down while drying).
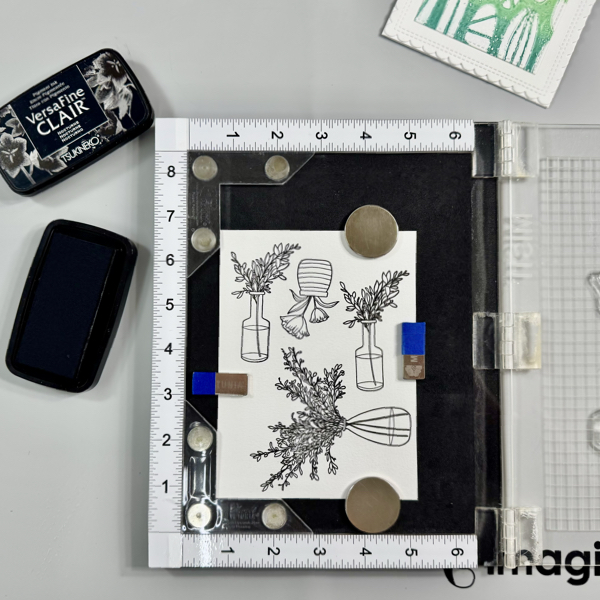
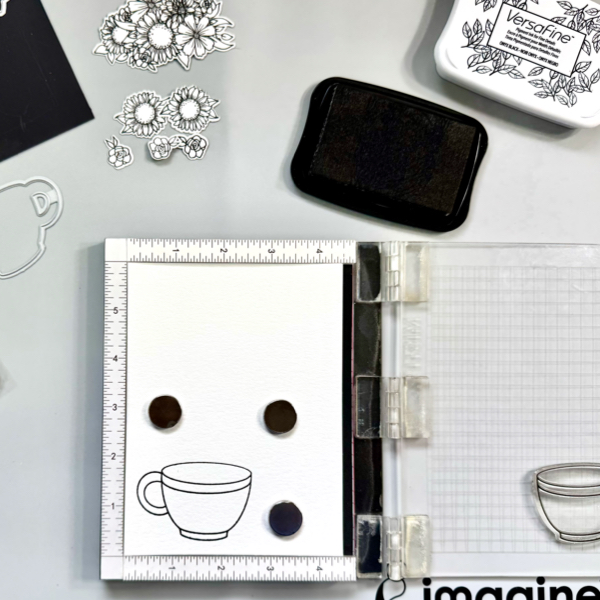
Step 10
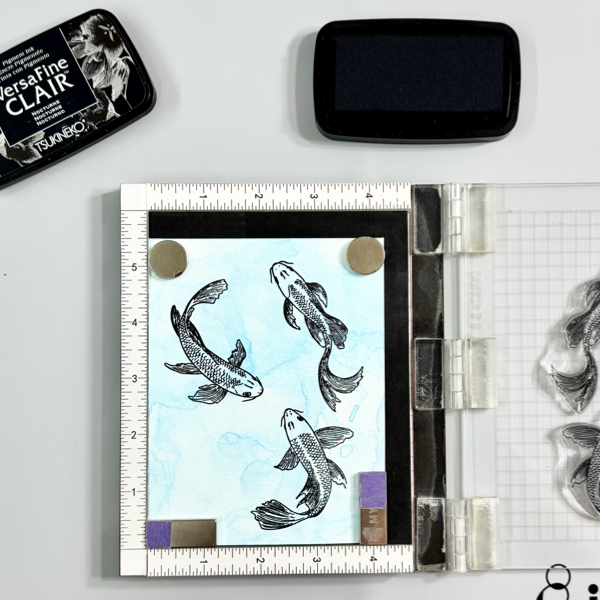
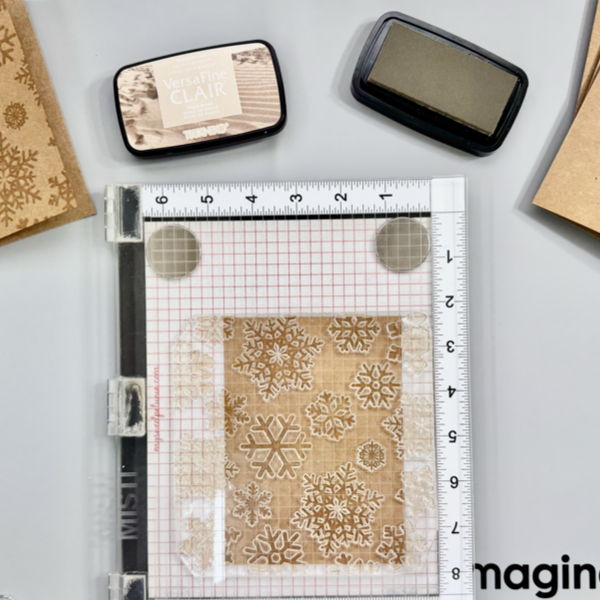
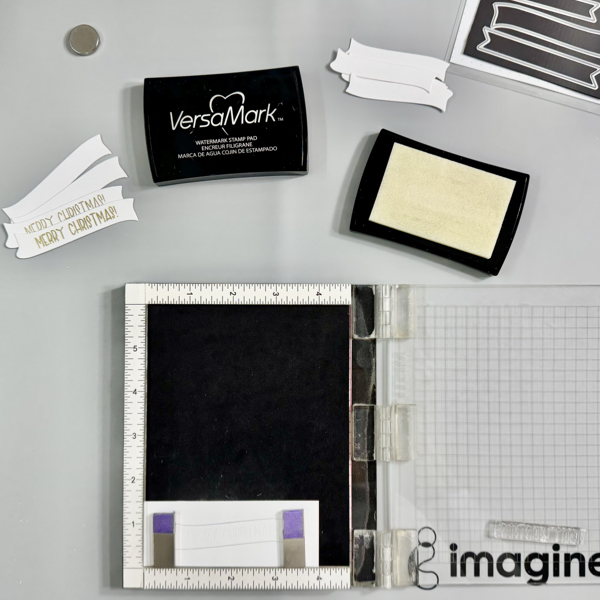
Put a piece of white cardstock on a stamping platform and secure it with some magnets.
Arrange the flower stamps on it and stamp them with the VersaFine Clair Nocturne ink pad.
Remove it from the stamping platform.

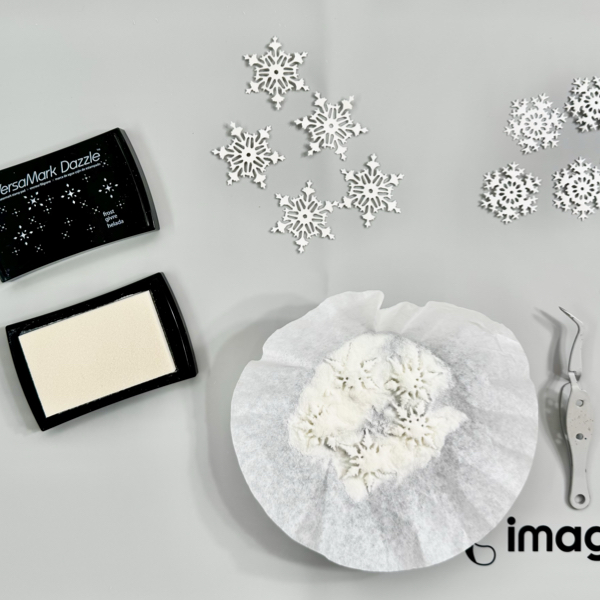
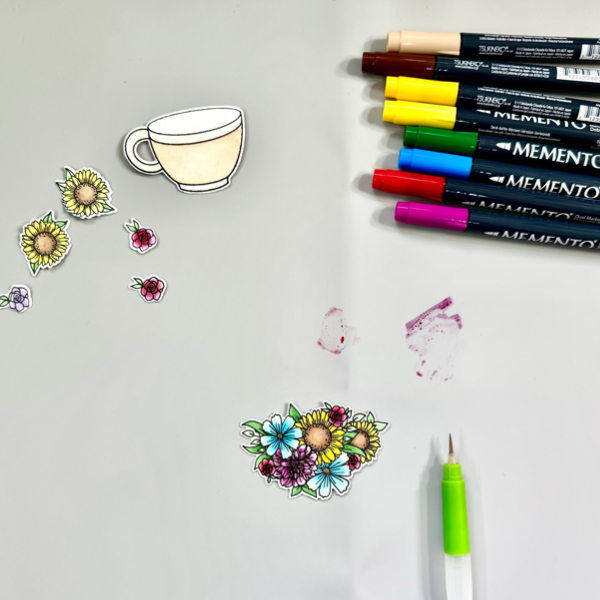
Step 11
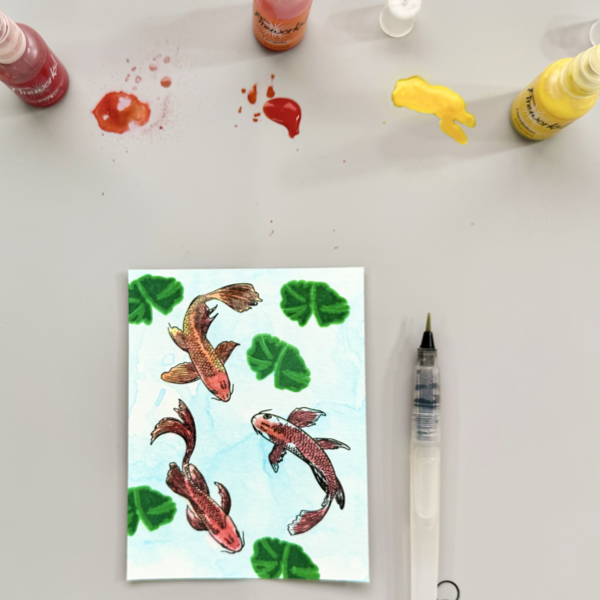
Dry the stamped images using a craft heat gun.
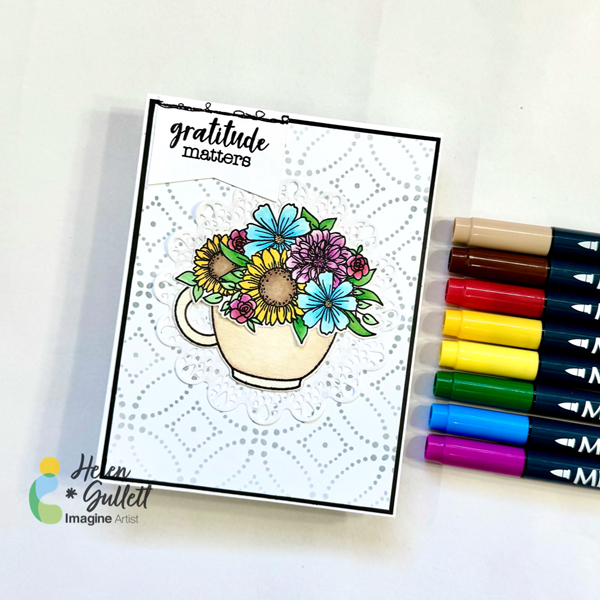
Color them using the Memento Markers.
Fussy cut the images with micro-tip scissors.
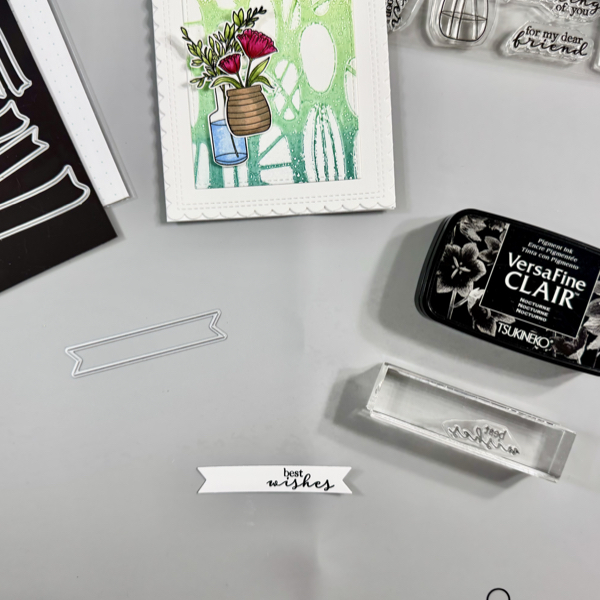
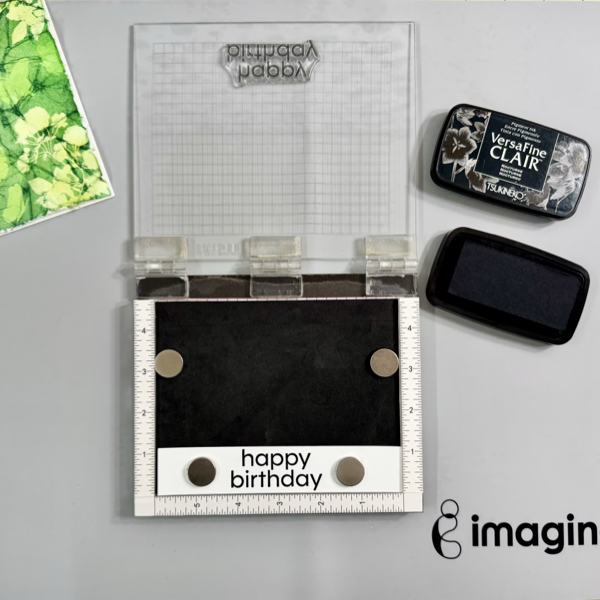
Step 12
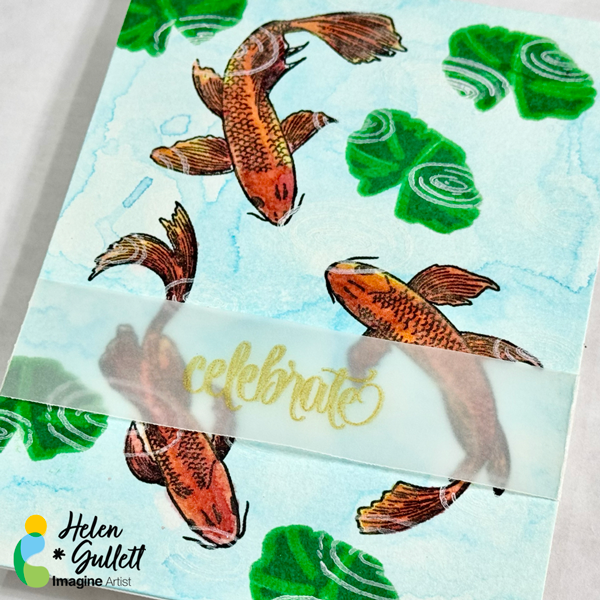
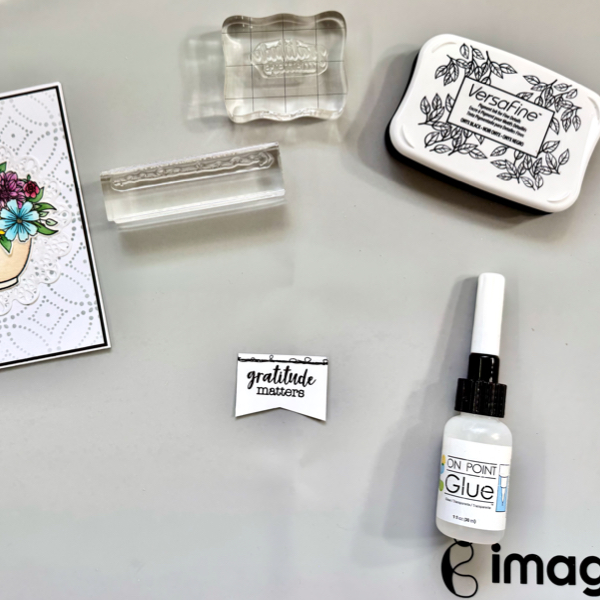
Stamp the sentiment a white cardstock with VersaFine Clair Nocturne ink.
Dry the stamped sentiment with a craft heat gun.
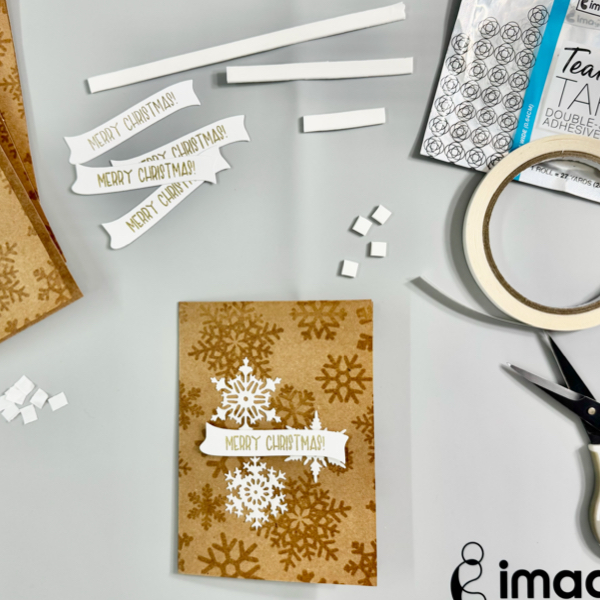
Cut it with one of the banner die from the Banners die set.
Step 13
Add the first flower to the card with On Point Glue.
Using On Point Glue, add a piece of thin foam to the back of the sentiment banner and add it to the card with the same glue.
Then, add some of the thin foam to the second flower and add it to the card with the same glue.
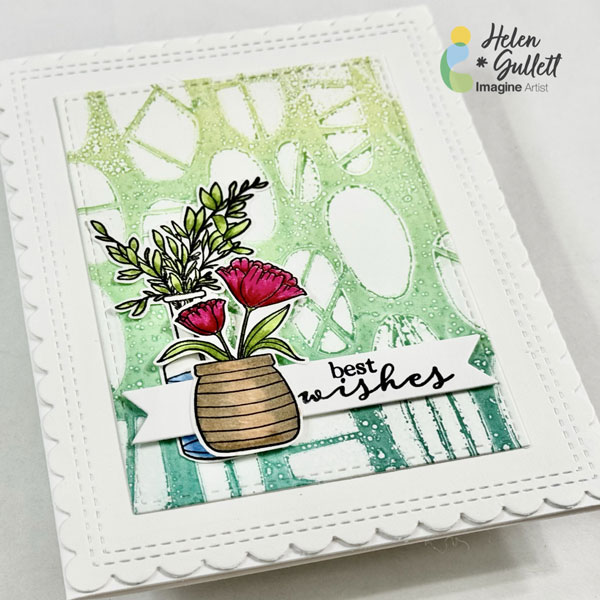
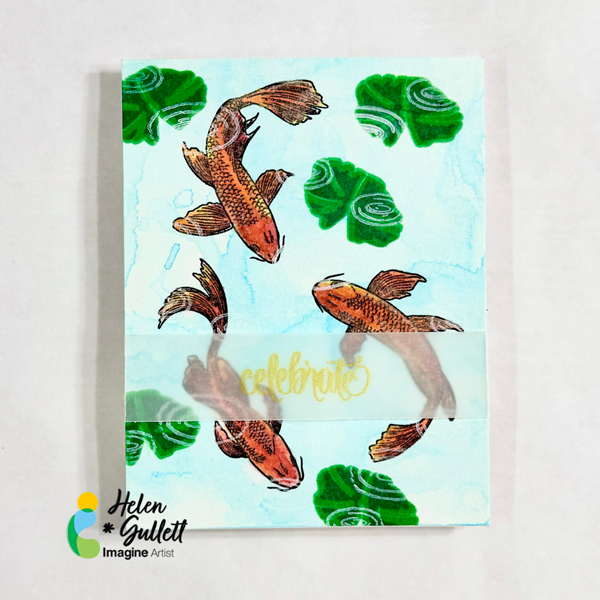
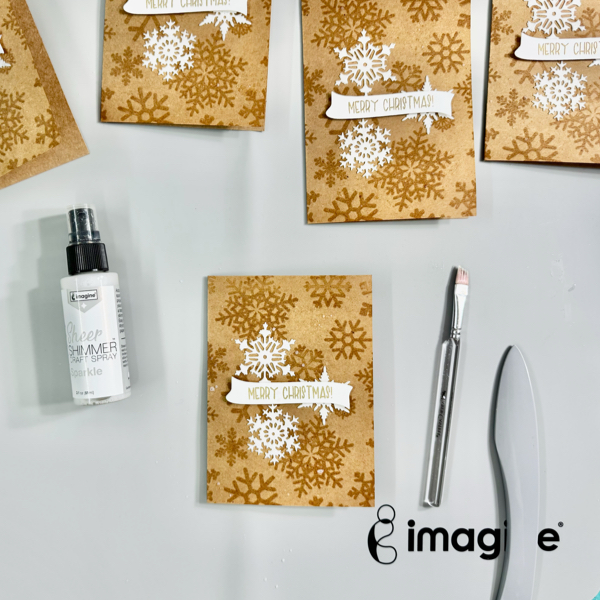
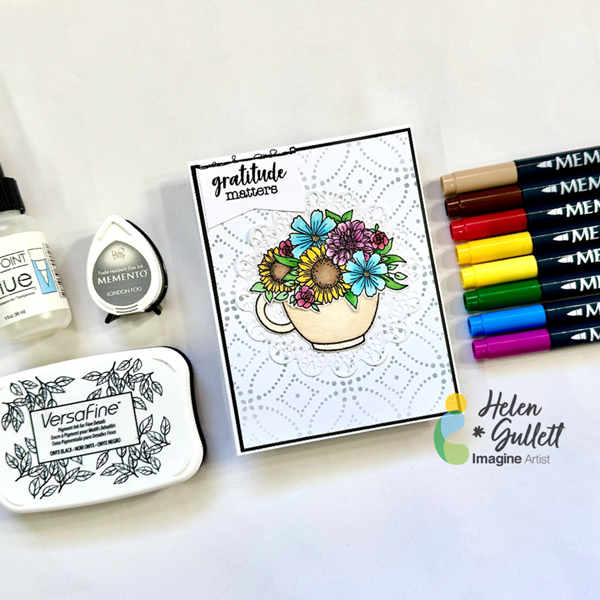
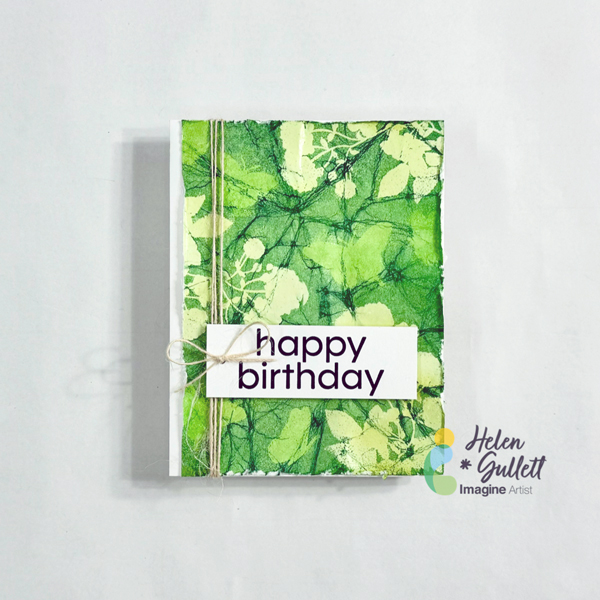
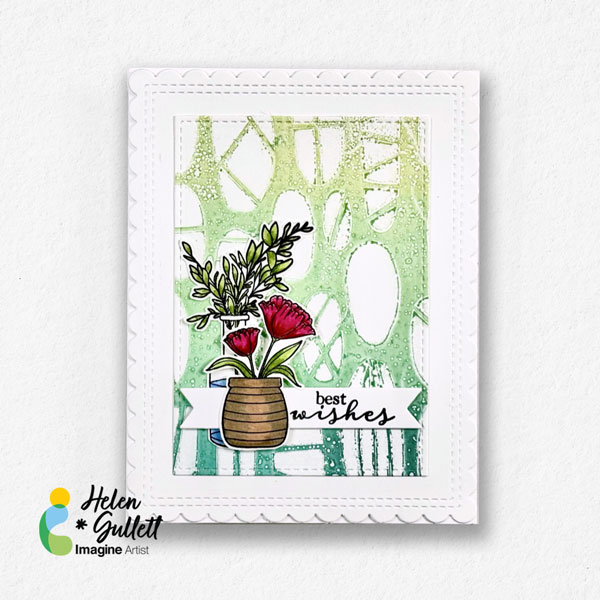
The card is done. Though it looks simple, yet it has some layers to it.
This gelli printing technique is one of a fun way to create pattern backgrounds other stamping.
Thanks for stopping by our blog today.
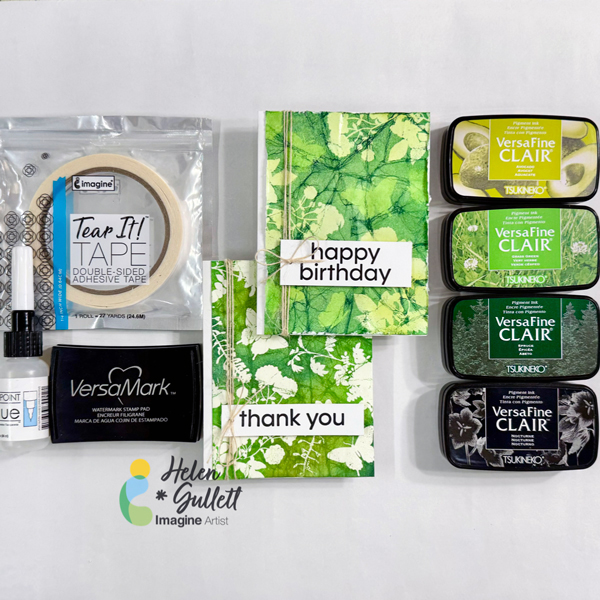
Craft Supplies
Imagine Crafts:
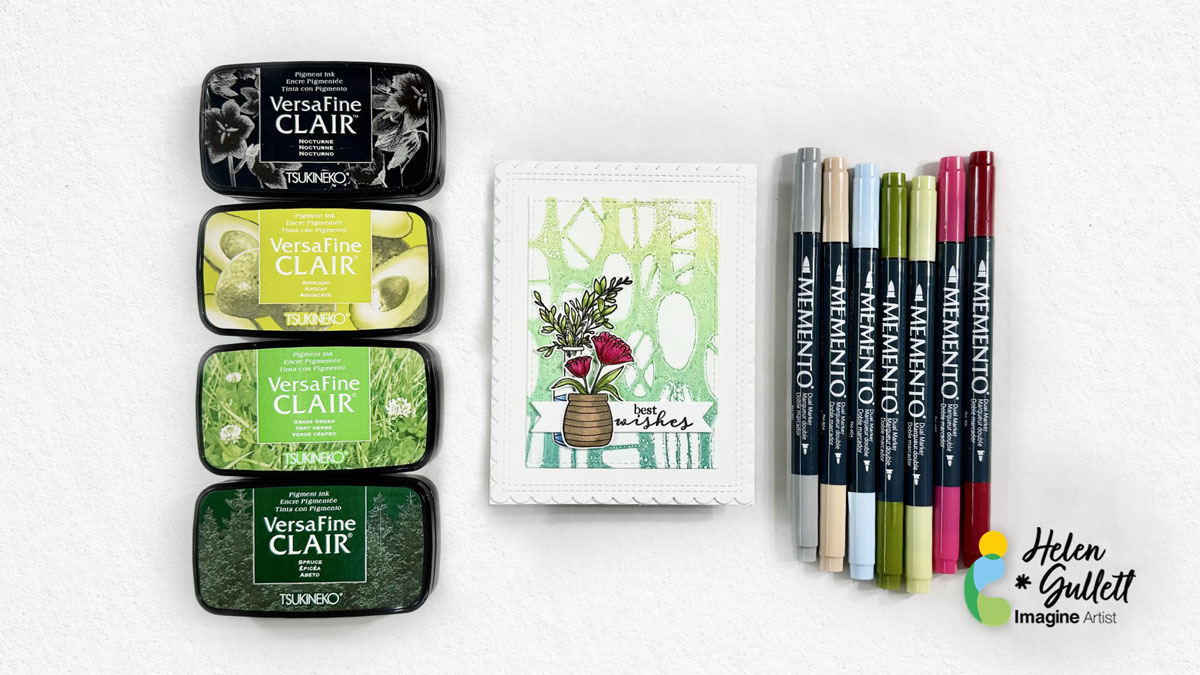
- VersFine Clair (Nocturne, Avocado, Grass Green, Spruce)
- Memento Marker (London Fog, Desert Sand, Summer Sky, Bamboo Leaves, New Sprout, Rose Bud, Rhubarb Stalk)
- On Point Glue
- Imagine Craft Mat
- Staz-On All Purpose Stamp Cleaner
Others:
- Beautiful Bouquets Stamp Set (Creative Worship Stamps)
- Floating Circles Stencil (Creative Worship Stamps)
- Funky Stones Stencil (Creative Worship Stamps)
- Banner Die Set (Creative Worship Stamps)
- Stitched Rectangle Die Set (Creative Worship Stamps)
- Copy paper (24 lb above is recommended)
- Gelli Printing Plate
- Mini roller
- Stamping blocks
- Stamping tool
- Micro-tip scissors
- Paper trimmer
- Diecutting machine