We are wrapping up a week of Wedding Craft inspiration and thought we would do a little recap. Please pin this page as a reference or share on facebook. We encourage you to pull from these design ideas and mix and match them to create what you need. For example, Kyriakos table decor almost matches Kassy’s banner perfect. With a little tweaking on each design, you could easily create a full array of decor for a wedding.

Create a Matching Wedding Set – the Invitation, Favor Box & Placecards by Roni Johnson.
As always, Roni outdid herself by creating three dynamic matching papercraft projects featuring a free download for a favor box. Using the Imagine’s Color of the Month (and Pantone’s color of the year) Ultraviolet as inspiration for the color scheme.
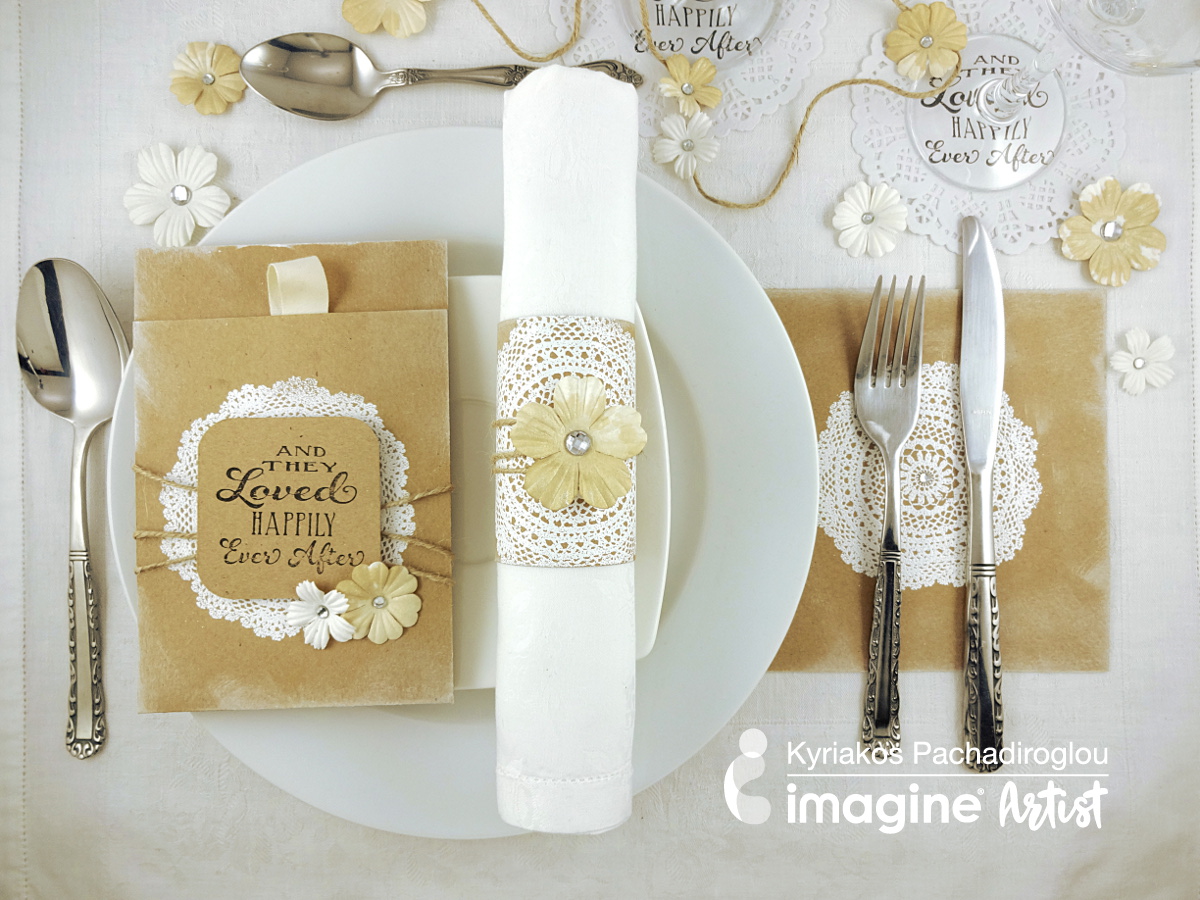
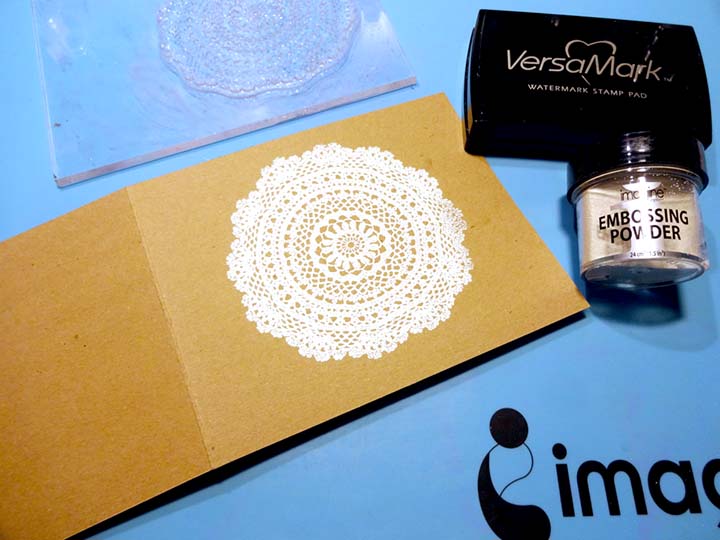
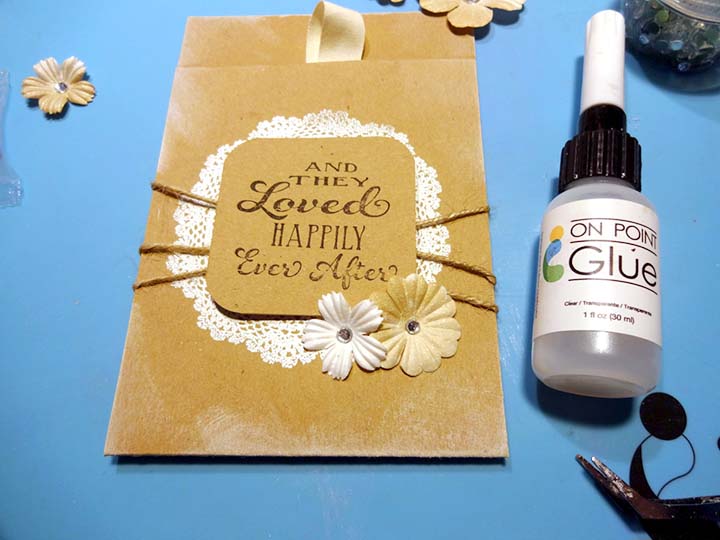
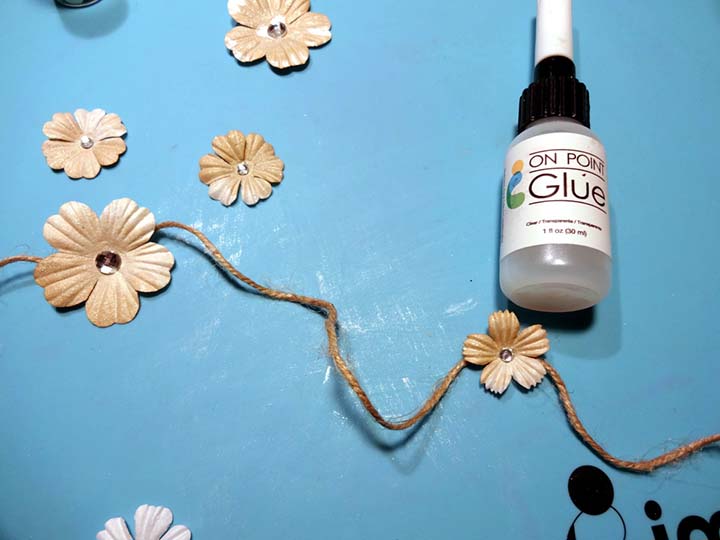
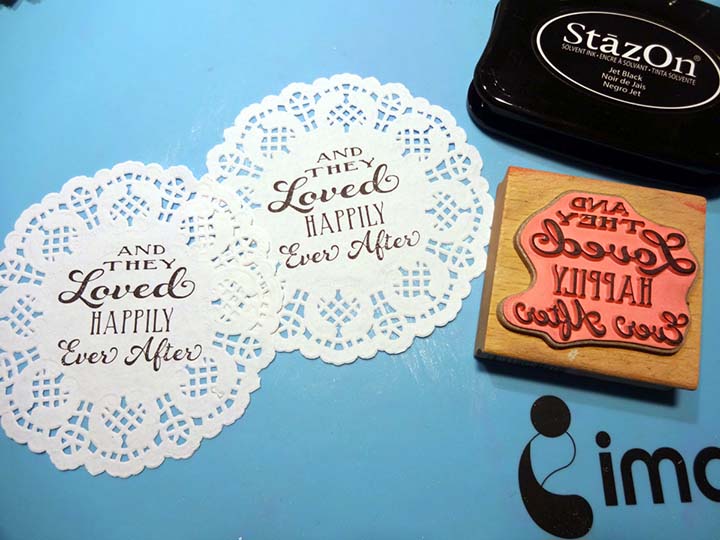
A Simple, Elegant and Inexpensive Wedding Table Setting by Kyriakos Pachadiroglou
Kyriakos has a knack for jewelry and table decor. He certainly shows off this knowledge in this post where he creates a pull tab card, napkin ring, cutlery placeholder and wine glass placeholder for a lovely DIY shabby chic style. One super fun element we love in this design is the doily stamp. Yes.. that is a stamp not as an actual paper doily.
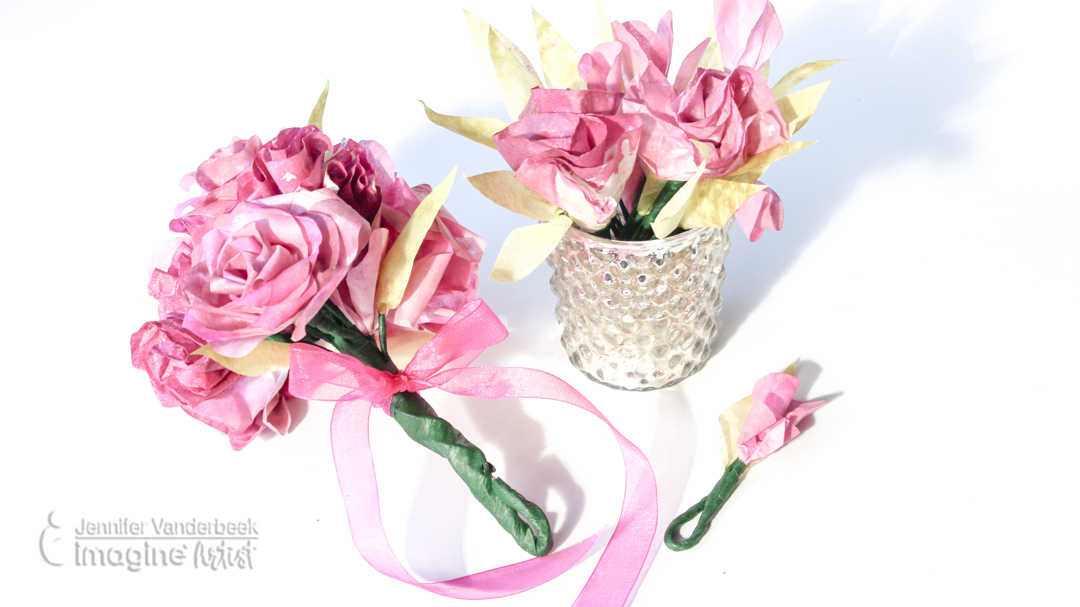
How to Make Wedding Flowers from Coffee Filters by Jennifer Vanderbeek
We are so impressed with how these paper flowers turned out! Since Jennifer is one of our video artists, you will have the luxury of seeing for yourself how these are handcrafted. Take a minute to watch this YouTube video to see how she designed these bouquets.
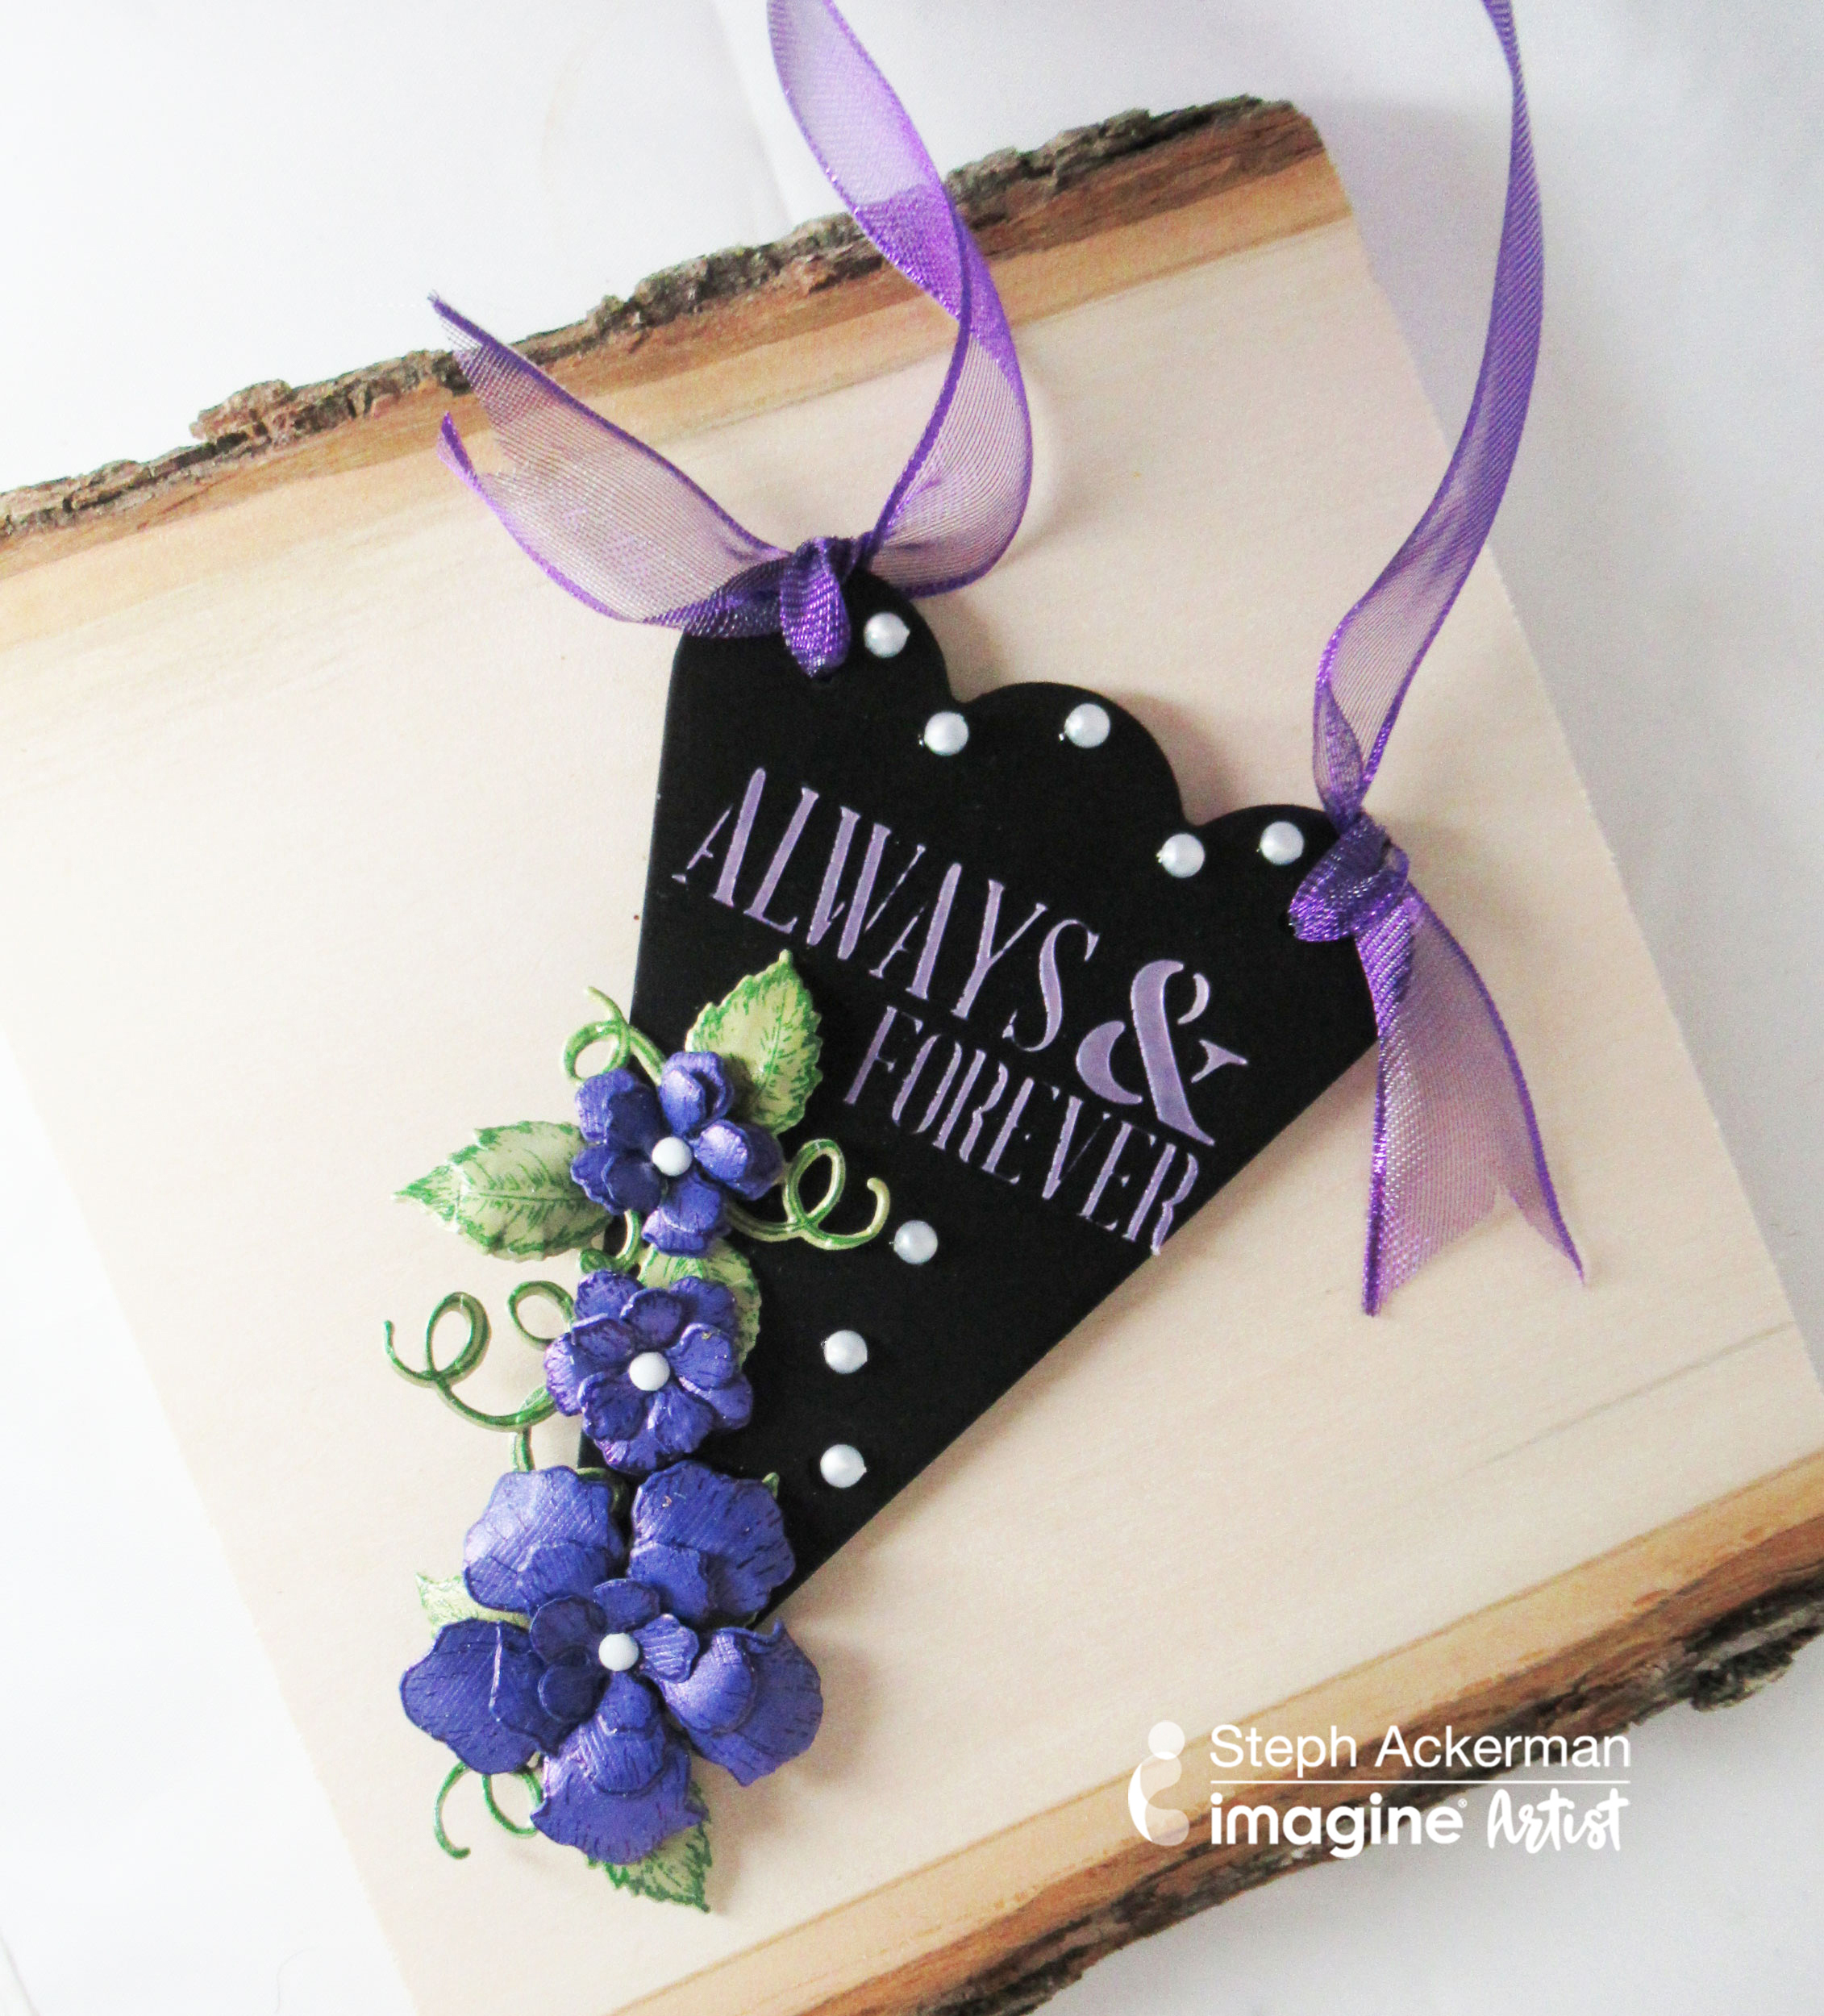
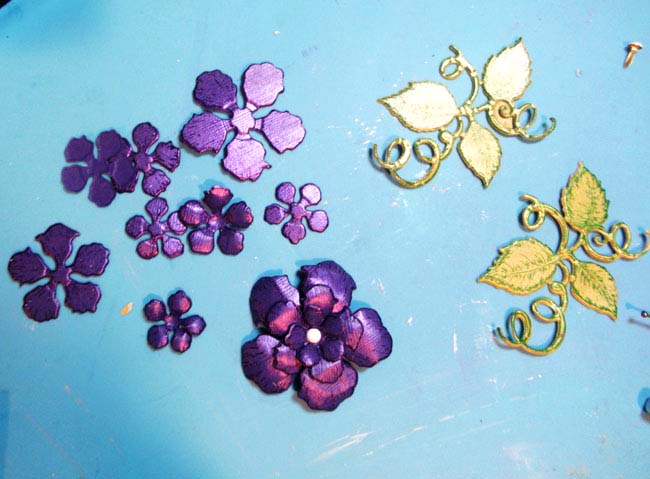
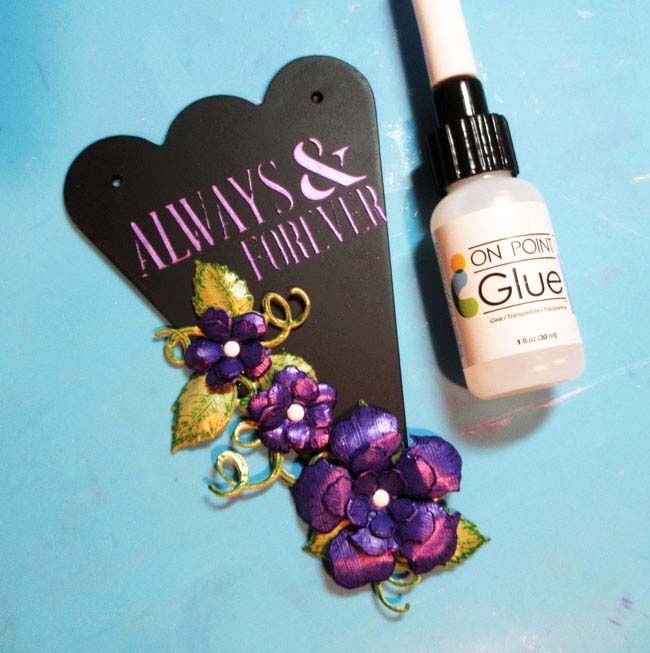
Create An Elegant “Always & Forever” Wedding Sign by Steph Ackerman
We like the rich purple flowers that literally pop off this banner style sign. See how Steph used Creative Medium in Iridescent Purple to match flowers to “Always & Forever” text.
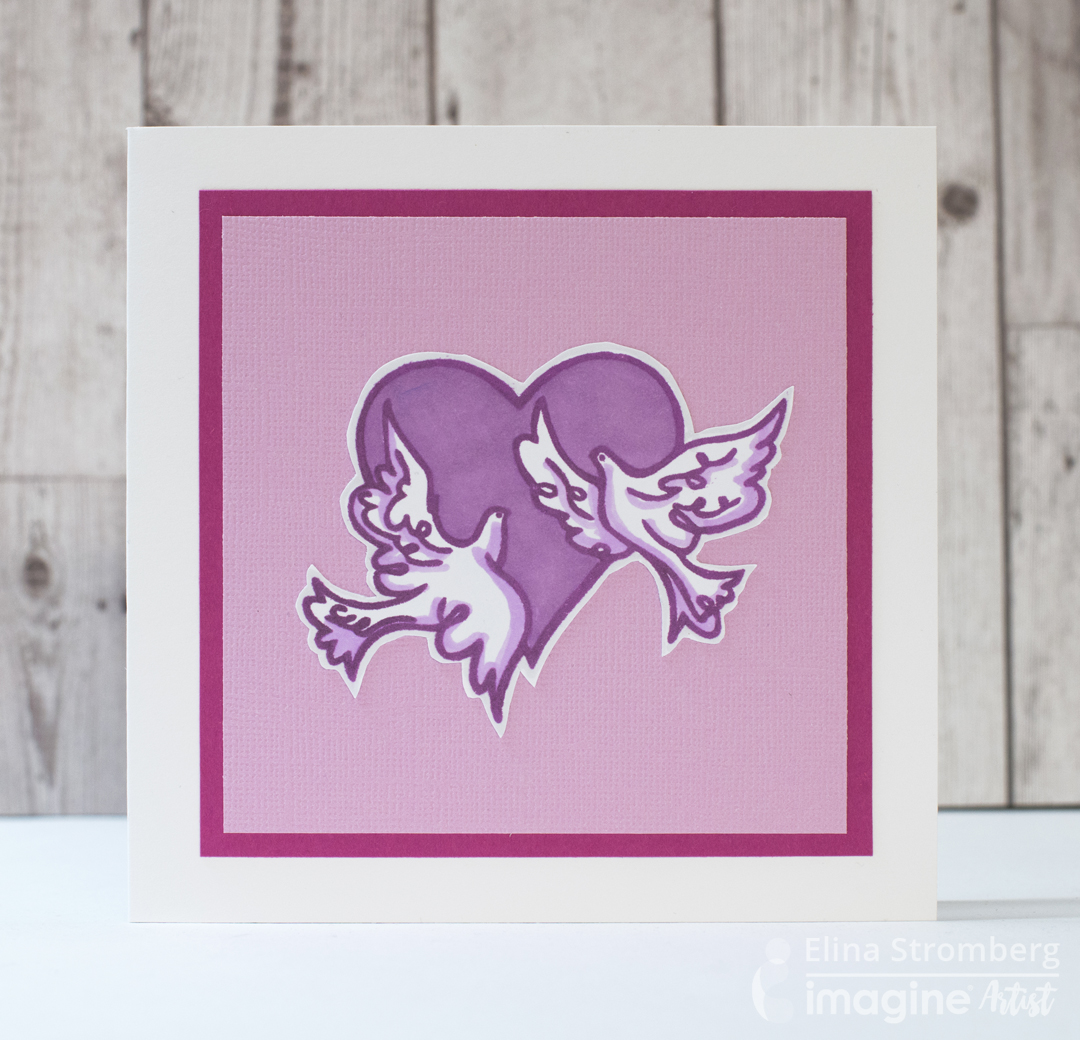
Use a Cute Lovebirds Theme in Wedding Decor by Elina Stromberg
We appreciate this lovebird design as a theme for a wedding. Elina goes through a couple different color schemes and design ideas to show off how to use one stamp in a variety of ways.
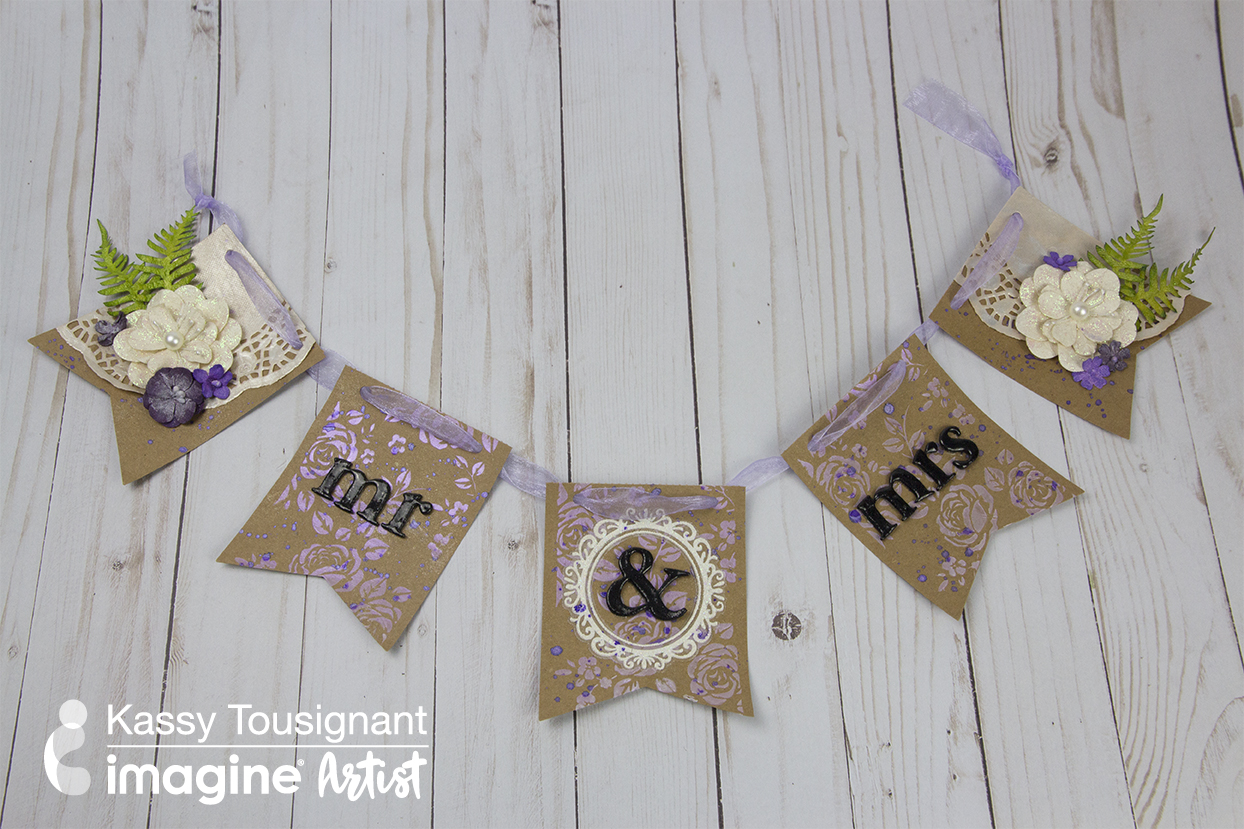
Learn How to Make a Shabby Chic Wedding Banner by Kassy Tousignant
And if you have not watched this video yet then please do! Kassy goes through all the steps of creating this Shabby Chic Mr. & Mrs. Banner.