By Tracy Fear
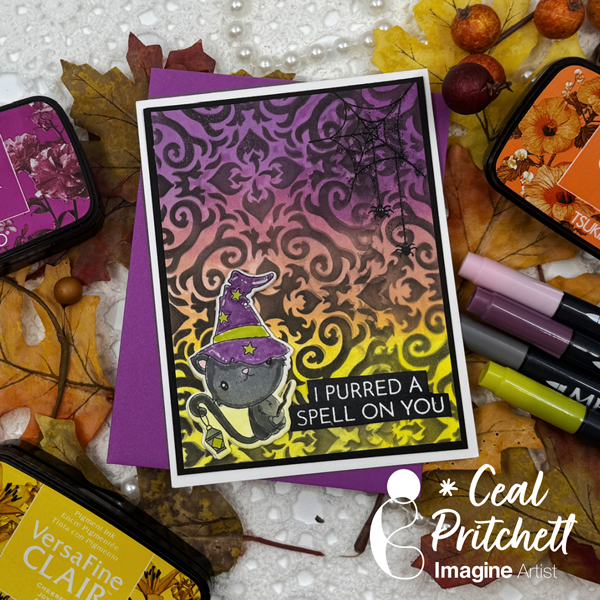
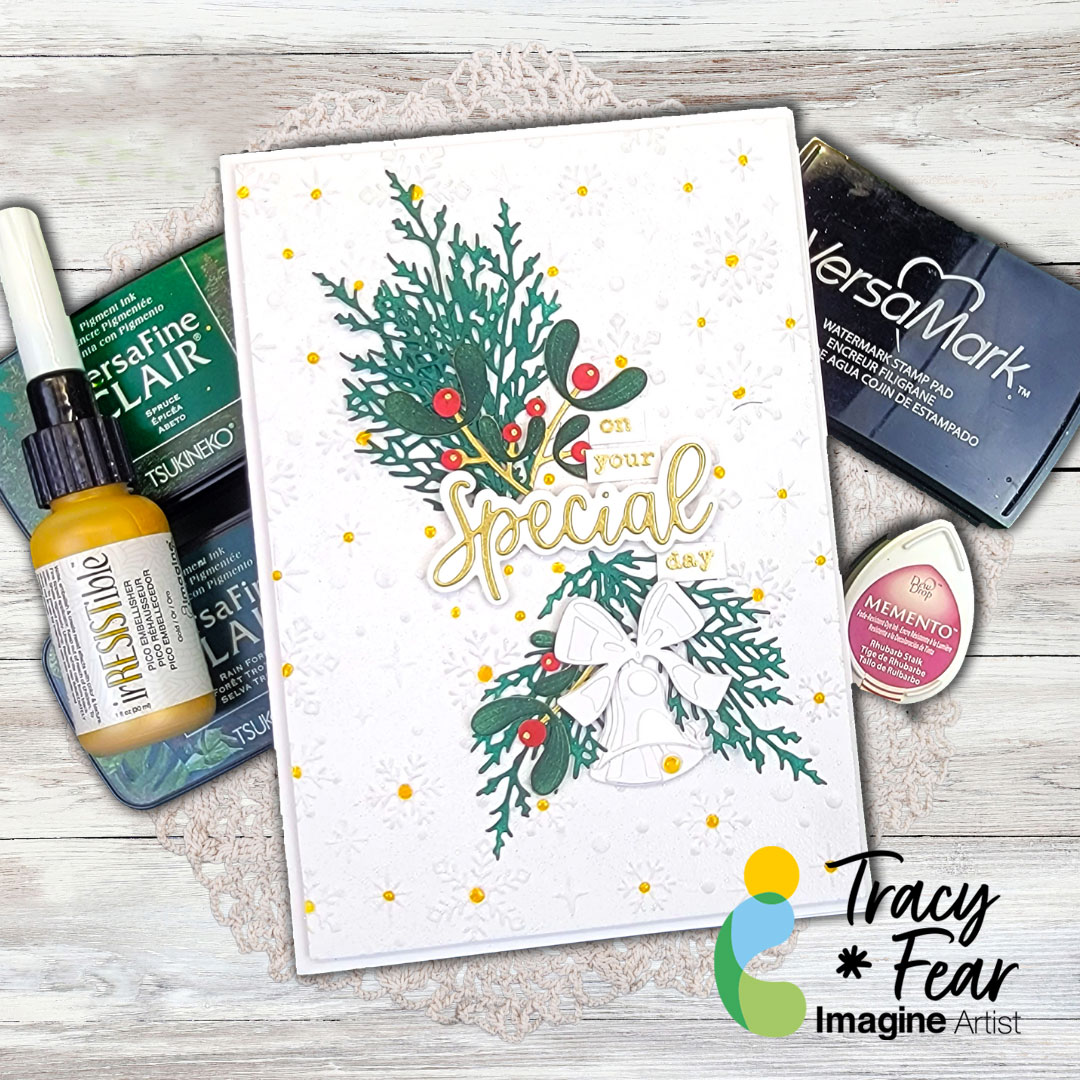
Hello Friends! It’s no secret, some people have their big day in the winter! My goal here was to create a winter wedding card. I’m not going to lie, I had no idea what would be appropriate colors for a winter wedding so I turned to a trusted friend, Google that is, and learned that forest greens and red and burgundy colors were the trend for 2025 going in to 2026 so I worked some magic with inks, embossing, and die cuts to create this 5×7 winter wedding card!
Tracy
Skill: Intermediate
Time: 90 Minutes
Products Used:
Imagine Products
• Memento Inks in: Rhubarb
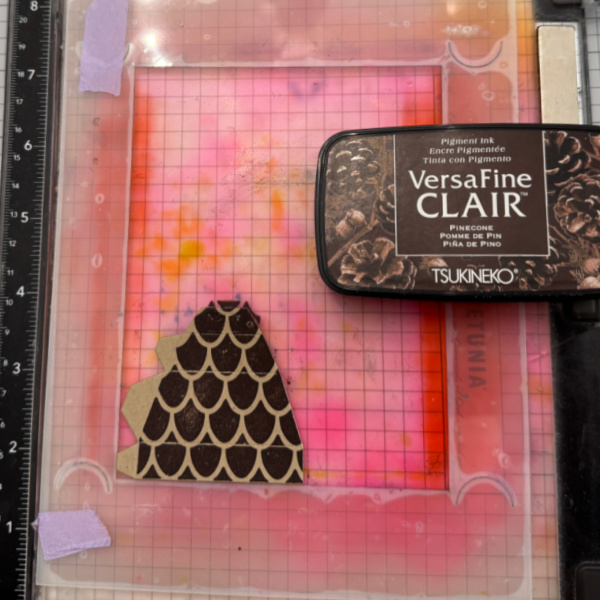
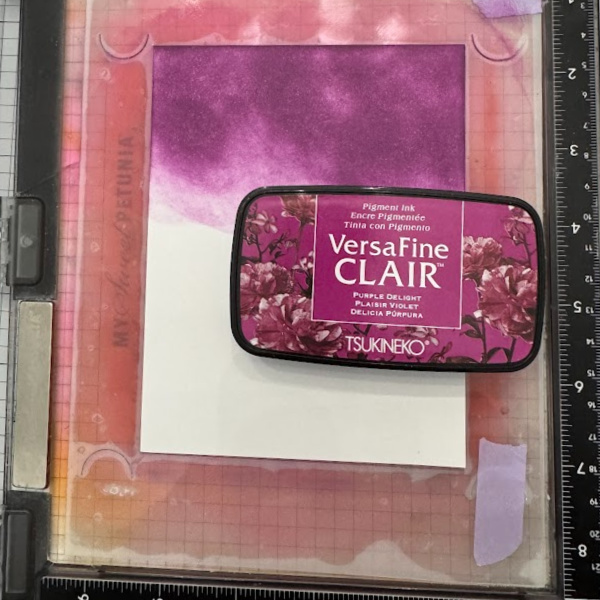
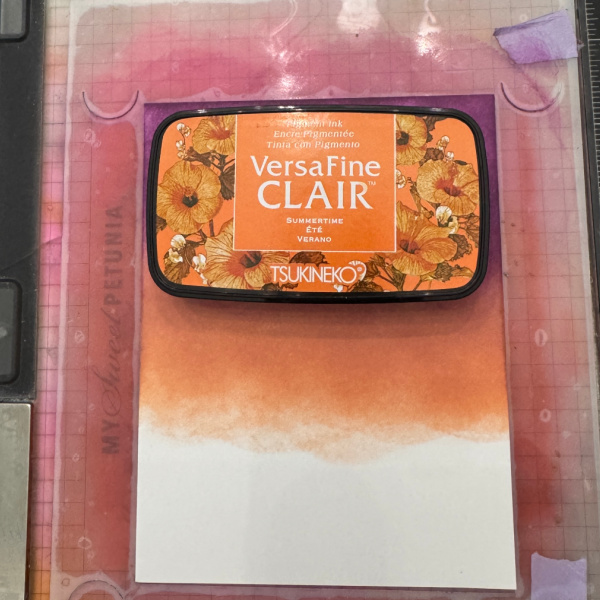
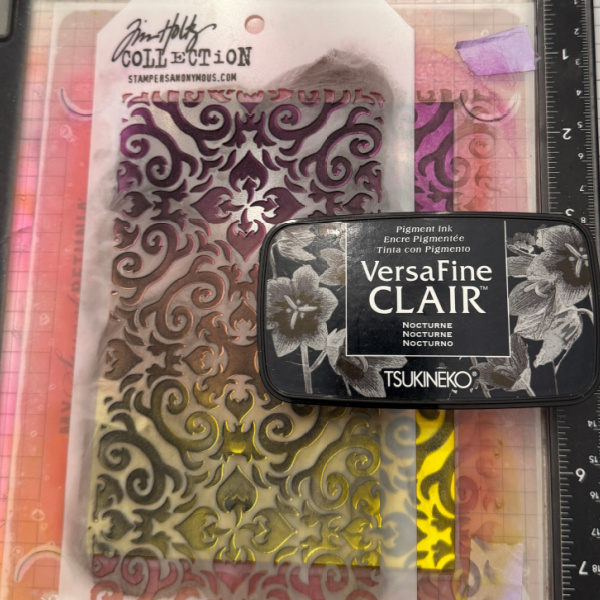
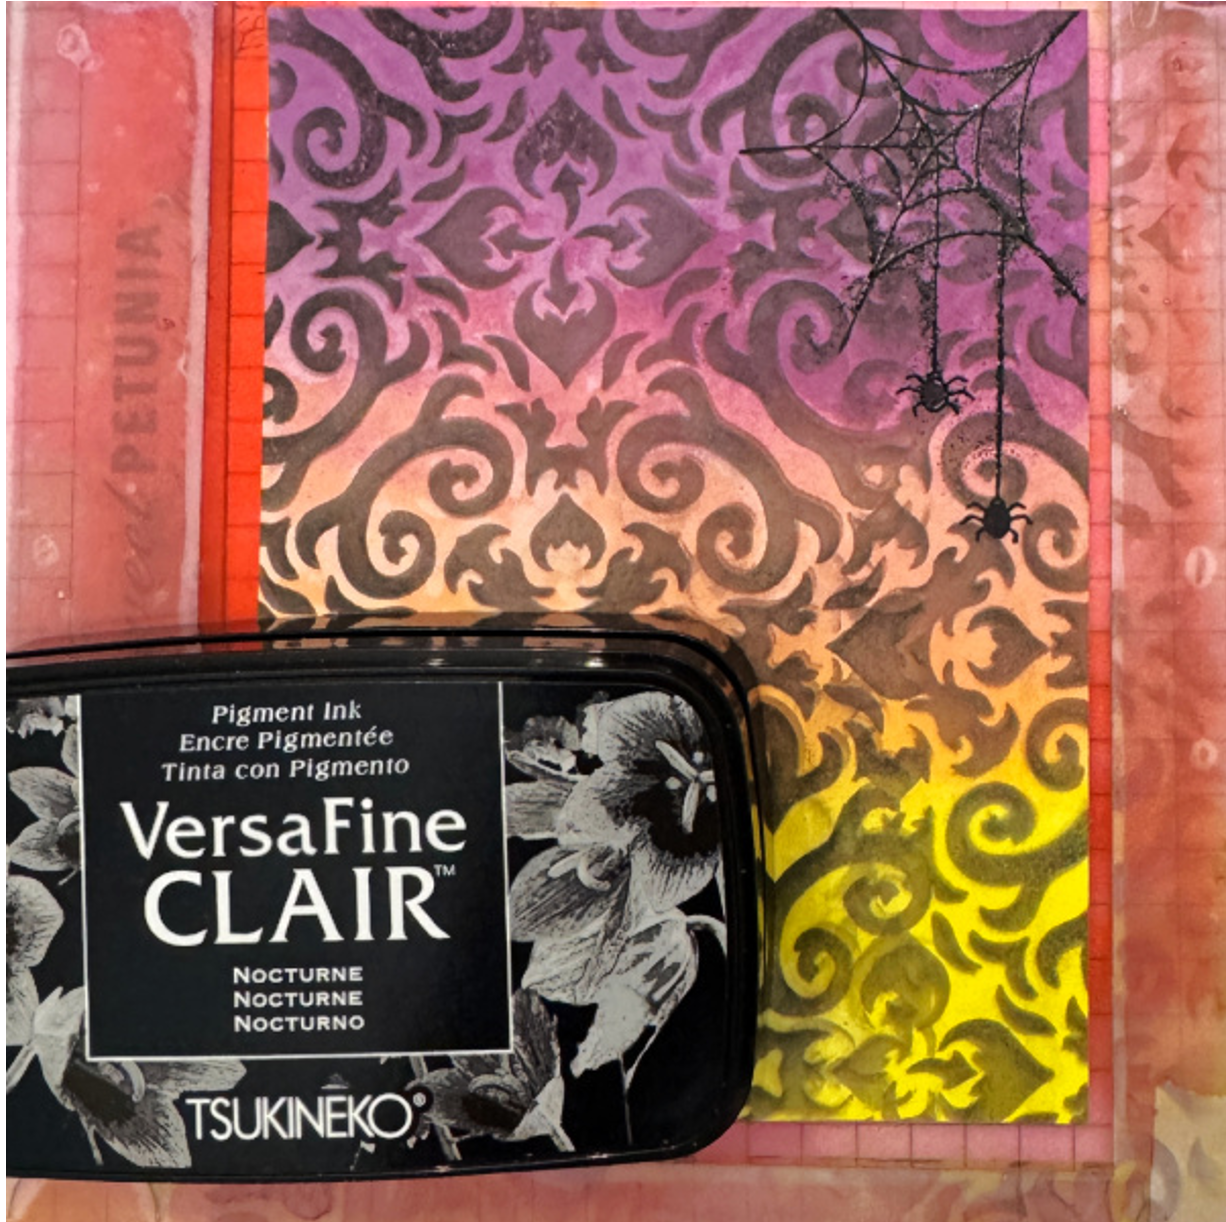
• VersaFine Clair in Rain Forest and Spruce
• VersaMark
• irRESISTible Pico Embellisher Gold
Art Supplies
• Acrylic stamping block or stamp platform
• Embossing Folder
• Die cut machine
• 100lb white paper
• 5×7 Card base
• Embossing powder
• Stamps of your choice
• Embossing heat tool
Other Products Used
• Brutus Monroe Embossing Powder in Unicorn and Gilded
• Simply Sentimental-Special stamps and die set from Trinity Stamps
• Greenery, bells, and plant die sets from Tim Holtz
• Snow embossing folder from Spellbinders and Simon Hurley
• PVA Adhesive
• Foam Tape
ALTERNATIVE PRODUCTS THAT CAN BE USED TO RECREATE SOMETHING SIMILAR
Any Inks any combination of background stamps, dies, and feature stamps
To learn how to create your own Winter Wedding card, click here!