How To Paint With Versafine Clair

by Jennifer Vanderbeek

How To Paint a Desert Scene With Versafine Clair

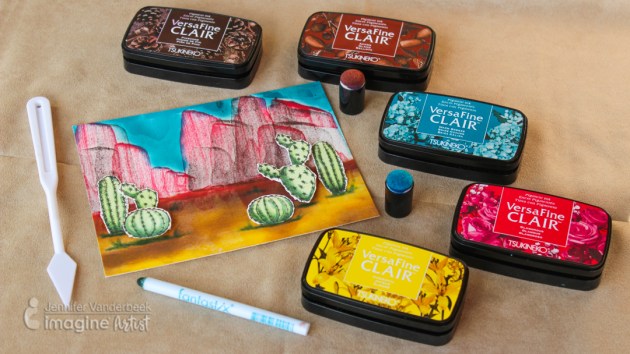
VersaFine Clair is great for using with wet mediums because it’s oil-based formula won’t interact with paints or sprays. But I also wondered what else I could do with this very versatile ink. I discovered that VersaFine Clair’s quick-drying formulation makes for a wonderful, texture-rich dry brush effect when combined with Fantastix and that, while you can’t make a fluid medium with it and water-based thinners, a little bit of added oil will work! I had a lot of fun reaching beyond traditional techniques to create my “painted desert” scene.

Skill: Intermediate
Time: 1 hour

Supplies

Imagine
Other
  • Canson – Hot Press Watercolor Paper
  • Hero Arts – Stamp Your Own Cactus
  • Acrylic Blocks
  • Fiskars – Paper Trimmer, Scissors
  • Olive Oil
  • Helmar – ZapDots

Make a Purple “Good Vibes” Shimmery Greeting Card

by Jowilna Nolte

Make a Purple "Good Vibes" Shimmery Greeting Card

Creating subtle interest on cards and other projects is easy with the amazing products from Imagine and Tsukineko. I have been experimenting and creating purple background ombre effects using VersaFine Clair and Memento Luxe ink pads as well as some older favorites like Creative Medium and All-Purpose Inks. Take a look at how to make this card.

Skill: Beginner
Time: 30 minutes

Directions


Step 1

Use a jumbo dauber and blend a pattern through a stencil using Memento Luxe Sweet Plum.


Step 2

Continue the same pattern using a darker shade of ink like Memento Luxe Elderberry.


Step 3

The blending creates a perfect ombre effect going from light to dark. Did you know that Memento Luxe has superior blending qualities? It makes for the most amazing blended effects with its creamy effortless application.


Step 4

Add a slight shimmer to the blended effect by adding Creative Medium in Shimmer over the blended pattern.


Step 5

To create a shade of purple, mix a couple of drops of All-Purpose Ink in Orchid Odyssey into the Creative Medium.


Step 6

Paint the colored Creative Medium over the pattern and leave to dry. The end result is a subtle shade of purple removing the bright white background, but also adding a beautiful shimmer to the card.


Step 7

Use VersaFine Clair Monarch and stamp the “Good Vibes” sentiment onto white cardstock and cut it out.


Step 8

Stamp the sentiment again but directly onto the stenciled background and sprinkle with glitter embossing powder. Heat set the embossing powder to give a beautiful shimmering sentiment on the shimmering background.


Step 9

Layer the stamped sentiment slightly off-set from the embossed sentiment onto the card using foam tape for added dimension. The embossed sentiment below makes the stamped sentiment really stand out and creates loads of interest. Add irRESISTible Neon Purple splats to finish off your card.

Supplies

Imagine
Other
  • Cardstock – White
  • Kaisercraft – Good Vibes stamp
  • Sewing machine
  • Jowilna Nolte – stencil
  • Embossing Powder
  • Heat Gun
  • Paintbrushes
  • Palette
  • Pipette

How to Make Fun Shapes with Radiant Neon Amplify

by Arjita Sepaha Singh

I wanted to try the Radiant Neon Amplify Texture to create fun shapes for kids and decided to use stamps as well as some free hand skills. I stamped an egg, a strawberry, the moon and others with a light colored ink and then covered the stamp with a layer of various Amplify colors. Always preheat the heat tool before applying heat to the Amplify. This puffs the pigments quickly. Always clean the nozzle and cap the bottle after use.

Skill: Intermediate
Time: 1 hour +

Supplies

Imagine
Other
  • Heat gun
  • White Card Tags
  • Acrylic Block

Create a Beautiful ‘Under the Sea’ Theme Tag

by Kassy Tousignant

Create a Beautiful 'Under the Sea' Theme Tag

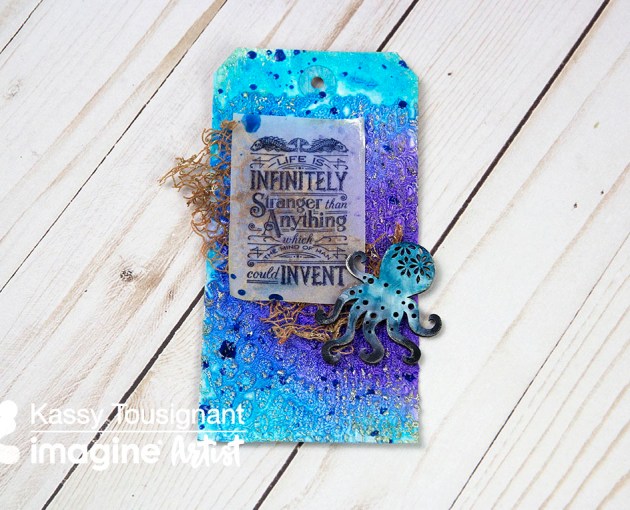
I would love to show you a fun, new way to use Radiant Neon Amplify Texture to create an interesting Snakeskin texture on your next tag or cardmaking project. In this project, I used it with a background stencil and colored with Fireworks sprays to achieve a dynamic, textured pattern on my tag.  I am always looking for new, innovative ways to create texture and add visual interest to my work and Amplify really took it up a notch! The light foam that pops as a result of heat-activation is unlike anything else. I also love that it can be sprayed or painted over to achieve your desired look.

Skill: Intermediate
Time: 30 minutes

Supplies

Imagine

Other

  • E6000 glue
  • Prima – Sculpture Medium clear, Acrylic paint
  • Liquitex soft body paint – Muted Grey, Muted Turquoise
  • Graphic 45 stamp
  • Echo Park – Snakeskin stencil
  • Woodcut Octopus
  • Cloth netting


Use Ink Potion No. 9 to Make Creative Card Backgrounds

by Melissa Andrew

Use Ink Potion No. 9 to Make Creative Card Backgrounds

In today’s video, I show you how to create a gorgeous shimmer background with Fireworks Sprays, Ink Potion 9 and the New VersaFine Clair inkpads. Ink lifting with Ink Potion 9 creates a gorgeous Bokeh photography look when used with Fireworks Sprays and two different sized ink daubers. In addition, VersaFine Clair stamps beautifully over the backgrounds to finish the design.

Skill: Intermediate
Time: 1 hour +

Supplies

Imagine
Other
  • Whimsy Stamps – Hand Stitched Nested Rectangle Dies, Stitched Heart Die Set (discontinued)
  • SugarPea Designs Stamps – Kindness Matters, Celebrate All Things, and You
  • Vellum
  • Bristol Smooth Card
  • Stamping block
  • The Crafter’s Workshop Stencils – TCW631 and TCW599
  • Paper Trimmer
  • Heat Tool

Learn How to Upcycle Cork Coasters

by Elina Stromberg

Learn How to Upcycle Cork Coasters

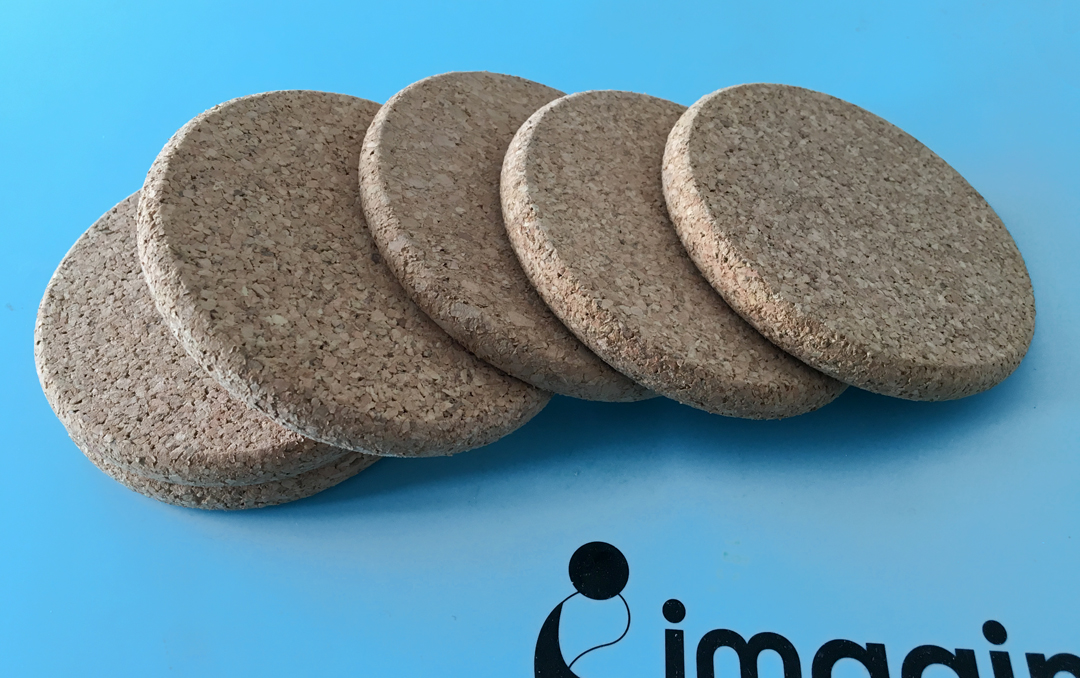
A while ago, I found a pile of old cork coasters in my kitchen cabinet. I had not used them in years and was just about to throw them away, but then I realized they were perfect for small home décor items. Maybe the beautiful material made me change my mind. Nowadays cork is truly a trendy material in craft projects, so I thought I should try to turn the old coasters into something nice and new. And I’m so glad I did!

Skill: Beginner
Time: 30 minutes

Directions


Step 1

Remove dust and stains from the coasters.


Step 2

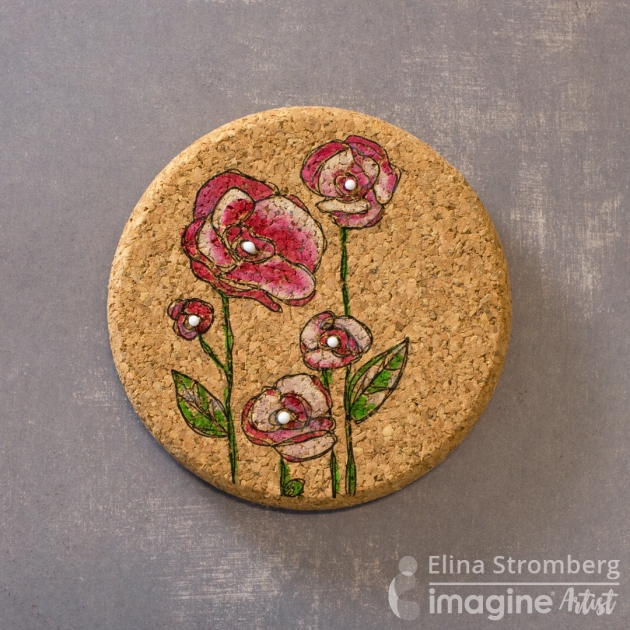
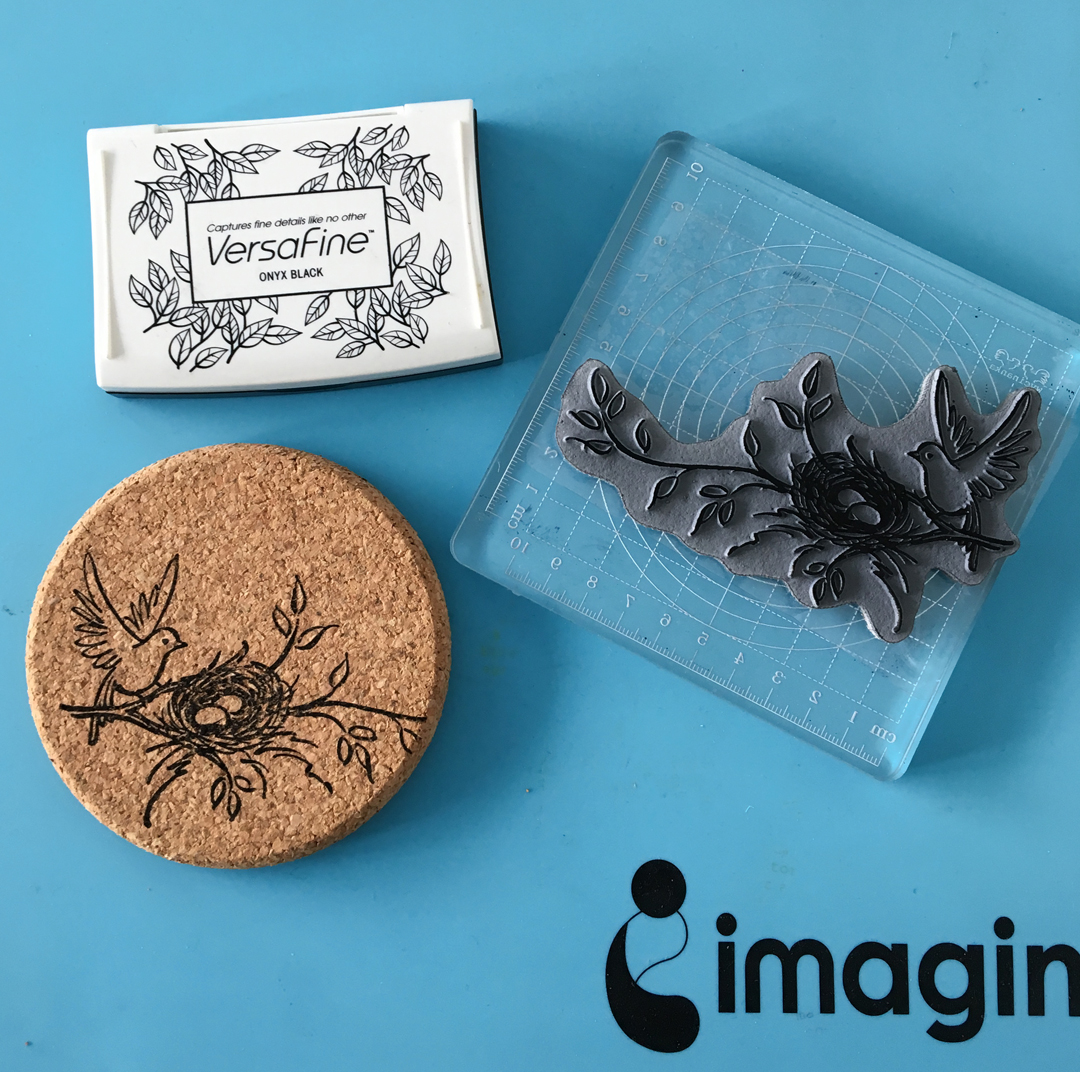
Stamp the images using Onyx Black VersaFine. When stamping, press the stamp firmly on the cork surface. VersaFine is a great ink for solid image stamping and since it is a dense ink it should stamp on the cork well.


Step 3

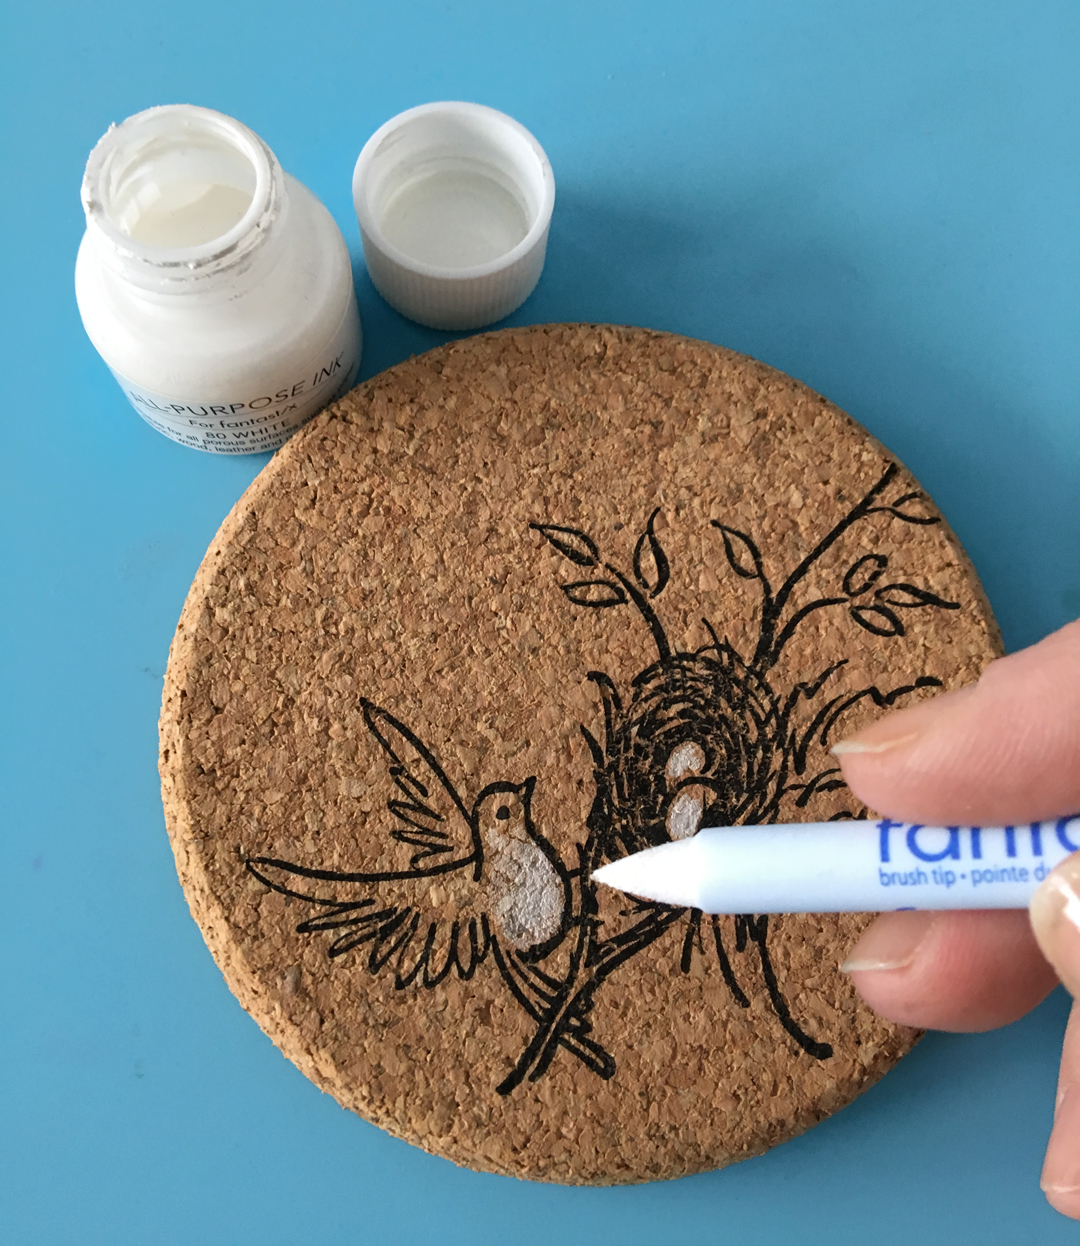
Color images with All-Purpose Ink. Use irRESISTible Pico Embellisher in Wedding Dress (white) for decorating the stamped and colored images with dimensional paint dots. Let dry.


Step 4

Using a new Fantastix, color in the leaves with All-Purpose Ink in Spring Green.


Step 5

To finish this project, continue stamping and coloring the remaining coasters in your set. You have the option of making all 4 or 6 of your coasters different or repeating the same image for all. If you want to hang the decorated coaster on the wall, attach a loop on the back of the coaster with a strong adhesive.

Supplies

Imagine
Other
  • Cork Coasters
  • Stampendous – Nesting Bird Stamp
  • Acrylic block for stamping