By Helen Gullett
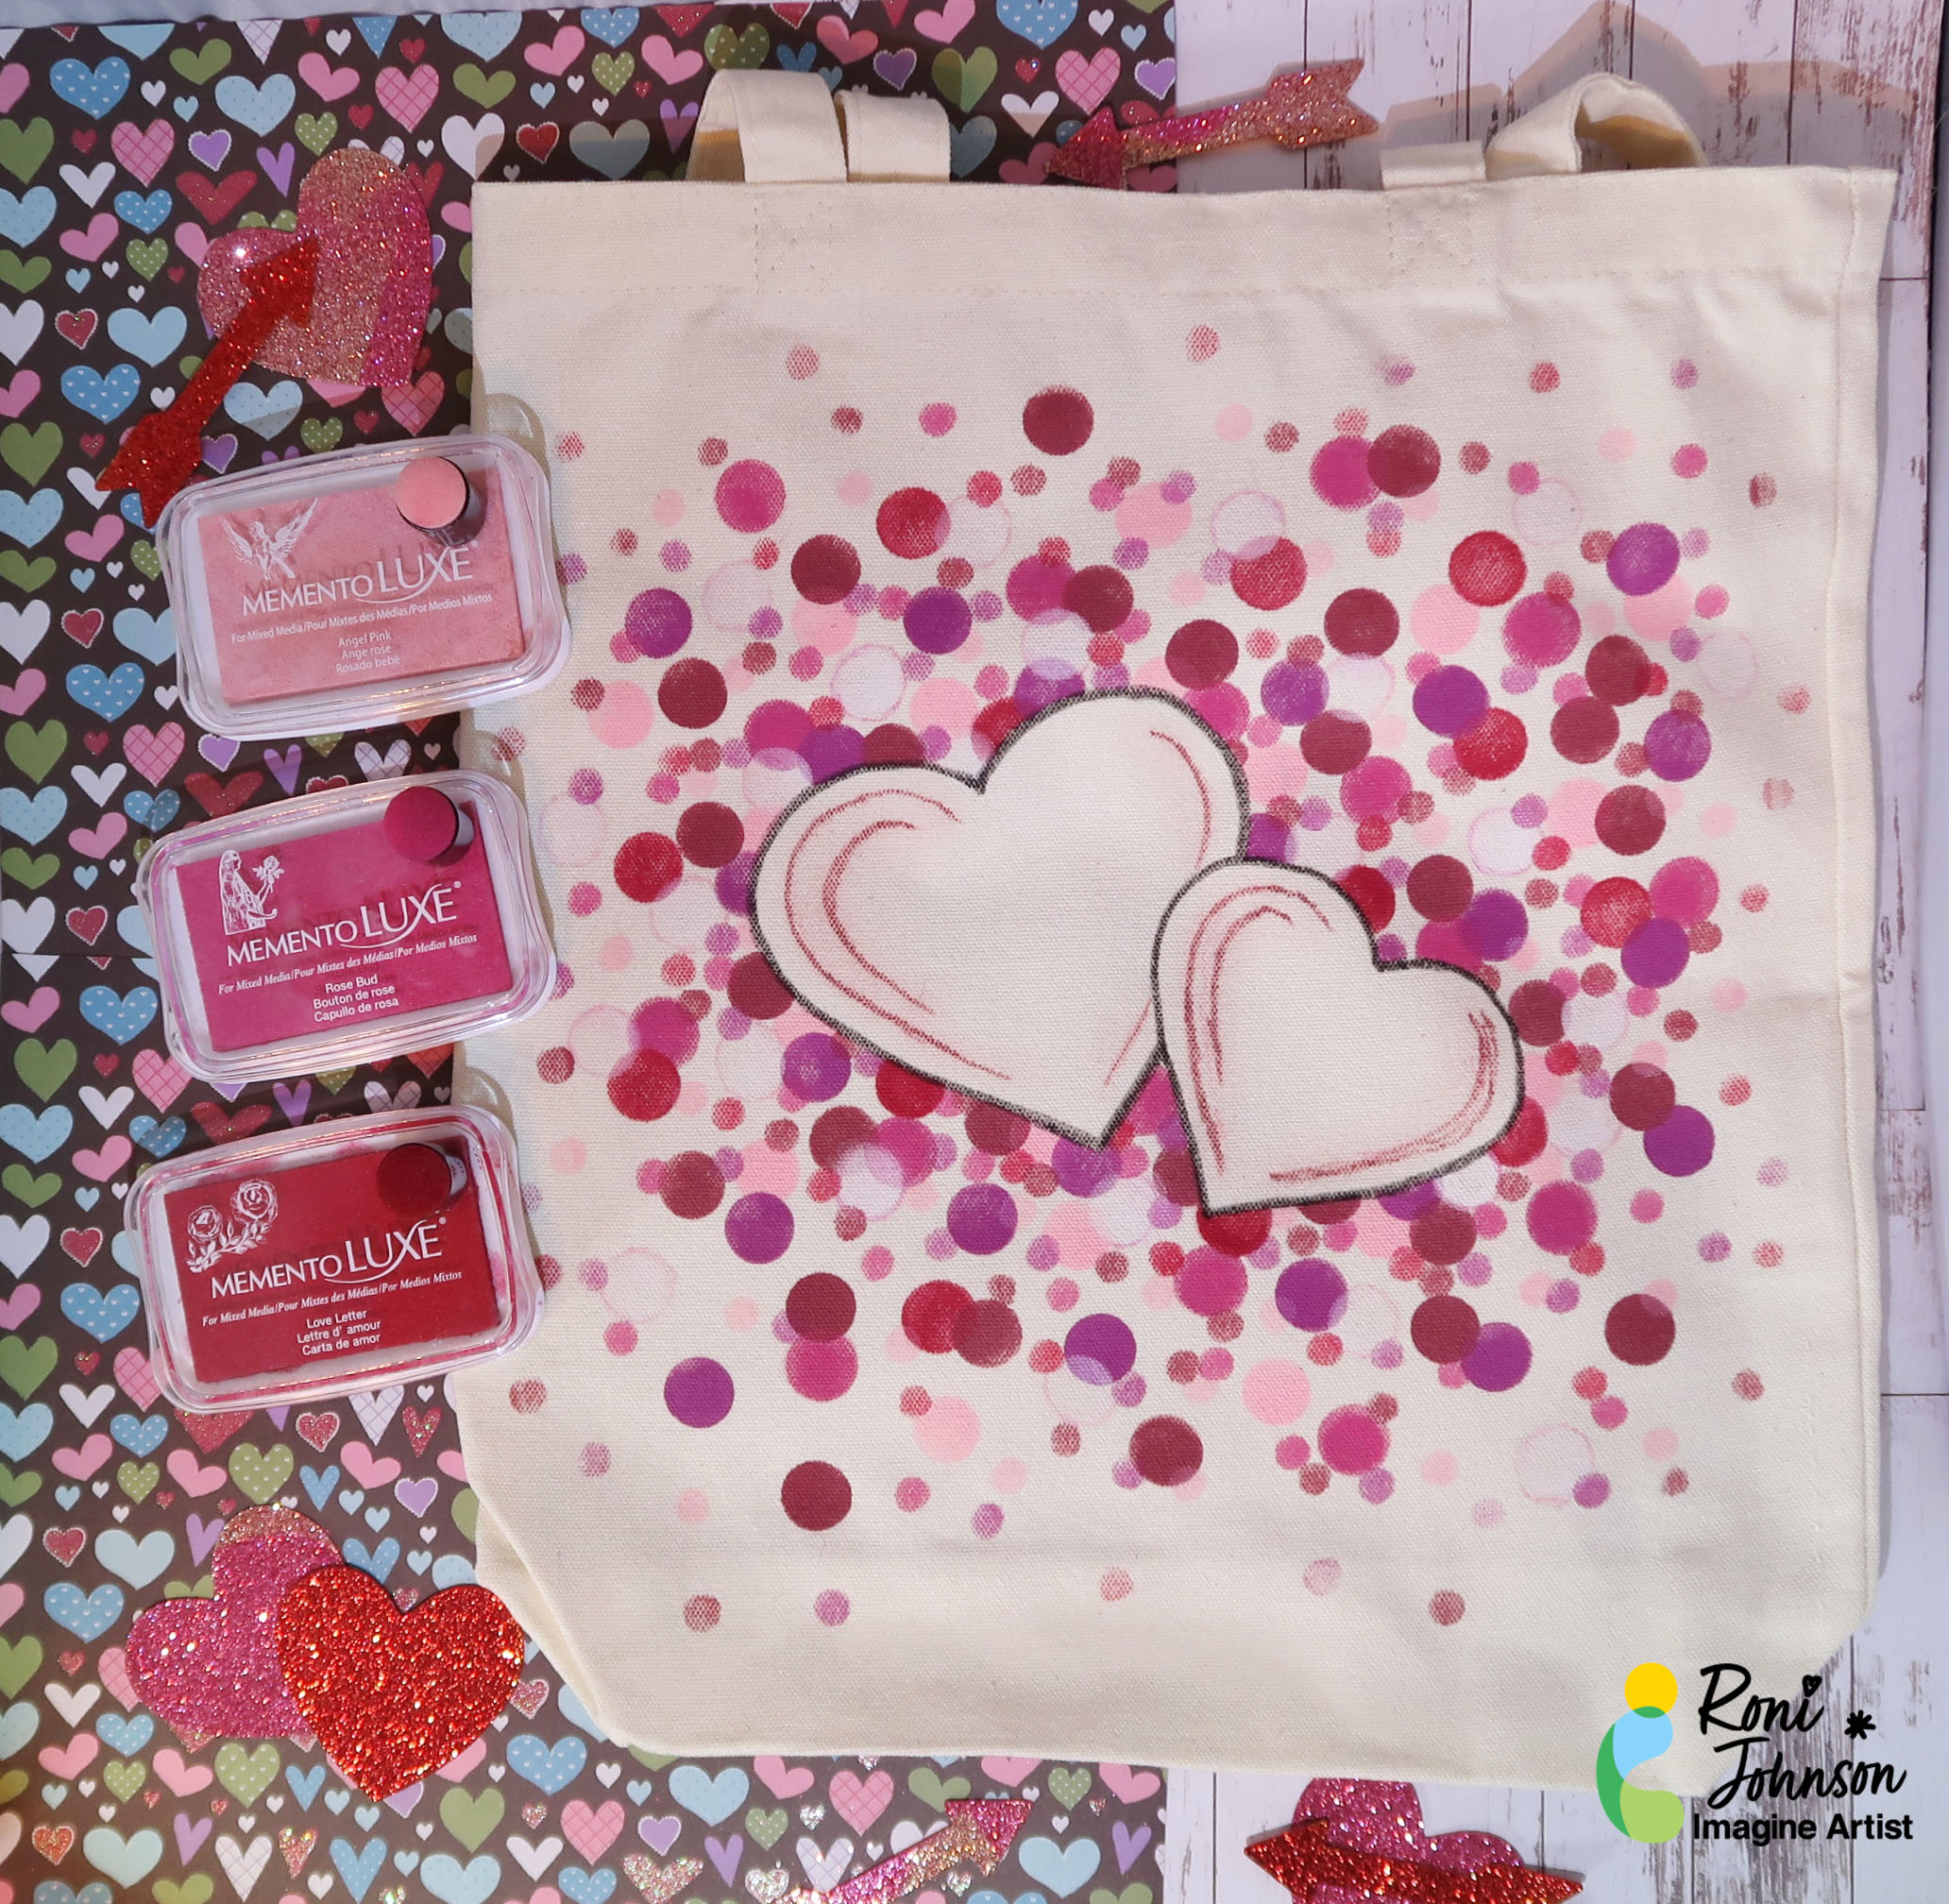
Hello crafty friends! Today’s projects are about how you can personalize any muslin bags or canvas bags by adding patterns, words, or anything you can think of with Fabrico Markers, Memento Luxe ink pads, and stencils. It will be fun projects to make for any occasion gift ideas or even for yourself to use. So, let’s make some together!
Skill: Easy
Time: 15-20 minutes
Direction:
Step 1
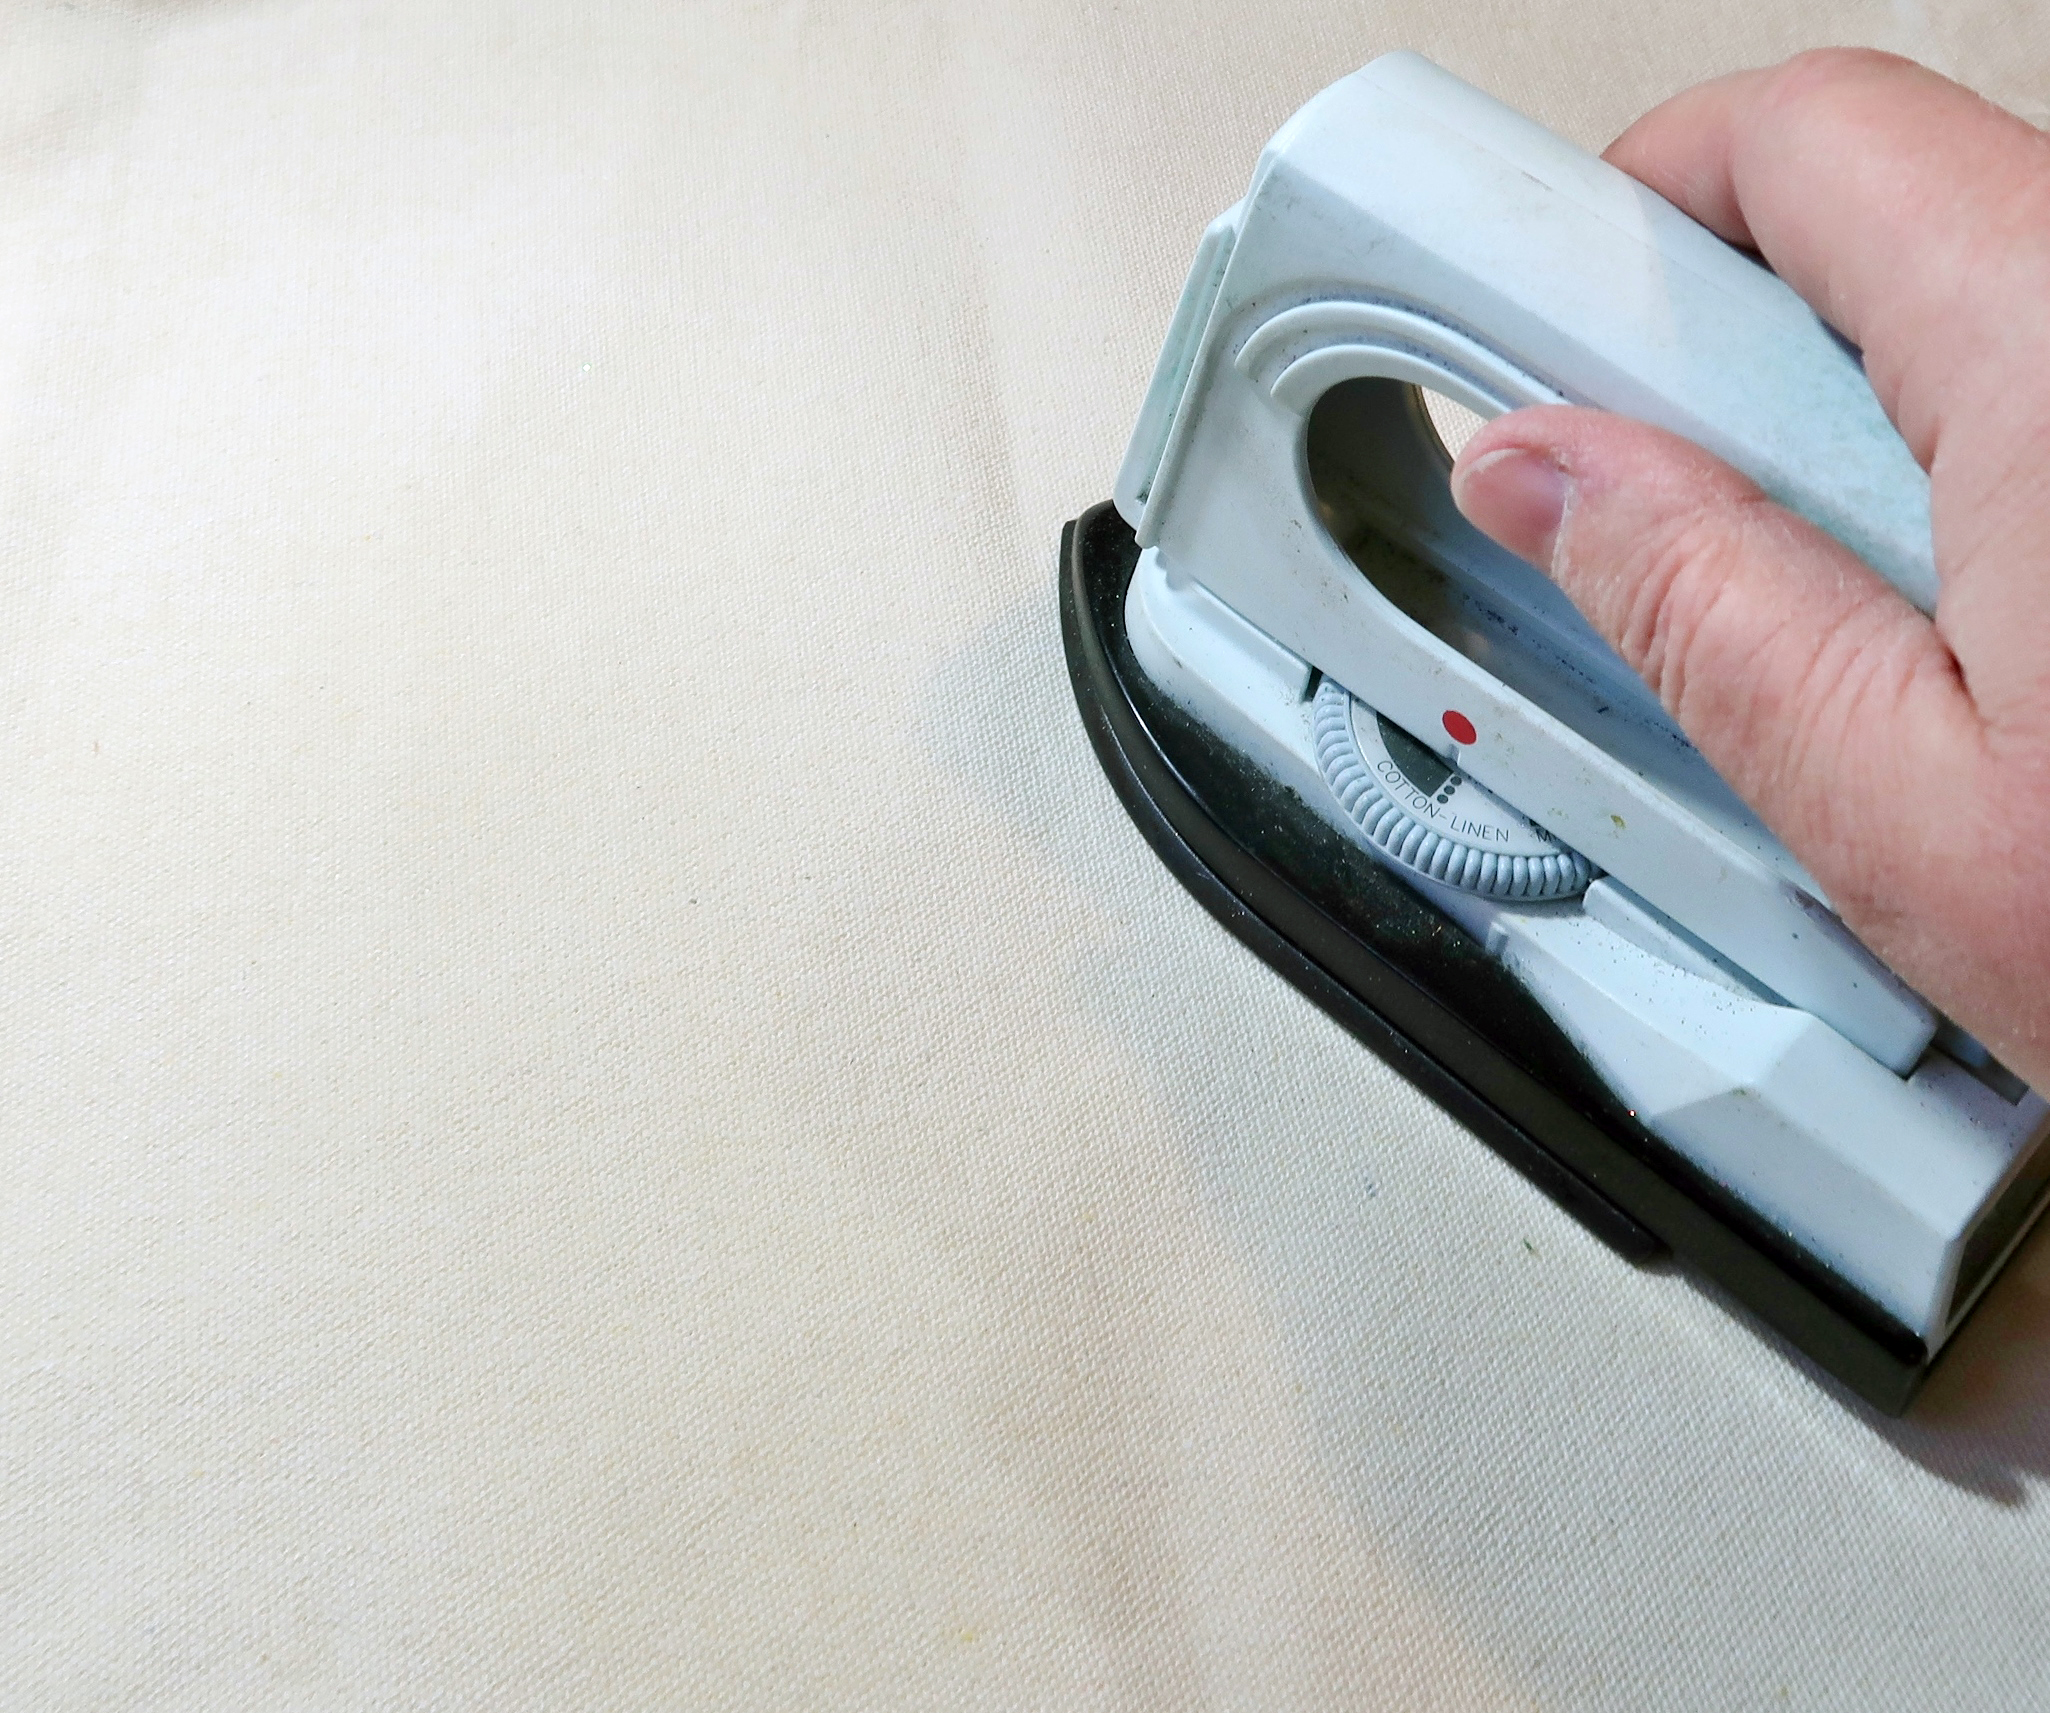
If your muslin or canvas bag has some wrinkles or folded lines on it, you can iron it before stenciling on it. I ironed my mini muslin bags that I used on these projects today.
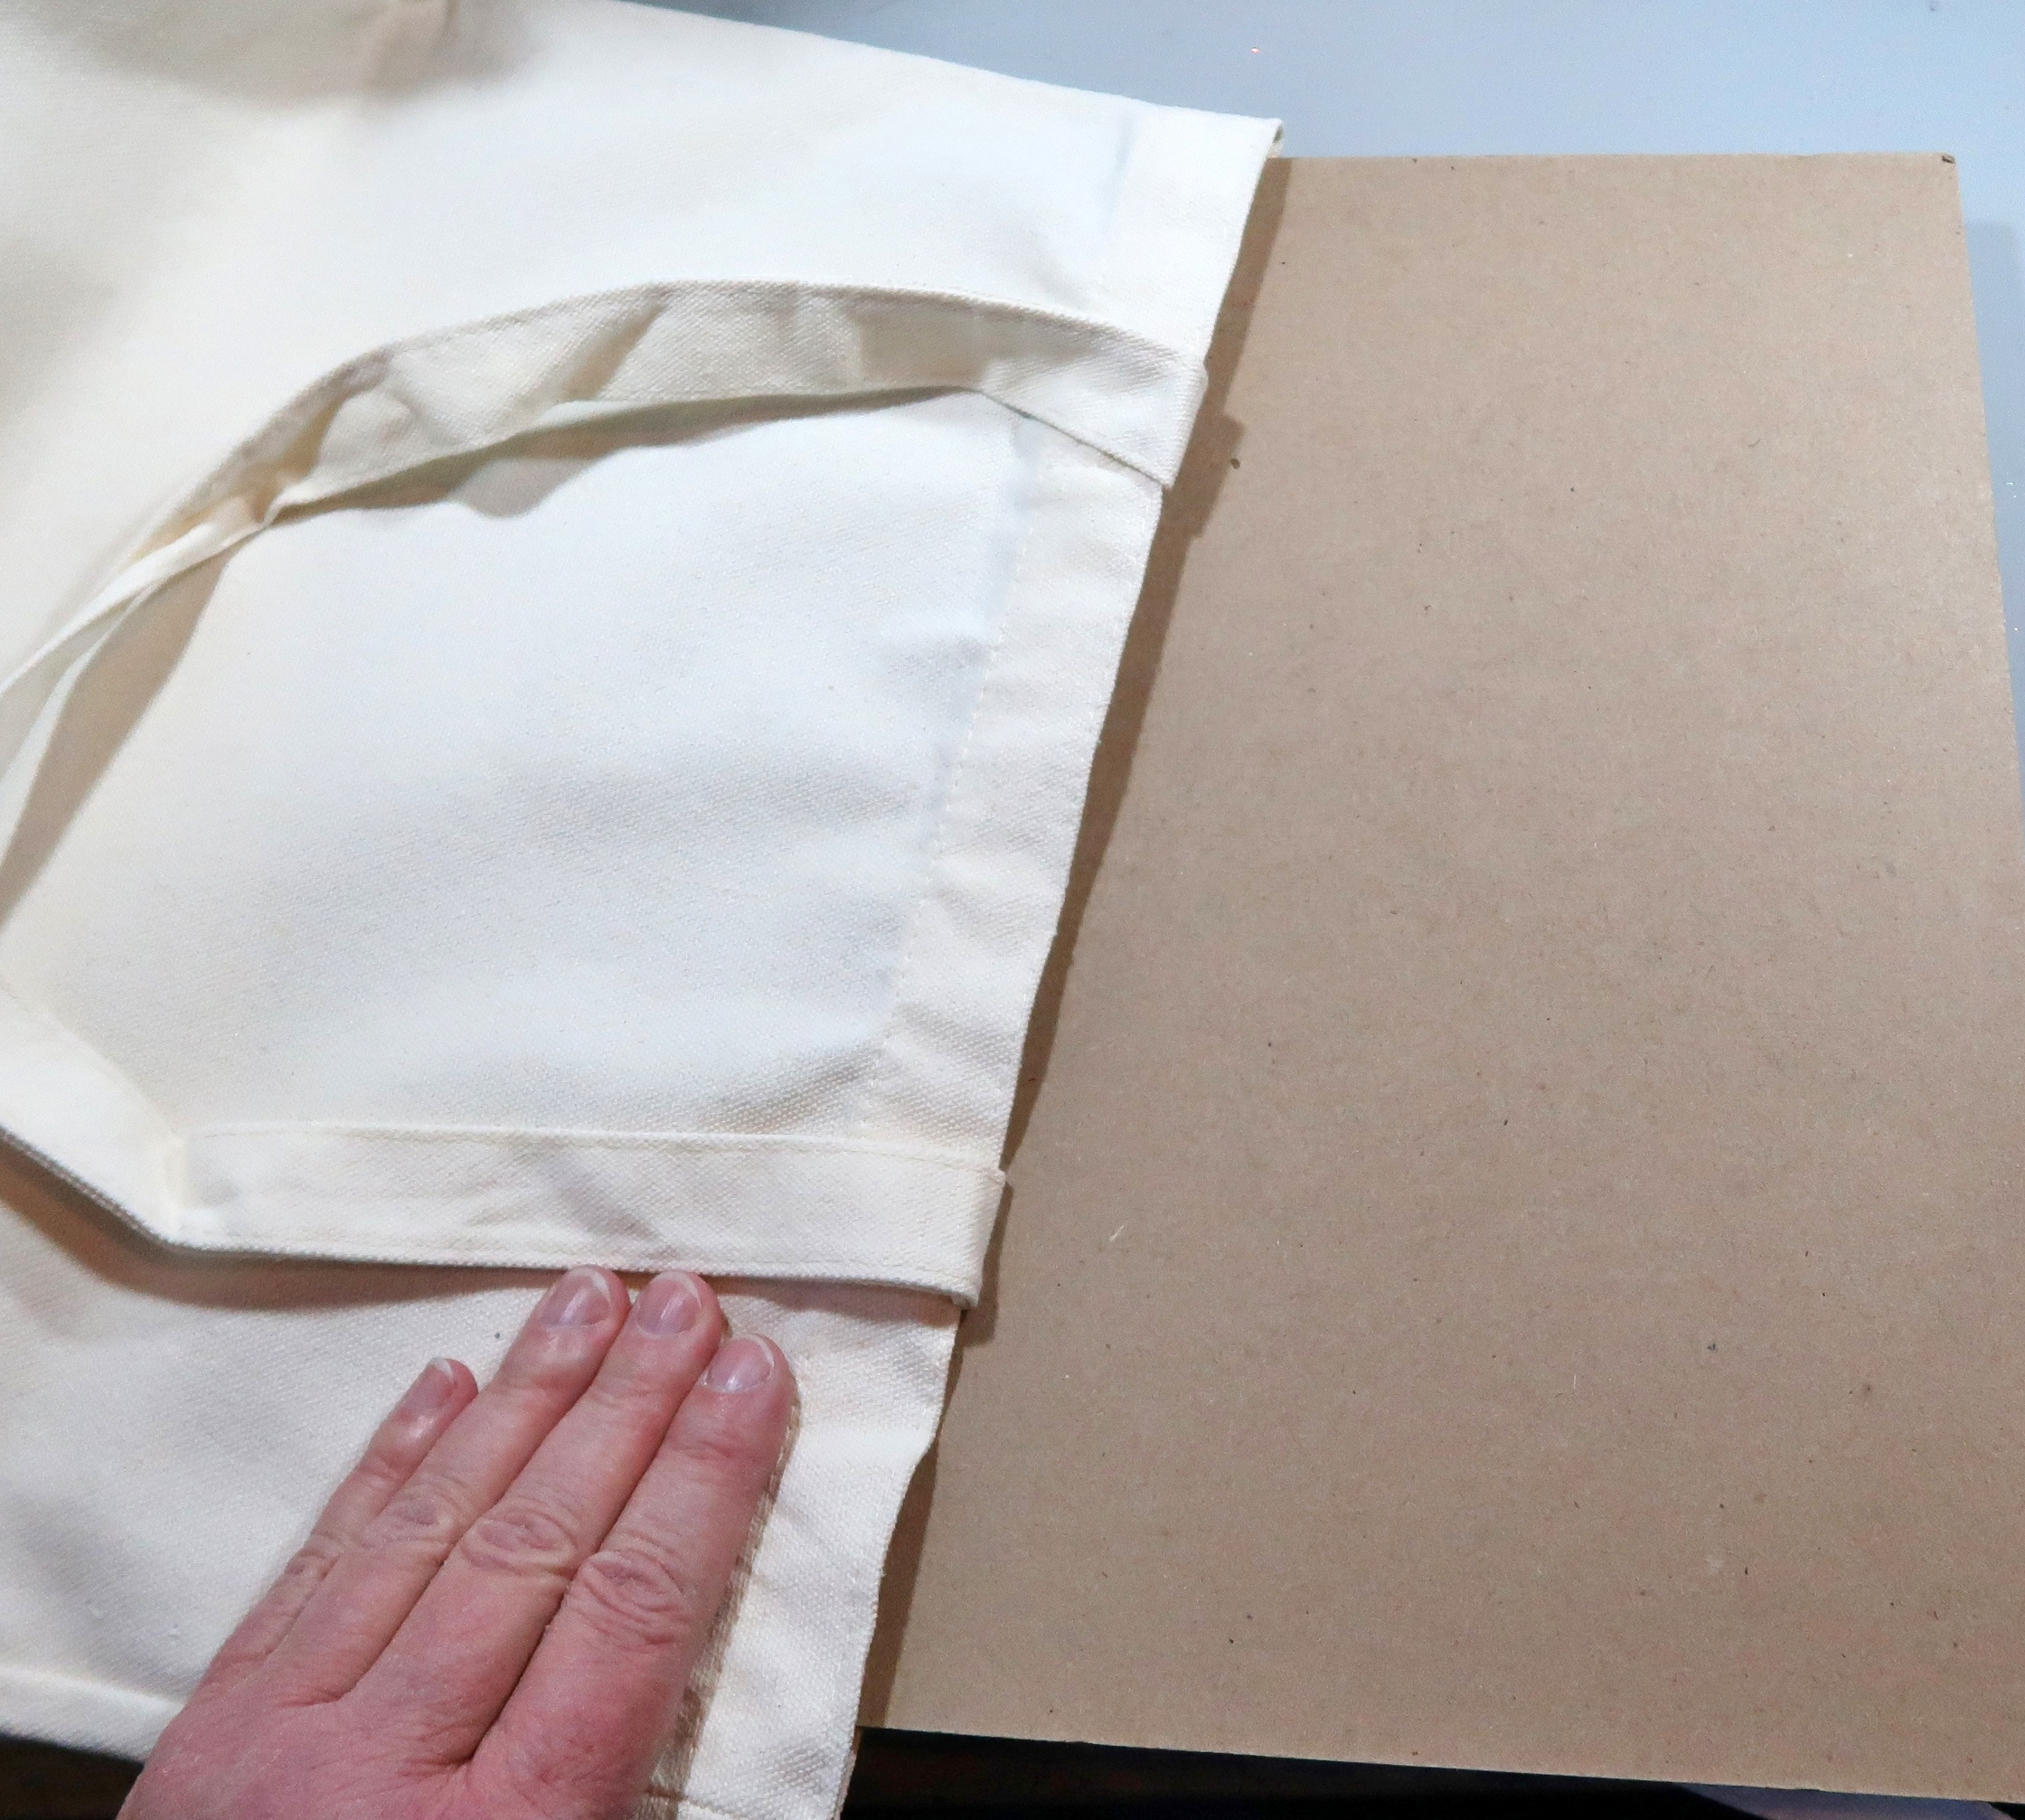
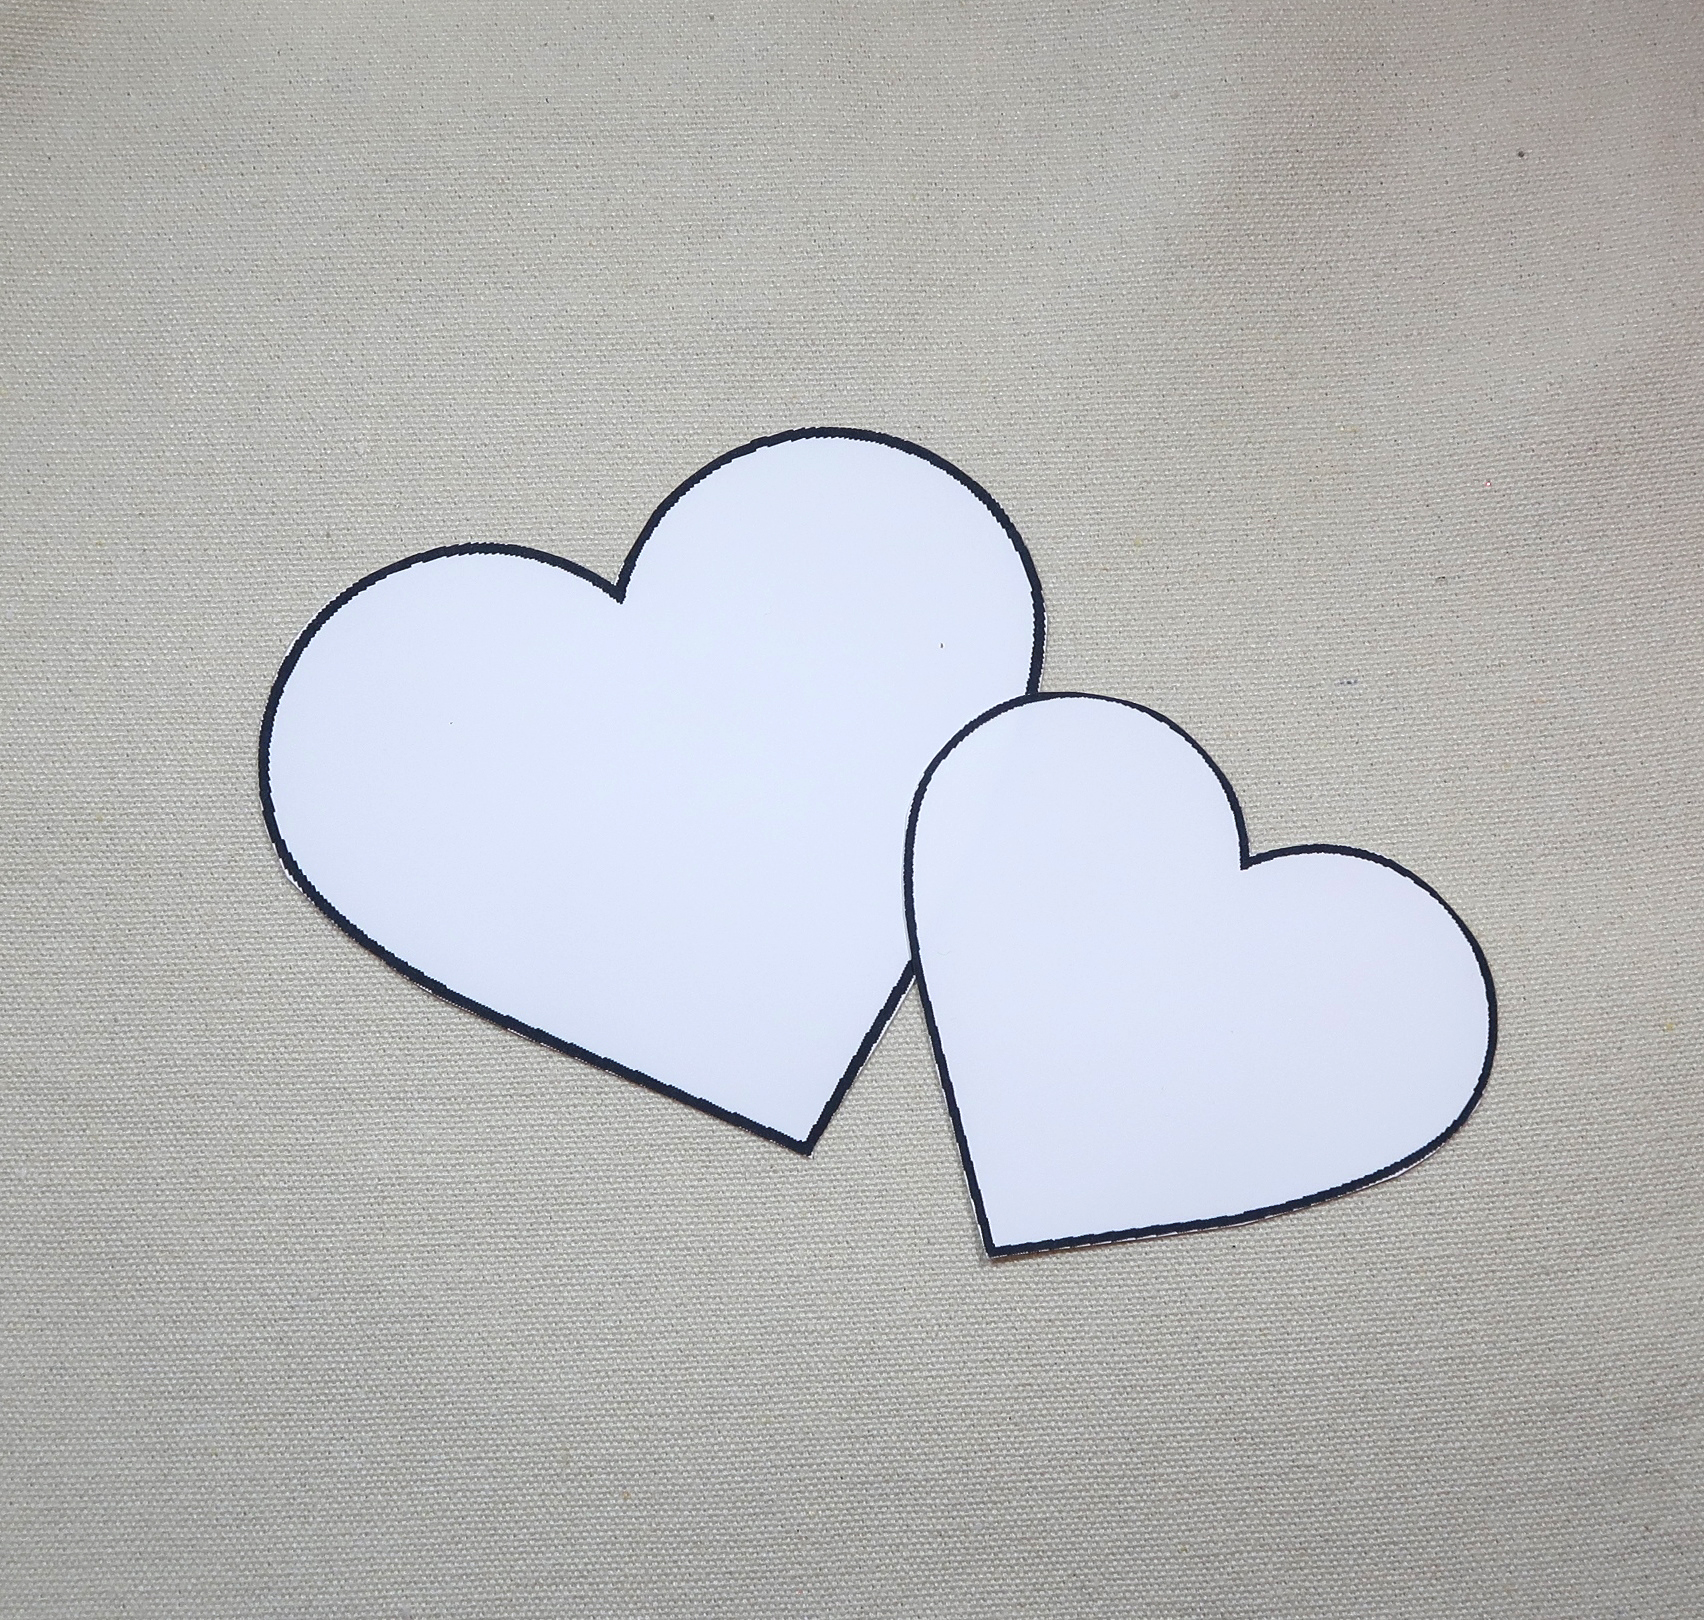
Cut out a piece of a thick cardboard or cardstock as an insert mat to put inside the bag to prevent the ink from bleeding through the other side of the bag.
Tape the stencil on the bag with masking tape or washi tape.
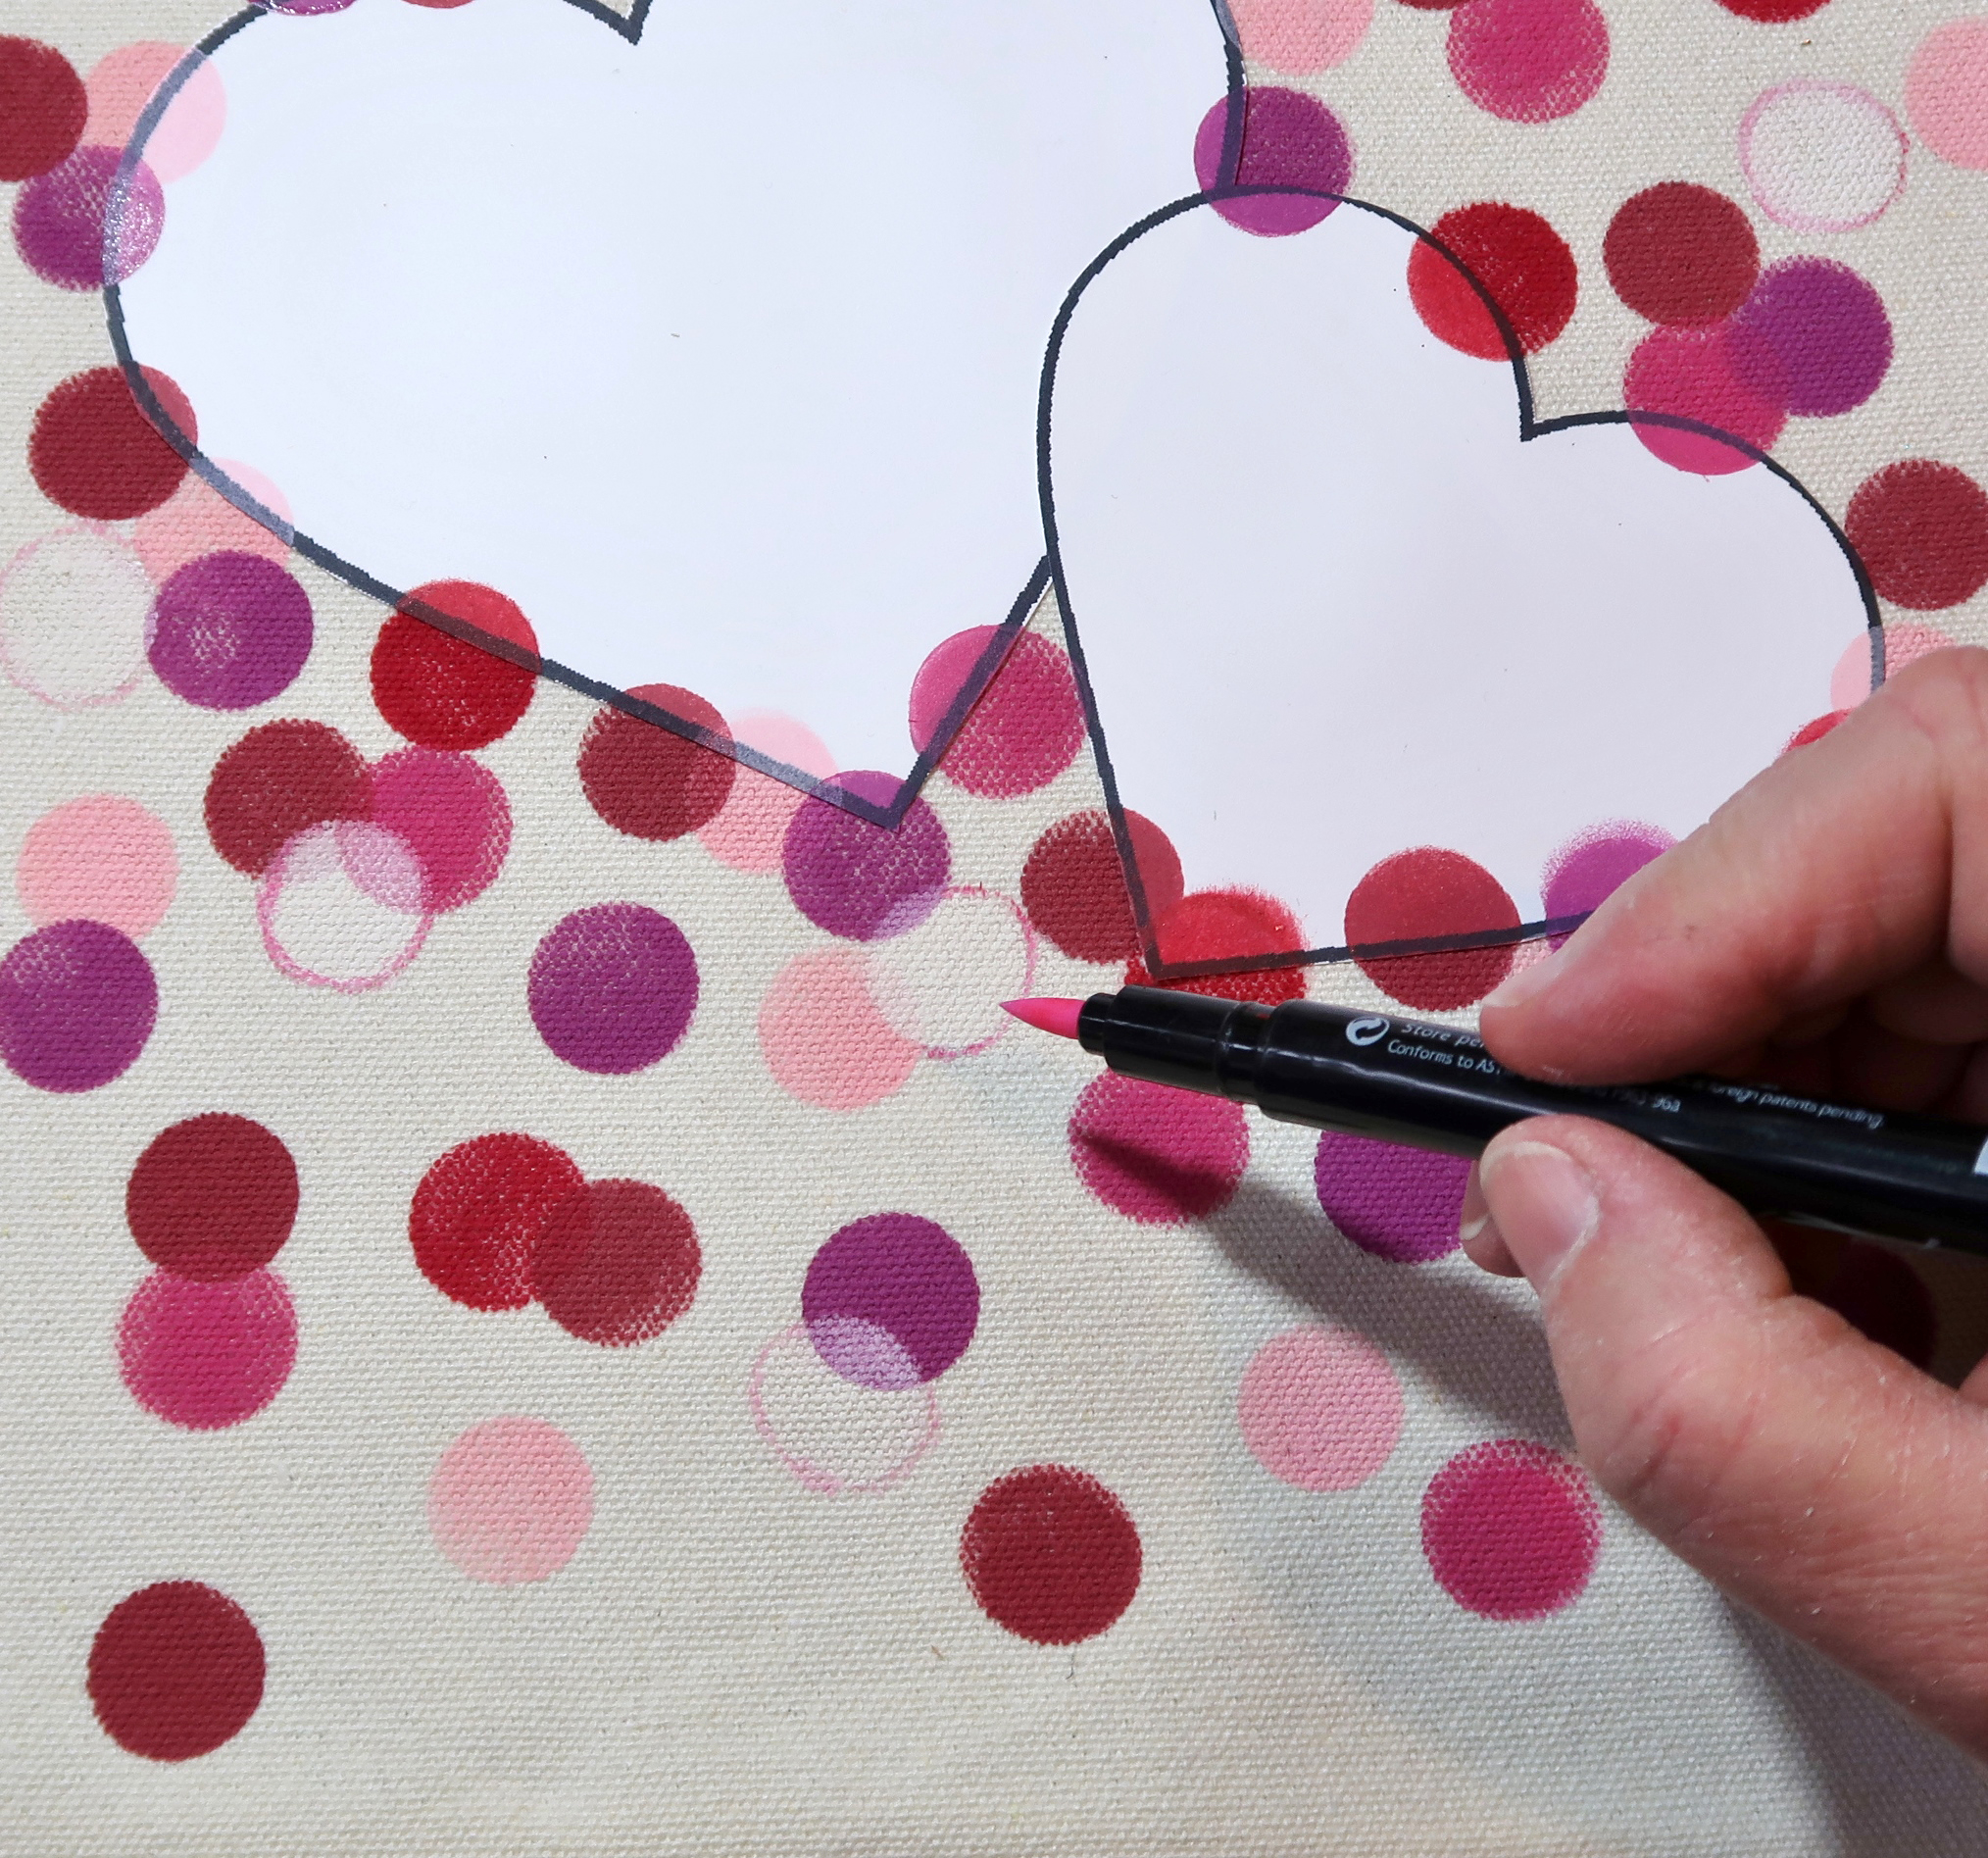
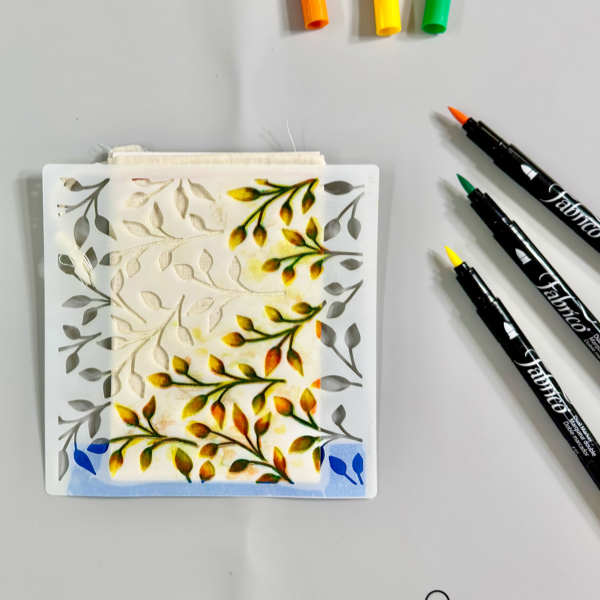
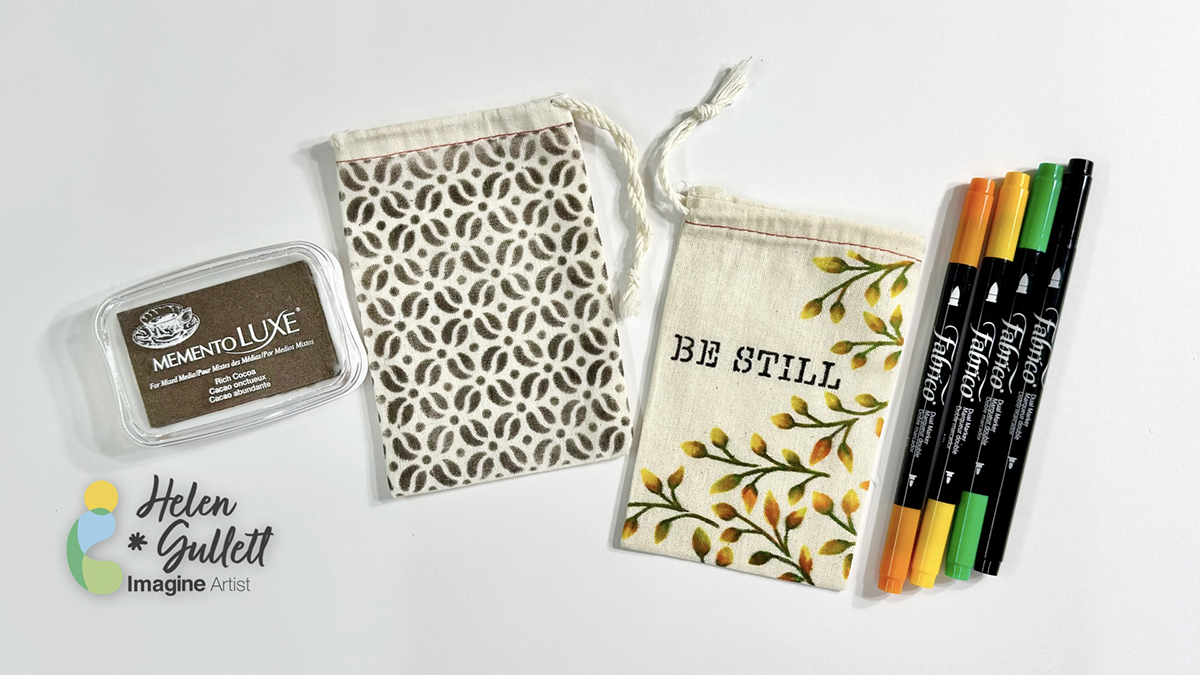
Use Fabrico Markers to color through the leafy stencil. To do the ink blending, start with dark color first, then medium color, then lighter color after to blend the color together.
The ink from the bag will transfer to the marker, but do not worry because you can clean the other ink color from the marker tip by scribbling it off on a piece of paper.
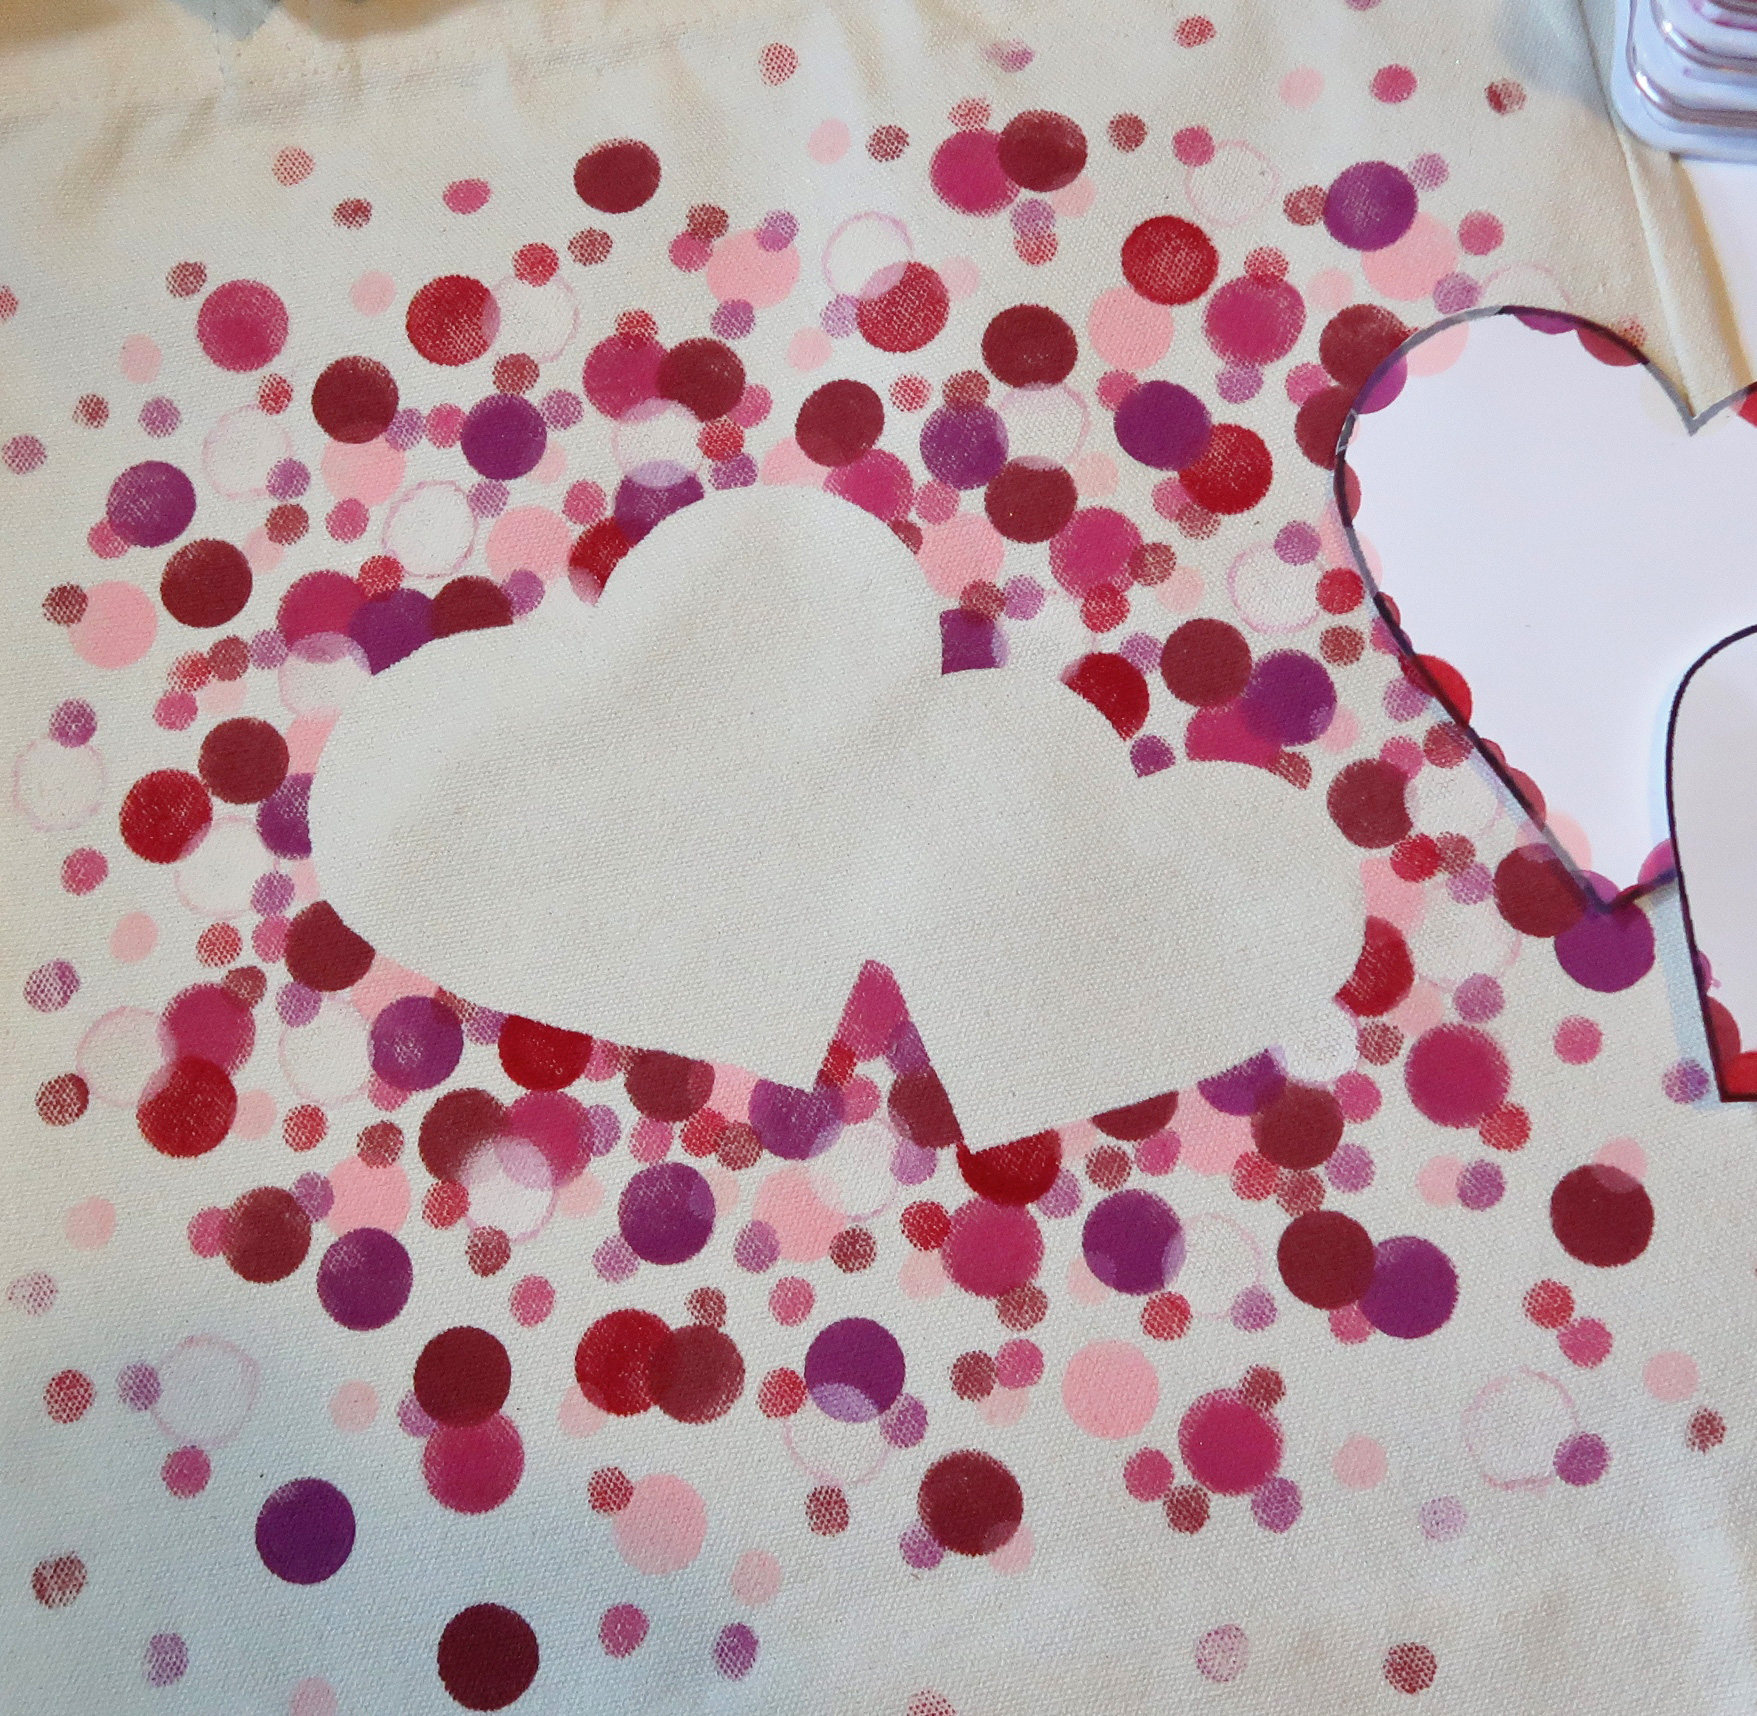
Remove the stencil from the bag.
Step 2
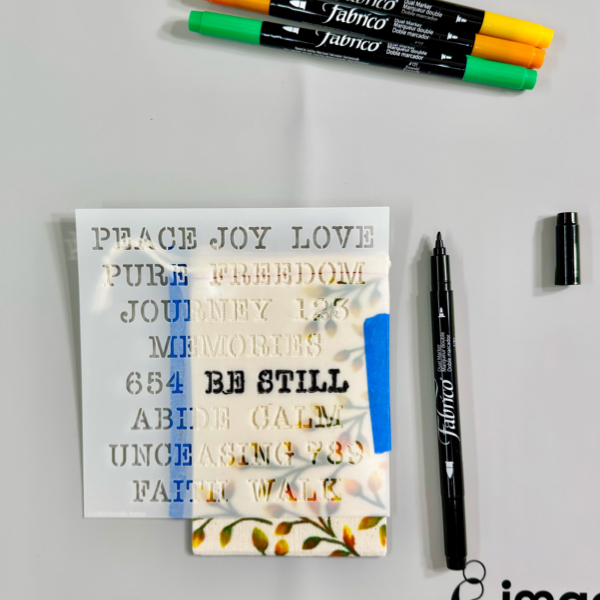
Repeat the same step to add more pattern or word to the bag.
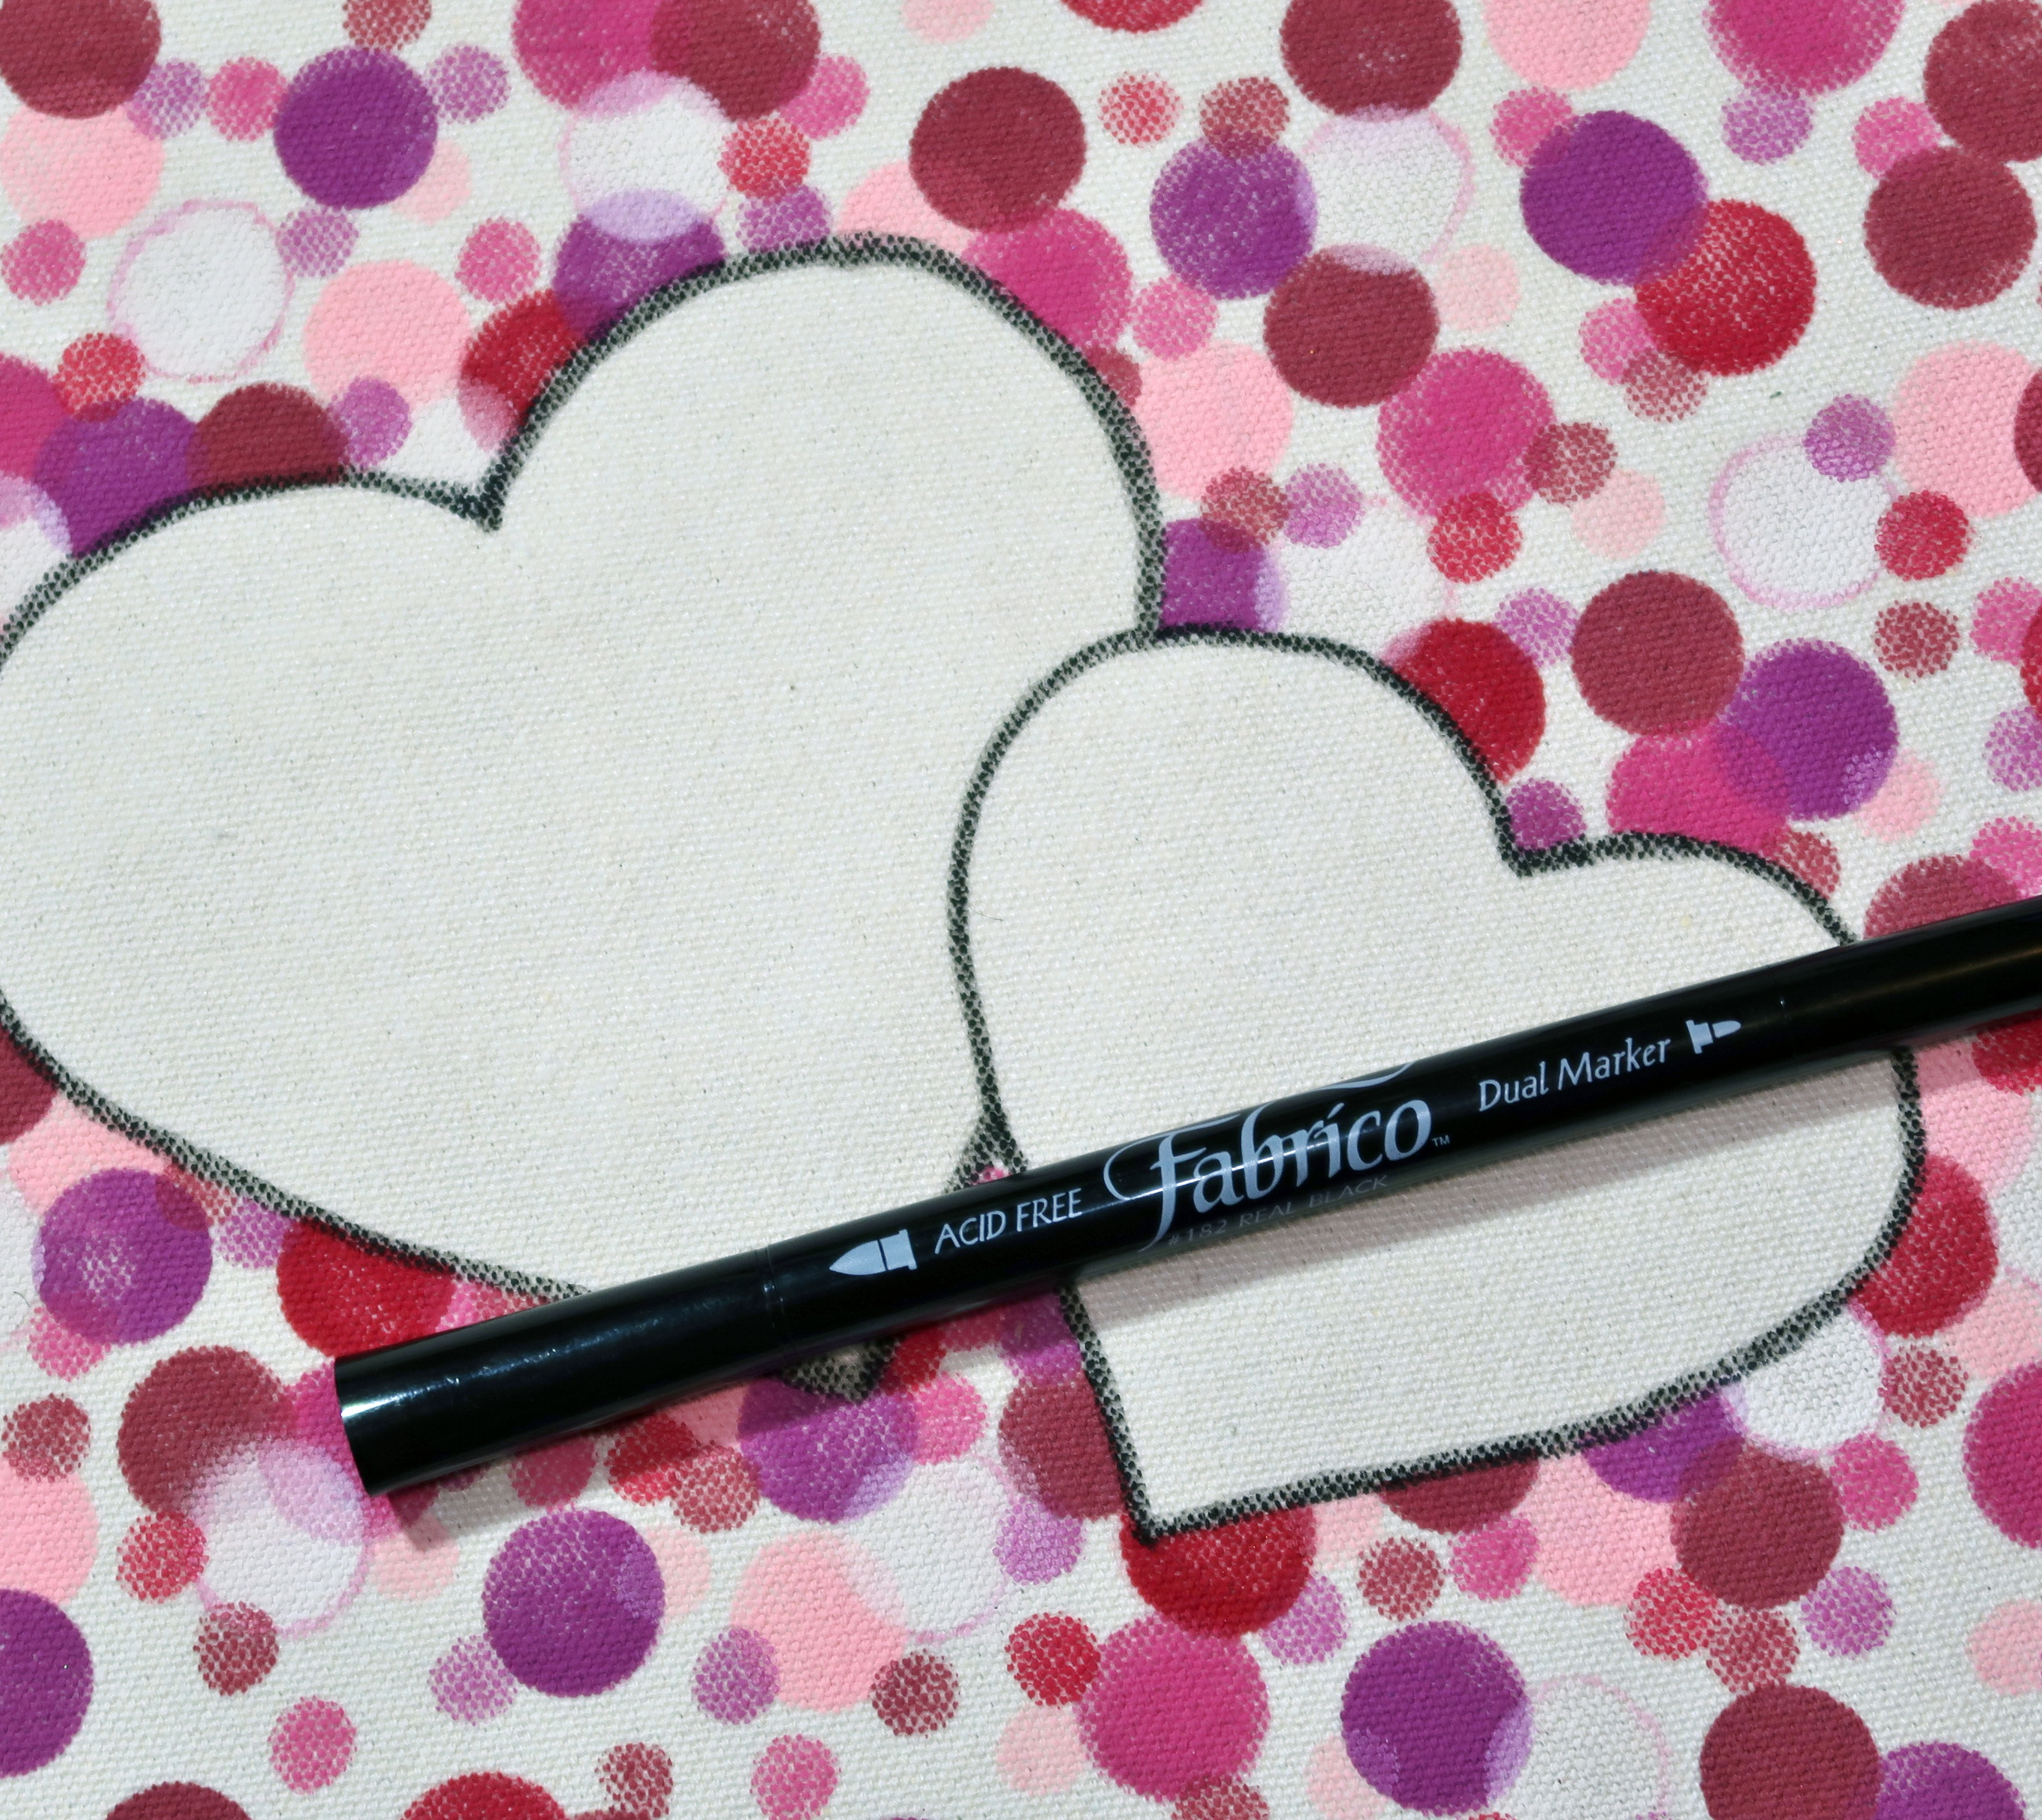
On this one, I decided to add the word Be Still on the bag using stencil and Fabrico Marker.
Remove the stencil and set aside for the ink to dry, or iron the bag to dry the inks permanently and quickly.
I love how versatile these Fabrico Markers are when it comes to coloring solid images. The colors blend well together.
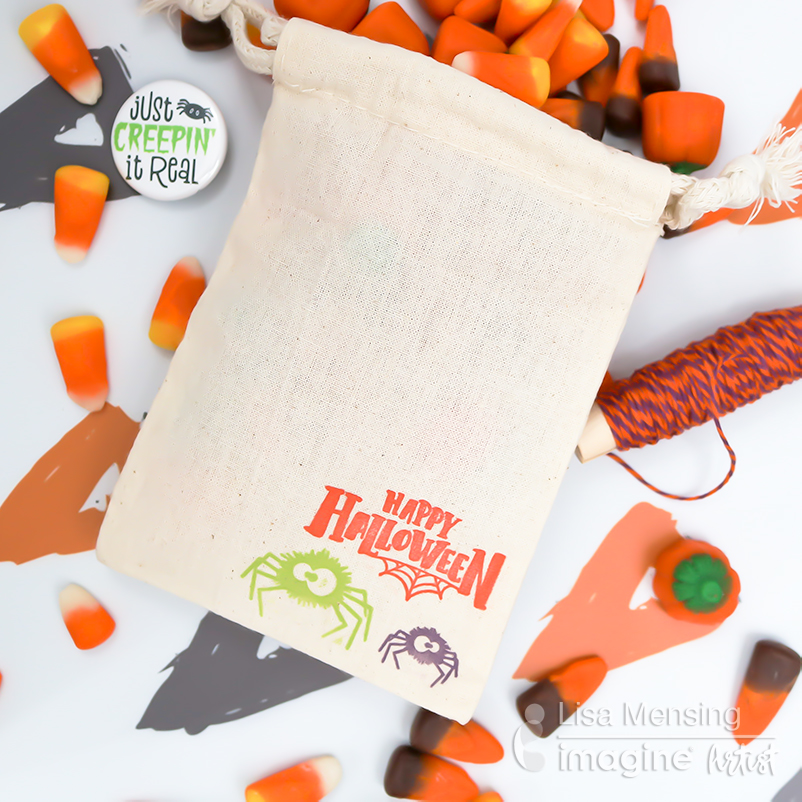
The second technique to personalize a muslin bag you can try is by adding ink directly to the bag with ink pads, sponge daubers, and stencil.
Step 3
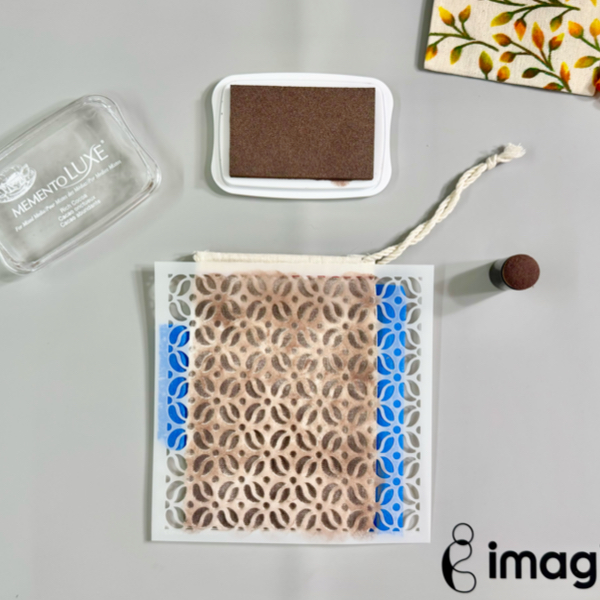
Add the insert mat inside the mini muslin bag.
Tape the stencil on the mini muslin bag with masking tape or washi tape.
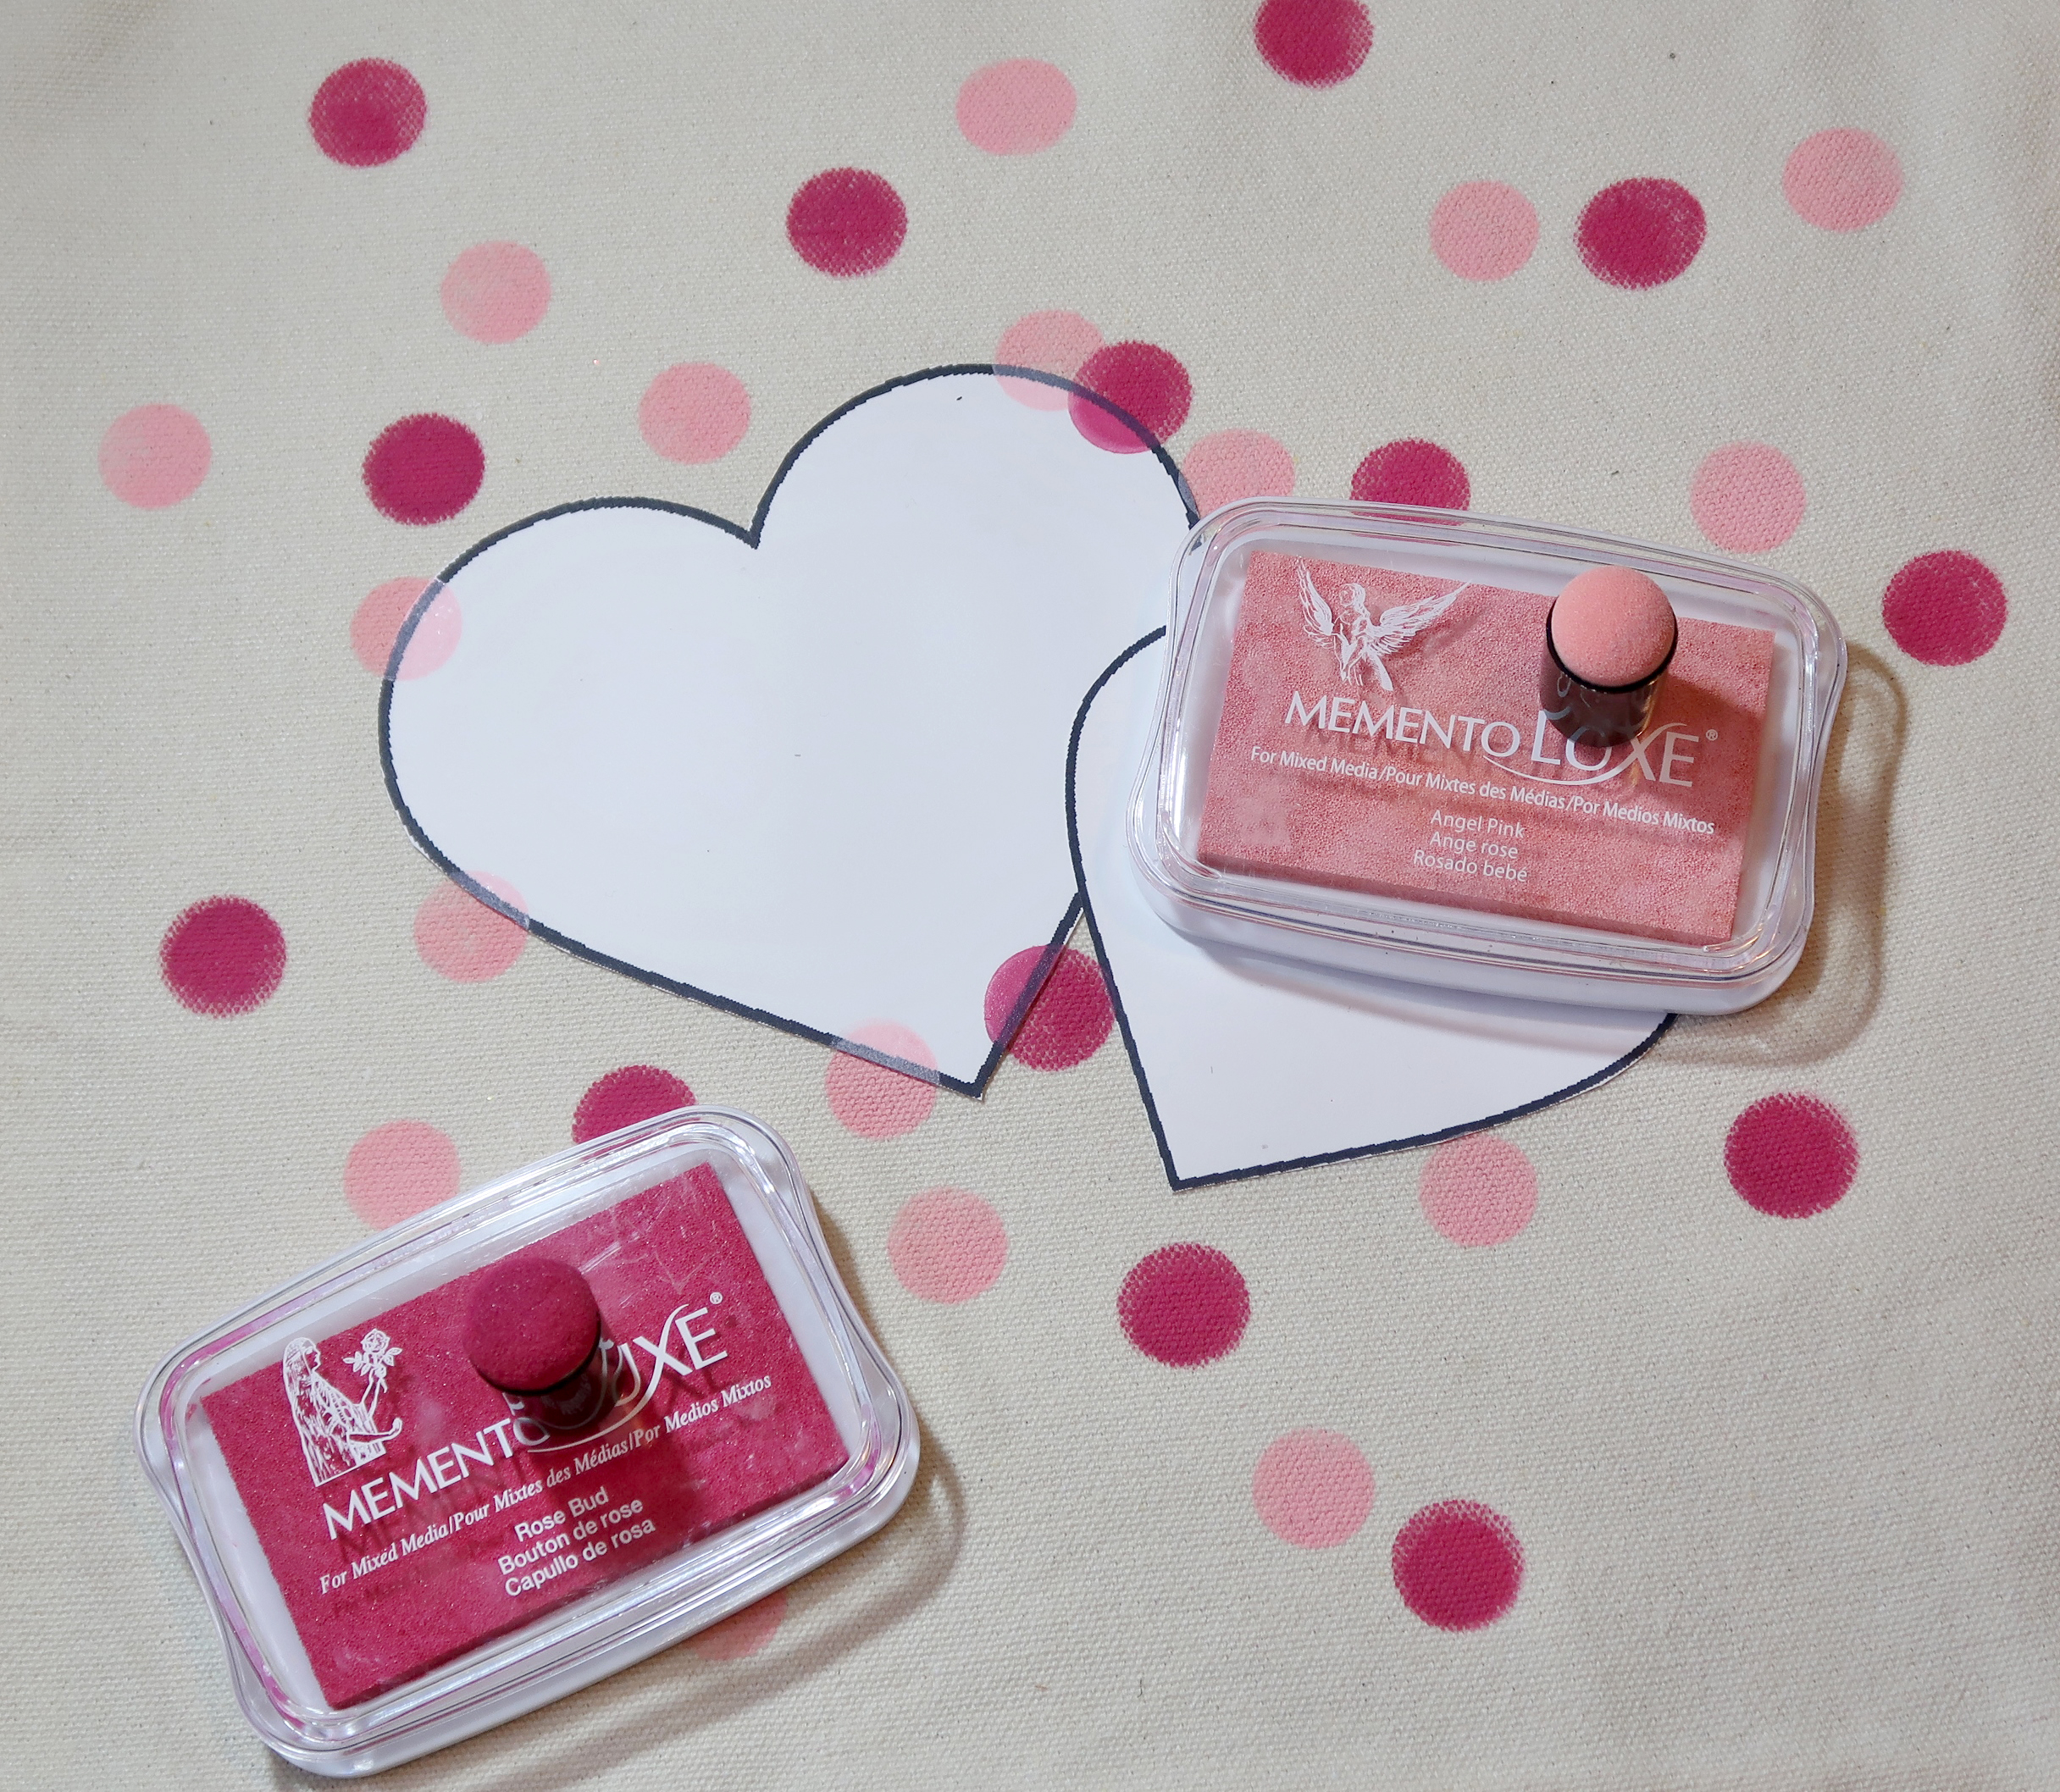
Using a sponge dauber, pick up the ink from the Memento Luxe Rich Cocoa ink pad by tapping on the ink pad a couple times.
Dab the ink on the sponge dauber on the stencil firmly through the stencil to make sure the ink transfers to the bag.
Repeat the steps until the bag is covered with the pattern.
Step 4
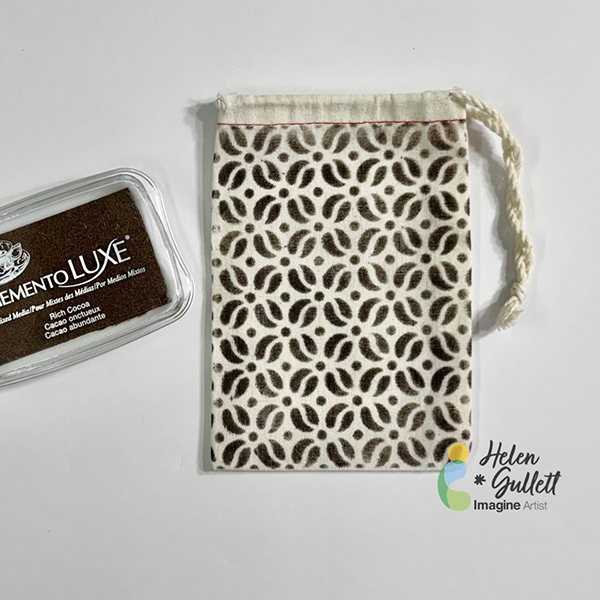
Remove the stencil from the bag.
Iron the bag to dry the ink permanently on the bag.
I love how they look after removing the stencils off the bags. I personally like both techniques, how about you? Which technique do you prefer better to do to personalize your own bags?
Hopefully you also will have fun personalizing your own bags by trying one of both techniques. Thank you for stopping by our blog today. Have a wonderful day!
Craft Supplies
Imagine Crafts:
- Fabrico Markers (Tangerine, Lemon Yellow, Emerald)
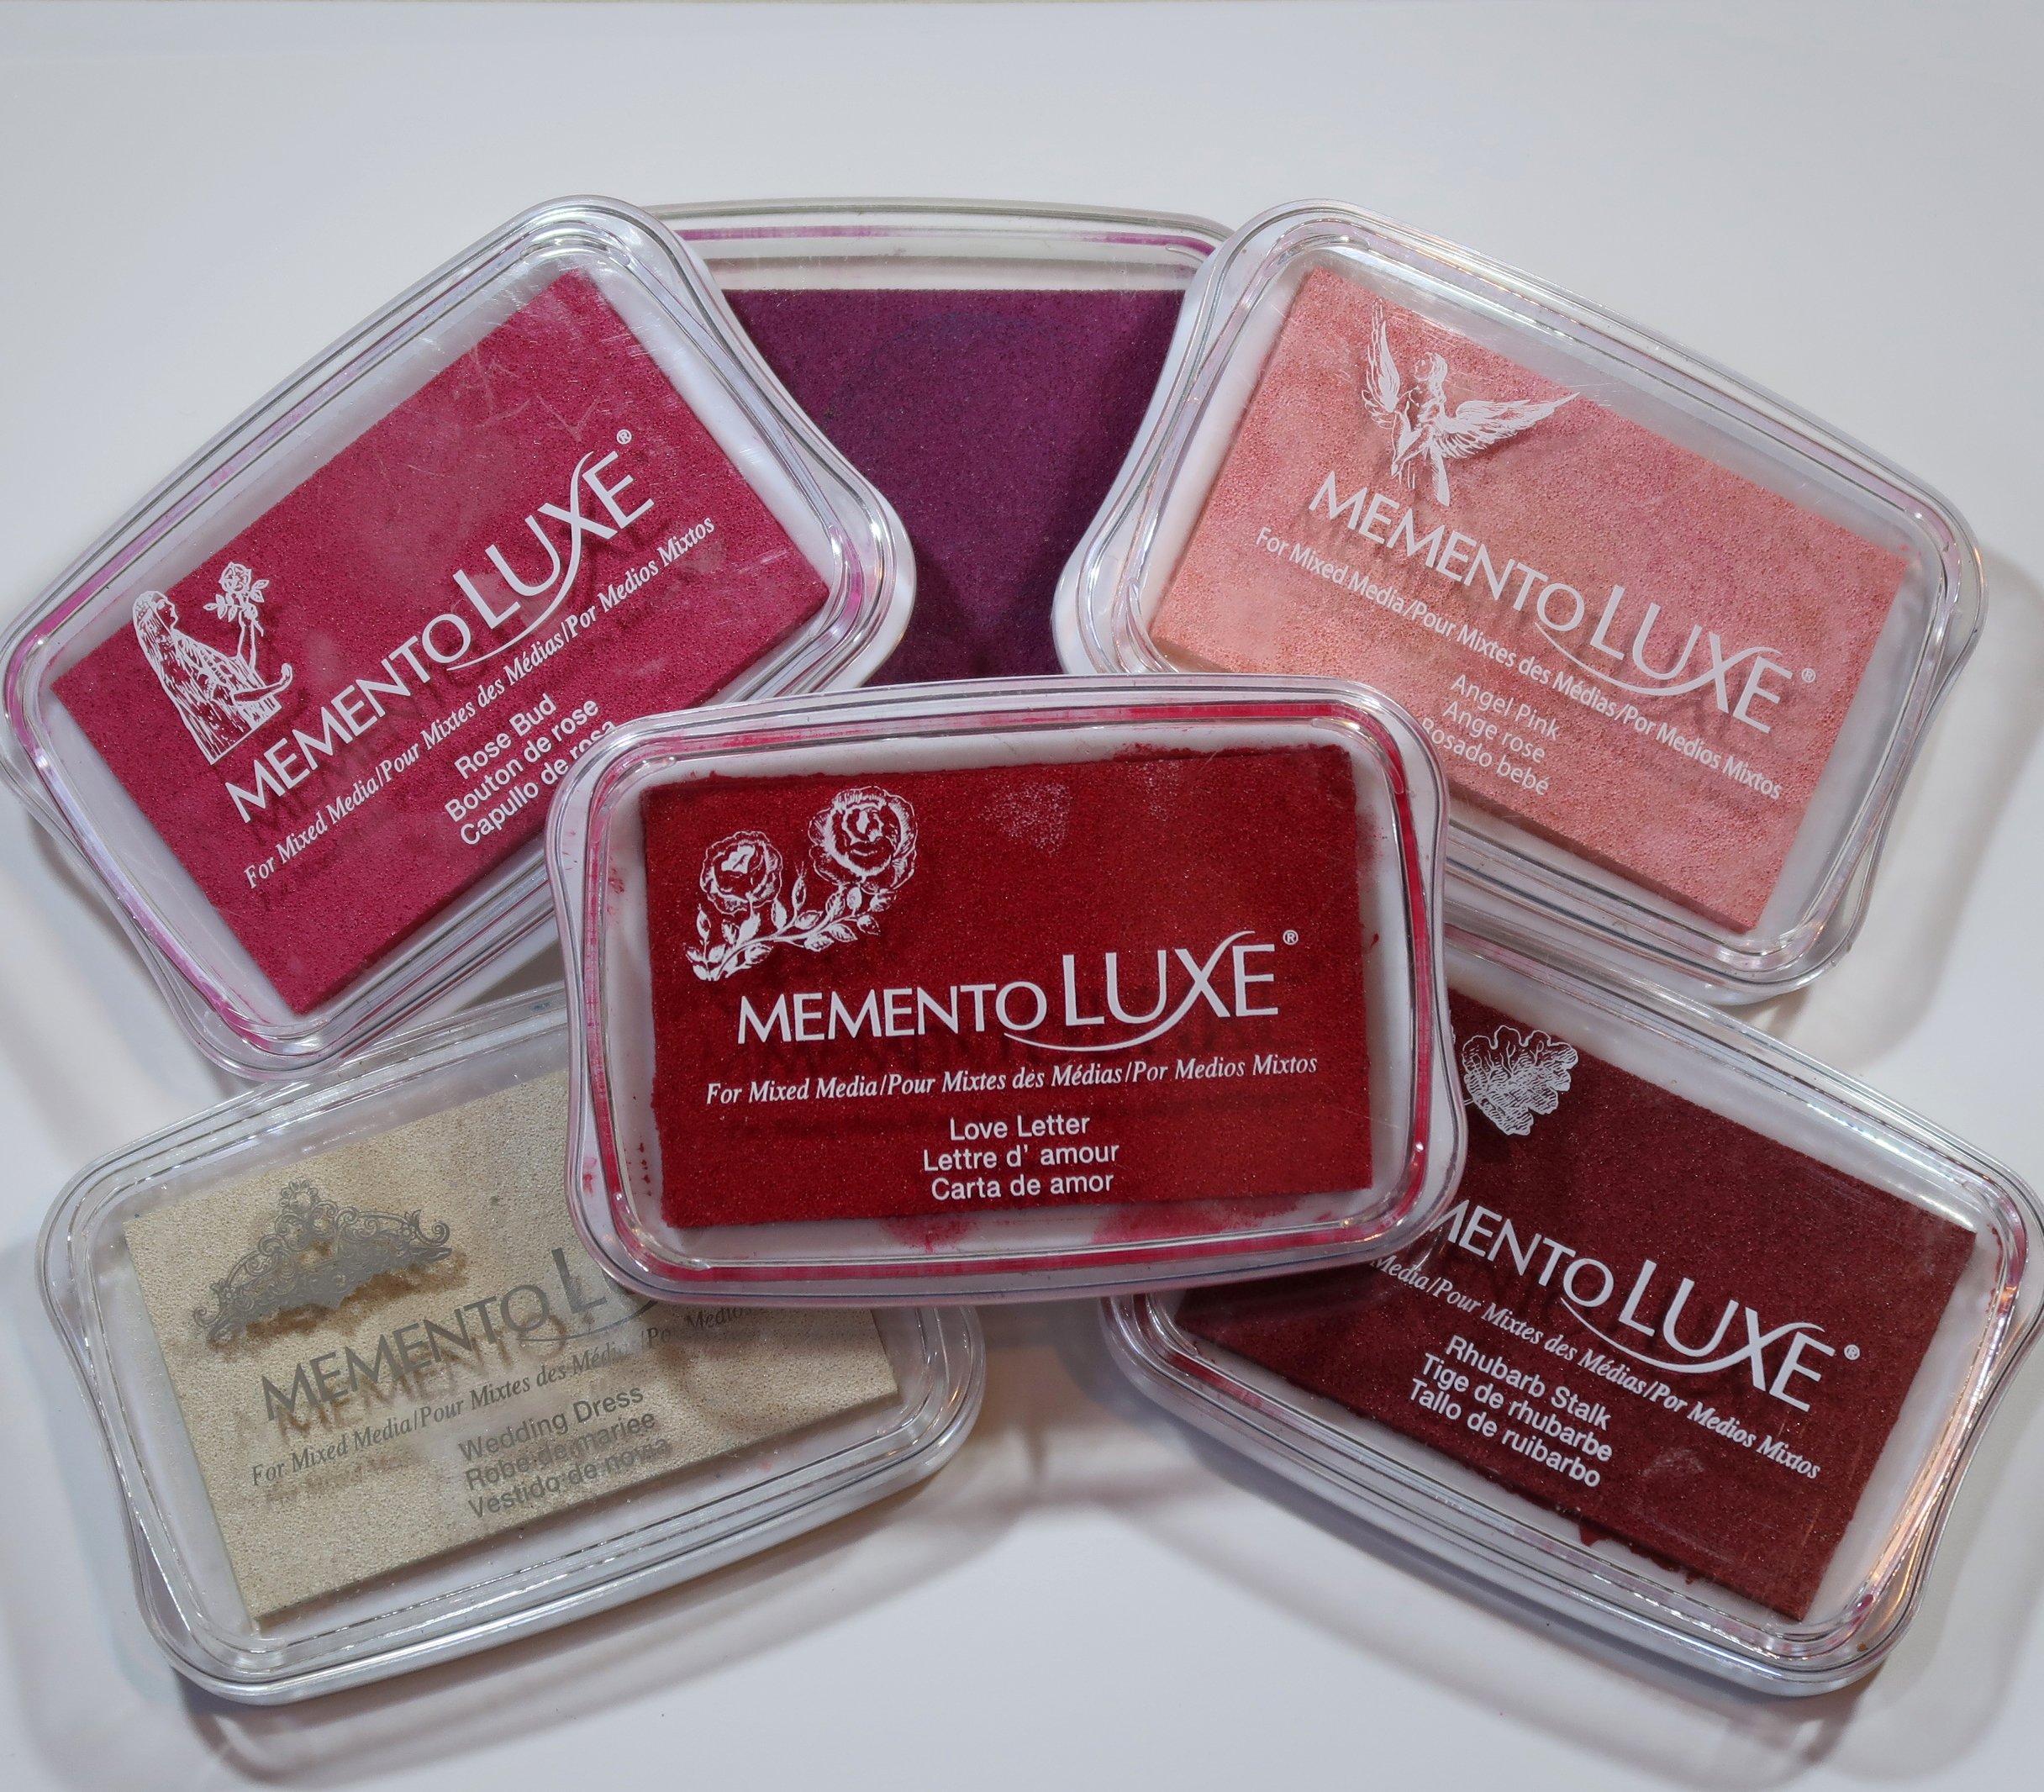
- Memento Luxe (Rich Cocoa)
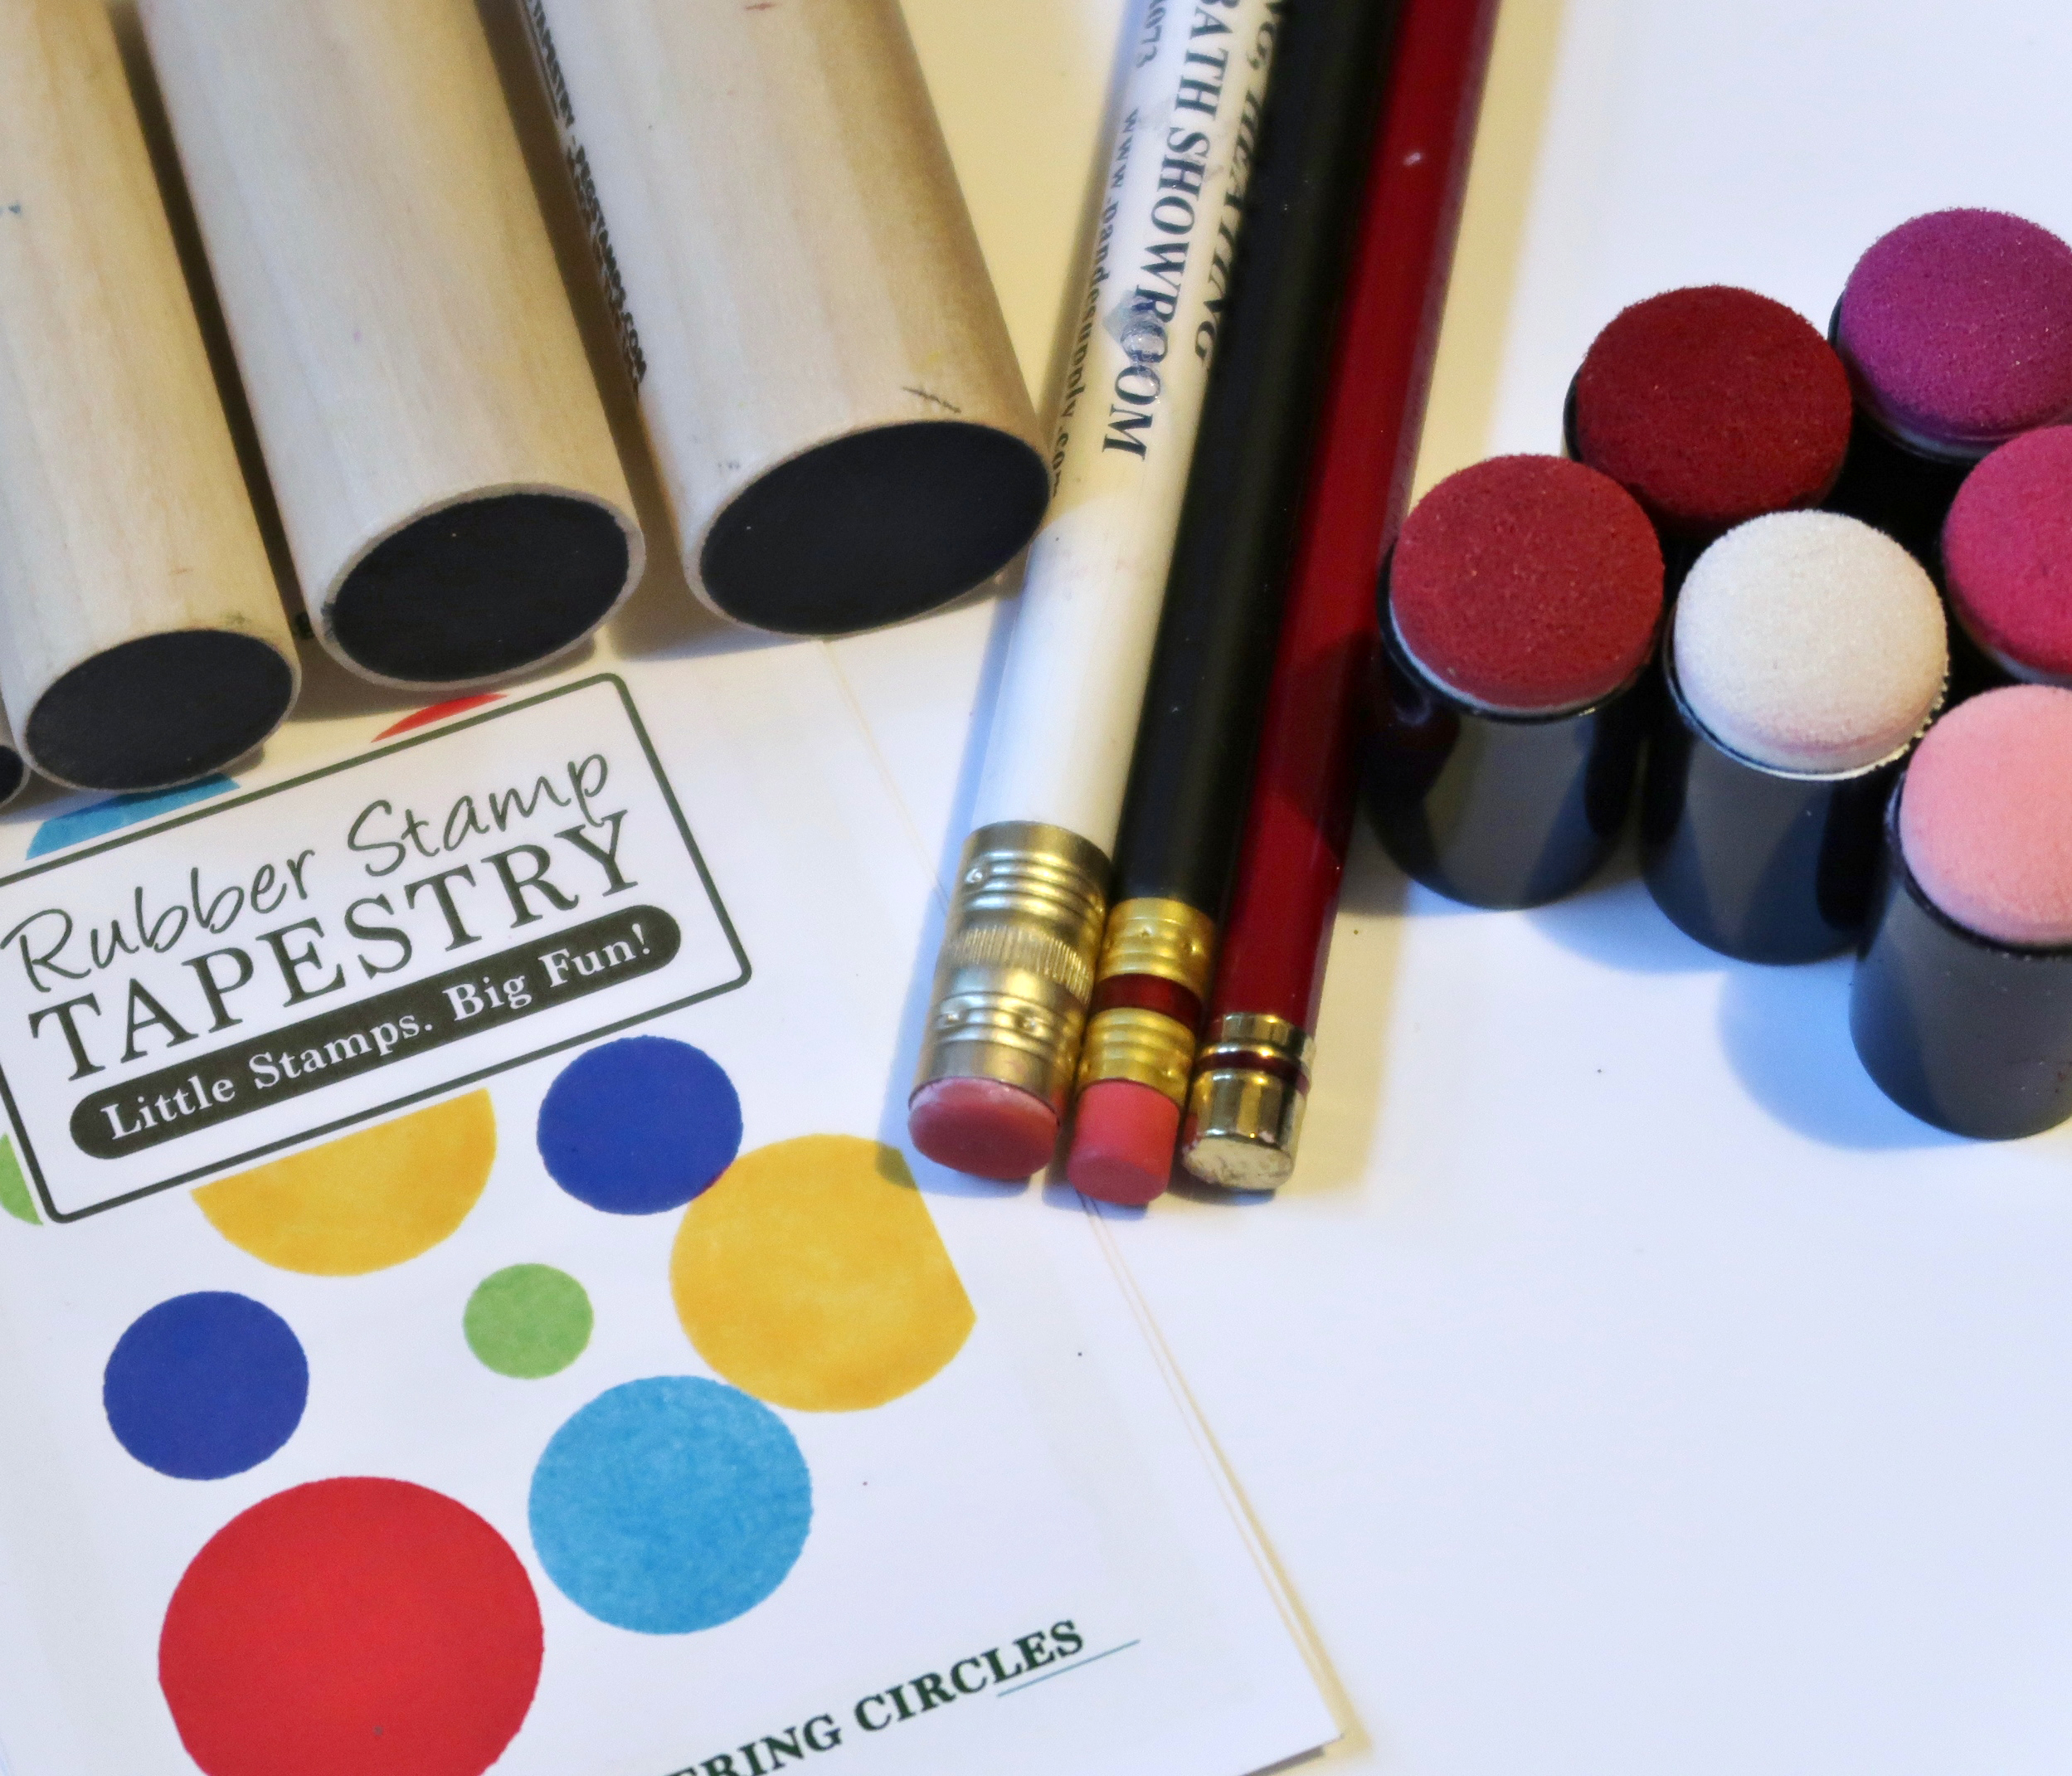
- Sponge Daubers
- Imagine Craft Mat
- Staz-On All Purpose Stamp Cleaner
Others:
- Leafy Branch Stencil (Creative Worship Stamps)
- Peace Joy Love Stencil (Creative Worship Stamps)
- Coffee Bean Flower Stencil (Ink on 3)
- Cardboard or cardstock
- Masking Tape or Washi Tape
- Iron