See How to Make a Fall Themed Birthday Shaker Card with VersaColor Ink

by Melissa Andrew

See How to Make a Fall Themed Birthday Shaker Card with VersaColor Ink

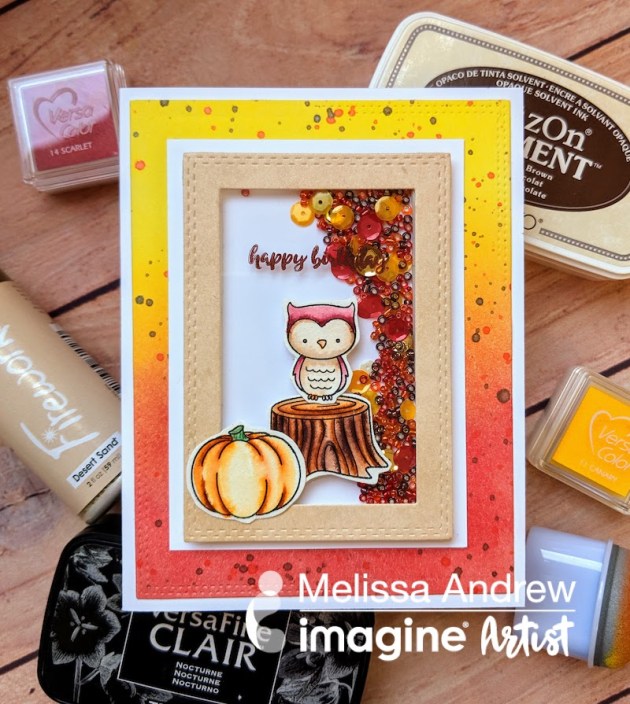
Today, I am showing you a wonderful property of the VersaColor pigment ink! This creamy pigment ink blends so beautifully with sponge daubers. The fall colors I used today created a smooth blend that made a perfect background for a fall card. In addition, I used Fireworks spray to help tone down the background for a gorgeous shimmer frame for a shaker card.

Skill: Advanced
Time: 1 hour

Directions

Supplies

Imagine
Other

Quick & Easy: Create a Simple and Beautiful Collage on a Wooden Leaf


by Lori Warren

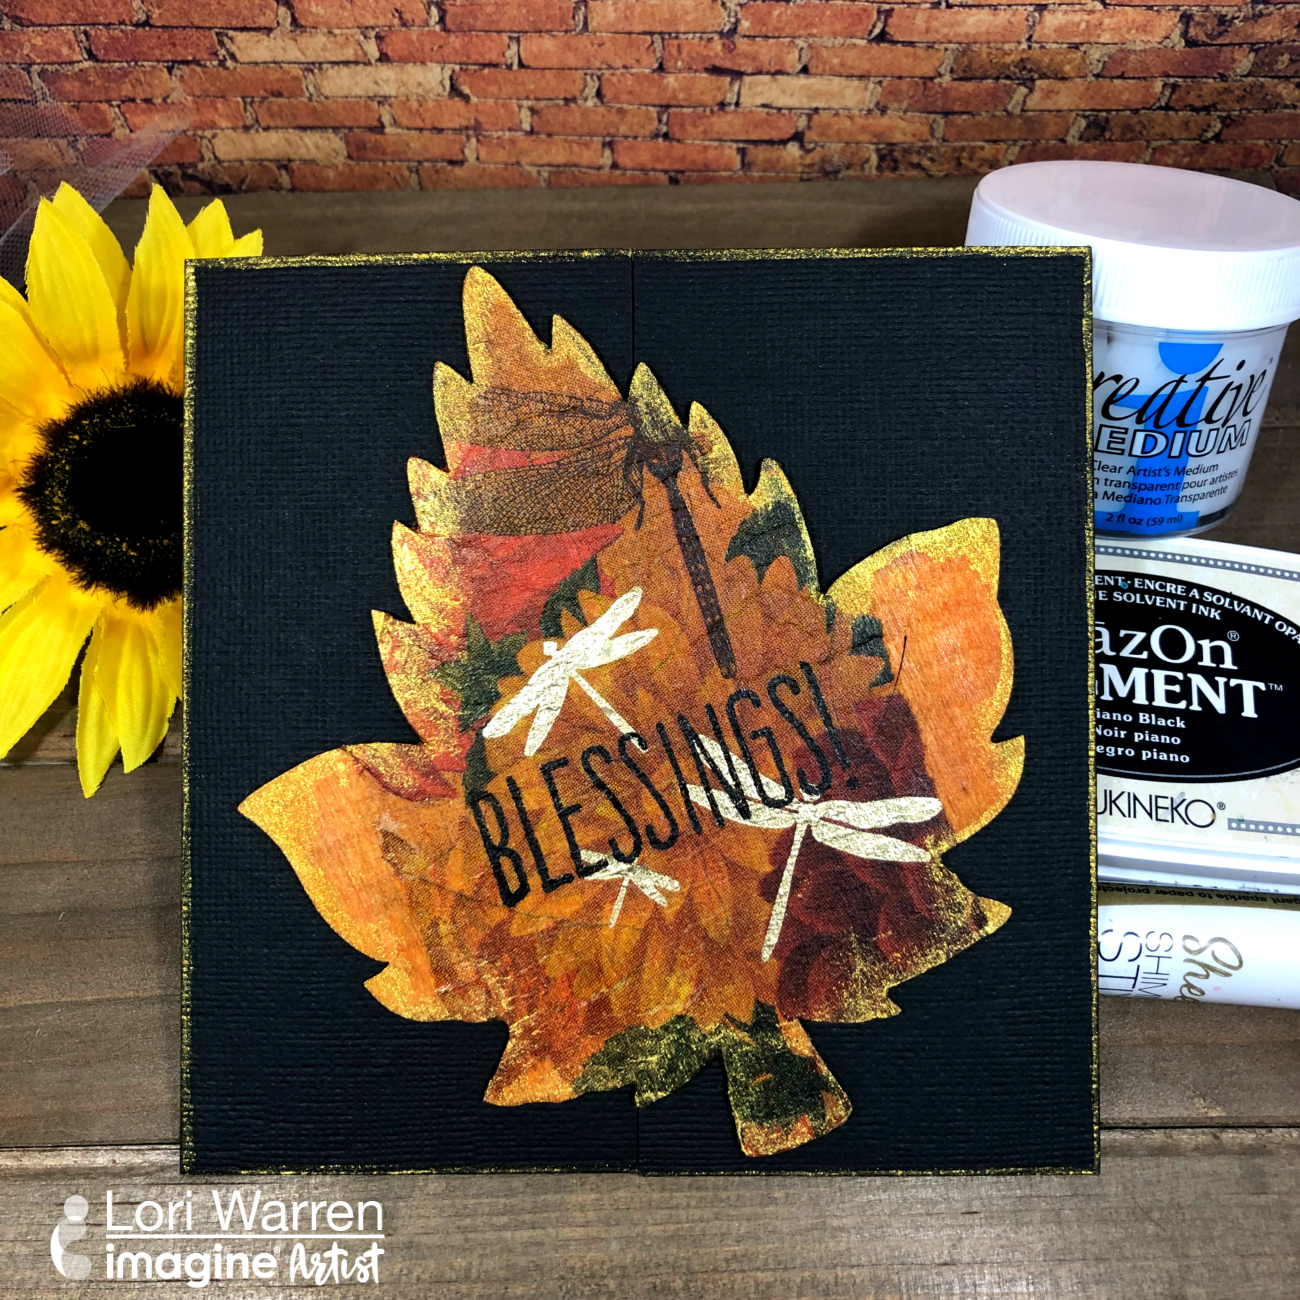
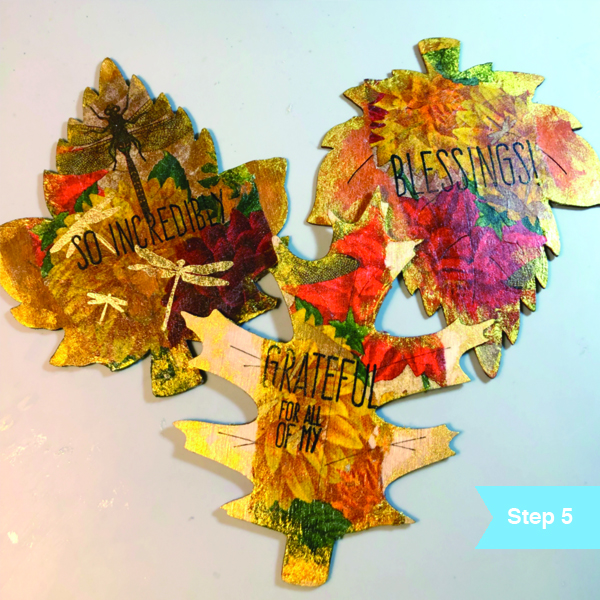
New to collage and mixed media?  Then this project is for you! Create a simple and beautiful collage on a wood leaf that can be used in card making and home décor projects.


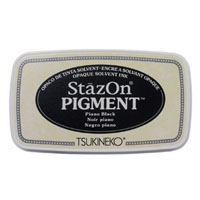
StazOn Pigment
in Piano Black

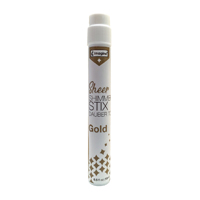
Sheer Shimmer Stix in Gold

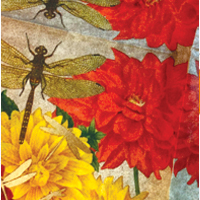
Tissue Paper

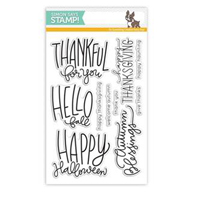
Stamp Set

StazOn Cleaner

Creative Medium

Wooden Leaves

Flat Paint Brush

Directions

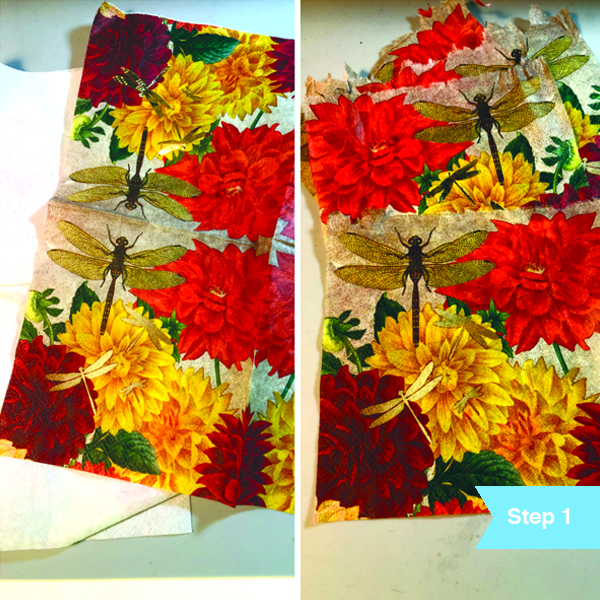
Separate the top layer of a patterned paper napkin and tear it into large sections. The thin tissue paper is perfect for this project.

Using a flat paint brush, adhere the torn napkin pieces to wood leaf with Creative Artist Medium in Clear. Creative Medium is a light acrylic paste and can perform a lot like Modge Podge paste for this collage. What makes Creative Medium different than Mod Podge is that it is thick enough to form a stiff structure as well. So if you are using Creative Medium with a stencil then the shapes of the stencil will maintain their shape. Paint the Creative Medium layer on the wood shape first. Then lay the tissue paper down and apply another layer on top of the paper. Allow drying.

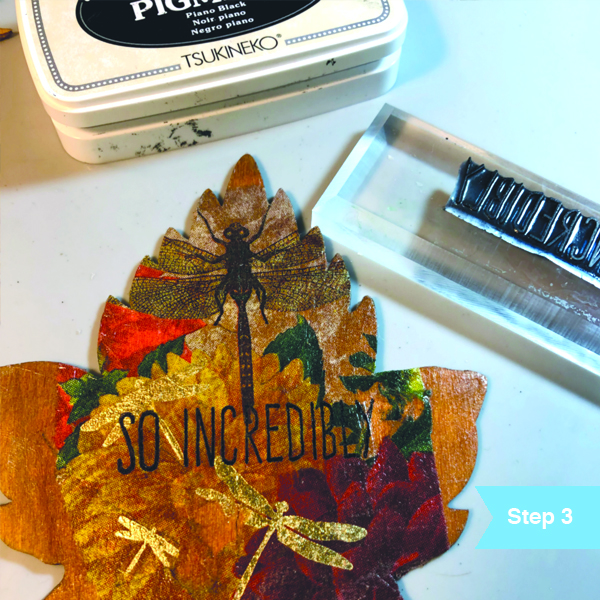
Stamp a fall theme saying or sentiment onto the leaves with StazOn Pigment in Piano Black. Use the StazOn stamp cleaner to clean your stamps once you are finished. Since the surface has the Creative Medium layer StazOn is the best choice here. Other ink brands might rub off or smear.

Apply Gold Sheer Shimmer Stix to edges of the leaf. The Shimmer Stix is a dauber top applicator and needs to be shaken well before use. The liquid shimmer should apply much like a marker. Test on a separate piece of paper before applying.

Repeat the process with different leaf-shaped.

Create an Inspiring Prayer Themed Card with an Ombre Background

by Lindsay Adreon

Create an Inspiring Prayer Themed Card with an Ombre Background

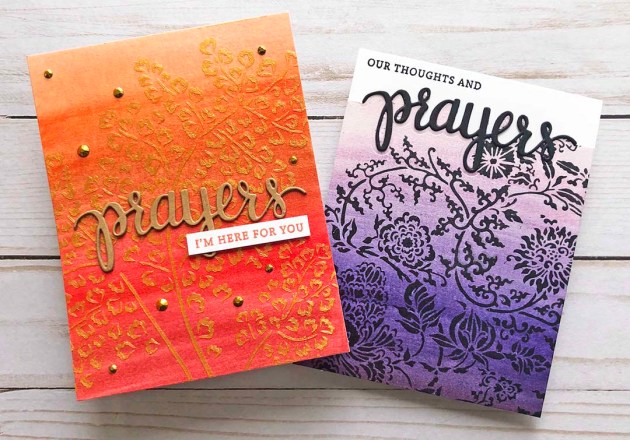
Watercolor is not my strong suit. Yet, I have found a way to watercolor that seems to work for me is with Memento Markers. Today, I want to share with you how to create watercolor ombre backgrounds easily to create a Prayer encouragement card. And I’m adding sparkle, because why not? I hope you all enjoy the tutorial!

Skill: Advanced
Time: 1 hour per card

Directions

Supplies

Imagine
Other

Learn How to Make an Embossed Background with Mboss

by Arjita Sepaha Singh

Learn How to Make an Embossed Background with Mboss

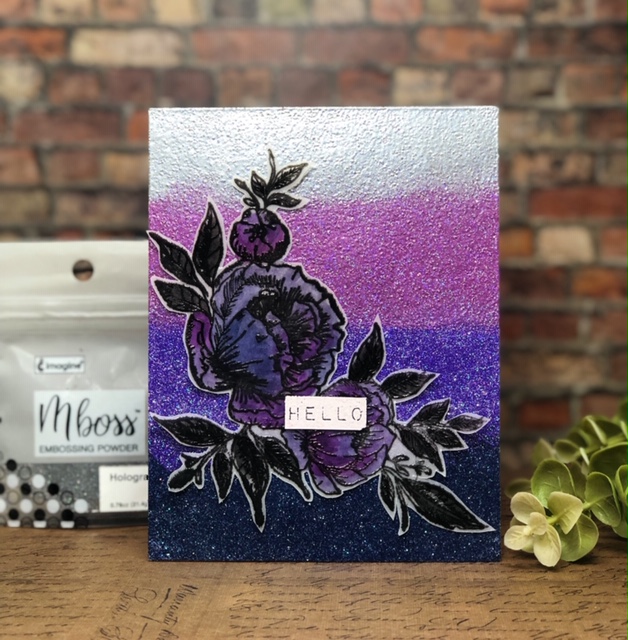
Today’s I used a beautiful Floral stamp set by Waffle Flower and few Mboss Embossing Powders in purple and magenta hues. I stamped the Floral image on a vellum piece with VersaFine black onyx ink and added Clear Mboss Powder. This gives a beautiful glossy effect on the image. For the background, I dabbed the VersaMark pad directly onto the card stock and created an ombre effect with the Mboss Embossing Powders. I repeated this process twice to get a rich shimmery effect. To finish the card I adhered the floral image and a “hello” sentiment.

Skill: Advanced
Time: 30 minutes

Directions

Supplies

Imagine
Other
  • Cardstock – White, Vellum
  • Misti Stamping Tool
  • Heatgun
  • Waffle Flower Stamps
  • Coffee Filters
  • Double-side Tape


Learn How to Create Your Own Plaid Pattern Background for a Greeting Card

by Lindsay Adreon

Learn How to Create Your Own Plaid Pattern Background for a Greeting Card

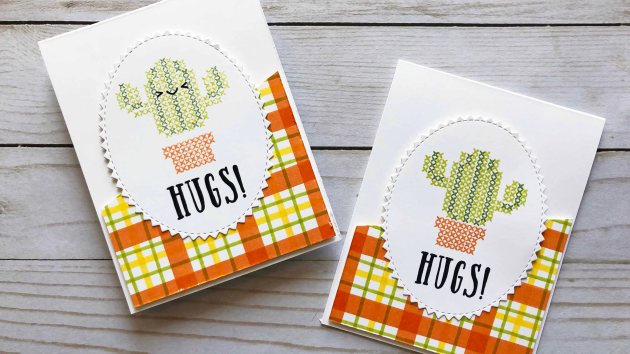
I love plaid! Being able to create my own stamped plaid backgrounds for a set of greeting cards is even better! I’m using the Waffle Flower Plaid Playset to create an easy plaid background with my own color combination.

Skill: Intermediate
Time: 1 hour for 2 cards

Directions

Supplies

Imagine

Other

  • Waffle Flower – Plaid Play Stamp Set – http://bit.ly/30PXfWl
  • Waffle Flower – Stitched Cacti Stamp Set – http://bit.ly/2ZHCU88
  • MISTI Stamping Tool
  • Creative Corners
  • Kat Scrappiness Zig Zag Oval Die Set
  • Foam Adhesive
  • Nuvo Deluxe Adhesive

Create Soft Stamped Background with Secondary Stamping Technique

by Lori Warren

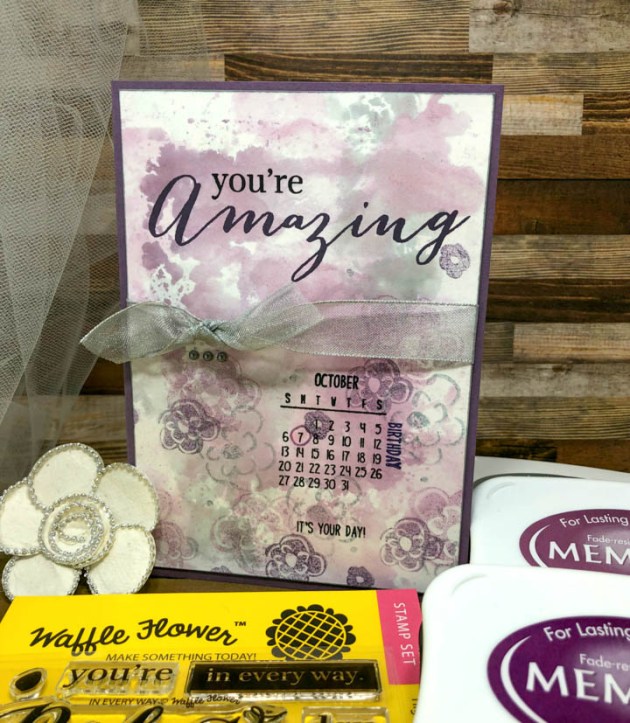
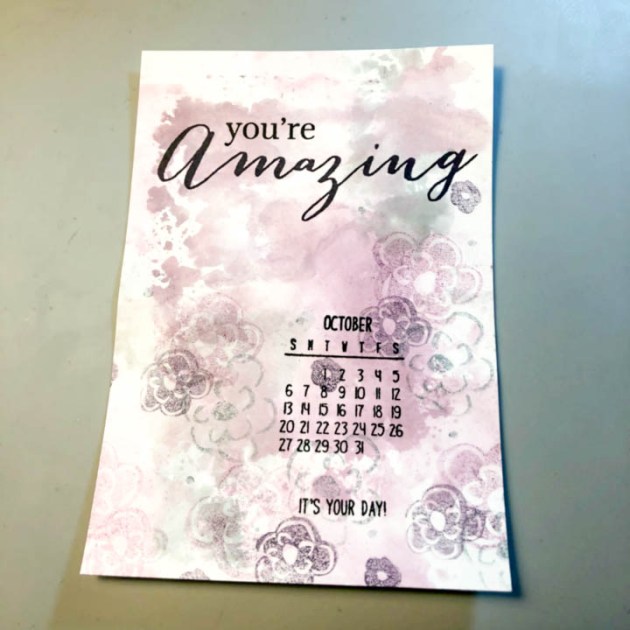
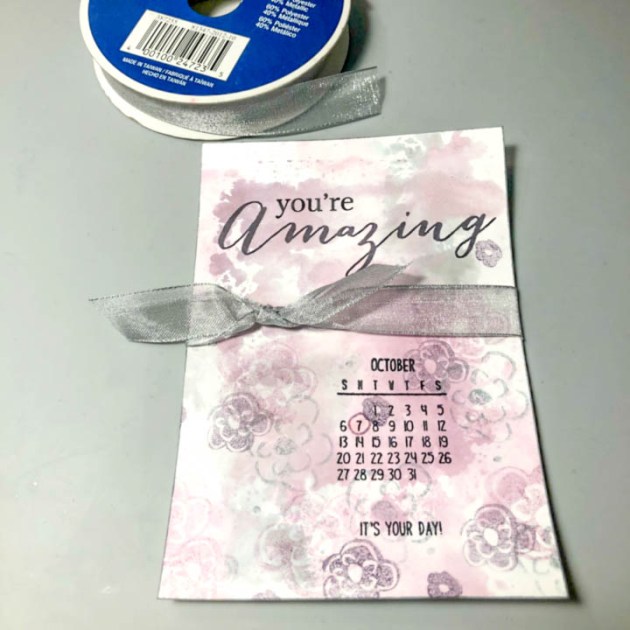
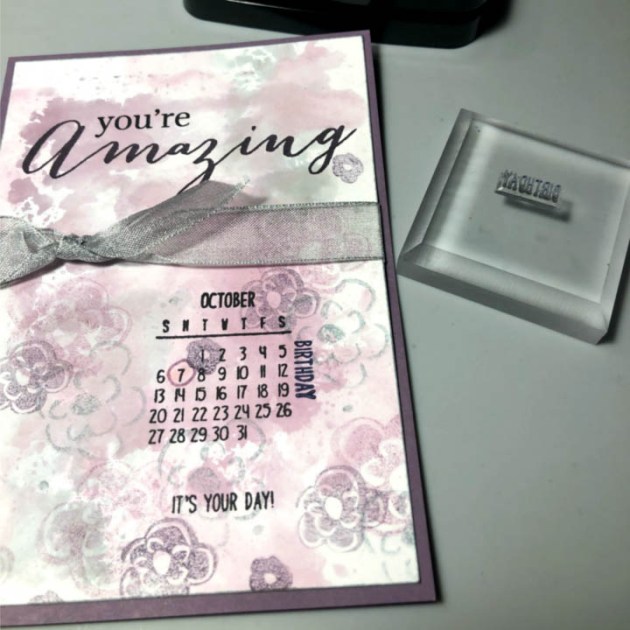
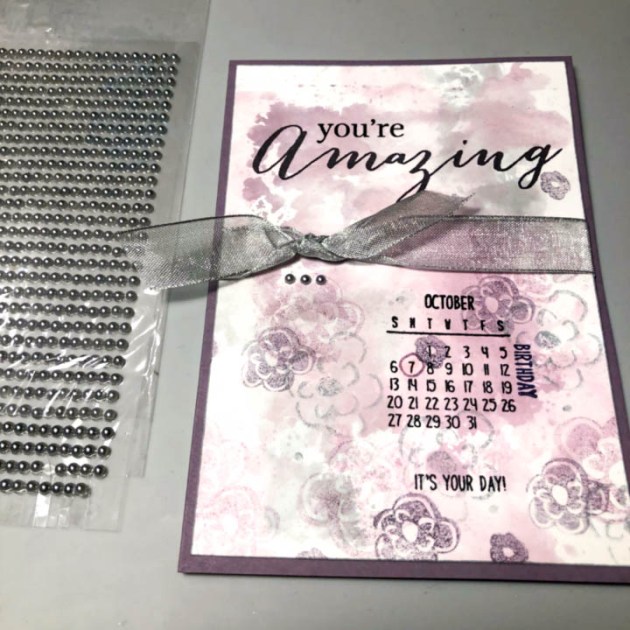
There is something so beautiful about a soft, watercolor background. Especially when paired with a bold stamped sentiment in black, it really creates a striking contrast. The Secondary stamping technique also used on this card was the perfect way to enhance the watercolor background with muted florals.

Skill: Beginner
Time: 30 minutes

Directions

Directions


Step 1

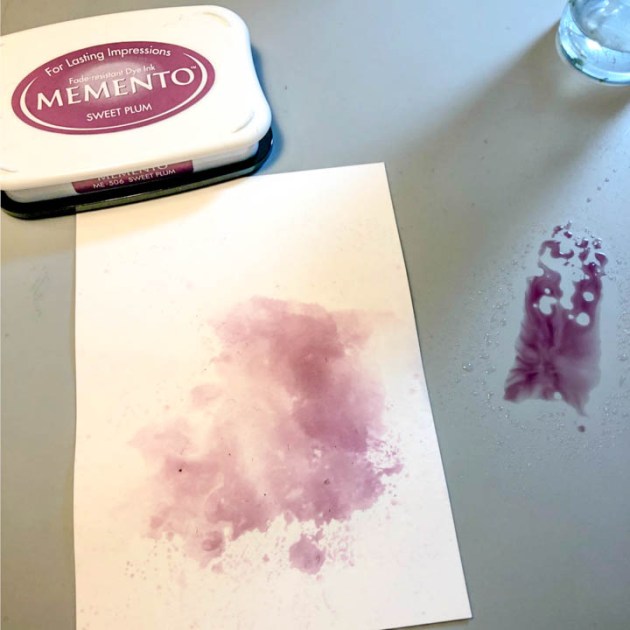
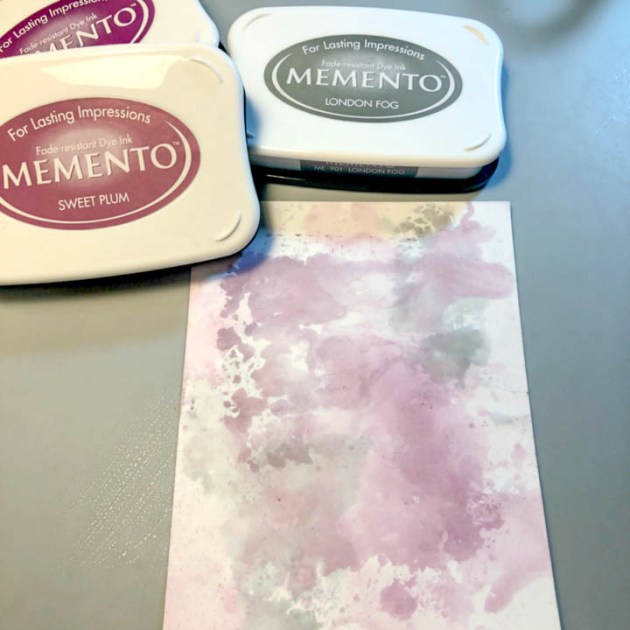
Apply Memento ink in Sweet Plum and Elderberry directly to the craft mat, spray with water and then place cardstock panel directly into the wet ink.


Step 2

Repeat step one with additional Memento ink colors. Here I used Memento in London Fog which is a nice gray.


Step 3

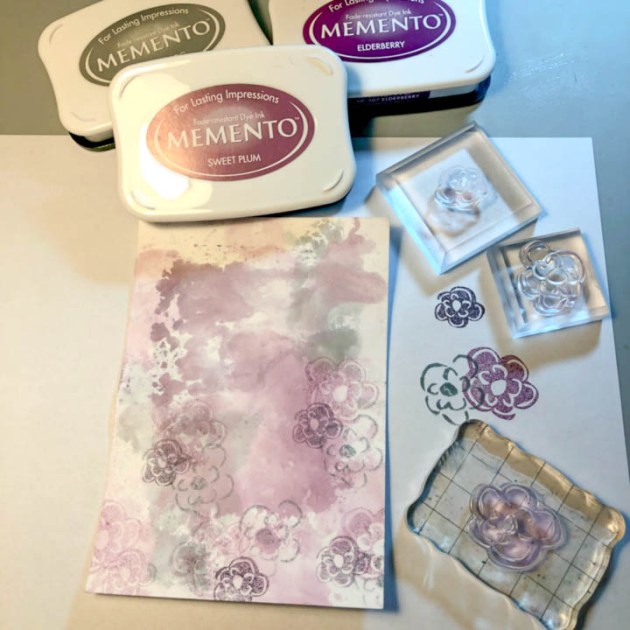
Stamp flowers onto cardstock panel (ink up stamp, stamp off ink using scrap paper, then stamp onto cardstock panel). The second generation stamping is what is left on the stamp when you stamp off the card. When you use this, it gives the stamp a ghost-like look.


Step 4

Stamp the sentiments, “you’re amazing” and “it’s your day!” along with the calendar images with Memento in Tuxedo Black.


Step 5

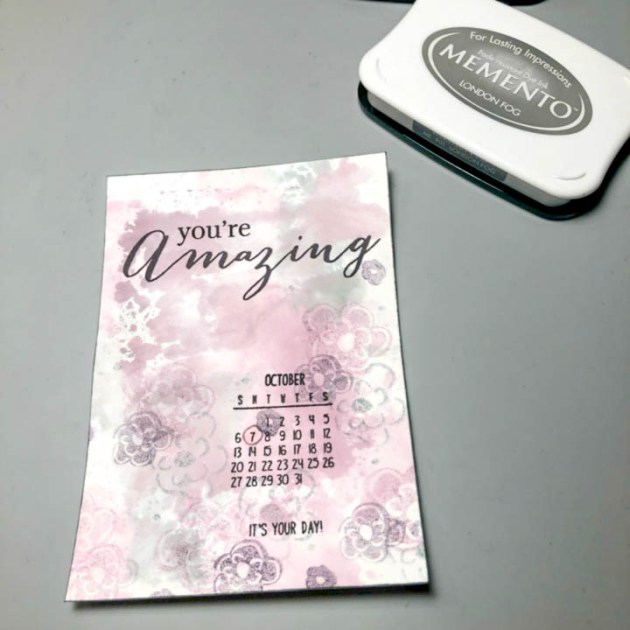
Stamp small circle stamp around the “day” of the birthday. With this design, the circle is on the 7th.


Step 6

Edge panel with Memento in London Fog.


Step 7

Tie sheer ribbon between sentiment and calendar images.


Step 8

Adhere the card and ribbon to the card base with Tear It Tape.


Step 9

Stamp birthday month “October” and the word “birthday” to the right of calendar image, vertically.


Step 10

Embellish with adhesive gems.

Supplies

Imagine
Other
  • Waffle Flower – Little Gifts, Calendar Stamp Set, In Every Way
  • Celebrate It – Sheer Gray Ribbon
  • Cardstock – purple, white
  • Adhesive Pearls