By Helen Gullett
Hello crafty friends! The change of season is here and we can see how changes can bring some beautiful colors to our life. Today, I would like to share my Fall Mixed Media Tag.
Skill: Intermediate
Time: 15-20 minutes
Direction:

Step 1
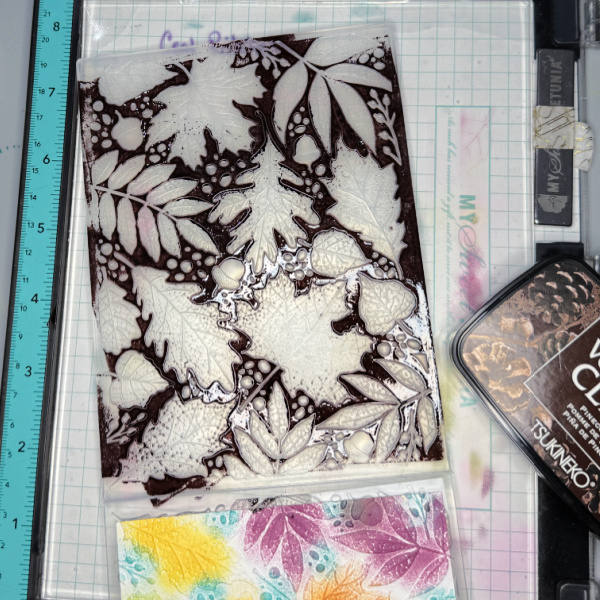
Cut out a piece of cold-press watercolor paper for the Fall theme stamps..
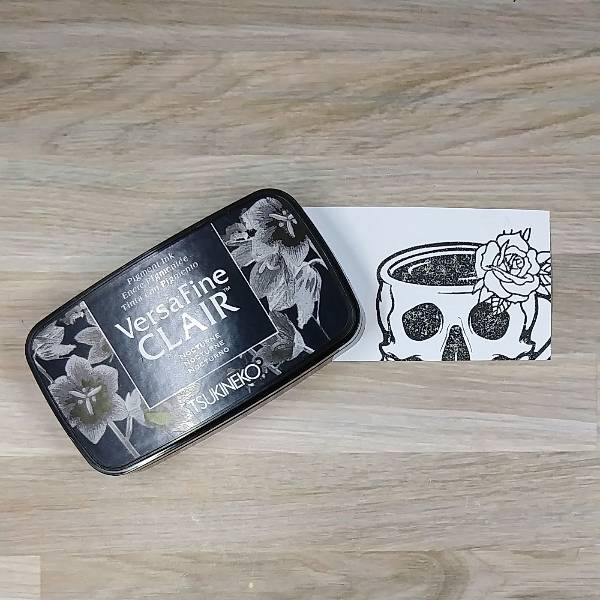
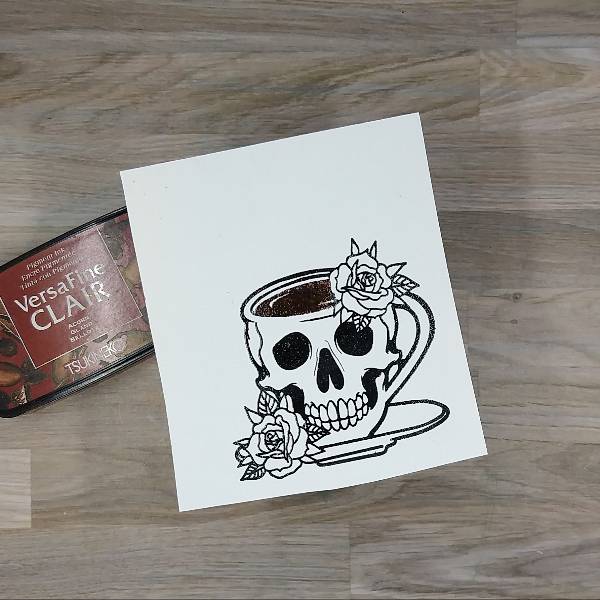
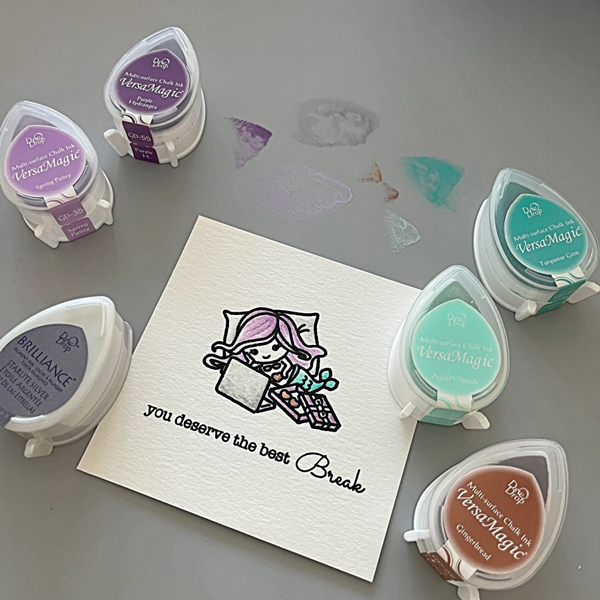
Stamp the images with VersaFine Onyx Black ink pad using a stamping tool.
Option, you can stamp a couple times to get crisper stamped images result on a watercolor paper.
Step 2
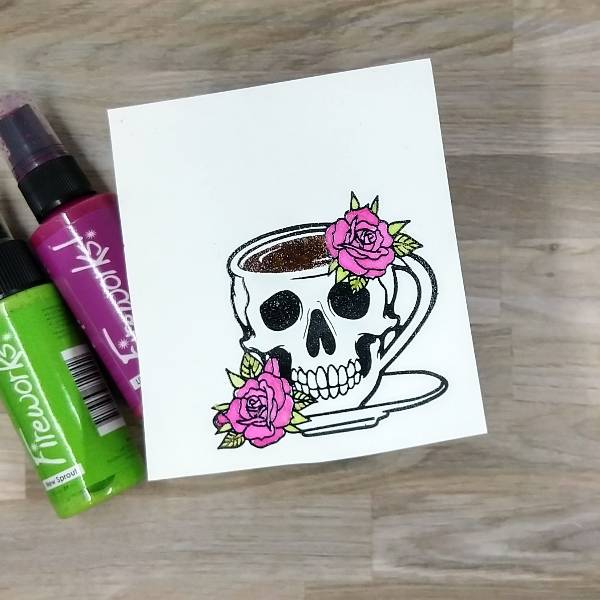
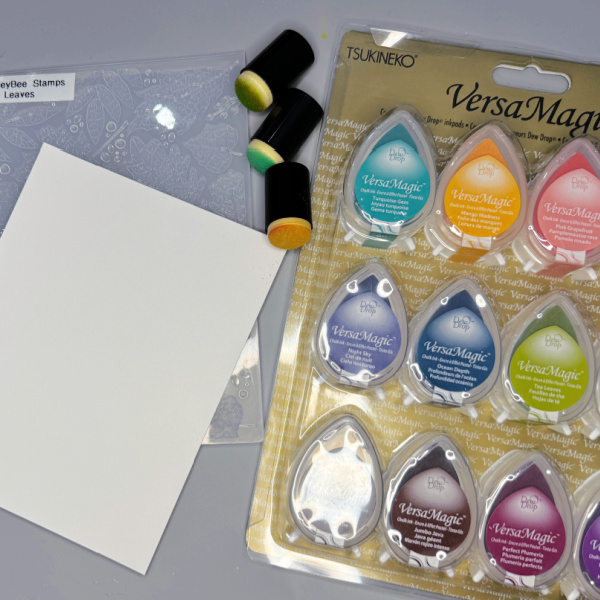
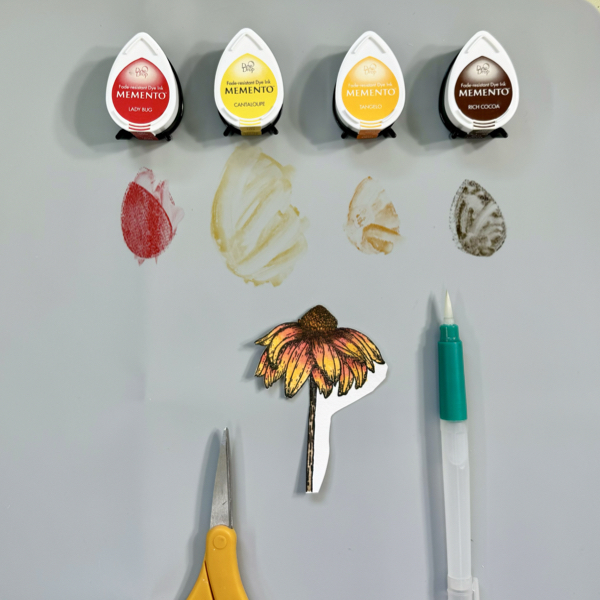
Memento inks (Full size and Dew Drop) are great for watercoloring! Simply add some of the Memento Dew Drop inks (Lady Bug, Cantaloupe, Tangelo, Rich Cocoa) on the craft mat.
Use a water brush to pick up the pigment and color the flower.
After coloring the image, use a craft heat gun to dry the watercolor inks.
Cut the image using micro-tip scissors.
Step 3
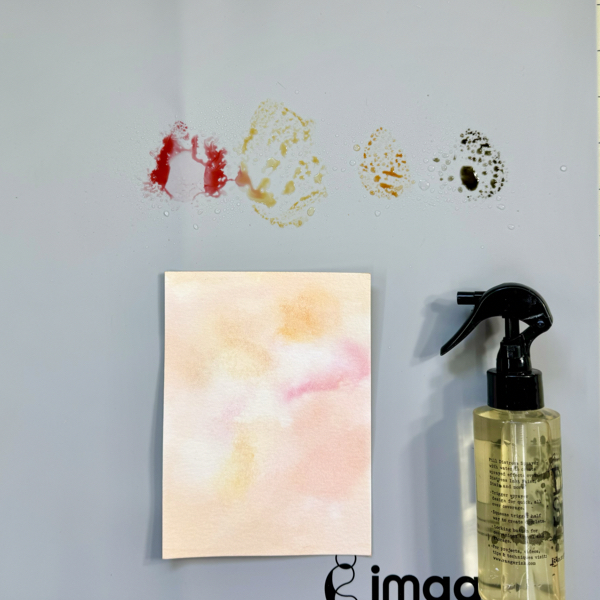
Cut out another piece of the cold press watercolor paper.
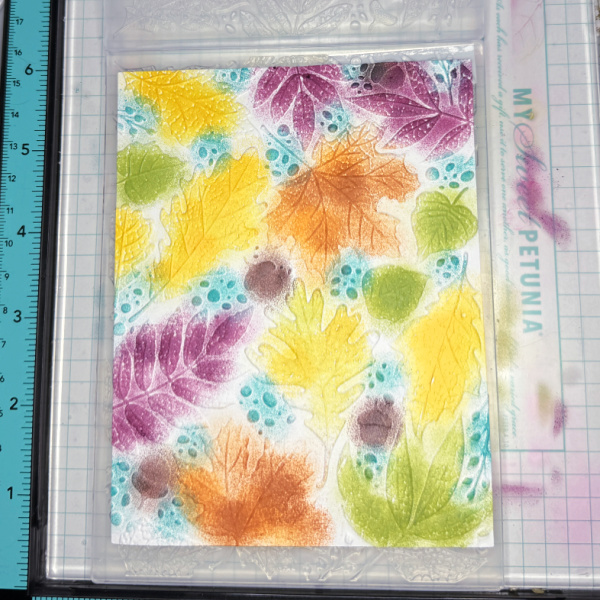
Add more of the Memento inks by dabbing the Memento Dew Drop on the craft mat.
Spray lightly with some water and then smoosh the watercolor paper to the inks on the craft mat to create the watercolor wash background.
You can repeat this step a couple times to get the colored background you like.
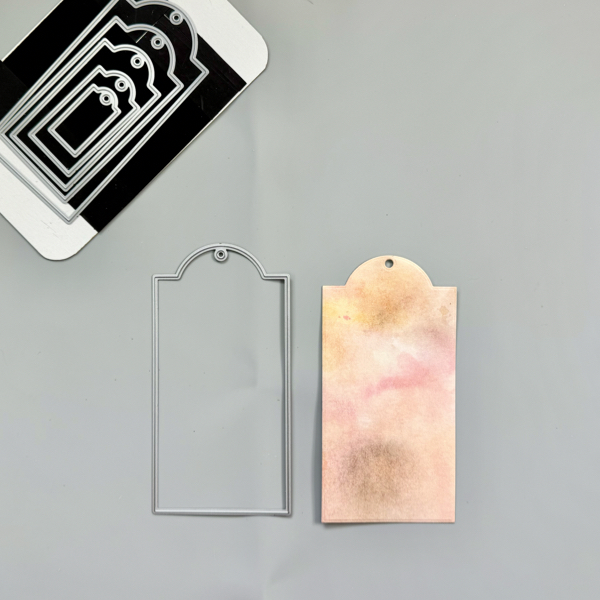
Step 4
Dry the watercolor background panel with a craft heat gun.
Cut it out with a tag die. Or, If you do not have any tag die, you can trace any packing tag to it and cut it with scissors.

Step 5
Add some of the Memento Rch Cocoa ink around the edge of the tag with a sponge dauber for extra shadow and distress look.
And then, add some of the Delicata Golden Glitz randomly around the edge of the tag with a sponge dauber for some extra shine to it.
Dry the ink on the tag with a craft heat gun.
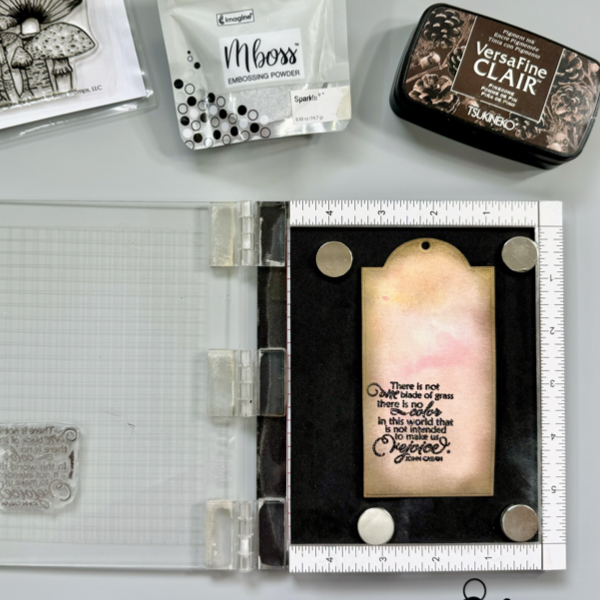
Step 6
Add some of the anti-static powder to the whole tag.
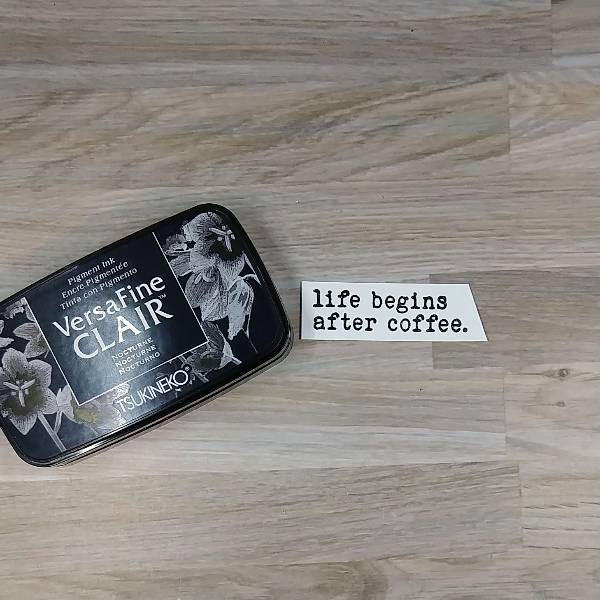
Using a stamping tool, stamp the sentiment on the tag using the VersaFine Clair Pinecone ink pad.
Right away while the ink is still wet, add some of the Mboss Sprakle embossing powder to the tag and heat set it with a craft heat gun.
Gently wipe off the anti-static powder of the tag using a paper towel after the embossed sentiment cool off.
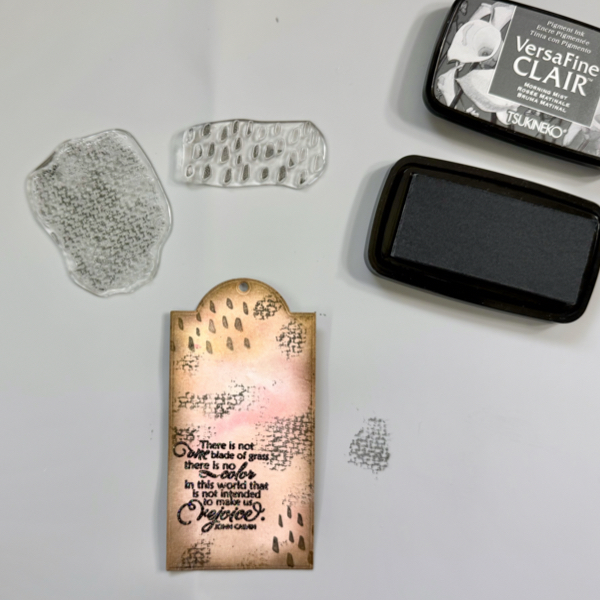
Step 7
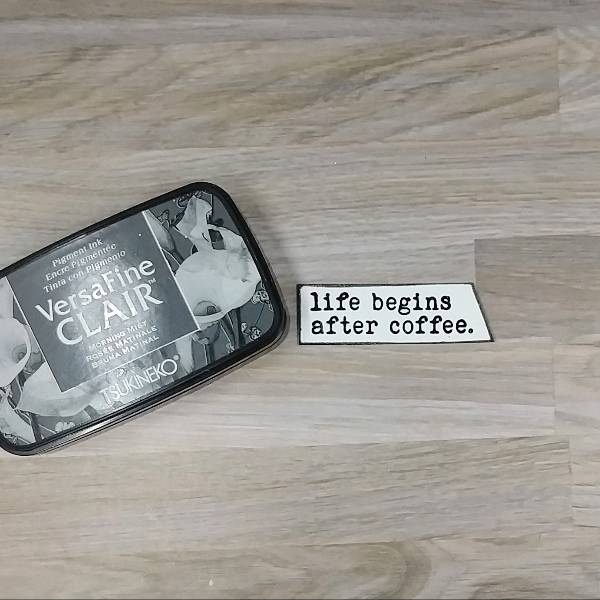
Add some texture to the tag by stamping some patterns using the background texture stamps and VersaFine Clair Morning Mist.
To get the uneven look on the background, stamp the image using your hand directly and not a stamping acrylic block.
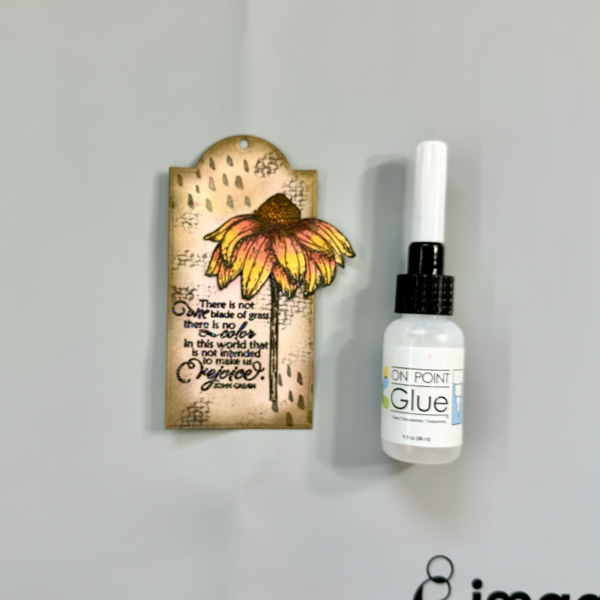
Step 8
Add some of the glue from On Point Glue to the half of the back of the watercolor flower and add it to the tag.
Add a couple of acrylic stamping blocks on the flower for a couple minutes until the glue dried permanently.
Step 9
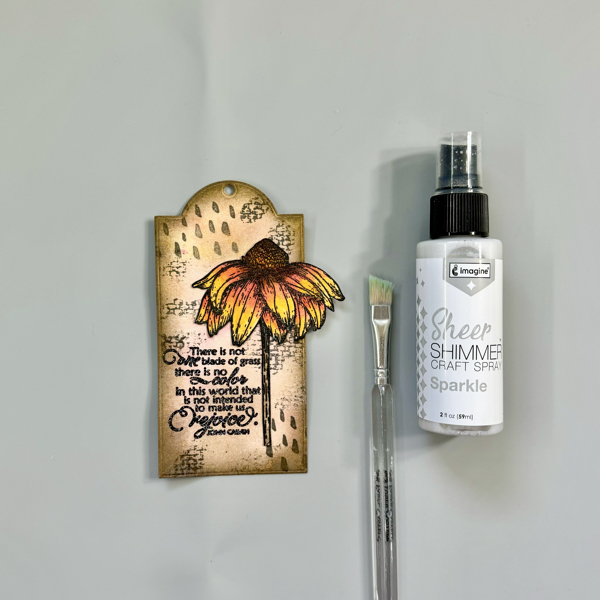
This last step is an option. But I decided to add some extra sparkle to this Fall tag.
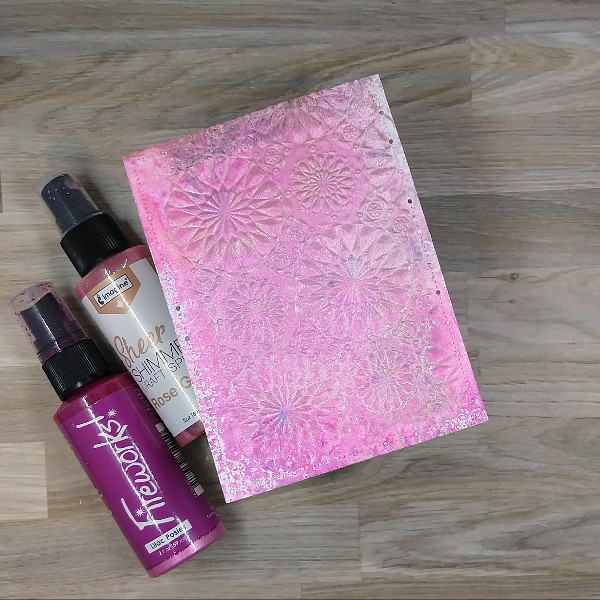
Use a flat small brush to add some splatters of the Sparkle – Sheer Shimmer Craft Spray to the tag and then use a craft heat gun to dry it completely.
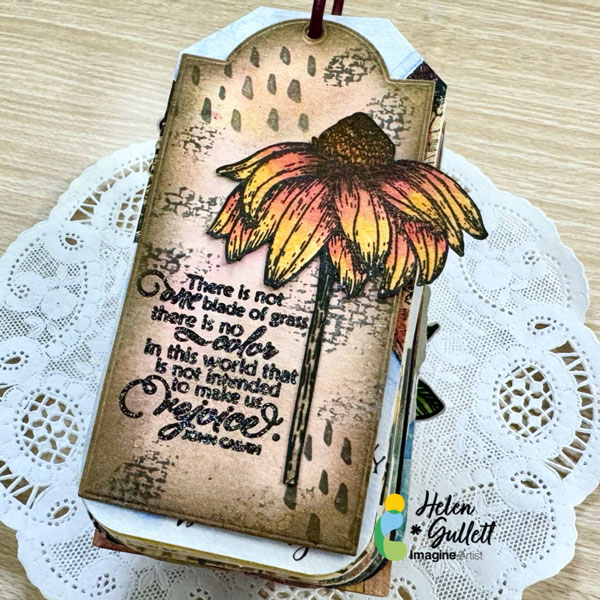
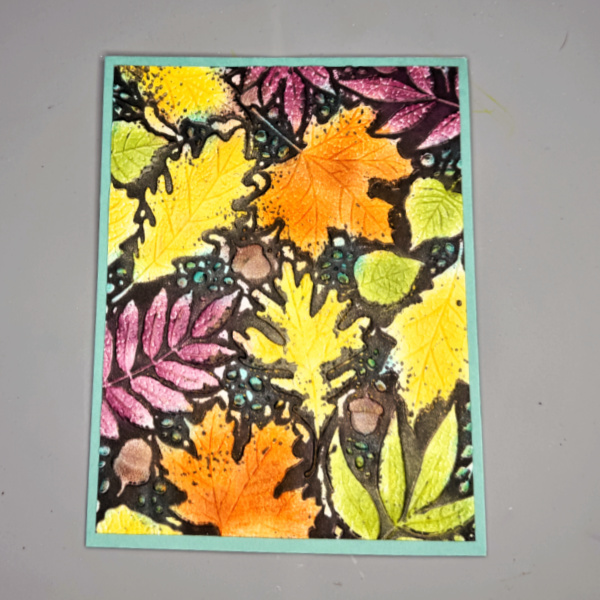
I love how this Fall mixed media tag turned out. The Fall colors plus some gold and sparkle to it makes me happy to look at it. It is now a new addition to my tag ring collection.
I hope you’ll like this Fall tag project and give it a try with your own twist. Thank you for stopping by our blog today. Have a fabulous day!
Craft Supplies
Imagine Crafts:
- Memento (Lady Bug, Tangelo, Cantaloupe, Rich Cocoa)
- VersaFine (Onyx Clair)
- VersaFine Clair (Pinecone, Morning Mist)
- Delicata (Gold Glitz Mini Ink Pad)
- Mboss Embossing Powder (Sparkle)
- Sheer Shimmer Craft Spray (Sparkle)
- On Point Glue
- Sponge Daubers
- Imagine Craft Mat
- Staz-On All Purpose Stamp Cleaner
Others:
- Colors of Fall Stamp Set (Creative Worship Stamps)
- Mini Marks 1 Stamp Set (Creative Worship Stamps)
- Tag Die Set (STAMPlorations, expired)
- Canson Watercolor Paper 140 lb
- MISTI stamping tool
- Acrylic stamping blocks
- Paper trimmer
- Micro-tip Scissors
- Die cutting Machine