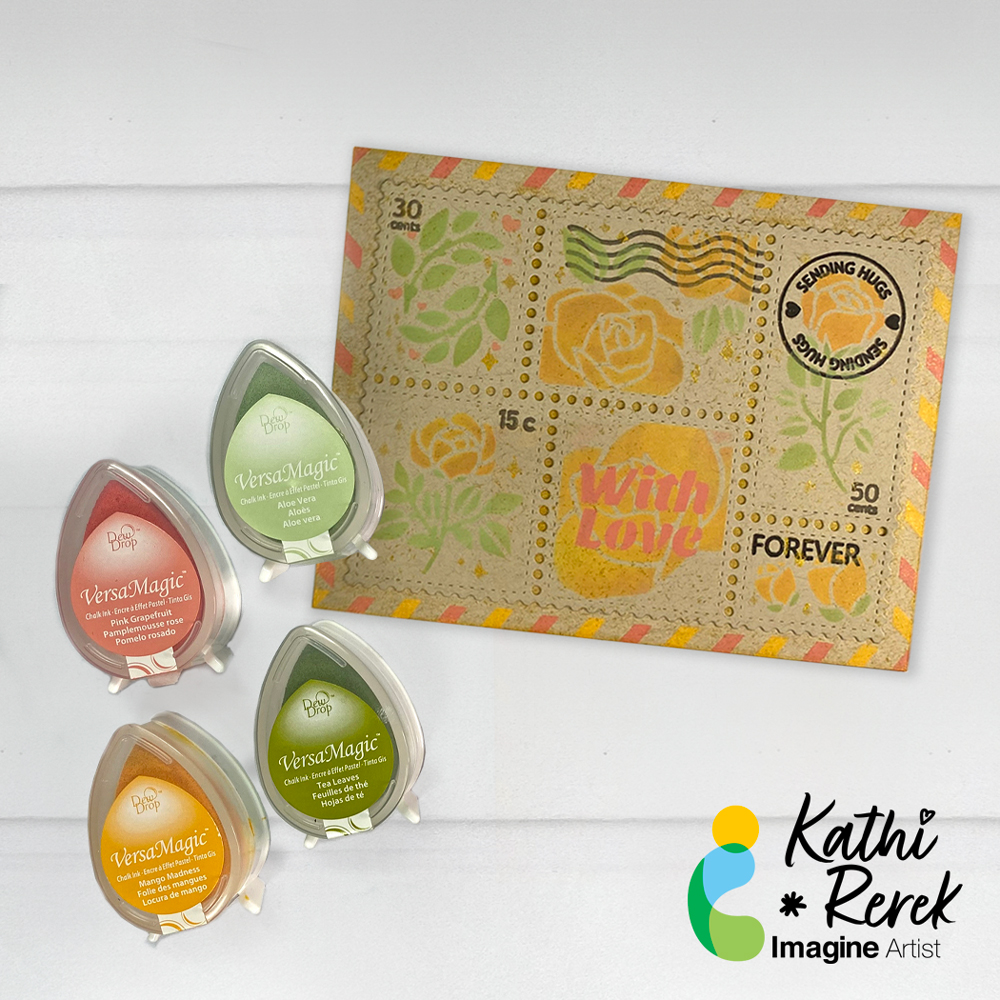
By Kathi Rerek
It’s summer and the roses are in full bloom. Let’s make a Rose Postage Card with VersaMagic and Delicata Inks!
Skill Level: Intermediate
Time: 1.5 hours
Directions:
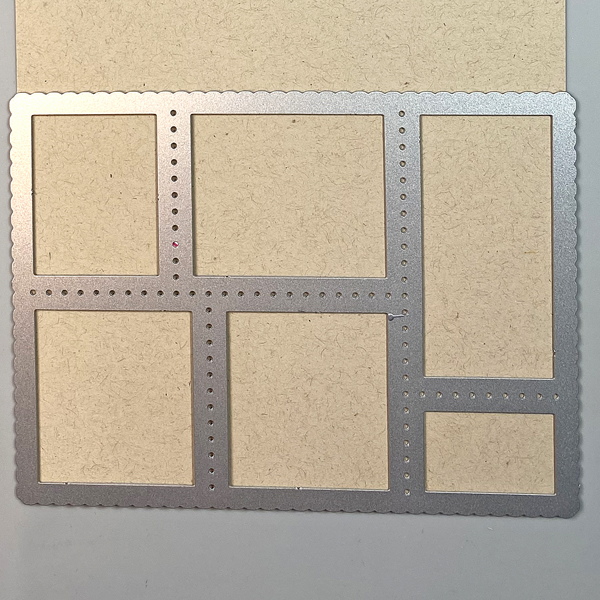
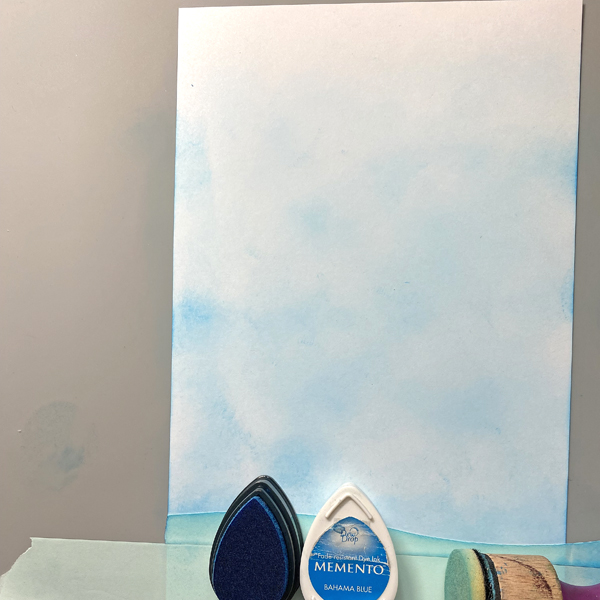
Step 1:
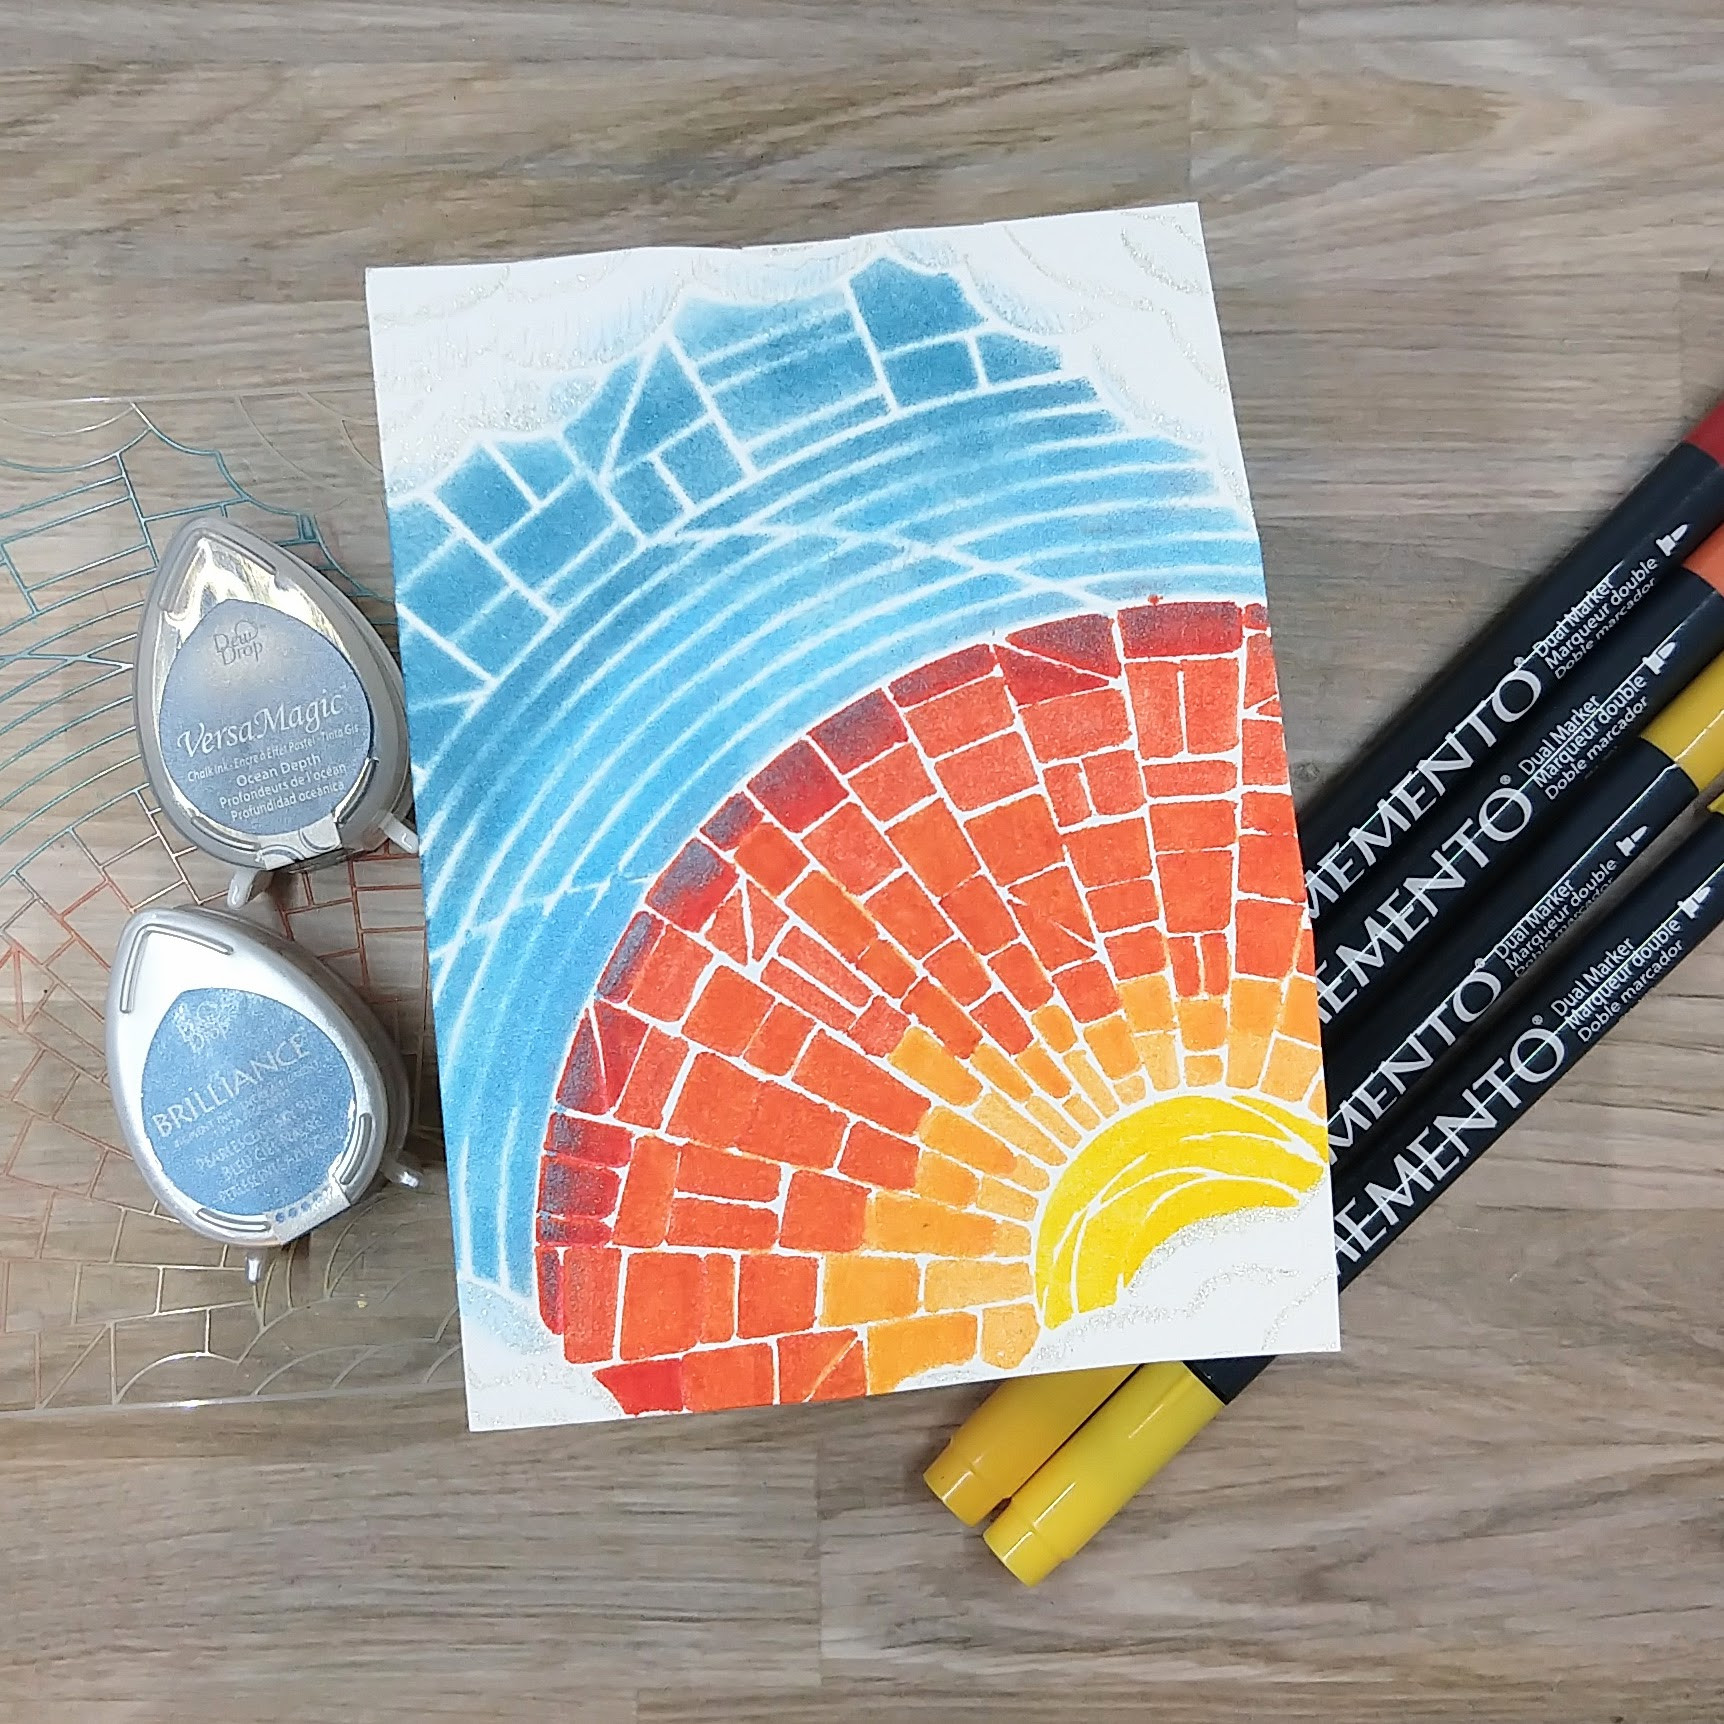
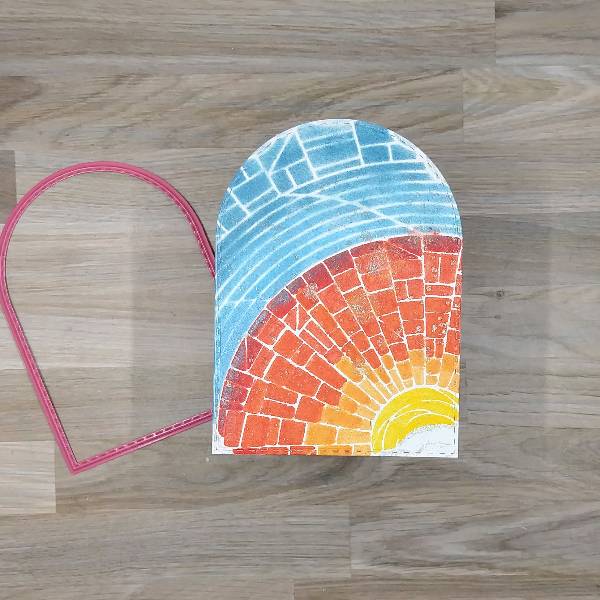
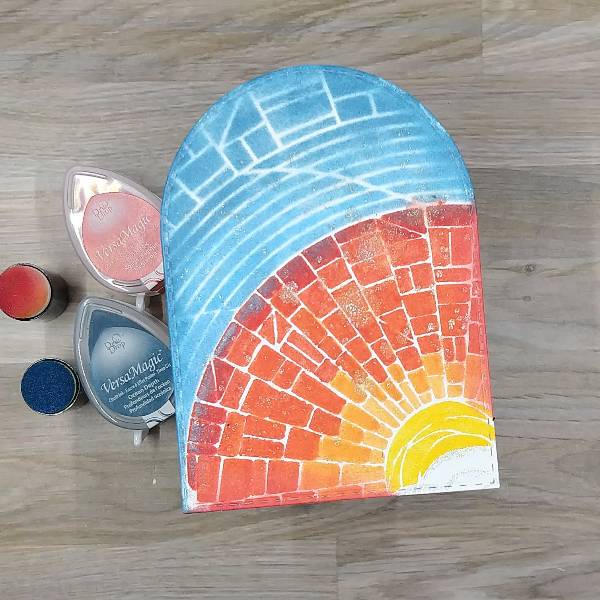
Use the Postage Collage die to cut Desert Storm cardstock.
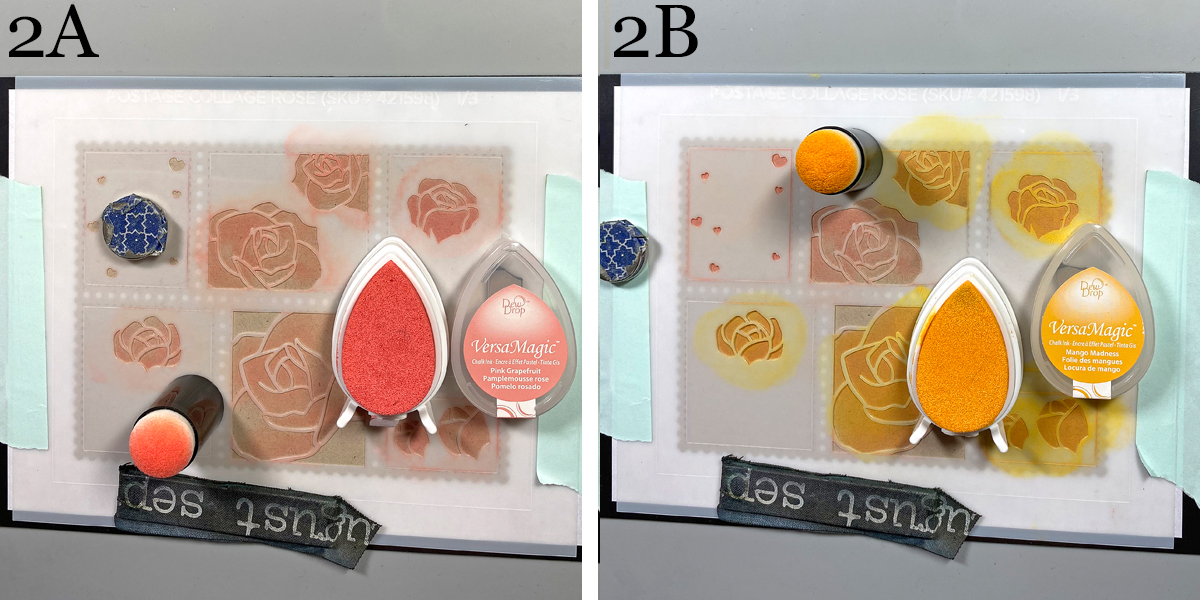
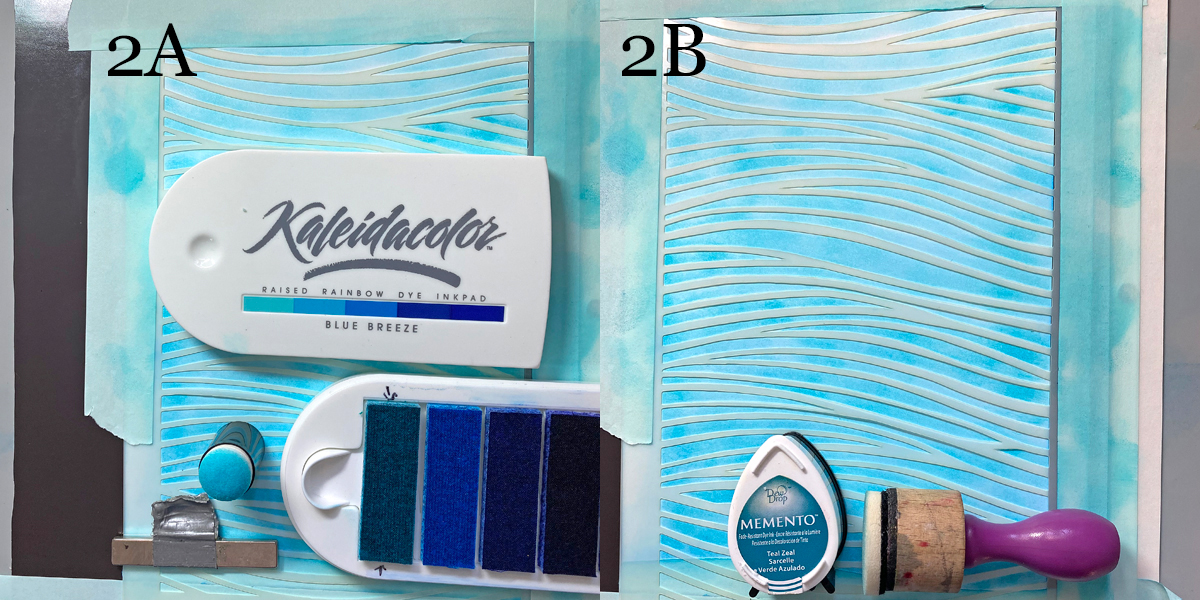
Steps 2A and 2B:
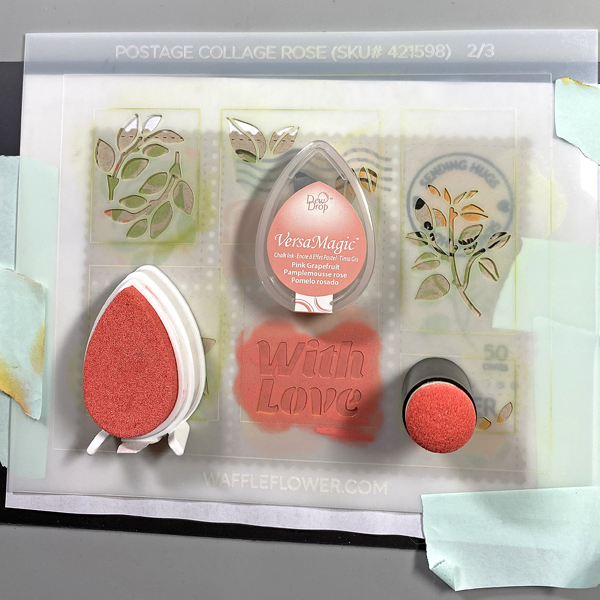
Place a magnetic panel onto the cardstock panel. Use temporary adhesive to secure the Rose Postage Collage die-cut to a piece of scrap paper. Use magnets and low-tack tape to secure the first Rose Postage Collage Stencil to the die-cut. Use a Sponge Dauber to apply Pink Grapefruit VersaMagic Ink over the stencil onto the die-cut (2A). Use another Sponge Dauber to apply Mango Madness VersaMagic Ink over the stencil onto the die-cut, blending the ink as you go (2B).
Keep the Postage-Collage Die-cut panel in place. Remove the stencil and clean. Heat set the collage panel.
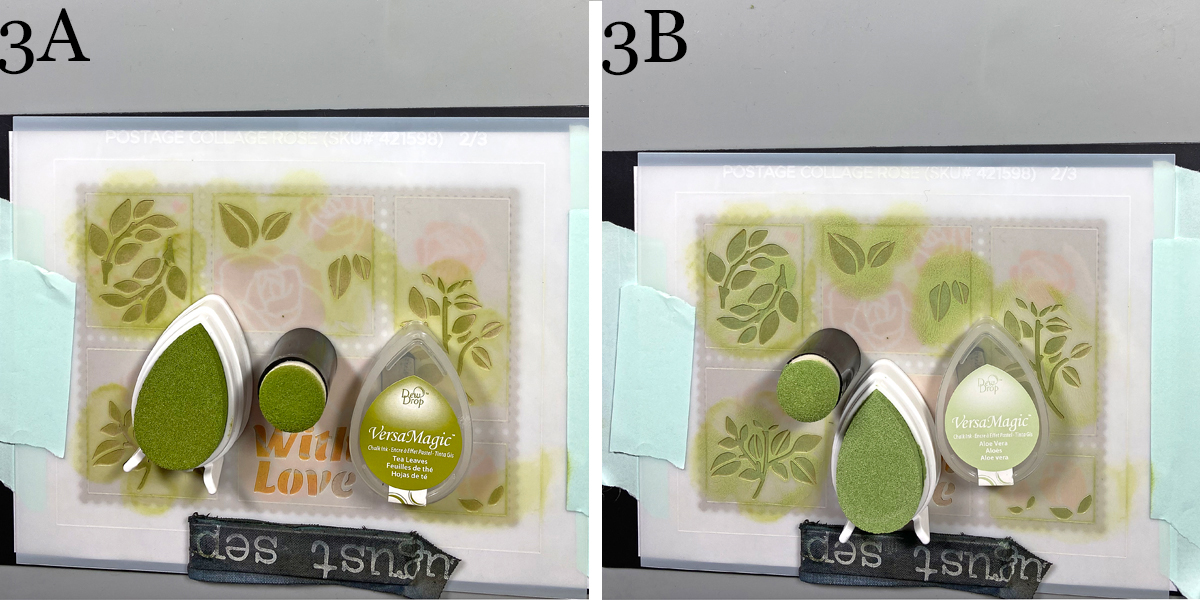
Steps 3A and 3B:
Use magnets and low-tack tape to secure the second Rose Postage Collage Stencil to the Postage Collage die-cut. Use a Sponge Dauber to apply Tea Leaves VersaMagic Ink over the stencil onto the die-cut (3A). Use another Sponge Dauber to apply Aloe Vera VersaMagic Ink over the stencil onto the die-cut, blending the ink as you go (3B). Keep the Postage-Collage Die-cut panel in place. Remove the stencil and clean. Heat set the collage panel.
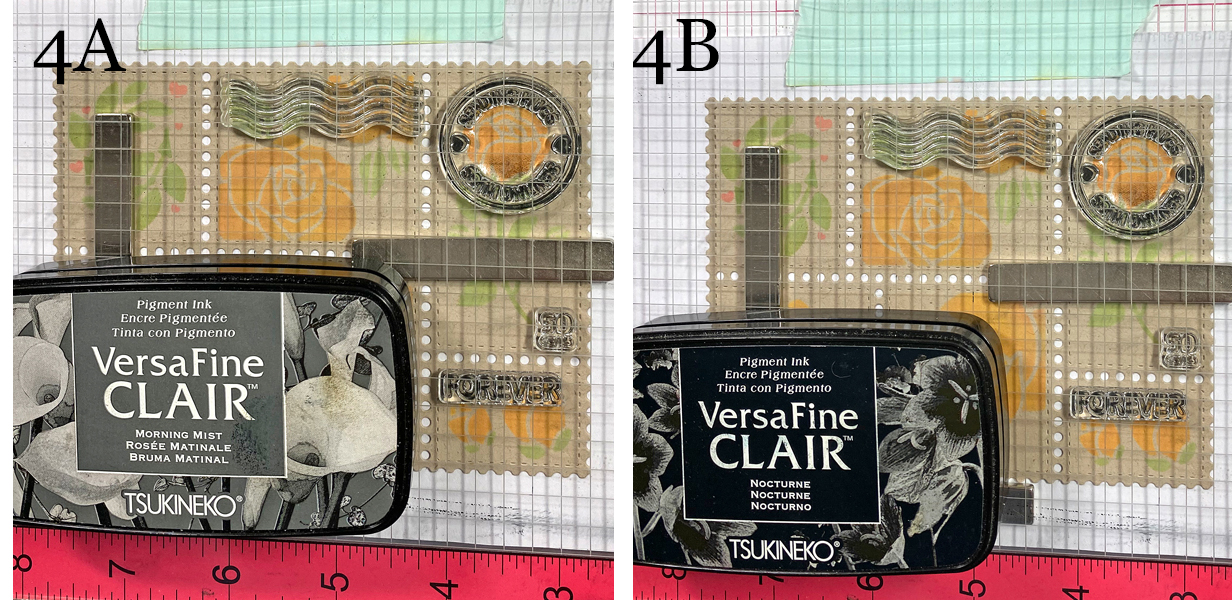
Steps 4A & 4B:
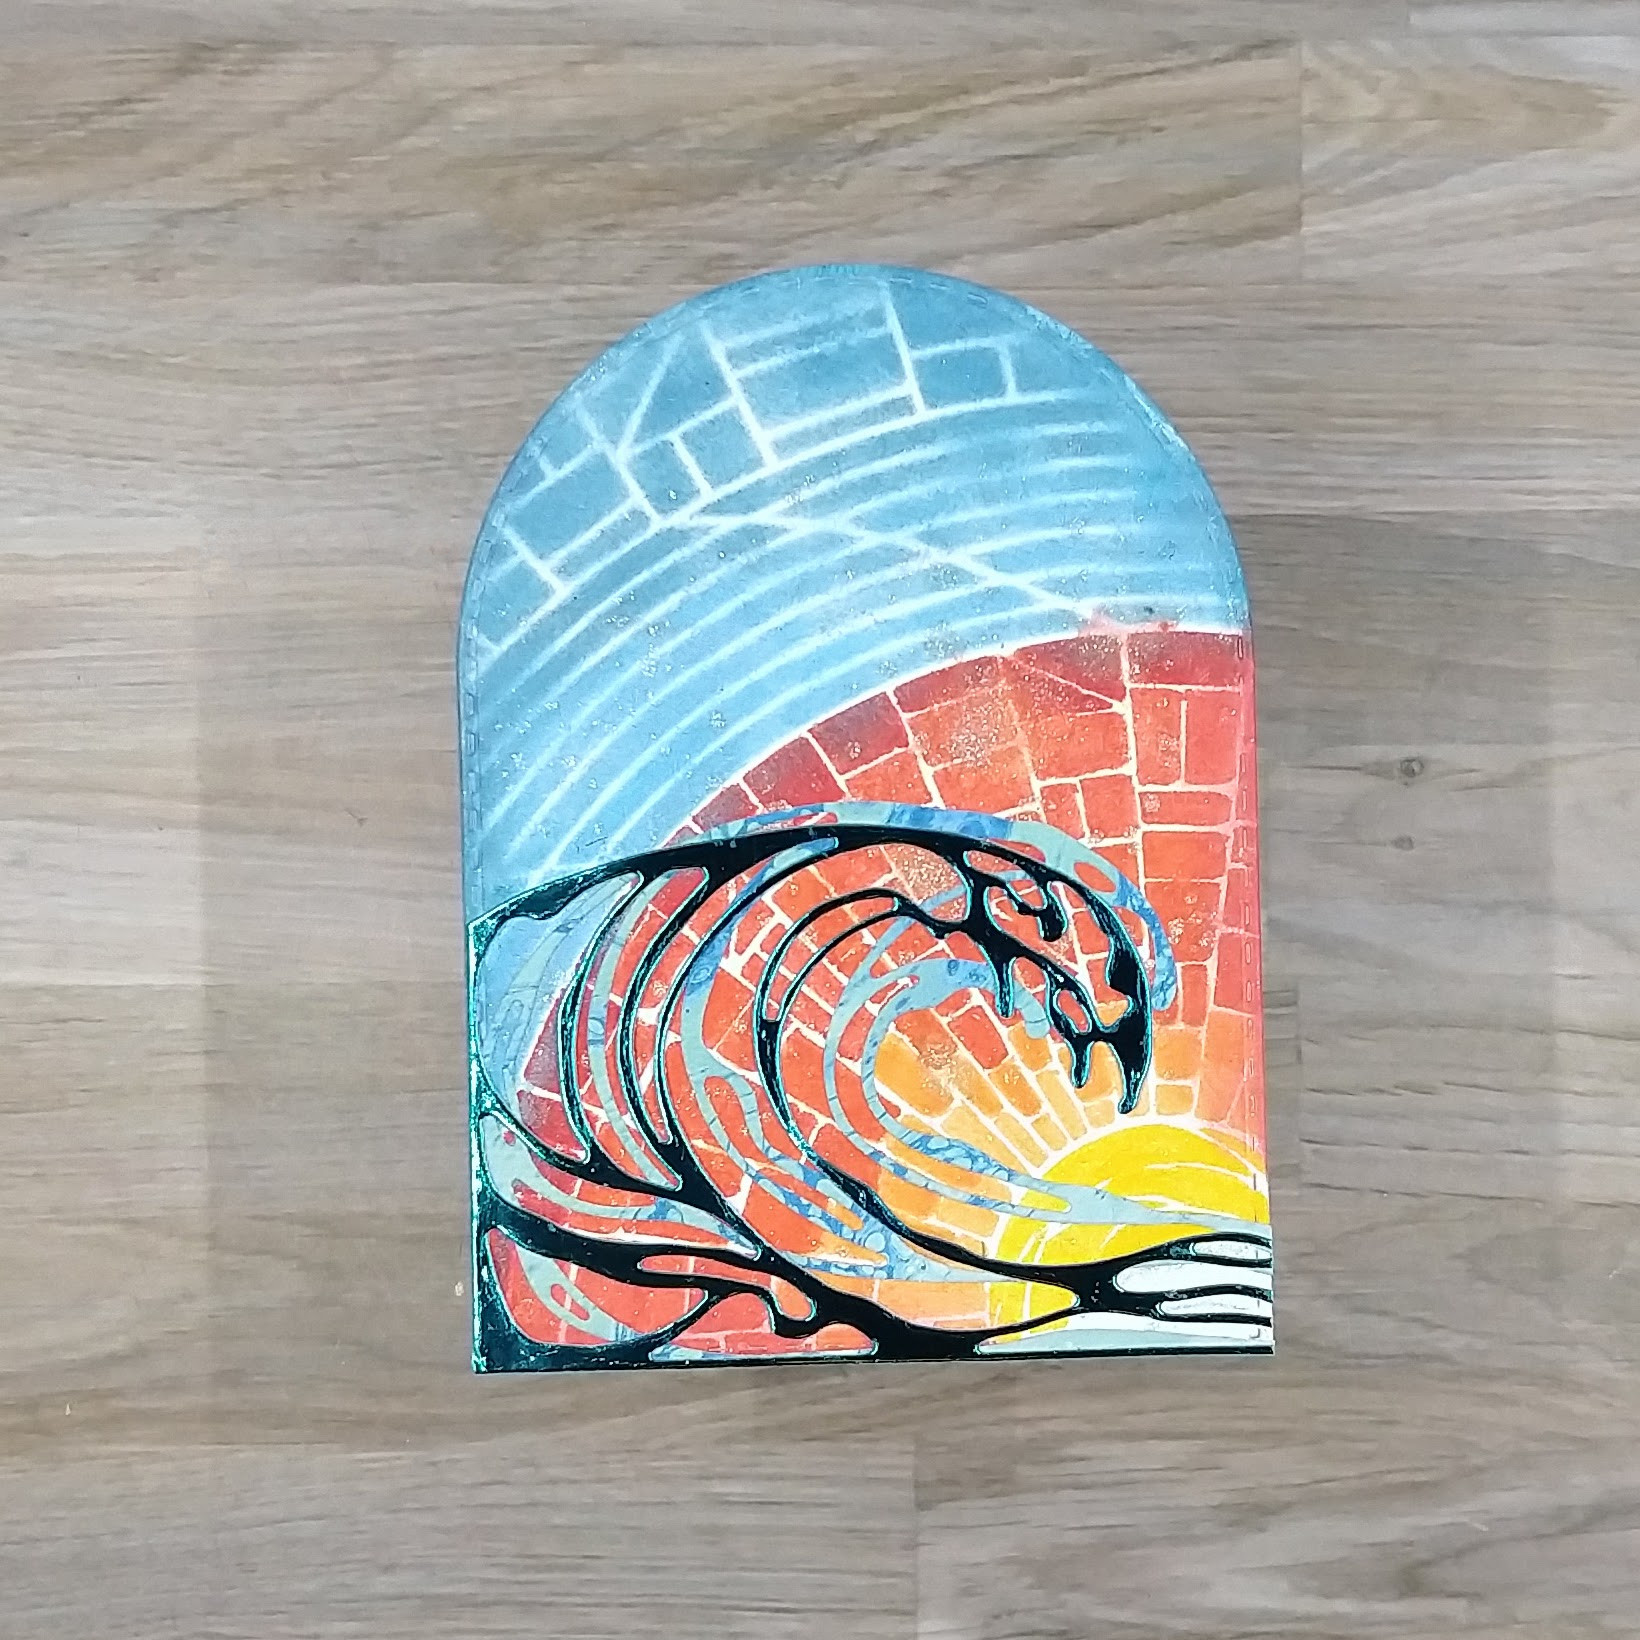
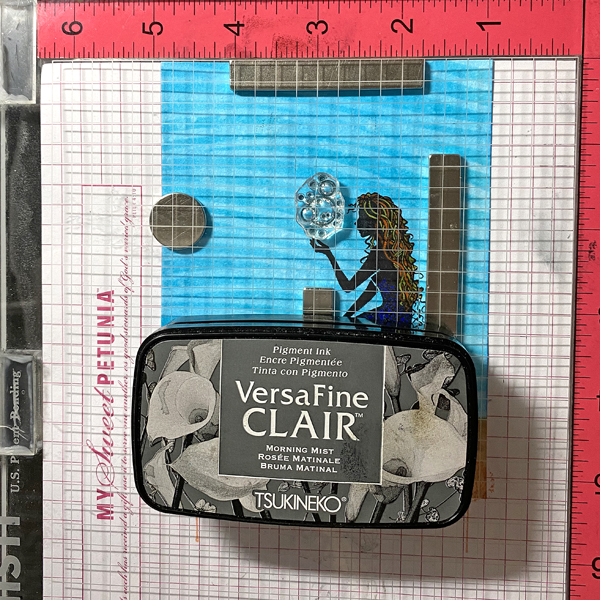
Move the Postage Collage Die-cut panel to the base of a stamping platform. Secure with magnets. Position the postmark, cancellation, cost, and “forever” stamps from the Postage Collage Stamp Set facedown on the panel. Press the platform’s lid onto the back of the stamp, lift, ink the stamps with Morning Mist VersaFine Clair Ink, and stamp (4A). I re-inked and stamped some of the stamps with Nocturne VersaFine Clair Ink to add visual weight.
I decided that I wanted to add the words “With Love” from the second Postage Collage Stencil and that I wanted to add more stamped postage items to the collage.
Step 5:
Move the Rose Postage Collage Die-cut back onto the magnet panel and secure the second Postage Collage Stencil with magnets and low-tack tape overtop. Re-use the Sponge Dauber from Step 2A to apply Pink Grapefruit VersaMagic Ink over the “With Love” words on the stencil onto the Postage Collage Die-cut panel. When done, lift the stencil, clean it, then heat set the Postage Collage Die-cut panel.
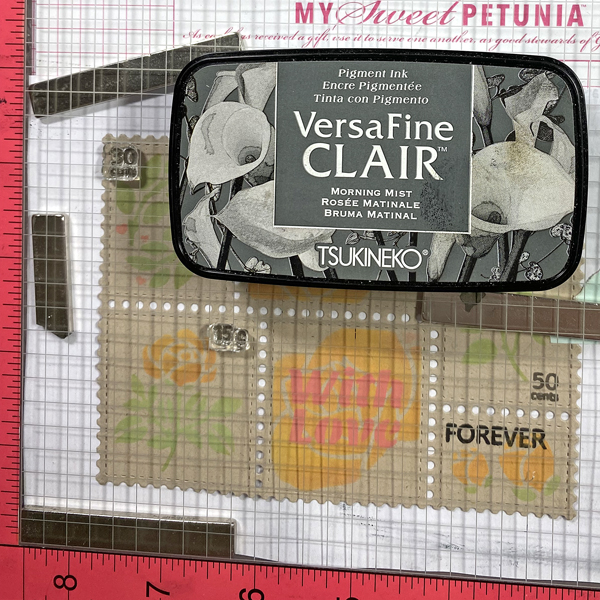
Step 6:
Place the Postage Collage Die-cut Panel again onto the base of a stamping platform and secure it with magnets. Place additional postage stamps from Postage Collage Stamp set facedown on the image panel. Press the platform’s lid onto the back of the stamp, lift, ink the stamps with Morning Mist VersaFine Clair Ink, and stamp. When done, remove the Postage Collage Die-cut Panel and heat set.
Step 7:
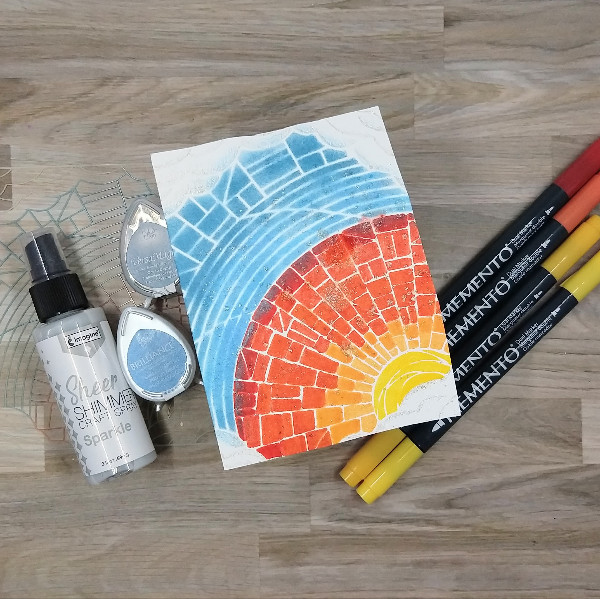
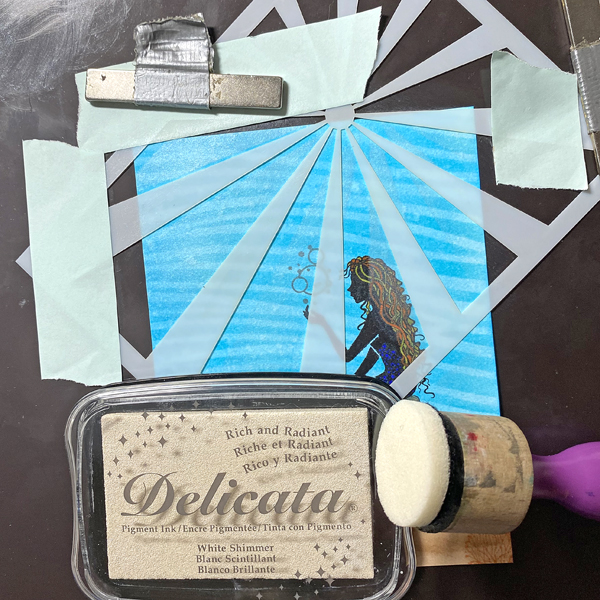
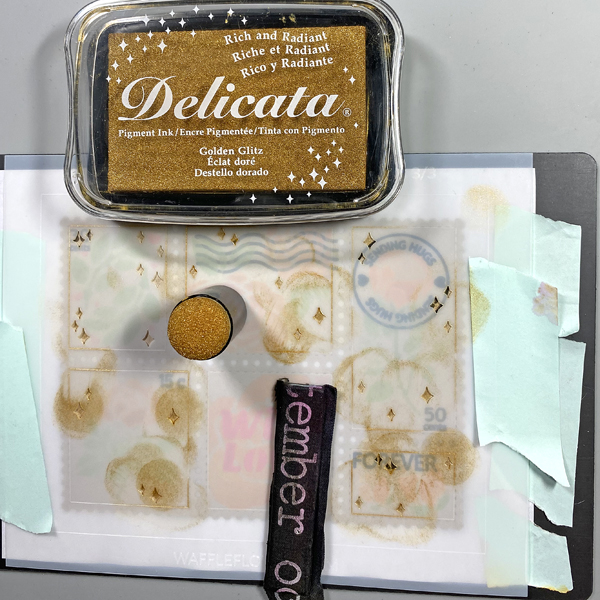
Move the Rose Postage Collage Die-cut panel back to the large magnet panel. Use magnets and low-tack tape to secure the third Postage Collage Stencil to the Postage Collage Die-cut panel. Use a Sponge Dauber to apply Golden Glitz Delicata Ink over the stencil onto the Postage Collage Die-cut panel.
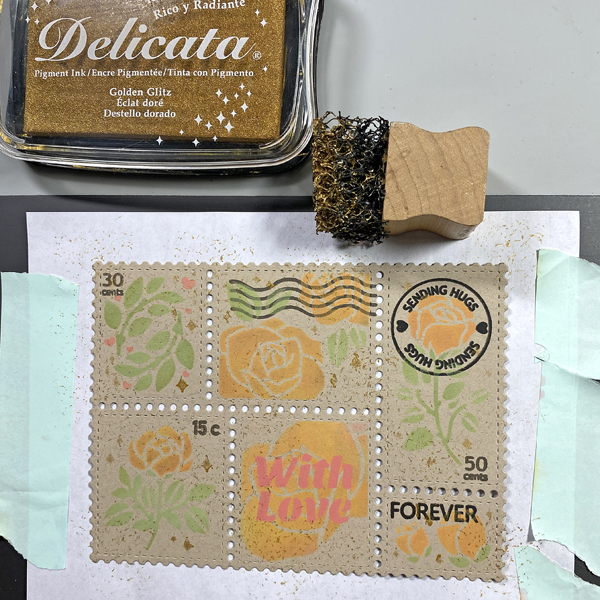
Step 8:
Use the pouncy tool to apply Golden Glitz Delicata Ink randomly over the Postage Collage Die-cut panel. Heat set the panel and set it aside.
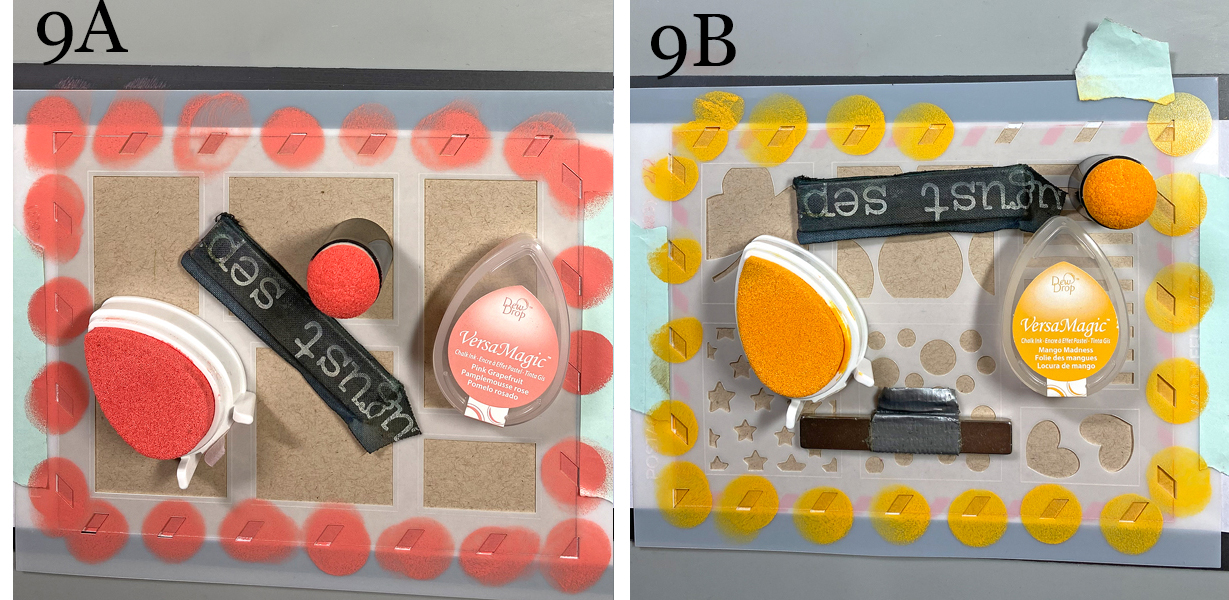
Steps 9A and 9B:
Cut a piece of Desert Storm cardstock to 5.5” x 4.25”. Use temporary adhesive to secure this panel to a piece of scrap paper. Use magnets and low-tack tape to secure the first Postage Collage Stencil to the die-cut. Use a Sponge Dauber to apply Pink Grapefruit VersaMagic Ink over the stencil onto the die-cut (9A). Remove the first stencil and heat set the panel.
Use magnets and low-tack tape to secure the second Postage Collage Stencil to the panel. Use a Sponge Dauber to apply Mango Madness VersaMagic Ink over the stencil onto the die-cut (9B). Remove the stencil and heat set the panel.
Step 10:
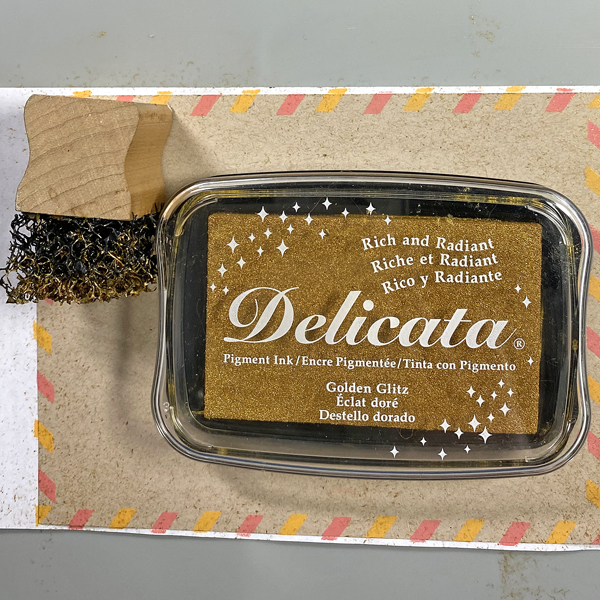
Use the pouncy tool to apply Golden Glitz Delicata Ink all over the panel. Heat set.
Step 11:
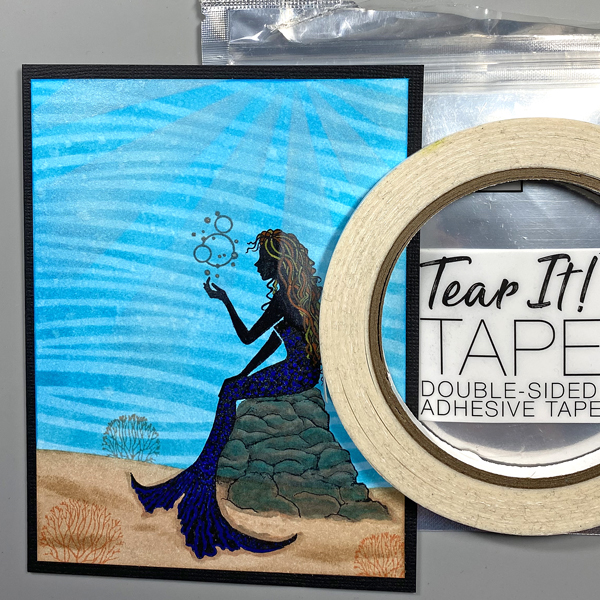
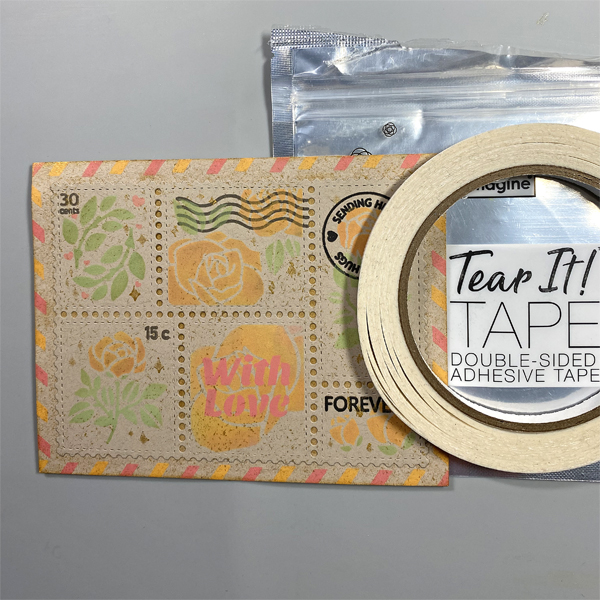
Use Tear-It! Tape to adhere the Postage Collage Die-cut panel to the 5.5” x 4.25” panel, then use to adhere the panel to an A2 card cut from the same cardstock.
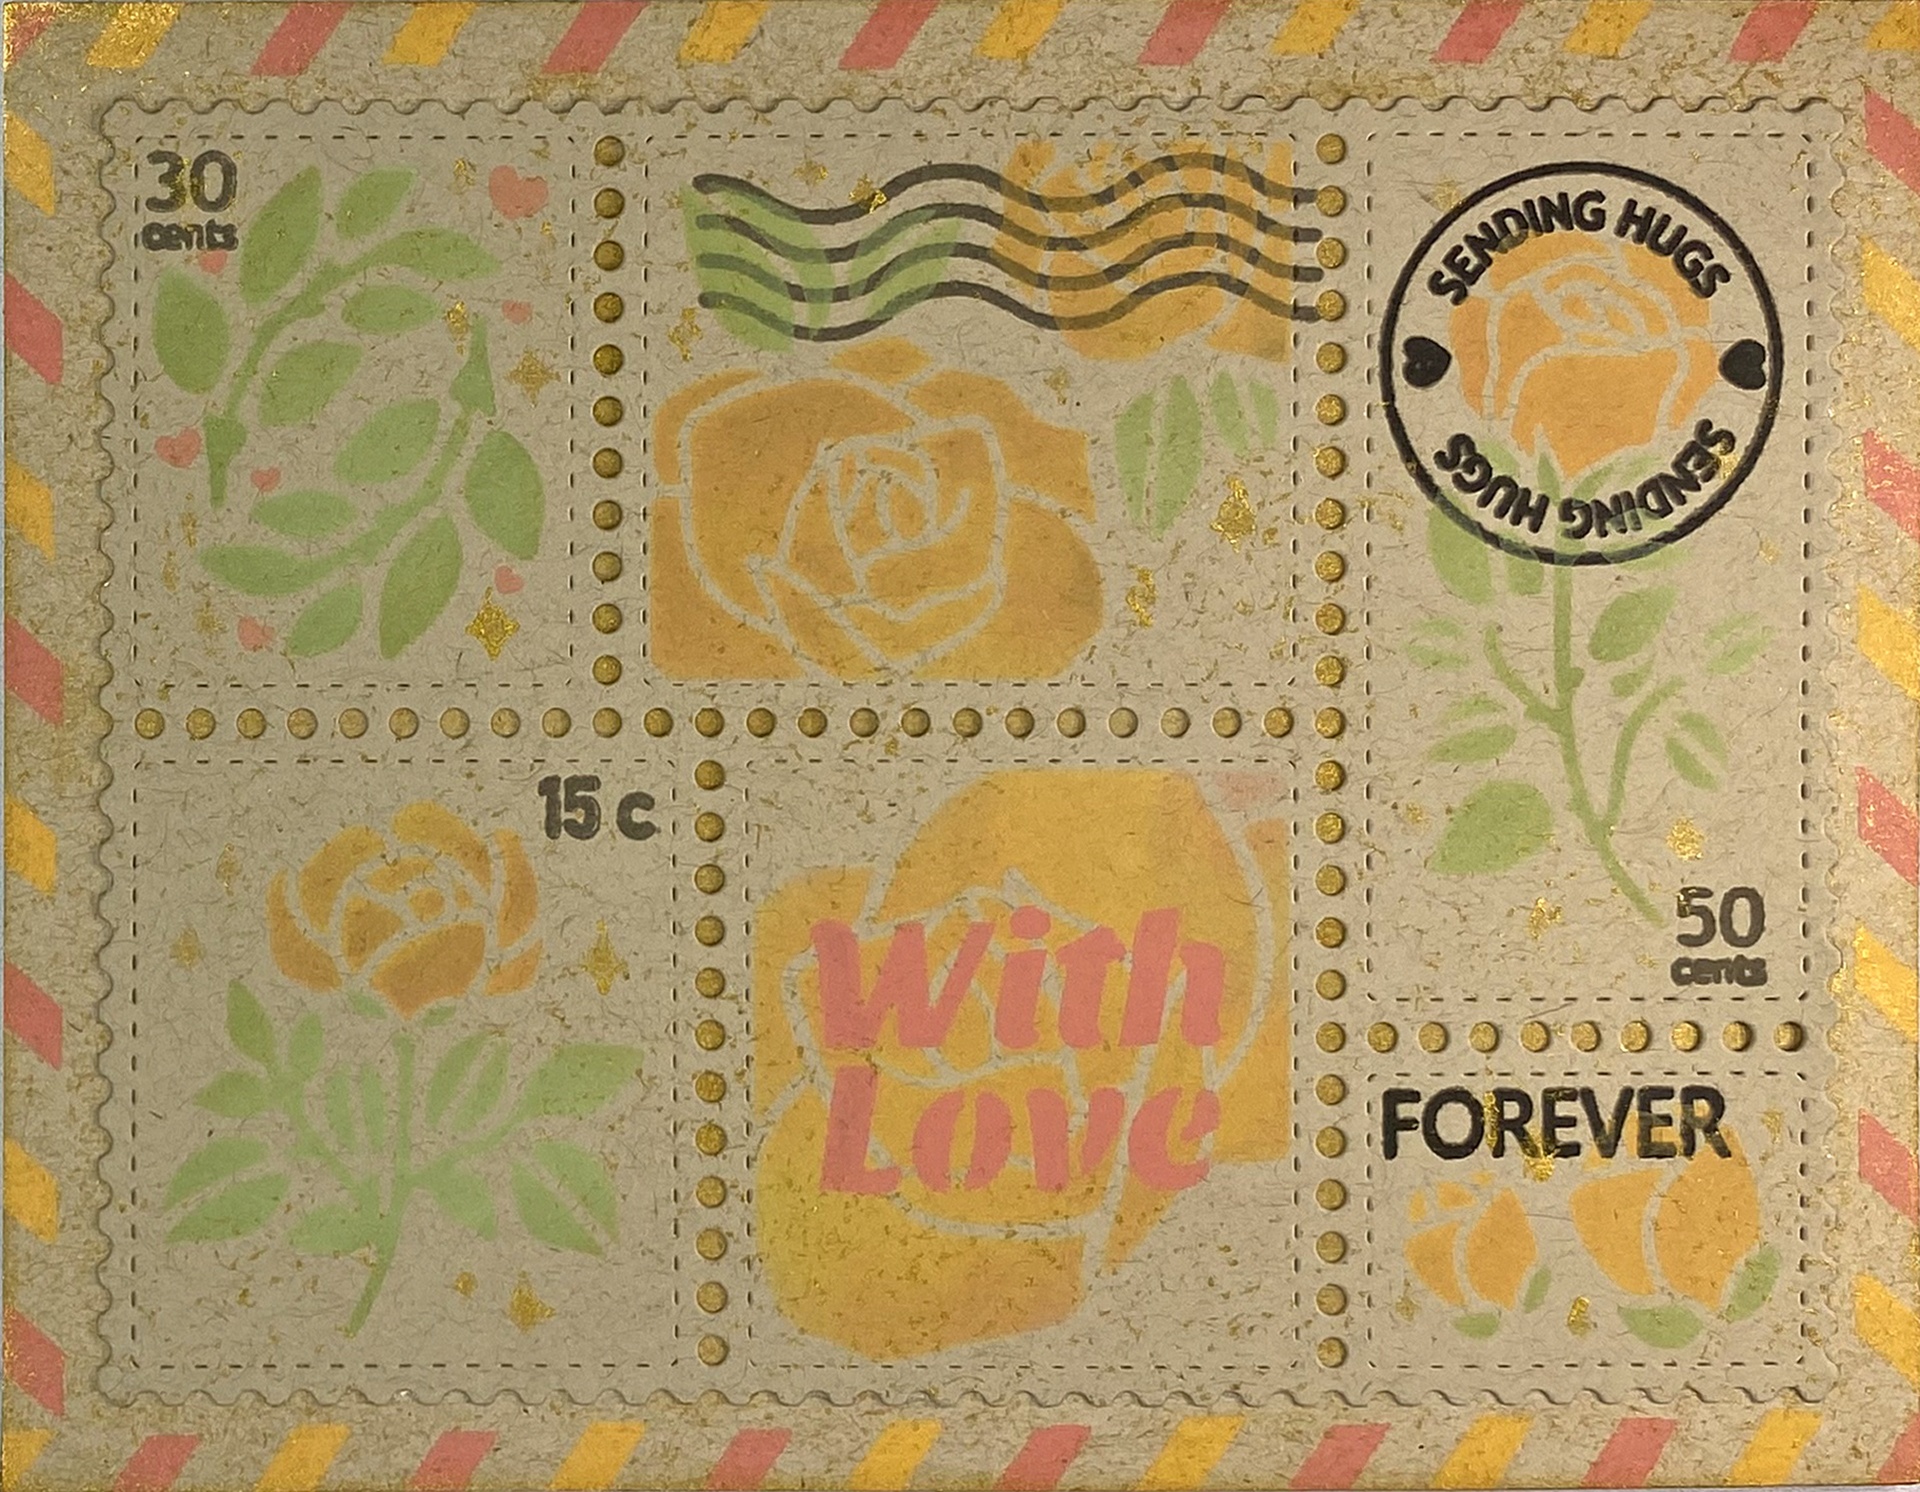
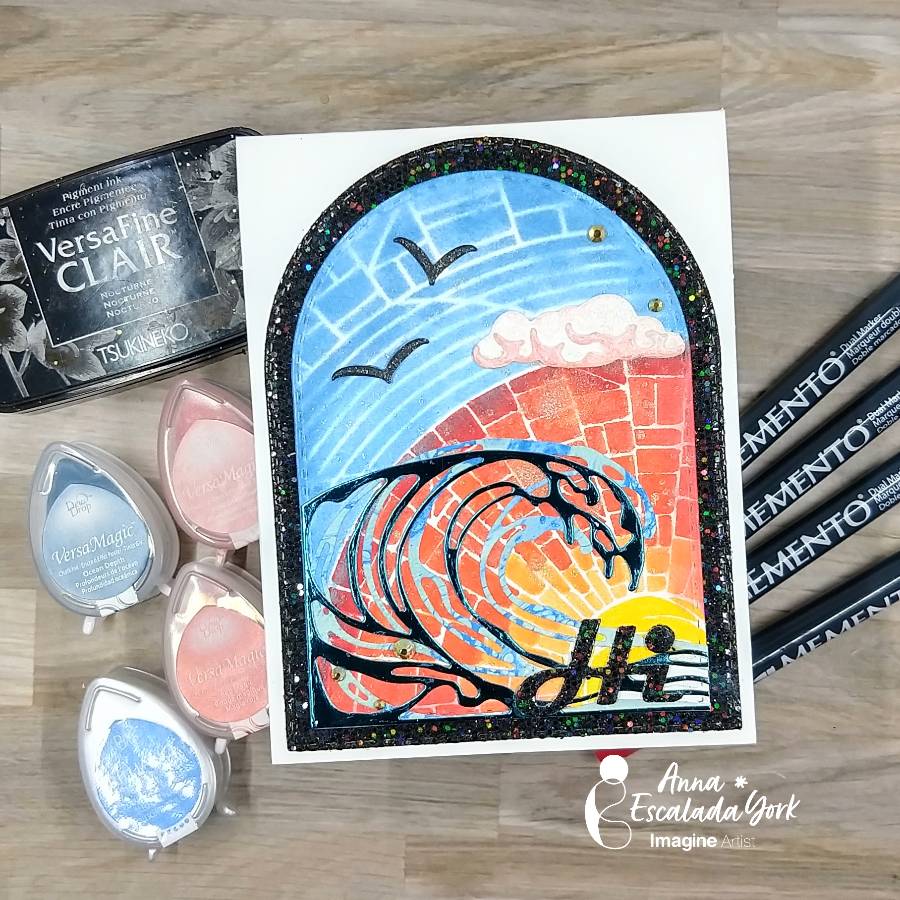
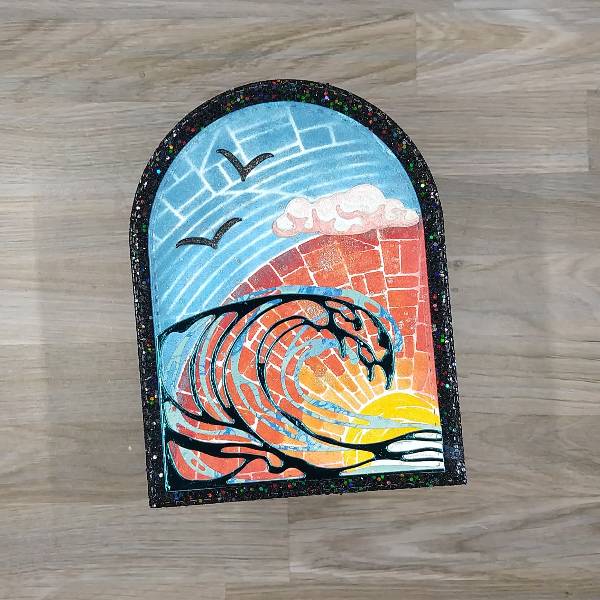
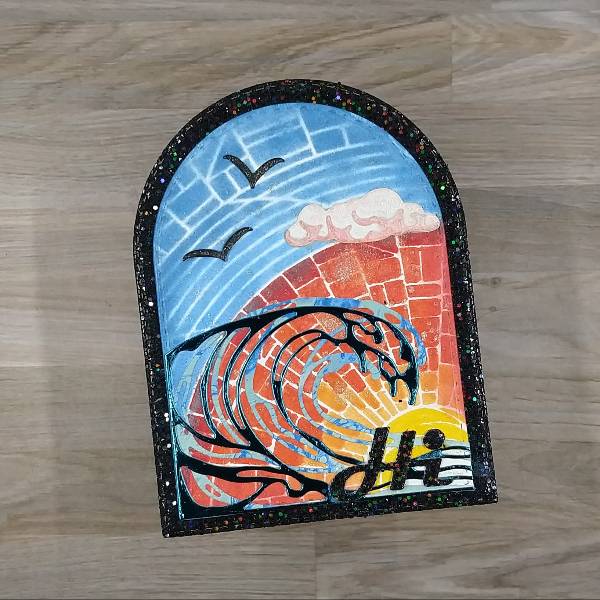
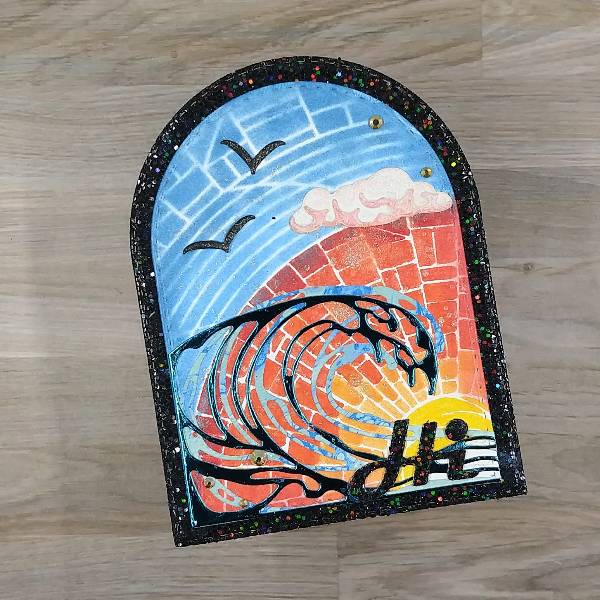
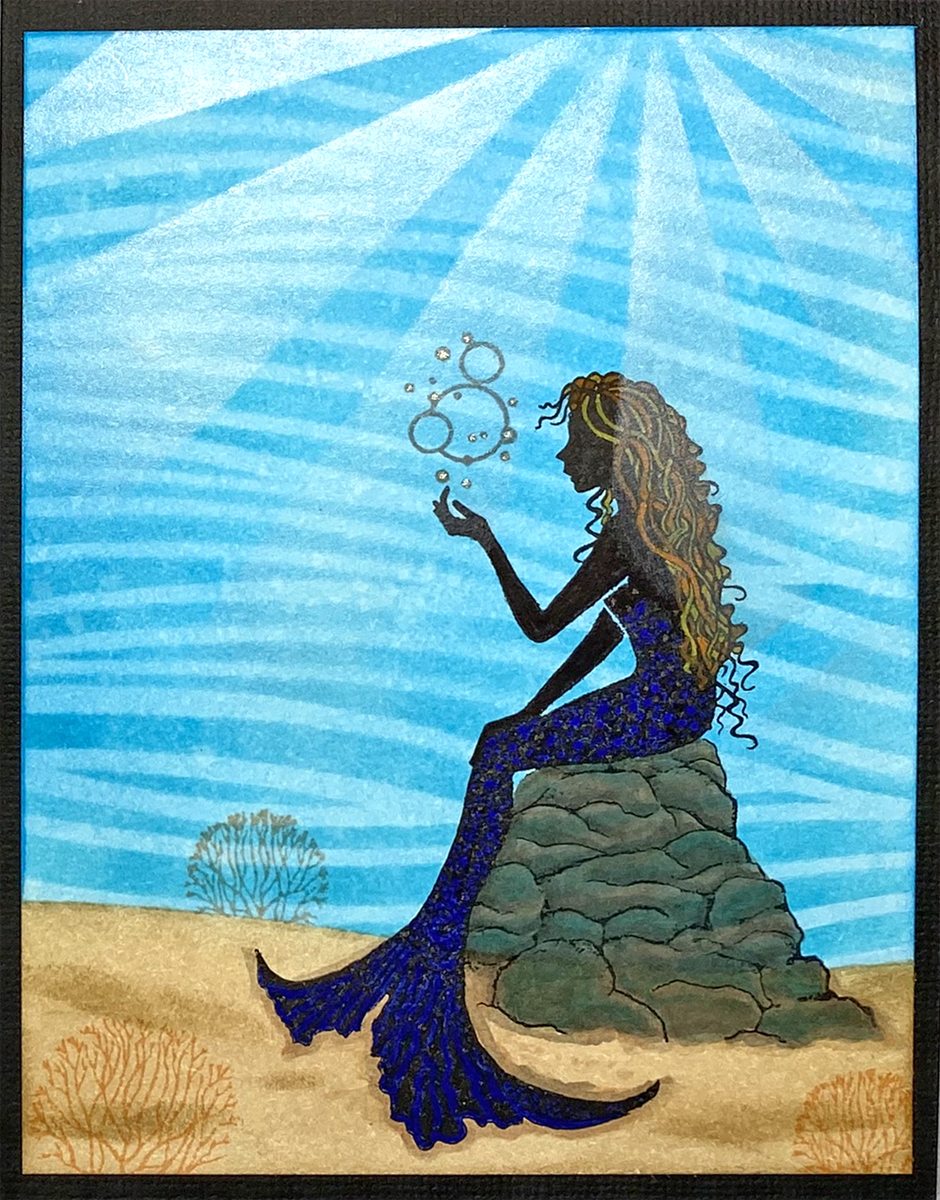
Finished Card
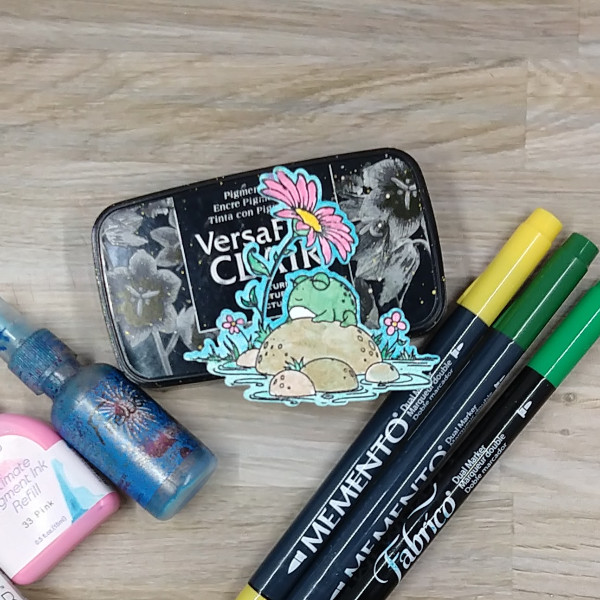
Supplies Used:
Imagine:
- VersaFine Clair – Morning Mist, Nocturne
- VersaMagic Dew Drop Ink – Pink Grapefruit, Mango Madness, Tea Leaves, Aloe Vera
- Delicata Ink – Golden Glitz
- Sponge Daubers
- Tear It! Tape
- Craft Mat
Other Supplies:
- Desert Storm Classic Crest Cardstock by Neenah Papers
- Postage Collage Clear Stamp Set by Waffle Flower
- Postage Collage Cutting Die Set by Waffle Flower
- Postage Collage Stencil Set by Waffle Flower
- Rose Postage Collage Stencil Set by Waffle Flower
- Pouncy Tool – Source unknown
- Low-Tack Tape
- Magnet Packaging from the Postage Collage Die Cut Set by Waffle Flowers
- Misti Stamping Platform by My Sweet Petunia