by Lisa Mensing
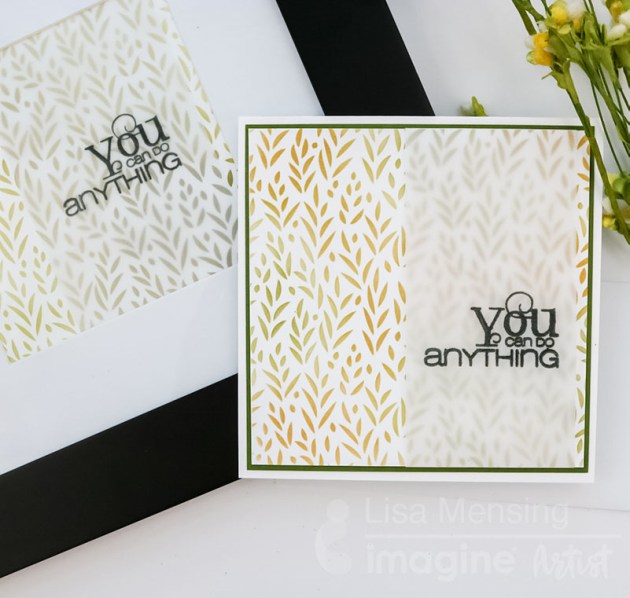
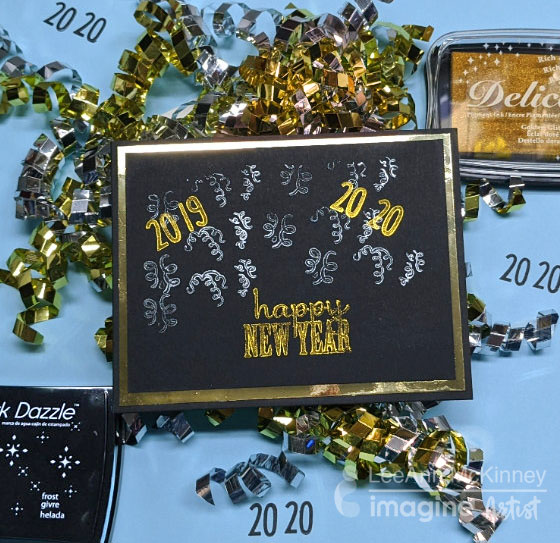
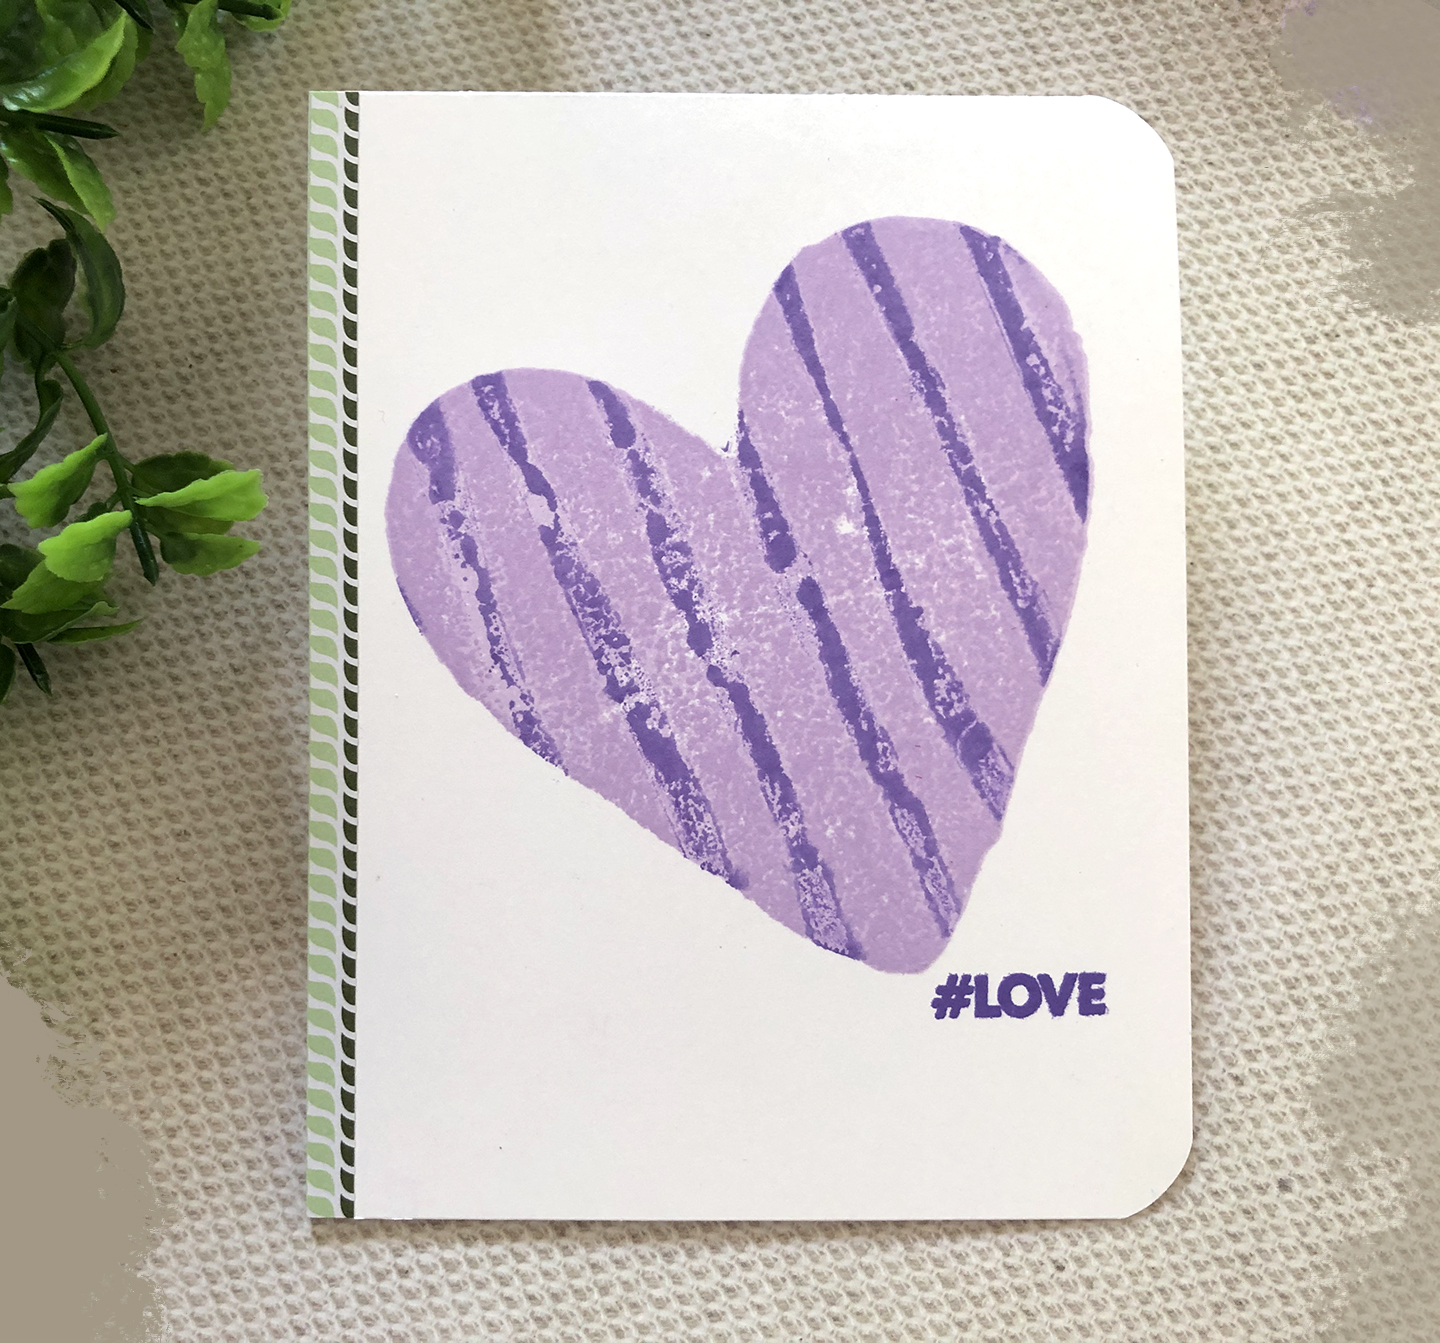
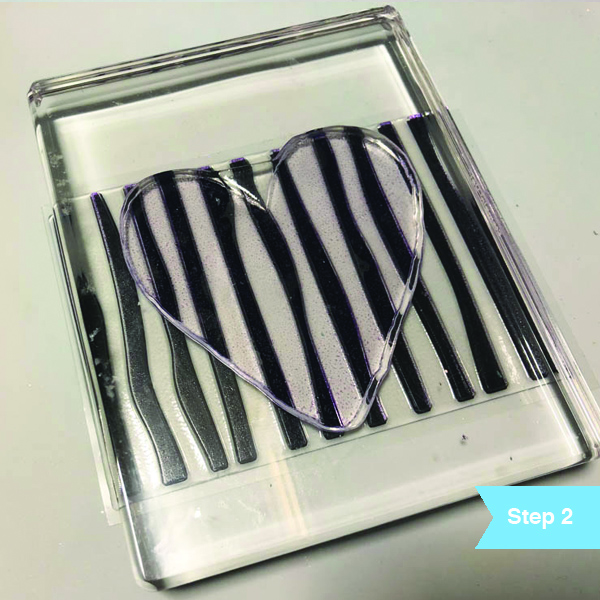
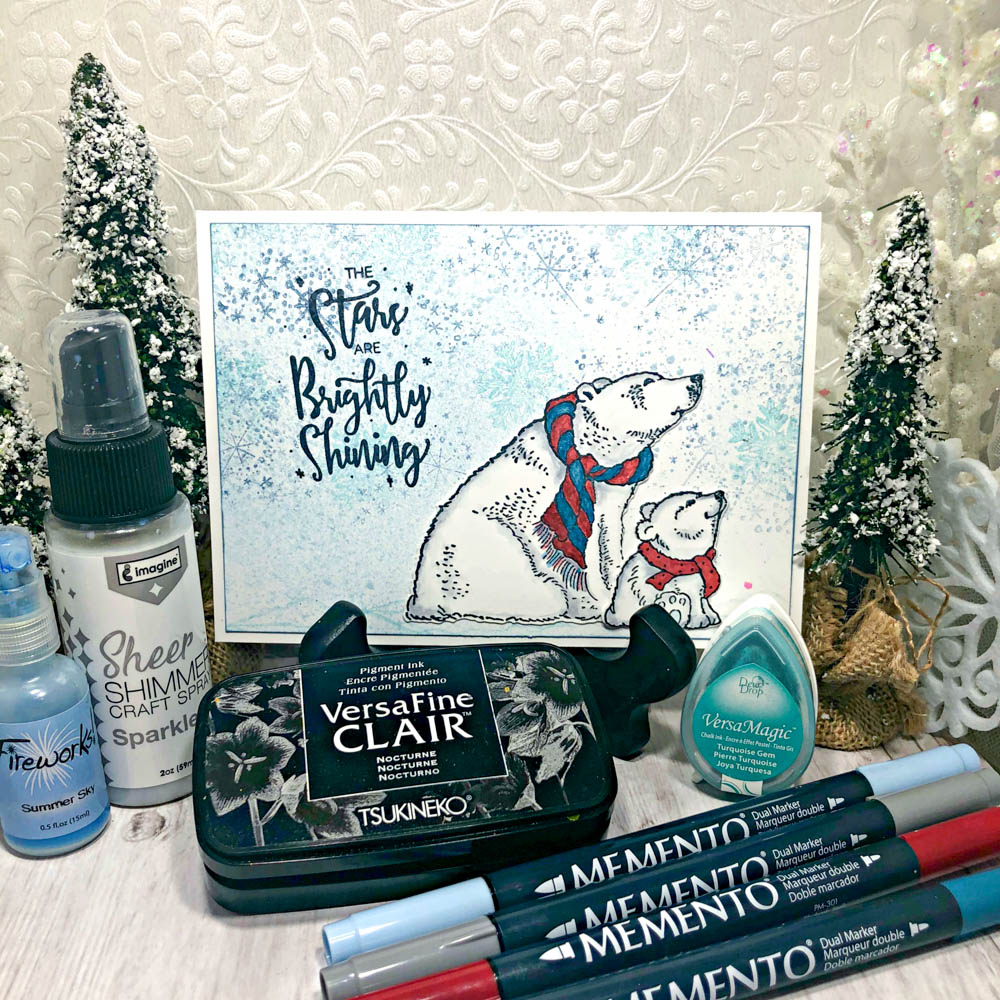
In this video, I’m sharing how to use stencils along with a few inks to create gorgeous backgrounds wrapped in Vellum and heat embossed with inspirational quotes. I’ve used the background in two ways: to create a handmade card and framed. Enjoy!
Skill: Intermediate
Time: 1 hour
Directions
Supplies
Imagine
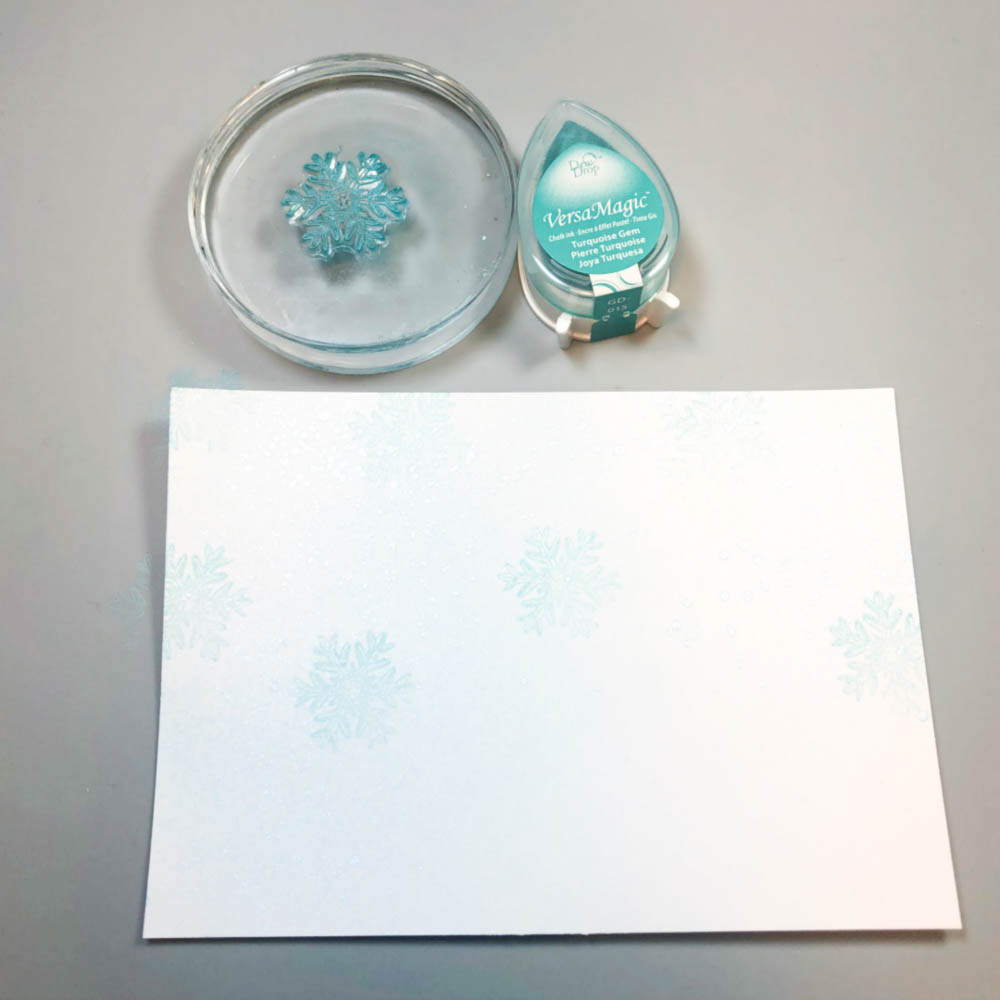
- VersaMagic – Tea Leaves, Hint of Pesto
- Delicata Metallic Ink – Golden Glitz
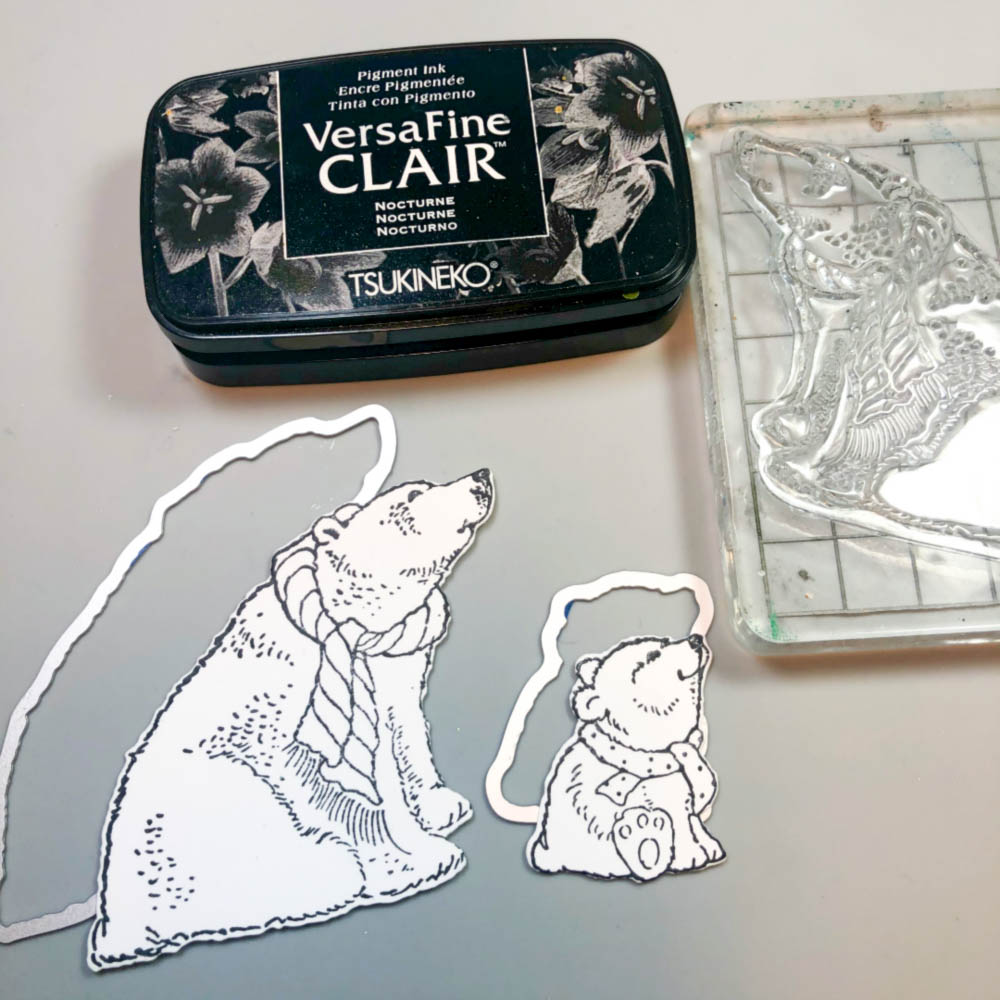
- VersaFine Clair – Nocturne
- Mboss Embossing Powder – Clear
- Tear It! Tape
- Craft Mat
Other
- Whimsy Stamps Farmhouse Greenery Stencil
- Neenah #110 Classic Crest Solar
- White Coverstock Strathmore Laser Transculent Vellum
- Black Frame
- Heat Tool