By Anna Escalada York
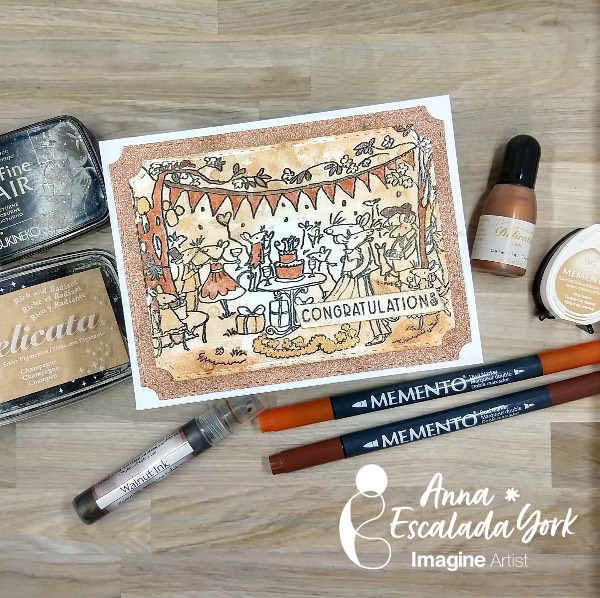
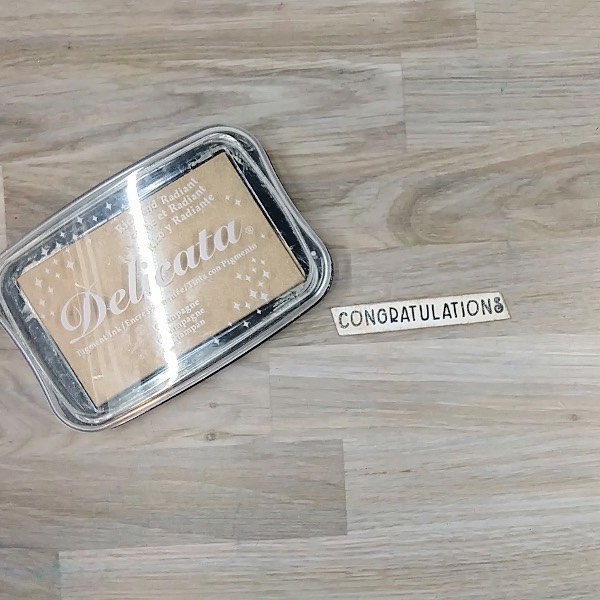
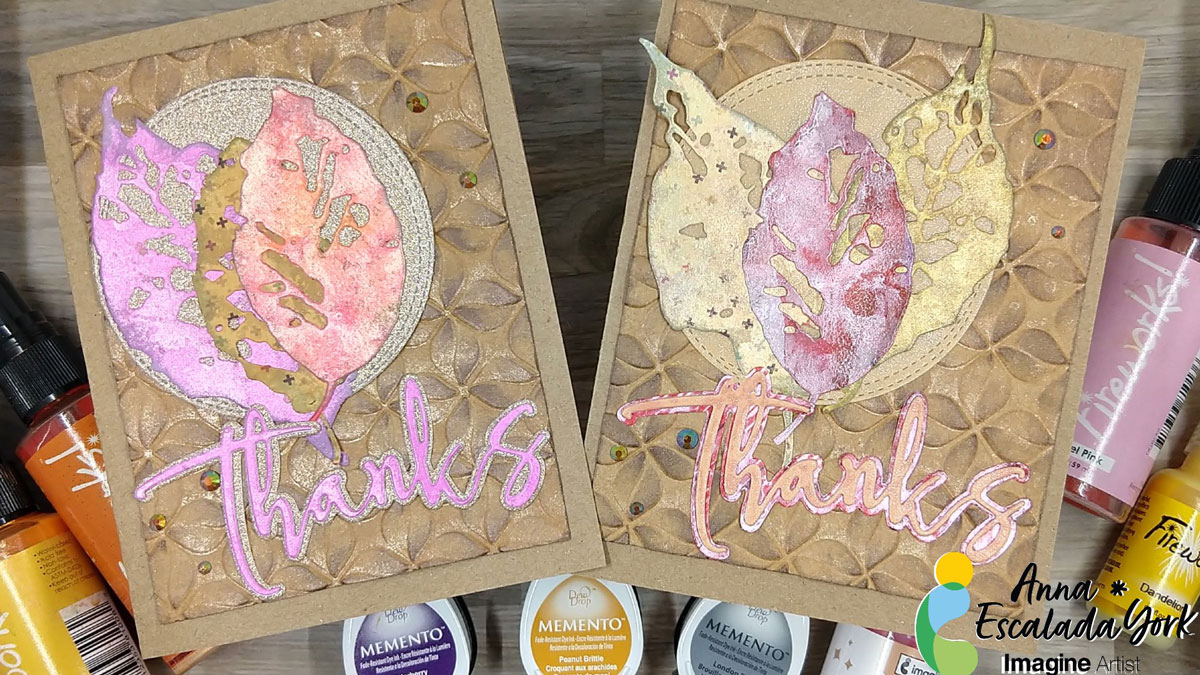
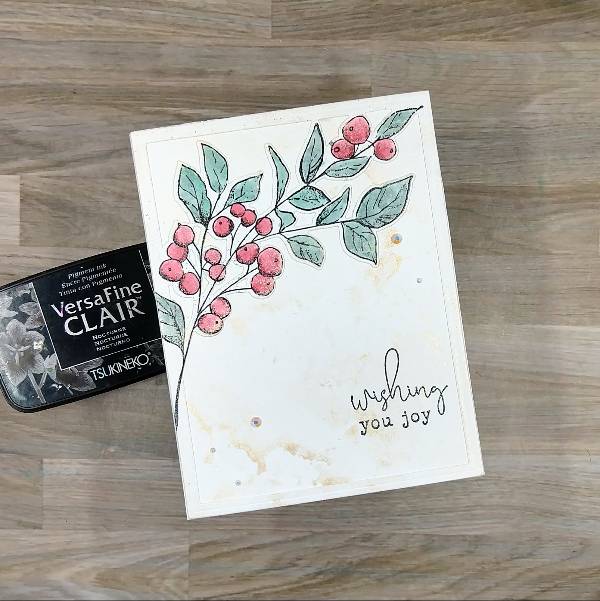
I was inspired to make a minimalist holiday card to allow the main botanical image to shine as the focal point. But I also knew that I wanted it to be shiny, so pulled out my current favorite Delicata color-Champagne- to add some subtitle shine.
Skill: Intermediate
Time: 1 hour
Directions:
Step 1:
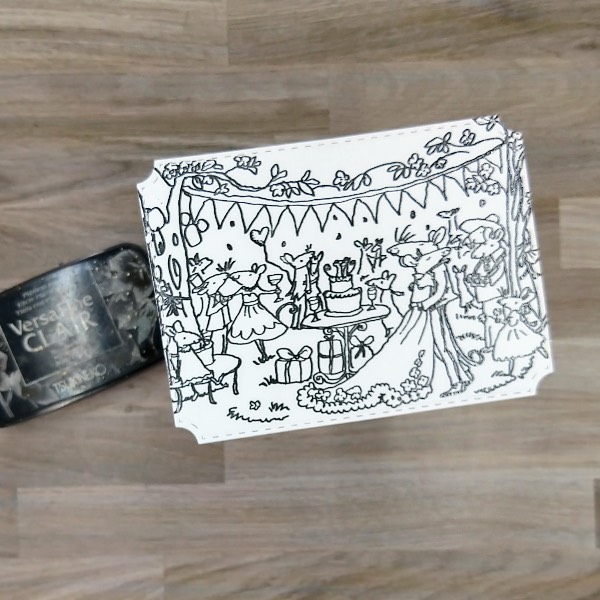
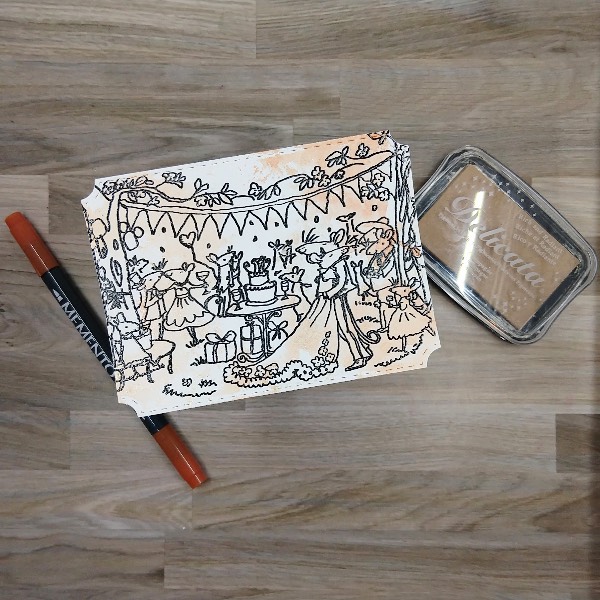
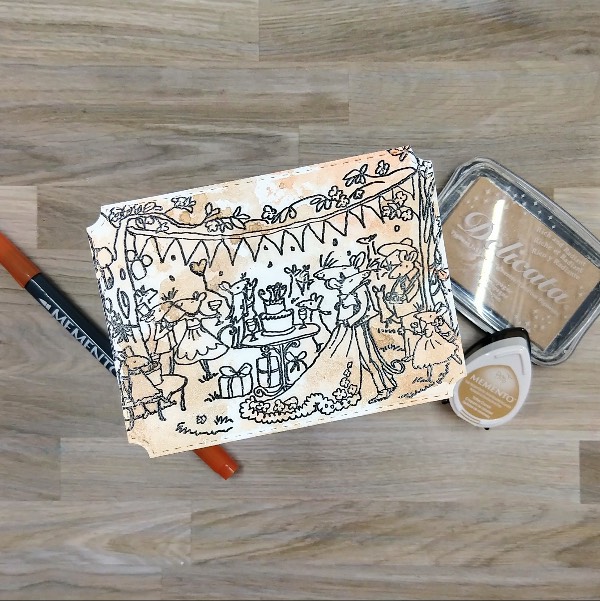
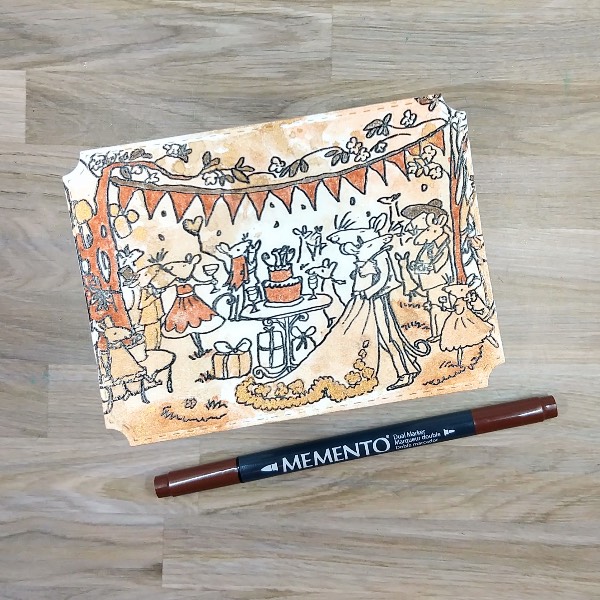
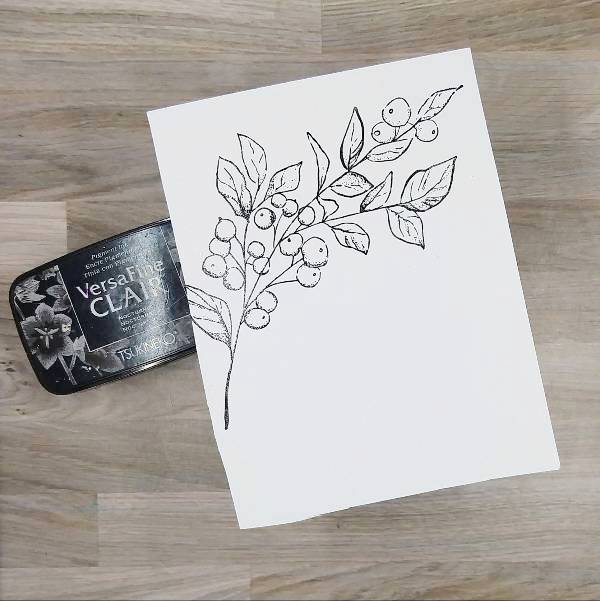
Stamp the large botanical image on a piece of watercolor paper with Nocturne VersaFine Clair ink. Then heat emboss with clear embossing powder.
Step 2:
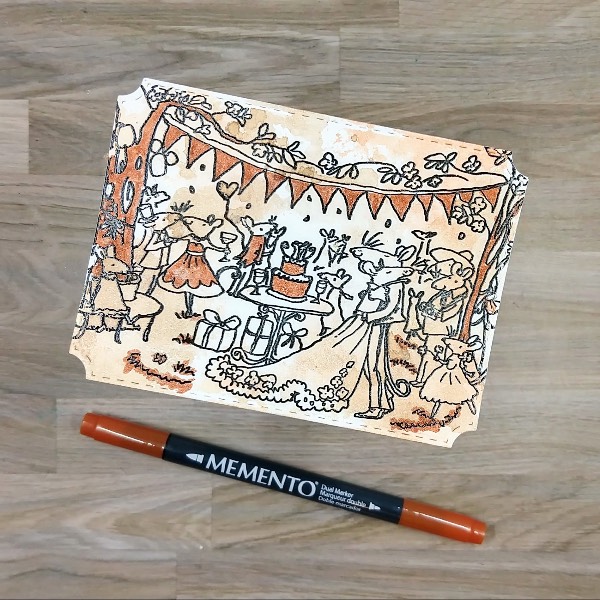
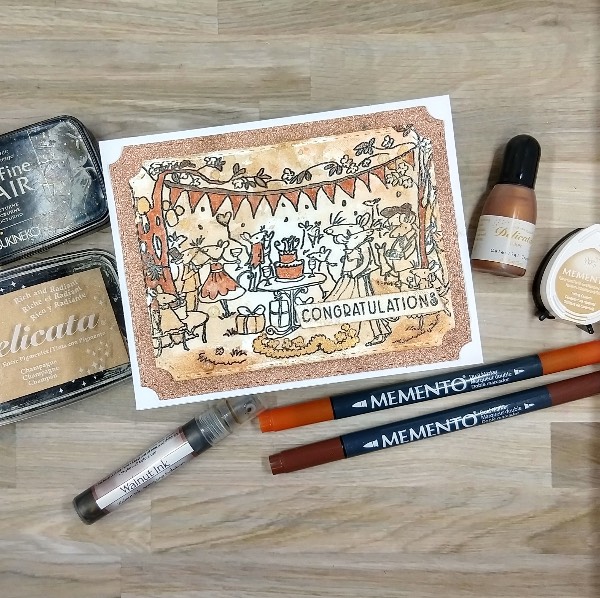
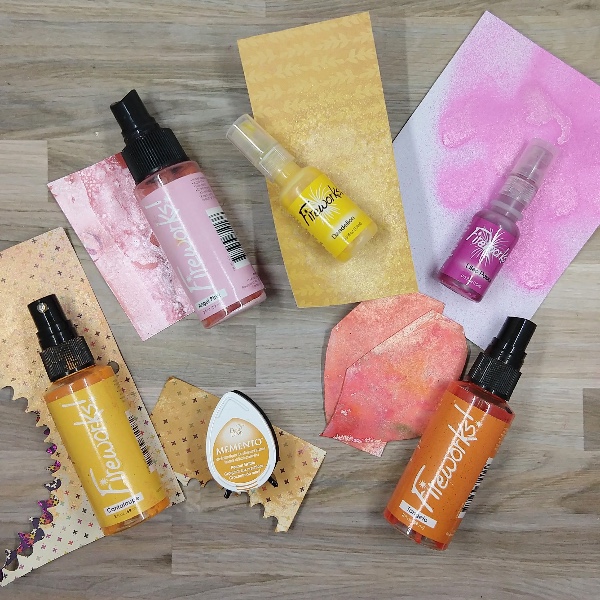
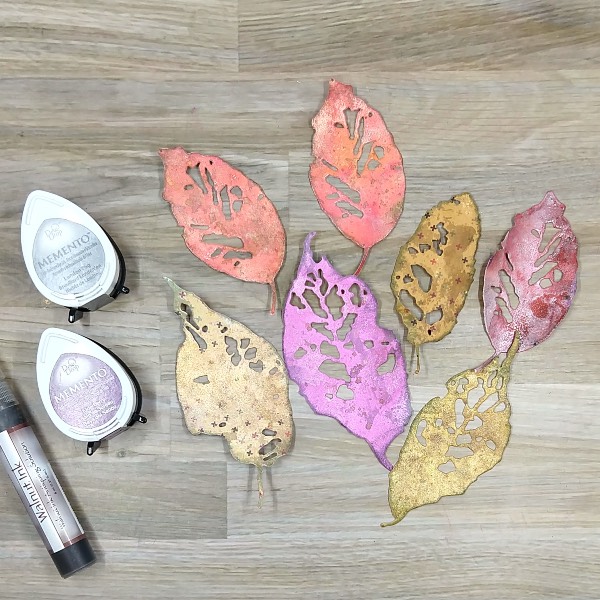
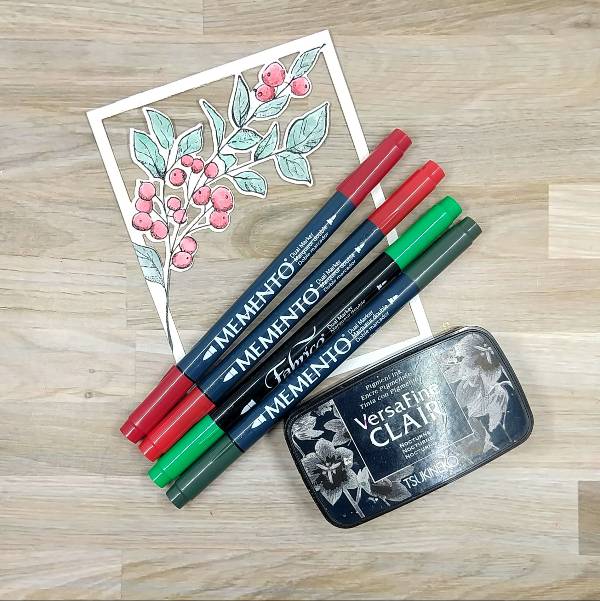
Use markers to color in the berries and leaves. Use the Rhubarb Stalk Memento Dual Marker to color over the shaded areas of the berries. Then color a piece of acetate packaging with Lady Bug Memento Dual Marker and spray with water, use this to watercolor in the berries. While watercoloring, make sure to watercolor over all of the berries to blend in the watercolor with the darker red marker already colored in the berries. Then color another area of the acetate packaging with both the Emerald Fabrico Dual Marker and the Northern Pine Memento Dual Marker and spray with more water. Mix the two colors together to create a blend of the two colors and then watercolor the leaves. Allow to dry.
After all of the image dried, die cut the image with the corresponding die.
Step 3:
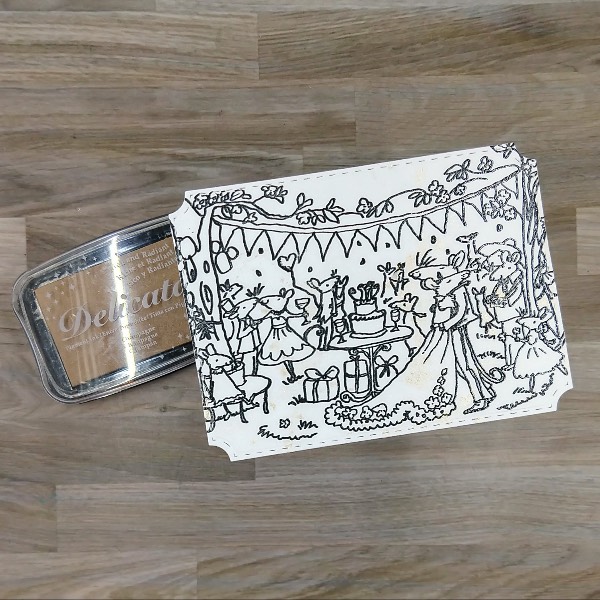
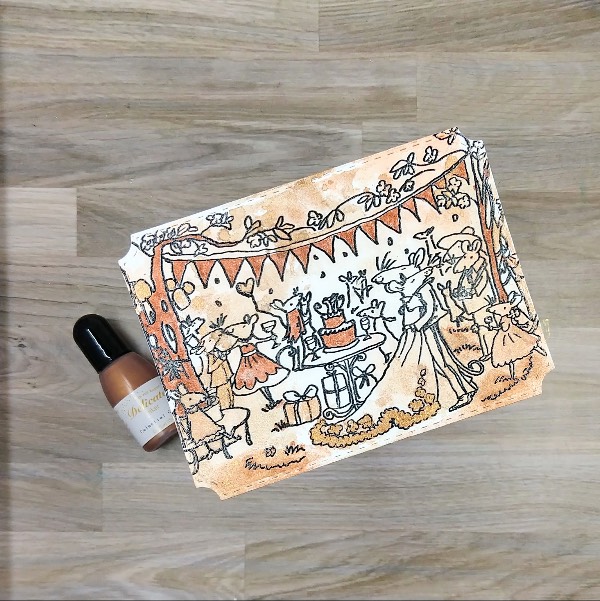
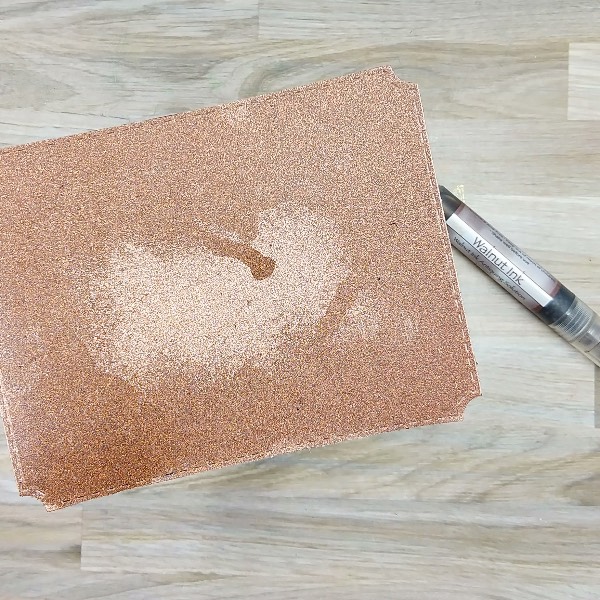
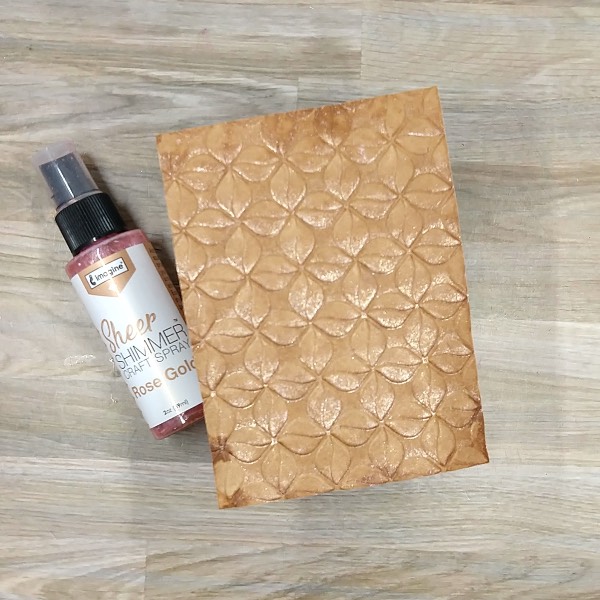
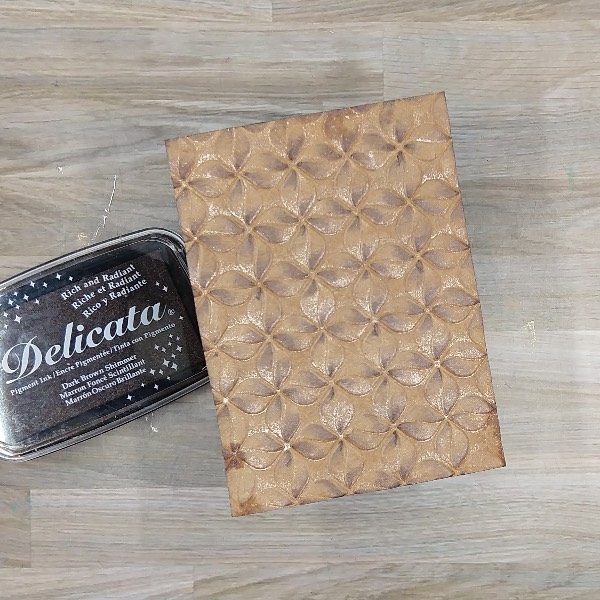
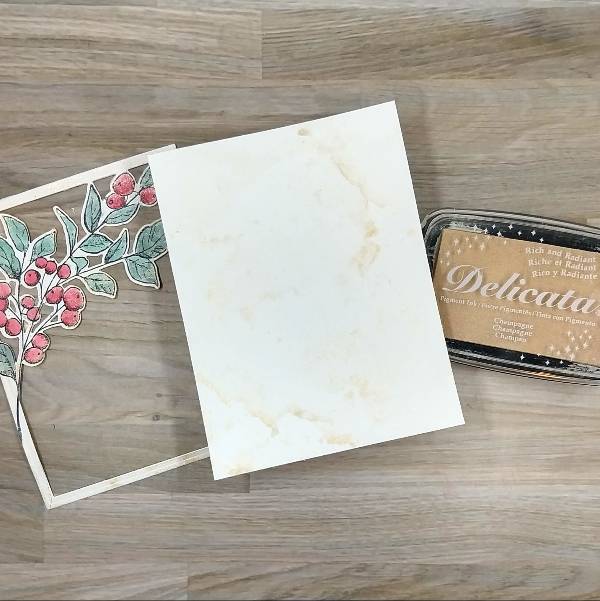
Trim a second panel of watercolor paper in the papertrimmer the same size as the die cut frame created in step 2. Then press the Campagne Delicata Ink pad onto acetate packaging and spray with water to watercolor smoosh both the panel and the botanical image/frame to add sparkle to both.
Off camera, I got a small smudge on the frame with my finger. To fix this, I used some of the leftover green watercolor I made for step 2 to splatter green over the frame.

Step 4:
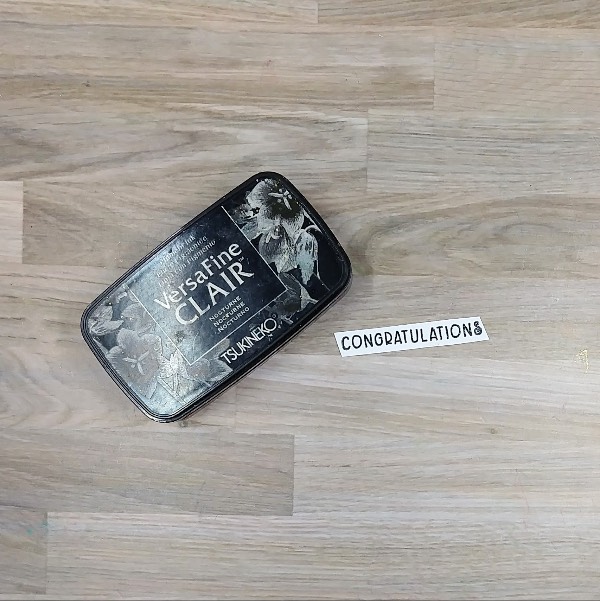
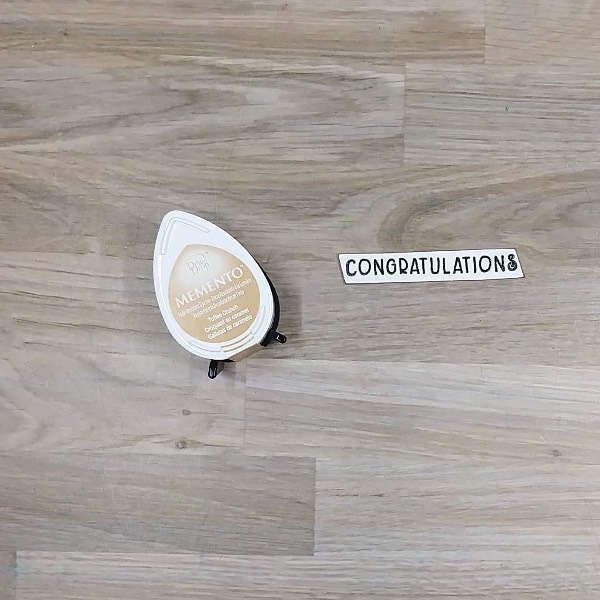
Glue the frame onto the watercolor panel. Then stamp a sentiment on the lower right corner of the panel with more Nocturne VersaFine Clair ink and heat emboss with clear embossing powder. Glue the panel onto an A2-sized white cardbase. Glue white rhinestones on the lower left and upper right parts of the card panel to finish the card.
Art Supplies
Imagine
• Delicata Ink – Campagne
• Fabrico Dual Marker – Emerald
• Memento Dual Marker – Lady Bug, Northern Pine, Rhubarb, Stalk
• VersaFine Clair ink – Nocturne
Other
• Scrappy Tails Crafts – embellishment mix – White Rhinestones
• Taylored Expressions – cutting plate – Seasonal Sprig
• Taylored Expressions – stamp set – Seasonal Sprig
• A2-sized white card base
• Clear Embossing Powder
• Watercolor paper
• Die cutting machine
• Paper trimmer
• Scissors
• Glue