By LV Handcrafted
Skill: Beginner
Time: 5-10 minutes
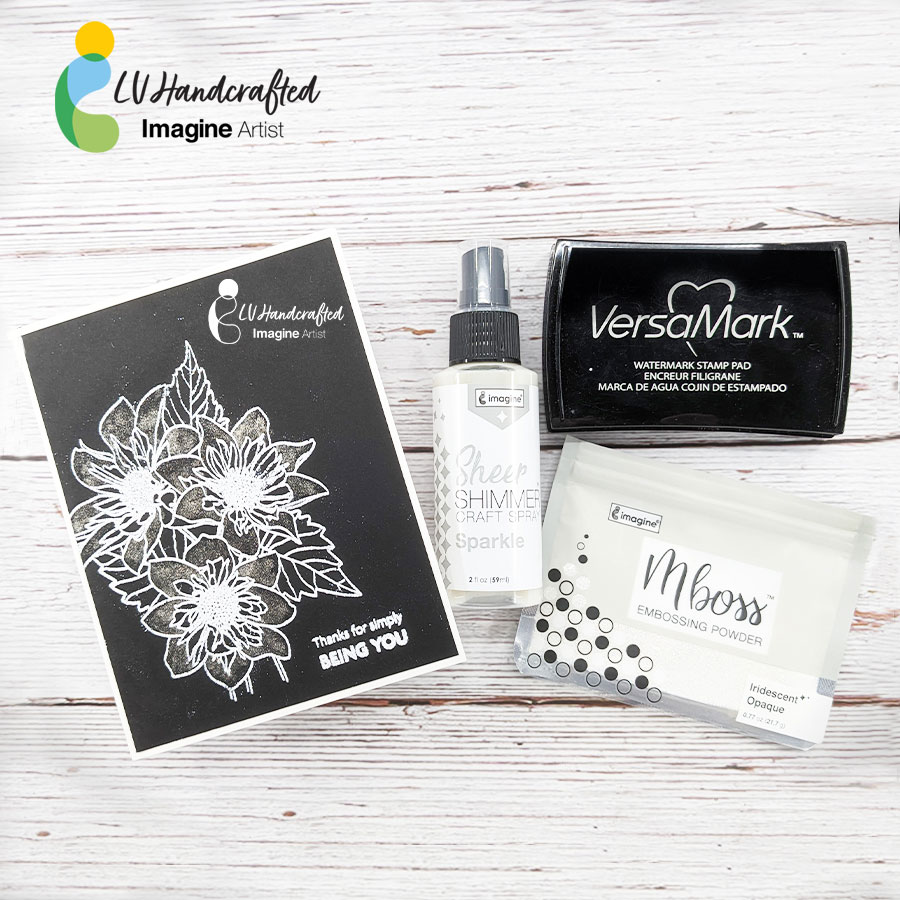
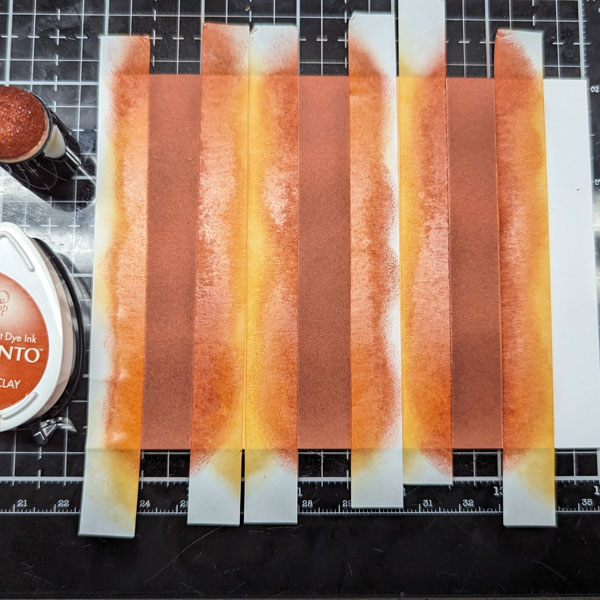
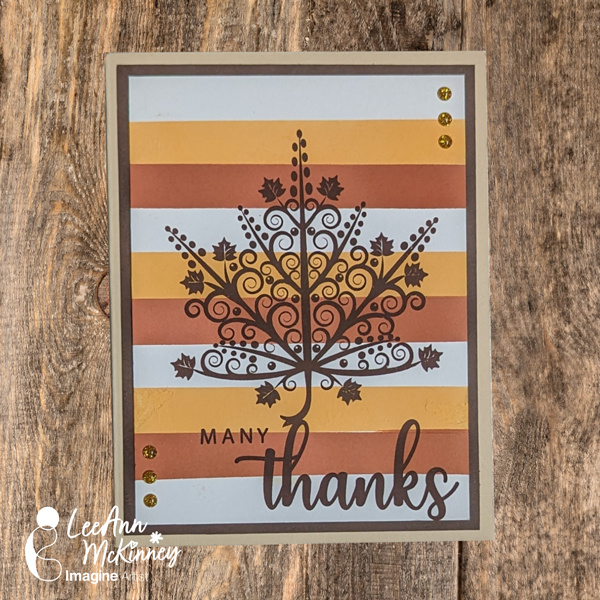
Hello friends! This is Linh (or LV Handcrafted on all the socials). Did you know you can make an unlimited number of colors of Sheer Shimmer spray? Add a bit of shimmer and shine to your favorite colors by mixing a bit of your Dye Ink Refill with Sheer Shimmer Spray – Sparkle! Because the Sheer Shimmer Spray is translucent, you can easily tint it with any color. Both the shimmer spray and the dye ink refill are water-based so they mix beautifully. Adjust how much or how little dye to control how intense or how subtle of a color you’d like.
I like to mix up each other in small misters and spray multiple colors to create fun backgrounds!
Supplies Used
Imagine
- Sheer Shimmer Craft Spray in Sparkle
- Dye Ink Refills in Daffodil and Crimson
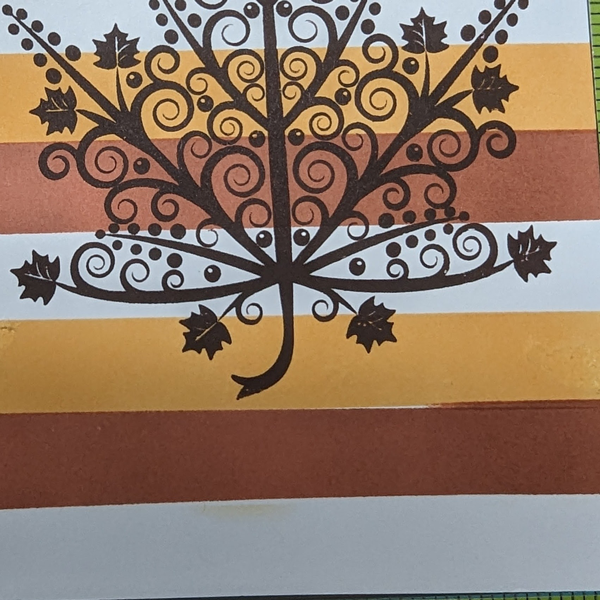
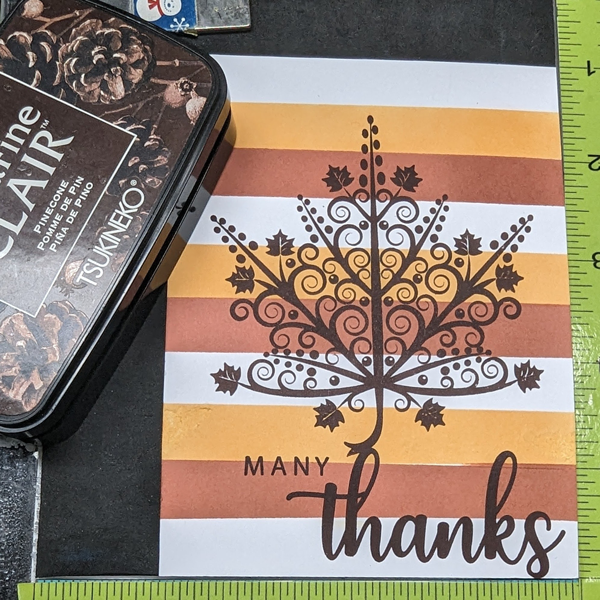
- VersaFine Onyx Black Ink
Other Products Used
- Concord & 9th – Joyful Tiles