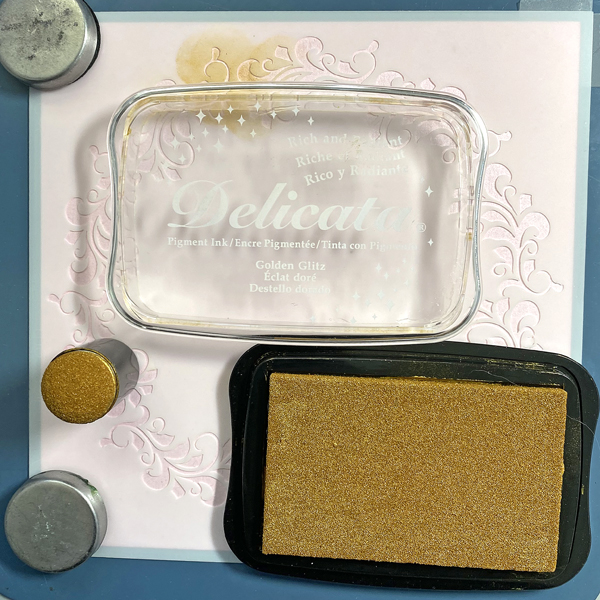
Greetings! Its Kathi here to show you how to create an elegant CAS Love card using two colors of Delicata Shimmer ink, a stencil, and two stamps!
Skill: Beginner
Time: 30 minutes
Step 1:
Cut a piece of Mixed Media paper to 5.75” square. Use an Ink Sweeper to apply Pink Delicata Ink to the entire paper panel. I heat set to expedite drying process but you can let it dry naturally.
Step 2:
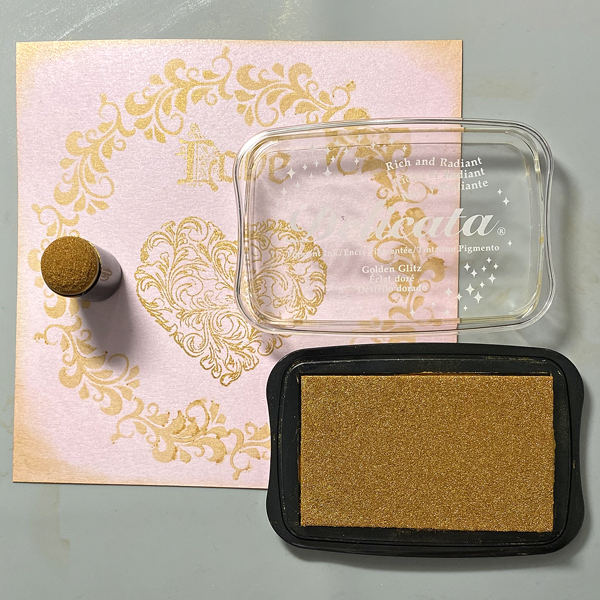
Tape the inked paper panel to the back of the Floral Wreath stencil. Use a Sponge Dauber to apply Golden Glitz Delicata Ink over the stencil onto the ink panel.
Remove the stencil and heat set to dry.
Step 3:
Use Golden Glitz Delicata Ink and a stamping platform to stamp the heart and love within the stenciled Floral Wreath on the image panel. Heat set to dry.
Step 4:
Use a Sponge Dauber to roughly edge the image panel with Golden Glitz Delicata Ink. . Heat set to dry.
Step 5:
Cut a piece of 12” x 12” white cardstock in half. Score at 6” to form a 6” square card.
Place a piece of scrap paper inside the card.
Use a Sponge Dauber to apply Golden Glitz Delicata to the periphery of the front.
Heat Set to dry.
Step 6:
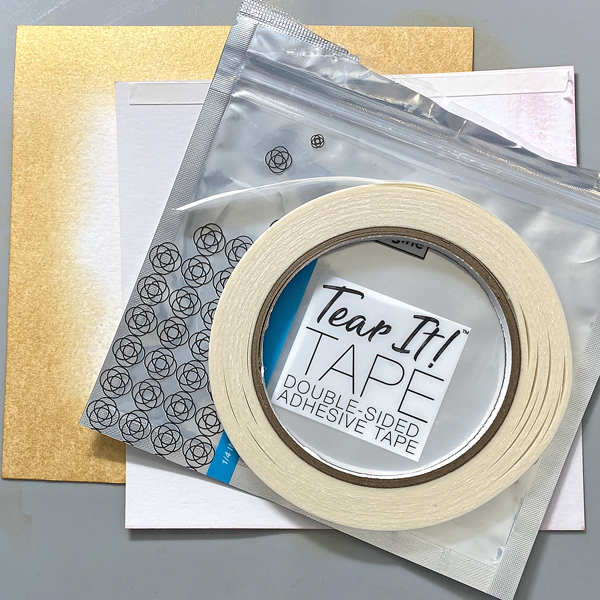
Use Tear It! Tape to adhere to the golden sponged 6” square card.
Hello friends! This is Linh (or LV Handcrafted on all the socials). This is a fun way to create your own heat embossed ombre effect. I used Delicata ink, which is a pigment ink and remains sticky for period of time to swipe across a white cardstock panel. I made a very solid swatch of ink. Before the ink dried, I covered one end (the bottom) with Mboss powder in gold. I aimed for about 25% of the way up with solid coverage. Then I tipped the panel so the letter “C” is at the bottom and the letter “S” is at the top. Then spooned more Mboss powder from one and and further tipped the panel so it runs down the panel to create that graduated, ombre effect.
When I make panels like this, I really want the panel and the effect to shine, so I like to keep the rest of the card really simple. These word dies are wonderful because they are so big, they nearly take up the entire card. And with a panel this beautiful, I save everything and made a second card using the negative effect of the word die.
NOTE: In the video, you will actually see me create a smaller panel that I decided against using. I used a Sakura glue pen to draw a design over the Delicata-inked panel and then poured Mboss powder over it. The glue pen lets you draw or write anything you want and have that lovely embossed effect.
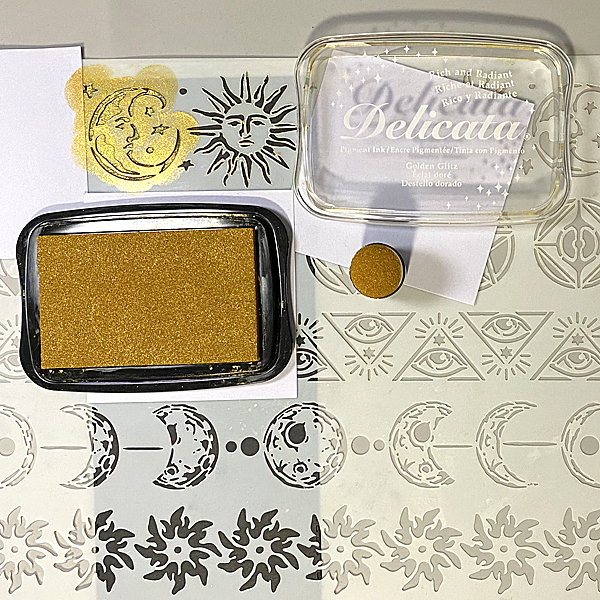
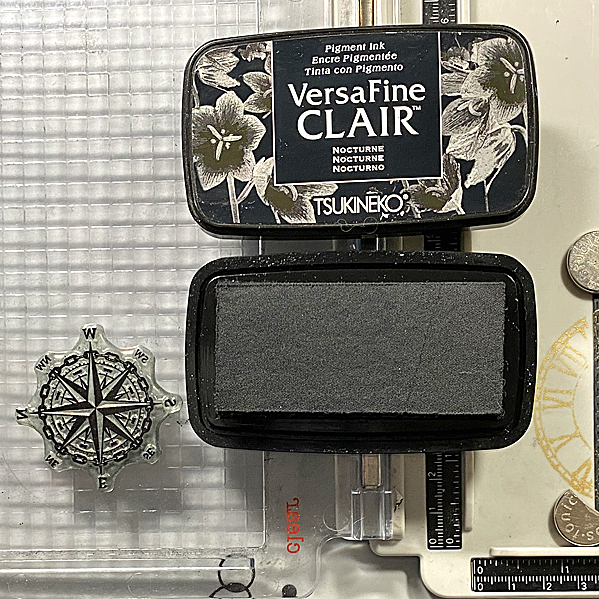
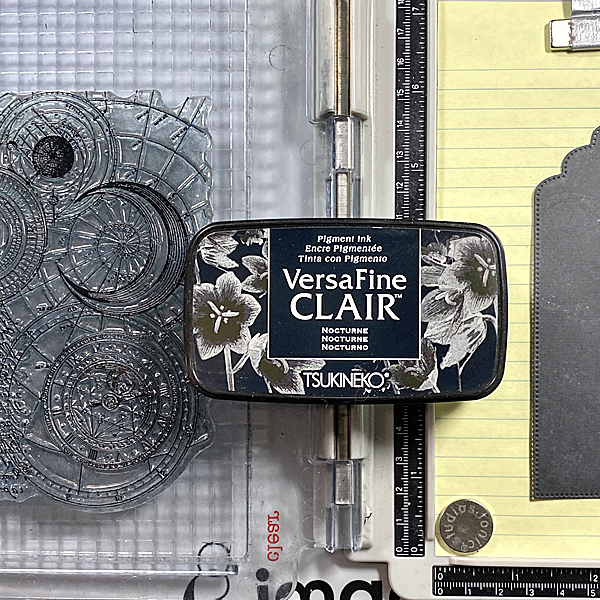
Greetings! It’s Kathi here today to share with you a tutorial about how to create an inspirational wall hanging using a favorite quote and your craft supplies. I used Golden Glitz Delicata, Nocturne, VersaFine Clair, and VersaMagic Chalk inks.
Skill: Intermediate
Time: 2 hours
Directions:
Step 1:
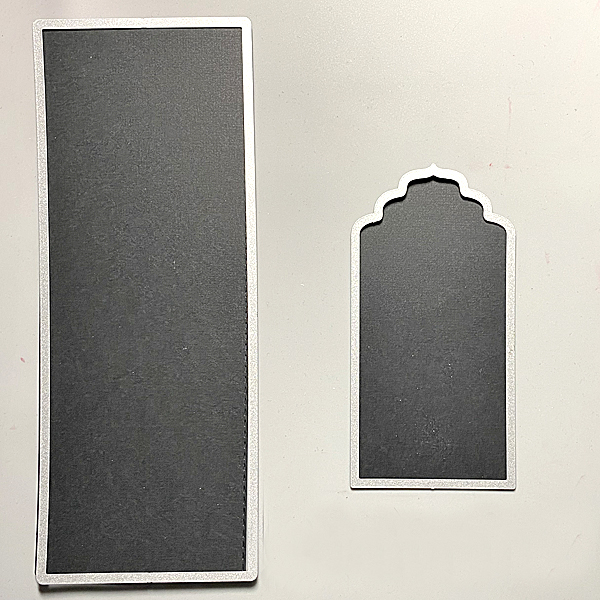
Use a Stitched Slimline Die and a Big Tags cutting dies to cut black cardstock for the panels.
Step 2:
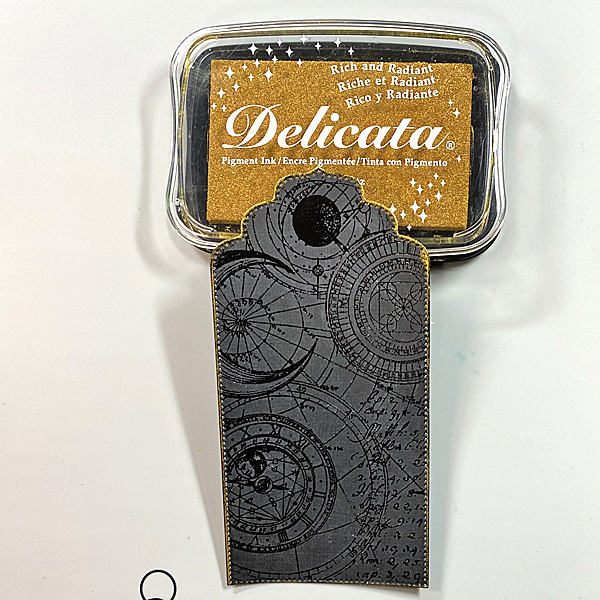
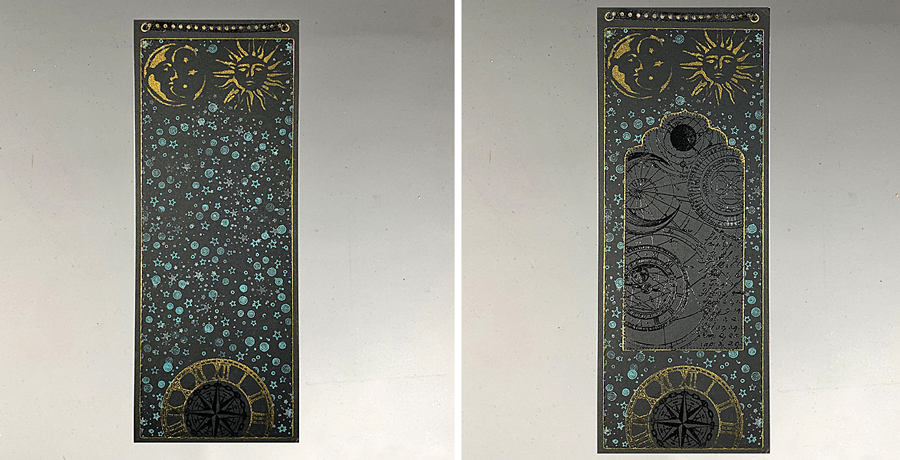
Position the moon and sun from the Alchemy Mixed Media Stencil on the top of the large rectangular die-cut. Use removable Scotch Tape to secure the stencil to the back of stencil. Cover the openings around the sun and moon with Post-It Notes. Use a Sponge Dauber to apply Golden Glitz Delicata Ink over the stencil onto the die-cut. Heat set.
Step 3:
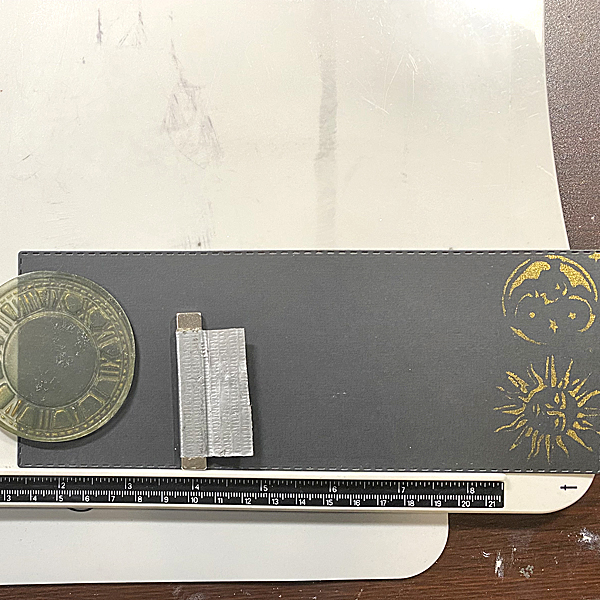
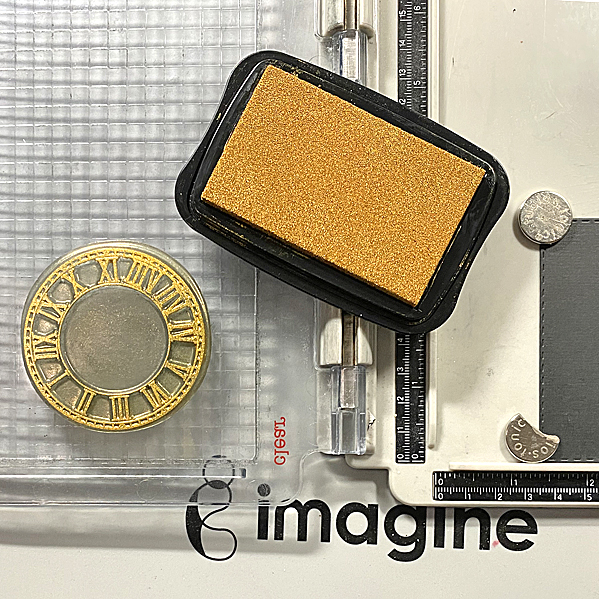
Use a magnet to secure the image panel horizontally along the base of a stamping platform. Position the clock from the ATC Coins Clear Stamp Set 6 facedown on the the panel, so that 12:00 is centered and facing the top of the panel.
Step 4:
Ink the clock with Golden Glitz Delicata ink and stamp the clock along the bottom of the tag. Heat set to bring out the lustre.
Step 5:
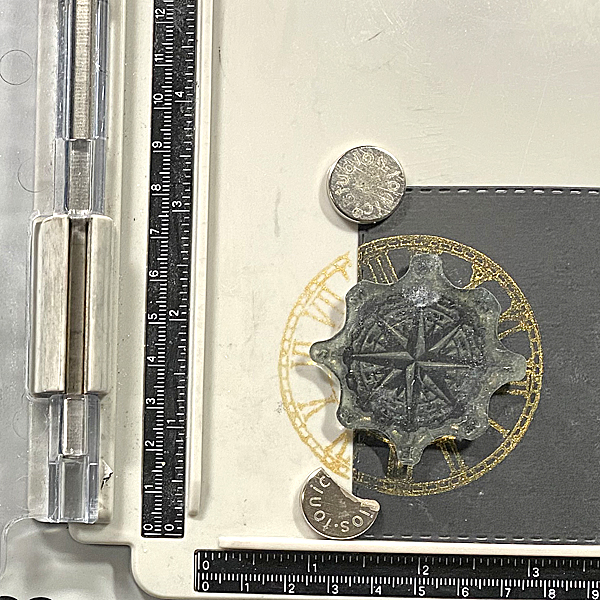
Position the compass from the Small Elements Stamp Set 2 facedown inside the circular opening of the clock with the “N” of North at 12:00.
Step 6:
Use Nocturne VersaFine Clair ink to stamp the small compass into the center of the clock image. Cover the stamped image with Clear MBoss Clear and melt the powder with a heat tool.
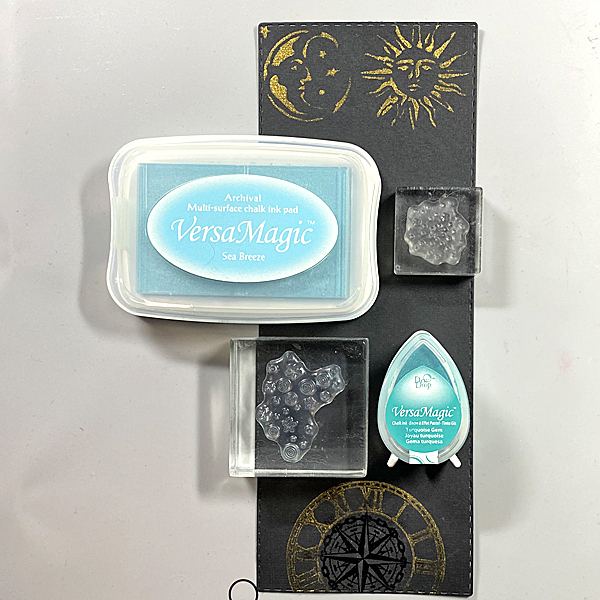
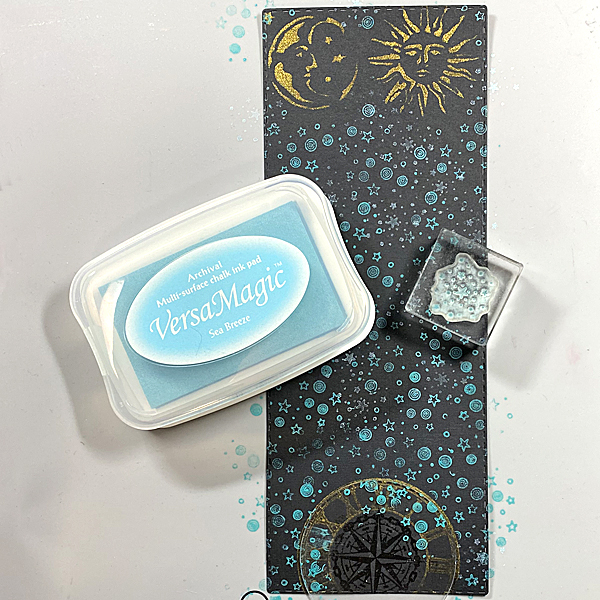
Step 7:
Use Turquoise Gem VersaMagic ink to stamp the swirls and stars from the Harvest Moon Clear Stamp Set and the stars from the Mini Stars Clear Stamp Set around the perimeter of the die-cut. Repeat using Sea Breeze VersaMagic ink. Heat set.
Step 8:
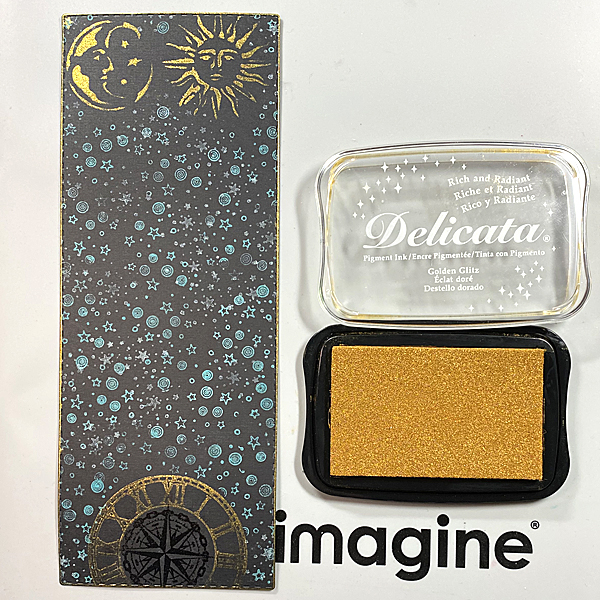
Edge the panel with Golden Glitz Delicata ink. I slide each edge of the piece along the side of the ink pad to create a strong golden edge. Heat set.
Step 9:
Use repositionable adhesive to secure the black tag die-cut to a piece of scrap paper, then use magnets to secure them to the base of the stamping platform.
Position the Celestial Navigation Clear Stamp 398 and stamp with Nocturne VersaFine Clair.
Step 10:
Cover the stamped image with MBoss. Melt the powder with the heat tool. (MBoss image application not shown)
Step 11:
Use Golden Glitz Delicata Ink to edge the tag.
Step 12:
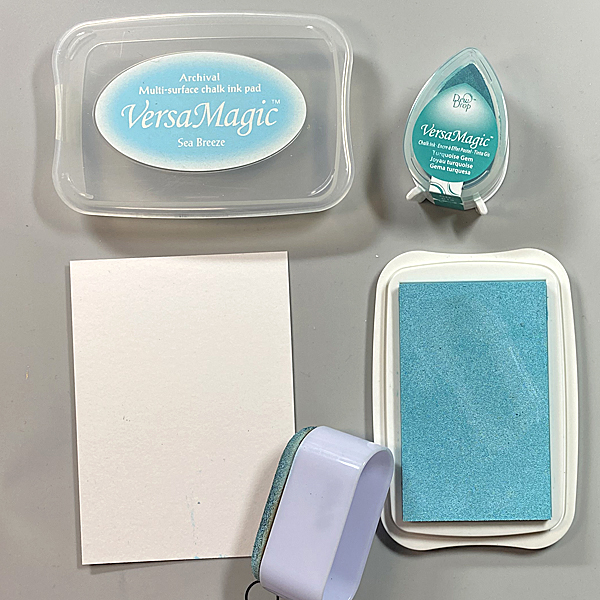
Using an Ink Sweeper, apply Sea Breeze VersaMagic to a piece of mixed media paper.
Step 13:
Use a Sponge Dauber to apply Turquoise Gem VersaMagic around the edges of the paper, then blend using the Ink Sweeper and Sea Breeze VersaMagic. Heat set.
Step 14:
Secure the inked panel to the base of the stamping platform. Position the Ink and the Dog Mini Cling Stamp 109 stamp and stamp with with Nocturne VersaFine Clair. Heat set.
Step 15:
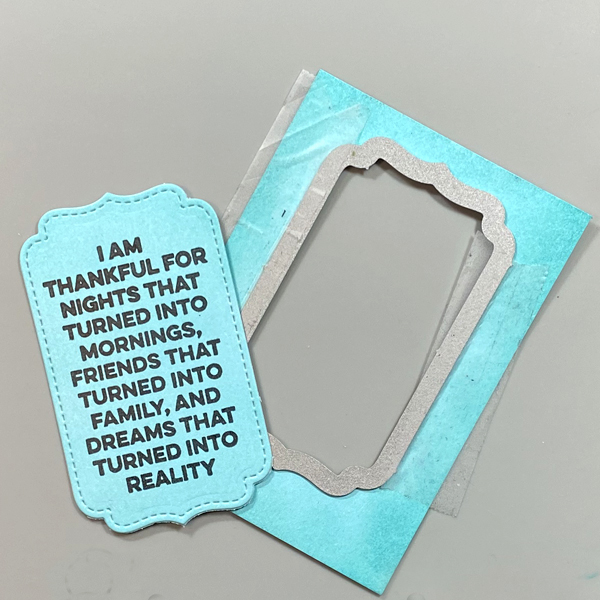
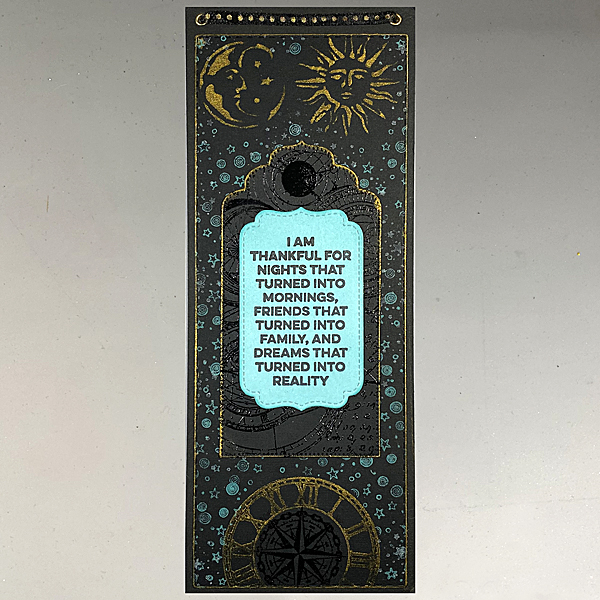
Use the shaped die from the Small Stitched Envelope die set to cut the sentiment panel.
Step 16:
Cut a piece of black chipboard to 3.5″ x 9″. Punch holes in the top, insert eyelets, and thread ribbon.
Step 17:
Use Tear It! Tape to adhere the rectangular panel to the chipboard.
Step 18:
Then tape the stamped and embossed tag.
Step 19:
Lastly, adhere the quote die-cut.
Thanks for stopping by. I hope this project will inspire you as much as it inspired me!
Hey y’all. Today I am using VersaFine Clair inks in the colors Verdant and Pinecone, to see what kind of results I’ll get on a gel plate. Later I create a set of 5×7 cards using my take on a Spring color palette. I’ll do this by incorporating the color Charming Pink VersaFine Clair ink to several of the gel plate prints.
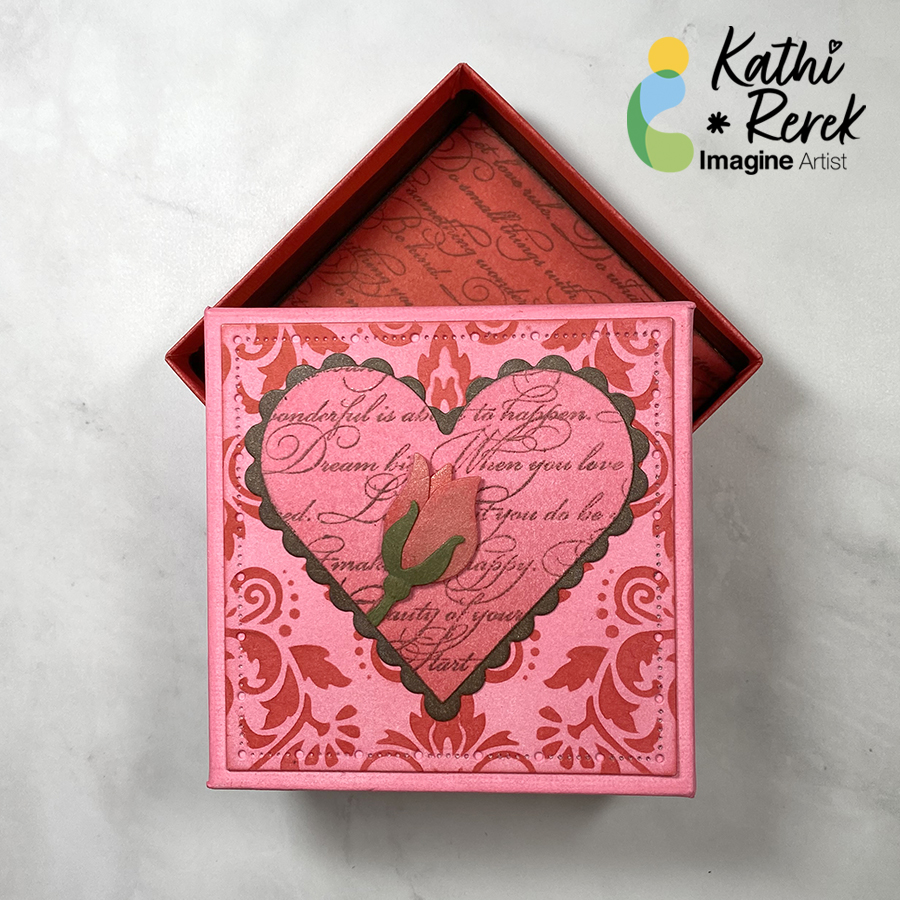
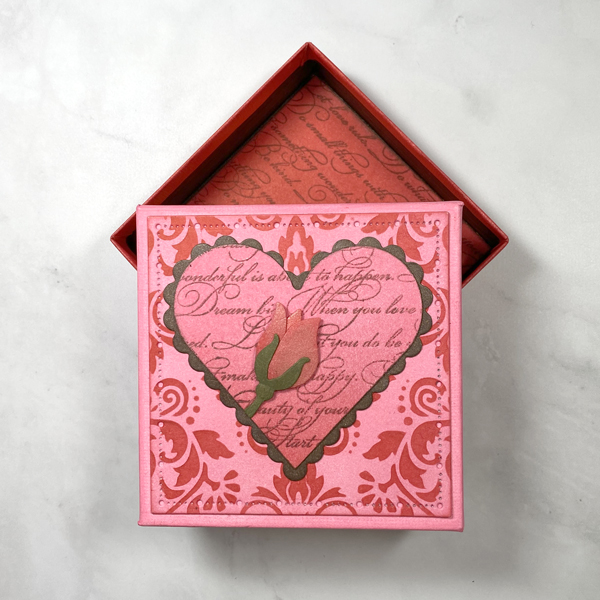
Keep the gift boxes you receive and decorate them to hold special gifts.
The recipient will treasure the gift and the stunning box. Great for Valentines or any occasion!
Skill Level: Intermediate
Time: 1 hour plus drying time
Directions:
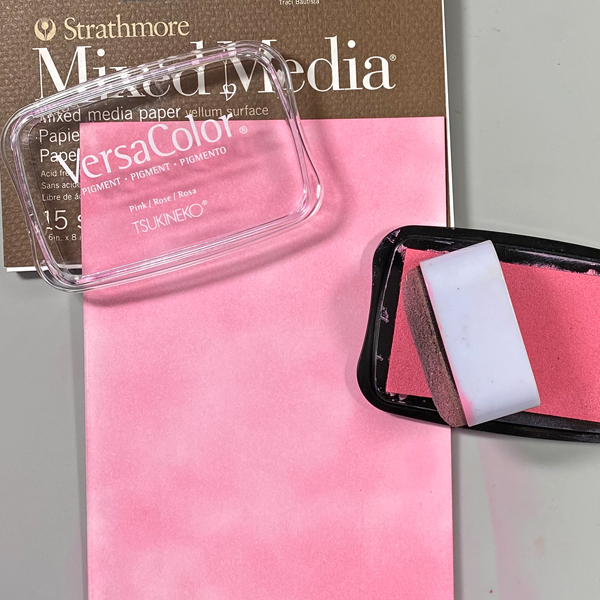
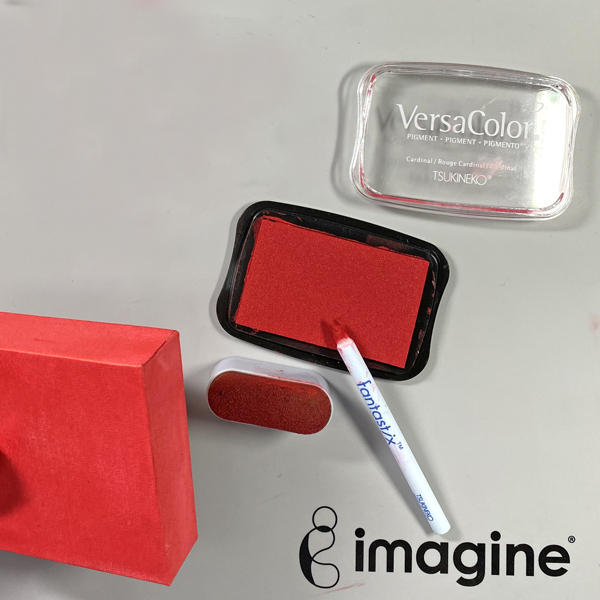
Step 1:
Using an Ink Sweeper, stamp the lid using Pink VersaColor covering the top and all sides. You don’t need to ink the entire top of the box because you will be covering it. Heat set thoroughly. Set aside.
TIP: I use a heat tool to speed up the drying process.
Step 2:
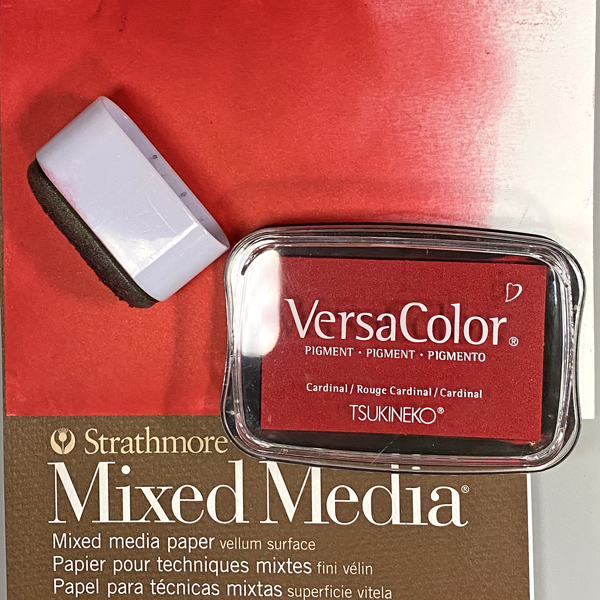
Trim a sheet of Mixed Media Strathmore piece of cardstock to about 3″x3″
Ink with Pink VersaColor. Heat Set.
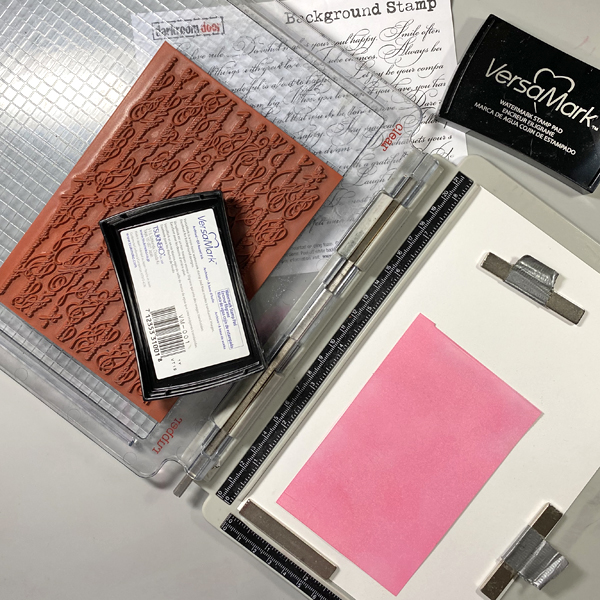
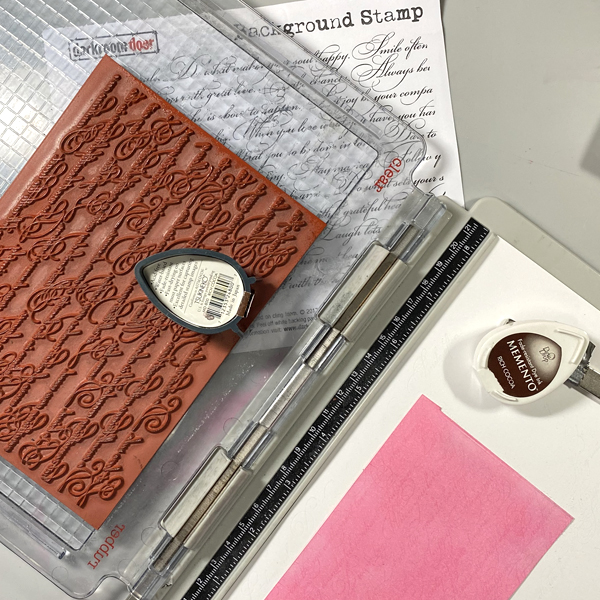
Step 3:
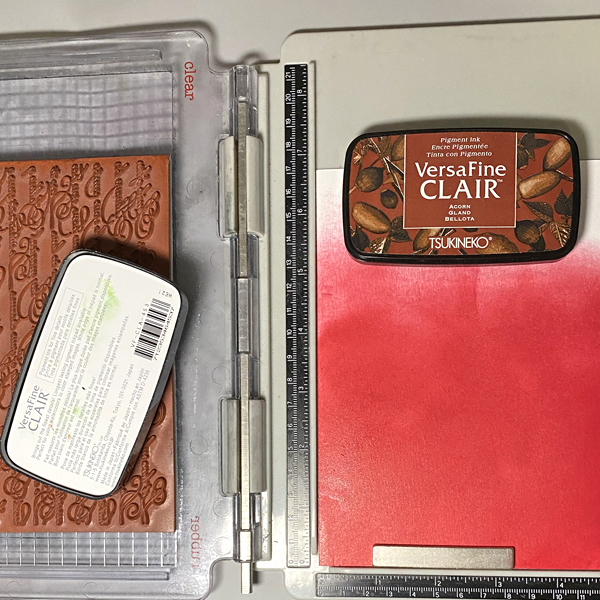
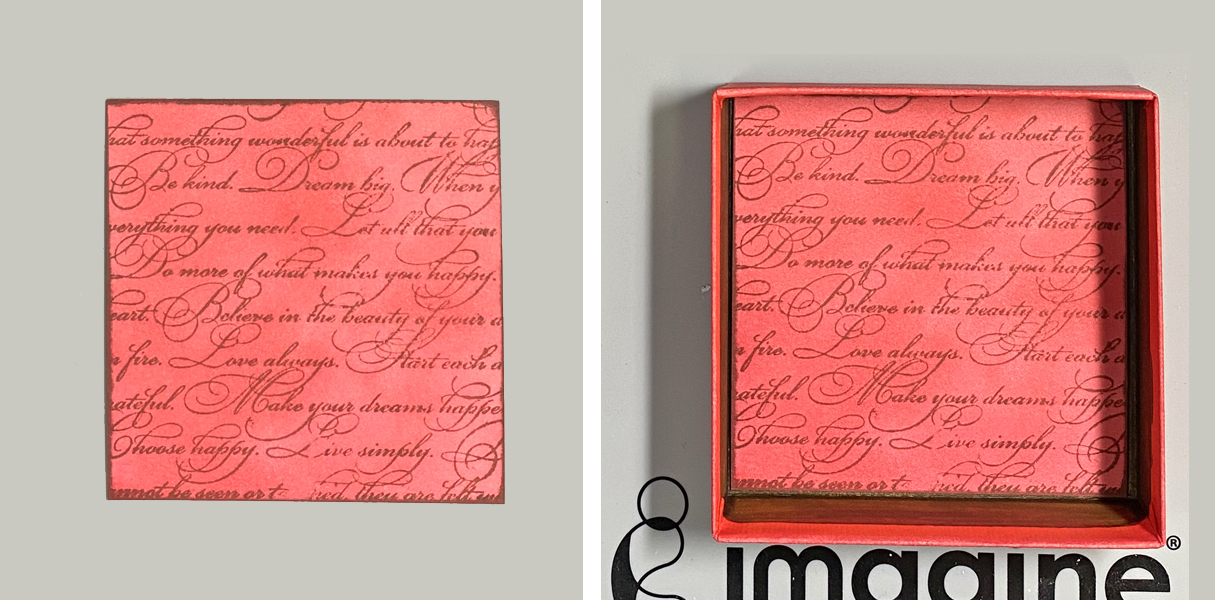
Secure the inked cardstock to the base of a stamping platform. Position your Elegant Script Background stamp and cover surface with VersaMark. It is important to use a stamp platform for this technique to ensure that the image lines up properly.
Step 4:
Ink the Elegant Script stamp with Rich Cocoa Memento ink.
Heat emboss with MBoss powder. (Photo not shown)
Step 5.
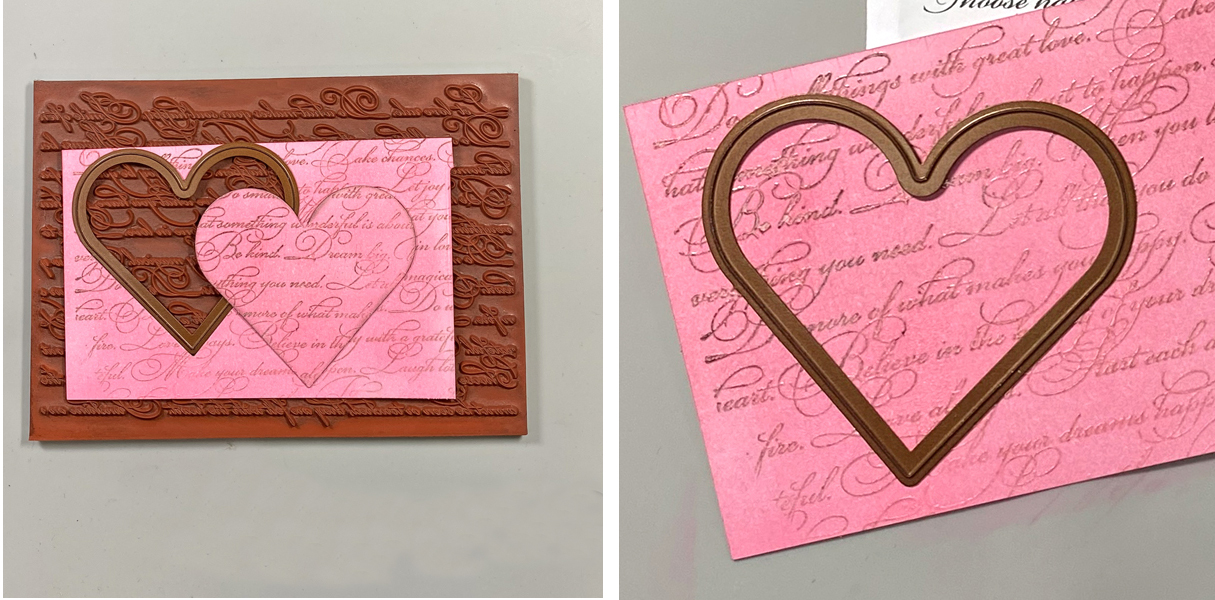
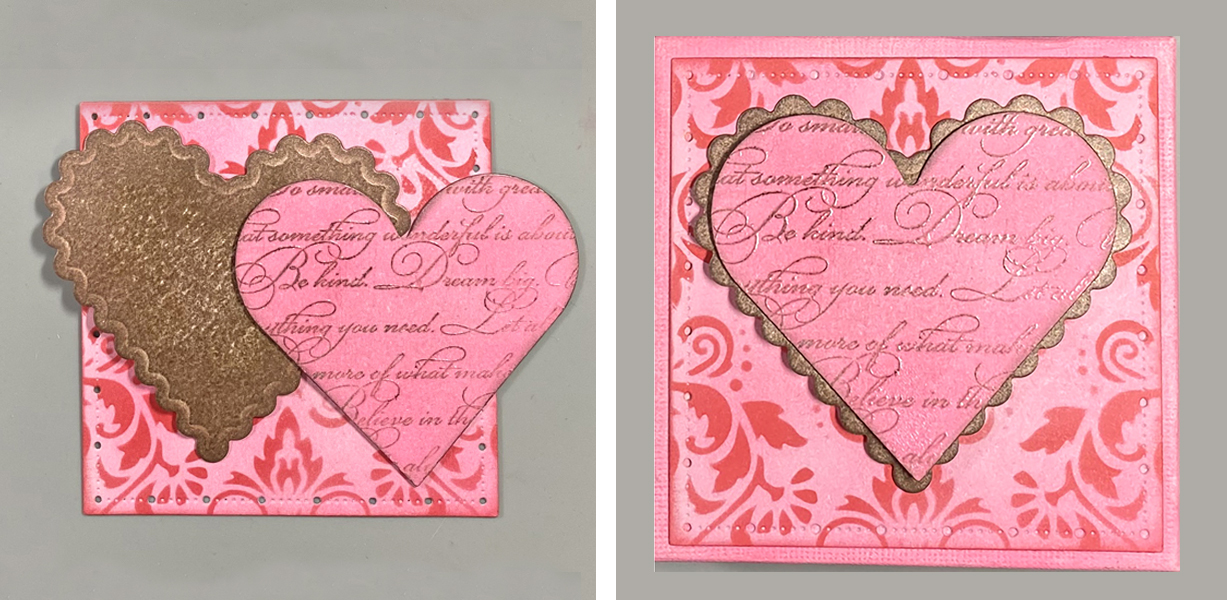
Die-cut heart using the Nestabilities Plain Heart Die Set by Spellbinders.
Pro Tip: You can use Rich Cocoa Memento Ink to edge the heart.
Step 6:
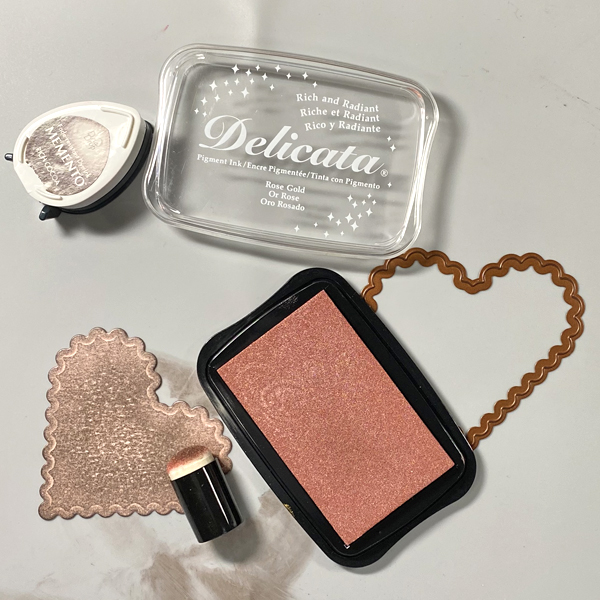
Trim a small piece of Mixed Media cardstock (about 3″x3″) and using the Scalloped Heart Die Set from Spellbinders, die-cut another heart. Ink using Rich Cocoa Memento. Heat set. Using a Sponge Dauber, apply Rose Gold Delicata ink to add a touch of rosy shimmer.
Step 7:
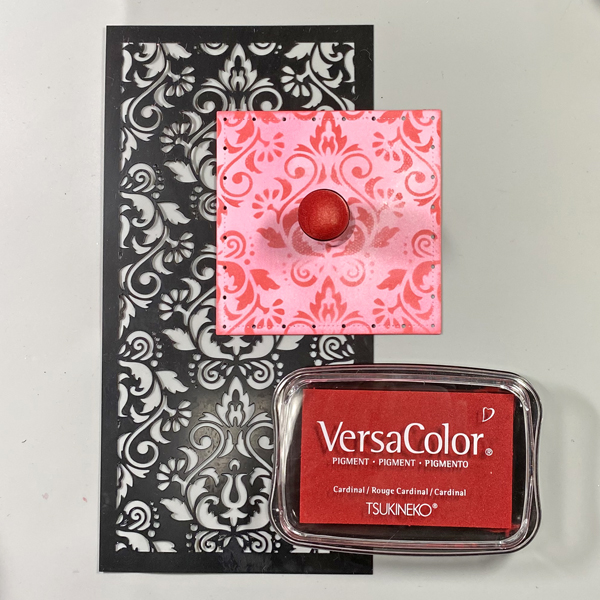
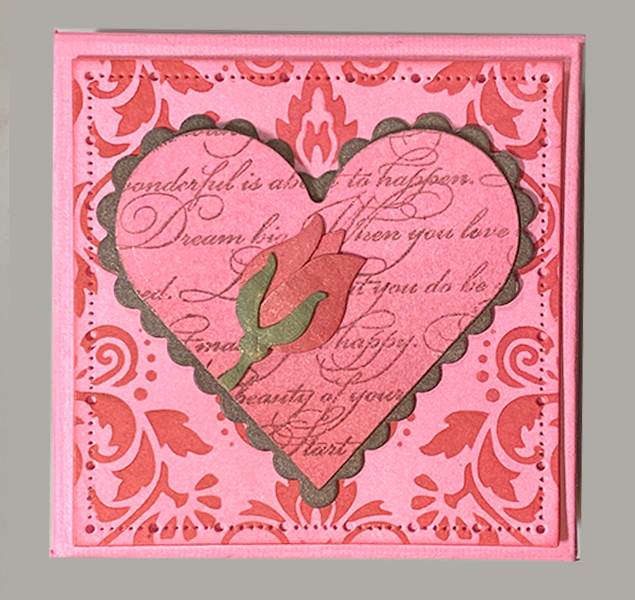
Use a square die (that’s a bit smaller than your box) to cut Mixed Media cardstock. Stamp with Pink VersaColor.
Tape the inked square to the back of the Slimline Baroque Stencil and ink with Cardinal VersaColor.
Step 8:
Tape each element using Tear-It! Tape. Set Aside.
Step 9:
To create the rose embellishment, take a small piece of cardstock and die cut the flower pieces. The Quickutz Doublekutz Rose bud die set was used here. Using embossing styluses can add dimension to the petals. Press the flower petals into the Cardinal VersaColor ink pad. Let them dry. Sponge with Rose Gold Delicata ink to give them some shimmer. Heat set.
Ink the stem and rose-hip with VersaMagic Hint of Pesto. Heat step. Then add a little Delicata Golden Glitz.
Step 10
Tape rose to the top of the lid using Tear It! Tape. Now your lid is complete.
Directions – Box Bottom
Step 11:
Ink box bottom with VersaColor Cardinal. Heat set.
Step 12:
Cut a piece of Mixed Media Strathmore piece of cardstock no smaller than 4″x4″.
(This piece will be used to decorate the inside of the box)
Ink with Cardinal VersaColor. Heat set.
Step 13:
Secure the inked cardstock to the base of a stamping platform. Position your Elegant Script Background stamp and ink with VersaFine Clair – Acorn.
Step 14:
Trim the stamped red panel slightly smaller than the box. Edge with Acorn VersaFine ink and heat set. Adhere to the interior of the box with Tear It! Tape. Now your bottom box is done.
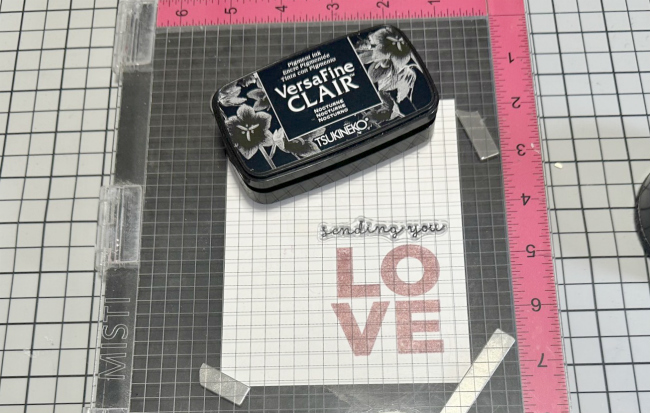
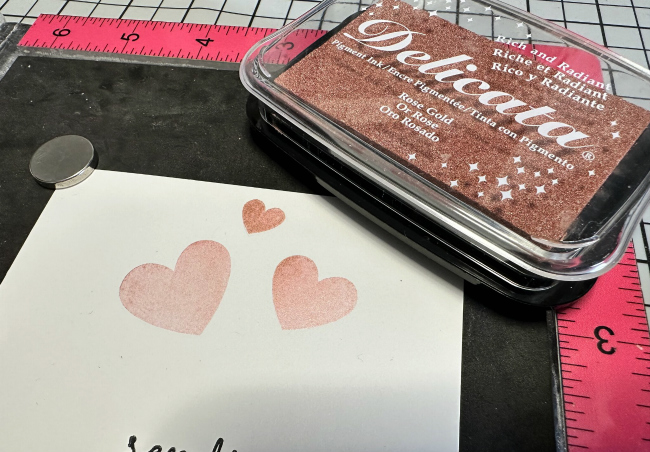
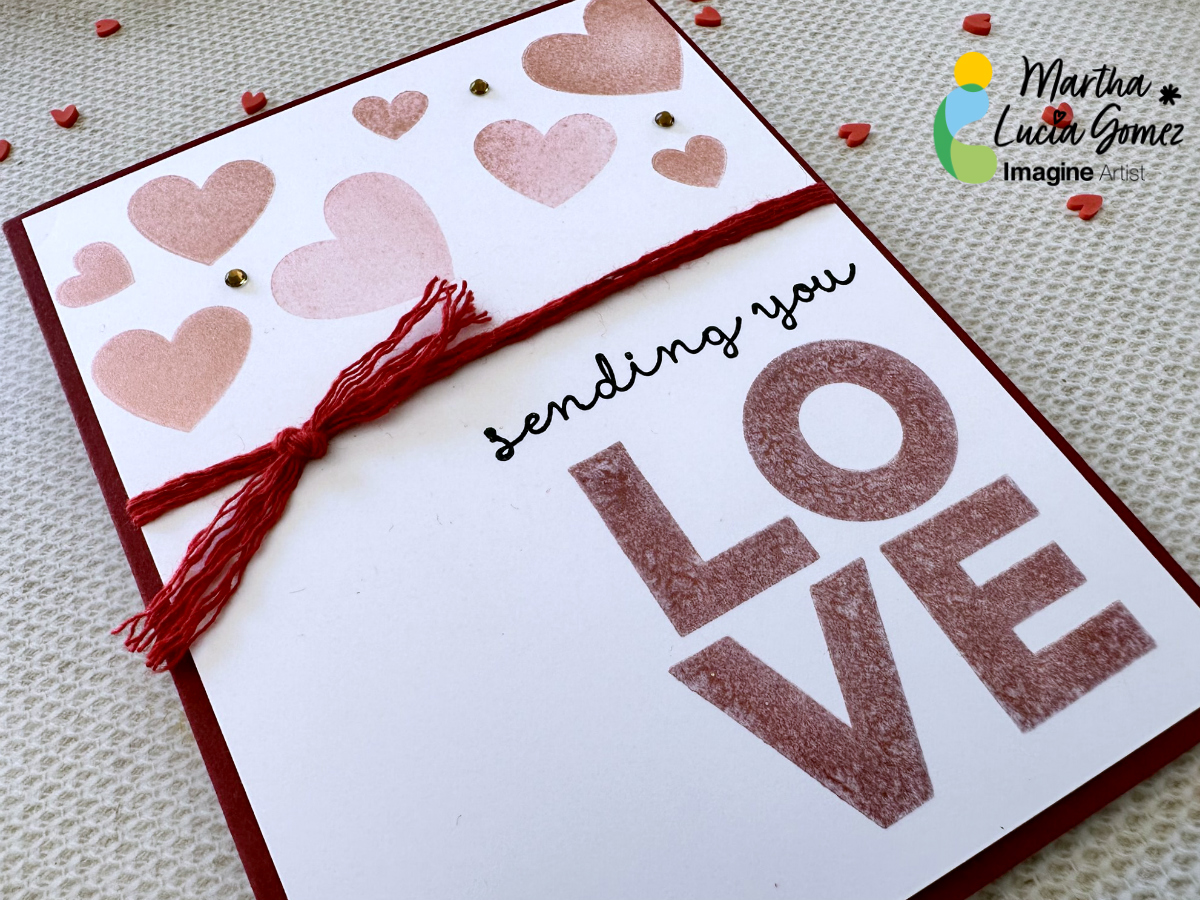
Hello there! Today’s tutorial is about texture without dimensions. Do you know that you can create a flat card with these two ingredients and just one type of ink? Well, the Delicata is the ink that can bring you these possibilities and more. I decided to make this card using two colors of Delicata, Ruby Red and Rose Gold.
Skill: Beginning
Time: 45 minutes
Directions:
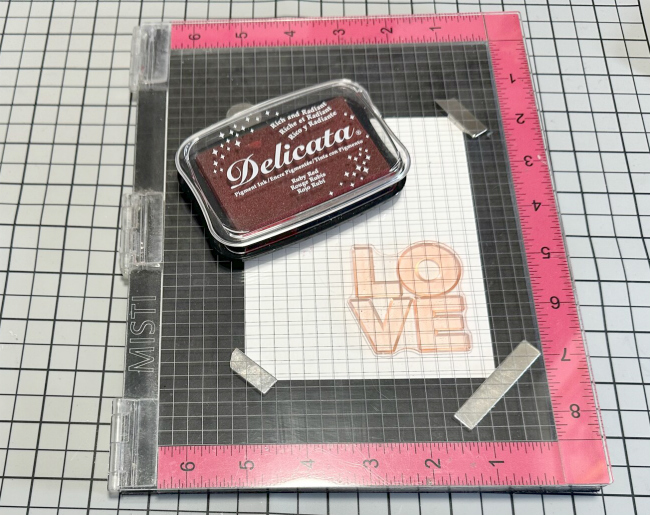
Step 1:
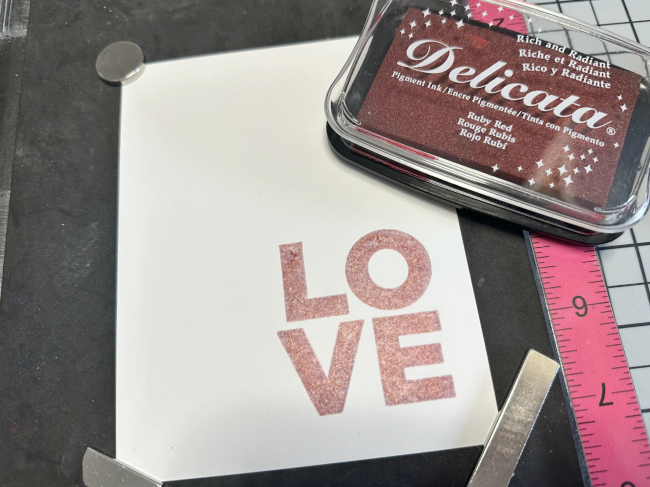
Take a piece of white smooth cardstock and solid stamps to create your design. In my sample, I am using hearts in different sizes and the Love Sentiment. First, ink the sentiment using the Ruby Red Delicata Ink. The Delicata is a pigment ink that dries within minutes on porous papers and never loses the luster. You can also obtain a Metallic touch with it if you don’t emboss the stamped images.
Step 2:
If you want to obtain more texture and coverage, you can stamp the same image several times. In my sample, I stamped it three times.
Step 3:
To complete the sentiment, you can stamp a complement using the same ink or other ink. On this sample, I used VersaFine Clair Nocturne. On it, you can notice the different textures of both inks and the soft color of the Delicata.
Step 4:
Now is the time to create more texture. This time, I used Rose Gold Delicata Ink to create it and hearts in different sizes. I stamped them randomly on the upper part of the card. Using a stamping tool, you can create different tones with the same ink and color, depending of the times that you stamp your image.
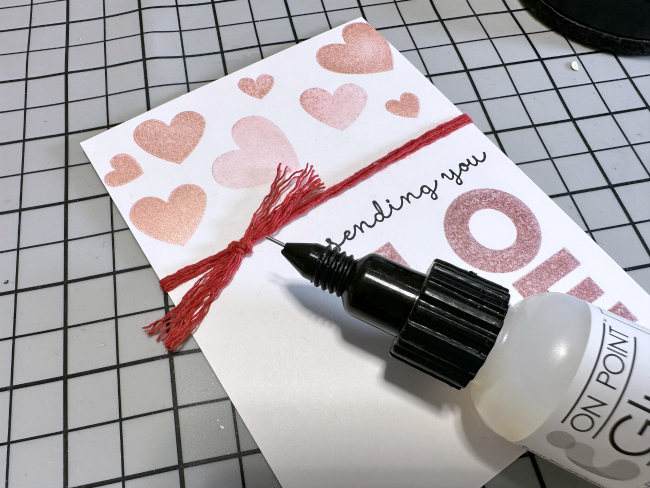
Step 5:
After finalizing the stamping process, I decided to embellish the card with a few loops of red twine. I used a dot of On Point Glue to secure just the knot.
Step 6:
Due to the dimension created with the twine, I pasted the decorated layer over a red card base using crafty foam tape. And voila, my soft and textured Valentine’s Card is ready!
Thanks for stopping by and don’t forget that you can explore more textures with other colors of Delicata Ink.