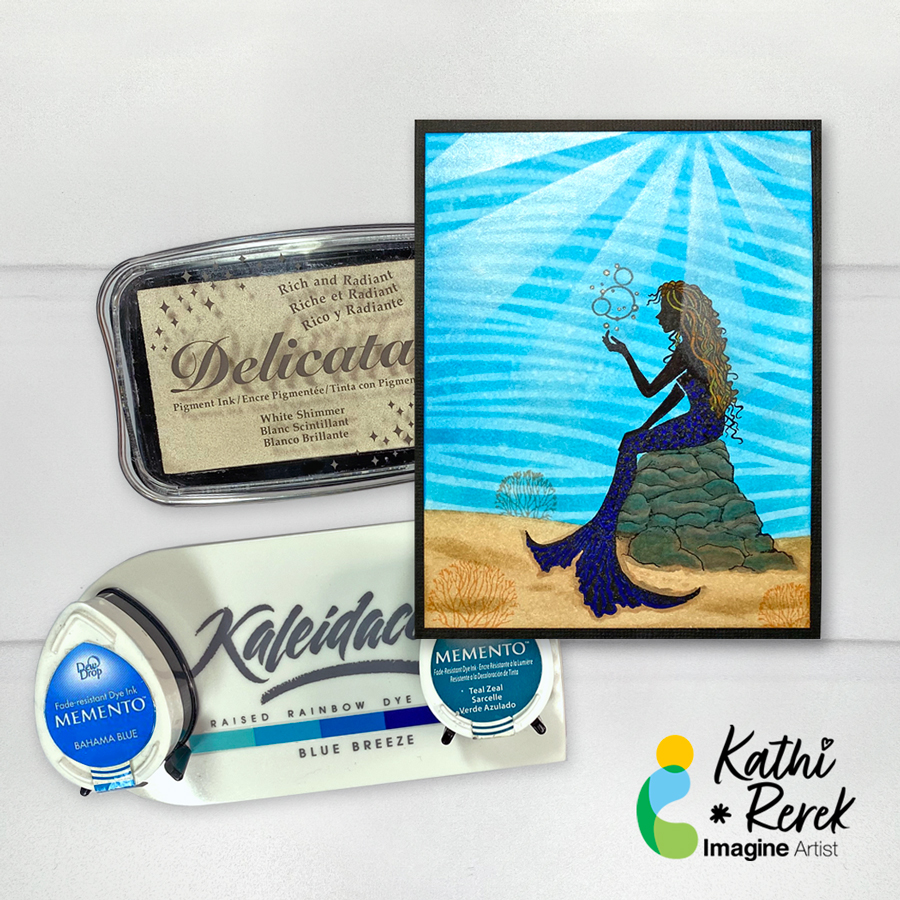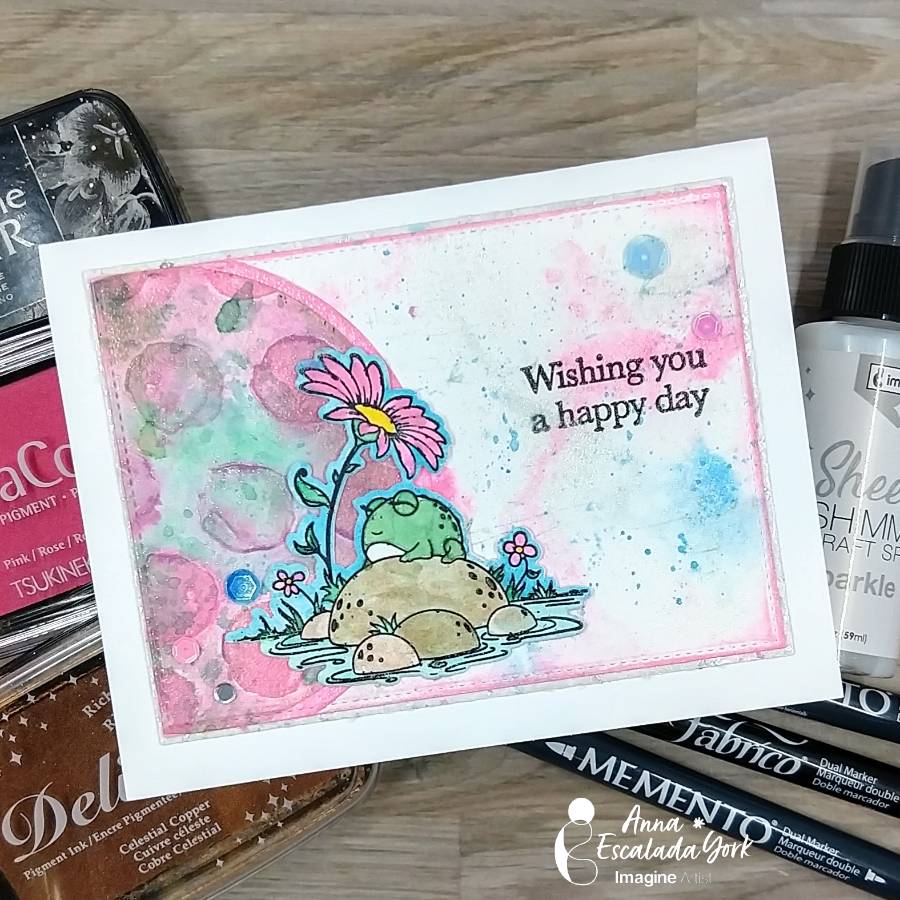
By Anna Escalada York
In today’s post, I am sharing a fun, summer card that features some bold colors!
Skill: Intermediate
Time: 1 hour
Directions:
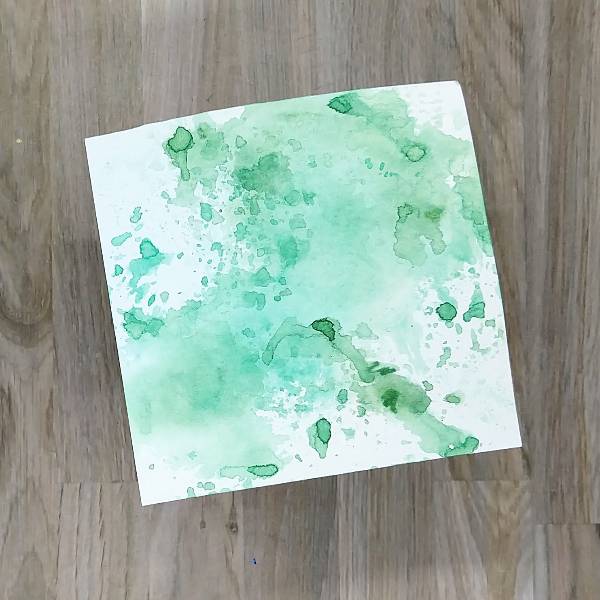
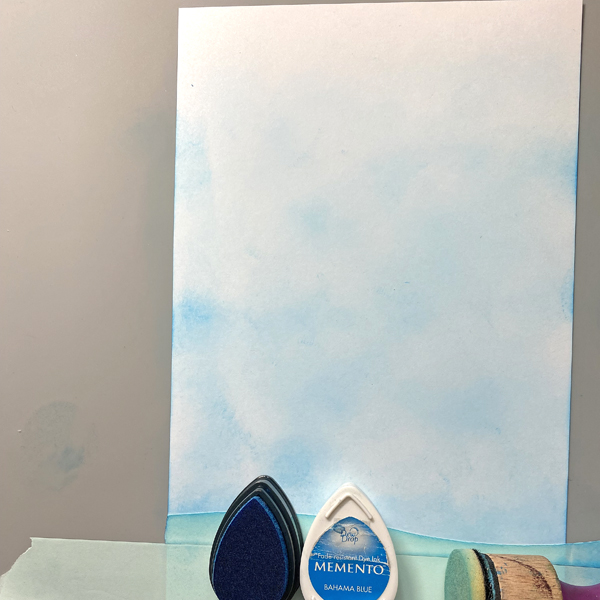
Step 1
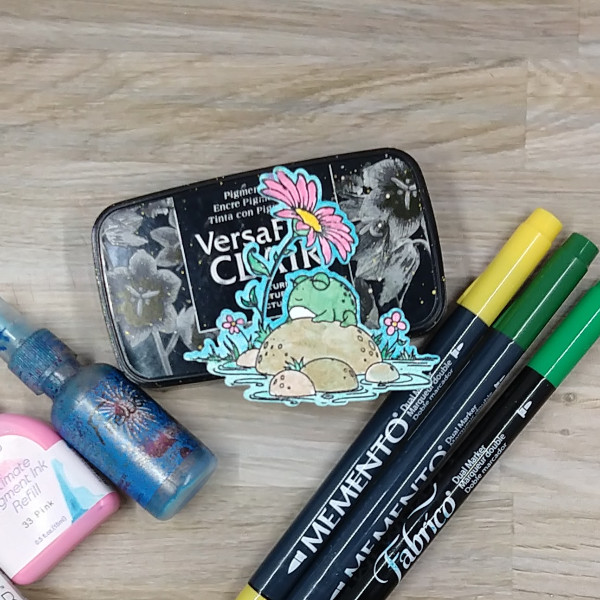
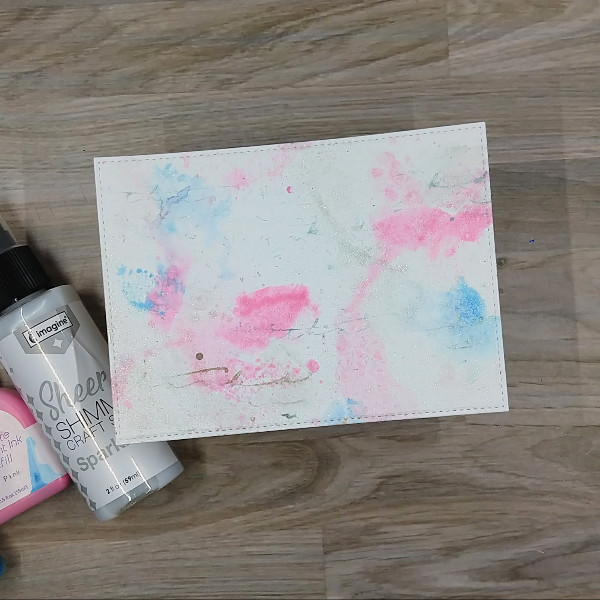
Color a piece of acetate packaging with both Cottage Ivy Memento marker and Emerald Fabrico
marker and then spraying the acetate with water. Press the acetate onto a piece of watercolor
paper multiple times, moving the acetate around so add green color around the watercolor
paper. Allow the water to dry.
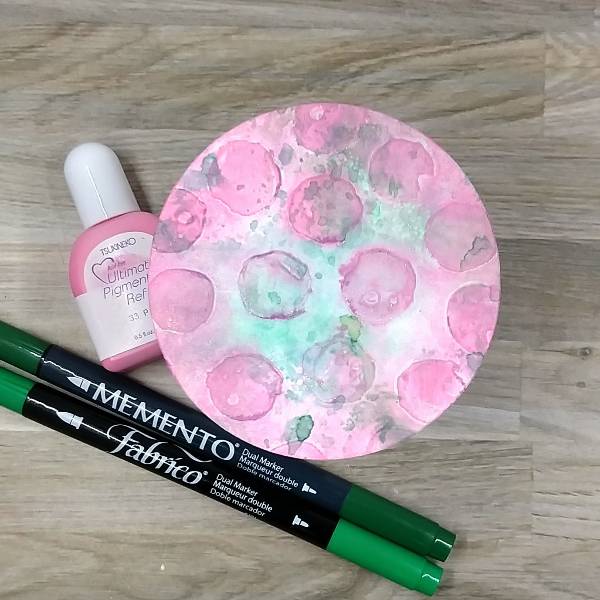
Step 2
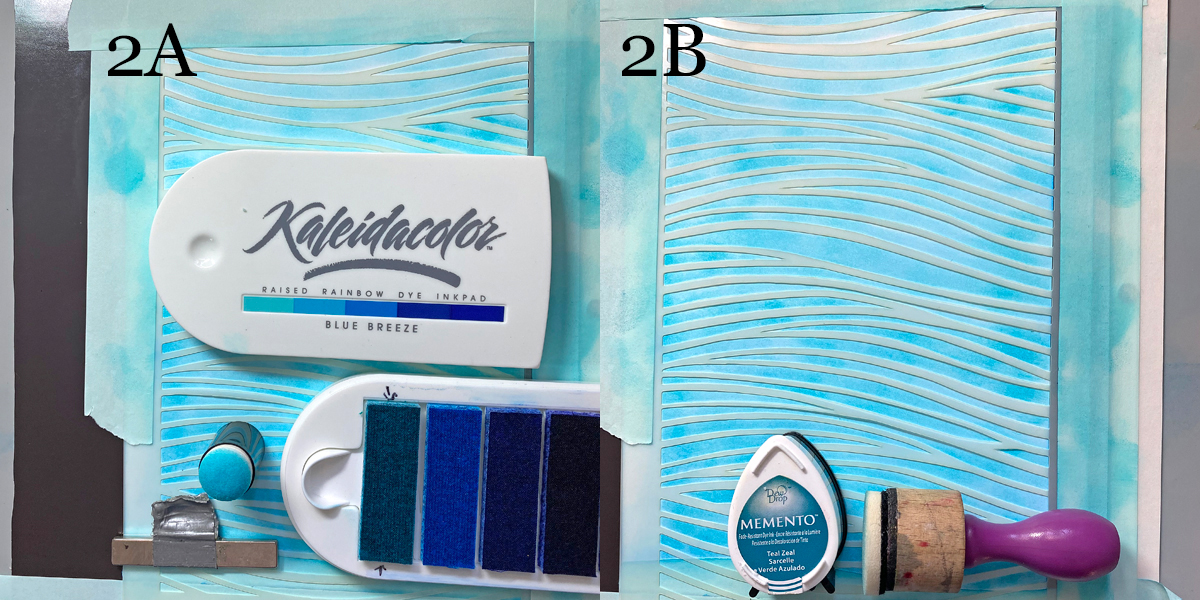
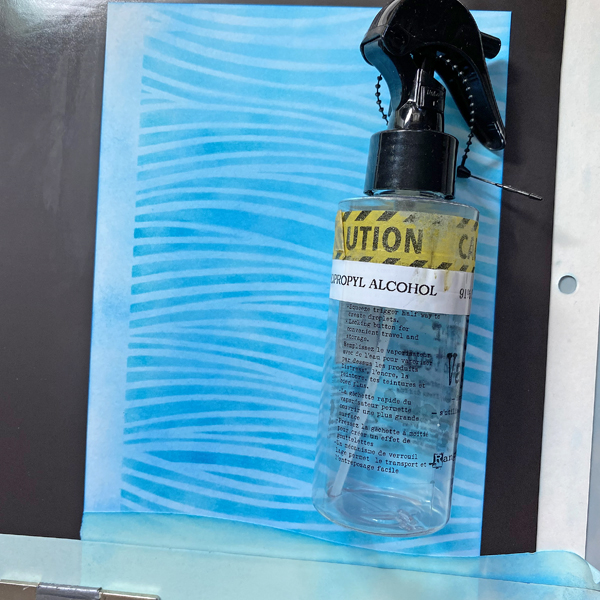
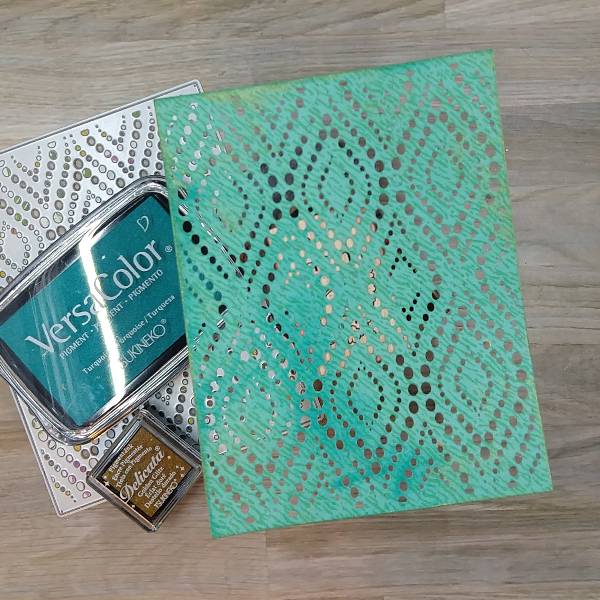
Die cut the watercolor smooshed paper with a circular die cut. Add a small dot of Pink Ultimate
Pigment Pigment Refill into the raised areas of an embossing powder, and then spray the
embossing folder with Sparkle Sheer Shimmer Craft Spray to both help the watercolor paper
stay moist (so it won’t tear) while embossing, and to help dilute the condensed pink refill ink.
Then sandwich the watercolor paper into the embossing powder and run it through a die cutting
machine.
After the watercolor paper has dried, ink blend the edge of the circular die cut with Pink
VersaColor pigment ink.
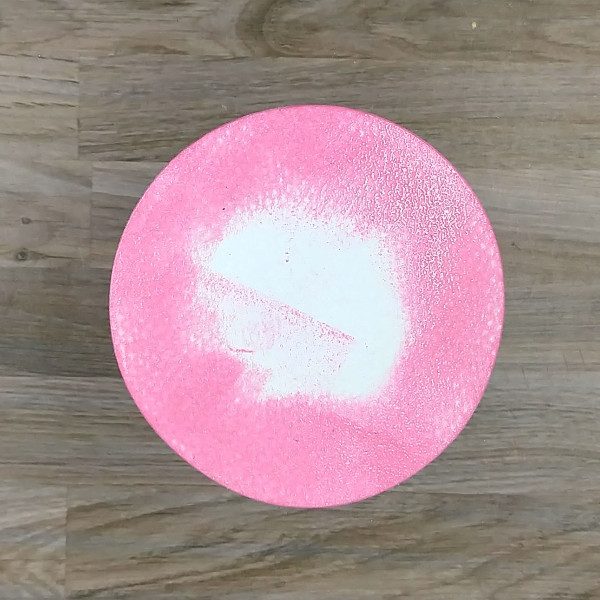
Step 3
Die cut another piece of watercolor paper with a slightly larger circular die. Directly press the
Pink VersaColor Pigment ink pad onto the watercolor paper.
Optional step: Heat emboss the ink with clear embossing powder.
Step 4 (and 4.5)
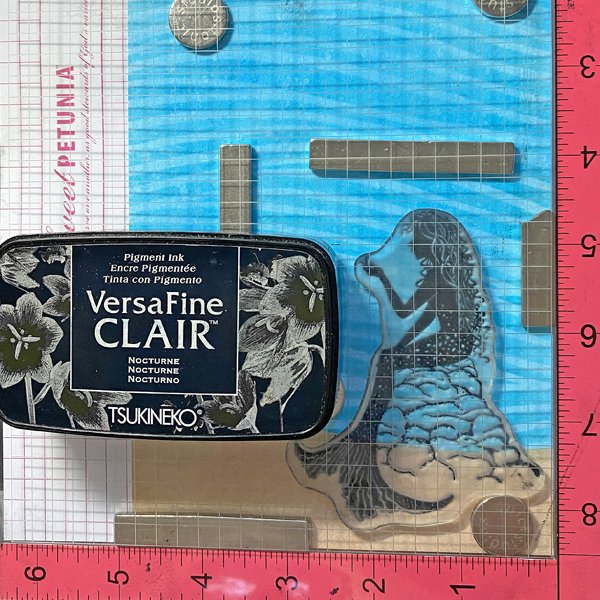
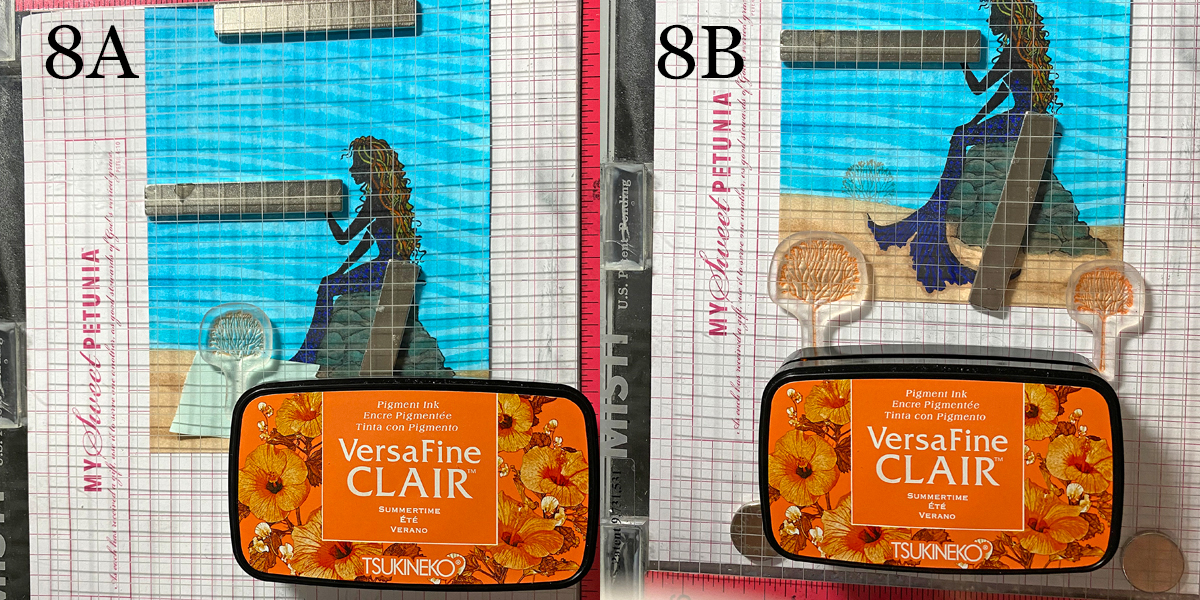
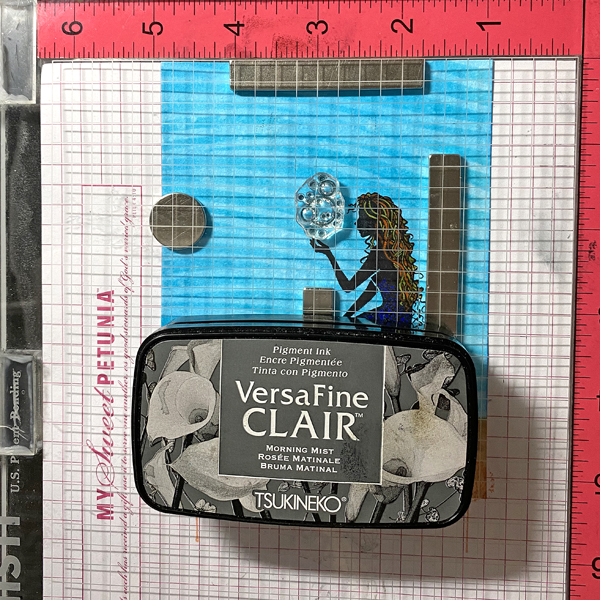
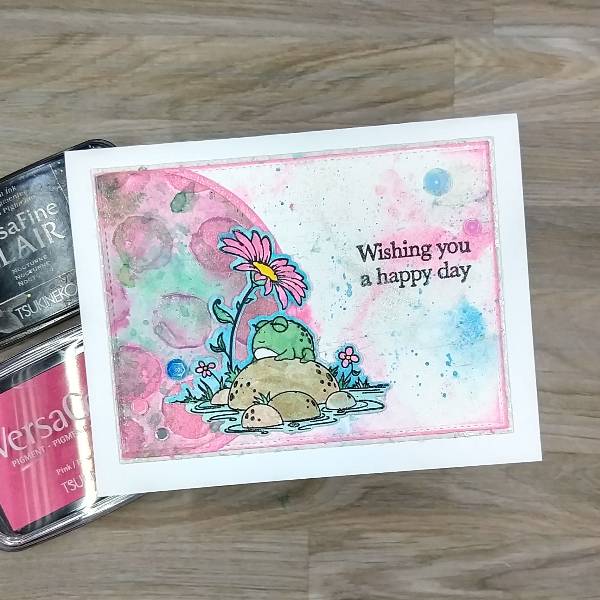
Stamp an image onto watercolor paper with a nature scene with Nocturne VersaFine Clair ink.
Heat emboss with clear embossing powder.
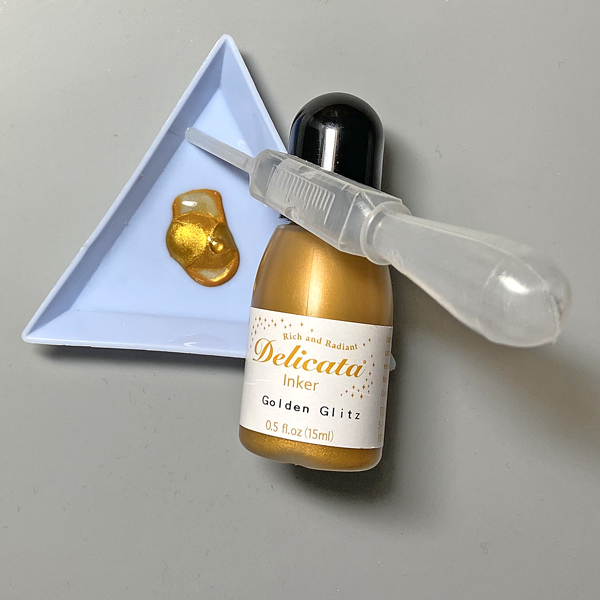
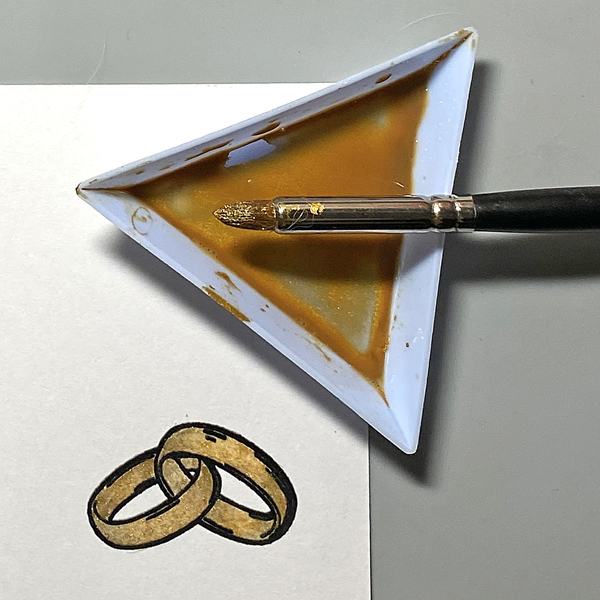
Using a variety of media to watercolor the image: Celestial Copper Delicata Ink pad mixed with
water to color the rocks, Emerald Fabrico marker mixed with water to color the frog and leaves,
Bahama Blue Fireworks! Spray to color the sky and water, and Pink Ultimate Pigment Ink Refill
to color the flower petals. Finally, color the centers of the flowers with a Dandelion Memento
marker.
Step 5
Watercolor smoosh some of the leftover inks from the last step to watercolor smoosh a piece of
watercolor paper and then spray the whole thing with Sparkle Sheer Shimmer Craft Spray. Use
some additional color to stamp a text stamp in my stash to add a little interest onto the panel by
pressing the stamp into the acetate instead of an ink pad. Repeat the process a few times until
you like the amount of extra interest that is added. After everything dried, die cut the watercolor
panel.
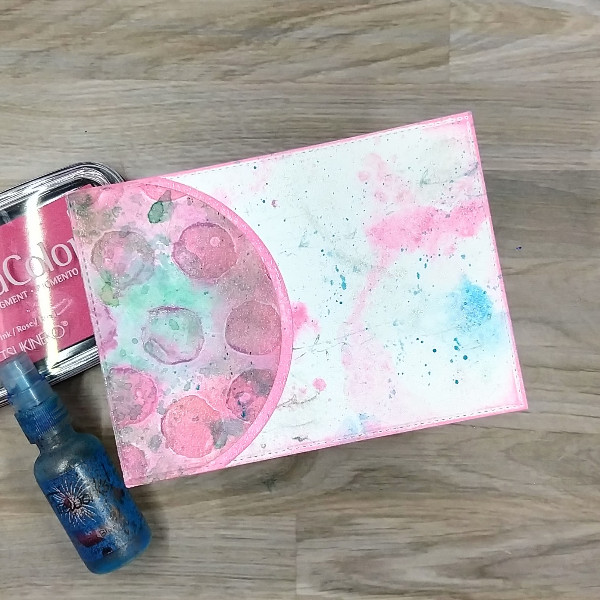
Step 6
Glue the two circular die cuts (the embossed panel and the larger pink die cut circle)
and then glue it onto the watercolor background panel. After the glue dried, the whole thing was
die cut again to trim the circular die cuts. The edges were ink blended with more Pink
VersaColor Pigment ink. Splatters of the remaining Bahama Blue Fireworks! Spray from the
acetate packaging were added to the panel as well.
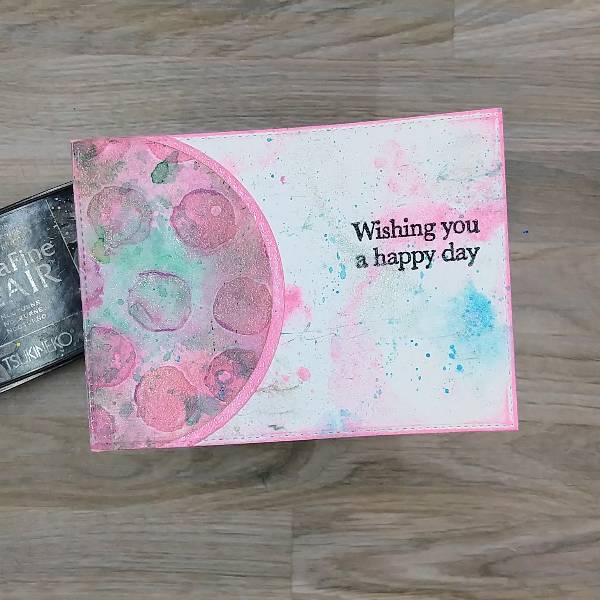
Step 7
Stamp a sentiment with Nocturne VersaFine Clair ink.
Optional step: Heat emboss with clear embossing powder.
Step 8:
Die cut sparkly white paper with a slightly larger rectangular die. Glue the main (frog)
stamped and die cut image onto the top panel, glue the matte (sparkly larger panel) behind the
top panel and then glue everything onto an A2-sized white card base. Glue sequins to the card
base.
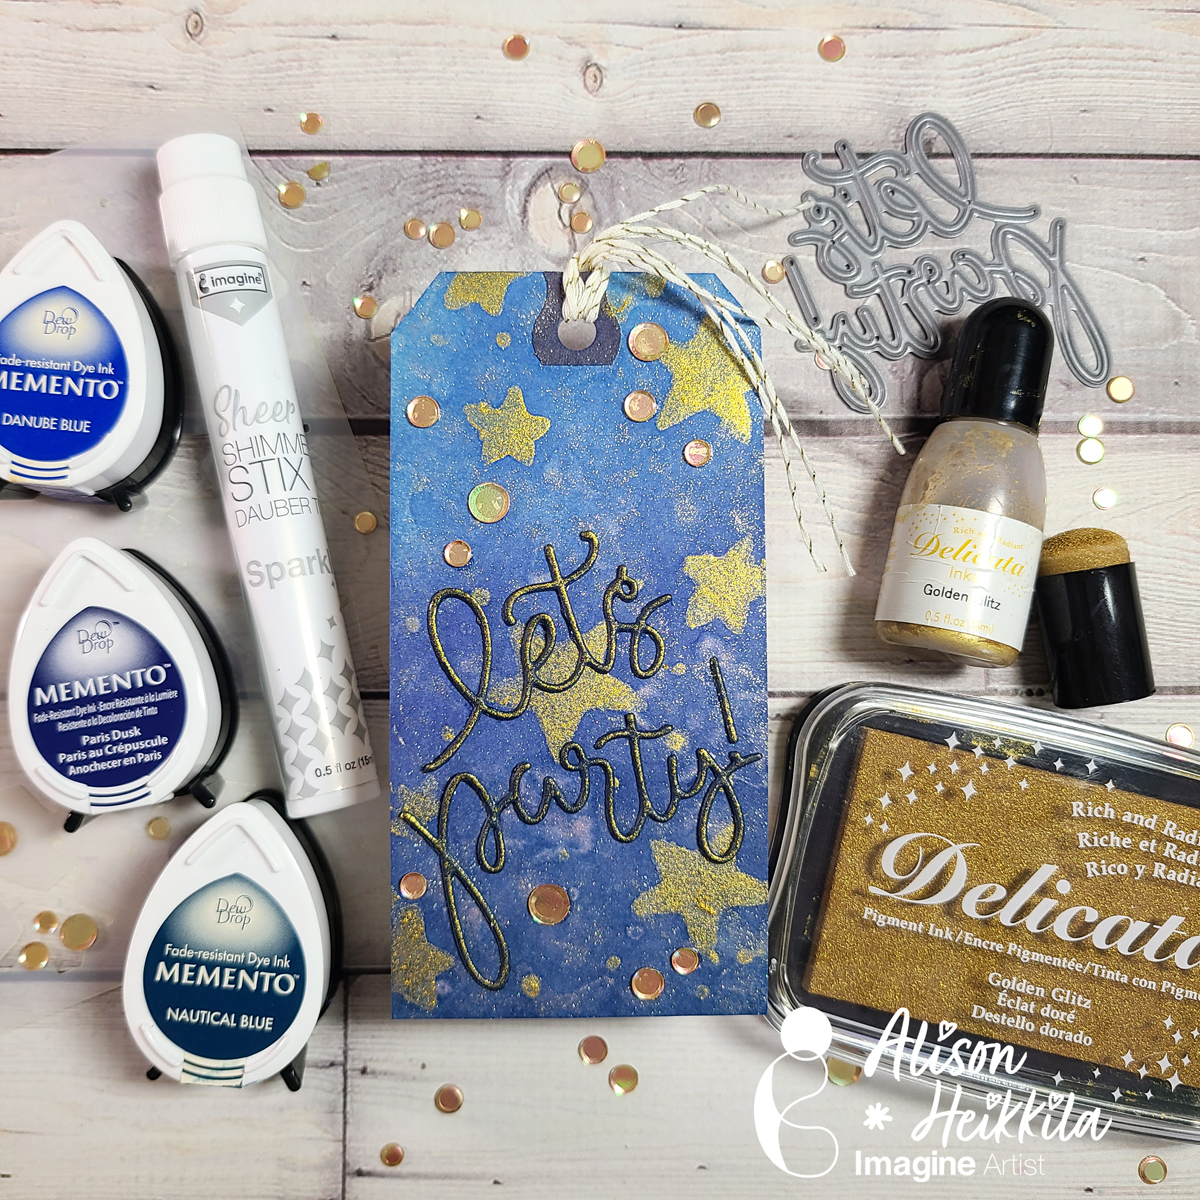
Art Supplies
Imagine
• Delicata Ink – Celestial Copper
• Fabrico Marker – Emerald
• Fireworks! Spray – Bahama Blue
• Memento Marker – Dandelion
• Memento Marker – Cottage Ivy
• Sheer Shimmer Craft Spray – Sparkle
• Ultimate Pigment Ink Refill – Pink
• VersaColor Pigment ink – Pink
• VersaFine Clair ink – Nocturne
• VersaMark Dazzle – Frost
Other
• Catherine Pooler Designs – Sequins – Milwaukee
• Gina K Designs – Dies – Master Layout 2 die set
• Hero Arts – Dies – Nesting Circles Infinity die set
• Penny Black – Stamp – Thanks, Thanks stamp (retired)
• Vicki Boutin – Embossing Folder – Let’s Wander (retired)
• Watercolor paper
• Clear embossing powder
• Scissors
• Glue