Use Different Inks to Make a Congrats Graduation Card

by Iris Rodriguez

Use Different Inks to Make a Congrats Graduation Card

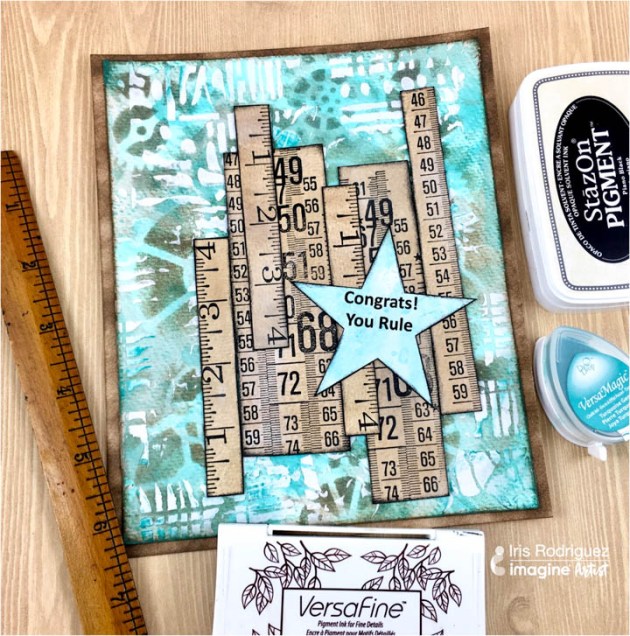
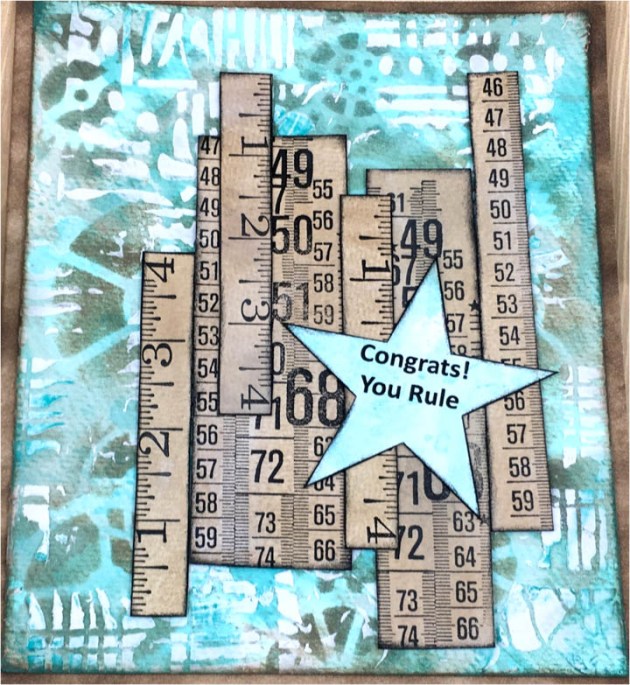
Graduation season is upon us. As much as it a joyous time in anyone’s life, you feel the pressure of the final exams, think about that next phase of your life and probably make a big move. Don’t forget the grad in your life, and make him/her a fun, grungy card. I will show you how you can create a simple, yet layered background with fun ruler embellishments and matching sentiment.

Skill: Beginner
Time: 30 minutes

Directions


Step 1

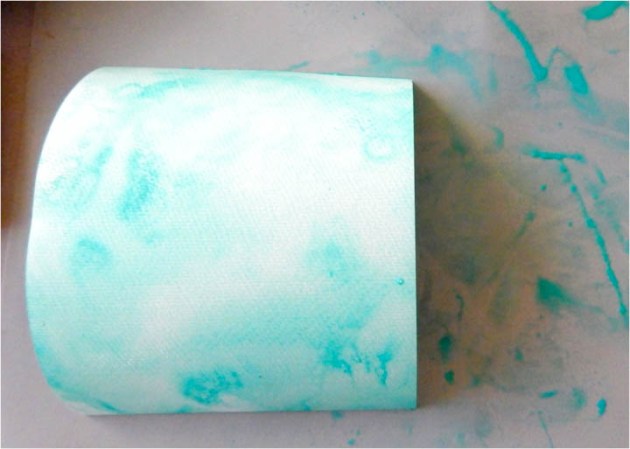
Smoosh the Turquoise Gem VersaMagic ink onto the Imagine Craft Mat.

Step 2

Spray water over the ink. Smoosh the watercolor paper and create a random background. Dry the paper.


Step 3

Stencil the gears with the Vintage Sepia VersaFine ink and Inkblusher.


Step 4

Using the palette knife and modeling paste, stencil another image.

Step 5

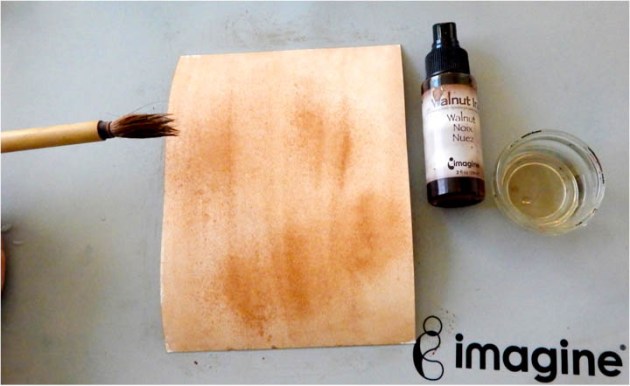
Spray some Walnut Ink, then brush the ink with a wet brush. Dry paper.


Step 6

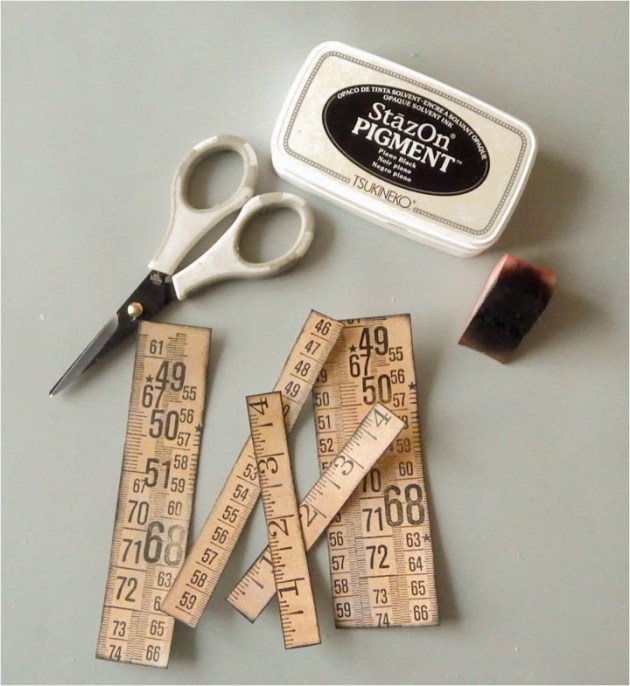
Stamp the ruler stamps with the Piano Black StazOn Pigment ink.

Step 7

Cut out the rulers and ink the edges with the Piano Black StazOn Pigment ink.

Step 8

Assemble card. Glue on the rulers and add a sentiment.


Supplies

Imagine
Other
  • Watercolor Paper
  • The Crafters Workshop – 6×6 Gears stencil
  • Carabelle Studio – Steampunk Metre stamp
  • Stampendous – Ruler stamp
  • Liquitex – Modeling Paste

Create An Awesome Accordion Fathers Day Card

by Roni Johnson

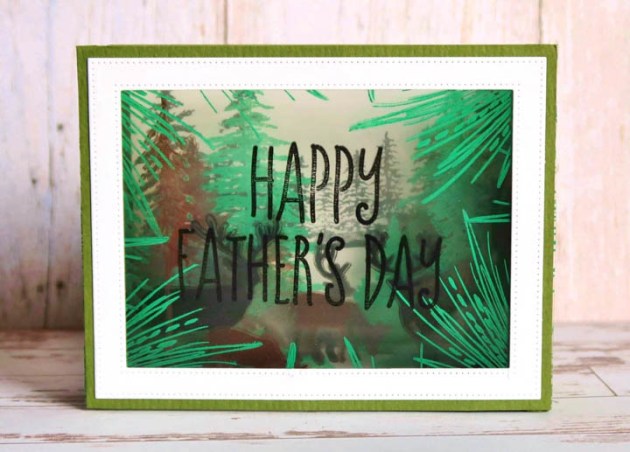
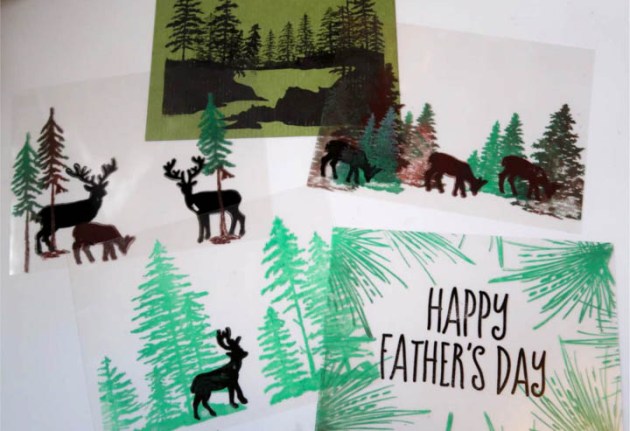
Tunnel cards just got that much cooler because of StazOn Pigment Inkpads! You can now stamp on acetate and really build up those layers without all of the cutting and snipping like traditional tunnel cards. With the help of StazOn Pigment Inks simply stamp on acetate panels, use Tear It! Tape to affix the panels to the accordion sides and you’re good to go! It takes a matter of minutes instead of hours!

Skill: Advanced
Time: 20 minutes

Directions


Step 1

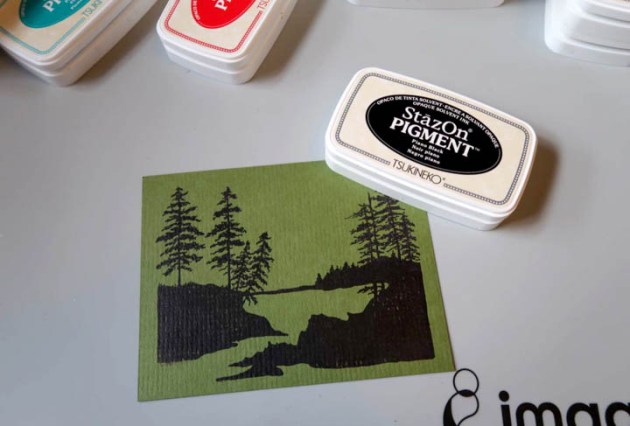
Stamp beginning layer on a card to use as a stamping guide. Originally I thought I would use this as the back panel of the card but the green was too dark so I stamped a second panel on white cardstock to use as the final layer of the tunnel.


Step 2

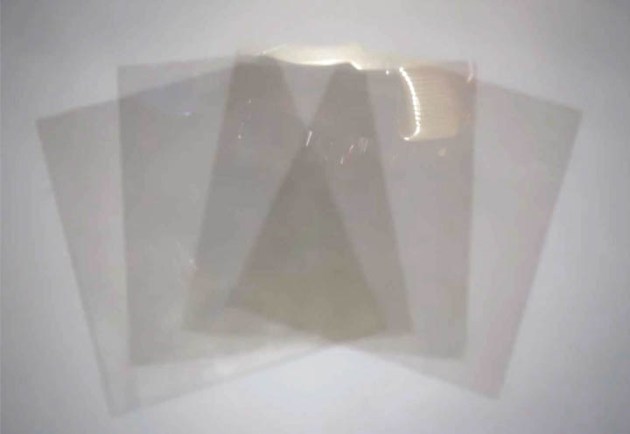
Cut acetate (transparencies) to the desired size. I cut 4 layers for this card.


Step 3

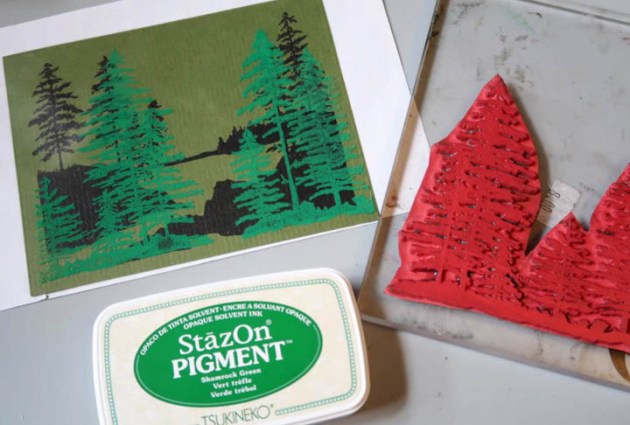
Position one of the acetate panels over the stamping guide. Stamp the panels from back to front stamping panel #4 first.

inks yield crisp clean opaque images on the acetate
Step 4

Continue stamping each consecutive layer as desired. As you can see here the inks yield crisp clean opaque images on the acetate. The best part is they dry in a matter of seconds allowing you to stack the next layer on top of the last for ease of alignment and stamping.

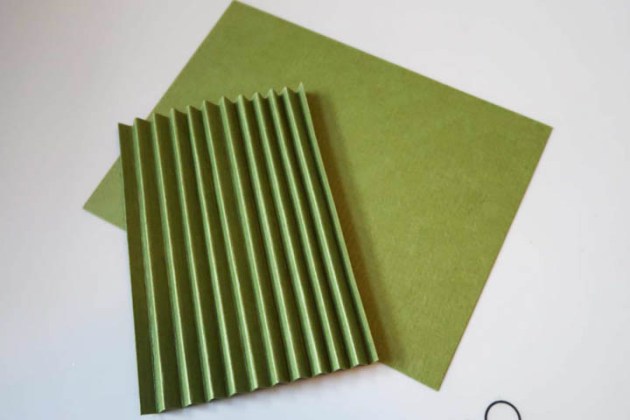
Create the accordion side panels by creasing a 4” x 4 ¼” card panel at ¼” increments.
Step 5

Create the accordion side panels by creasing a 4” x 4 ¼” card panel at ¼” increments.


Step 6

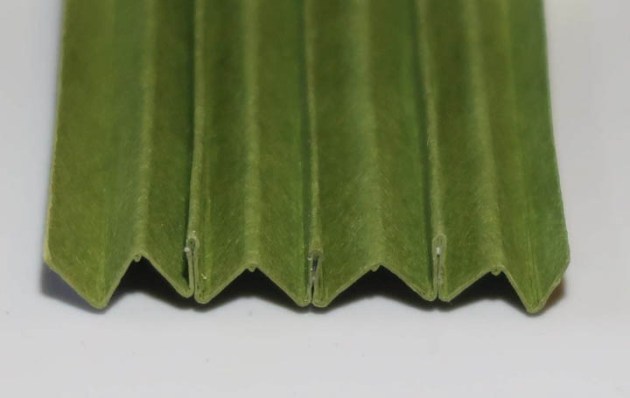
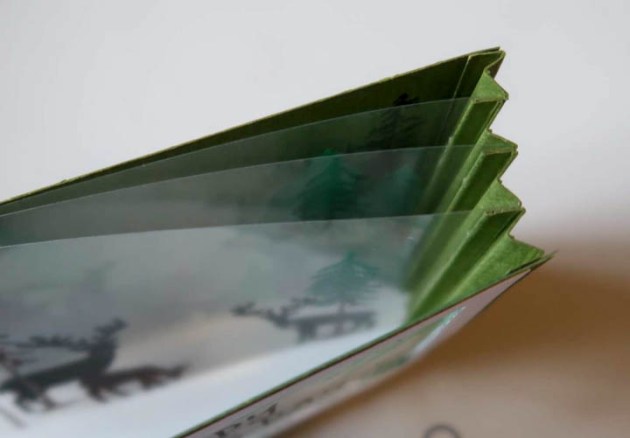
Use On Point Glue to create 3 flats between the mountains as shown in the photo. These flat pieces will be what you affix the acetate panels to creating the tunnel effect.

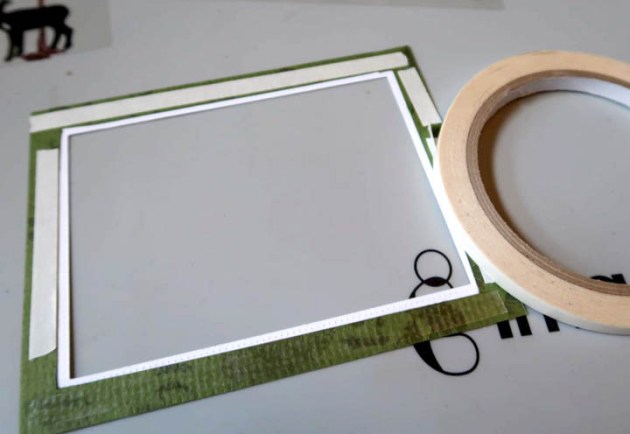
 Use Tear It Tape to affix the front acetate panel to the card frame.
Step 7

Cut a frame for the front of the card. Use Tear It Tape to affix the front acetate panel to the card frame.


Step 8

Adhere the accordion pieces to the back sides of the frame. Use Tear It Tape to adhere to each consecutive panel to the accordion sides as shown in the photo.

Your tunnel card is ready to go!

Supplies

Imagine
Other
  • Acetate
  • Cardstock
  • My Favorites Things – Stitched Frame
  • Just For Fun Stamps – Trees, deer, pine bough
  • Rubber Stamp Tapestry – Mom & Dad Clear Stamp Set
  • Die Machine
  • Acrylic Block

See How To Use Dura-Lar Matte Film To Make A Card

by Iris Rodriguez

See How To Use Dura Lar Matte Film To Make A Card

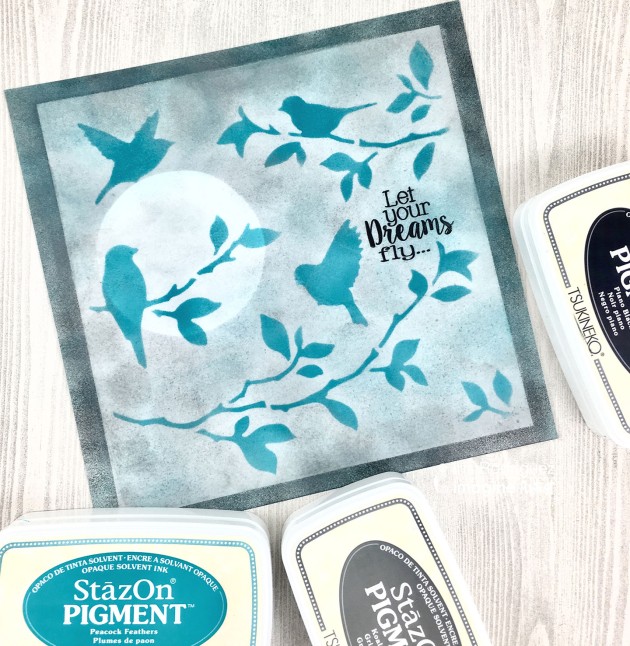
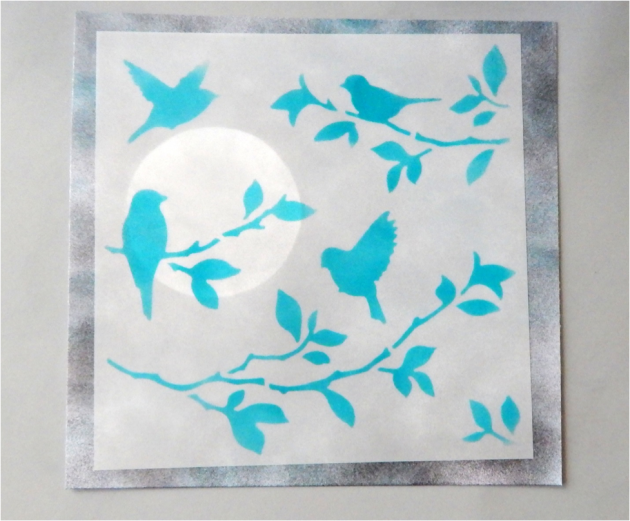
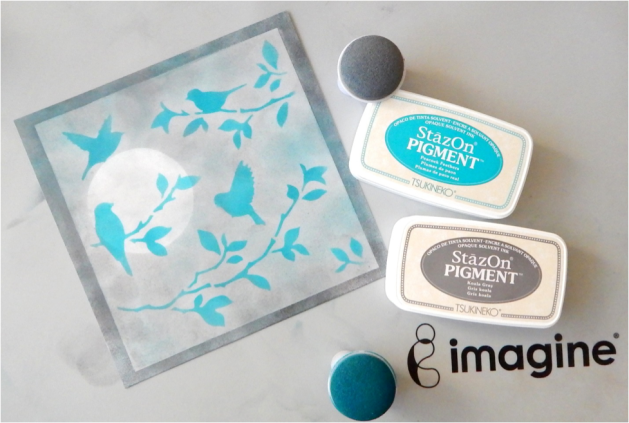
For this month, it’s was such a pleasure to make projects with Tsunkineko’s new StazOn Pigment Inks. These ink behave like pigment inks, however, they are permanent like the original StazOn ink. As if it does not get any better; this ink also takes details incredibly well. For this card, I used Dura-Lar film (it’s like vellum paper) to create a dimensional effect by stenciling bird images with the Peacock Feathers color of StazOn Pigment. I overlaid the stenciled film on a moonlit night background; also created with StazOn Pigment inks. It made for a great backdrop for the Peacock colored birds.

Skill: Beginner
Time: 30 minutes

Directions

Step 1

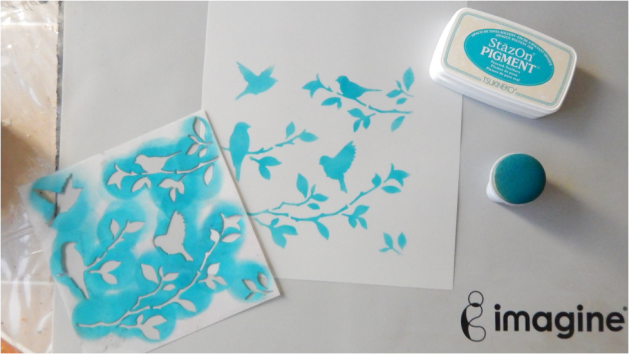
Stencil the birds onto the Dura-Lar matte film. This film looks like vellum, except that it’s archival. It’s very strong, you can remove your images with rubbing alcohol or water as many times as you want and it does not warp. Permanent inks, like StazOn Pigment inks, do not rub off. I like using it because you can create layered dimensional effects.

Step 2

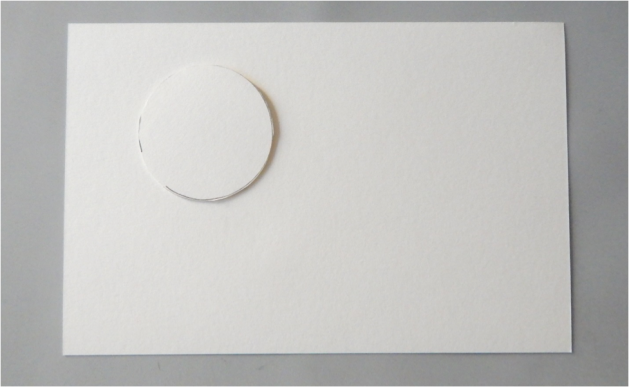
Cut out a circle for the moon. This will be used as a mask when inking the background.

Step 3

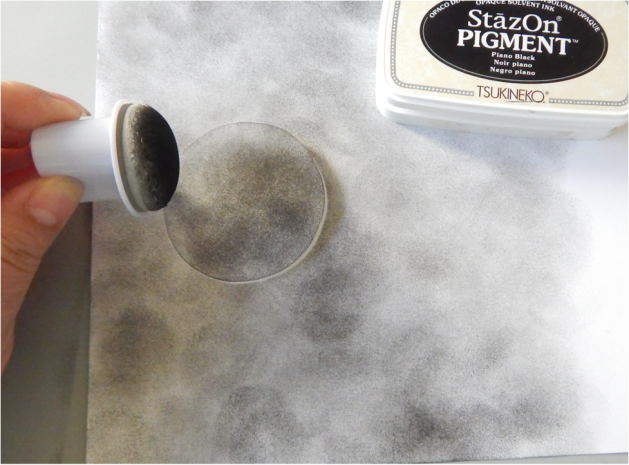
Place the circle over the cardstock paper and ink the background using the Piano Black StazOn Pigment ink.

Step 4

Ink the background with the Snowflake and Koala Gray StazOn Pigment inks.

Step 5

Add a little color to the background with the Peacock Feathers StazOn Pigment ink. Ink lightly and in random areas, do not ink the entire background.

Step 6

Spray the tacky spray to the background and adhere the Dura-Lar sheet.


Step 7

Lightly ink sections of the Dura-Lar background with the Koala Gray and Peacock Feathers StazOn inks. Do not ink over the birds. Stamp the sentiment.

Supplies

Imagine
Other
  • Crafter’s Workshop – Birds 6 x 6 stencil
  • Joy Clair Stamps – Butterfly Kisses
  • Dur-lar Archival Film – Matte
  • Aleene’s All-Purpose Tacky Adhesive Spray

See How to Make Clear Card Elements with StazOn Pigment Ink

by Lindsay Adreon

See How to Make Clear Card Elements with StazOn Pigment Ink

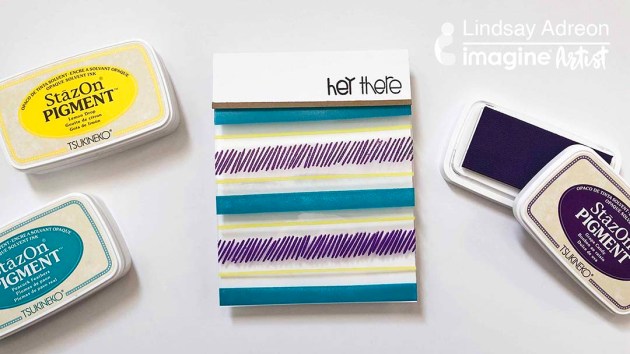
I love to send cards to people, but adding in unexpected touches is one of my favorite things to do! Today’s card has one of those surprises – a completely clear front! Using the new StazOn Pigment ink and acetate, I was able to create my own patterned acetate using Waffle Flower stamps to make the front of the card really unique!

Skill: Advanced
Time: 1 hour

Directions

Supplies

Imagine
craft matImagine Craft Mat stazon pigment inkpadStazOn Pigment in Piano Black
StazOn Pigment in Lemon Drop StazOn Pigment in Grape Candy
Other
  • Acetate
  • Waffle Flower – Plaid Play Stamp Set
  • Paper Smooches – Sentiment Sampler Stamp Set
  • Acrylic Block
  • Copy paper
  • Cardbase
  • Scissors or Cutting Tool
  • Foam Tape

Use StazOn Pigment to Create a Beautiful Mixed Media Canvas

by Kassy Tousignant

Use StazOn Pigment to Create a Beautiful Mixed Media Canvas

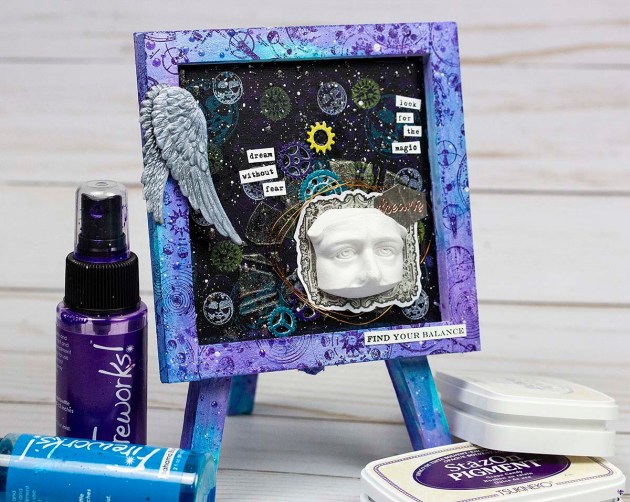
I used the new StazOn Pigment ink in many of the gorgeous, vibrant new colors on a black chalkboard background and the colors look fantastic! You can even see the purple on black…WHAT?! You have to see for yourself. This project couldn’t have been created successfully without the new StazOn Pigment ink. It is opaque, so it shows up great on dark surfaces AND it has all of the wonderful properties that the original StazOn has—it can be applied to many different surfaces and dries quickly. I think I’ve found a new obsession.

Skill: Advanced
Time: 1 hour

Directions

Supplies

Imagine
Other
  • White gesso
  • Stencil
  • Stamps
  • Paintbrush
  • Metal embellishments
  • Resin face
  • Copper wire
  • White CS
  • Chalkboard Easel

Learn How To Upcycle Old Computer Parts Into A Beautiful Collage

by Jowilna Nolte

Learn How To Upcycle Old Computer Parts Into A Beautiful Collage

StazOn ink has always been one of my favorite for mixed media projects, but the addition of StazOn Pigment has been a true game changer. I used the ink on several surfaces for this Teal and Magenta upcycled project, and I simply love the outcome of the StazOn Pigment ink on these surfaces.

Skill: Intermediate/Advanced
Time: 30 minutes

Directions


Step 1

Ink the resin wings using a sponge dauber with StazOn Pigment Peacock Feathers.


Step 2

Ink a metal disk by lightly tapping the ink pad onto the metal repeatedly. I did not cover the entire surface but left some open spaces.


Step 3

Once the ink on the disk is dry, stamp flower images onto the disk using Snowflake StazOn Pigment ink. Note: The ink pulled some of the pink ink off the metal leaving a silver flower impression which looked quite amazing.


Step 4

Die-cut white cardstock leaves and color them using your ink pads with the direct to paper method.


Step 5

Color flowers using All-Purpose inks on choice.


Step 6

Adhere the die-cut leaves, wings, and flowers to your metal disk using gel medium. Add thread, gold glitter, and other elements to finish off your project.

Supplies

Imagine
Other
  • Metal disk – recycled hard drive part
  • Joy Clair stamps
  • Flowers – Little Birdie, Prima
  • Scrap and Decor – Resin Wings
  • Prima – Leaf die-cut
  • Die-cut machine
  • Kaisercraft – DIY Cuts
  • PrimaGel – Gold glitter
  • Little Birdie Crafts