Learn How To Create A Grungy Heart Notebook For Valentines

by Lori Warren

This project is all about making something out of nothing.  At least, nothing as in a piece of corrugated cardboard from a discarded box and lined paper from an old notebook.  These reuse items, paired with a few Imagine Fireworks sprays, create a beautiful notebook that would be a great gift for friends or family.  In the tip video, I will show you how to use Fireworks sprays with a liquid varnish to create a permanent finish.  This is a helpful tip especially if you are into Mixed Media.

Skill: Intermediate
Time: 2 hours

Directions


Step 1

Start by drawing a heart shape (approximately 4 1/4” x 4” in size) onto a piece of corrugated cardboard. Cut out shape.


Step 2

Trace the heart onto a piece of heavy weight cardstock and cut out.

Step 3

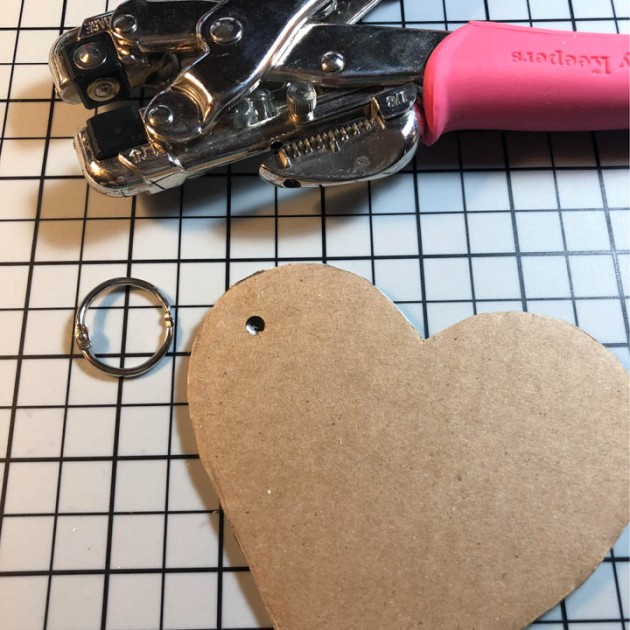
Line up the corrugated and cardstock heart shapes and punch a hole in the upper left hand corner.


Step 4

Tear off sections from top layer of paper on the corrugated heart, exposing he corrugated layer underneath.

Step 5

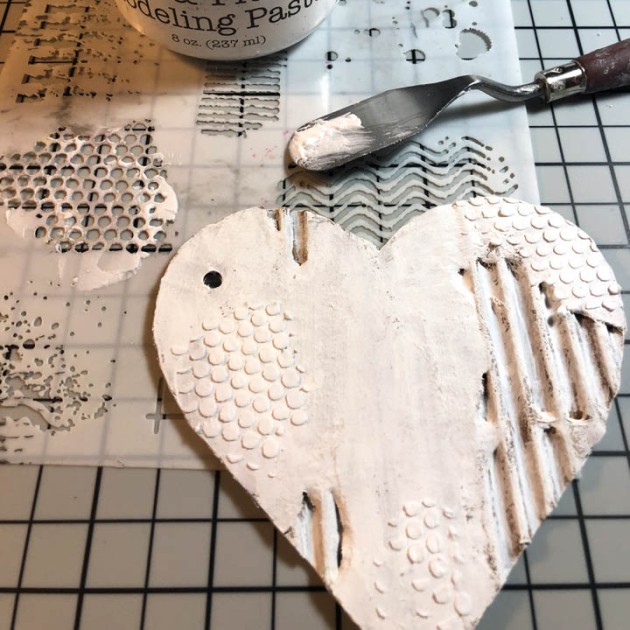
Paint a layer of Gesso over the front and back sides of the corrugated heart. Lay a stencil down over the corrugated heart and apply modeling paste. Only apply in small sections around the heart.


Step 6

On your craft mat, mix Rhubarb Stalk Fireworks with a liquid varnish (2 parts fireworks to 1 part varnish).

Step 7

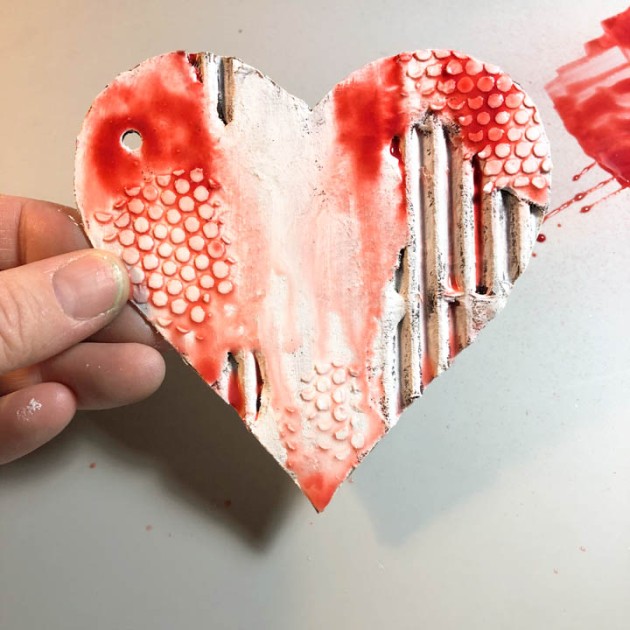
With a paint brush, add puddles of the Fireworks/varnish mixture to the top of the corrugated heart. Add/spray water onto the puddles of Fireworks mixture. Allow the mixture to run and drip down the heart.  Blot with a paper towel to stop run. Add more Fireworks mixture and repeat, as needed. Allow to dry in between layers.


Step 8

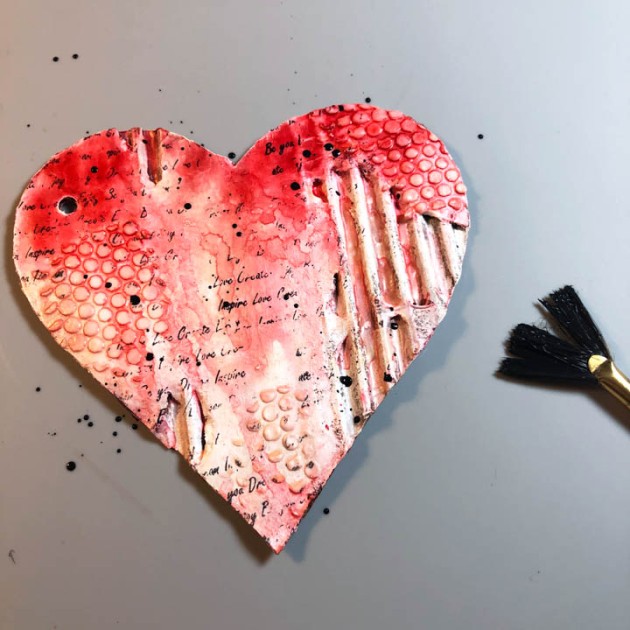
Repeat inking with Desert Sand Fireworks. Once the Fireworks mixture is completely dry, seal with a coat of liquid varnish. Stamp a script stamp randomly across the corrugated heart with Jet Black StazOn ink.

Step 9

Add splatters to the heart with some watered down black acrylic paint.

Step 10

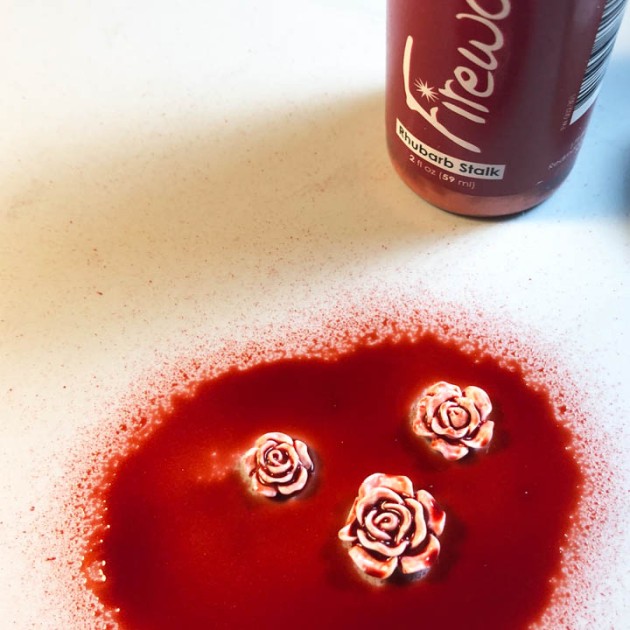
Spray a few resin roses with Rhubarb Stalk Fireworks and heat set. Repeat, a needed. Fireworks can also be applied with a paint brush, if preferred.

Step 11

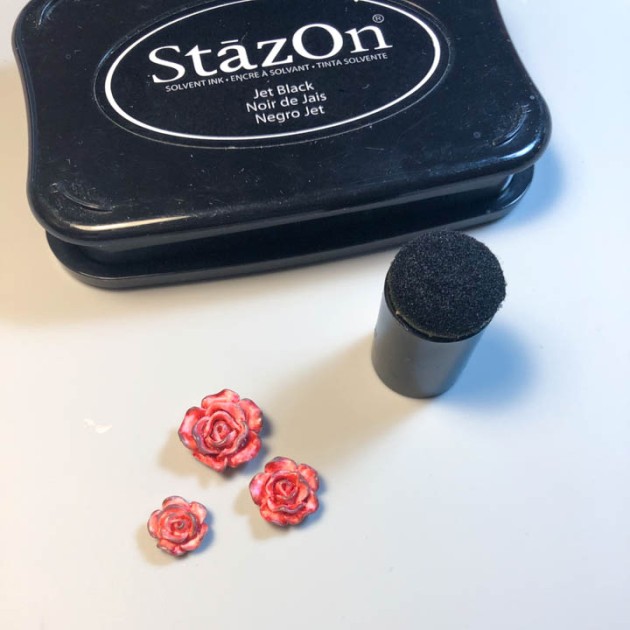
Once the Fireworks ink (on the resin roses) is completely dry, edge the roses with Jet Black StazOn inkpad and a dauber.

Step 12

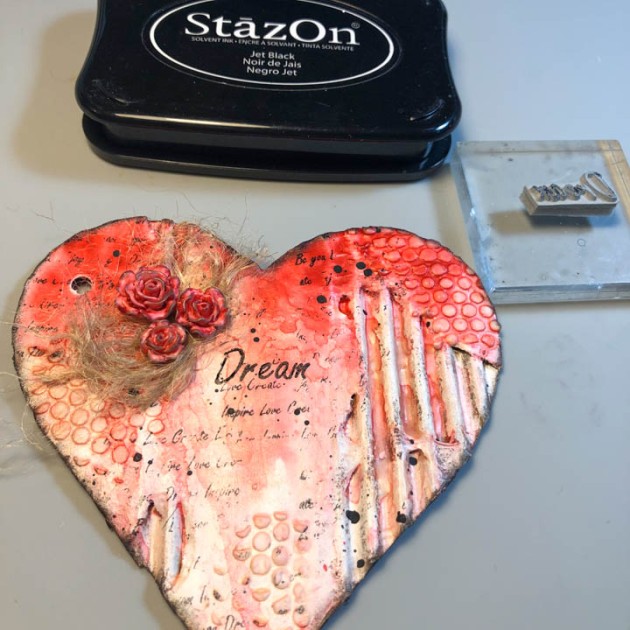
Edge the circumference of the corrugated heart with StazOn and a dauber as well. Deconstruct twine into individual threads and shred the fibers to create a “bed” for the resin hearts to sit on. Adhere the shreds of twine down into the upper left corner of the heart (be sure not to cover the punched hole). Then adhere the roses over the shredded twine.

Step 13

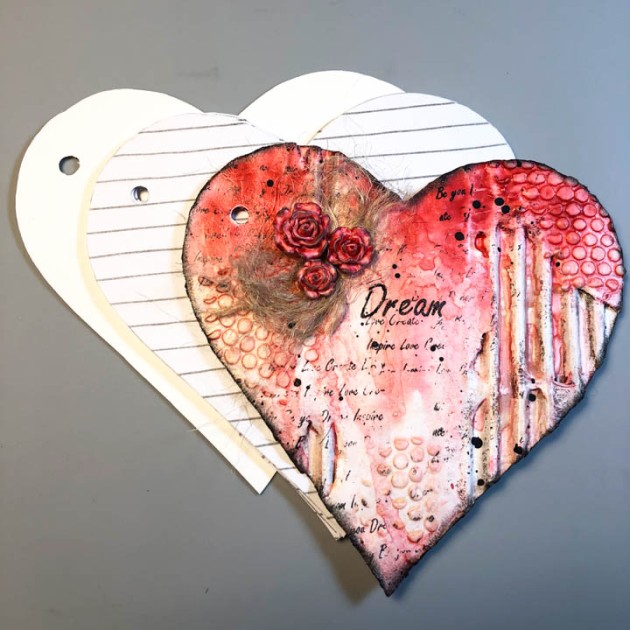
Stamp a title word onto the upper center portion of the heart with Jet Black StazOn ink. Trace the heart shape onto lined paper and cut out. To keep the paper from moving, staple about 4 to 5 sheets together prior to cutting. Repeat for more sheets, as needed (keep in mind the size of book binder ring that you are using). Line up the 3 booklet elements (front = corrugated heart piece, center = lined paper, back = cardstock heart) and attach a book binder ring. Finished!

Supplies

Imagine
Other
  • Corrugated Cardboard
  • Lined paper from old notebook
  • DecoArt Acrylic Paint – Americana Jet black, DuraClear Matte Varnish
  • Tim Holtz Idea-ology – Heirloom Roses
  • TCW – Stencil, TCW437, White Gesso, Light & Fluffy Modeling Paste
  • Lori’s Cards & Creations – Inspire background stamp set
  • White Cardstock
  • Book Ring
  • Twine
  • Crop a Dile Eyelet & Snap Punch
Learn How to Use Vertigo Surfaces to Create Ornaments

by Roni Johnson

Learn How to Use Vertigo Surfaces to Create Ornaments

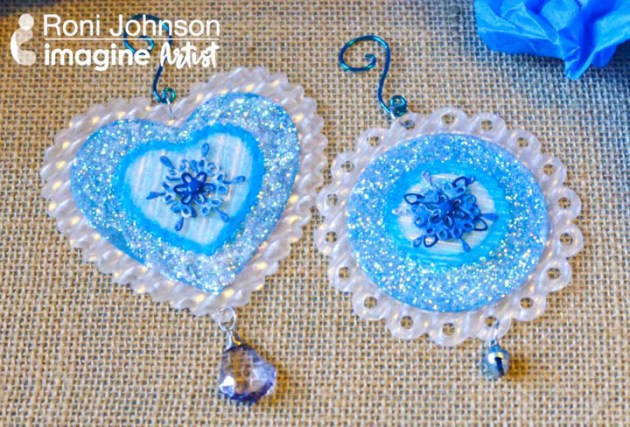
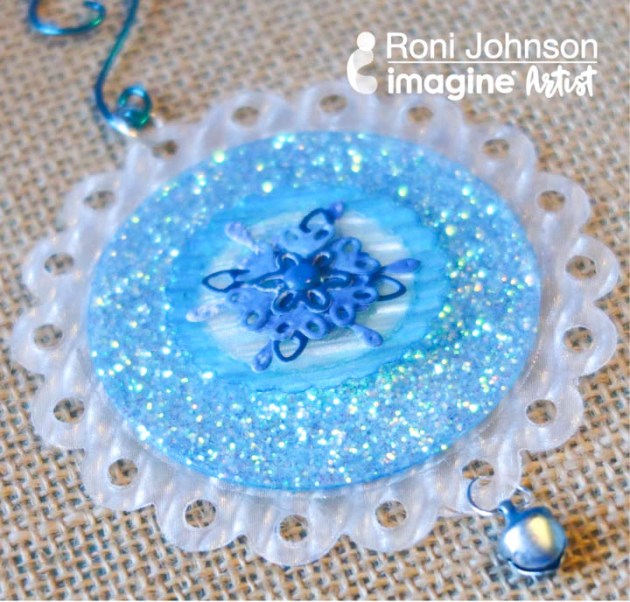
It’s almost time to start decorating the Christmas tree and in preparation for this fun family event, I have started making new ornaments. Inspired by the color of the month – Frosted Blue – I thought it would be fun to create an ornament or two using Imagine’s Vertigo film paired with Imagine’s various mediums in lovely shades of blue.

Skill: Intermediate
Time: 30 minutes + dry time

Directions


Step 1

Die-cut 3 hearts in 3 different sizes of any given shape. I am using Xcut hearts both in scallop and plain. I used 3 different styles of Vertigo film – (large to small) – Prism, Taffeta and Tilted.


Step 2

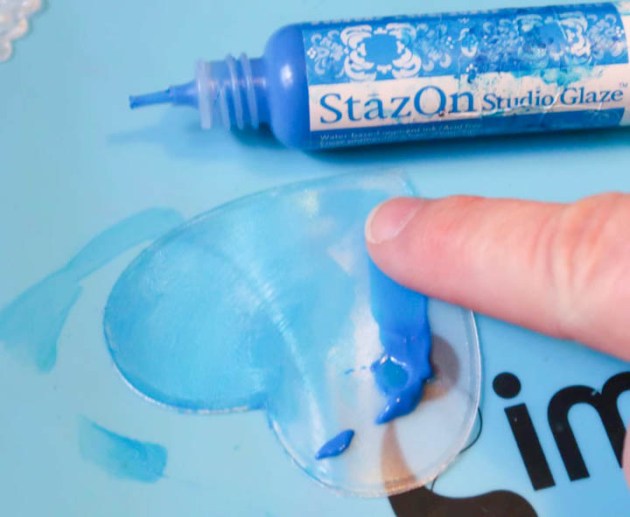
Rub a thin layer of Blue Hawaii StazOn Studio Glaze over the medium size shape and let dry.


Step 3

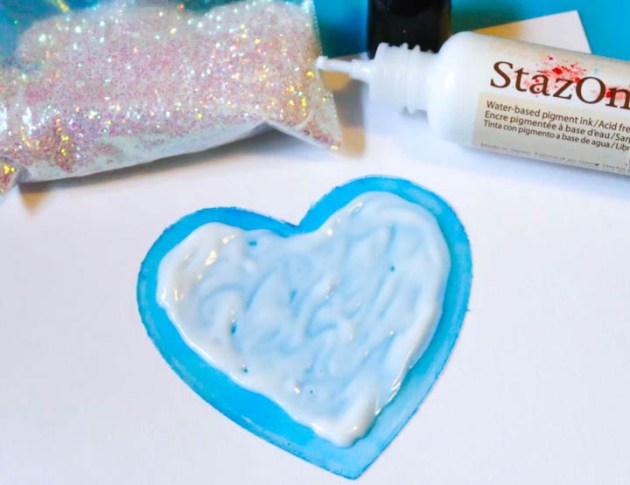
Once the glaze has dried, spread a second layer of Cotton White Studio Glaze over Blue Hawaii. Sprinkle a generous layer of Iridescent White Flitter Flakes over the glaze. Let the glaze dry then shake off the loose flitter.


Step 4

Affix the medium size heart to the large heart.


Step 5

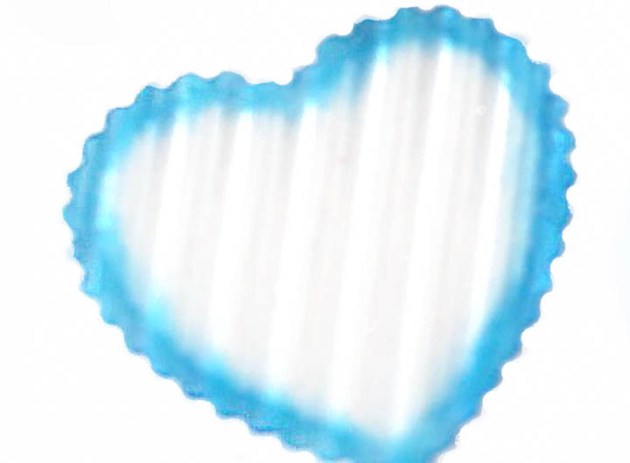
Rub Blue Hawaii StazOn Ink to the outer edges of the small heart.


Step 6

Sponge Paradise, Blue Belle and Medieval Blue VersaFine Clair ink on a piece of white cardstock.


Step 7

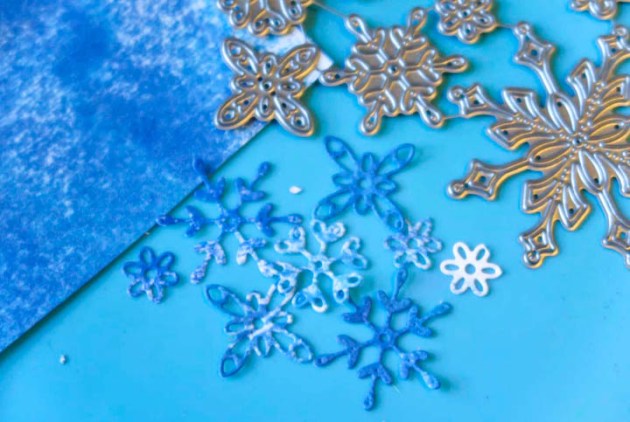
Die-cut several small snowflakes from the inked cardstock.


Step 8

Use a brad to attach desired snowflakes to the center of the ornament.


Step 9

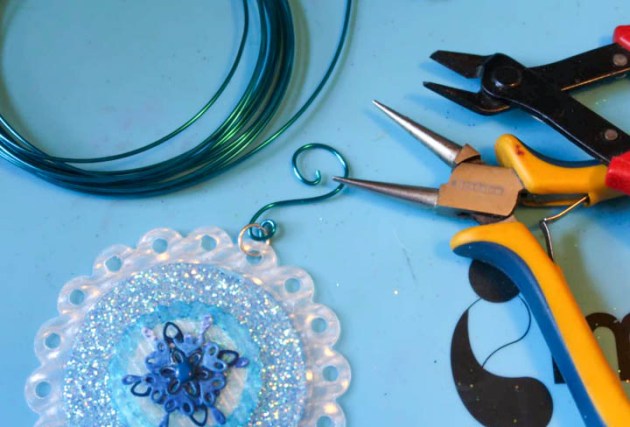
Attach jump-rings and any additional embellishments as desired. Make a hanger for the ornament from blue wire using jewelry tools.

Supplies

Imagine
Other
  • Meyers Imports – Iridescent White Flitter Flakes
  • White Cardstock
  • Jewelry tools – wire, jump rings, pliers
  • Mini Bell
  • Decorative brad
  • Die-cut Machine

Learn How to Make a Silver Tree Christmas Card

by Iris Rodriguez

Learn How to Make a Silver Tree Christmas Card

Make minimalist, truly handmade Christmas card with IrRESISTibles Pico Embellishers. This texture medium fitted with a fine-tipped applicator makes it easy to draw a Christmas tree or any other Christmas/Holiday doodles. Simply add embellishments and stamp a sentiment to arrange a unique design.

Skill: Beginner
Time30 minutes

Directions


Step 1

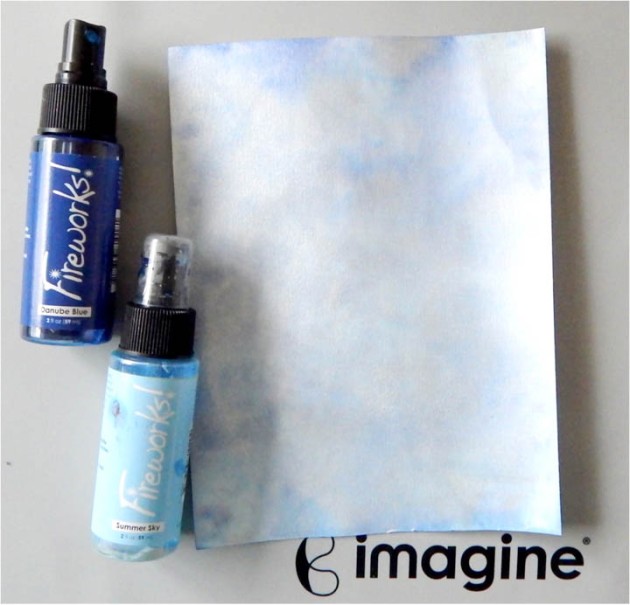
Spray water on the watercolor paper. Spray Fireworks Craft Shimmery Sprays in Summer Sky then spray Danube Blue.


Step 2

Using VersaFine Clair in Blue Belle with the Jumbo Dauber ink the paper in random sections, and along the edges. Then ink with VersaMagic Cloud White.


Step 3

Draw the Christmas tree with the irRESISTible Pico Embellisher in Silver by drawing a series of connected swirls.

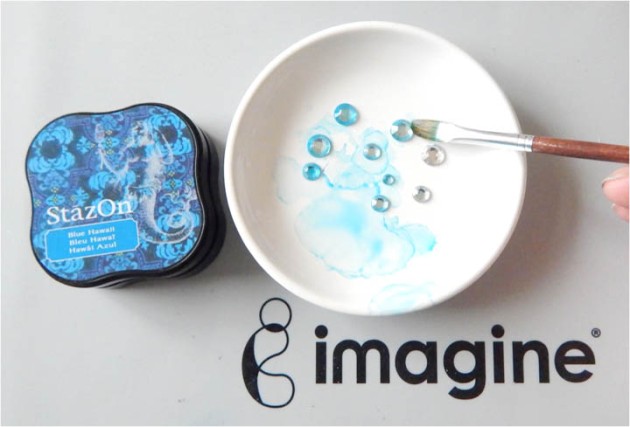
I decided to paint some of the rhinestones with the StazOn ink in Blue Hawaii
Step 4

I have to admit I wanted to add blue and clear rhinestones to the tree to make it look like ornaments. However, I did not have blue rhinestones. So I decided to paint some of the rhinestones with the StazOn ink in Blue Hawaii. StazOn is permanent ink and it won’t rub off.

Adhere the rhinestones with On Point Glue
Step 5

Adhere the rhinestones with On Point Glue. Stamp the sentiment and mount to the card base.

Supplies

Imagine
Other
  • Watercolor paper
  • Sentiment stamp
  • Rhinestones

Create a Frosted Blue Season’s Greetings Card

by Martha Lucia Gomez

Create a Frosted Blue Season's Greetings Card

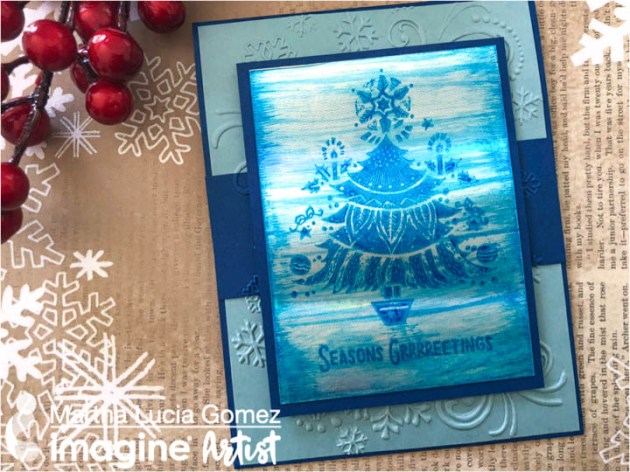
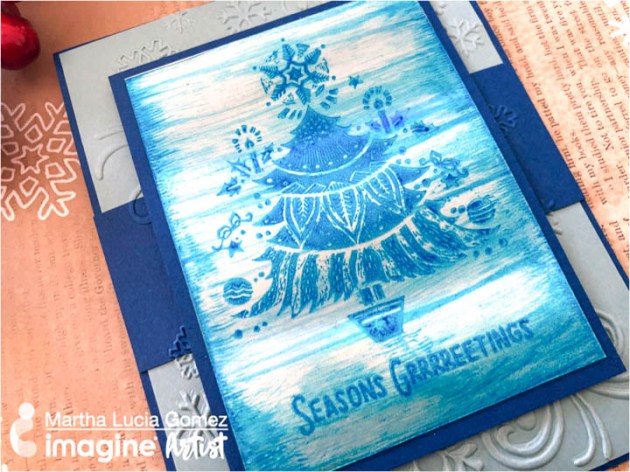
Today I have something “cool” to make! I use an ice technique and “frosted blue” color challenge to create a Season’s Greetings holiday card. To make this technique you only need StazOn Ink, metallic paper, VersaMark and embossing powder to obtain a good shine in your project.

Skill: Intermediate
Time: 30 minutes

Directions


Step 1

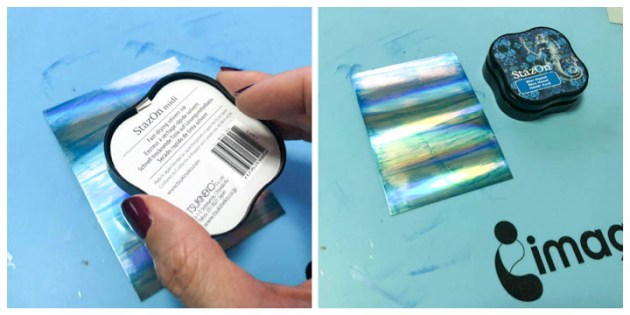
I started with a piece of Silver Foil Sheet from Stamping Up. I decided in advance which stamps I wanted to use and I cut the paper a little bigger of the stamps to create the ice look. Then I applied the ink directly with the StazOn Inkpad Blue Hawaii from left to right and then repeated the process but from right to left.


Step 2

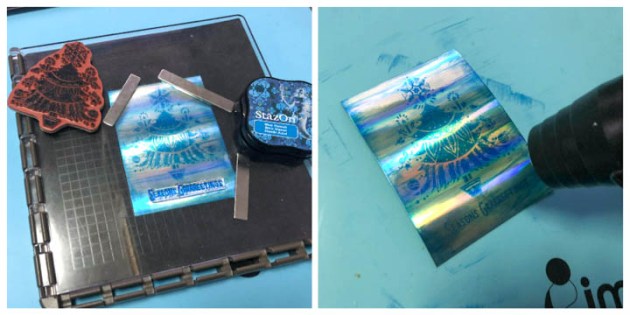
The idea is to create intermittent horizontal lines and have the borders a little darker. Depending on the brand of the foil paper that you are using, you will need to use a stamping tool to stamp the images with the same StazOn Ink Blue Hawaii. Sometimes the first attempt is not the best definition of the image but it depends on the paper. After stamping your images, you need to dry the ink with the heat tool. Don’t put you heat tool too close to the surface to avoid burning your paper. You can use rubber stamps or clear stamps with StazOn Ink, don’t think that it will damage your clear stamps, it is a false assumption with this brand (see Nadine’s Myth Buster video). Just use StazOn stamp cleaner after to keep your stamps in good condition.


Step 3

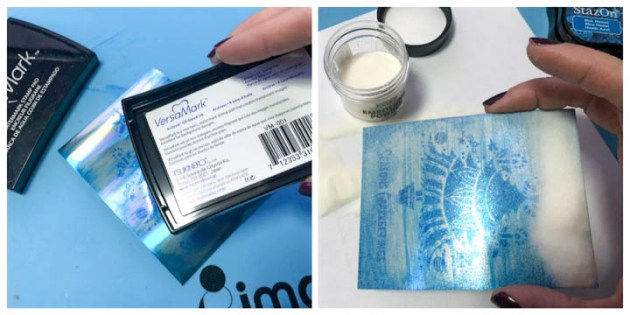
When the StazOn ink is totally dry, take the VersaMark and apply the ink directly over the stamped images. Cover the entire surface with Clear Embossing Powder and activate the powder with the heat tool. You will have a glossy and shiny look that will create the icy look over the blue. You can mat this piece using cardstock to notice the difference of materials.


Step 4

To finalize my card, I created a card base using Blueberry Bushel Cardstock for the card base and Coastal Cabana for the second layer. I embossed the second layer with an embossing folder and created a belt using the same color of the card base and aligned a piece with the same embossing folder.

Supplies

Imagine
Other
  • Tree Stylish Stamp by Crackerbox & Suzy Stamps
  • Big Shot or any die cut machine
  • Embossing Folder
  • Stampin Up – Silver Foil Sheet, Blueberry Bushel cardstock, Coastal Cabana cardstock
  • Dimensionals or double-sided foam tape

Create an Inspiring Card with Rinea Foil

by Jowilna Nolte

Create an Inspiring Card with Rinea Foil

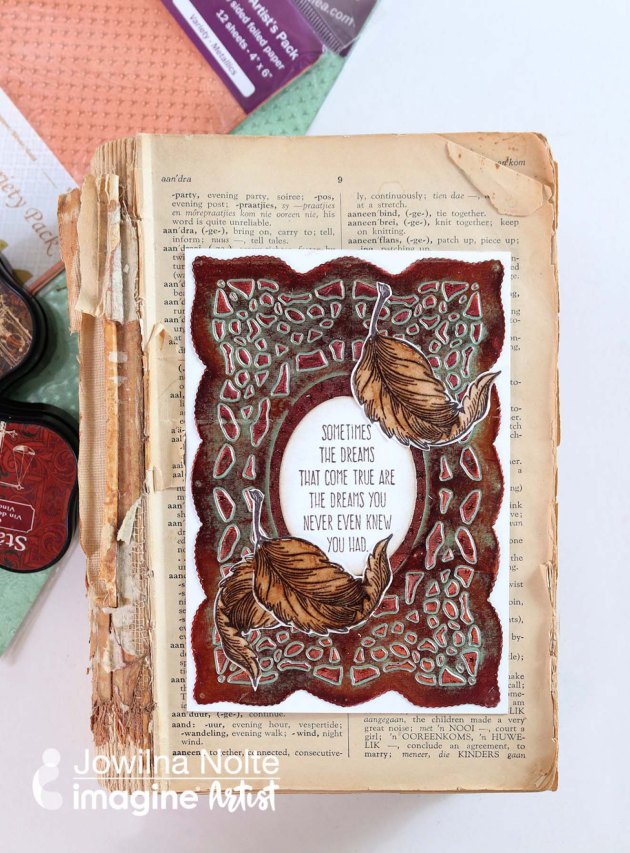
What perfect way to create an Autumn inspired card than using the wonderful range of StazOn inks from Imagine and Rinea Foils. These foils are great for coloring and die-cutting and together make for a stunning effect. Take a look at how I achieved this stunning end result using these amazing products.

Skill: Advanced
Time: 1 hour

Directions


Step 1

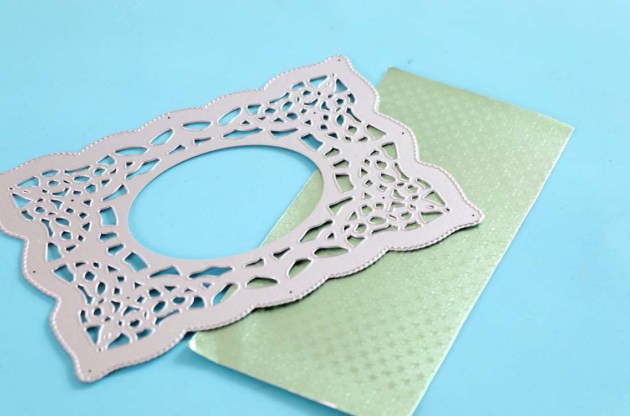
Add a layer of wide double sided tape to the back of a sheet of Rinea Foil and adhere it to a piece of plain cardstock to make it nice and firm for die-cutting.


Step 2

Use a frame die to cut the foil. Because of the added cardstock, the die did not cut through but rather created an embossed look. The double-sided tape also helps to keep all those little pieces intact adding to the overall look.


Step 3

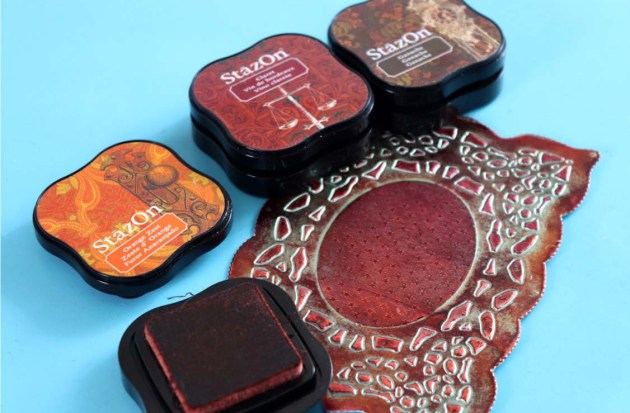
Use your StazOn inks with the direct to paper technique to add color to the foils. Start with the lightest color first and then work your way to the darkest color. Repeat as necessary to add as much color as you like. The raised areas on the foil will pick up the color, but leave some of the green foil visible adding to the multicolored effect.


Step 4

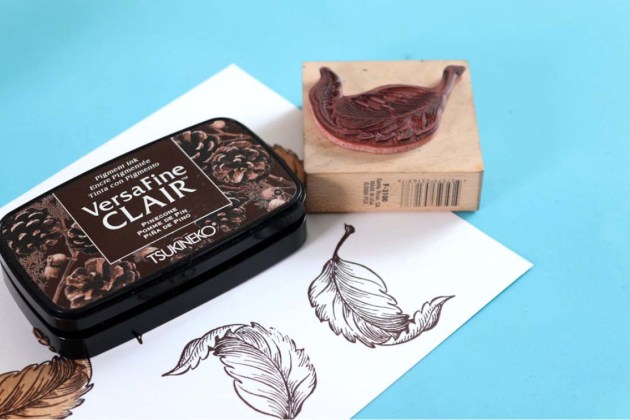
On smooth white cardstock stamp leaves using VersaFine Clair Pinecone ink.


Step 5

Mix Walnut Ink Crystals with water to create a liquid. Then use a water brush to paint your leaves. Create shading by adding plain crystals and then blend them with your water brush to dissolve them into a darker shade on your leaves. Cut out the leaves.


Step 6

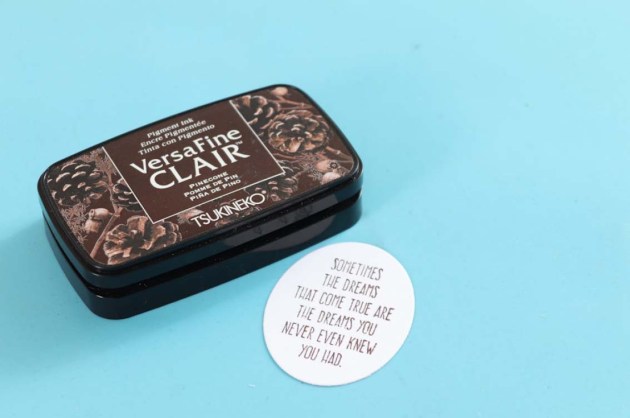
Stamp a sentiment on an oval card using VersaFine Clair in Pinecone. Lightly ink the edges with the same color and a sponge dauber.


Step 7

Adhere the foil panel to the front of your card, add the cutout leaves and then add a layer of GlazOn to the leaves and leave to dry. The foil adds a beautiful shimmer and together with all the colors you have just created a spectacular fall theme encouragement card.

Supplies

Imagine
Other
  • White cardstock
  • Stamps – feather, sentiment
  • Kaisercraft – Die-cut
  • Embellishments
  • Water brush
  • Double-sided Tape
  • Die-cut machine
  • Card base
  • Pattern Paper
  • Watercolor paint

Create An Inspiring Design To Help Free Your Mind

by Iris Rodriguez

Create An Inspiring Design To Help Free Your Mind

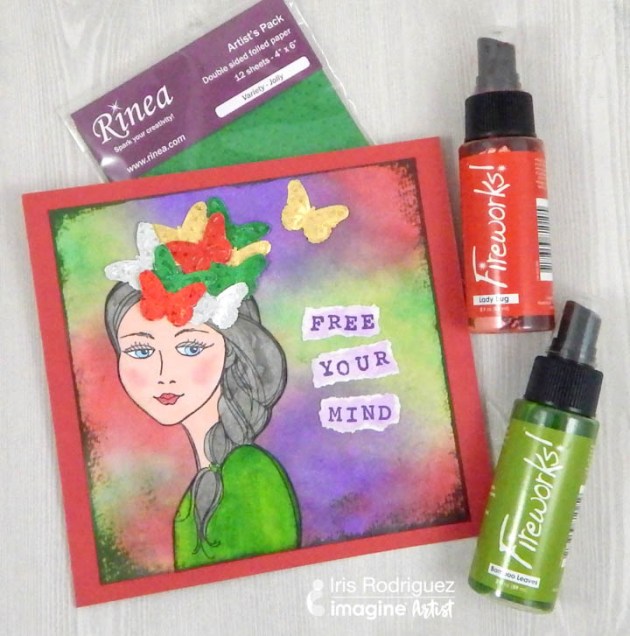
Do you ever think about things too much when you know it’s not necessary? A great way to break up this thinking pattern is to turn to creative endeavors, to “free your mind” and create what the muse wants instead. This month we have the fun challenge of creating projects with Rinea foils. There are so many funs things you can do with these foils; you can stamp on it, paint, use with mediums or create 3D decorative projects. For my card I have used foils as an embellishment, check it out.

Skill: Beginner
Time1 hour

Directions

Fireworks! Shimmery Craft Sprays in Lady Bug, Grape Jelly and Bamboo Leaves
Step 1

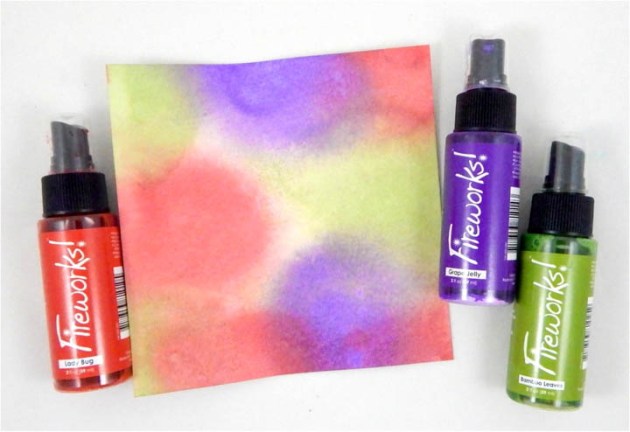
Spray water onto watercolor paper, then spray Fireworks! Shimmery Craft Sprays in Lady Bug, Grape Jelly and Bamboo Leaves in different areas. The water will help these inks spread and blend on the paper.

Jet Black StazOn ink
Step 2

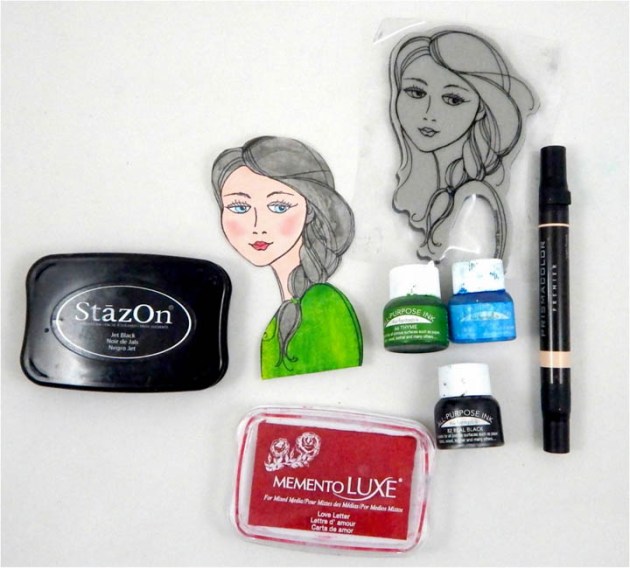
Stamp the girl image with Jet Black StazOn ink. I decided to color with Prismacolor Marker Light Peach to color in the face. I colored the mouth and cheeks with Love Letter Memento Luxe ink. For the eyes, I used All-Purpose Ink in Sky Blue, for hair used Real Black and Thyme for the dress. Once all the ink is dry next fussy cut the image.

Cut out the butterflies from Rinea foil paper
Step 3

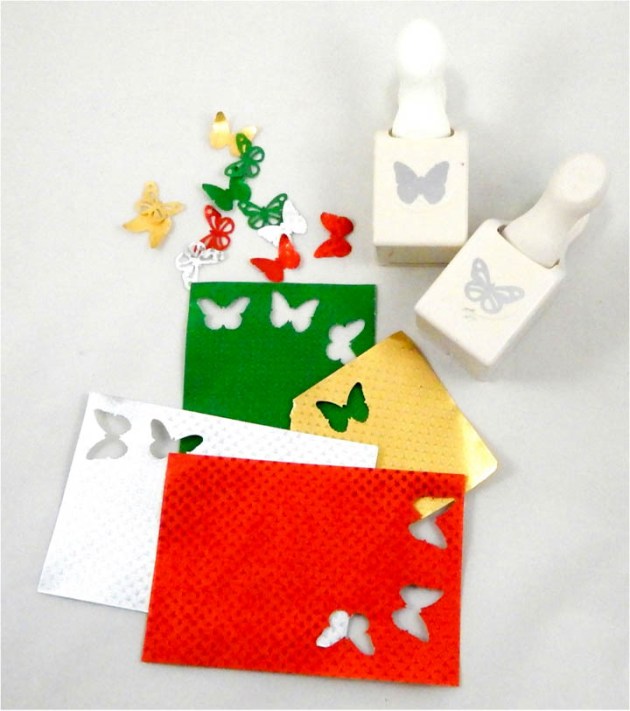
Cut out the butterflies from Rinea foil paper in various colors with either a die or a punch.

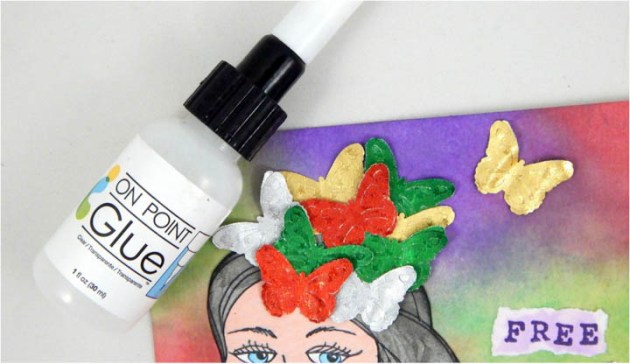
Adhere the girl image onto the card with On Point Glue. On Point Glue is perfect for these small pieces
Step 4

Adhere the girl image onto the card with On Point Glue. On Point Glue is perfect for these small pieces. Glue the butterflies to the top of her hair and forehead.

Stamp the sentiment "Free Your Mind"
Step 5

Stamp the sentiment “Free Your Mind”. Assemble card and add any additional personal touches.

Supplies

Imagine
Other
  • Watercolor paper
  • Cardstock – white
  • Rinea Foils – Jolly Variety pack; green, silver, gold, red
  • Martha Stewart – Classic and Monarch butterflies punch
  • Sentiment stamp
  • Prismacolor Premier Marker – Light Peach