Add This “Gnome Is Where The Heart Is” to Your Journal

by Elina Stromberg

Add This Gnome Is Where The Heart Is to Your Art Journal

When I first saw the cute gnome stamp set by Joy Clair, I immediately knew what I wanted to create with it–a collage with bright colors! The ‘Gnome Is Where the Heart Is’ stamp set was just perfect to be used in my new Moleskine journal. 
The art journal spread was fun to make, and now I’m creating a set of gnome cards and ATC’s with a similar layout and look. I’m pretty sure they will turn out nicely, too! Enjoy!

Skill: Beginner/Intermediate
Time: 1.5 hours

Directions

Memento in Bamboo Leaves with an InkBlusher.
Step 1

Take a piece of green cardstock and apply Memento in Bamboo Leaves with an InkBlusher.


Step 2

Ink the top of the page background with Memento ink in Danube Blue. Whitewash gently with white acrylic paint. Let dry. 
Stamp the sentiment text on the upper left corner of the page with StazOn inks, they work well on acrylic paints. Create a background hill scenery from leftover cardstock pieces using both solid colors and patterned papers. Glue the free-cut paper slips on the page. 
Cut oval shaped trees from inked green cardstock. Ink edges, and glue on the page.


Step 3

Stamp images using Memento in Tuxedo Black and color with alcohol markers. Fuzzy cut, and glue on the page.


Step 4

Continue to add details as you see fit! Since this is your art journal and you make up the rules, then continue decorating as you desire.

Supplies

Imagine
Other

Project Swap: Create a “You Are a Superstar” Lime-ade Card

Welcome to another set for our Artist Project Swap with Iris and Jowilna. For the Month of May, we challenged our artists to exchange tutorials and create each other’s designs in order to see how each of our artists interprets style and choices. The receiving artist did not know who designed the project, nor did they receive any images! In today’s post, Jowilna gives the directions and recommended supplies list and Iris created the project.

Create a “You Are a Super Star” Lime-ade Card by Iris Rodriguez

I had the pleasure of creating Jowilna Nolte’s project. It’s a lime and black colored star card, which I found unique and fun to make. I learned new ways of using StazOn Studio Glaze on paper. Jowilna’s project calls for real or faux stitching. I always found stitching on mixed media and cards to look awesome but I can’t sew. I found that hand-drawn stitching created a fun whimsical look in its place. I can’t believe I never tried it before, but will from now on!

I like the “You’re a Superstar” sentiment for this card. I think it can be suitable for a graduate. It also makes for a great mother’s or father’s day card as well. Many of us think one or both parents are superstars; for raising us, being supportive and cheerleaders in our lives. I hope you consider making this card for the superstars in your life.

Directions


Step 1

Use smooth white cardstock and attach an alphabet stencil to the cardstock piece using washi tape or masking tape.


Step 2

Ink with Memento Dye Ink in Pear Tart and Inkblushers.


Step 3

Carefully remove the stencil and leave the ink to dry thoroughly.


Step 4

Add a few drops of StazOn Studio Glaze in Cactus Green onto the stenciled sheet. Let Dry.


Step 5

Use StazOn black ink and stamp a star image onto the background as a focal point. Did not have the star stencil, so I cut out my stencil with using a precision knife and card stock paper.


Step 6

Add sewing machine stitched detail around the star or add fake stitches using a permanent marker. Here I used a gel pen in white.


Step 8

Use Memento in Cottage Ivy and Pear Tart and an ink blusher and add ink around the outside edge of the star to highlight it.


Step 9

Once the ink is dry add graphite pencil scribbles over those highlights.


Step 10

Use a gold glitter star (or die cut one from glitter paper) and add a layer of StazOn Studio Glaze to add a green tint to the glitter. Add a glitter star to the center of your stamped star. Stamp a happy sentiment onto a scrap of cardstock and place below concentric stars. I hand cut a cardstock star, used gold glitter and glue. The glaze seals the glitter nicely.


Step 11

Trim the background to fit onto a folded card and adhere to the front of the card.

Supplies

Imagine
Other
  • Cardstock – white
  • Alphabet Stencil
  • Dina Wakely – Star Stamp
  • Sizzix – Star die-cut
  • Glitter cardstock or pre-cut glitter star
  • “You Are A Superstar” sentiment stamp
  • Graphite pencil
  • Sewing machine or permanent marker

Original Design by Jowilna Nolte

What did you think of Iris’s interpretation of Jowilna’s design?

Comment below!

Project Swap: See How to Make Jewelry

Project Swap: See How to Make Jewelry with StazOn

Welcome back for another Artist Project Swap with Jennifer and Kyriakos. For the Month of May, we challenged our artists to exchange tutorials and create each other’s designs in order to see how each of our artists interprets style and choices. The receiving artist did not know who designed the project, nor did they receive any images! In today’s post, Kyriakos writes the directions and recommended supplies list and Jennifer created the project.

Not-So-Heavy Metals by Jennifer Vanderbeek


This month, we Artists swapped projects and I got to make this awesome necklace and earring set with SHEET Metal ovals and StazOn ink from directions by Kyriakos. This necklace and earrings set were so fun and easy to make and I’m sure it’ll be just as fun to wear.


Supplies

Imagine
Other
  • Small round brads
  • Darice – Heat tool, Embossing Folder
  • Die machine
  • Jewelry Pliers
  • Jump Rings
  • Chain
  • Clasp
  • Ear Hooks
  • Metal Eyelet Setter
  • Mallet
  • Awl
  • Masking Tape
  • Sandpaper

Original Design by Kyriakos

What do you think of Jennifer’s interpretation of Kyriakos’ tutorial?

Comment below!

Watch a Video on How to Create a Marbling Look with a Feather Quill

by Jennifer Vanderbeek

Watch a Video on How to Create a Marbling Look with a Feather Quill

Sometimes when I sit down at the craft table I have a very definite idea in mind, other times it’s more of a general concept. Even when I have that definite idea in mind, though, it’s no guarantee that’s where I’m going to end up! Case in point: these backgrounds began in the direction of marble but ended up so very far afield. The fact that one has a definite camo look and the other a more delicate spring meadow is cool in and of itself, but when you consider I used the exact same shades of VersaMagic and techniques to get both, well, it’s easy to see how you can maximize your craft time by going with the flow!

Skill: Intermediate
Time: 1 hour

Supplies

Imagine
Other
  • Canson – Hot Press Watercolor Paper
  • Feather
  • Darice – Heat Tool
  • Cardbase


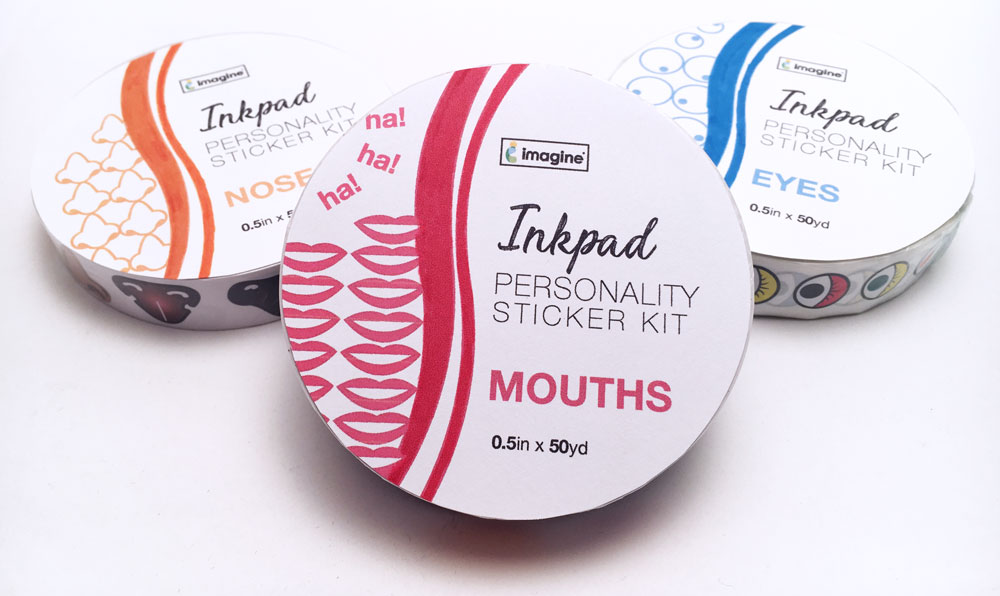
Product Release: Inkpad Personality Kit

Announcing the Inkpad Personality Kit!

Do your inkpads seem to speak to you every time you walk by your crafting space? We know what it means to become attached to certain inks. At times, it even seems the inkpads develop their own personality. Knowing this inspired us to develop the Inkpad Personality Kit™ to fill this void in the industry. If you feel that your inkpads have eyes…then why not give them some?!

All eyes on your little Angel! Give Memento Angel Pink a sweet smile to match!

Do you have an inkpad that is considered your bestie? We recommend the fun lets-go-get-drinks-after-work smile!

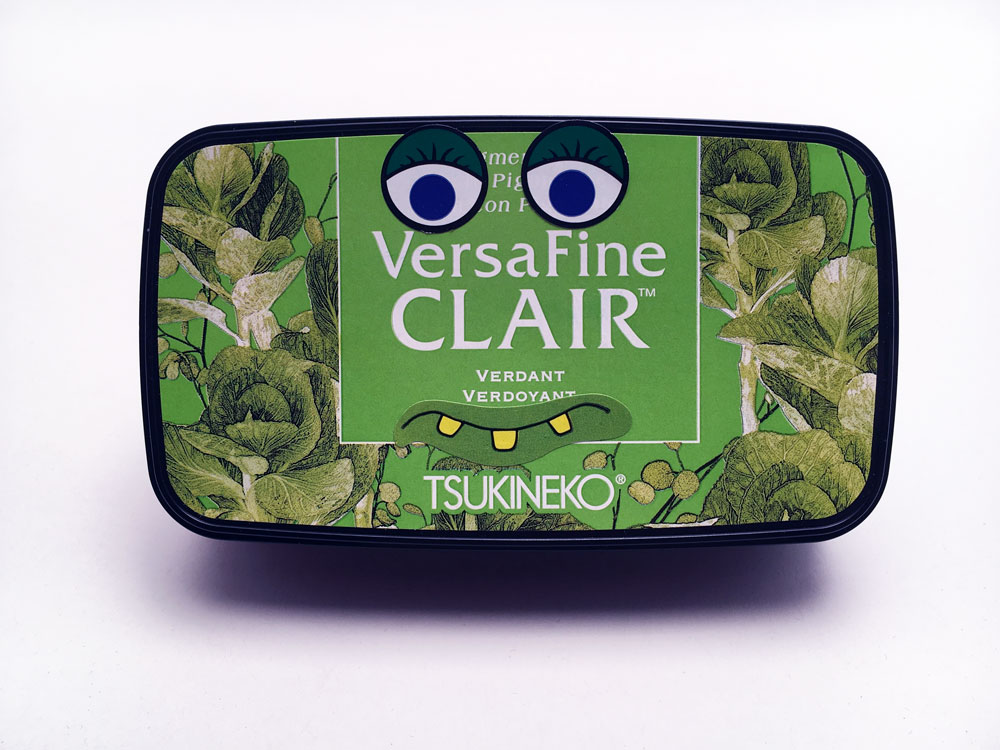
How about a bright green that is insistent you use it in every project. You can tell VersaFine Verdant to let the other inkpads have a turn!

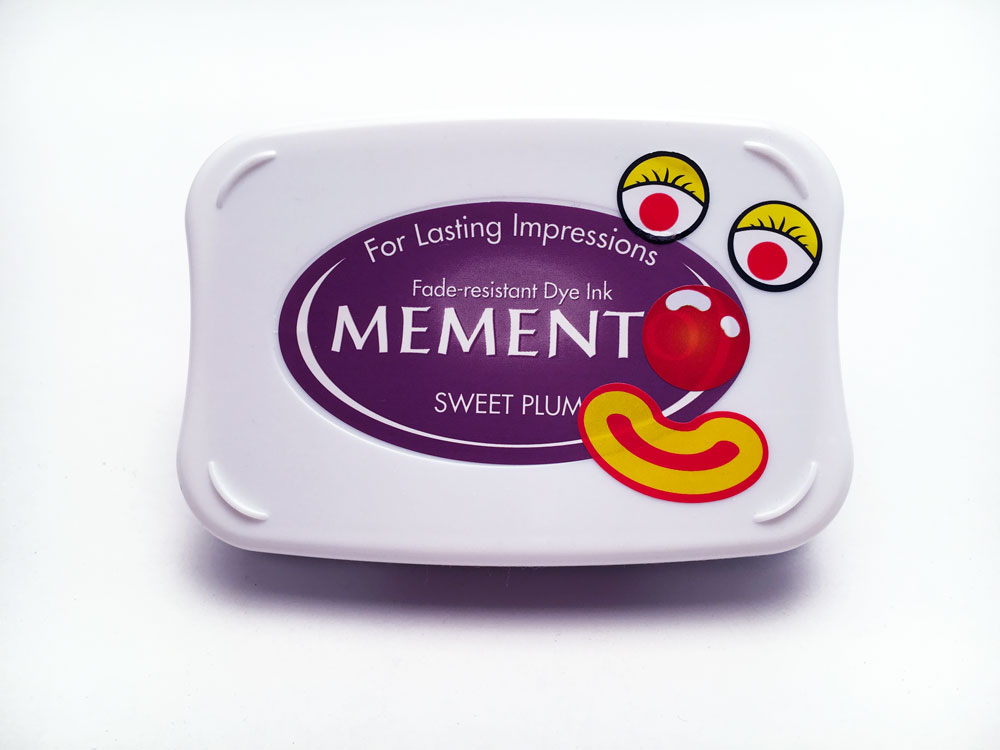
How about Memento Sweet Plum who can always make you giggle with delight?!

Happy April Fool’s Day!!

If you have not figured it out by now… this is not a real product release! But what if it was?! Would you buy your inkpad a personality kit? Ha! In-house designer Marcie claims that Memento Bahama Blue makes its way into almost all of her projects at home and definitely plans to deck out her inkpads. She is even considering getting her inkpads their own dollhouse! Marketing Manager Amanda thinks VersaFine Clair Nocturne is the bees knees and winks at it every time she uses it. She’s super excited to have him wink back now! Bwahaha!


Learn How to Design a “Dream Forever” Mixed Media Page

by Kyriakos Pachadiroglou

Learn How to Design a "Dream Forever" Mixed Media Page

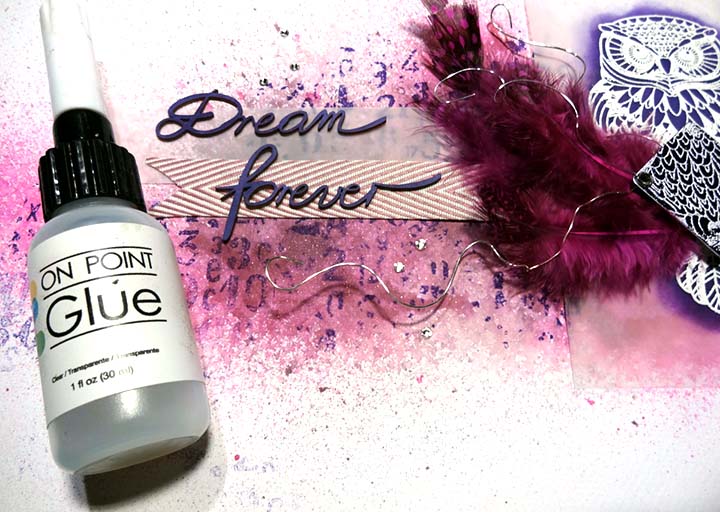
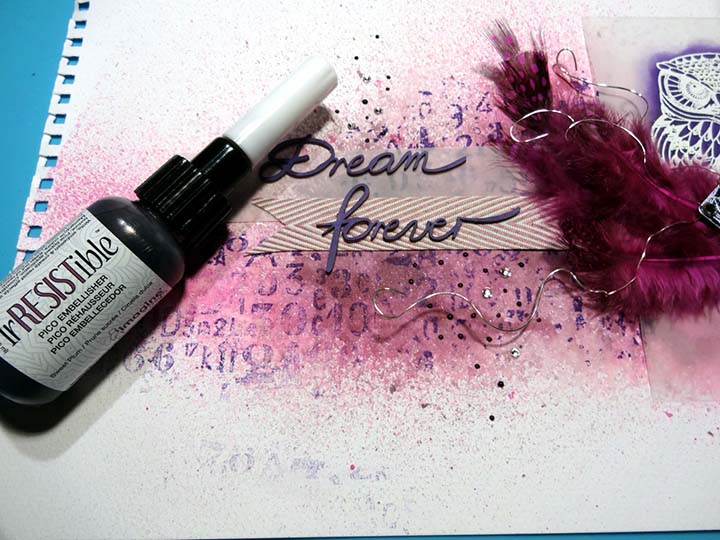
Owls are mysterious nocturnal birds and to honor their unique characters I decided to make a scrapbook or art layout using a combination of colors and techniques. Combining different kinds of inks, I colored a background in deep purple shades. Walnut Ink lowers the intense hue of Fireworks in Lilac Posies on the background.

The owl almost appears to glow as it is embossed on a piece of tracing paper that has Memento Grape Jelly colored on its back side. To further contrast the design, a piece of Sheet Metal is used to enhance the owl and adds shine and detail. I love this design and feel it can be used in so many different ways. Make a card, a scrapbook page or adjusted to make a cover on a book.

Skill: Intermediate
Time: 1 hour

Directions


Step 1

Spray the A4 watercolor page with Ink Potion No 9, Fireworks Shimmery Craft Spray in Lilac Posies and Walnut Ink in Lilac, in this order, from about 8-inch distance. Two sprays of the color inks are enough. Let them dry or use a heat gun to speed up the process.


Step 2

On a 3 ¼ x 5 ½ inch tracing paper stamp with the owl design with the VersaMark, cover with Imagine’s White Embossing Powder and heat set.


Step 3

Turn the tracing paper at the back and using a sponge dauber cover the owl design with the Memento Grape Jelly ink pad. Let it dry and repeat for a deeper color.


Step 4

Use a sponge dauber to cover the SHEET Metal in a diamond shape with the StazOn Royal Purple. Let Dry.


Step 5

Press the SHEET metal diamond shape on the rubber owl stamp that is covered with VersaMark. Cover with the Imagine’s White Embossing Powder and heat set.


Step 6

Color the chipboard words with a sponge dauber and the Memento Grape Jelly ink pad.


Step 7

Stamp the A4 watercolor page with the Memento Grape Jelly ink pad and the numbers stamp.


Step 8

Cut a 6 x 1-inch tracing paper stripe and a 5-inch long chevron ribbon. Use the On Point Glue to set them in the center of the page and continue with the owl embossed design.


Step 9

Cut 5 – 6 inch long pieces of jewelry wire, twist together and curve them.


Step 10

Use the hot glue gun to set the feathers, the wires, and the SHEET Metal in a diamond shape on the owl design.


Step 11

Glue the chipboard words and add rhinestones.


Step 12

Make small dots to embellish further and add texture with the irRESISTIble Pico Embellisher in Sweet Plum. Trim to desired size.

Thank you for stopping by the Imagine blog and if you enjoyed this tutorial then please comment below or share on social media! 

Supplies

Imagine
Other
  • Feathers
  • Stamperia – Owl stamp
  • Studio Light – Instructional Numbers stamp
  • A4 watercolor page
  • Jewelry wire
  • Chevron ribbon
  • Tracing paper
  • Rhinestones
  • Decorative chipboard words
  • Heat gun
  • Hot glue gun