Project Swap: Create a You Are My Hero Card

Project Swap: Create a You Are My Hero Card

Welcome to another set for our Artist Project Swap with Kassy and Melissa. For the Month of May, we challenged our artists to exchange tutorials and create each other’s designs in order to see how each of our artists interprets style and choices. The receiving artist did not know who designed the project, nor did they receive any images! In today’s post, Kassy gives the directions and recommended supplies list and Melissa created the project.

Create a You Are My Hero Card by Melissa Andrew

Today, I create a fun card using a number of techniques that were designed and instructed by design team member Kassy Tousignant. This was a challenge created by Imagine to help show customers how diverse Imagine and Tsukineko products really are. If you don’t have something a designer uses, you can improvise!

Supplies

Imagine
Other
  • Whimsy Stamps –  Lattice Stencil, sentiment stamp
  • SugarPea Designs Stamp – Peony stamp, Postage Stamp die
  • Paper Trimmer
  • Scissors – fine and regular
  • Foam Dots
  • Heat Tool
  • Watercolor Palette
  • Cardbase

Original Design by Kassy

What do you think of Melissa’s interpretation of Kassy’s tutorial?

Comment below!

Project Swap: Lime Color Happy Birthday Card

Swap Project: Floral and Lime theme Happy Birthday Card

Welcome to the first set for our Artist Project Swap with Arjita and Elina. For the Month of May, we challenged our artists to exchange tutorials and create each other’s designs in order to see how each of our artists interprets style and choices. The receiving artist did not know who designed the project, nor did they receive any images! In today’s post, Arjita’s turn to give the directions and recommended supplies list and Elina created the project.

Lime Color Theme Happy Birthday Card by Elina Stromberg

I have to admit that I’m bit rebellious when it comes to detailed project instructions. Reading tutorials and watching instruction videos is always very inspirational, but the projects I make are very seldom precise replicates of the original projects. In case of Arjita’s tutorial, it includes techniques that I’m not familiar with, so I followed the instructions more carefully in order to learn. But once I think I’m mastering the key points, I tend to go my own way, using my own colors, patterns, and supplies.

On this project, I used two green Memento colors for the background in Bamboo Leaves and Pear Tart. For applying the inks on the background, I used a brayer and decorated the inked background with Shimmer Creative Medium. The stencil I used was not the same as on the original project; I used ‘Corncob Etching’ from TCW.

My card is not as monochromatic as the original project; for coloring the stamped flowers I did not use the background color, but yellow Memento in Cantaloupe and Dandelion. The result looks different, but I’m quite happy with the outcome! I did not want to use too much black on my card, so the die-cut circle background is not black but dark green. My nesting Sizzix dies cut quite a wide border, so I narrowed it to half with my scissors.

Supplies

Imagine
Other
  • Altenew – ‘Adore You’ flower stamps
  • ‘Happy Birthday’ sentiment stamp
  • Stampin’ Up – ‘Party Pandas’
  • TCW- ‘Corncob Etching” stencil
  • Sizzix – Nesting circle dies
  • Scissors
  • Glue
  • Cardbase – White
  • Cardstock – Green

Original Design by Arjita

What do you think of Elina’s interpretation of Arjita’s tutorial?

Comment below!
Learn How to Upcycle Cork Coasters

by Elina Stromberg

Learn How to Upcycle Cork Coasters

A while ago, I found a pile of old cork coasters in my kitchen cabinet. I had not used them in years and was just about to throw them away, but then I realized they were perfect for small home décor items. Maybe the beautiful material made me change my mind. Nowadays cork is truly a trendy material in craft projects, so I thought I should try to turn the old coasters into something nice and new. And I’m so glad I did!

Skill: Beginner
Time: 30 minutes

Directions


Step 1

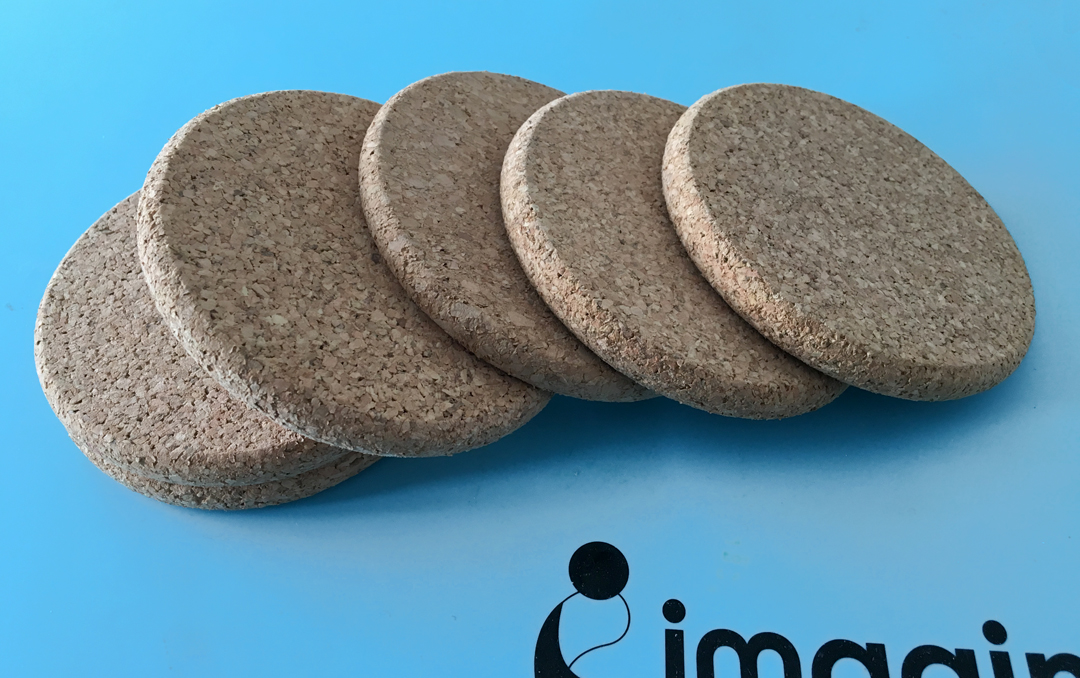
Remove dust and stains from the coasters.


Step 2

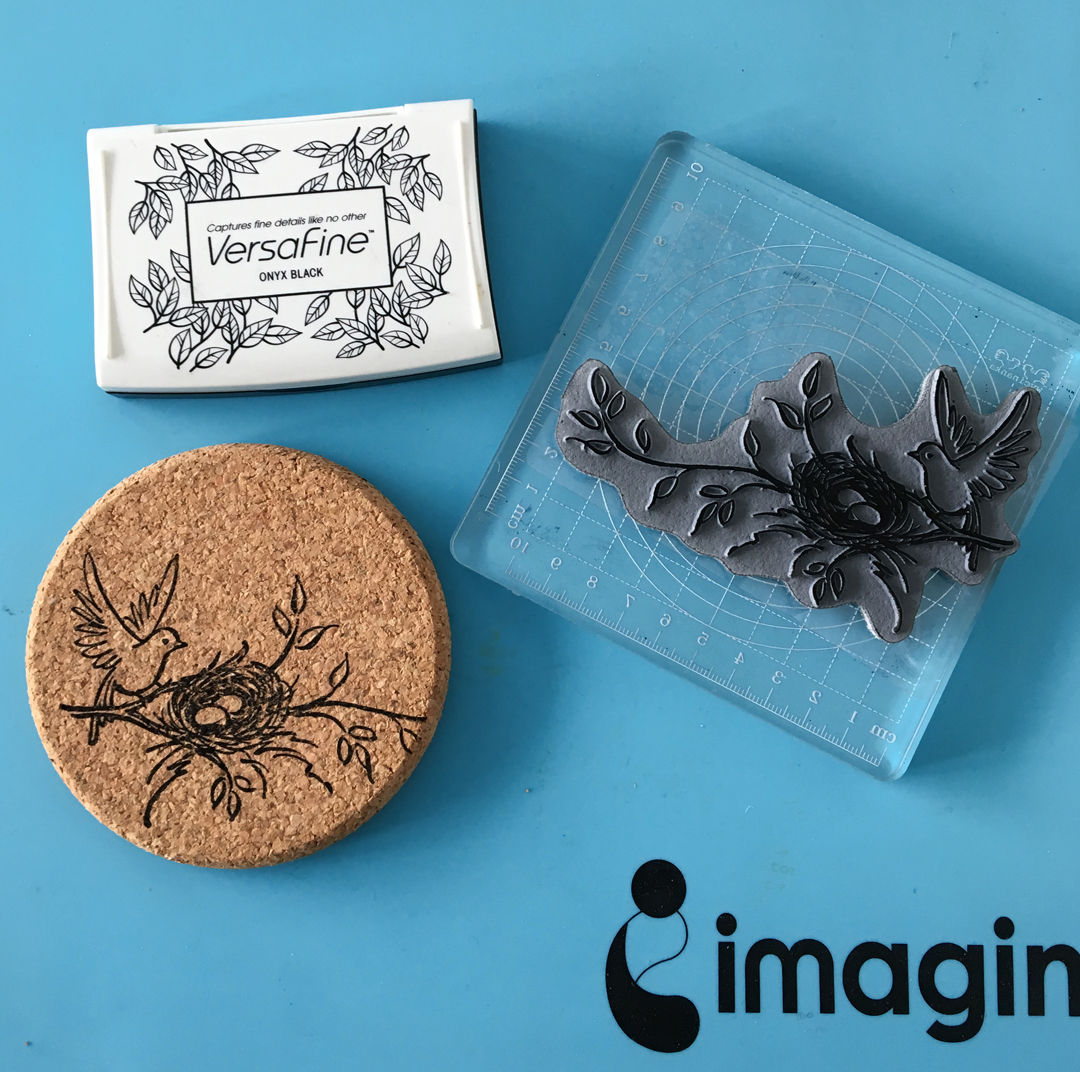
Stamp the images using Onyx Black VersaFine. When stamping, press the stamp firmly on the cork surface. VersaFine is a great ink for solid image stamping and since it is a dense ink it should stamp on the cork well.


Step 3

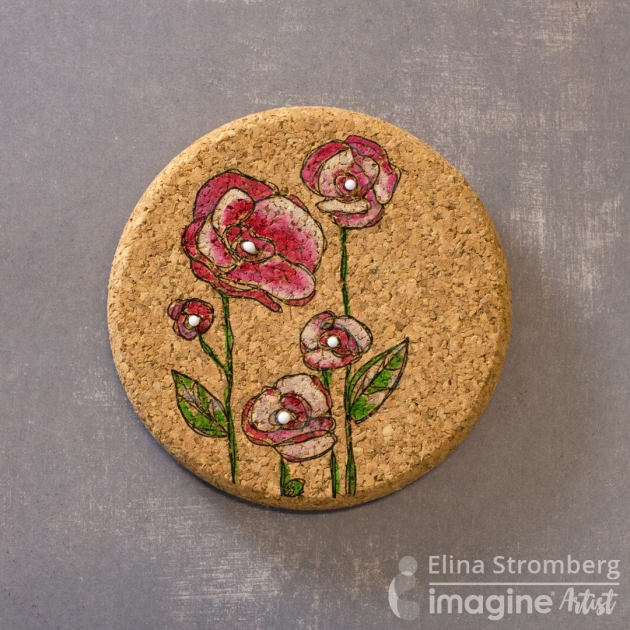
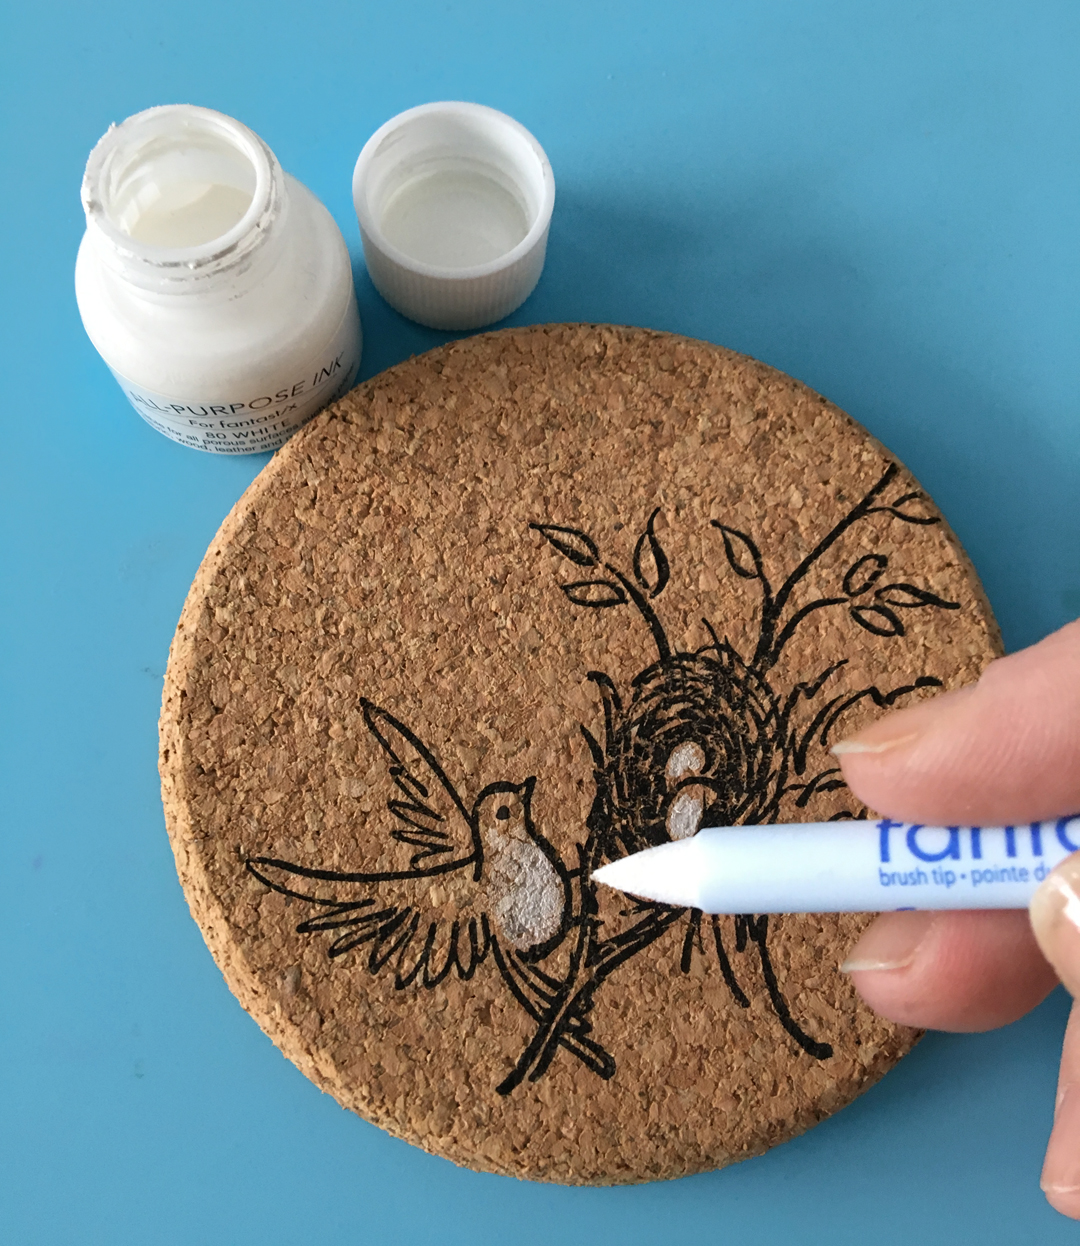
Color images with All-Purpose Ink. Use irRESISTible Pico Embellisher in Wedding Dress (white) for decorating the stamped and colored images with dimensional paint dots. Let dry.


Step 4

Using a new Fantastix, color in the leaves with All-Purpose Ink in Spring Green.


Step 5

To finish this project, continue stamping and coloring the remaining coasters in your set. You have the option of making all 4 or 6 of your coasters different or repeating the same image for all. If you want to hang the decorated coaster on the wall, attach a loop on the back of the coaster with a strong adhesive.

Supplies

Imagine
Other
  • Cork Coasters
  • Stampendous – Nesting Bird Stamp
  • Acrylic block for stamping

Use a Cute Lovebirds Theme in Wedding Decor

by Elina Stromberg

Use a Cute Lovebirds Theme in your Wedding Decor

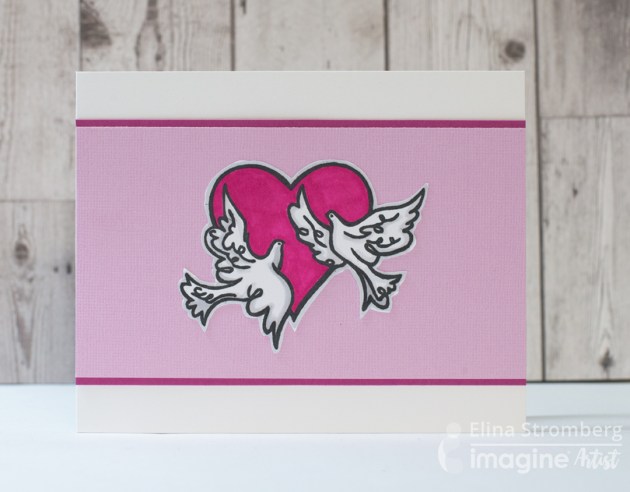
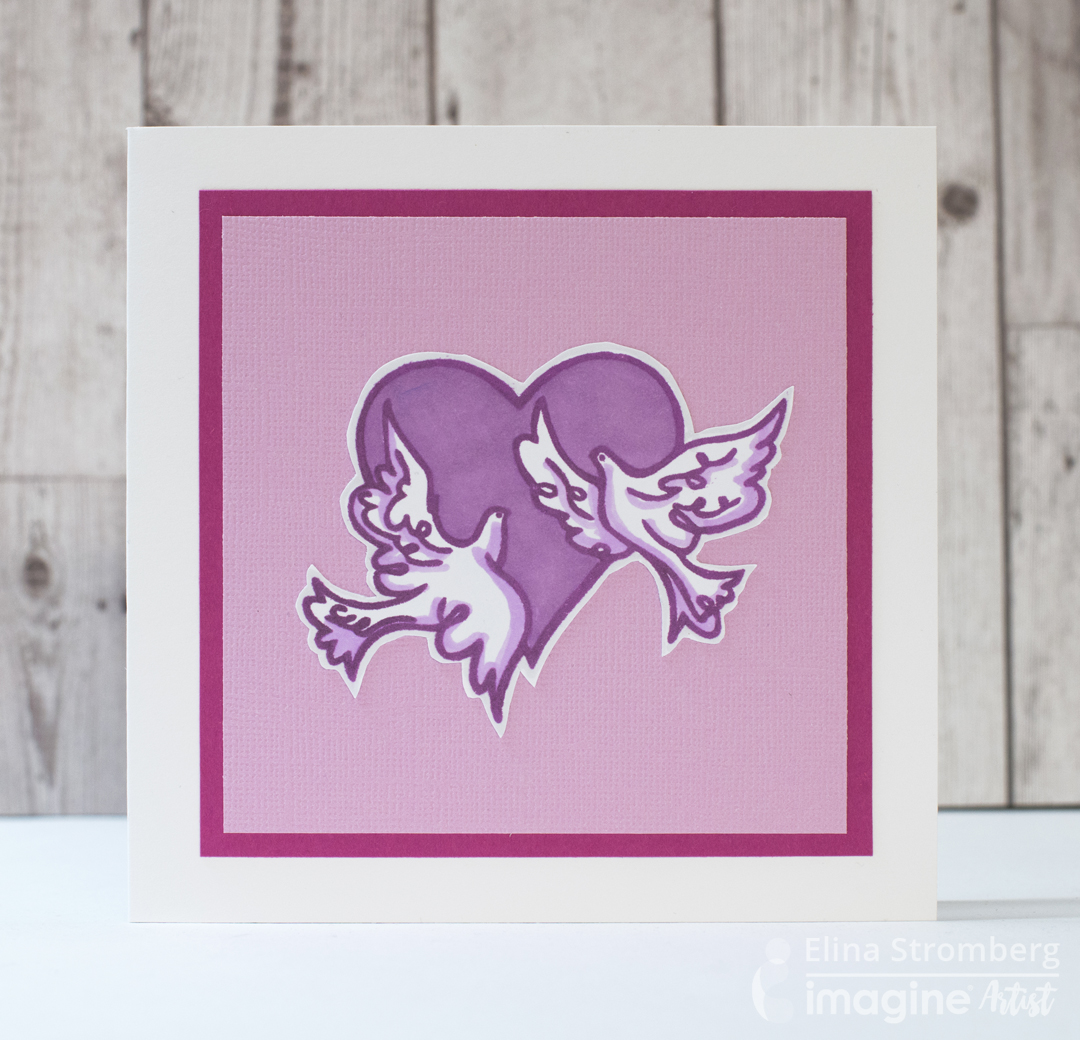
It will soon be the season for beautiful summer weddings! I found a beautiful lovebirds stamp in my stash and used it for a set of simple and easy-to-make wedding cards. My paper crafting hobby was kick-started by my own wedding 15 years ago. I made birthday cards in the past, but other than that I had very little experience with the tools and the basic techniques of paper crafting. Therefore, creating all wedding invitations, menu cards, place cards, wedding candies and other decorations for our special day was quite an effort, and had I known more paper crafting basics, the task would have been much simpler! In this quick tutorial, I show how the same stamp can be used in different uses and colors so you can see how the same stamp might be used to create many different looks.

Skill: Beginner
Time: 15 minutes per card

Directions


Step 1

For this card set, I first stamped the lovebirds image a few times on semi-glossy office paper. I wanted to color the images using Promarker alcohol markers, so I chose a water-based black Memento ink for stamping. If I had used watercolors, I would have stamped the images with VersaFine oil-based pigment ink. Remembering that basic rule of thumb (alcohol markers work with water-based inks (some, not all); watercolors or other wet coloring techniques use with non-water-based inks) will make the coloring steps a lot much easier!


Step 2

Whenever I’m coloring stamped images, I usually use black stamping ink. However, the new VersaFine Clair inks work perfectly for stamped coloring projects. I love how this monotonous purple image turned out!


Step 3

I also created matching napkin rings using the very same love birds stamp. I think they turned out quite nice! I made one colored version and another even more simplified one for which I stamped the lovebirds on white paper with Delicata ink in Shimmering Silver. Elegant and easy!

Supplies

Imagine
Other
  • Lovebirds stamp
  • Acrylic block
  • Card bases
  • Glossy Cardstock
  • Cardstock
  • Double-sided tape
  • Scissors