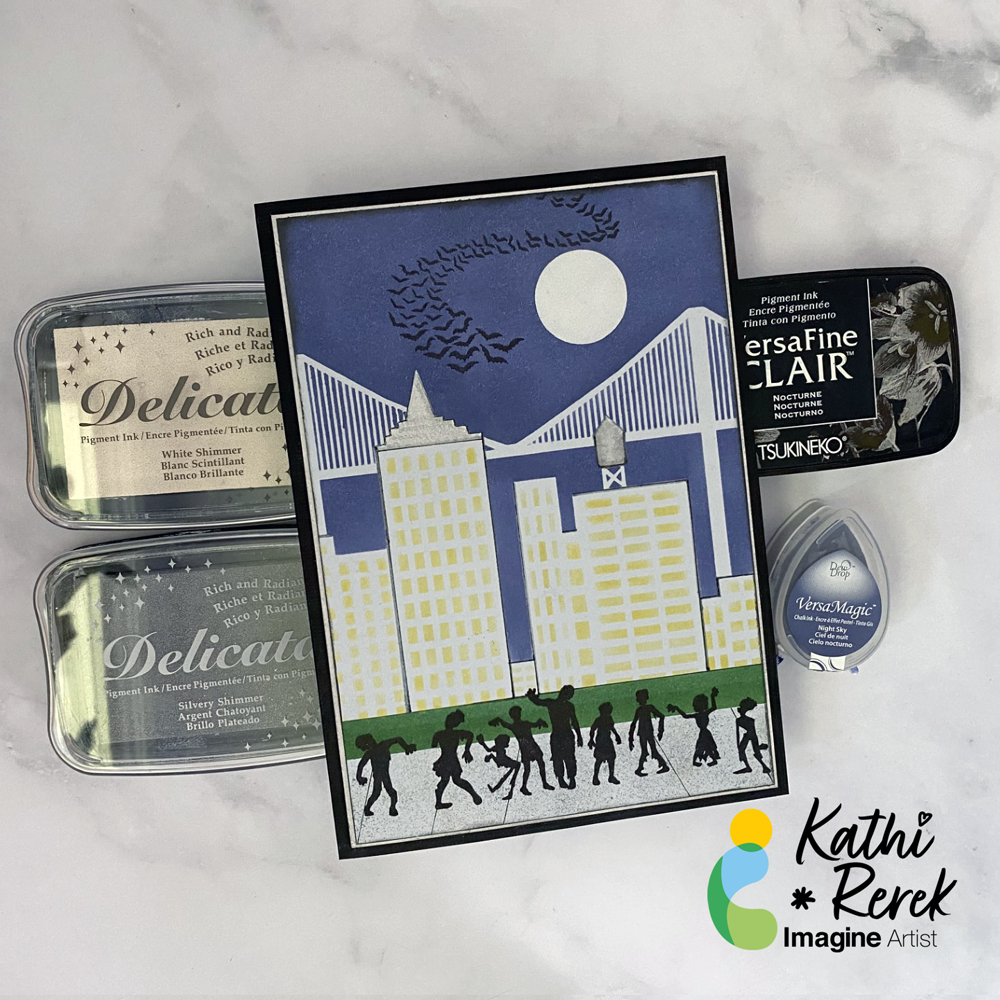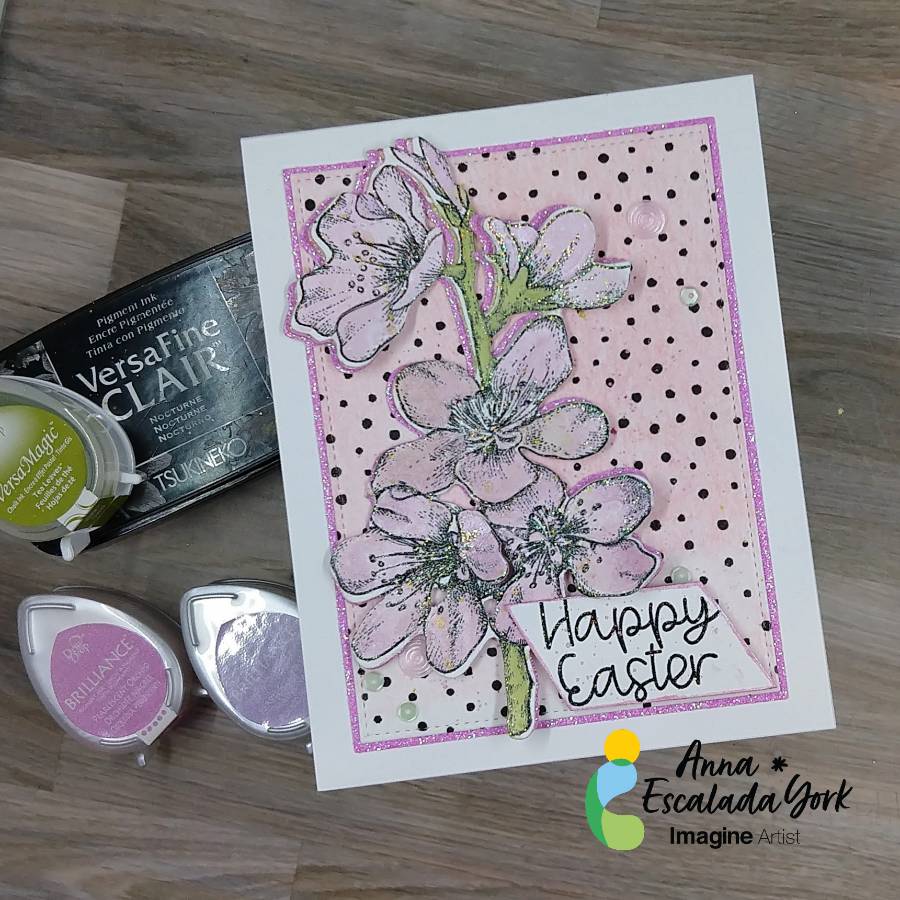
By Anna Escalada York
– In today’s tutorial, I will show you how to use Brilliance Pigment Ink and VersaMagic Chalk Ink
to watercolor an image. This is a wonderful way to stretch your supplies and possibly try a new
technique. In addition, I will share some mistakes I made along the way while making this card.
Skill: Intermediate
Time: 1.5 hours
Directions:

Step 1:
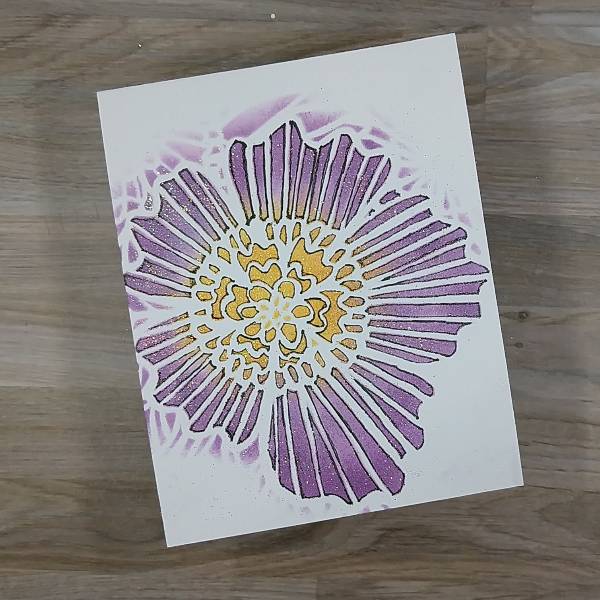
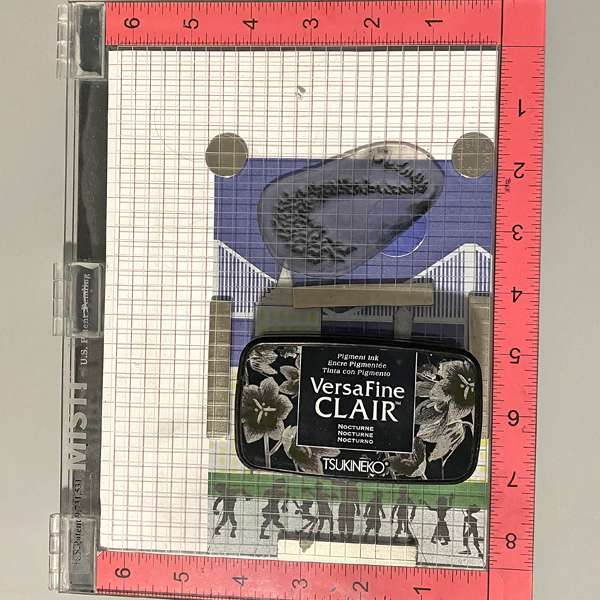
Using a stamping platform, stamp the floral image with Nocturne VersaFine Clair ink.
Optional step: Heat emboss with a clear or holographic embossing powder. I did this because I
didn’t want to wait for the VersaFine Clair ink to dry.
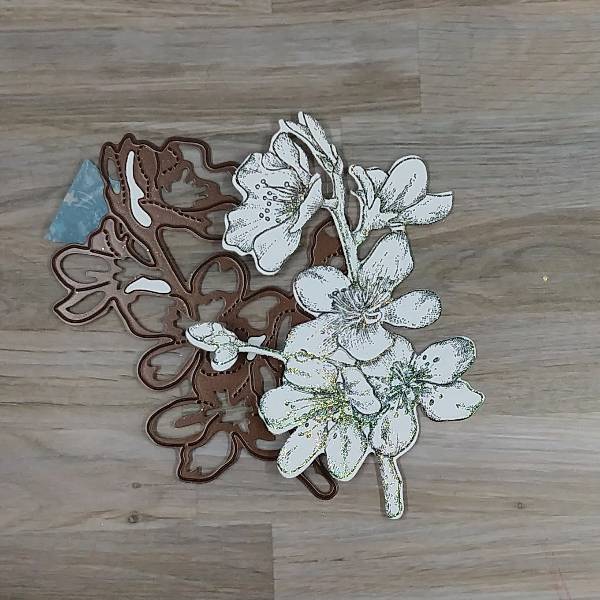
Step 2:
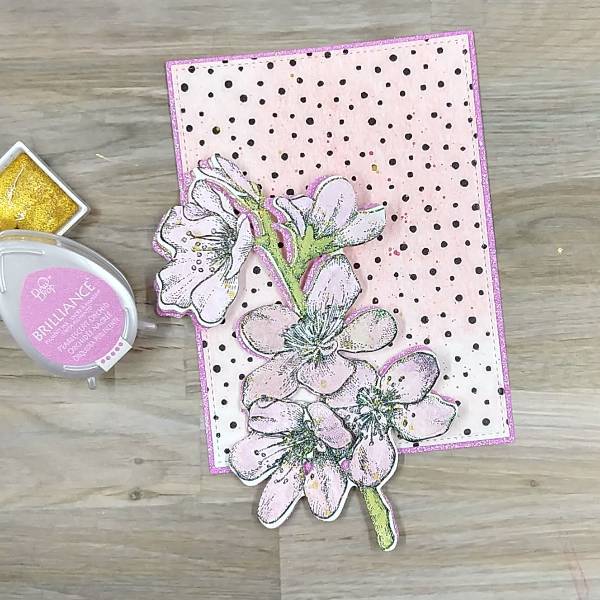
Die cut the floral image with the corresponding die. I was “off” in the die cutting and so some of
the stamped image was cut off. You can mostly see this on the singular bud on the left side of
the image.
Not shown: Using the same die to die cut a piece of pink glitter cardstock.
Step 3:
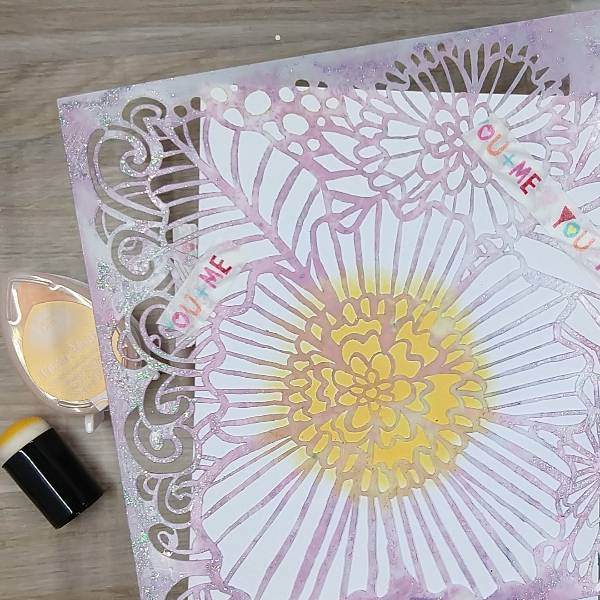
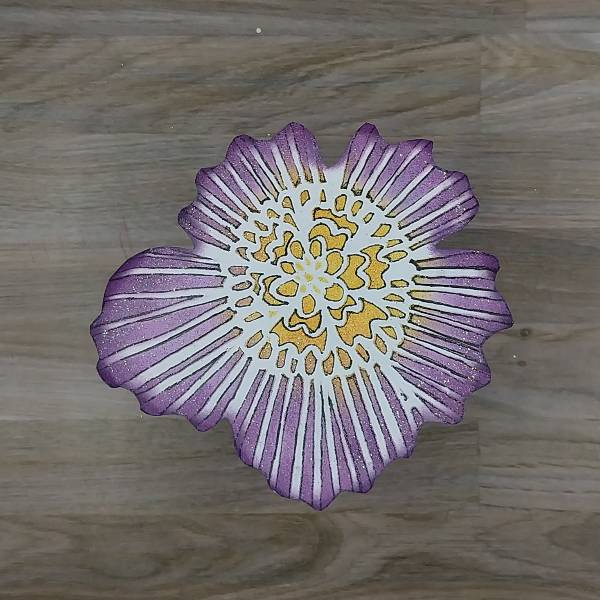
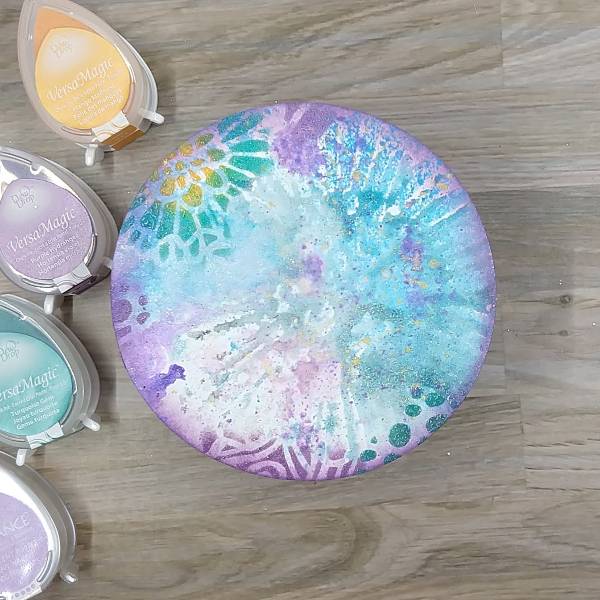
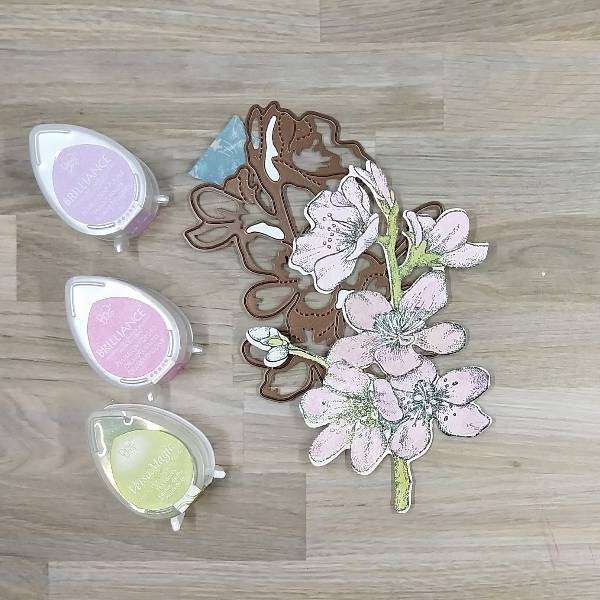
Press the Pearlescent Orchid Brilliance Dew Drop pad onto a piece of acetate packaging and spray with Sparkle Sheer Shimmer Spray. On another part of the same acetate packaging (or possibly a palette or other non-porous surface, press the Pearlescent Purple Brilliance Dew Drop pad onto the surface and spray with more of the Sparkle Sheer Shimmer Spray. You should have two areas of color that you can mix with the spray to use as a watercolor.
Paint each flower or bud with a single layer of Pearlescent Orchid Brilliance Ink mixed with the
Sparkle Sheer Shimmer Spray. Let the watercolor dry. Add some Pearlescent Purple Brilliance
Ink mixed with the Sparkle Sheer Shimmer Spray to the edges of the petals to add some
dimension and interest.
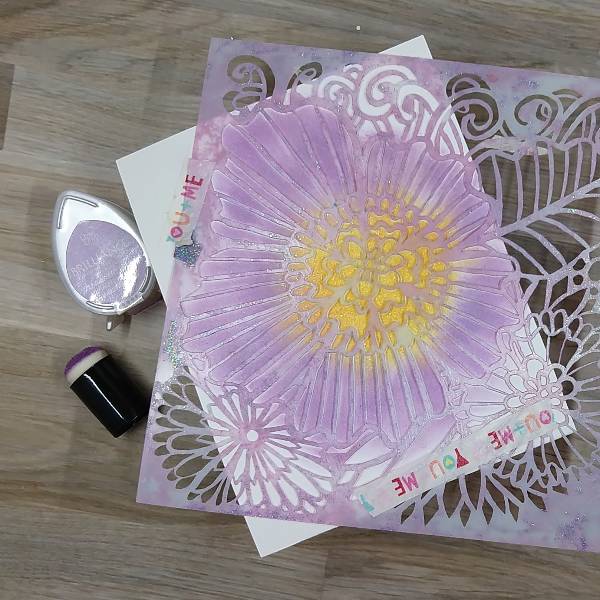
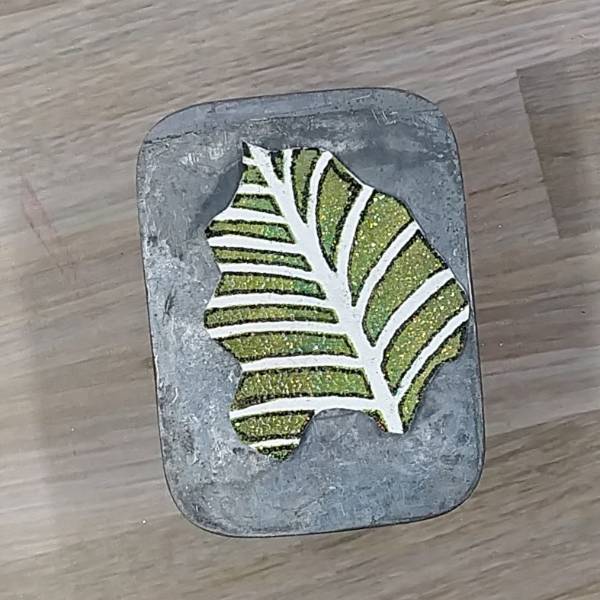
Repeated the process for the stems. Press the Tea Leaves VersaMagic Chalk Ink pad onto a
piece of acetate and Spray the ink with more of the Sparkle Sheer Shimmer Spray. Use a
paintbrush to paint the stem green. Let dry. If desired, repeat the process to amplify the intensity
of the green watercolor. Let dry.
Not pictured: Gluing the pink glitter cardstock die cut behind the flower so that it can be seen on
the left side of the floral image.
Step 4:
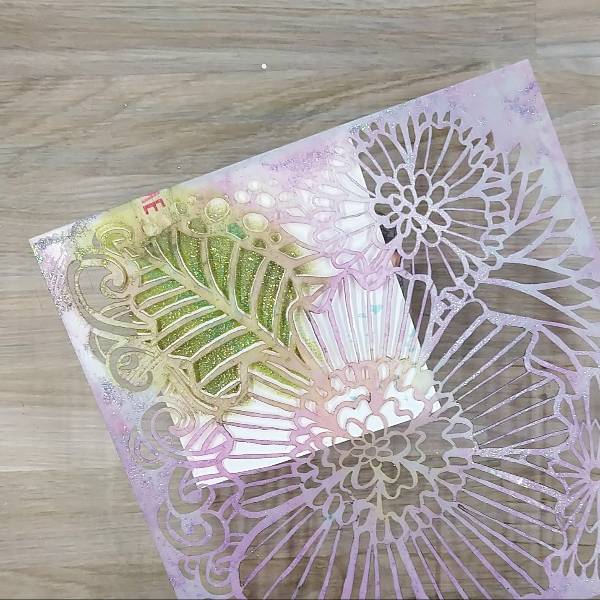
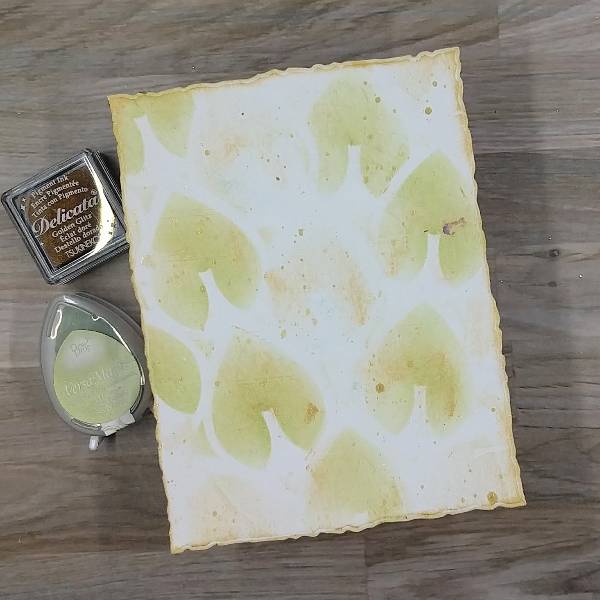
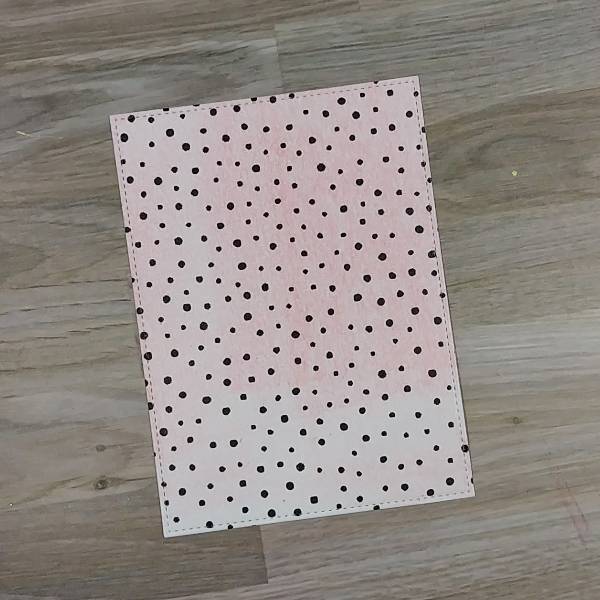
Place a piece of wide washi tape over a piece of cardstock for the background panel
before die cutting that cardstock. (I used a leftover piece of cardstock that had some leftover
pink gel press printing on it so that you can see a little of the pink through the washi tape).
Don’t have washi tape? Use a piece of patterned paper.
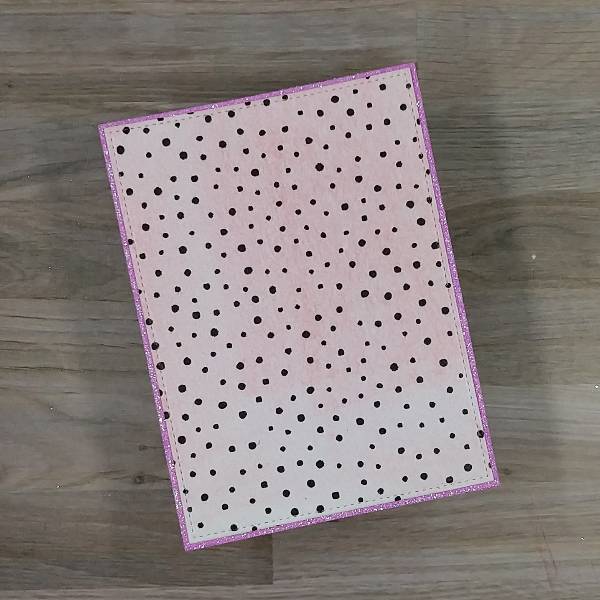
Step 5:
The die cut set that was used to make the panel allows for two layers if desired. To make the
matte layer, use a slightly larger die to die cut a piece of pink glitter cardstock and then glue the
two panels together. Set them aside to dry.
Step 6:
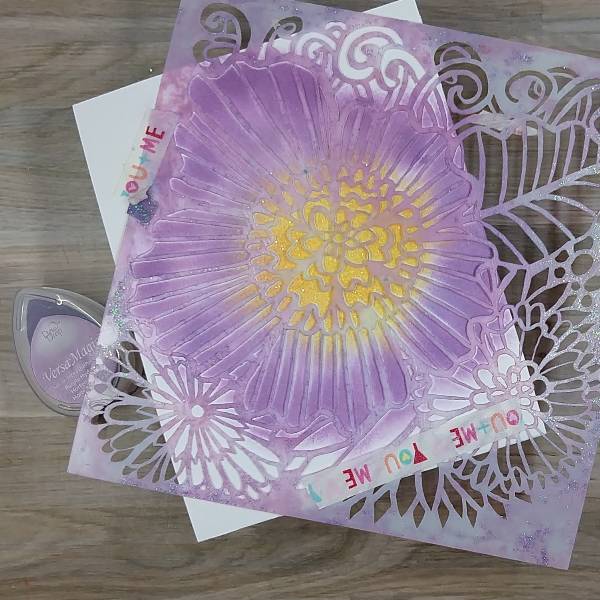
Press more of the Pearlescent Orchid Brilliance Ink Dew Drop onto the acetate packaging and
spray more of the Sparkle Sheer Shimmer Spray onto the ink to create more watercolor and
splatter both the floral image and the background with the orchid colored watercolor. To splatter,
extend your finger parallel to the paper and tap a brush that has the Orchid watercolor on it
multiple times. To create a more uniform splatter, move the paint brush or the paper around so
that the splatter is added to a variety of places.
Spray more of the Sparkle Sheer Shimmer Spray (or water) into the gold watercolor pan and
then tap the paintbrush across the floral image and panel a second time. Let dry.
As you can see in the picture, between step 3 and now, the singular bud on the left was trimmed
from both the stamped layer and the pink glitter cardstock so the die cutting mistake was
eliminated.

Step 7:
Stamp the sentiment with Nocturne VersaFine Clair ink.
Optional step: Heat emboss the ink with holographic embossing powder to eliminate drying
time. (I originally was going to use this die cut sentiment, but later realized that it wouldn’t fit. I also
forgot to take pictures of the sentiment I trimmed with my paper cutter and ended up adding to
the card. So please use your imagination.)
Step 8:
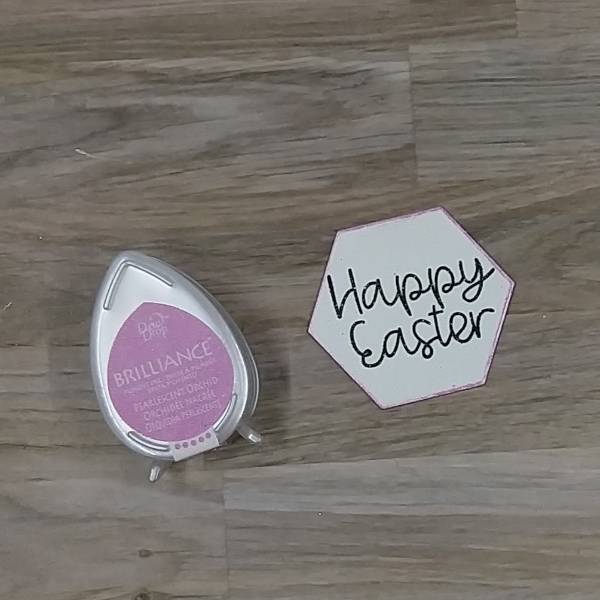
On the sentiment that you see on the finished card, I trimmed the sentiment with my paper
trimmer. The one picture above was die cut with a hexagon die. Regardless of how you end up
shaping your sentiment (using a trimmer or a die), press the edges of the sentiment into the
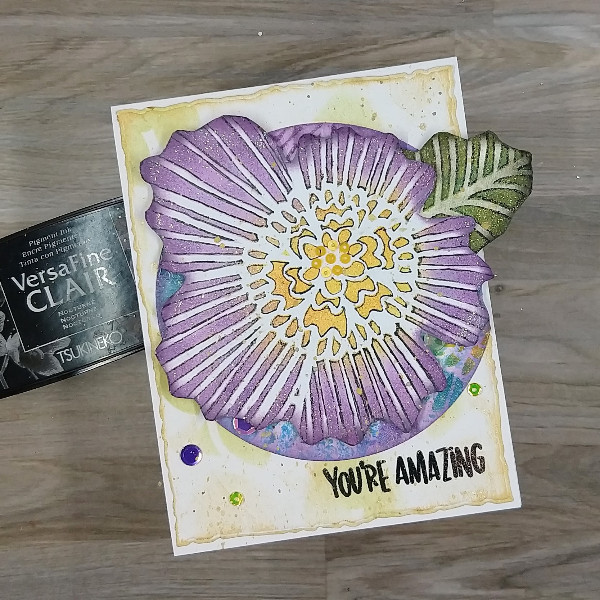
Pearlescent Orchid Brilliance Dew Drop pad to add color to the edges. Set aside to dry.
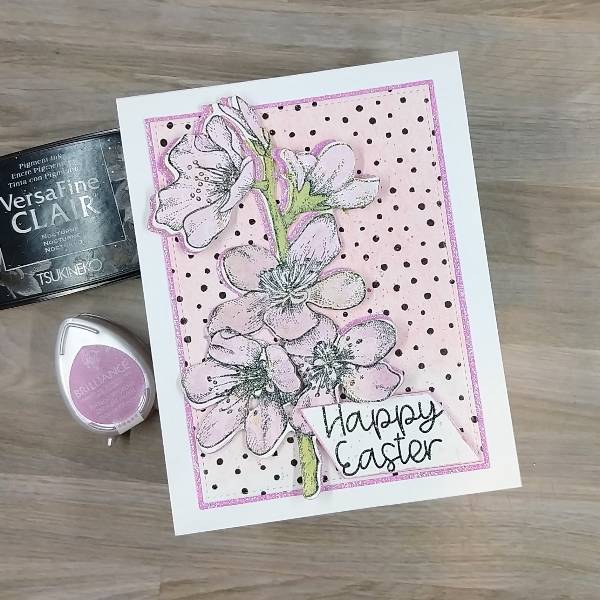
Steps 9 and 10:
Time to glue! Glue the flower on the left third of the background panel. Then glue the panel onto
an A2-sized white card base.
For step 10, attach foam tape behind the sentiment except on the upper left corner (since that
will be overlapping with the floral image. Attach the sentiment to the lower right corner of the
panel.
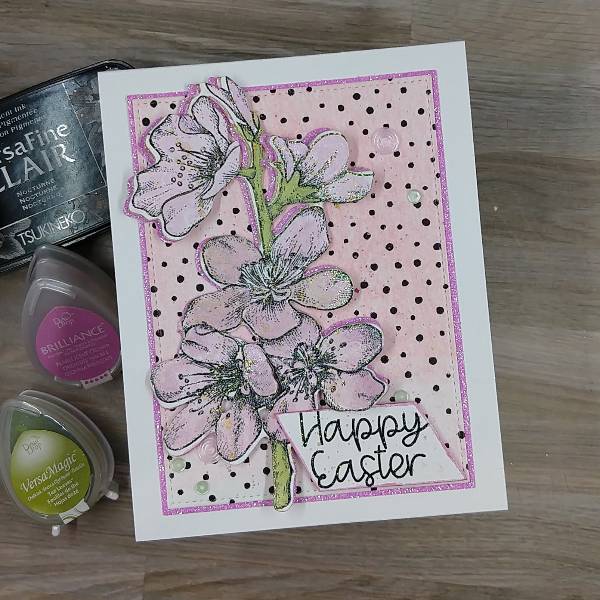
Step 11:
Add pink and green sequins onto the card–on the lower left corner, close to the sentiment, and
on the upper right corner of the card panel.
Art Supplies
Imagine
• Brilliance Ink – Pearlescent Orchid, Pearlescent Purple
• Sheer Shimmer Spray – Sparkle
• VersaMagic Ink – Tea Leaves
• VersaFine Clair Ink – Nocturne
Other
• Altenew – washi tape – Dotted Wide Washi Tape
• Altenew-Foam Tape-Instant Dimension Foam Tape
• Catherine Pooler- sequins -Mission sequin mix
• Gina K Designs – dies- Master Layout 2 die set
• Kuretake – watercolor – Starry Colors Gansai Tambi Watercolors
• Local King Rubber Stamp – stamp and die set- Cherry Blossom
• Pink & Main – stamp set- Spring Sayings
• Embossing powder in my stash
• Watercolor paper
• Pink glitter cardstock
• Scissors
• Holographic embossing powder
• Small paint brush
• Stamp positioner
• Paper trimmer
• Glue