Create a Sunny “Hello” Card for a Good Friend

by Elina Stromberg

Create a Sunny "Hello" Card for a Good Friend with Memento DewDrops

Our wonderful color of the month is ‘Mango’. That rich and warm yellow color took my mind right in the middle of sunny summer days, and that feeling inspired me to create a summer-themed flower card. Matter of fact—I made two card fronts on one go, but instead of creating two identical greeting cards I trimmed the other one into an ATC card. Love them both!

Skill: Beginner
Time: 45 minutes

Directions


Step 1

Stamp image on white paper with VersaMark. Heat emboss with Imagine’s Embossing Powder in Black.


Step 2

Apply the two shades of yellow inks in Memento on the background using a brayer. Start with the lighter color and add the darker yellow on top. Do not cover the entire background but ink the center of the card only.


Step 3

Using the Craft Mat as a palette, press ink on the craft mat. Pick up colors with a water brush, and paint the image.


Step 4

Cut stamped card front to size and mat on a white card base. Die-cut the “hello” sentiment twice, glue together with On Point Glue and attach to the card front.

Above is ATC version of this card in a vertical format and without the “hello” sentiment.

Supplies

Imagine
Other
  • Brayer
  • Stampendous – Cling Daisy Cluster Stamp
  • Sizzix – ‘Hello’ die
  • Cardstock – white, yellow, black
  • Water brush
  • Heat gun
  • Cardbase
  • Glue
  • Scissors


Make a Happy Birthday Card with Layered Stamping

by Martha Lucia Gomez

Make a Happy Birthday Card with Layered Stamping in VersaMagic DewDrop

One of the advantages of using chalk inks like VersaMagic is the soft texture created for your cardmaking projects. Creating texture and mixing colors is easy when you use the DewDrops because of the control and use of the tip of the inkpad. On this project, I used a single flower image to create a beautiful pattern and a stamping tool to create this eye-catching birthday card.

Directions


Step 1

Using a stamping tool, stamp the first flower with VersaMagic Mango Madness as a base color.


Step 2

Since Mango Madness is a relatively light color, I had to stamp the image over the Very Vanilla cardstock twice to make all the flowers and leaves details evident.


Step 3

Keeping the stamp and the paper in the same place, apply and combine the colors of the VersaMagic directly over the stamp. Make sure not to contaminate the ink pad with different colors. But if this happens to you, don’t worry, you can clean your ink pad with a paper towel.


Step 4

Repeat the stamping process until creating the background that you want. Keep the pattern of colors or change it to others with each image. On this card, I used VersaMagic Mango Madness, Red Magic, and Ocean Depth. To complement the background you can splatter some tiny spots of Fireworks Shimmery Craft Spray in Tuxedo Black. I also used a few splatters of All-Purpose Ink in Champagne Mist to give to my background a shimmery touch. Stamp your sentiment using VersaMark, sprinkle with Imagine’s Embossing Powder in White and melt the powder with the heat tool.


Step 5

To finalize the card, resize the stamped background, sponge the borders with VersaMagic Wheat and tie a few loops of natural hemp twine around. Paste directly over the Crushed Curry card base using Tear It Tape and paste your sentiment with dimensionals or double-sided foam tape. If you consider necessary, you can repeat the splatter process to enhance some parts of the card.

Supplies

Imagine
Other
  • Cardstock – Very Vanilla, Basic Black, Crushed Curry
  • Stampin Up – Heartfeld Blooms
  • MISTI or Stamparatus
  • Heat tool
  • Natural hemp twine
  • Double sided foam tape or dimensionals

Using VersaMagic On Vellum

by Nadine Carlier


Mother's Day Card by Nadine Carlier 2 ic

Did you know that VersaMagic works great on vellum? Many inks will smear even after they dry on vellum paper but not with VersaMagic. Because of its chalk-like finish, it is more opaque than other inks so you will always get nice bright colors on vellum.

Watch my video tutorial below to see how I created my Mother’s Day card using VersaMagic and vellum.

Skill: Intermediate
Time: 30 min.

Supplies

Imagine
Other

Visit our YouTube Channel for more inspirational videos and subscribe to get updates when we post new videos.

Create a Leather Effect on a Gift Tag using GooseBumps Texture Spray

by Arjita Sepaha Singh

I wanted to create leather texture effect which can be used on gift tags. I sprayed Imagine’s Walnut inks on paper tags and allowed them to dry completely. Next, I added Goosebumps Texture Spray to create the randomness and variety in texture and color. Then I added more intense color sprays and crumbled the tags. This gave a cool leather-like texture and I finished the tags by adding a gold heat embossed flower and sentiment.

Skill: Intermediate
Time: 1 hour + dry time

Supplies

Imagine
Other
  • Heat gun
  • Altenew – Stamp set
  • Somerset cardstock
  • Misti Stamp Tool
  • Double-sided foam adhesive


Learn How to Design a “Dream Forever” Mixed Media Page

by Kyriakos Pachadiroglou

Learn How to Design a "Dream Forever" Mixed Media Page

Owls are mysterious nocturnal birds and to honor their unique characters I decided to make a scrapbook or art layout using a combination of colors and techniques. Combining different kinds of inks, I colored a background in deep purple shades. Walnut Ink lowers the intense hue of Fireworks in Lilac Posies on the background.

The owl almost appears to glow as it is embossed on a piece of tracing paper that has Memento Grape Jelly colored on its back side. To further contrast the design, a piece of Sheet Metal is used to enhance the owl and adds shine and detail. I love this design and feel it can be used in so many different ways. Make a card, a scrapbook page or adjusted to make a cover on a book.

Skill: Intermediate
Time: 1 hour

Directions


Step 1

Spray the A4 watercolor page with Ink Potion No 9, Fireworks Shimmery Craft Spray in Lilac Posies and Walnut Ink in Lilac, in this order, from about 8-inch distance. Two sprays of the color inks are enough. Let them dry or use a heat gun to speed up the process.


Step 2

On a 3 ¼ x 5 ½ inch tracing paper stamp with the owl design with the VersaMark, cover with Imagine’s White Embossing Powder and heat set.


Step 3

Turn the tracing paper at the back and using a sponge dauber cover the owl design with the Memento Grape Jelly ink pad. Let it dry and repeat for a deeper color.


Step 4

Use a sponge dauber to cover the SHEET Metal in a diamond shape with the StazOn Royal Purple. Let Dry.


Step 5

Press the SHEET metal diamond shape on the rubber owl stamp that is covered with VersaMark. Cover with the Imagine’s White Embossing Powder and heat set.


Step 6

Color the chipboard words with a sponge dauber and the Memento Grape Jelly ink pad.


Step 7

Stamp the A4 watercolor page with the Memento Grape Jelly ink pad and the numbers stamp.


Step 8

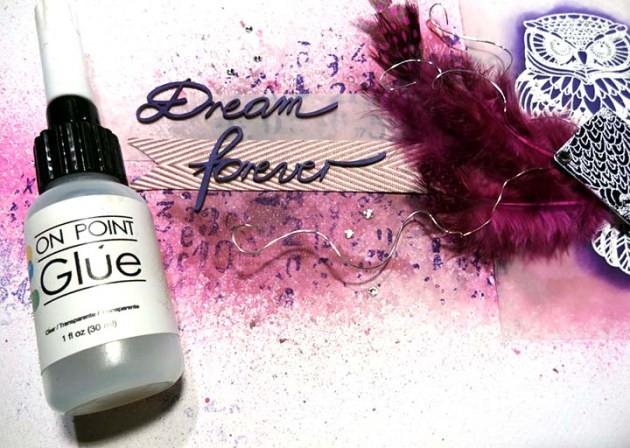
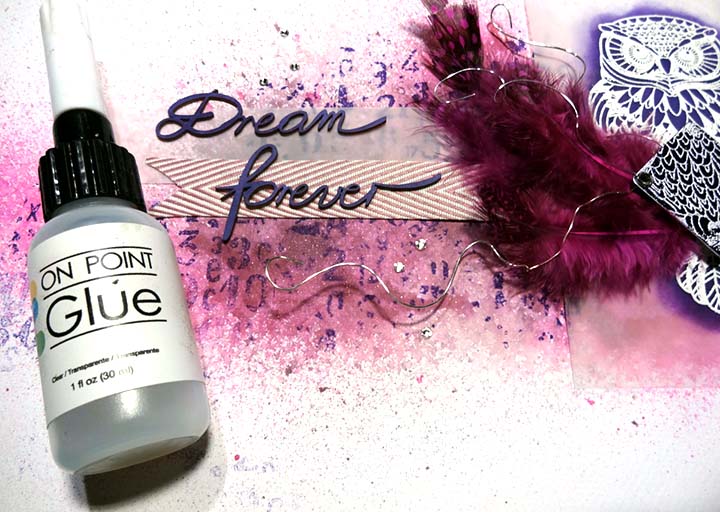
Cut a 6 x 1-inch tracing paper stripe and a 5-inch long chevron ribbon. Use the On Point Glue to set them in the center of the page and continue with the owl embossed design.


Step 9

Cut 5 – 6 inch long pieces of jewelry wire, twist together and curve them.


Step 10

Use the hot glue gun to set the feathers, the wires, and the SHEET Metal in a diamond shape on the owl design.

Step 11

Glue the chipboard words and add rhinestones.

Step 12

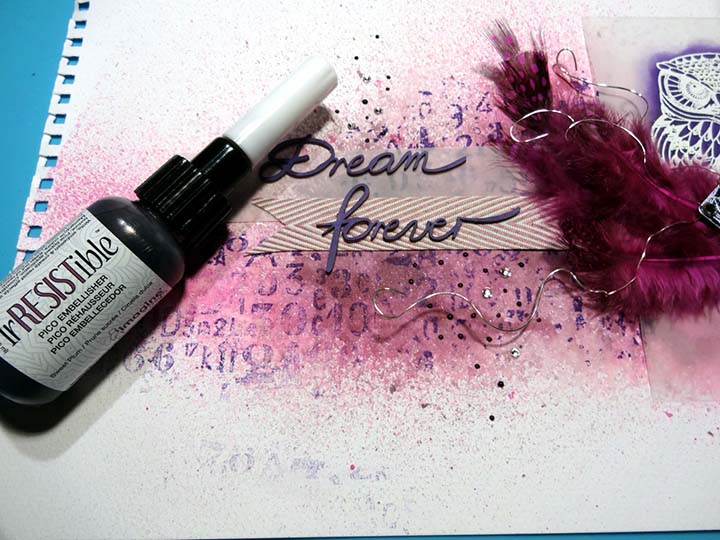
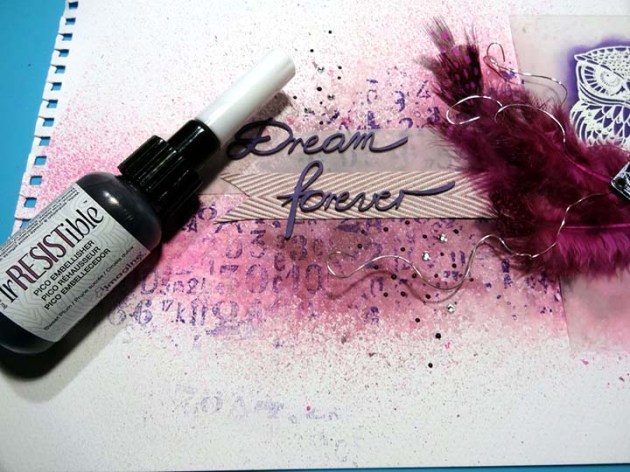
Make small dots to embellish further and add texture with the irRESISTIble Pico Embellisher in Sweet Plum. Trim to desired size.

Thank you for stopping by the Imagine blog and if you enjoyed this tutorial then please comment below or share on social media! 

Supplies

Imagine
Other
  • Feathers
  • Stamperia – Owl stamp
  • Studio Light – Instructional Numbers stamp
  • A4 watercolor page
  • Jewelry wire
  • Chevron ribbon
  • Tracing paper
  • Rhinestones
  • Decorative chipboard words
  • Heat gun
  • Hot glue gun
Create a Beautiful “Mr & Mrs” Congratulations Card

by Martha Lucia Gomez

Create a Beautiful "Mr & Mrs" Congratulations Card

Stenciling with color and texture always makes for a stunning project. This concept is perfect for wedding cards as it keeps the look elegant and still unique. Make something special for the happy couple with just one design element and two different products: Memento and Creative Medium. Take a look at how to do it!

Skill: Intermediate
Time: 1 hour + dry time

Directions


Step 1

Secure the stencil over cardstock and using a jumbo dauber apply the Memento ink in circular motions. Try to create an ombre effect or gradient of color. Leave the stencil and paper where it is for step 2.


Step 2

Now apply Creative Medium Clear over the inked area. Not only will it add texture, but you will notice how it will intensify the color when it is dry. When you finish this step, remove the stencil immediately and wash with warm water. Let this dry completely before finalizing the card.


Step 3

On a piece of vellum stamp the wedding sentiment or image using VersaMark and White Embossing Powder. I used two images included in the stamp set Wedding Wishes by Joy Clair. Then I cut the stamped image with one Nesting Oval Infinity Die from Hero Arts and colored some details of it using colored pencils that match the Tangelo Memento ink.


Step 4

To finalize the card, paste the stamped oval using double-sided foam tape. To avoid seeing it through the vellum I put the foam under the embossed area. I also complimented the design with a Congratulations die cut word that I adhered using On Point Glue.

Supplies

Imagine
Other
  • Cardstock
  • Vellum
  • Kite – Moroccan Lattice Stencil
  • My Sweet Petunia – MISTI
  • Heat tool
  • Hero Arts – Nesting Oval Infinity Die
  • Joy Clair – Wedding Wishes Stamp Set
  • Congratulations Die Cut
  • Double sided foam tape or Dimensionals
  • Prismacolor – Colored pencils