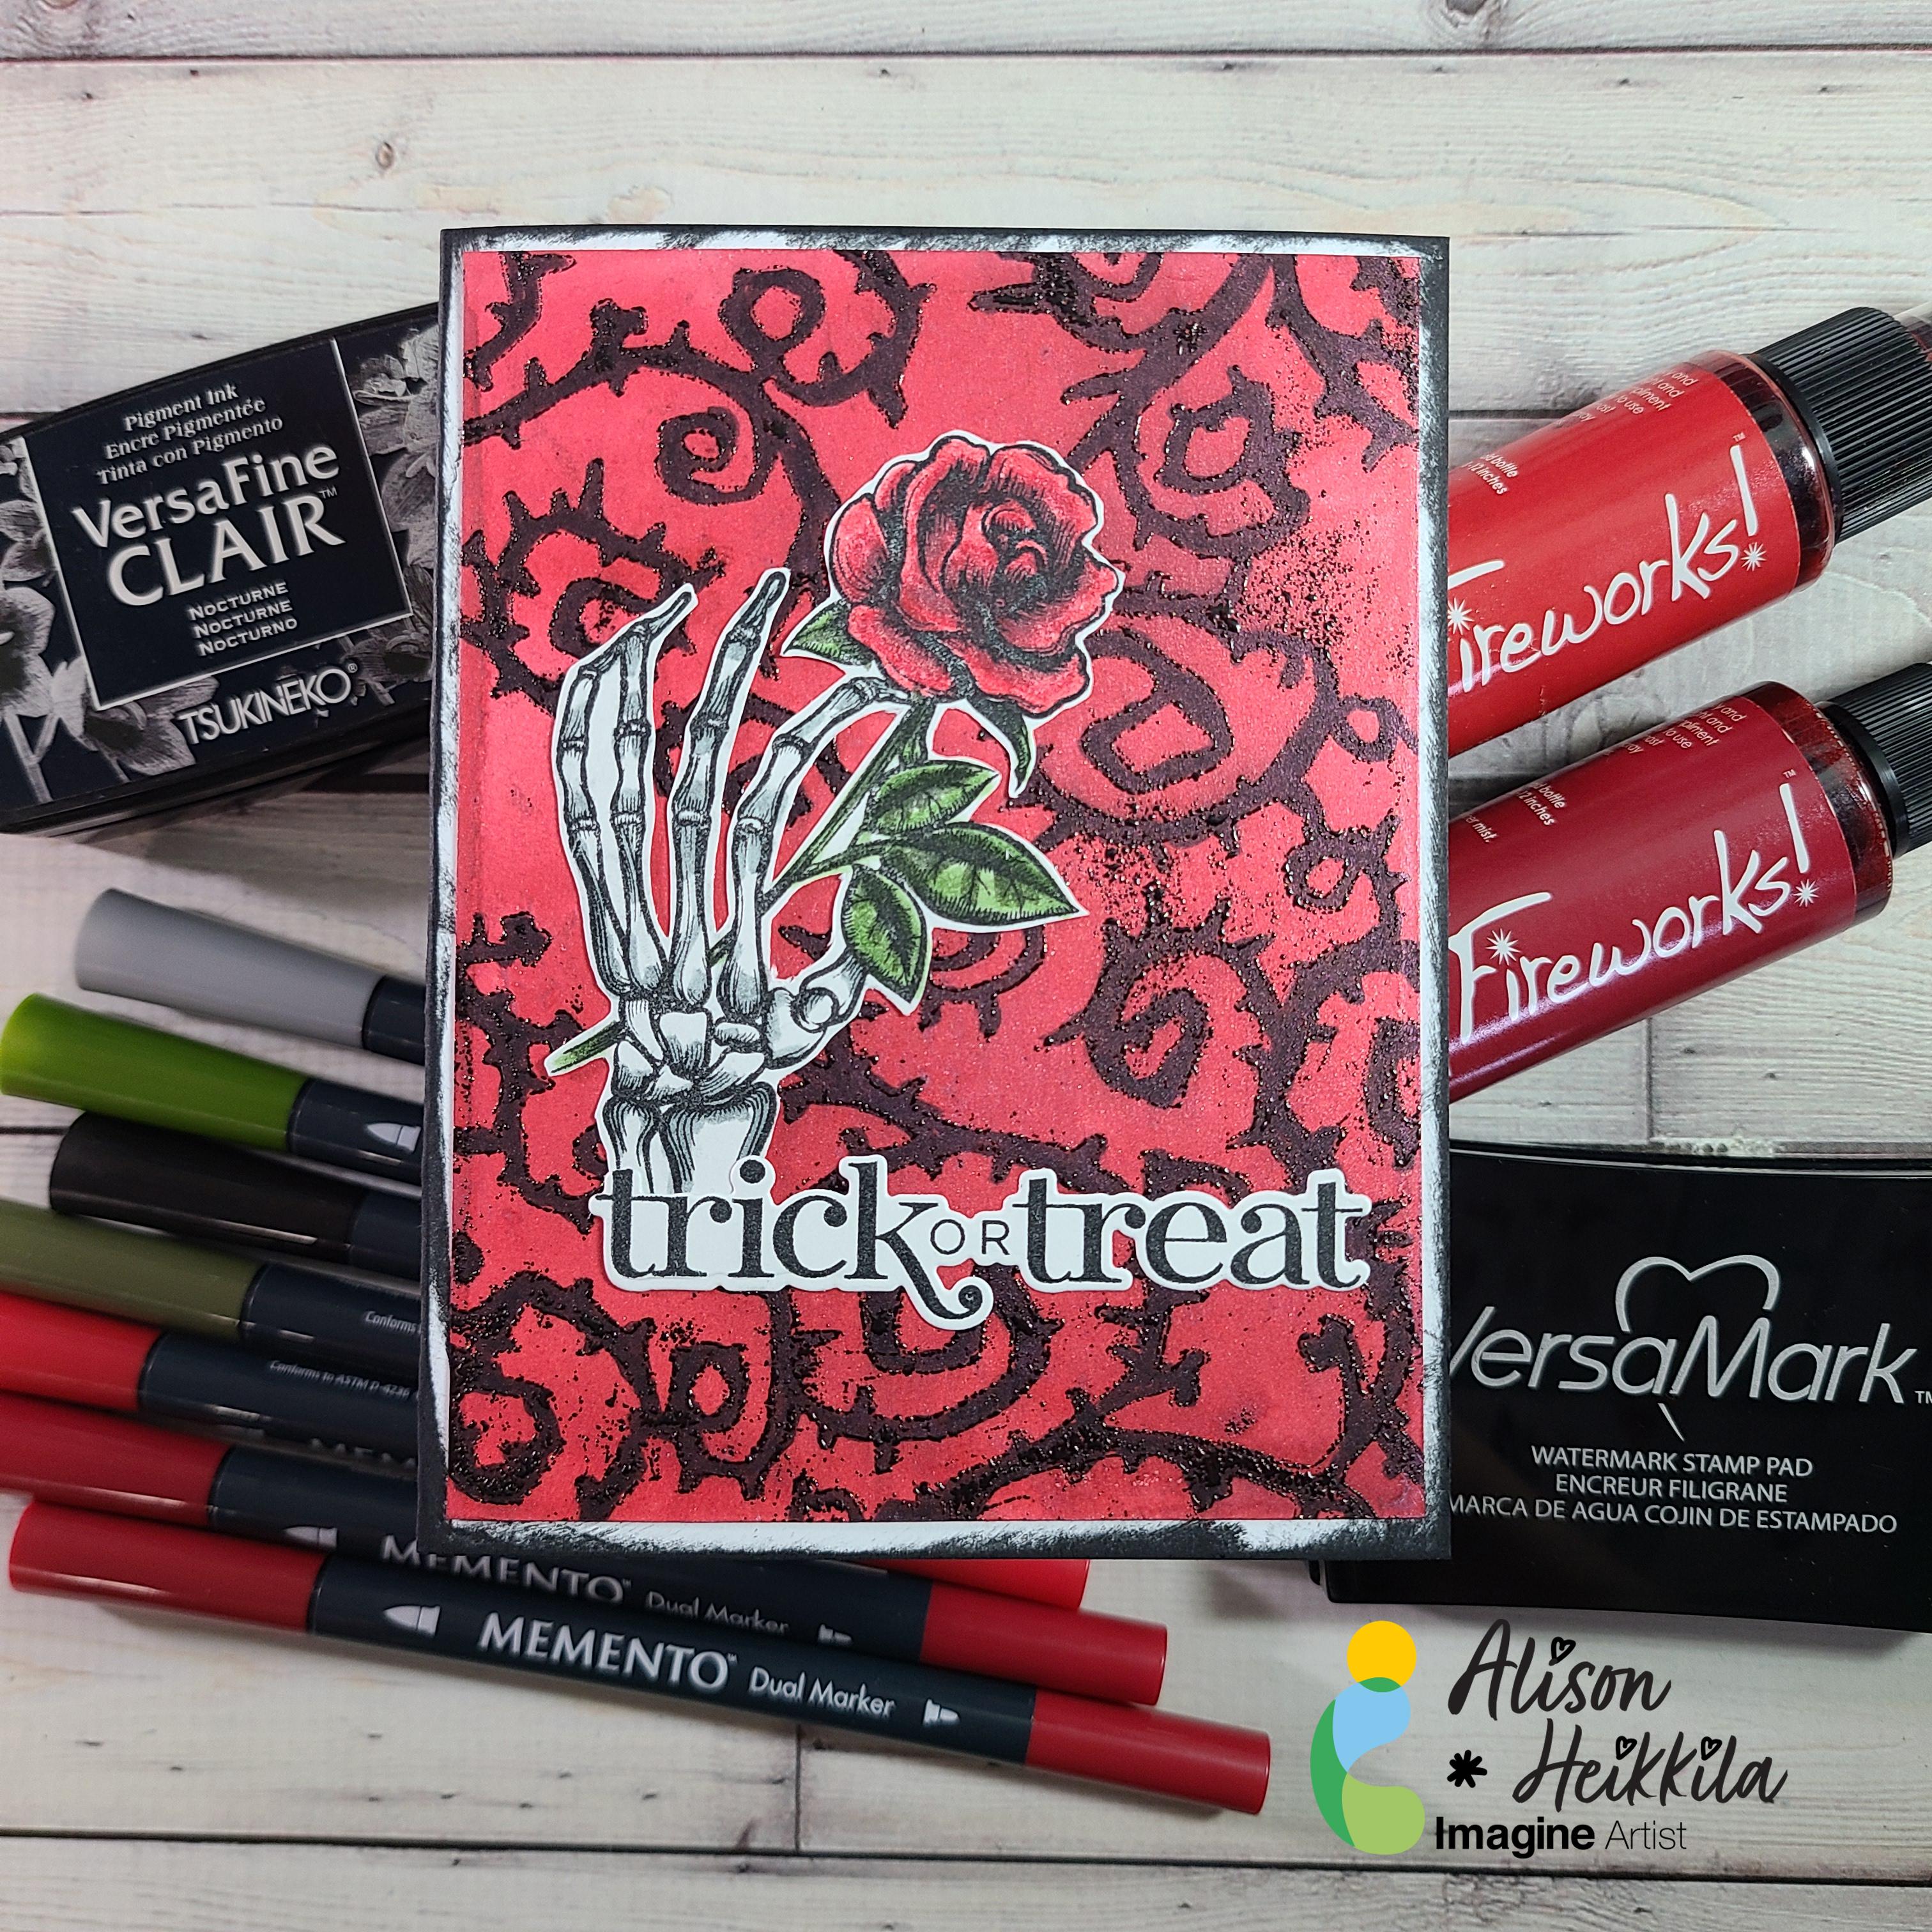
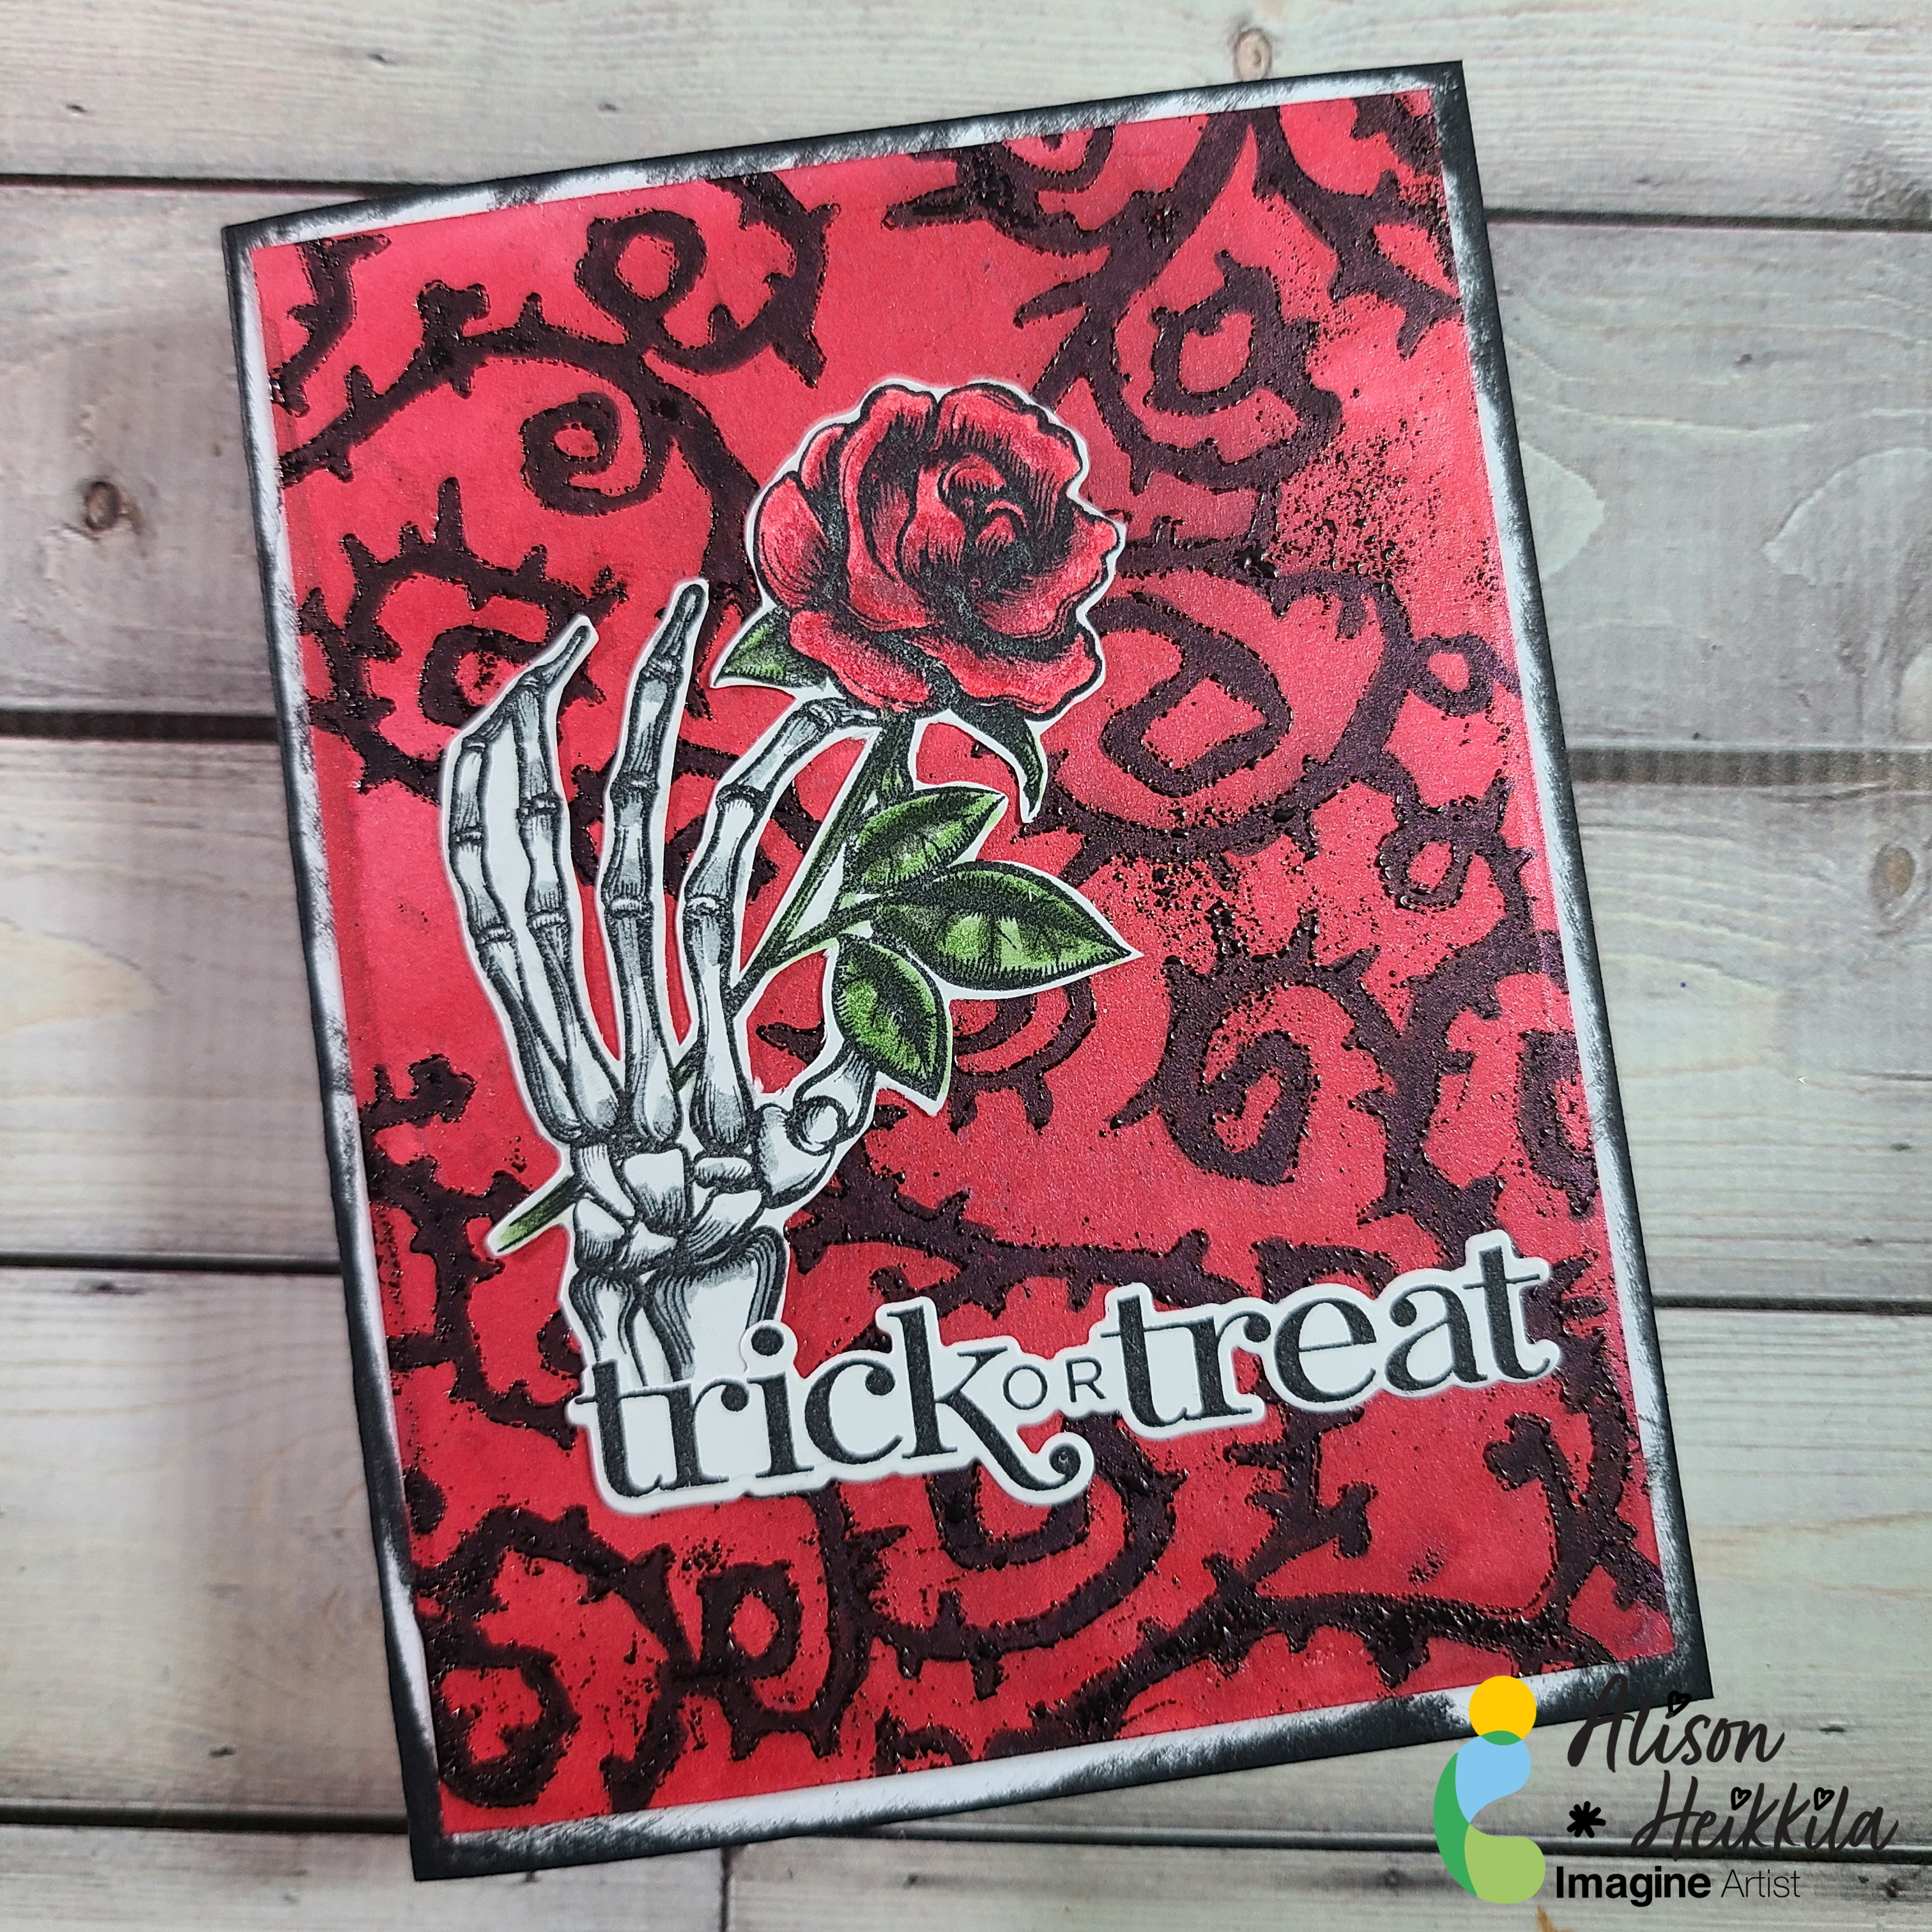
Hello friends! This is Linh (or LV Handcrafted on all the socials). Even though I’m eager for summer, I’m starting to think ahead to the holidays. While this isn’t a holiday card, I thought it might be a fun “just because” winter themed card. In my video today, I’ll show how I made this emboss resist panel for my background.
Last time we met we created a bunch of backgrounds together, using a few different inky mediums and a gel plate, along with some other supplies. This time we are going to turn one of those inky backgrounds into a lovely card. For the sake of time, we are only making one on screen, but I have 3 BONUS shaker cards to show you as well, so stick to the end!
Hello Friends! Katy here and today I am excited to share this really cool background technique.
In today’s video tutorial I am sharing how I use a 3D embossing folder and iridescent opaque Mboss embossing powder to create a wedding or anniversary card. The colors I chose definitely give me a beachy vibe and I am loving it!
Hello friends! This is Linh (or LV Handcrafted on all the socials). I’ve made this St. Patrick’s Day card featuring some messy embossing techniques. Embossing powders aren’t just for stamped images. They are fun for creating a distressed, mixed media effect as well!
Here I’ve swiped clear VersaMark ink on the border of black cardstock and embossed with gold. In my video, you’ll also see me use gum arabic and water to create a splatter effect and emboss with gold as well. (There’s some beautiful gold splatter beneath the leprechaun).
Hello friends and fellow crafters, LeeAnn here with a treat bag for Valentine’s Day that I created using vellum, cardstock, a stamp, a couple dies and some eat embossing.
Good morning! I have a new tutorial for you using the beautiful Silver Metallic Creative Medium. It is the perfect medium to add dimension to your cards, scrapbooks, journals or any paper craft! Today I am creating a Valentine’s Day card for you so let’s get started!
Skill Level: Medium
Time to Complete: 1.5 hour
Directions:
Step 1
Cut, score and fold a piece of red card stock to create an A2 top-folding card base. Die-cut a piece of white card stock using the scalloped rectangle from the Gina K Design’s Master Layout 4 die set. Cut a piece of black card stock to roughly 4.25” x 5.5”
Step 2
Tape your stencil to the black card panel. Using and Imagine Crafts Spatula and the Silver Metallic Creative Medium, swipe the medium over the entire panel. Remove and clean your stencil and allow panel to dry. Once dry cut the panel to 3 3/8” x 4.5”.
Step 3
Using the Lacy Layered Heart Die from Kat Scrappiness cut 2 white hearts, 1 red and use the solid heart die to cut a heart from black card stock. Now we will emboss one of the white hearts. Cover the heart with VersaMark watermark ink and then sprinkle with your choice of embossing powder. I used WOW Antique Silver Powder. After heat embossing I glued the two white panels together with On Point. The using Imagine Craft Mixed Media Brush I blended some Versafine Clair Nocturne Ink around the edges. Then offset the red heart and glue it on. This was then glued to the center of the black, solid heart.
Step 4
From the same red card stock cut three of the word LOVE from the Kat Scrappiness I Love You Sentiment w/Shadow. I cut the shadow from vellum. I spritzed the word LOVE with Sheer Shimmer Craft Spray in Silver. Cut the I and the YOU from black card stock and the shadows from white. Glue these together.
Step 5
I also cut a few hearts using the die from Concord & 9th’s Sweet Summer die set and the red card stock. I covered them with Glossy Accents and used them as embellishments. For assembly I glued the main heart towards the top of the stenciled panel. the words were glued directly to the heart. For any of the sentiment that hung over the edge, I added a small piece of foam tape. Foam tape was added to the entire panel and then adhered to the red card base.
Thank you so much for stopping by and checking out this tutorial. I hope you have an amazing crafty day and a wonderful Valentine’s Day!