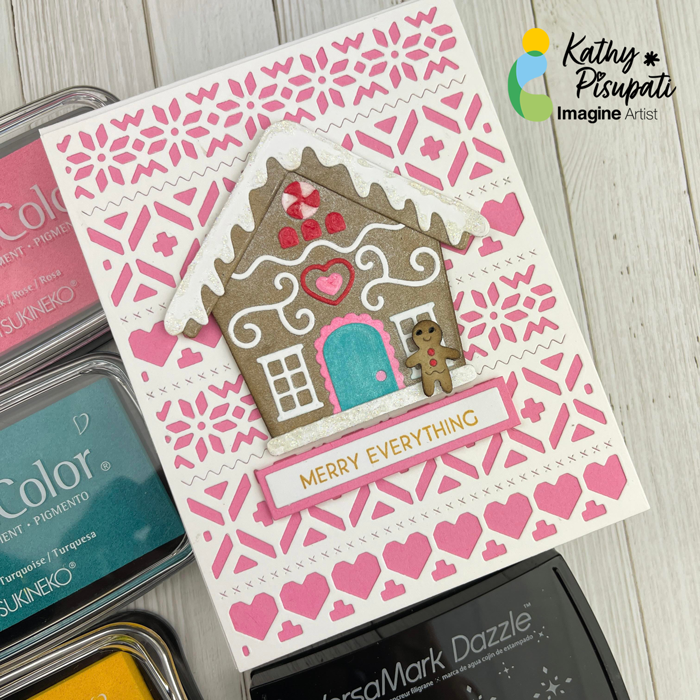
Good morning! Kathy here, creating art for Imagine Crafts! Today I have a new tutorial for you. Have you tried the VersaMark Frost ink? This was the perfect ink to provide a sugar-like coating to today’s Gingerbread card. The VersaColor inks make your die-cutting easy and stop the search for the perfect colored scraps!
So today I have a project for you that uses the VersaMark Frost and VersaColor Inks. So, let’s make a card.
Skill Level: Intermediate
Time to complete: 1 hour
Step 1
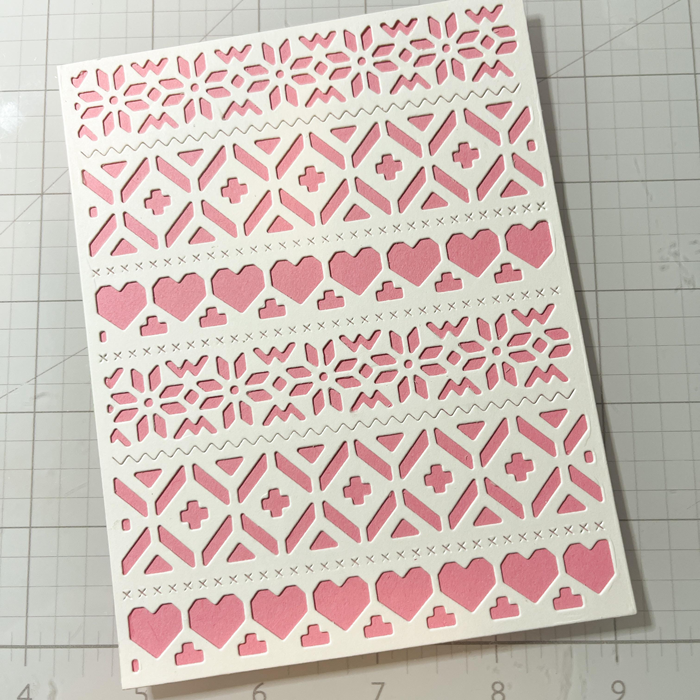
You will need a top-folding card base measuring 4 1/4 x 5 1/2“. You will also need a piece of colored card stock measuring 4.25” x 5.5” and another piece of white, layering card stock the same size.
Using Maker’s Movement A2 Sweater Cover plate, die-cut the white card stock and and adhere to the colored card with On-Point liquid glue. Adhere the entire panel to the card base with Tear-It! Tape.
Step 2
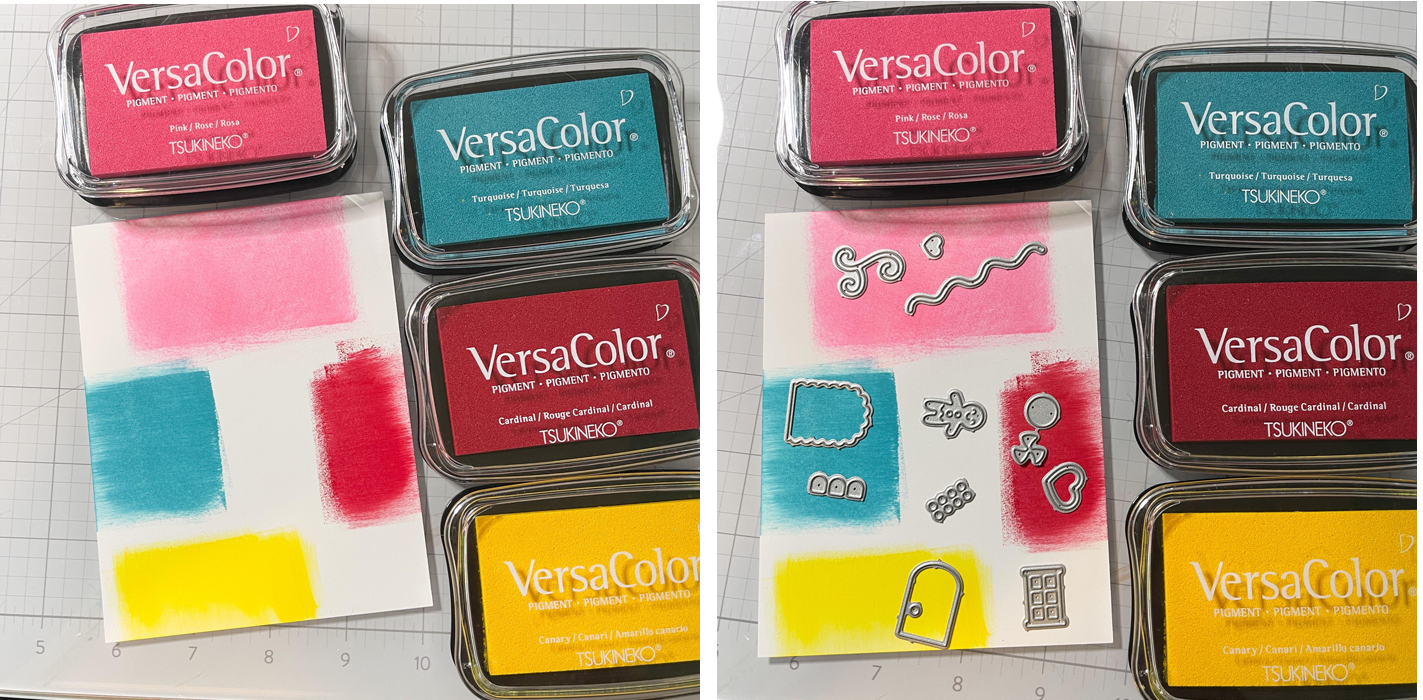
I inked a piece of scrap card stock with a variety of VersaMark Inks. I allowed this panel to dry. This is a quick way to small pieces of colored card stock for small die-cutting.
Step 3
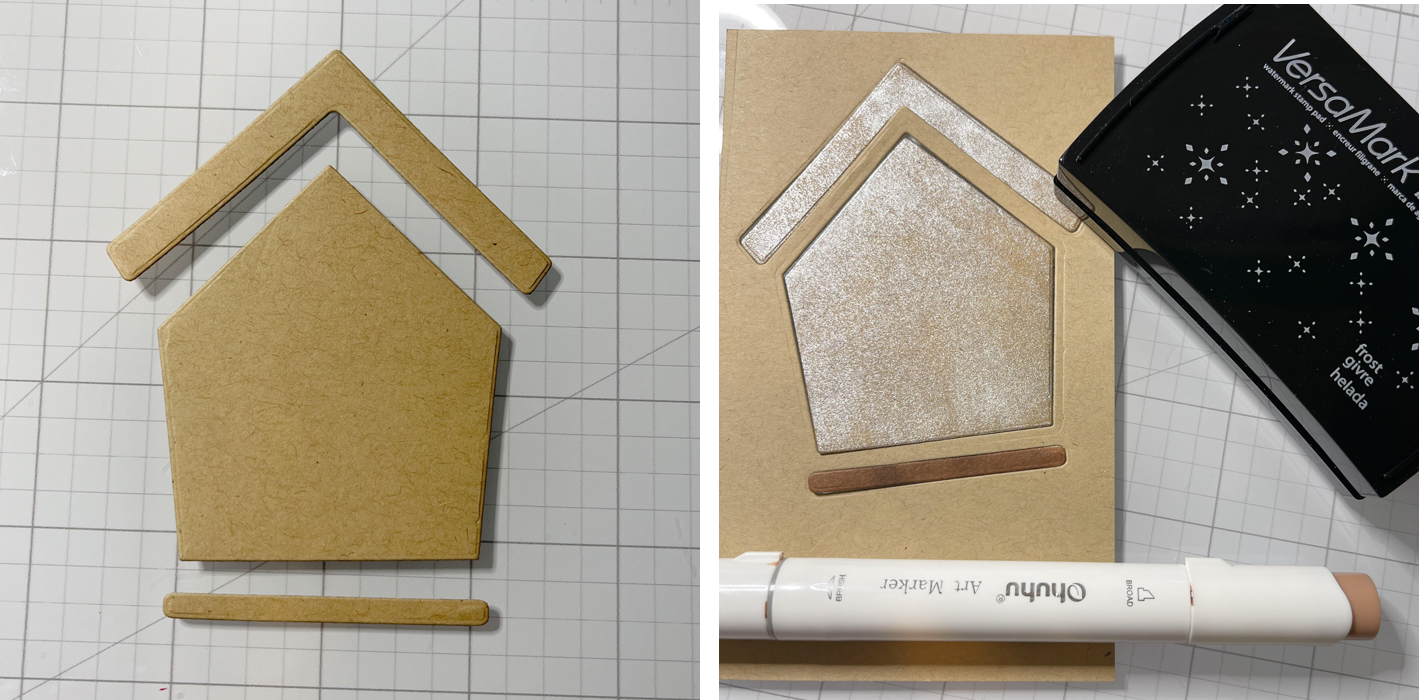
Cut the Gingerbread House from a piece of Kraft colored card stock. Then use the VersaMark Frost ink to apply a “sugar coating”. This is what I am calling it. The picture doesn’t do it justice but it sure looks sugar coated in real life!
Step 4
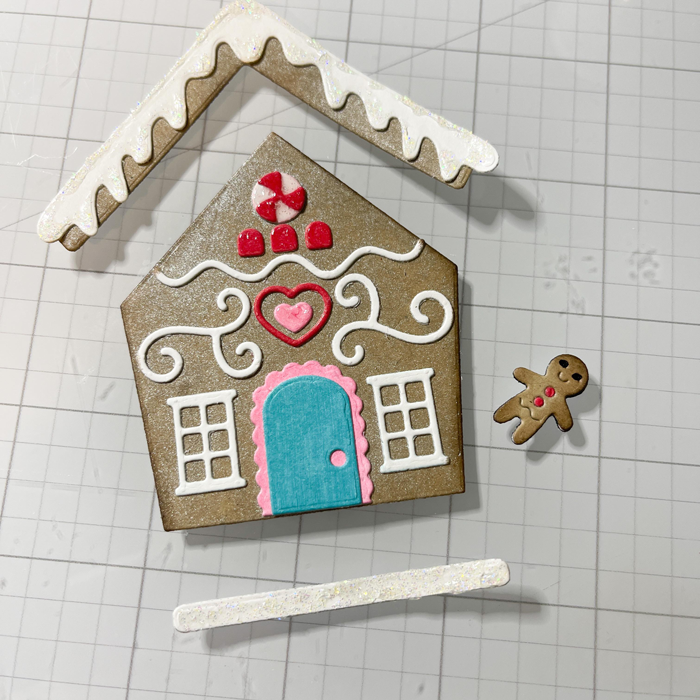
Now it’s time to cut all the cute little pieces from this Gingerbread House set. I added some Glossy Accents to some pieces, some shimmer pen to others and did a little ink blending around the house and the gingerbread man. I also added a glitter glue to the snow on the roof and the ground.
Step 5
Stamp a sentiment and add a shadow to the strip. I used Delicata Golden Glitz ink for my sentiment. Now you can assemble your card. The house, gingerbread man and sentiment were all adhered with foam tape.
I hope you enjoy this card and the tutorial. Thanks for stopping by I appreciate all of you!
Hello Friends! Katy here and for todays project I am sharing a few simple gift card envelope holders, great for the holidays or really any gift giving occasion.
In todays video tutorial you will see how easily these envelopes came together using some Memento and Delicata Inks. Using an envelope die makes quick work of this project and will give you more time to enjoy the holiday season.
I hope you enjoy and are inspired to take those plain gift cards and create an envelope to dress them up.
Hello there! Today’s tutorial is to show you how easy is create texture with Memento Inks. This is a very simple process that you can create with a score lines and or embossing folders. On this card, I used Memento Ink Desert Sand, Peanut Brittle and Teal Zeal.
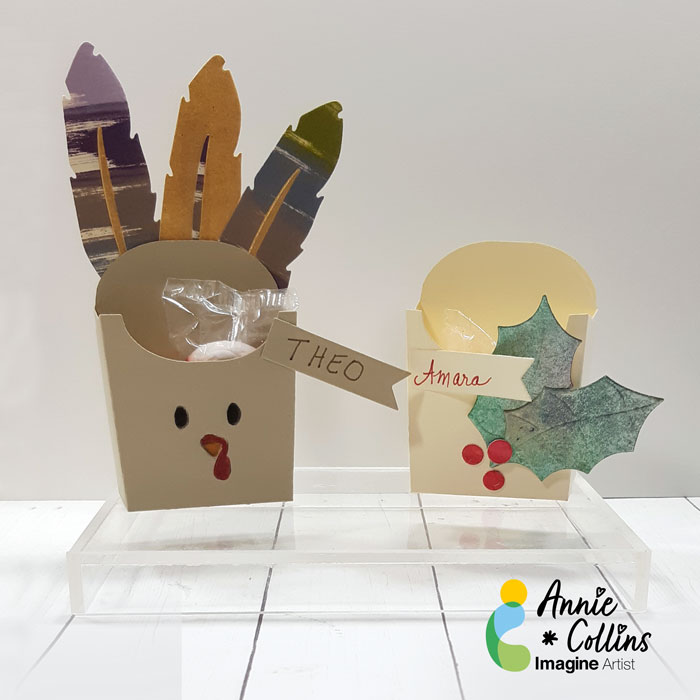
Hello Friends! Katy here and today I am creating place cards for my Thanksgiving table. Now I know some people may not do this, but I have added a bit of a twist to mine. On the inside I have included some encouraging and uplifting sentiments to let my loved ones know I appreciate and love them and that I am thankful and grateful to have them at my table for the holidays. Just a little something to make them smile this holiday season.
In today’s video tutorial you will see how easily these cards came together using some Memento Inks and I also share where my inspiration came from. I also mention these would be great tombstones for Halloween!
I cut a piece of heavyweight white card stock 2 3/4 inches wide by 8 inches long and scored at 4 inches and then used the number 8 arch die within the Spellbinders Essential Arches layering dies.
To create the card simply fold the card at the score line and place the arch of the die a bit above that folded line so the die is off the top of the card stock and then run it through your die cutting machine.
The video below has all the details. I hope you enjoy and are inspired to add some inspirational place cards at your table this holiday season.