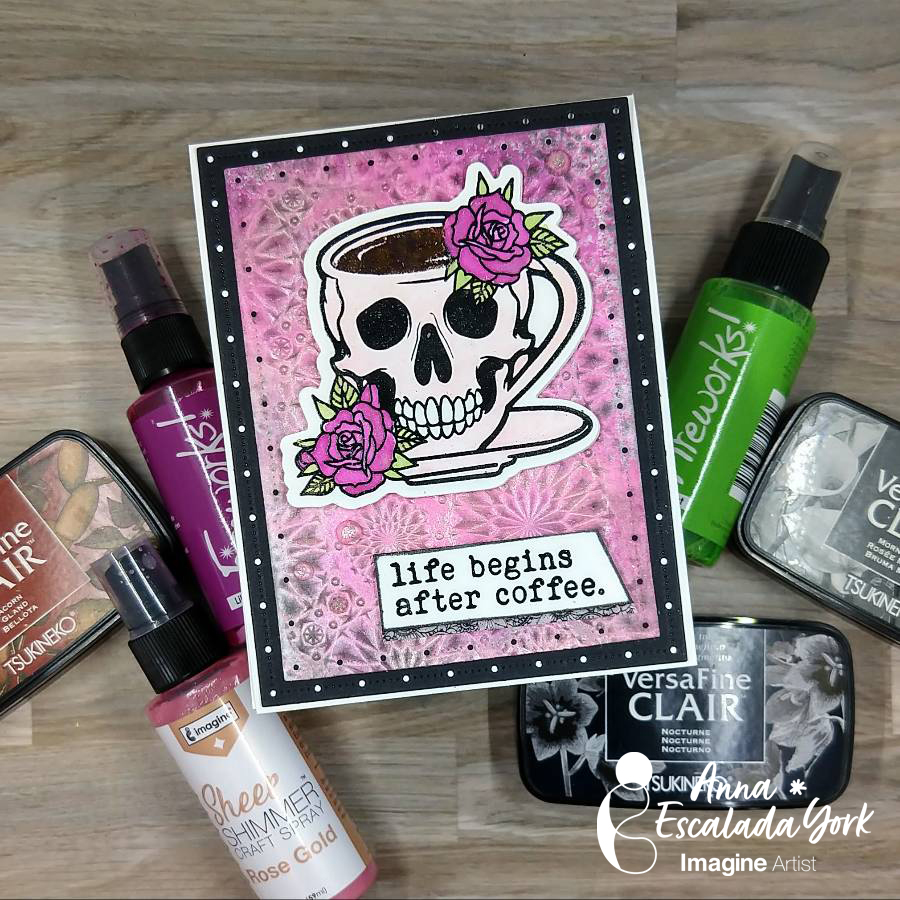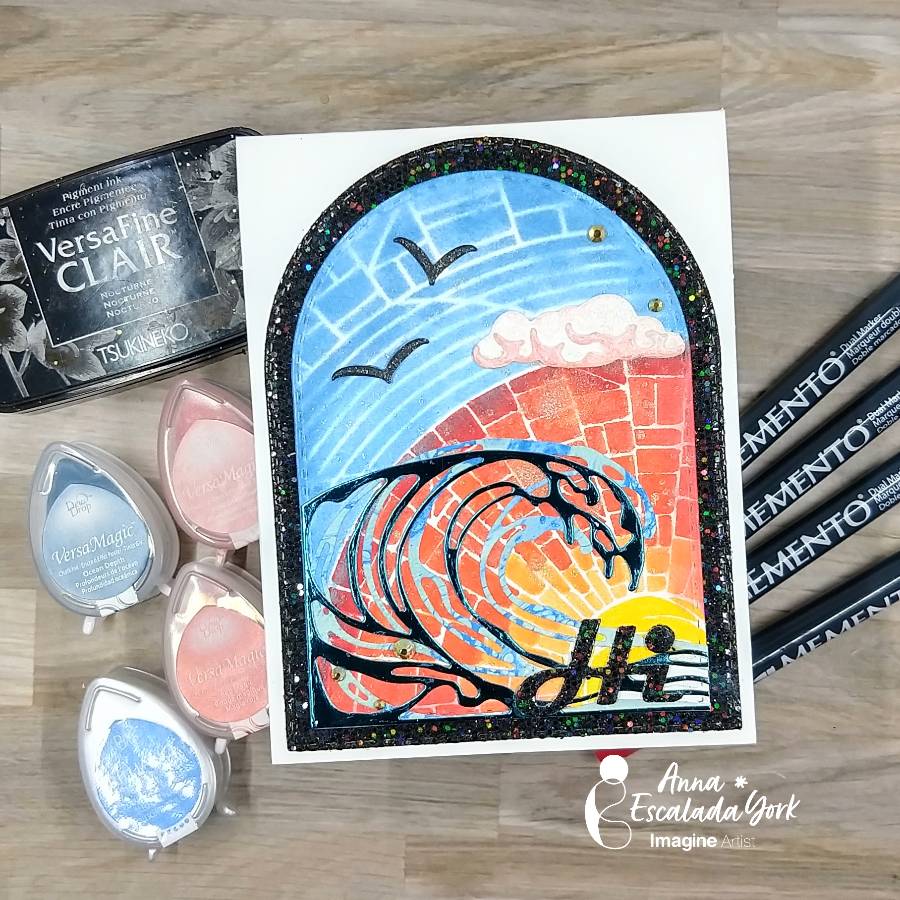
By Anna Escalada York
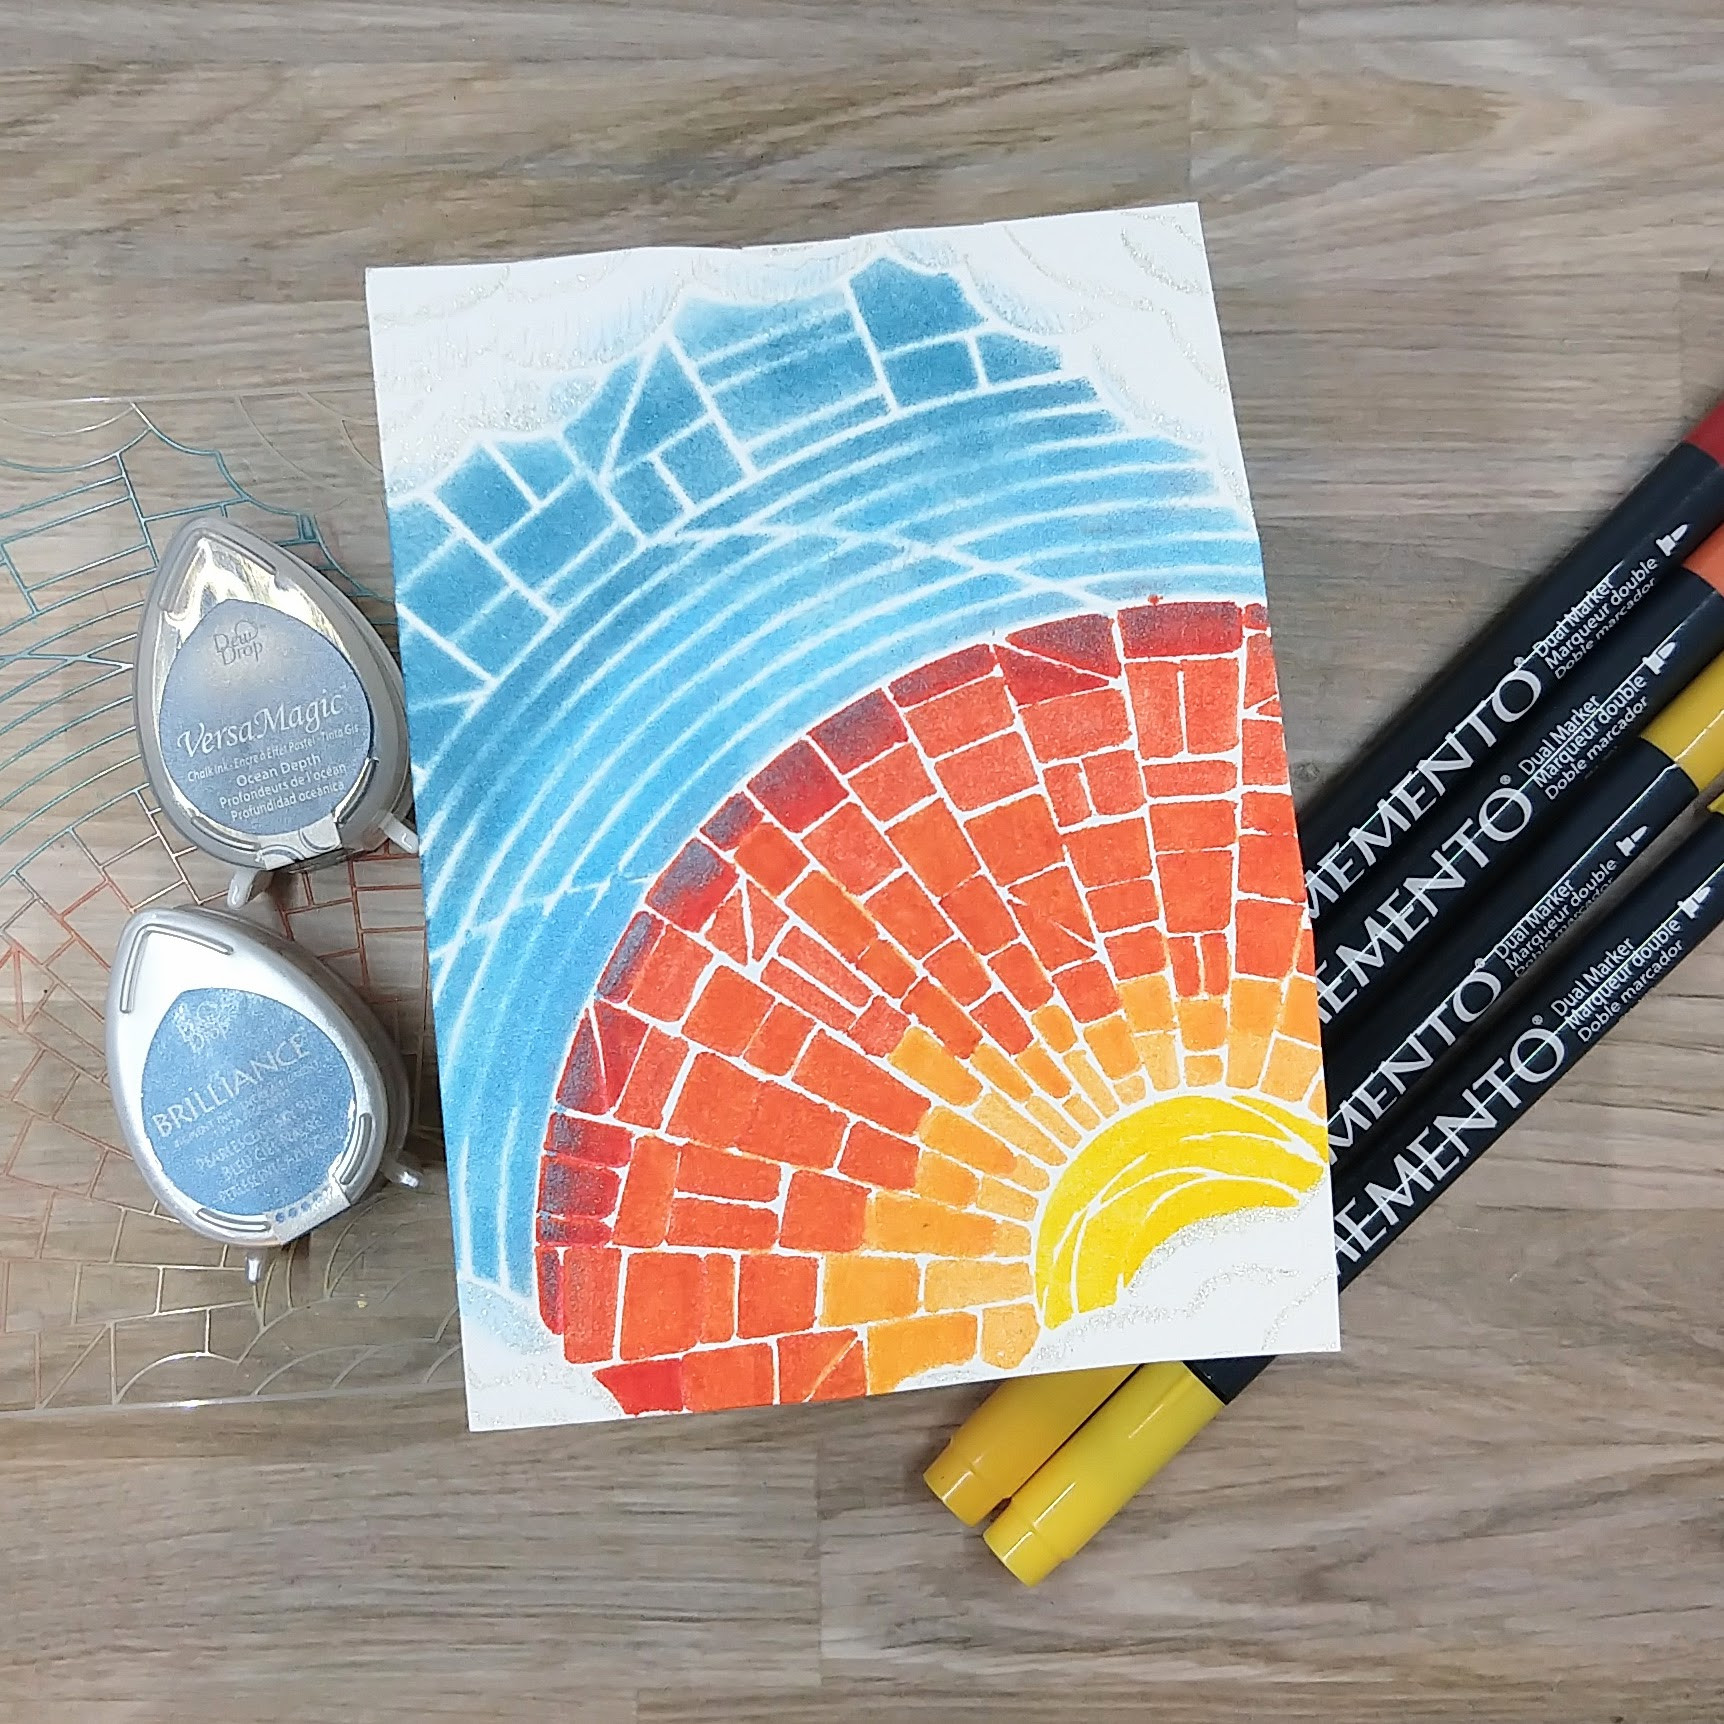
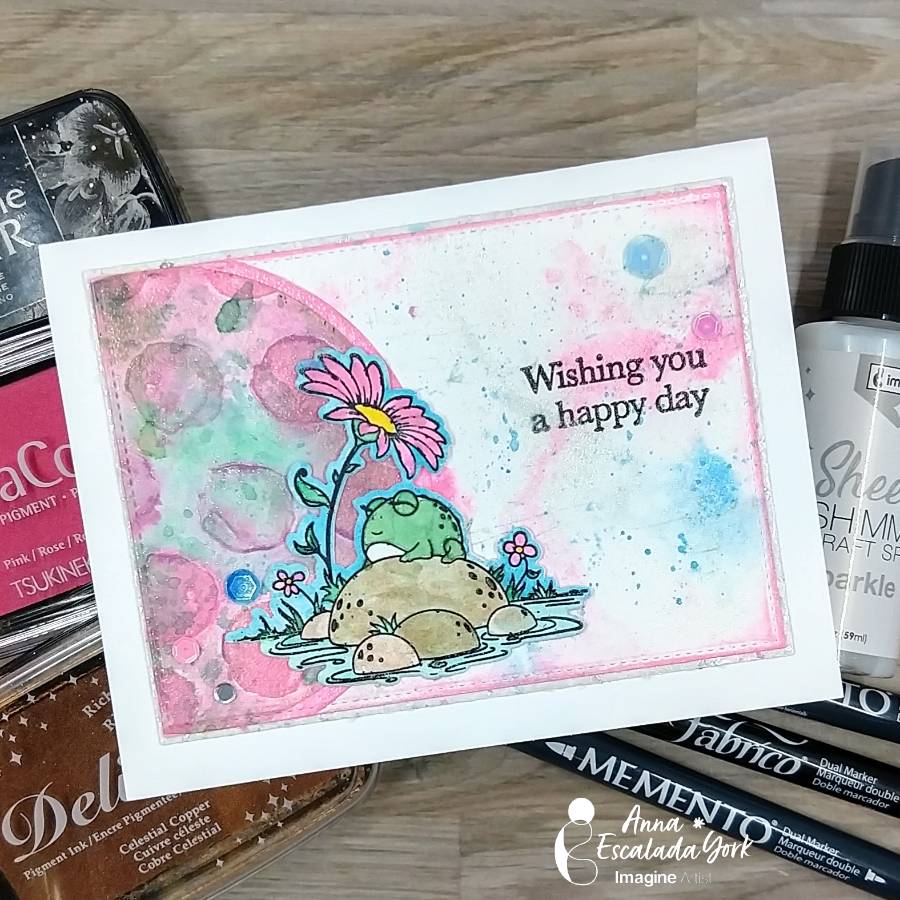
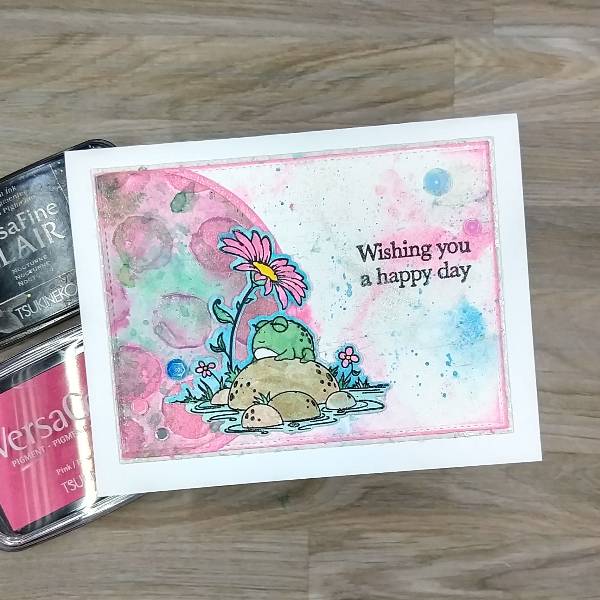
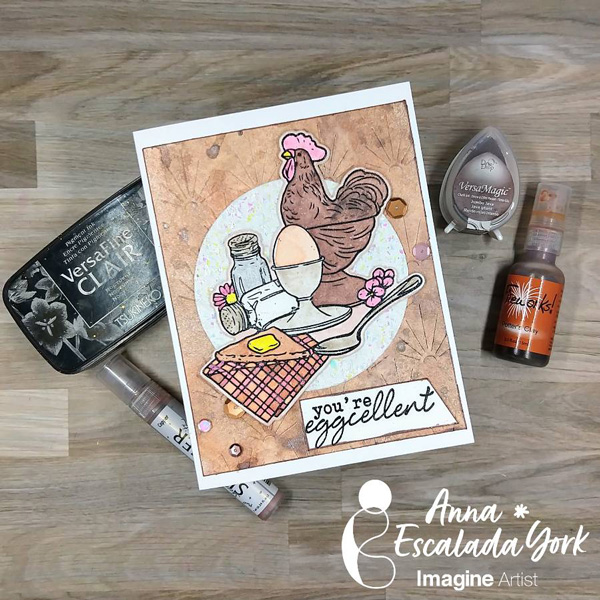
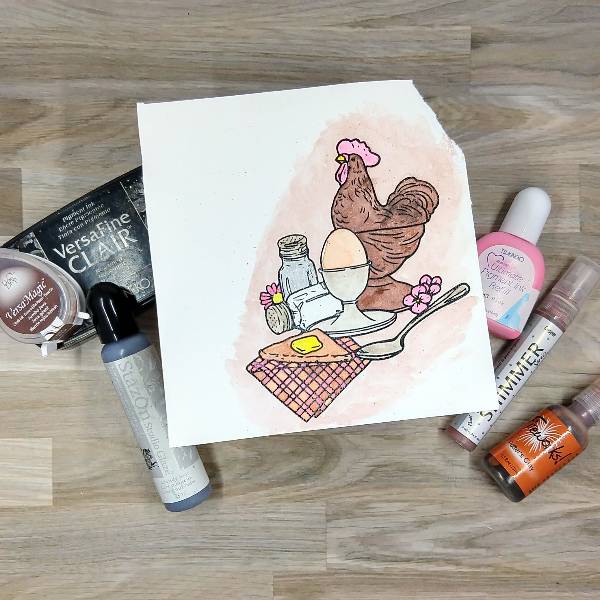
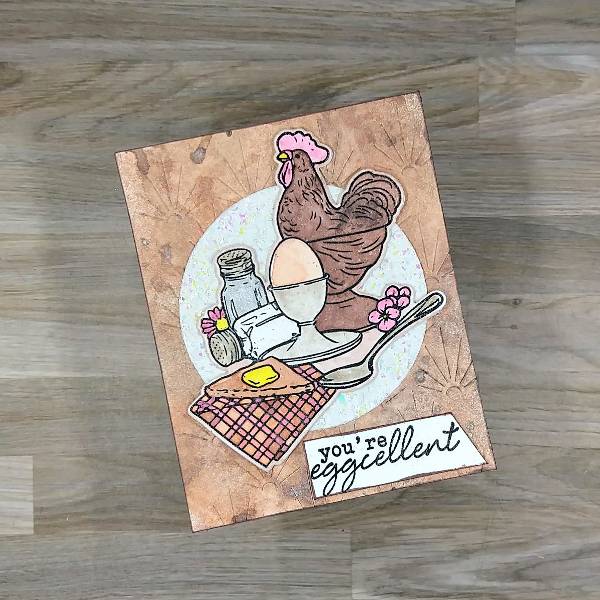
In today’s post, I made a card featuring earthy colors.
Skill: Intermediate
Time: 1.5 hours
Directions
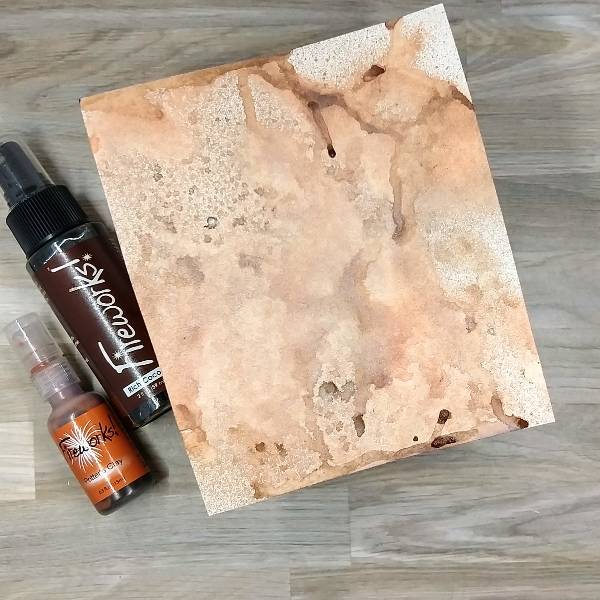
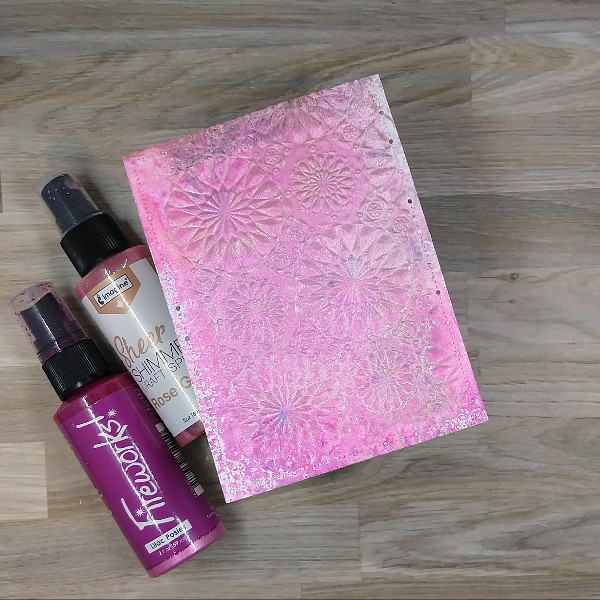
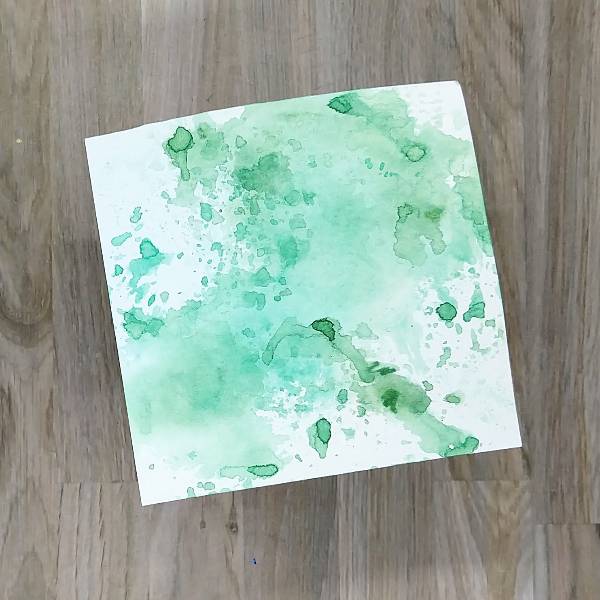
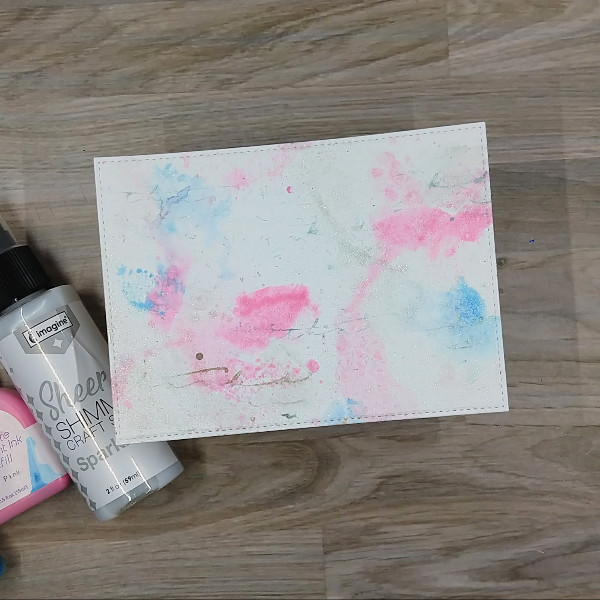
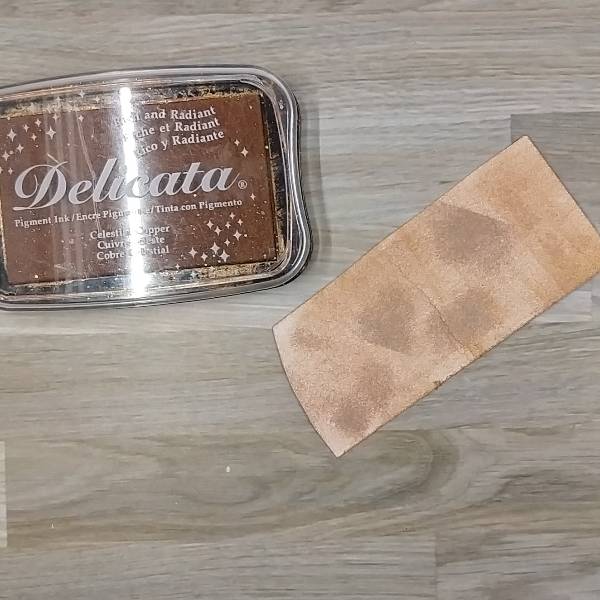
Step 1:
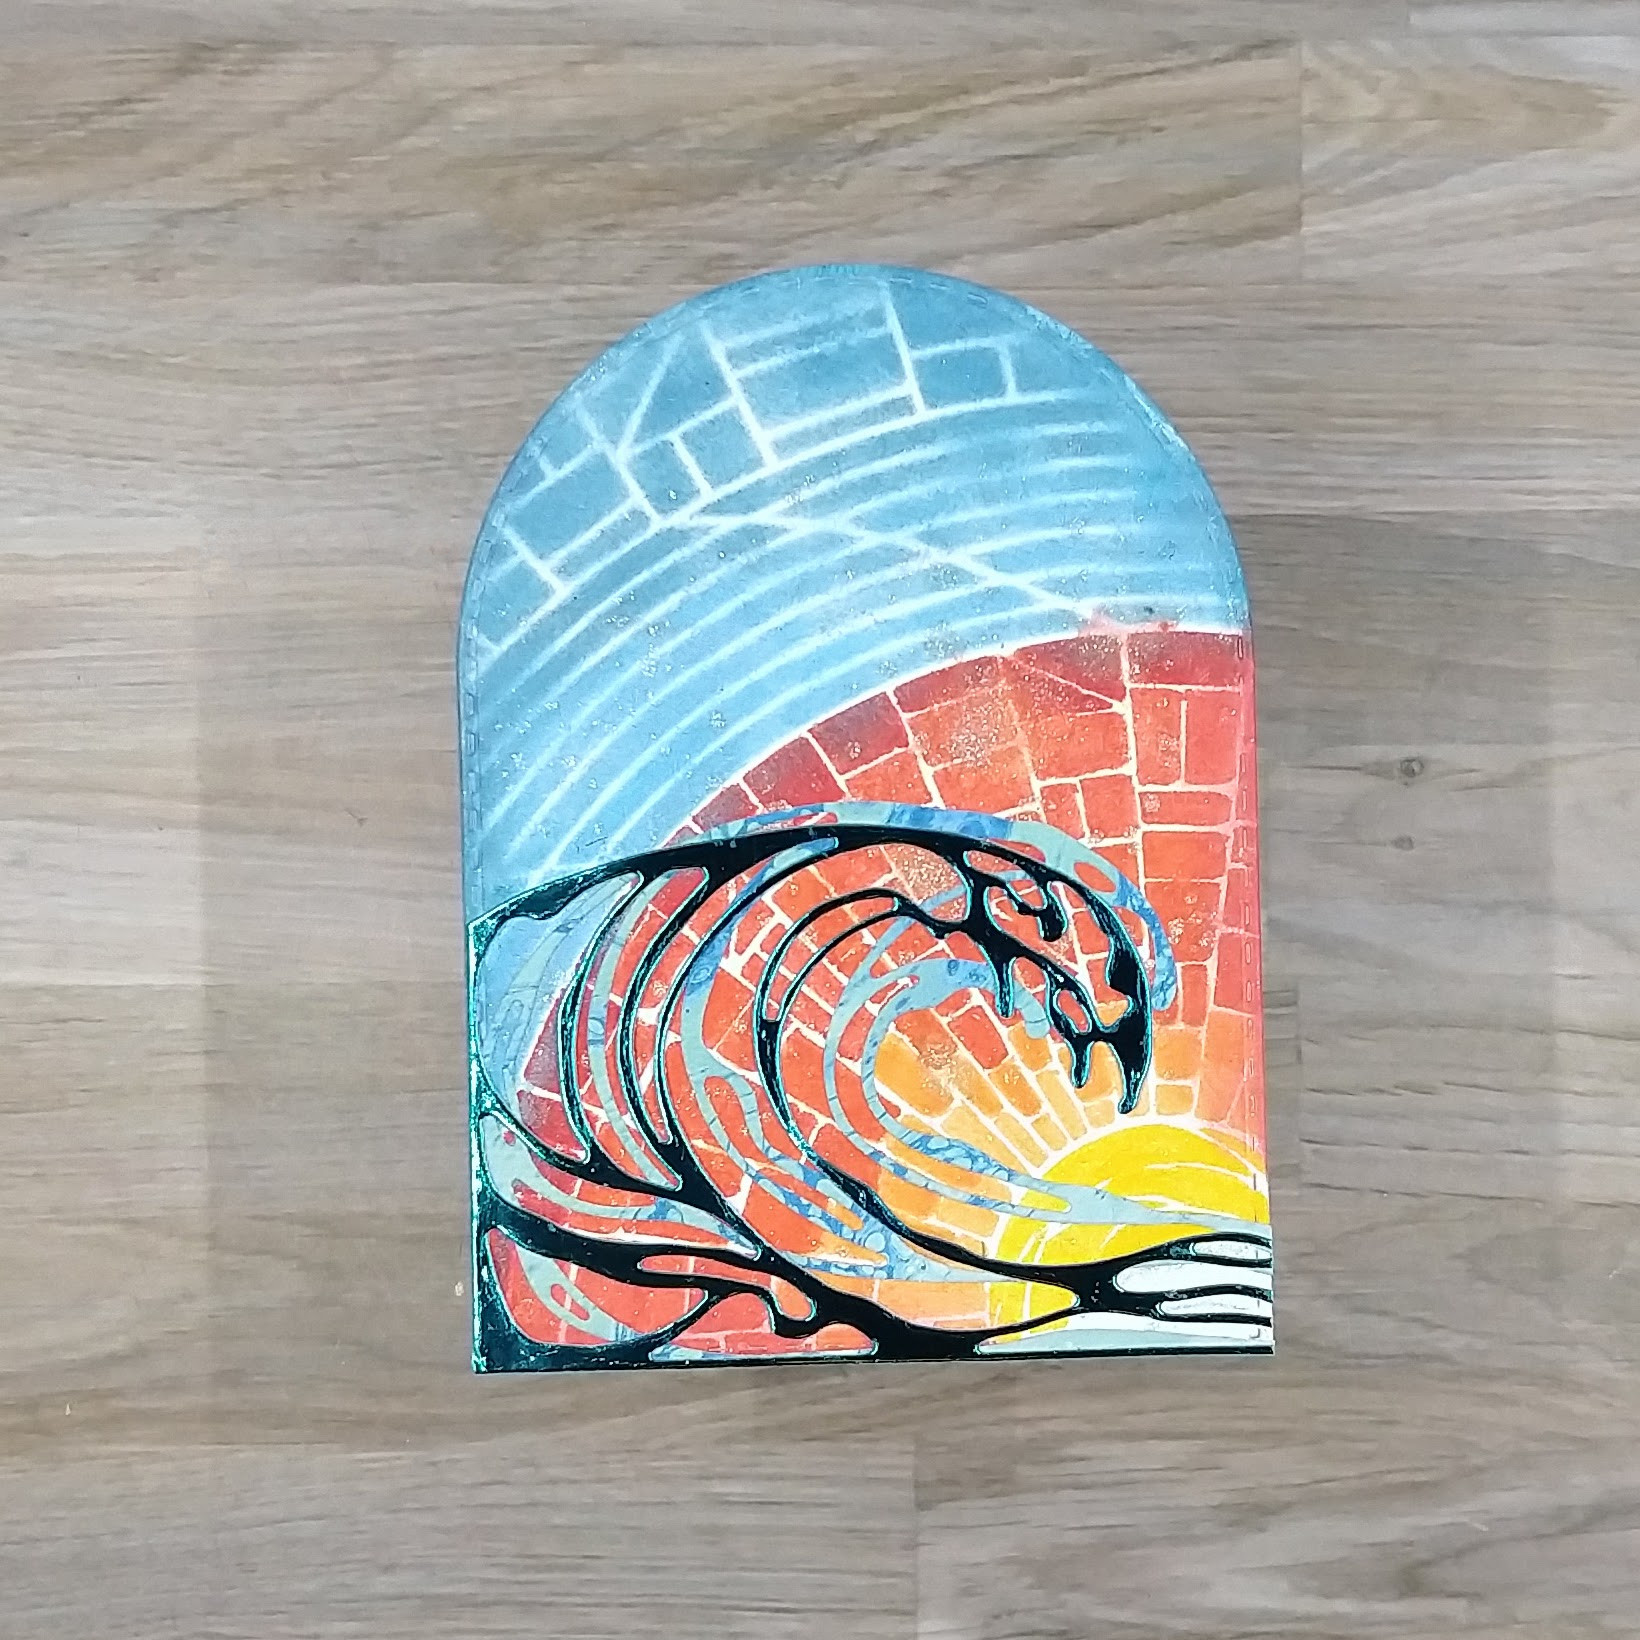
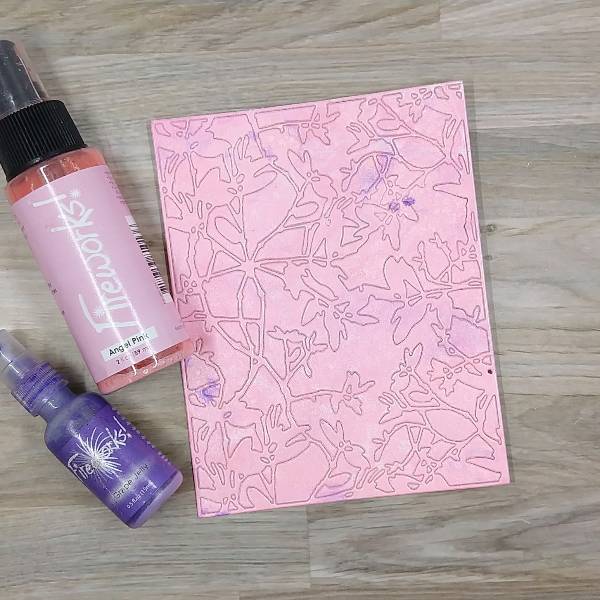
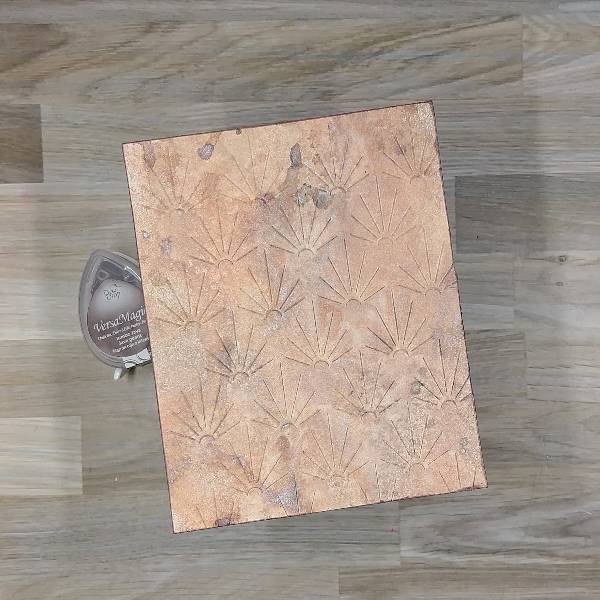
Spray a piece of watercolor paper with Rich Cocoa and Potter’s Clay Fireworks! Spray.
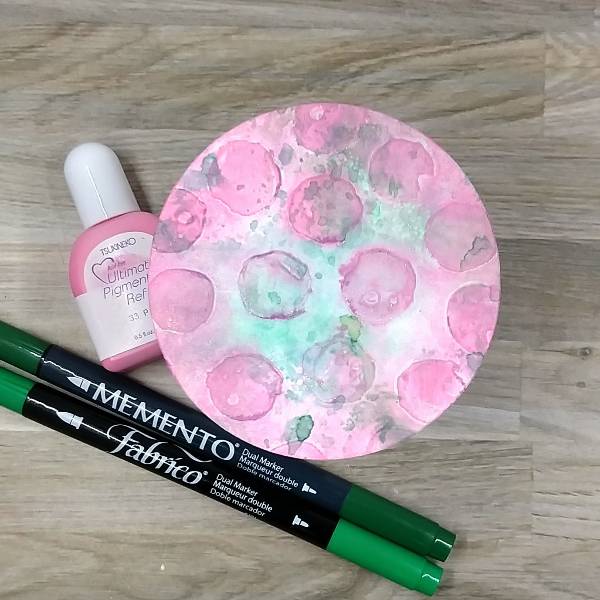
Step 2:
Die cut the sprayed panel with a panel die.
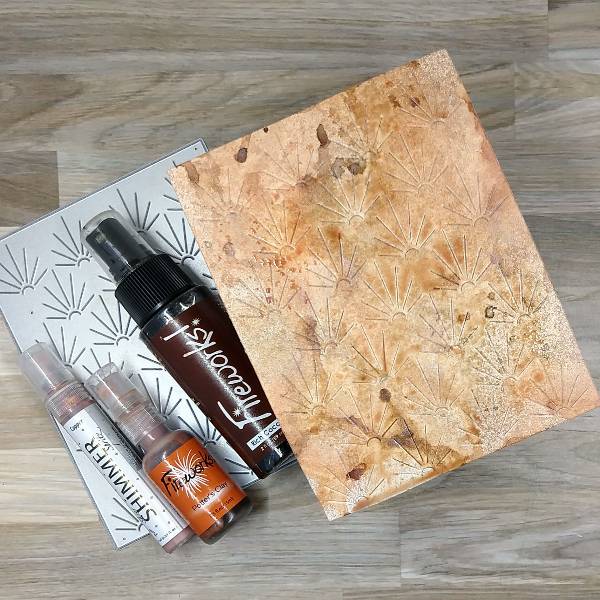
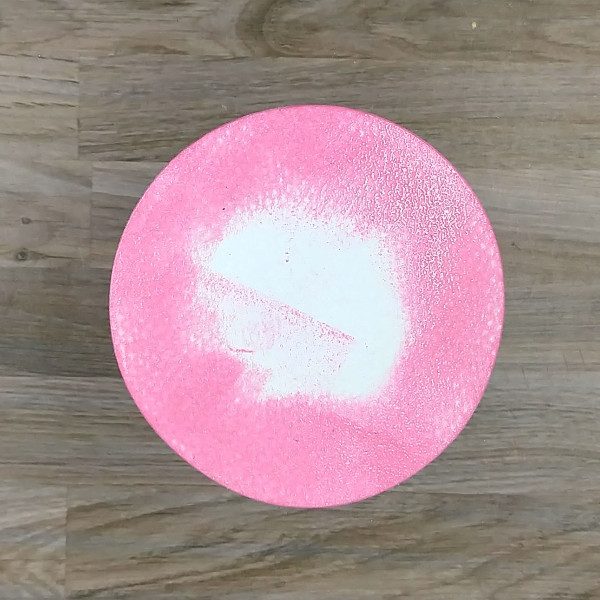
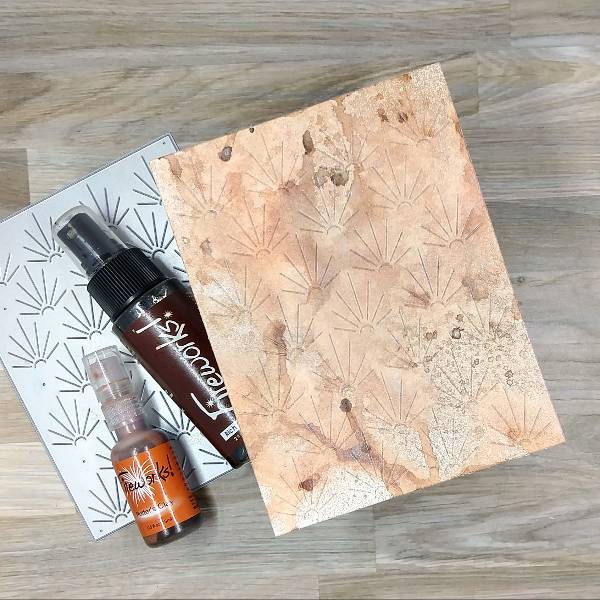
Step 3:
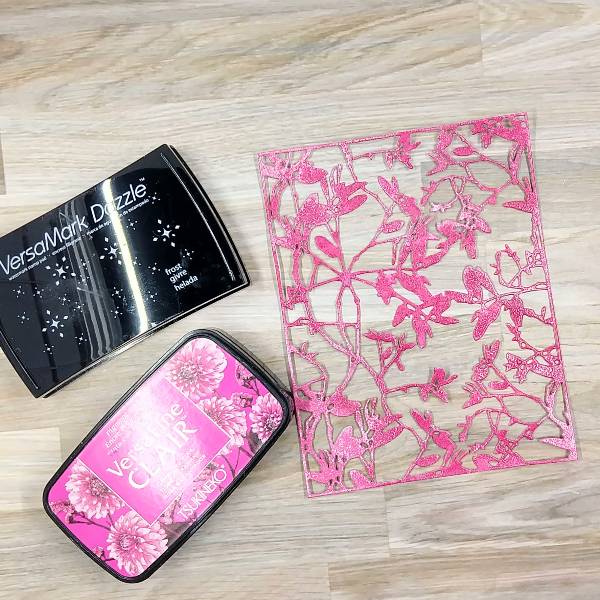
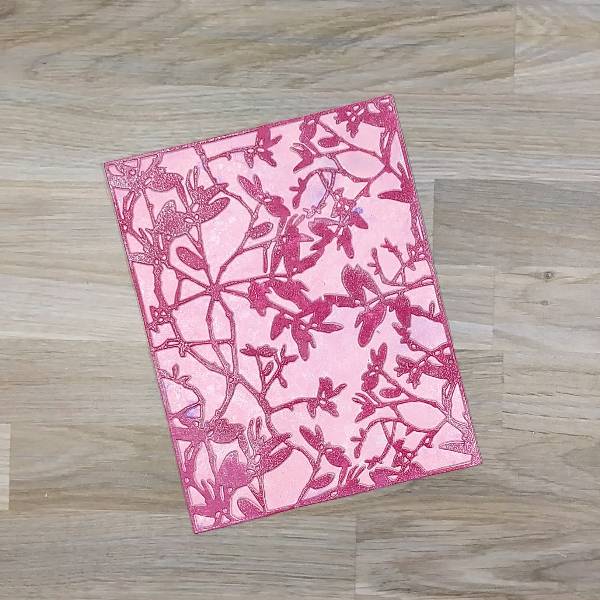
Spray the same panel with Copper Shimmer Spritz spray.
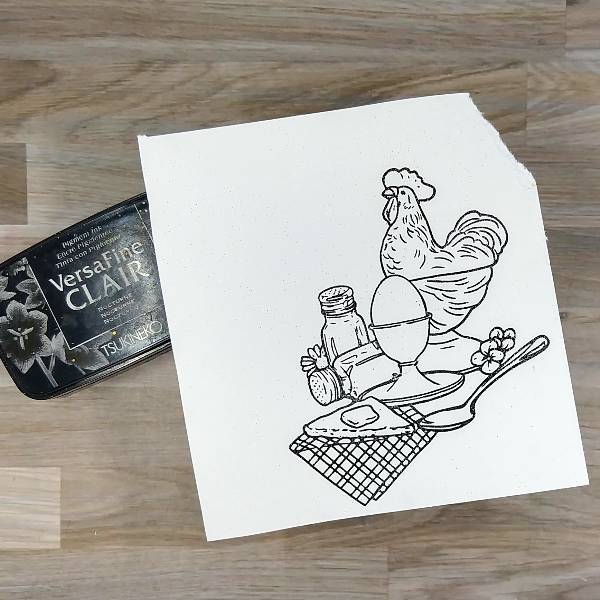
Step 4:
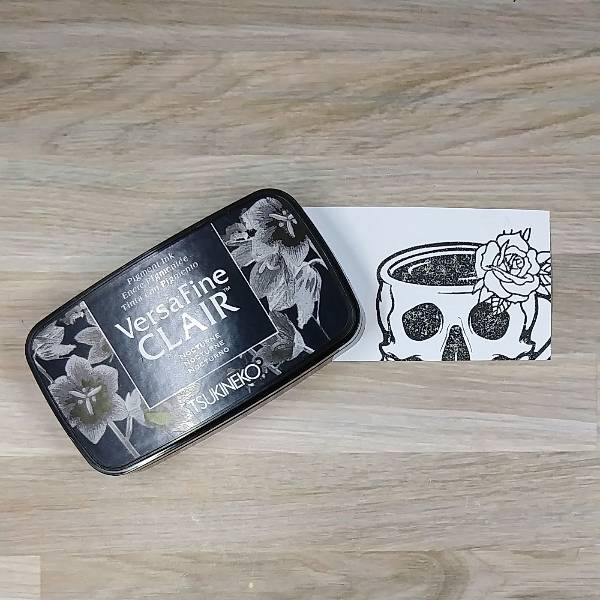
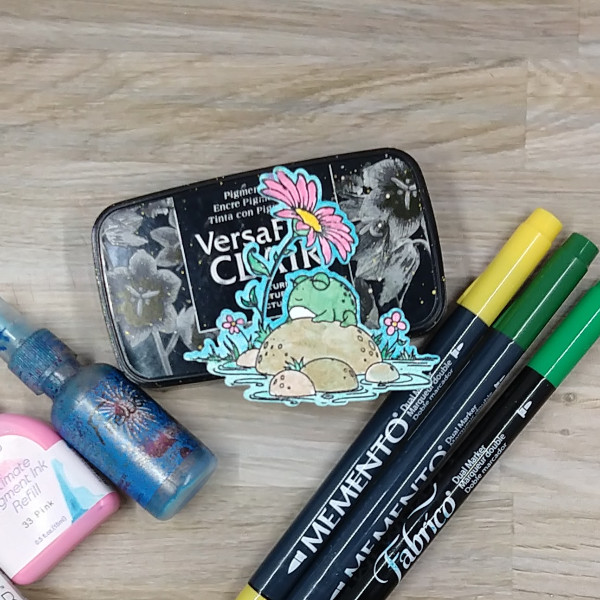
Stamp another piece of watercolor paper with Nocturne VersaFine Clair ink. I chose to heat
emboss the image with clear embossing powder.
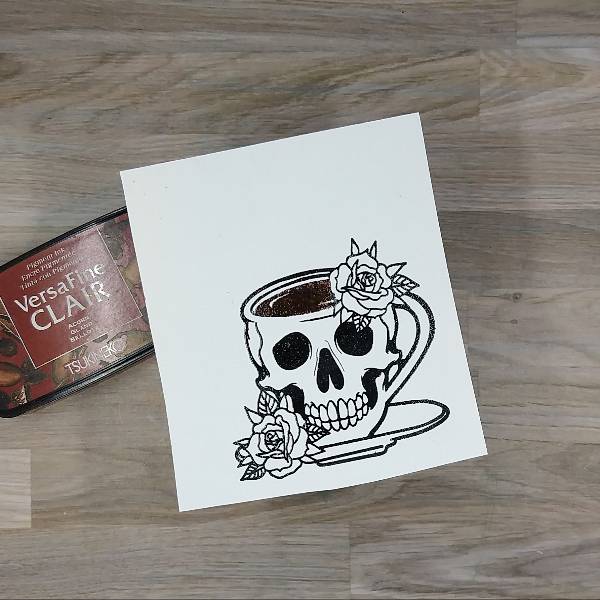
Step 5:
Color the image. I used a variety of mediums mixed with water to color the image.
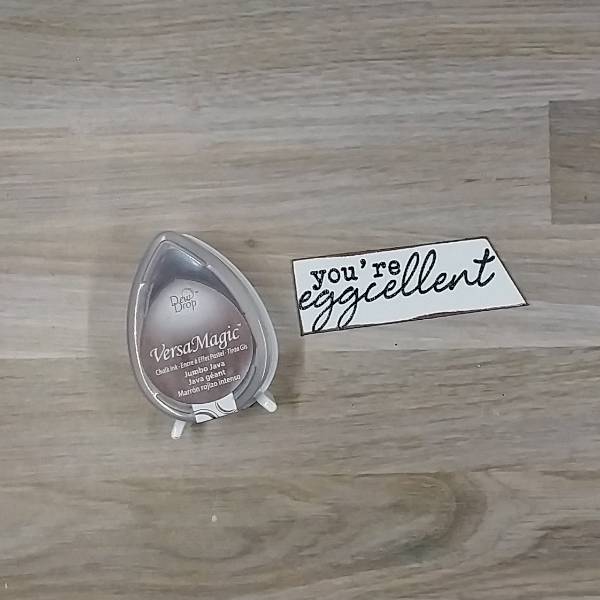
– I colored the rooster jar with Jumbo Java VersMagic Chalk Ink mixed with water.
– The salt and pepper shaker tops, the egg holder and spoon with Cloudy Sky StazOn
Studio Glaze mixed with water.
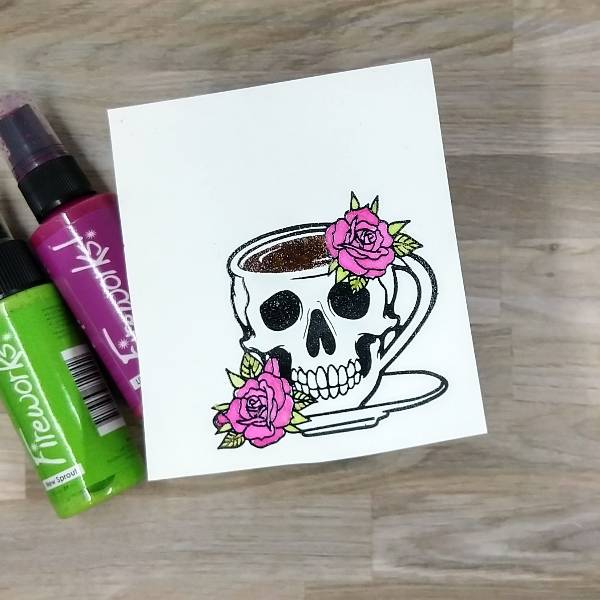
– The rooster’s comb and wattles plus the flowers and the pink parts of the napkin with
Pink VersaColor Pigment ink refill mixed with water.
– Potter’s Clay Fireworks! Spray mixed with water was used to paint the toast, the napkin,
the egg and the background.
– I used a yellow glitter brush marker to color the beak, butter, and the center of the
flowers.
– I painted some Copper Shimmer Spray over the rooster.
Finally, I added some sparkle with a sparkle pen on the salt and pepper shakers.
Step 6:
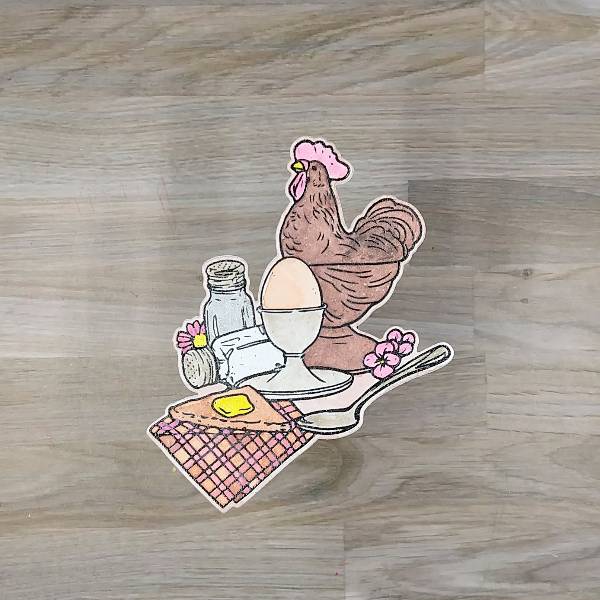
After the stamped image dried, die cut the stamped image with the corresponding die.
(Optional step: Die cut a scrap piece of cardstock and glue this scrap die cut behind the
stamped and colored layer for dimension and strength.)
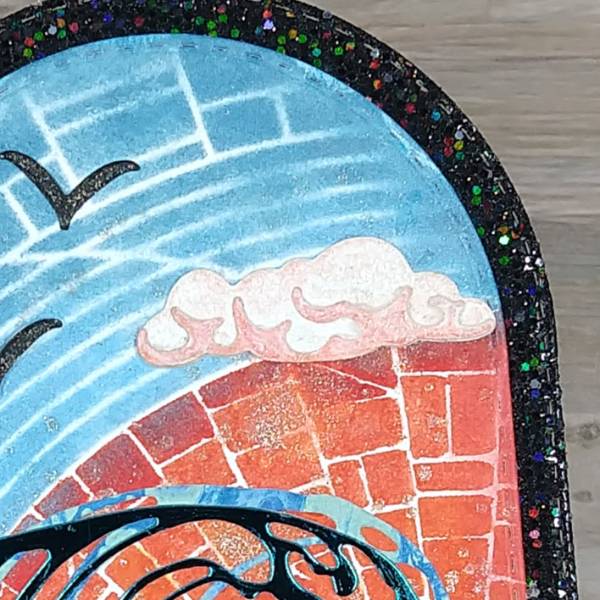
Step 7:
I used my paper trimmer to trim the panel. I then ran my Jumbo Java VersaMagic Chalk Ink
around the edges of the panel to create a border.
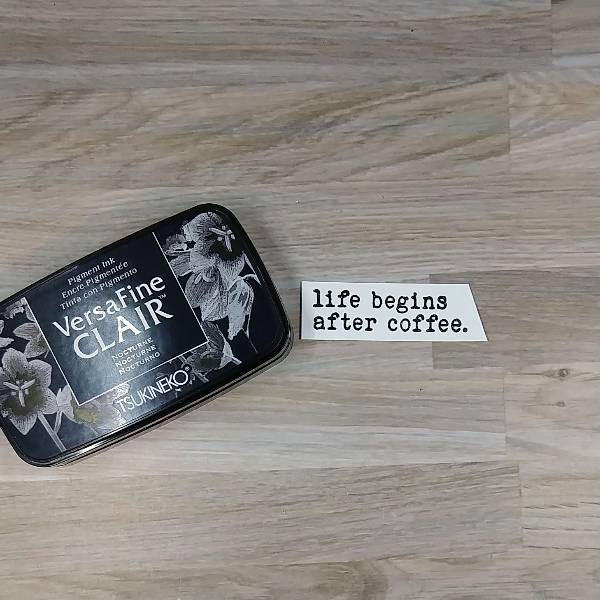
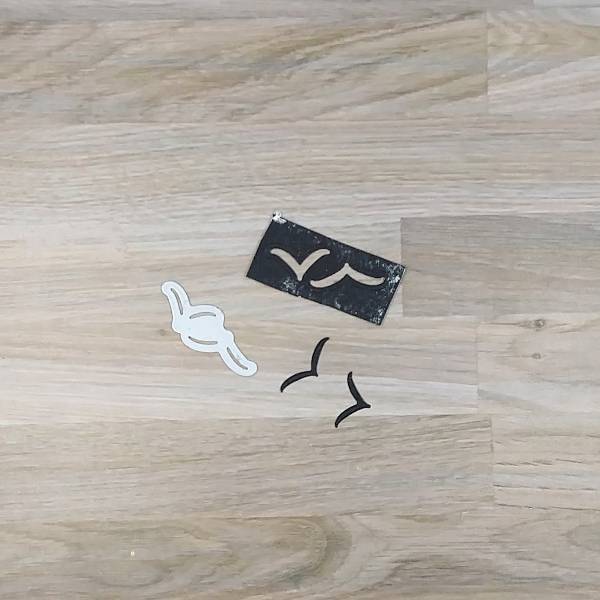
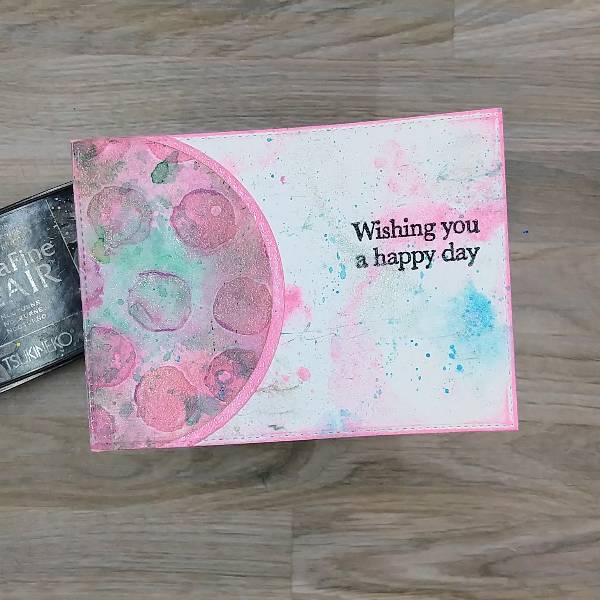
Step 8:
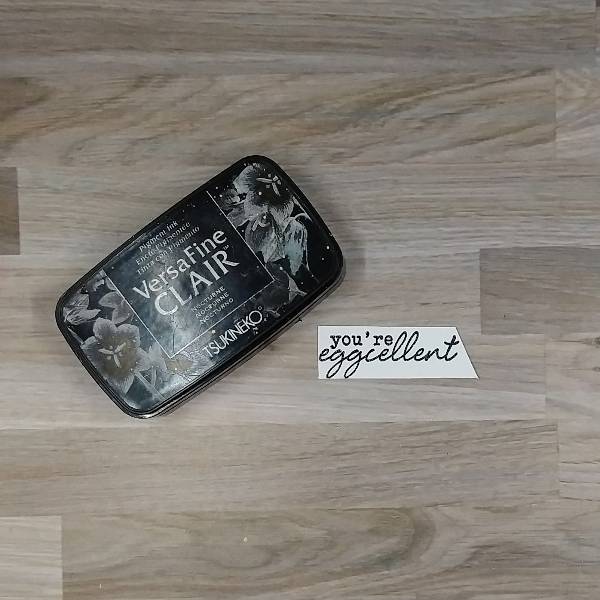
Stamp a sentiment on a piece of watercolor paper. If desired, heat emboss with clear
embossing powder. Then trim the sentiment strip.
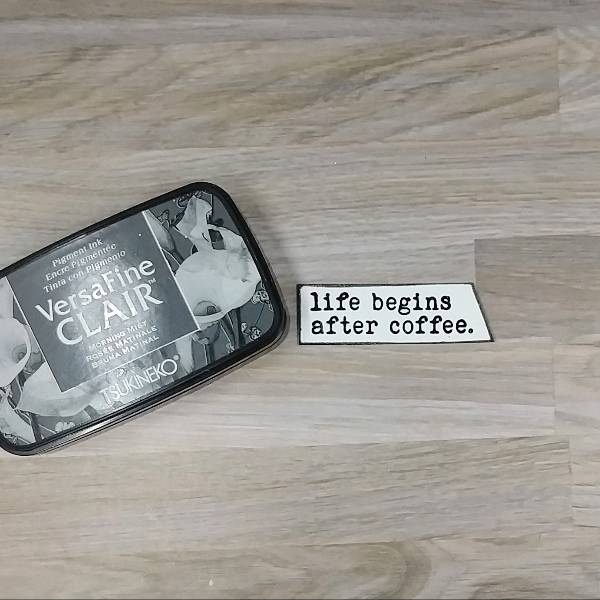
Step 9:
Run the Jumbo Java VersaMagic Chalk Ink around the edges of the sentiment to create a
border.
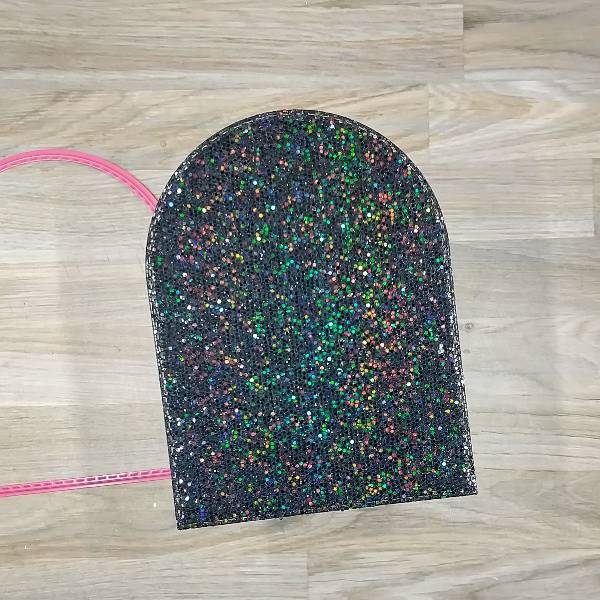
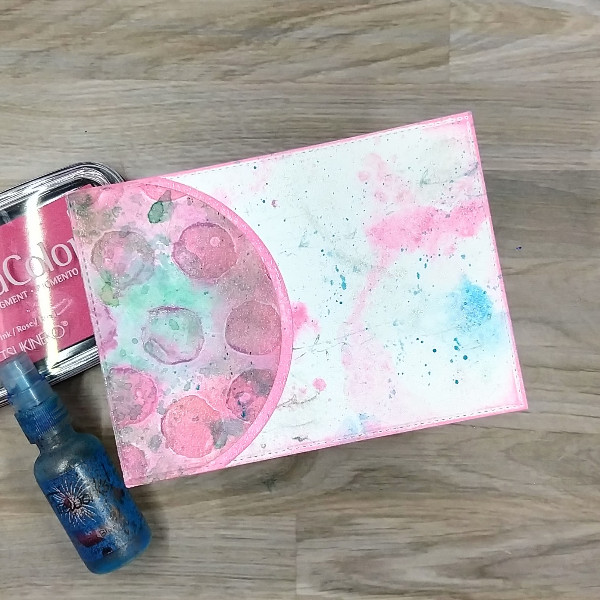
Step 10:
Die cut a piece of white glitter cardstock. Glue the white die cut glitter cardstock onto the
background panel. Glue the breakfast scene (the main stamped image) over the white glitter
cardstock. Then glue the sentiment onto the lower corner of the panel. Let the glue dry.
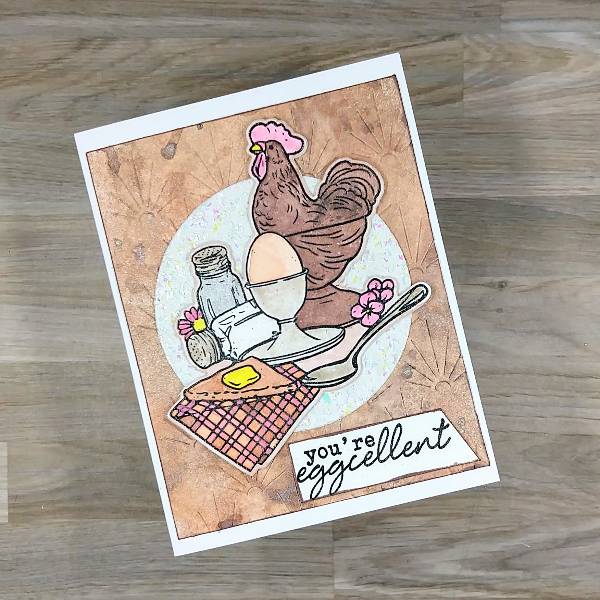
Step 11:
Glue the whole panel onto an A2-sized white card base.
Step 12:
Glue sequins around the main stamped image to finish the card.
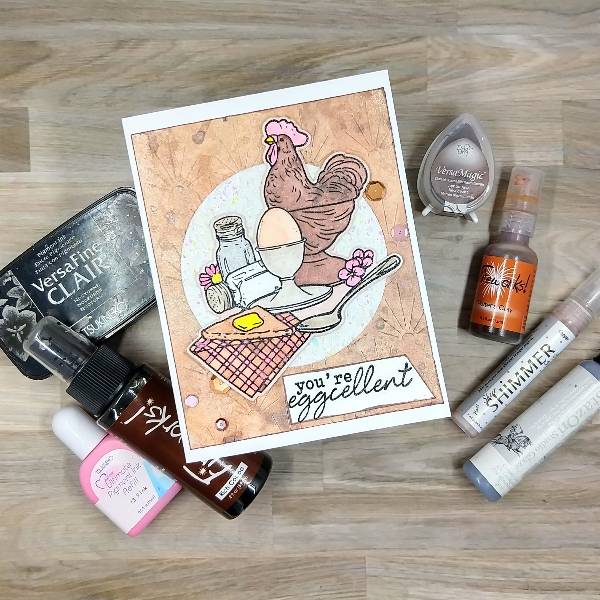
Products Used:
Imagine:
Fireworks! Shimmery Craft Spray – Potter’s Clay Fireworks! Shimmery Craft Spray – Rich Cocoa Sheer Sheer Shimmer Craft Spray – Copper
StazOn Studio Glaze – Cloudy Sky VersaColor Reinker – Pink
VersaFine Clair ink – Nocturne VersaMagic Chalk Ink – Jumbo Java
Other:
Catherine Pooler Designs – Sequins – Mazatlán
Erin Lee Creative – Glitter Cardstock – Cotton Cardstock (retired) Hero Arts – Stamps – Eggcellent
Hero Arts – Dies – Eggcellent
Hero Arts – Dies – Nesting Circle Infinity dies Reverse Confetti – Die – Deco Cover Panel (retired) Sakura – Glitter Gel Pen – Gelly Roll Stardust pen
Scrapbook.com – Glitter Brush Marker – Sunshine Yellow Clear embossing powder
Watercolor paper Paper Trimmer Scissors
Glue