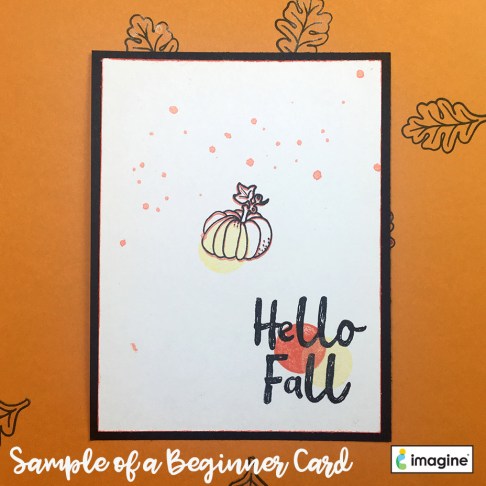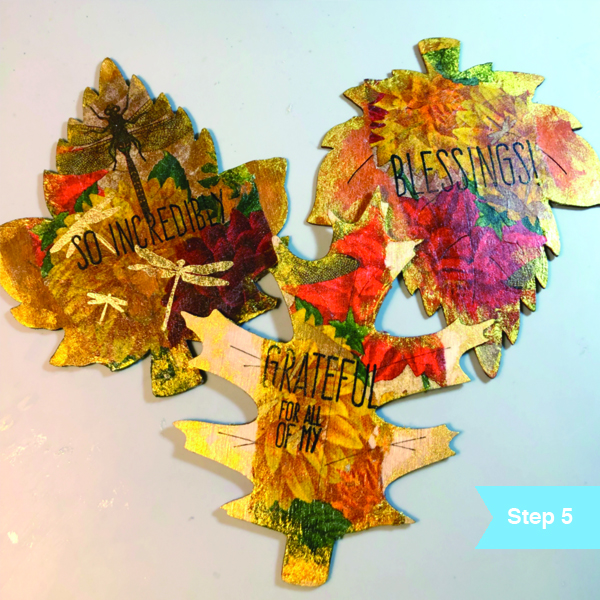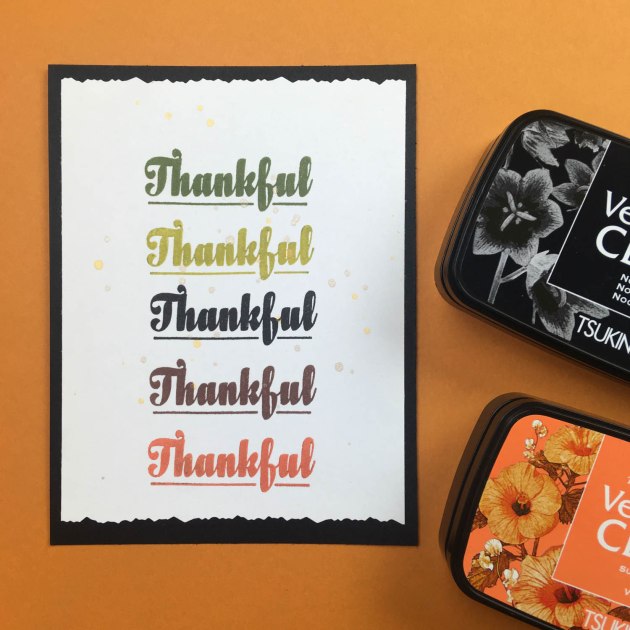
What are you thankful for? Family? Friends? Everything?! We created a quick and easy beginner lesson for those who want to express gratitude. See how we used the same stamp to create a repeating pattern for this a simple Thanksgiving card.

 VersaFine Clair in Pinecone |
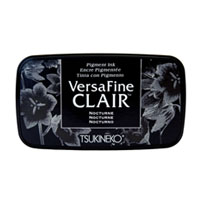
 VersaFine Clair in Nocturne |
|---|---|
 VersaFine Clair in Shady Lane |
 VersaFine Clair in Summertime |

|
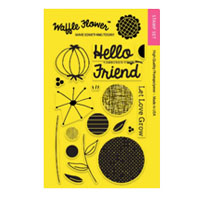
 Waffle Flower Stamp Set |

|
|
Directions

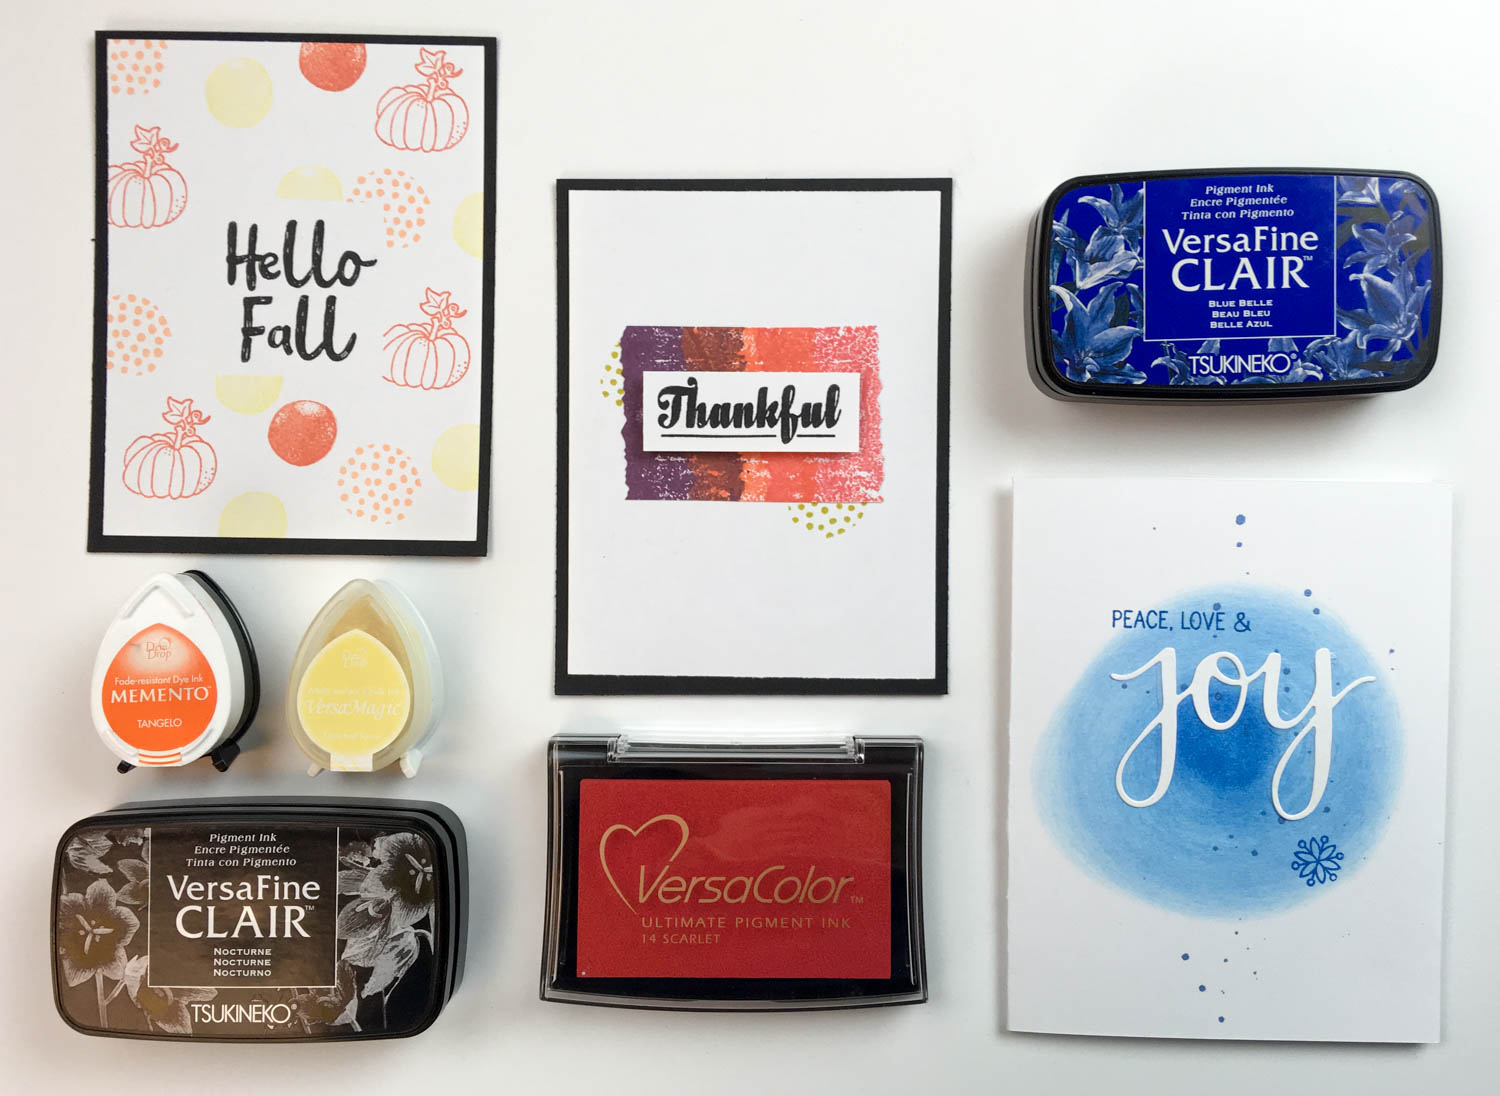
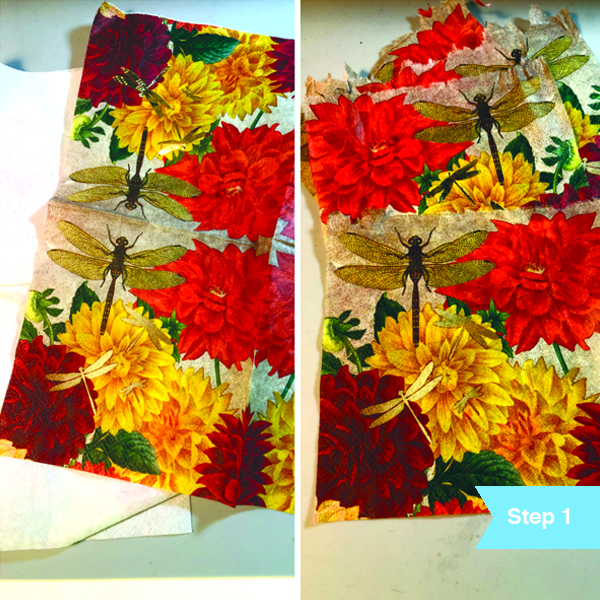
Select an array of ink colors that represent fall. Here I choose VersaFine Clair in Nocturne, Summertime, Shady Lane, and Pinecone. Next, select a stamp set with a phrase or word that has a nice boxy horizontal shape. I enjoyed using the word “Thankful” with an underline from Waffle Flower’s stamp set called Give Thanks. This particular set is a great investment because of all the other projects that you can create with it such as place holders at a dinner table.
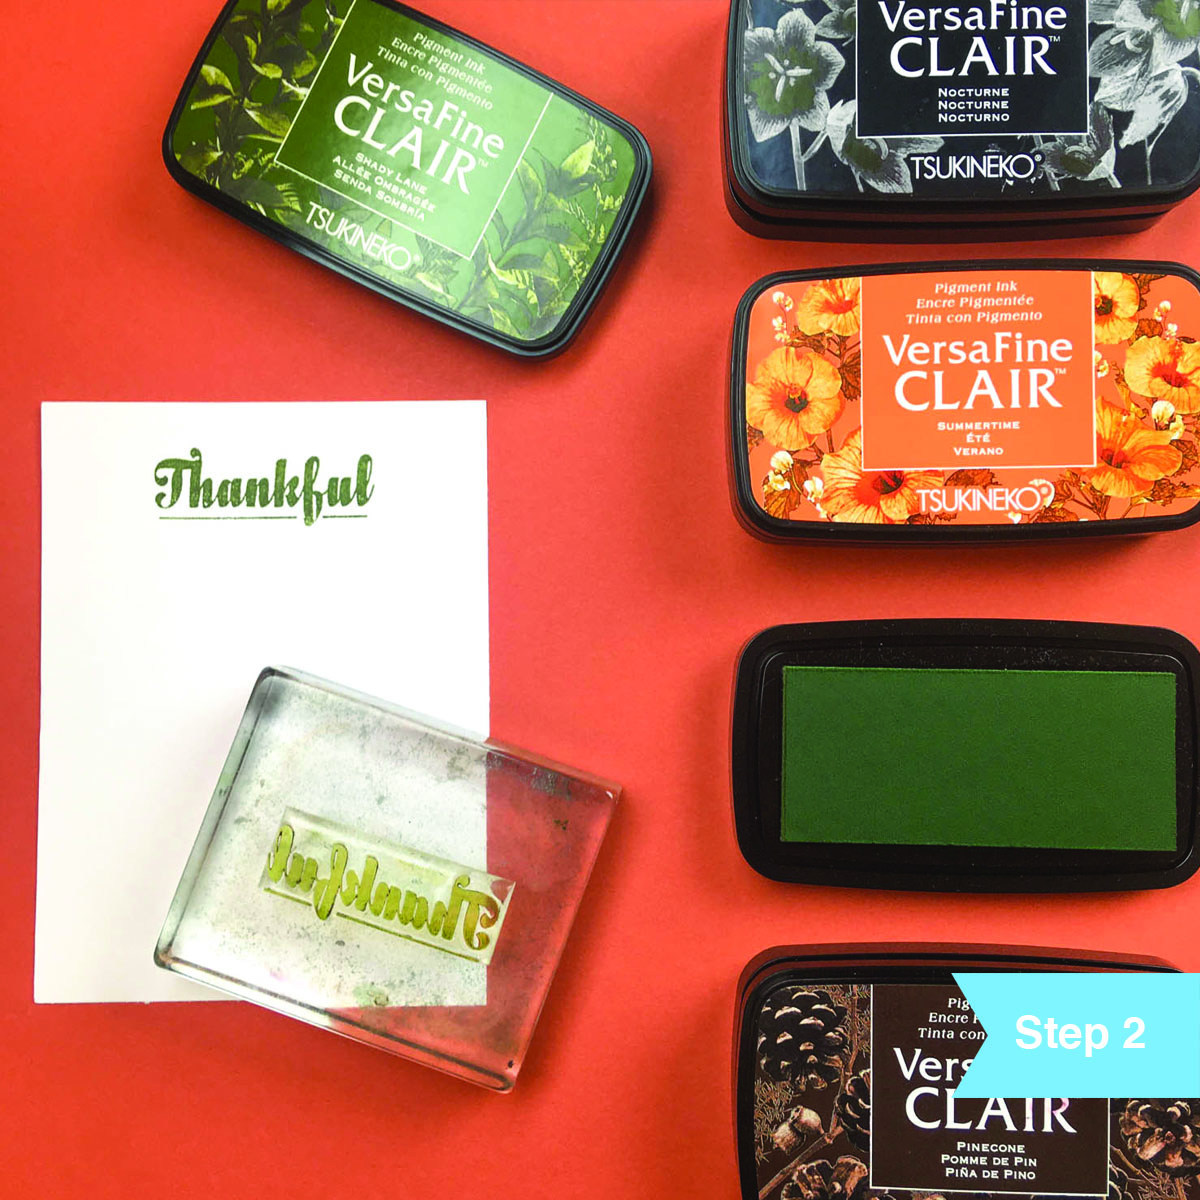
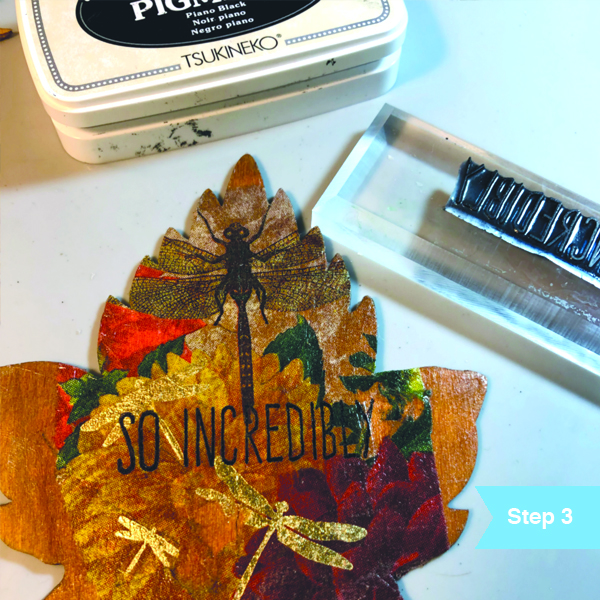
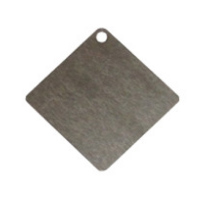
Adhere your stamp to the acrylic block and begin stamping in each color being sure to thoroughly clean the stamp before moving on to the next color. The great thing about using clear acrylic stamps is that you can see exactly where you are stamping. If you have a hard time stamping in a straight line then you can lightly mark the card with a pencil as a guide.
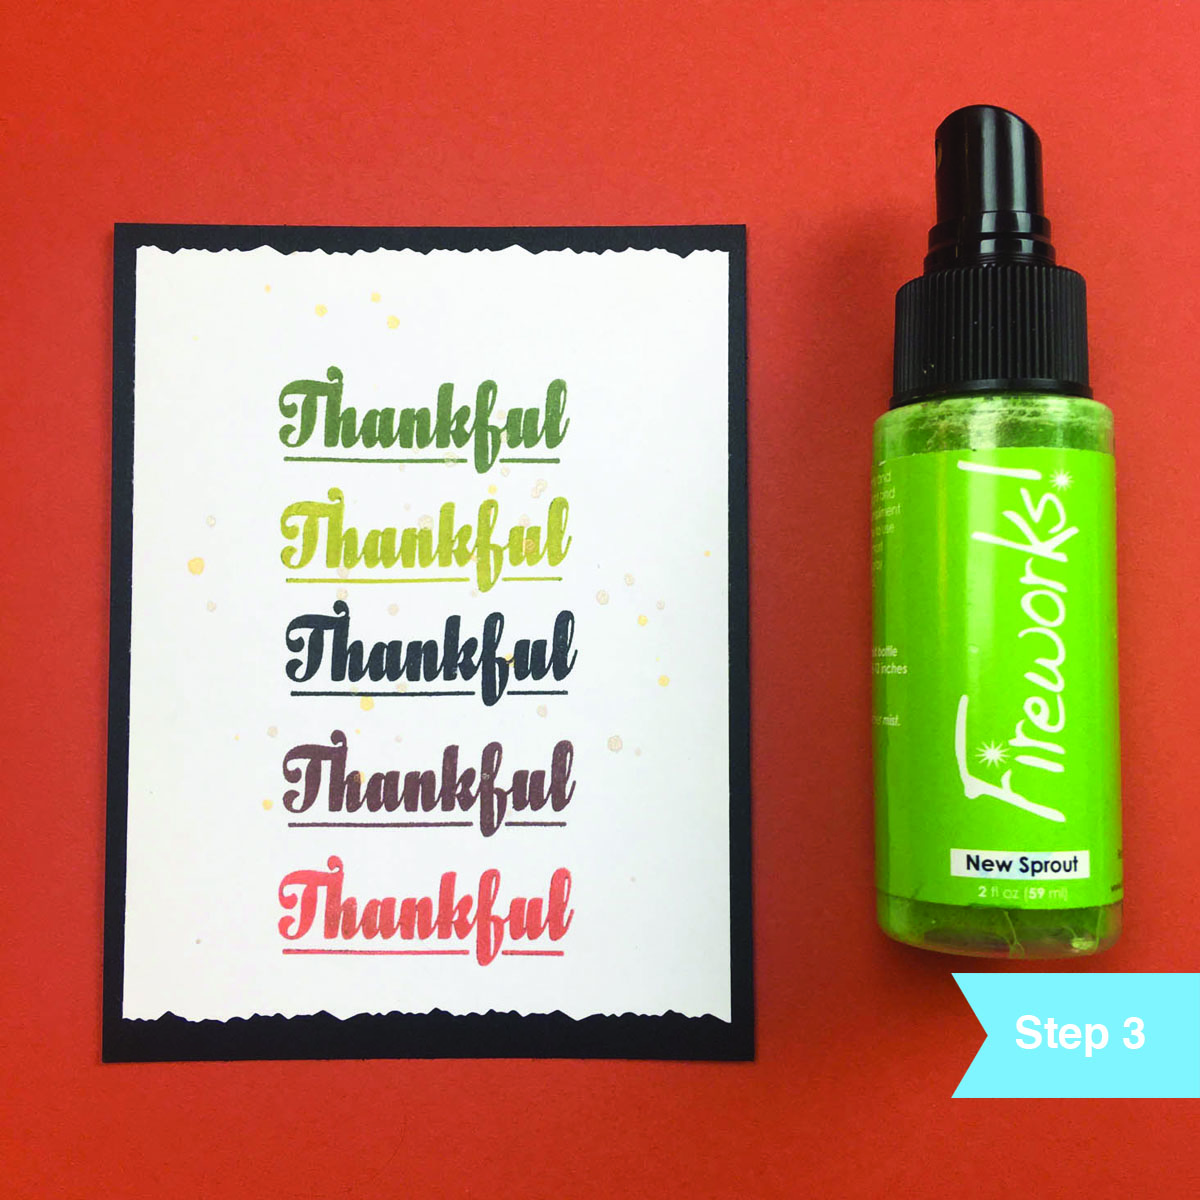
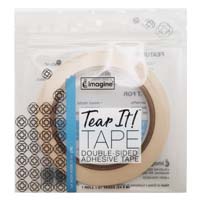
Once all your colors are stamped, finish the card by unscrewing the spray nozzle of Fireworks Shimmery Craft Spray in New Sprout and lightly tap the nozzle over the card panel. This should decorate the area with shimmery blots of light green and gold ink. Fireworks is a spray ink. If you use the spray nozzle it will coat the entire panel. Since I only wanted a light touch I decided not to use the spray feature. Hand tear the top and bottom of the white card stock and use Tear It Tape to mount the card panel onto a matching card base. I choose a black card base (brown or green would work great too).