by Lindsay Adreon

There are many ways to create galaxy/night sky backgrounds for your cards. You can use ink blending, watercolor, ink smooshing, braying, and so much more. But did you know you can create galaxy and night sky backgrounds with embossing powder? It’s such a fast and easy way to get the galaxy look! I’m using a few of the new glittery Mboss Embossing Powders from Imagine to show you how to create your own backgrounds! I hope you all enjoy it!
Skill: Intermediate
Time: 30 – 45 minutes
Directions
Supplies
Imagine
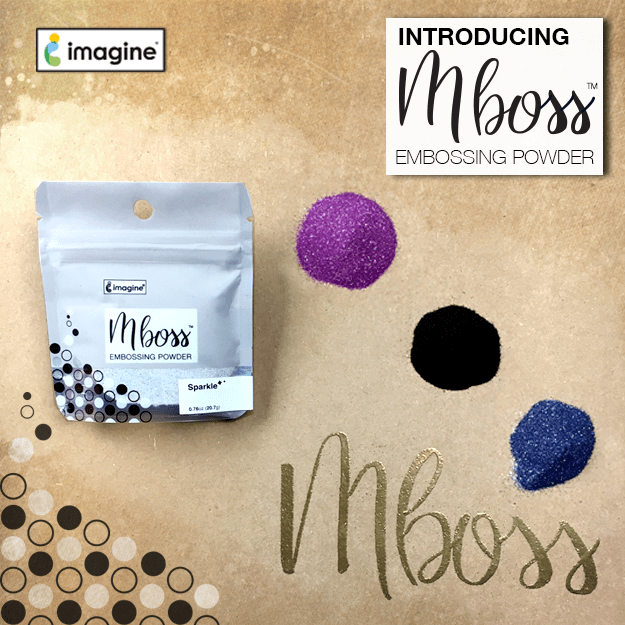
- Mboss Embossing Powder – New Year’s Eve, Princess Party, Shimmering Night Sky, Hologram
- VersaMark Ink
- irRESISTible Texture Spray – Wedding Dress
- VersaFine Clair Inkpad – Nocturne
- Memento Inkpad – Tuxedo Black
Other
- Heat Tool
- MISTI Stamping Tool
- Papertrey Ink – Out of This World Mini Stamp Set & Rocket Die
- Joy Clair Stamps – Out of This World Stamp Set
- Rinea Silver Foil Paper
- Circle Die Set
- Kat Scrappiness Wonky Wavy Stitched Rectangle Dies
- Die Cutting Machine