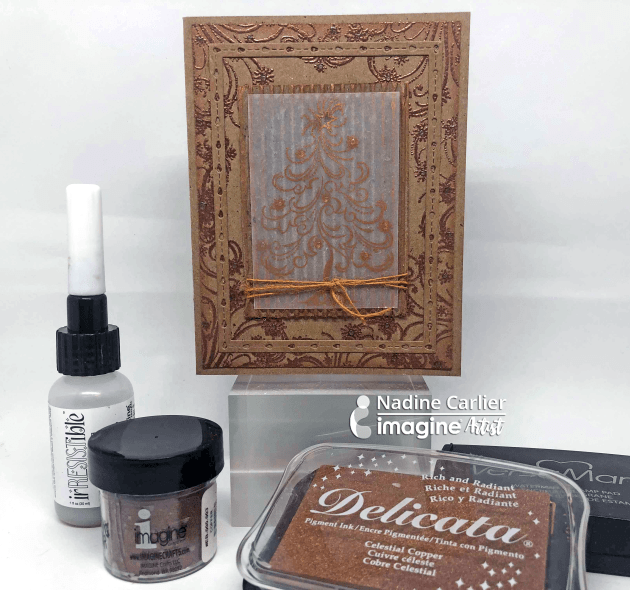
by Martha Lucia Gomez

Today I have something “cool” to make! I use an ice technique and “frosted blue” color challenge to create a Season’s Greetings holiday card. To make this technique you only need StazOn Ink, metallic paper, VersaMark and embossing powder to obtain a good shine in your project.
Skill: Intermediate
Time: 30 minutes
Directions

Step 1
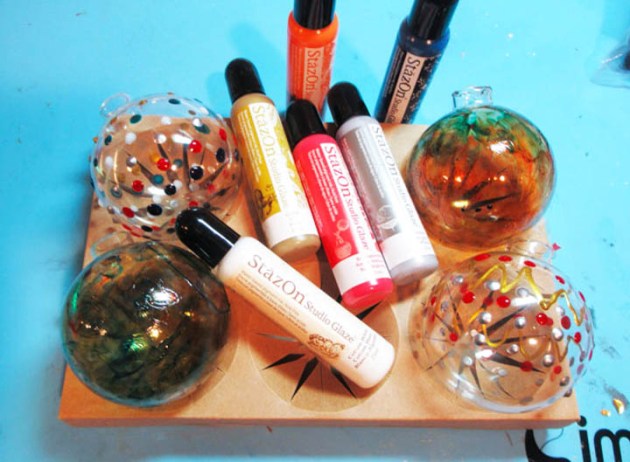
I started with a piece of Silver Foil Sheet from Stamping Up. I decided in advance which stamps I wanted to use and I cut the paper a little bigger of the stamps to create the ice look. Then I applied the ink directly with the StazOn Inkpad Blue Hawaii from left to right and then repeated the process but from right to left.

Step 2
The idea is to create intermittent horizontal lines and have the borders a little darker. Depending on the brand of the foil paper that you are using, you will need to use a stamping tool to stamp the images with the same StazOn Ink Blue Hawaii. Sometimes the first attempt is not the best definition of the image but it depends on the paper. After stamping your images, you need to dry the ink with the heat tool. Don’t put you heat tool too close to the surface to avoid burning your paper. You can use rubber stamps or clear stamps with StazOn Ink, don’t think that it will damage your clear stamps, it is a false assumption with this brand (see Nadine’s Myth Buster video). Just use StazOn stamp cleaner after to keep your stamps in good condition.

Step 3
When the StazOn ink is totally dry, take the VersaMark and apply the ink directly over the stamped images. Cover the entire surface with Clear Embossing Powder and activate the powder with the heat tool. You will have a glossy and shiny look that will create the icy look over the blue. You can mat this piece using cardstock to notice the difference of materials.

Step 4
To finalize my card, I created a card base using Blueberry Bushel Cardstock for the card base and Coastal Cabana for the second layer. I embossed the second layer with an embossing folder and created a belt using the same color of the card base and aligned a piece with the same embossing folder.
Supplies
Imagine
- StazOn – Blue Hawaii
- VersaMark
- Embossing Powder – Clear
- Craft Mat
- Tear It! Tape
- On Point Glue
Other
- Tree Stylish Stamp by Crackerbox & Suzy Stamps
- Big Shot or any die cut machine
- Embossing Folder
- Stampin Up – Silver Foil Sheet, Blueberry Bushel cardstock, Coastal Cabana cardstock
- Dimensionals or double-sided foam tape