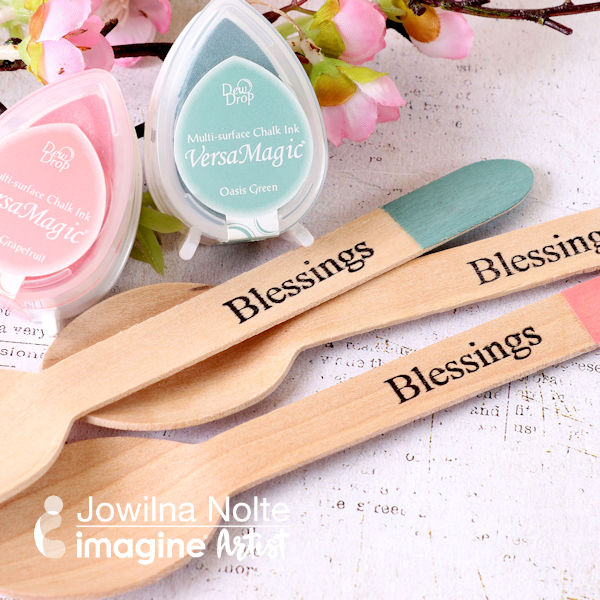
Quick & Easy Projects: Make a Simple Easter Craft Blessings Picnic Cutlery

by Jowilna Nolte

Learn how to use your card making supplies to dress up wooden cutlery for a Spring Easter picnic. I used VersaMagic on the recycled cutlery creating a visual feast for family and friends. In a few easy steps, you too can create something beautiful with your inks and stamps.

Skill: Beginner
Time: varies

Directions

Supplies

Imagine

Other

  • Masking Tape
  • Wooden Cutlery
  • Blessing Stamp

Call for Spring Time Art

Call for Spring Time Art

Be published on the Imagine Blog! Submit a photo of a Spring related project using (mostly) Imagine or Tsukineko products. Some of the spring themes can include: Spring is Coming, Happy Spring, Happy Birthday, Baby Shower, St Patricks’s Day, Easter, Spring Cleaning, Organize the Home, Mason Jar Crafts, Wedding Preparation, Earth Theme crafts, Floral Wreaths on cards or large Paper flower wreaths.

Submit an attractive 600 x 600-pixel square or 900 x 900-pixel square photo of your project, a short description and a link to your Instagram profile or blog to marketing@imaginecrafts.com.

We will review all submissions and post a collection in one blog post and share it on our social media platforms. Potential reach = 10,000 followers.

Submission Deadline is Tuesday, March 10th, 2020


Art Journaling with Inks & Creative Medium

by Lori Warren

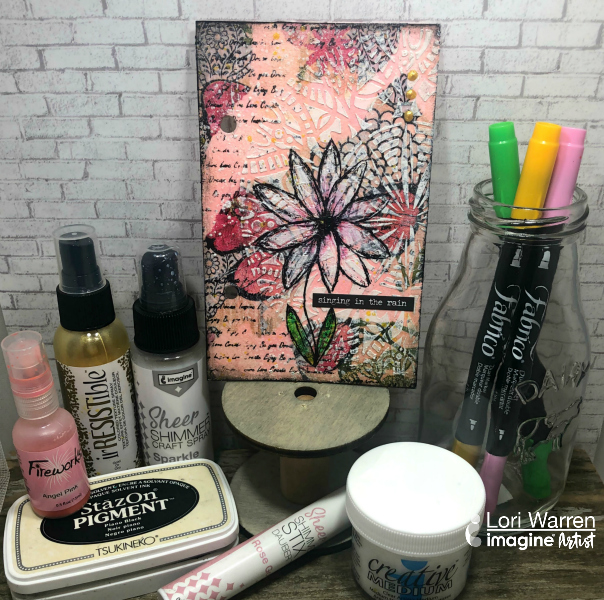
There is something so relaxing about spending time creating and experimenting in an art journal. Art Journaling is about creating something just for you and is a great way to try out new products and techniques.

Skill: Intermediate
Time: 30 minutes

Directions

Supplies

Imagine

• Creative Medium – Clear
• irRESISTible Pico Embellisher – Gold, Bamboo Leaves
• StazOn Pigment – Snowflake, Piano Black
• Fireworks! Shimmery Craft Spray – Angel Pink
• Sheer Shimmer Stix – Rose Gold
• IrRESISTible Texture Spray – Gold, Wedding Gown
• Sheer SHIMMER Craft Spray – Gold
• Fabrico Dual Markers – Lemon Yellow, Lipstick Pink, Spring Green
• Neon Amplify! – White
• On Point Glue

Other

• TCW Stencil – Spring Medallion
• Faber Castell PITT artist pens – Warm Grey, Cold Grey I, Cold Grey VI
• DecoArt DuraClear Varnish – Matte
• Tim Holtz Idea-ology – Small Talk stickers
• Tissue paper
• Decorative Napkin

Valentine’s Day Call for Art

Call for Valentine’s Day Art

Be published on the Imagine Blog! Submit a photo of a Valentine’s Day project. Some of the themes can include: Valentine’s Day Cards, multiple cards for kids, Date Night gifts, paper flowers, I Love You Art, Galentine’s, Crafts and gifts for Singles, party décor for Valentine’s parties.

Submit an attractive 600 x 600 pixel square or 900 x 900 pixel square photo of your project, a short description and a link to your Instagram profile or blog to marketing@imaginecrafts.com.

We will review all submissions and post a collection in one blog post and will share it on our social media platforms. Potential reach = 10,000 followers.

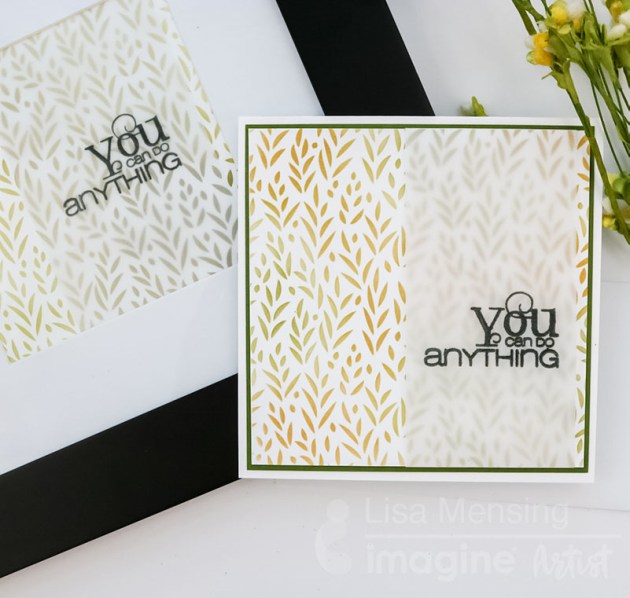
Create a Matching Frame & Card Design with VersaMagic

by Lisa Mensing

Create a matching card and home decor frame - you can do anything

In this video, I’m sharing how to use stencils along with a few inks to create gorgeous backgrounds wrapped in Vellum and heat embossed with inspirational quotes. I’ve used the background in two ways: to create a handmade card and framed. Enjoy!

Skill: Intermediate
Time: 1 hour

Directions

Supplies

Imagine
Other
  • Whimsy Stamps Farmhouse Greenery Stencil
  • Neenah #110 Classic Crest Solar
  • White Coverstock Strathmore Laser Transculent Vellum
  • Black Frame
  • Heat Tool

See How to Make a Snowflake Shaker Ornament with Mboss

by Martha Lucia Gomez

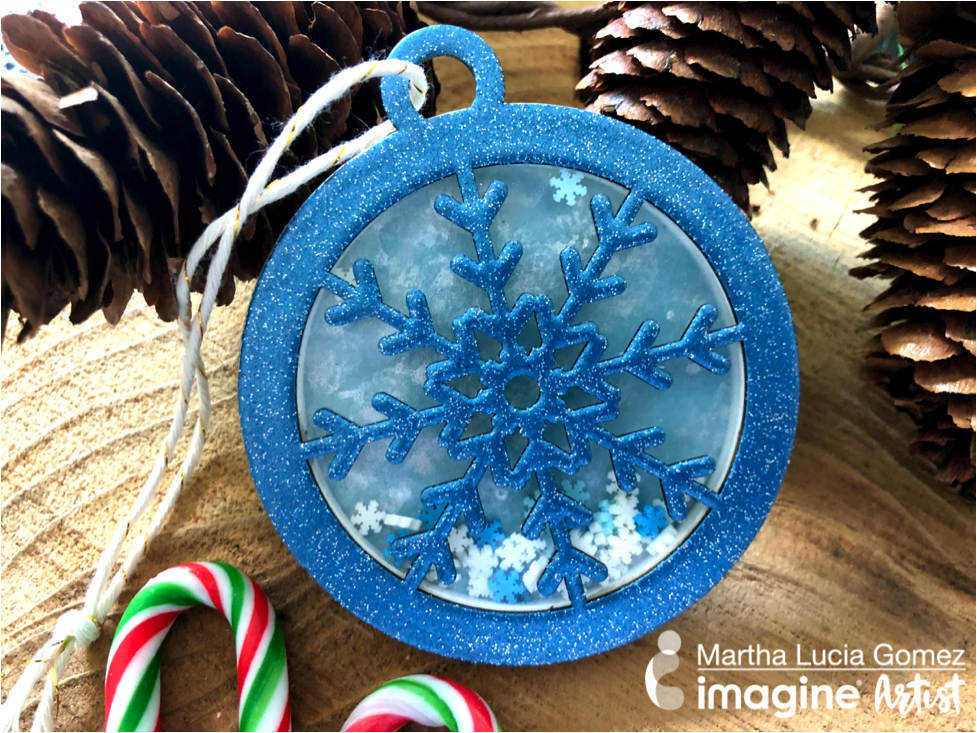
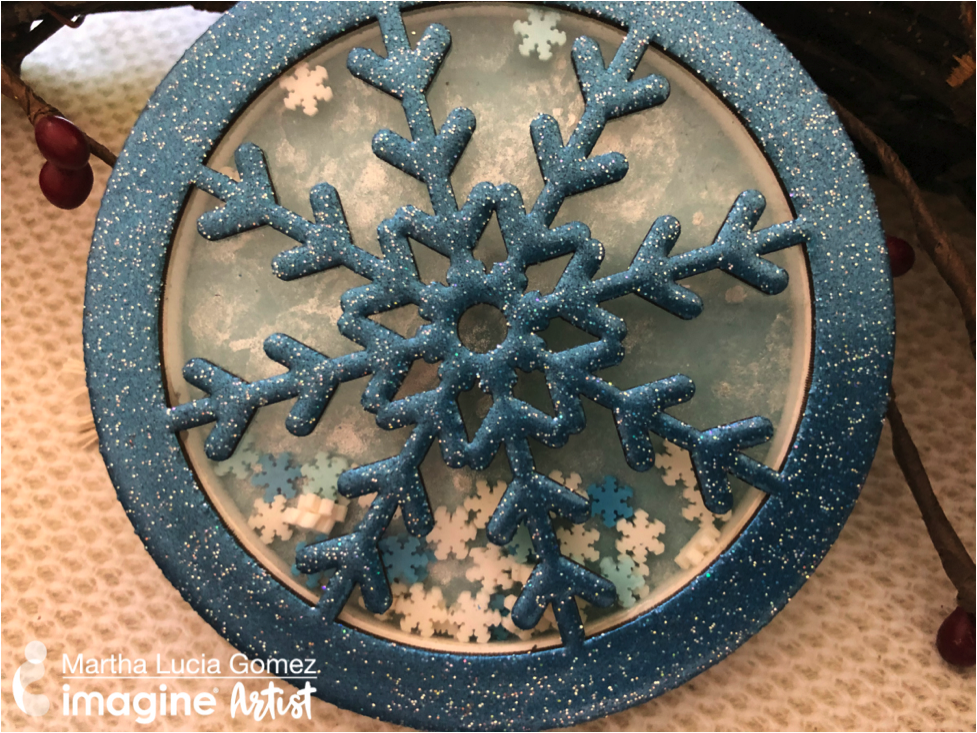
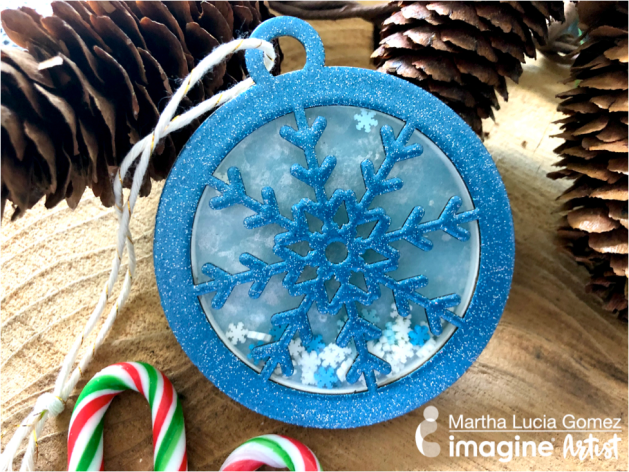
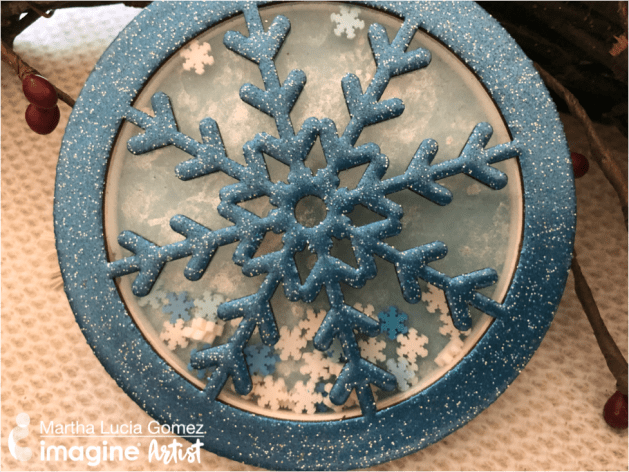
Hello crafty friends, Martha Lucia here! Today, I am sharing a snowflake shaker ornament that you can use to decorate your gifts and/or Christmas tree. To create this, I am using a shaker dimension set with a snowflake design, VersaMark Clear Ink and Mboss Blue Icicle. Like this set came with a piece of acetate sheet to cover the free areas, I made it like a shaker piece adding some sprinkles.

Skill: Advanced
Time: 30 minutes

Directions

Step 1

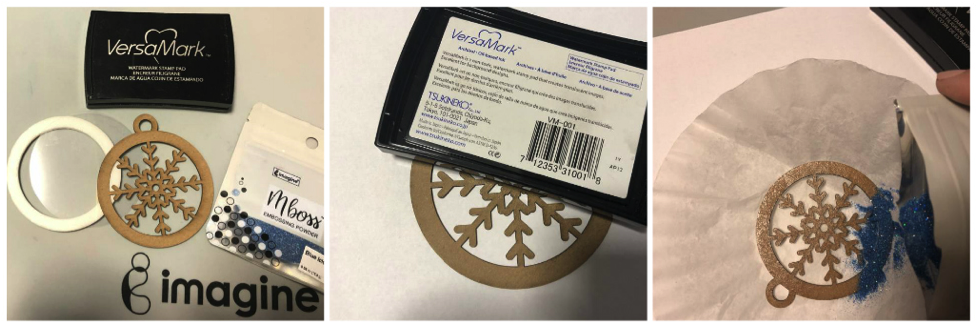
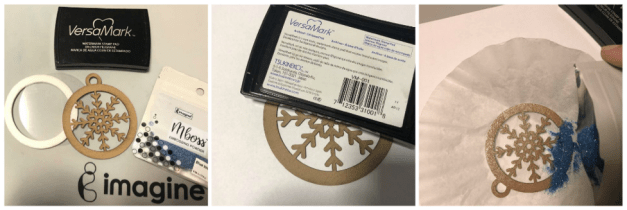
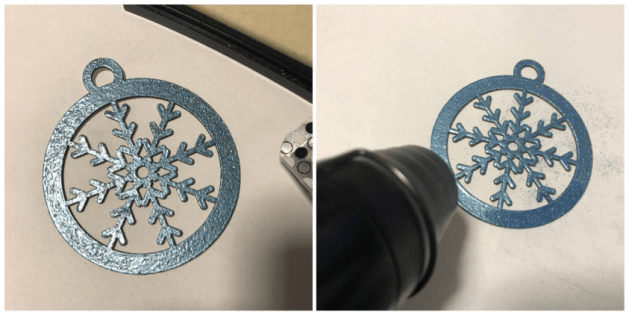
Ink one of the sides of your or the ornament directly with the VersaMark Inkpad. Cover it with your selection of Mboss color. I used the Blue Icicle.

Step 2

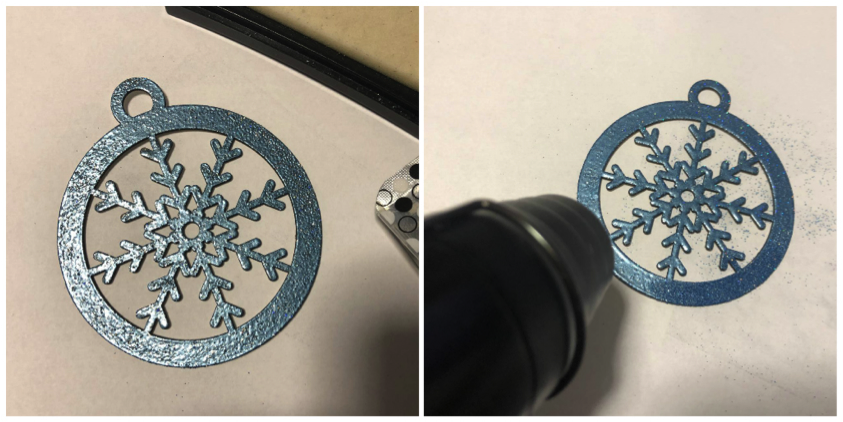
Melt the powder with the heat tool. And repeat the process twice or three times to give more dimension to your ornament.

Step 3

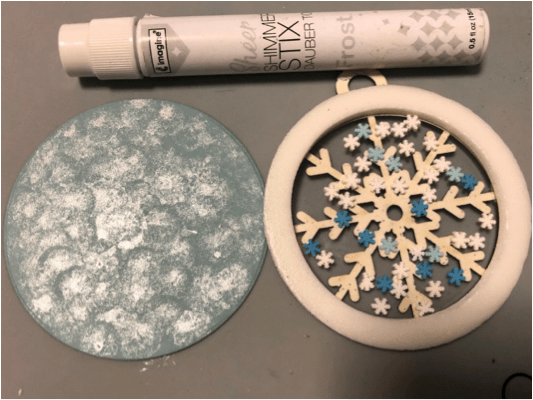
Cut a piece of card stock with the same shape or your ornament and apply over it some touches of Frost Sheer Shimmer Stix. Let the paper dry naturally.

Step 4

Paste the base shape or double-sided foam tape onto the inked shape. Add your fillers, it could be sequins, sprinkles, beads or whatever you want. Adhere the clear acetate on top with liquid glue and cover it with the embossed design. Finalize your ornament adding a tie or pasting it to your gift. You can try different designs and different colors of Mboss to add your personal touch! Thank you for stopping by and see you soon!

Supplies

Imagine
Other
  • Snowflake Shaker Dimension Set by Kat Scrappiness
  • Chipboard Ornament
  • Cardstock
  • Plastic
  • Heat tool
  • Coffee Filter