Quick and Easy Projects: Kissing Stamp Technique

by Martha Lucia Gomez

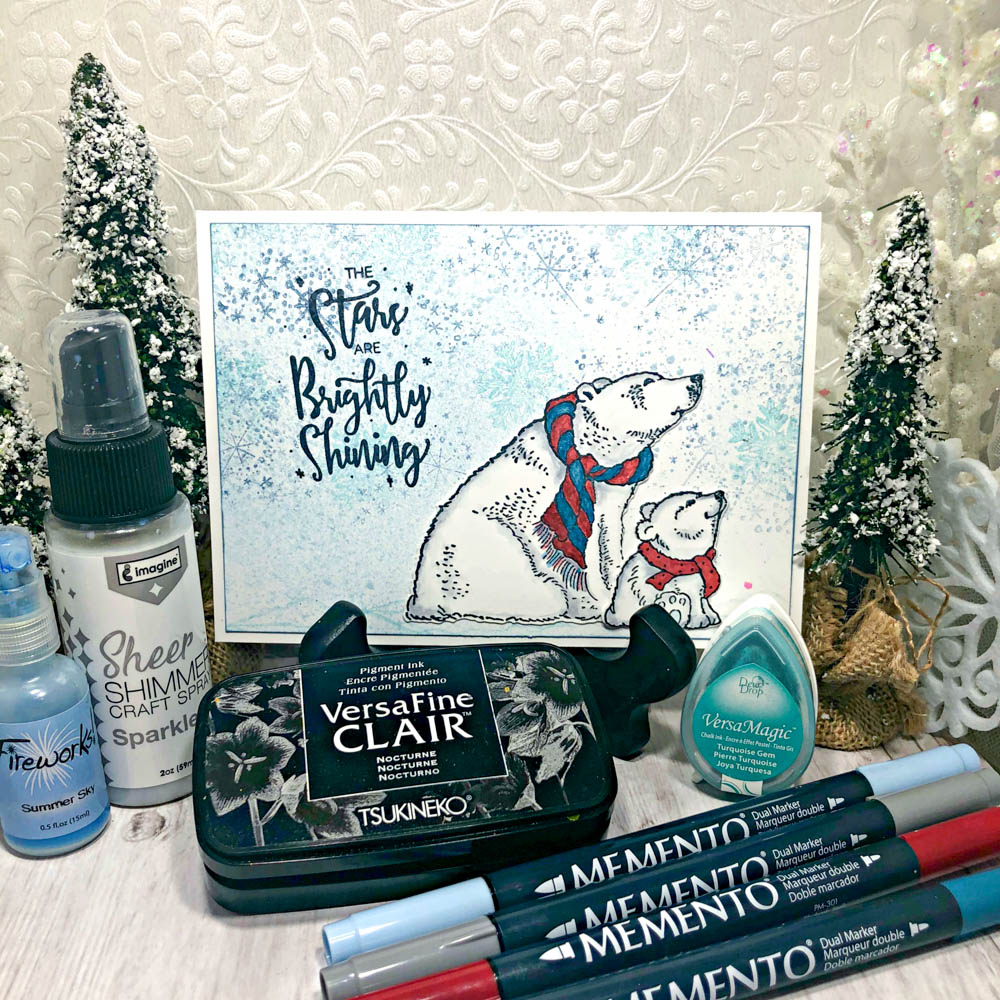
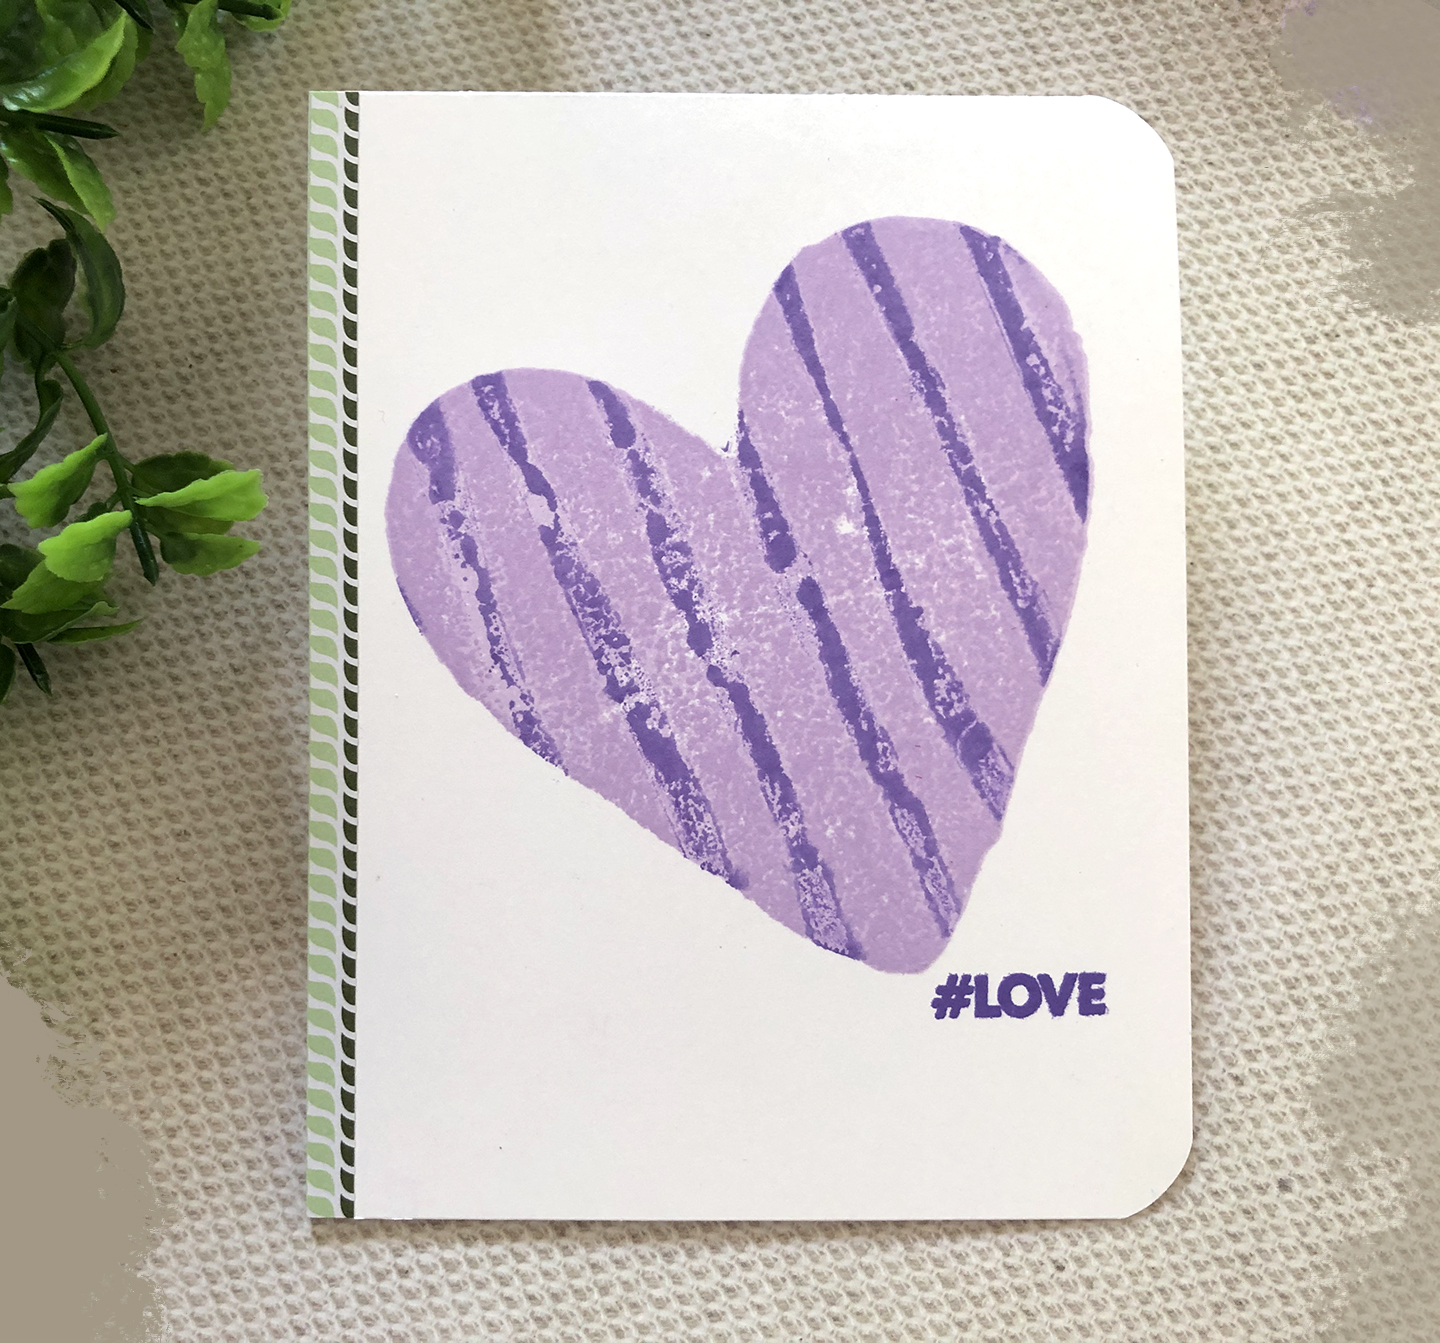
Kissing Technique is an easy way to combine your stamps and create unique designs for your stamping projects. Just select one solid design and combine it with another pattern and create different layouts.

Memento Lulu Lavender


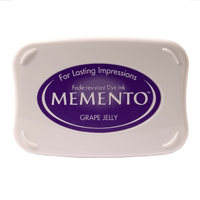
Memento DewDrop – Grape Jelly

Craft Mat

Card and Envelope Set

Full Heart Stamp 

Stripepddle Stamp by RG Avenue.

Directions

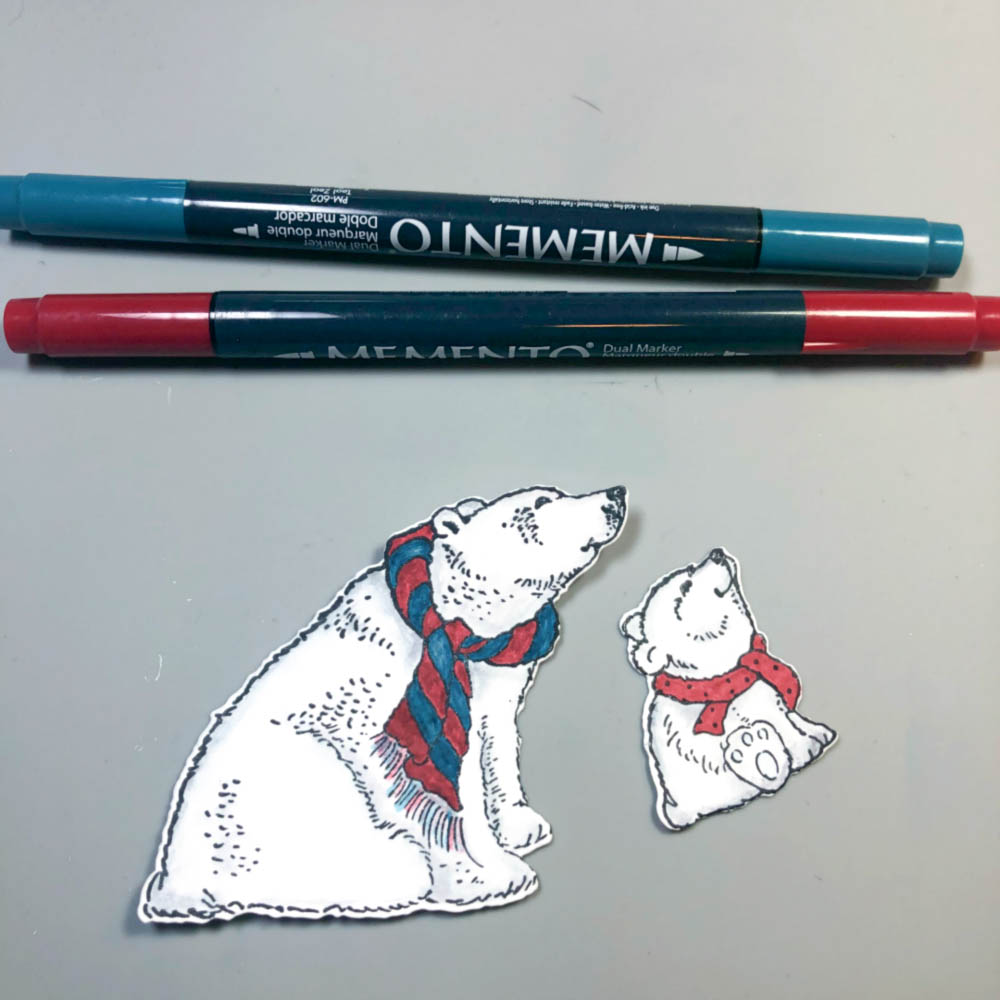
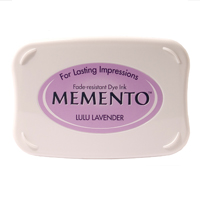
Select the stamps that you want to use and the colors of the ink. Use a light color for the solid image and dark color for the textured or detailed image. Place the stamps over different acrylic blocks and ink well with the corresponding ink. Here I selected a heart stamp and inked it with Memento in Lulu Lavender. Then I choose a stripe stamp and inked it with Memento in Grape Jelly.

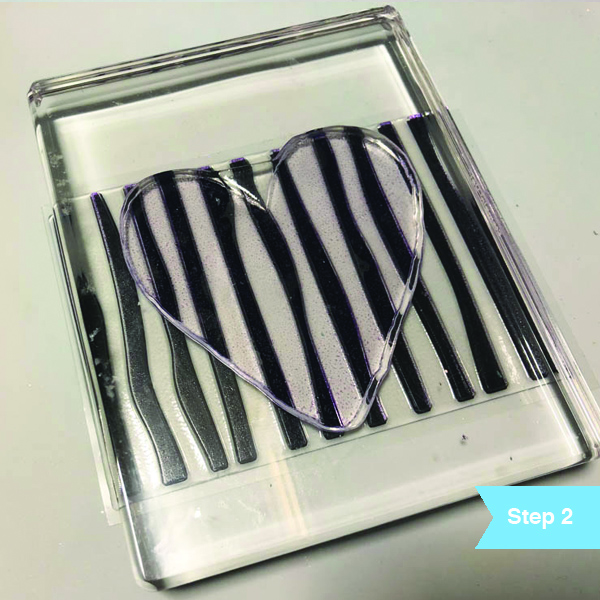
Place one stamp over the other, touching the inked sides. You will notice how the stripe image is transferred into the solid heart image. When you are using a waterbased ink like Memento this transfer will happen very smoothly.

If you decide to use a dark color for the solid image, don’t apply ink to the detailed image, just kiss them and you will see how it take off the color from the solid stamp. Stamp the image over your card stock layer and finalize your card stamping a coordinating sentiment.


VersaMagic and VersaFile Clair Create a Polar Bear Card

by Lori Warren

Learn how to layer colors and different inks to create this lovely Polar Bear Holiday Card.

Skill: Intermediate
Time: 30 minutes

Directions

Step 1

Spray Fireworks! Shimmery Craft Spray in Summer Sky onto card panel.

Step 2

Stamp snowflakes with VersaMagic in Turquoise Gem.

Step 3

Stamp a second snowflake pattern in VersaMagic in Aegean Blue.

Step 4

Use a Large Dauber to sponge VersaMagic in Aegean Blue onto edge of card panel.

Step 5

Stamp ice pattern onto bottom of card panel with VersaMagic – Turquoise.

Step 6

Stamp Polar bear images with VersaFine Clair – Nocturne and cut out with coordinating dies.

Step 7

Add color to bears with Memento Dual Markers – Summer Sky, London Fog, Gray Flannel.

Step 8

Add color to scarfs with Memento Dual Makers – Rhubarb Stalk, Teal Zeal.

Step 9

Spray Sheer SHIMMER Spray – Sparkle onto craft matte then use paint brush to apply to scarfs.

Step 10

Stamp saying onto card panel with VersaFine Clair – Nocturne.

Step 11

Adhere card panel to card base.

Step 12

Adhere die cut Polar Bears to card front.

Imagine

Supplies
Other
  • Recollections Clear Stamps – Christmas stamp & die set
  • Sizzix Big Shot
  • White Card Stock

Stamping Holiday Wrapping Paper with a .. Fork?

by Roni Johnson

Keeping with my Berry, Blue and Silver theme I decided I wanted to make wrapping paper and matching gift tags this year as well. The limited color palette is very aesthetically pleasing when grouped together under the tree. Since I was using all the same colors I thought it would be fun to vary the patterns so I went from very easy (Joy wrapping paper) to a more complicated layered pattern (Noel paper) which I will share with you today.

Skill: Beginner
Time: 15 minutes to 45 minutes depending on the design

Directions

Step 1

Tear off enough of the kraft paper to cover the gift you will be wrapping.


Step 2

To create the layered look use a fork (I am using a baby fork for the example) to make a cross hatch pattern with Silvery Shimmer Delicata ink.


Step 3

Heat set the Delicata ink to speed drying. As you can see it creates a stunning background which could be used as is.


Step 4

Stamp Noel using VersaFine Clair Nocturne ink over the entire sheet of kraft paper. Vary the direction of the image to add interest.


Step 5

Layer 3 consists of several snowflakes stamped using Blue Belle VersaFine Clair ink.

Step 6

Several more stamped snowflakes are added using Rhubarb Stalk Memento ink.


Step 7

And finally Morning Mist a lovely shade of grey to finish it off. You will have created a beautiful multi layered wrapping paper worthy of any gift you have for giving.


Step 8

Follow the same steps to create the matching gift tag.


Step 9

Use a sponge dauber to apply Blue Belle ink to the edge of the tag. Add a bit of ribbon to finish it off. And here is my gift all wrapped up ready for giving. Below you will find additional examples to inspire.

Supplies

Imagine
Other
  • Kraft Paper (On a Roll – Paint Section of a Hardware Store)
  • Rubber Stamp Tapestry – Oh So Fancy (Joy/Noel), Snow Much Fun, Snow Storm, Poinsettias in the Pines, Holiday Bell Trio, Deer Head, Christmas Greetings (gift tag sentiment)

Create a Watercolored Thanks Card with Memento Markers

by Lindsay Adreon

Create a Watercolored Thanks Card with Memento Markers

Sometimes you just need a quick card or even set of cards to give as a gift. This background is the perfect way to create those at this time of year! And all you need is cardstock, painter’s tape, and an ink pad!

Skill: Intermediate
Time: 30 minutes

Directions

Supplies

Imagine
Other
  • Painter’s Tape
  • Paper Trimmer
  • Waffle Flower Nesting Oval Die Set
  • Heffy Doodle Thanks Die

Adorn your Christmas Packages with Lovely Handmade Tags

by Lori Warren

Adorn your Christmas Packages with Lovely Handmade Tags

Adorn your Christmas packages with lovely home-made tags. They are a breeze to create with VersaColor ink and few other products from Imagine.

Directions


Step 1

Spray 3 White Tags with Fireworks Spray – Rich Cocoa & Rhubarb Stock

Step 2

Sponge brick stencil pattern onto tags with VersaColor Brown and then repeat with Turquoise.

Step 3

Stamp snowflake image onto tag with VersaColor Charcoal, then stamp a dot pattern with Turquoise.

Step 4

Stamp reindeer with VersaColor Turquoise and emboss with Clear MBoss embossing powder.

Step 5

Use coordinating die to cut out reindeer images.

Step 6

Stamp saying in VersaColor Black.

Step 7

Adhere reindeer image onto tag and then spray with irRESISTible Spray – Wedding Dress.

Step 8

Attach ribbons to tag.

Supplies

Imagine
Other
  • Celebrate It Ribbon
  • Uniball Signo Pen – White
  • Recollections Clear Stamps – Christmas
  • Catherine Pooler Clear Stamps – Winterhaven Collections
  • Creative Embellishments – Stencil
  • Tim Holtz – Sidekick
  • Tags – white

Call for Art – Planner’s Unite for 2020

We are launching a new Call for Art program for 2020

Be published on the Imagine Blog! Submit a photo of a Planner Project for the New Year. Some of the themes can include:

Planning out the year, Life Goals, Inspiration, Planners, Journals, Papercrafts for the Home Office, Calendars, Shopping Lists, Budgeting, Exercise Plans, Inspirational Quotes as Art. #lifegoals #success

Submit a 600 x 600 pixel square or 900 x 900 pixel square photo of a planner project, a short description and a link to your Instagram profile to marketing@imaginecrafts.com.

Submissions due on December 30th