-Hi, I am Amalia. In today’s video, I dive into the creative process by simply playing with my supplies—something I often do when I’m unsure how to start a project. I used Tsukineko inks to experiment with different backgrounds, and while they didn’t all turn out perfect, I was still able to create some beautiful results. One background turned into an elegant design, and another led to the creation of a cute critter—an axolotl, which is a fascinating salamander known for its adorable smile and unique ability to regenerate its limbs. Join me as I explore the fun and sometimes unexpected outcomes of just letting creativity flow! When you don’t know what to do, just play!
Hello crafty friends! Today, I want to share with you all how you can make a set of these Boho Note Cards in just a few minutes. This clean-and-simple design and earth-tone color palette are great for mass production cards.
There are many earth-tone color palettes out there you can pick and choose to make these cards. Memento inks have 36 colors where you can choose to make your own color combo based on the color palette you use as your inspiration.
Let’s get crafting!
Skill: Intermediate Time: 15-20 minutes
Direction:
Step 1 Cut out 6 pieces of 4.25 inch x 5.5 inch white cardstocks to use as the background mats. Place the first piece of the background mat on the stamping tool to start stamping the first image. I started with using the Desert Sand Memento Dew Drop with the first image. Repeat this step to stamp all the background mats.
Step 2 Place the first piece of the background mat again on the stamping tool. I used the Toffee Crunch Memento Dew Drop to stamp the second image, half circle at the right bottom corner. Repeat this step to stamp all the background mats.
Step 3 Place the first piece of the background mat again on the stamping tool. I used the Peanut Brittle Memento Dew Drop to stamp the third image at the left bottom corner. Repeat this step to stamp all the background mats.
Step 4 Place the first piece of the background mat again on the stamping tool. I used the Olive Grove Memento Dew Drop to stamp the leaf branch on top of the other images, slightly overlapping each other. Stamp the image a couple times to get a darker, bold result. Repeat this step to stamp all the background mats.
Step 5 Place the first piece of the background mat again on the stamping tool. I used the Potter’s Clay Memento Dew Drop to stamp the cute little butterfly image next to the leaf branch. Repeat this step to stamp all the background mats.
Step 6 Place the first piece of the background mat again on the stamping tool. I used the Pistachio Memento Dew Drop to stamp the sentiment at the right top corner. Repeat this step to stamp all the background mats.
Step 7 I cut each of the background mat using one of the frame dies using a die cutting machine.
Step 8 Add some of the glue from On Point Glue to the back of a background panel and add it to the card base. Press down the mat for a few seconds to set the glue permanently. Repeat this step for the rest of the background panels. On Point Glue is my favorite liquid glue which is multi-purpose, dries clear, permanently, and wrinkle-free!
I hope you can try these steps to make your own CAS, earth-tone, note card set. These handmade cards can also be used as gift set to teachers, co-workers, or friends.
Thank you for stopping by our blog today. Have a fabulous day!
Craft Supplies
Imagine Crafts:
Memento Dew Drop (Potter’s Clay, Desert Sand, Toffee Crunch, Peanut Brittle, Pistachio, and Olive Grove)
Here’s an Autumn-themed card created with Memento and VersaMagic inks using a lovely stencil and a meaningful quote. This card is meant to encourage a friend who had an accident who is a bit patient for nature to take its course.
Skill Level: Intermediate Time: 1.5 hours
Directions:
Step 1: Use magnets and low-tack tape to secure a piece of mixed media cardstock to a magnetic page. Add a curvy piece of low-tack tape along the bottom as shown. Use a Sponge dauber to apply Danube Blue Memento Ink horizontally across the cardstock.
Step 2: Use another Sponge Dauber to apply Summer Sky Memento ink horizontally across the cardstock, filling in open spaces.
Step 3: Use another Sponge Dauber to add Angel Pink Memento Ink to add some warmth to the sky.
Step 4: Place the other side of the curvy low-tack tape over the bottom part of the sky area. Use a Sponge Dauber to apply Bamboo Leaves Memento ink over the tape horizontally to begin to create a grassy area.
Step 5: Tear a piece of cardstock and use the Sponge Dauber to continue applying Bamboo Leaves Memento ink. Use another Sponge Dauber to apply New Sprout Memento Ink to fill in the grassy area.
Step 6: Use low-tack tape and magnets to secure the Tree Stencil over the sponged paper and the magnetic page. Place low-tack tape over the leaves around the tree trunk and branches. Use a Sponge Dauber to apply Jumbo Java VersaMagic over the stencil onto the paper. Remove the tape to reveal the tree’s leaves. Use a paper towel to wipe the brown ink off of the stencil.
Steps 7A, 7B, 7C, and 7D: Use a Sponge Dauber to Apply Mango Madness VersaMagic Ink over some of the stencil’s leaves (7A). Use a dry paper towel to wipe the ink off the stencil. Use separate Sponge Daubers to apply Aloe Vera, Tea Leaves, Pink Grapefruit, Pumpkin Spice, Red Magic, and Perfect Plumeria VersaMagic Inks over the stencil’s leaves (7B, 7C). 7D shows the completed tree. Heat set.
Step 8: Use magnets to secure the image panel onto the base of the a stamping platform. Place the sentiment facedown where desired. Press the platform’s lid onto the back of the stamp, lift the lid, ink the stamp with Shady Lane VersaFine Clair Ink, and stamp. Re-ink and stamp again if necessary to attain a good impression. Remove the card front from the stamping platform. Heat set the sentiment.
Step 9: Cut a piece of white textured cardstock to 10” x 7”. Score at 5” and fold to form a 5” x 7” card. Place a piece of scrap paper inside the card to protect it. Use a Sponge Dauber to apply Shady Lane VersaFine Clair around the outer .5” perimeter of the card. Heat set.
Step 10: Use Tear It! Tape to adhere the card front to the inked 5” x 7” card.
Hello crafty friends! In today’s project, we are going to use Memento inks to make this fun watercolor coffee card.
Skill: Intermediate Time: 15 minutes
Direction:
Step 1 First, cut out a piece of mixed media paper or watercolor paper.
Put it in the stamping tool and secure it with magnets. Using a stamping tool is recommended for stamping multiple times on the same spot.
For this watercolor multi-color technique, using a solid stamp will give better results. Add the stamp on the paper and then pick it up with the stamping tool lid.
Add each Memento ink on the stamp using a sponge dauber. Blend the color as you add it to the stamp. You can repeat this step for couple times until you get the best color blending you like.
Step 2 After getting the color blending you like on the stamped image, remove it from the stamping tool.
Dab each color on the craft mat and lightly spray it with water. Pick up each color with a brush and add it to the watercolor paper around each matching color to make it look like the color bleeds out and spread on the paper.
After that, pick up the watercolor paint again, and add some lightly splatters around each color. Dry the watercolor coffee mug image with a craft heat gun.
Step 3 When the watercolor image is dry, cut it with a rectangle die. Or you can use any frame or nesting die you have in your stash.
This is the background mat for the card.
Step 4 Add some of the Tear It! Double-sided tape on the back of the cut out background mat. Make sure to cover each edge to get a better result and flatten the mat on the card.
Remove the adhesive paper and add the background mat on the card. Firmly press to smooth out the paper on the card and the adhesive will stick permanently.
Step 5 You can embellish the card with some gems or sequins.
On Point Glue is the best glue to add some sequins on this card. It dries permanently right away on dry surface like on this card background.
Simply just dab a dot of glue on the craft mat, pick up a sequin with tweezers, dib it into the glue lightly, and add it to the card.
Love how this card turned out. Simple, quick, and fun technique to add texture watercolor look background using multiple color inks on the stamped image.
Also, this is a mail-friendly card you can send out to your coffee-loving craft friend at any time.
I hope you’ll like the watercolor coffee card today and give this technique a try with your own twist. Thank you for stopping by our blog today. Have a fabulous day!
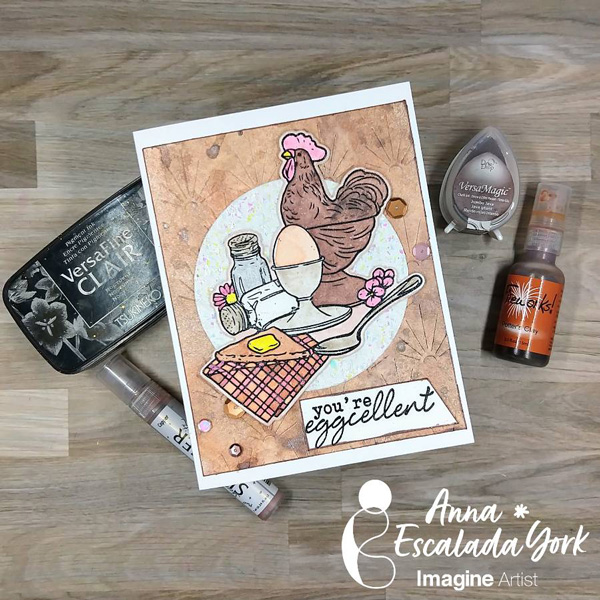
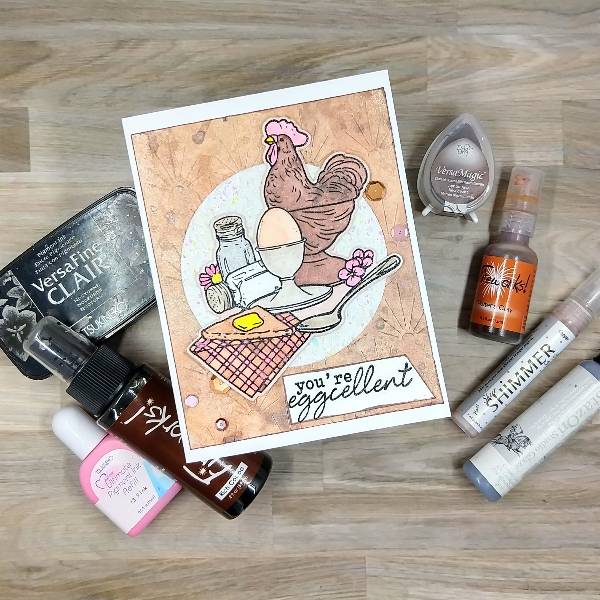
In today’s post, I made a card featuring earthy colors.
Skill: Intermediate Time: 1.5 hours
Directions
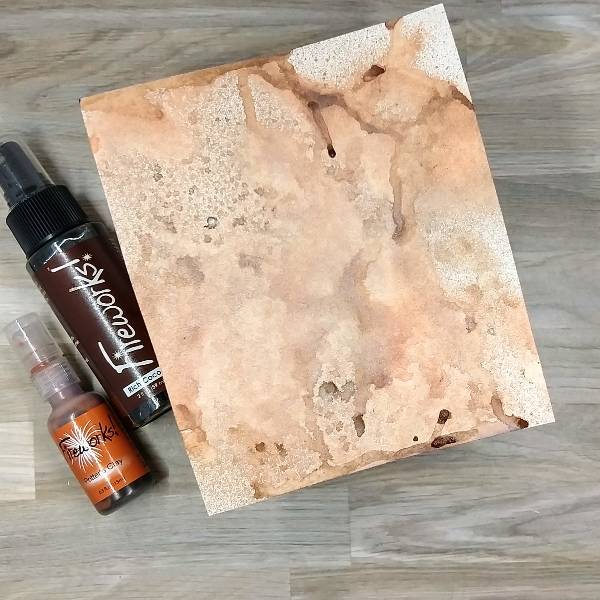
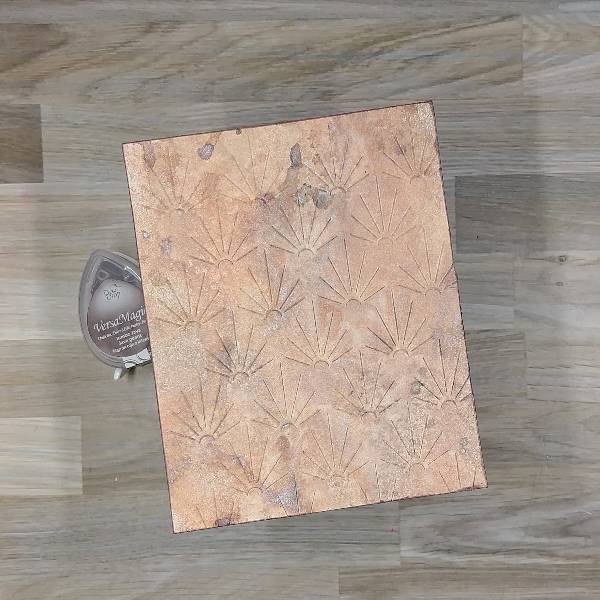
Step 1: Spray a piece of watercolor paper with Rich Cocoa and Potter’s Clay Fireworks! Spray.
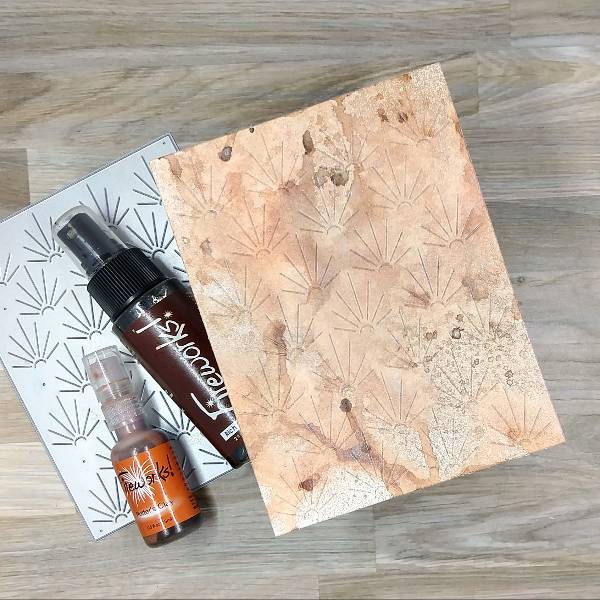
Step 2: Die cut the sprayed panel with a panel die.
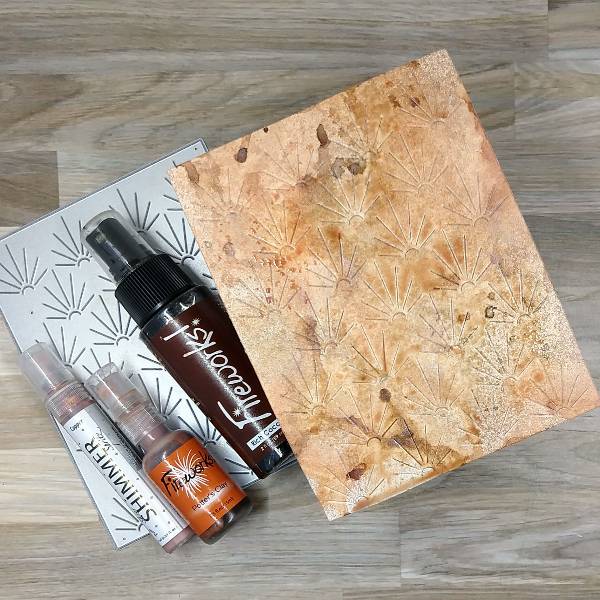
Step 3: Spray the same panel with Copper Shimmer Spritz spray.
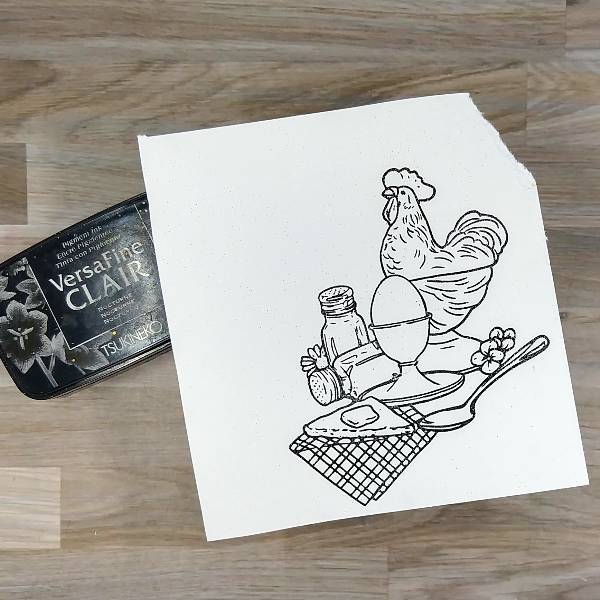
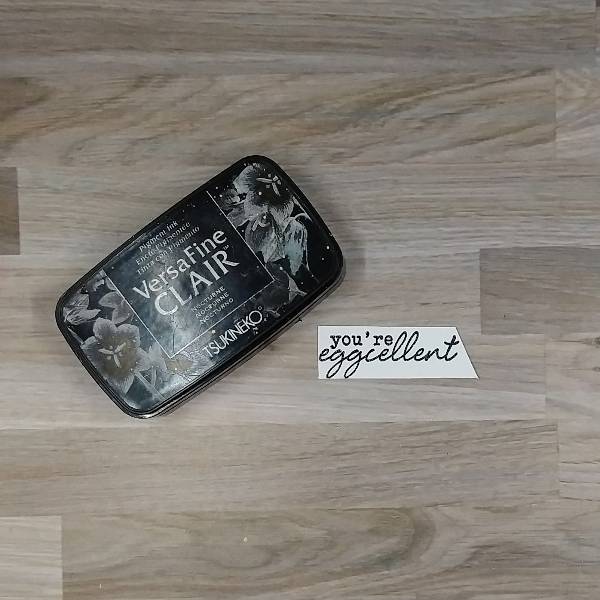
Step 4: Stamp another piece of watercolor paper with Nocturne VersaFine Clair ink. I chose to heat emboss the image with clear embossing powder.
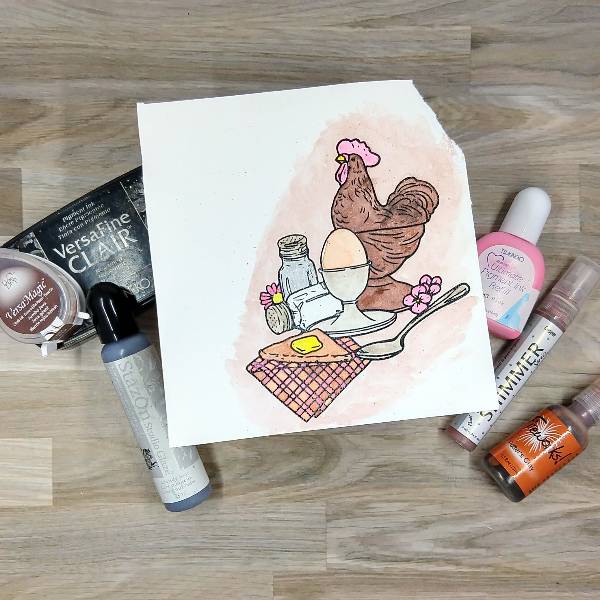
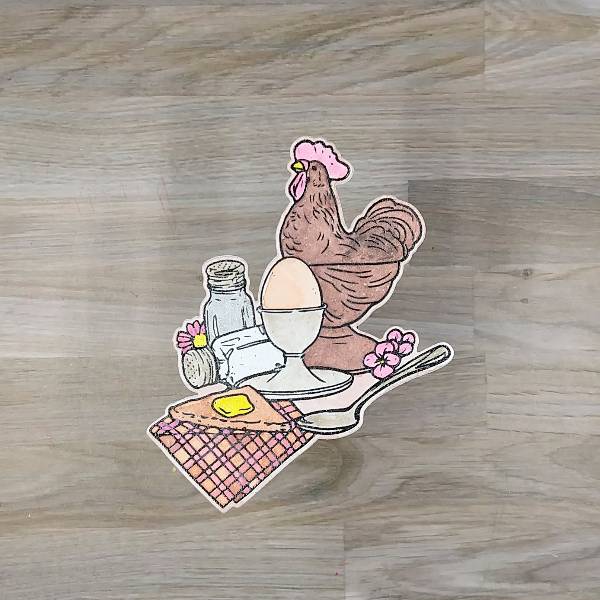
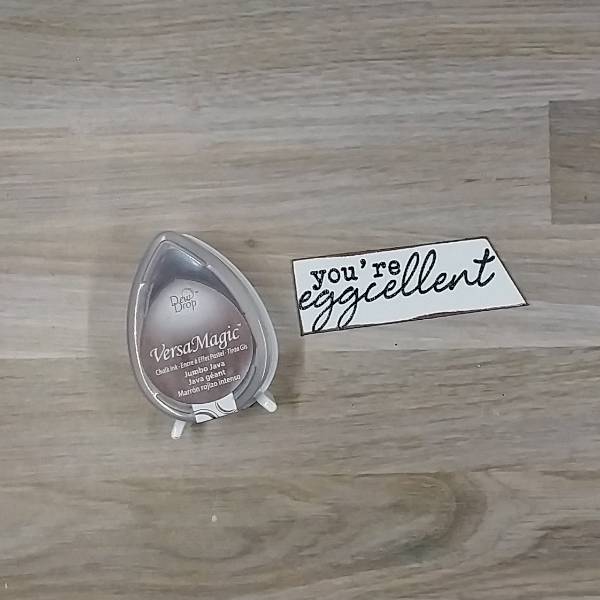
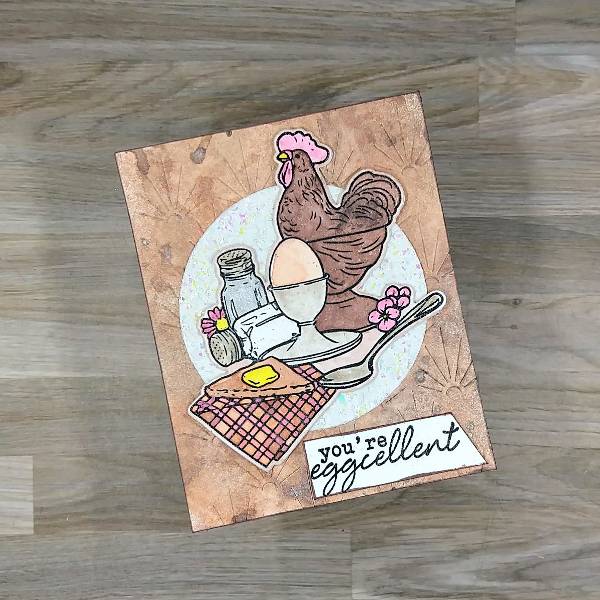
Step 5: Color the image. I used a variety of mediums mixed with water to color the image. – I colored the rooster jar with Jumbo Java VersMagic Chalk Ink mixed with water. – The salt and pepper shaker tops, the egg holder and spoon with Cloudy Sky StazOn Studio Glaze mixed with water. – The rooster’s comb and wattles plus the flowers and the pink parts of the napkin with Pink VersaColor Pigment ink refill mixed with water. – Potter’s Clay Fireworks! Spray mixed with water was used to paint the toast, the napkin, the egg and the background. – I used a yellow glitter brush marker to color the beak, butter, and the center of the flowers. – I painted some Copper Shimmer Spray over the rooster. Finally, I added some sparkle with a sparkle pen on the salt and pepper shakers.
Step 6: After the stamped image dried, die cut the stamped image with the corresponding die. (Optional step: Die cut a scrap piece of cardstock and glue this scrap die cut behind the stamped and colored layer for dimension and strength.)
Step 7: I used my paper trimmer to trim the panel. I then ran my Jumbo Java VersaMagic Chalk Ink around the edges of the panel to create a border.
Step 8: Stamp a sentiment on a piece of watercolor paper. If desired, heat emboss with clear embossing powder. Then trim the sentiment strip.
Step 9: Run the Jumbo Java VersaMagic Chalk Ink around the edges of the sentiment to create a border.
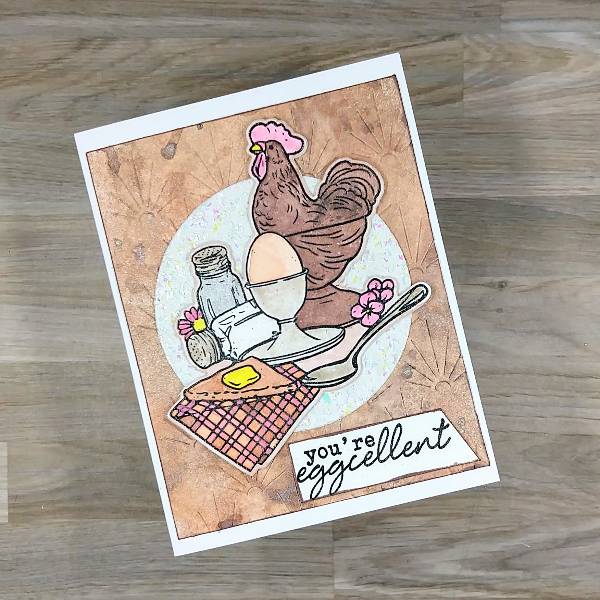
Step 10: Die cut a piece of white glitter cardstock. Glue the white die cut glitter cardstock onto the background panel. Glue the breakfast scene (the main stamped image) over the white glitter cardstock. Then glue the sentiment onto the lower corner of the panel. Let the glue dry.
Step 11: Glue the whole panel onto an A2-sized white card base.
Step 12: Glue sequins around the main stamped image to finish the card.
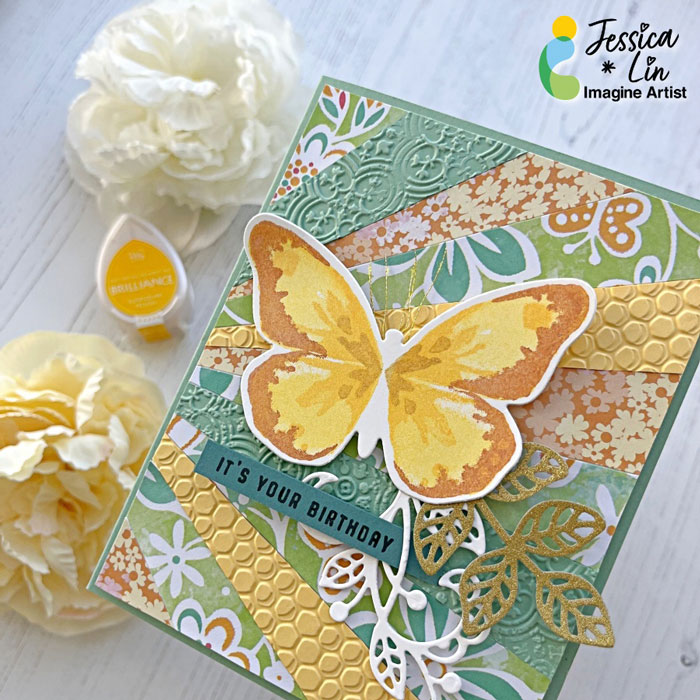
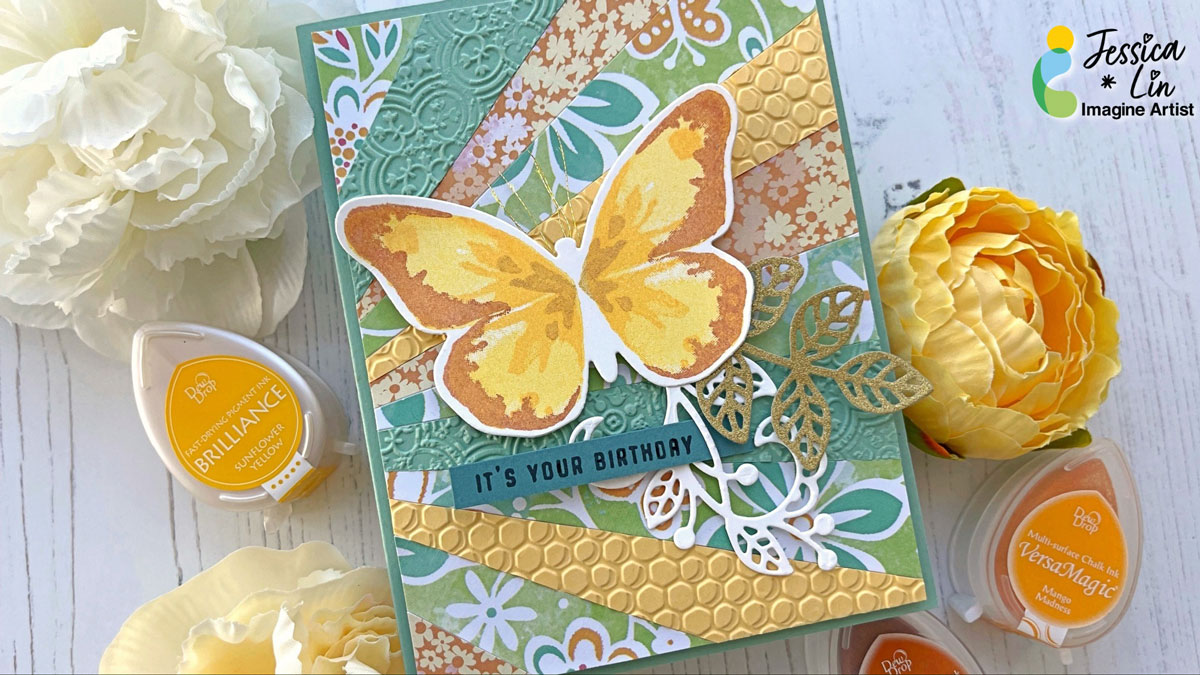
Hi everyone! It’s Jessica here and I’m excited to share a patterned paper trick with you today. If you like to save scraps of pretty paper, but are unsure how to use them, I highly recommend trying out today’s technique!
Skill: Intermediate Time: 30 minutes
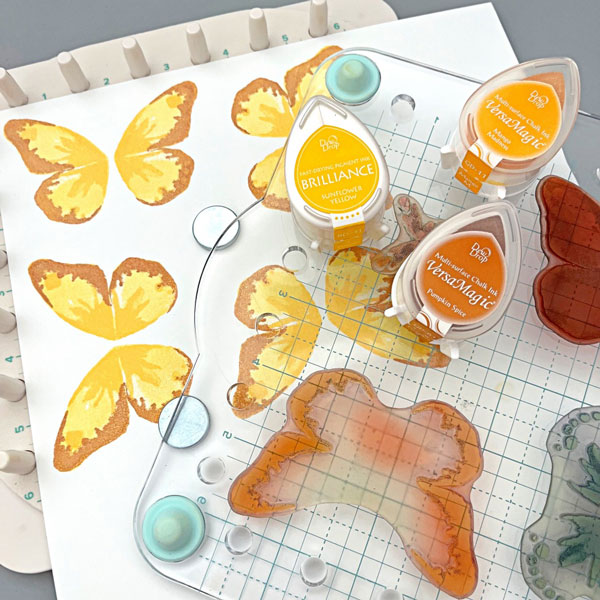
Step 1: The focal image of today’s card is this butterfly stamp from Watercolor Wings. It’s one of my favorite layering stamp sets of all time. I used Brilliance Sunflower Yellow for the base layer. Then I stamped the second and third layers with VersaMagic Mango Madness and Pumpkin Spice. I did add a fourth layer using Brilliance Galaxy Gold as well (not pictured).
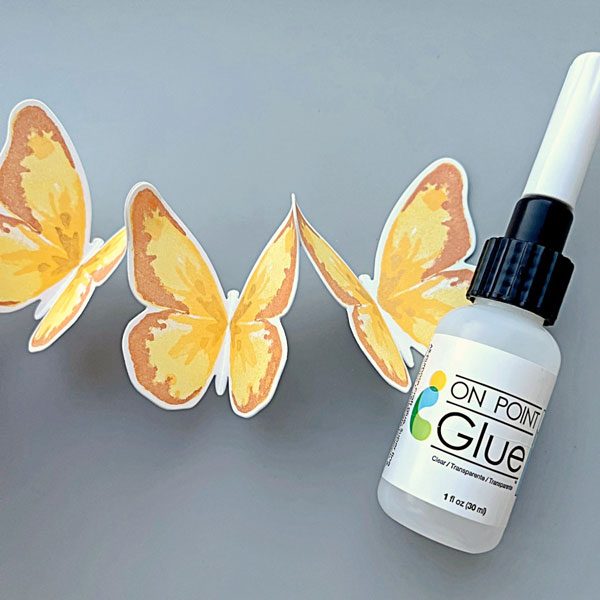
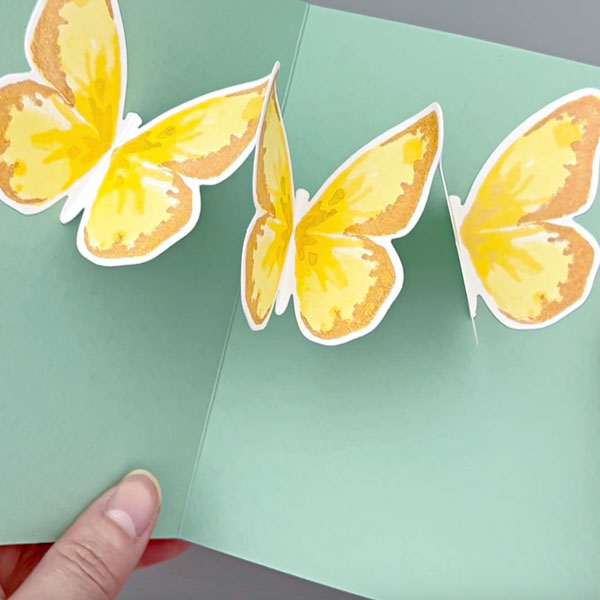
Step 2: Die cut the butterfly images with Bold Butterfly dies. Then adhere the tips of the butterfly die cuts with On Point Glue. This would create a string of butterflies for a surprise pop up mechanism inside the card (next photo).
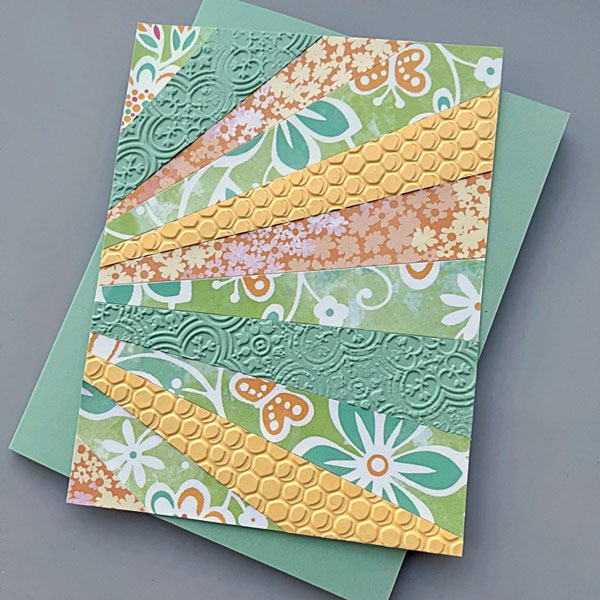
Step 3: To make the patterned paper background for the card front, trim your patterned paper scraps to 1 x 6’’. Then cut each piece diagonally to create long, triangular shapes. I used Stick It adhesive to cover the entire background panel and adhered the patterned paper pieces on top. However, you could use whichever adhesive you prefer. Once the entire panel is covered, trim off the hanging pieces on the edges.
Step 4: Lastly, adhere the last butterfly along with any additional foliage die cuts. And the card is complete!