by Jowilna Nolte

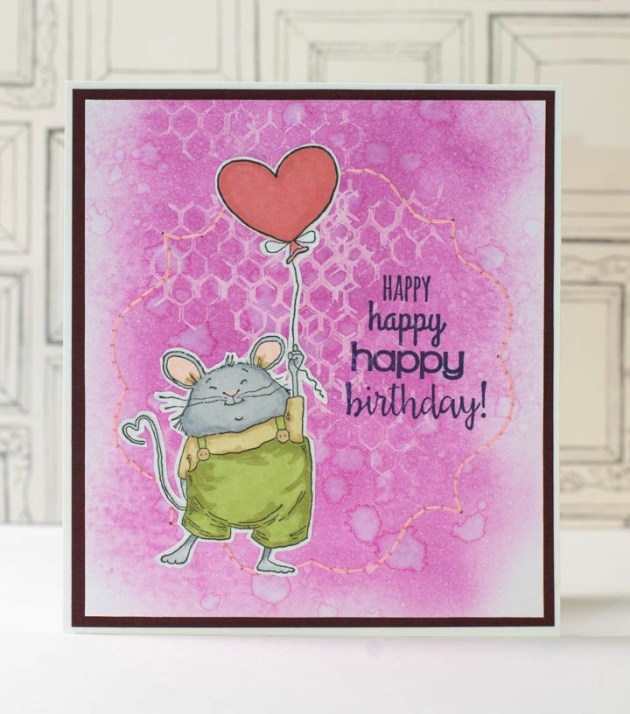
Create a Valentines’ day card with a mixed media feel and matching washi tape that you make yourself in a few easy steps using your Imagine Craft Mat. Add interest with inks and textures layered to create interest.
Skill: Intermediate
Time: 1 hour
Directions

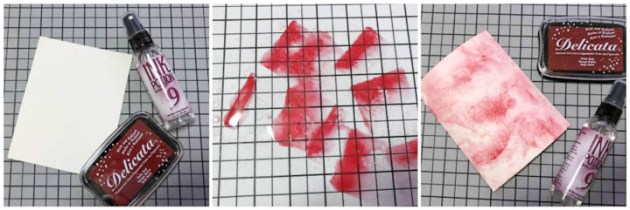
Step 1
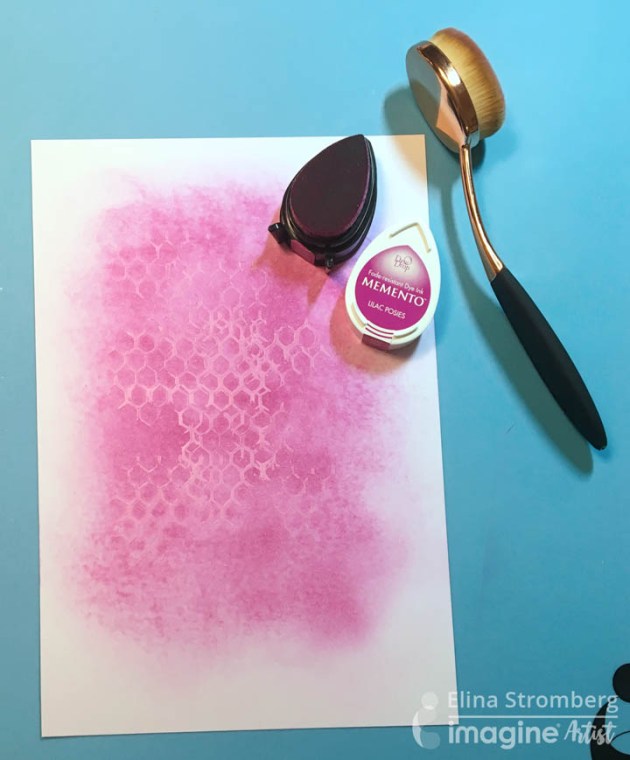
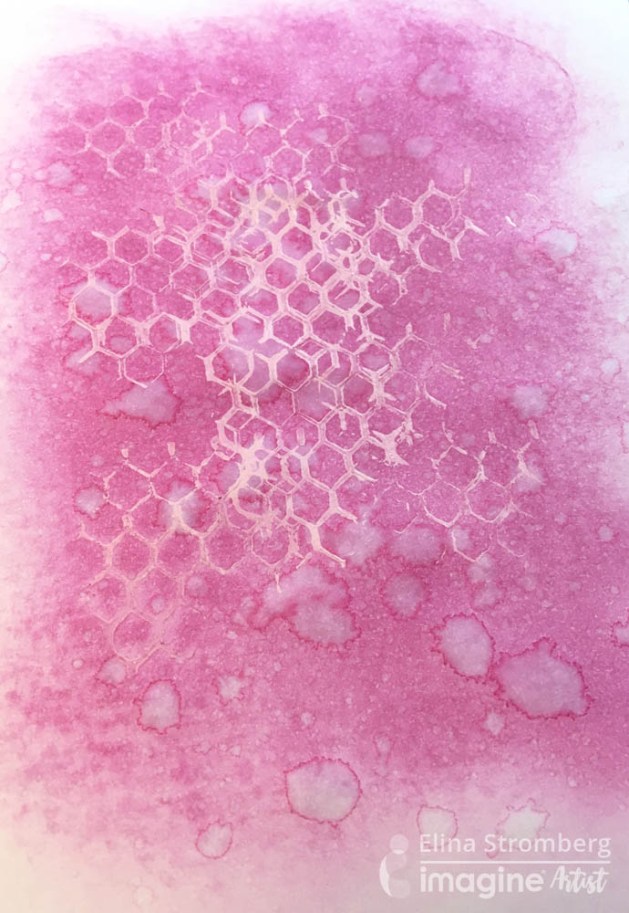
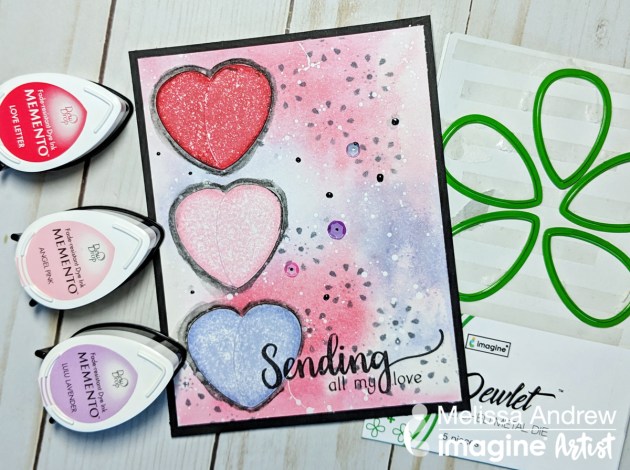
Spray a piece of white cardstock with Fireworks Shimmery Craft Spray in Lady Bug and leave to dry.

Step 2
Use the direct-to-paper method and ink the remainder of the pane using Lady Bug and Lilac Posies Memento DewDrop inkpads.

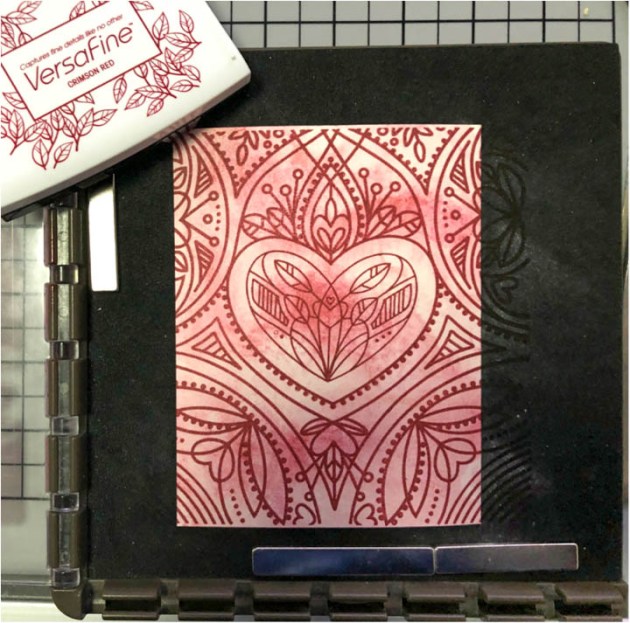
Step 3
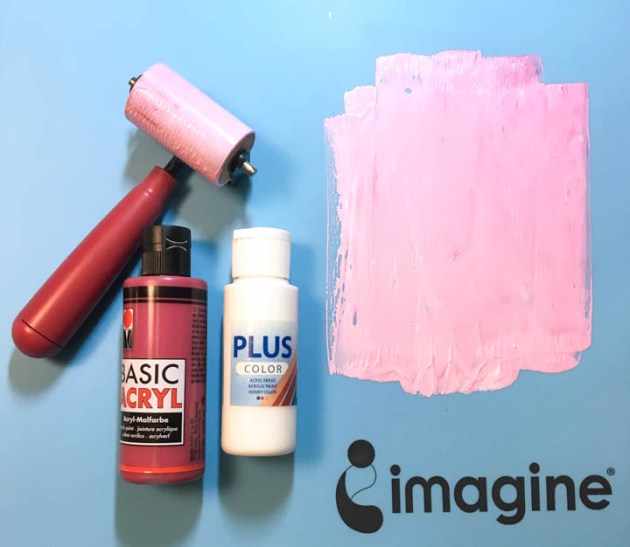
Use sponge daubers with ink to create a bokeh effect to the background. First, add red inked circles using Memento Luxe in Love Letter and then add white Brilliance circles over the top and slightly off-set for a fun effect.

Step 4
To create your own matching washi tape, adhere a strip of masking tape to your Craft Mat.

Step 5
Use Memento DewDrop ink pads to add color to the masking tape strip.

Step 6
Use VersaFine Clair in Morning Mist and a texture stamp to add script stamping to the tape. Leave the ink to dry before adhering the tape to your card.

Step 7
Carefully peel the masking tape off of your Craft Mat and adhere the washi tape to your card panel.

Step 8
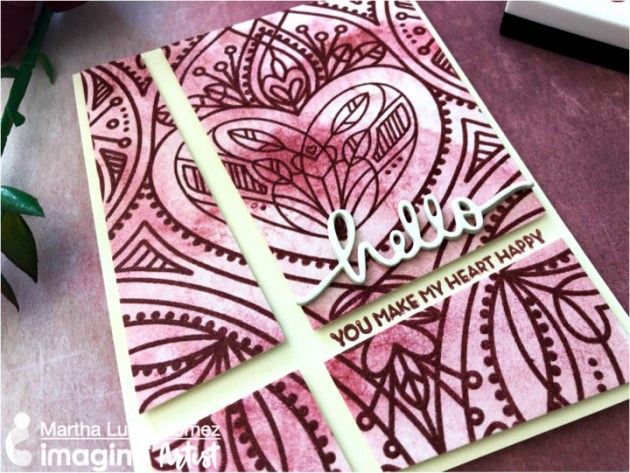
Emboss the panel using a love-themed or Valentine’s Day themed embossing folder. Add a layered die-cut heart with a silver leafed heart on top. Finish off your card with ink splats and diamanté for a mixed media look and feel.
Supplies
Imagine
- Craft Mat
- On Point Glue
- VersaFine Clair – Morning Mist
- Memento DewDrop – Lady Bug, Lilac Posies
- Fireworks! Shimmery Craft Spray – Lady Bug
- Memento Luxe – Love Letter
- InkBlushers
Other
- Kaisercraft – Embossing Folder, Die-cutting machine
- Heart die-cuts: Couture Creations
- Masking tape
- Wooden heart
- Silver leaf material
- Diamanté
- Jowilna Nolte – Circle stencil and not square stencil