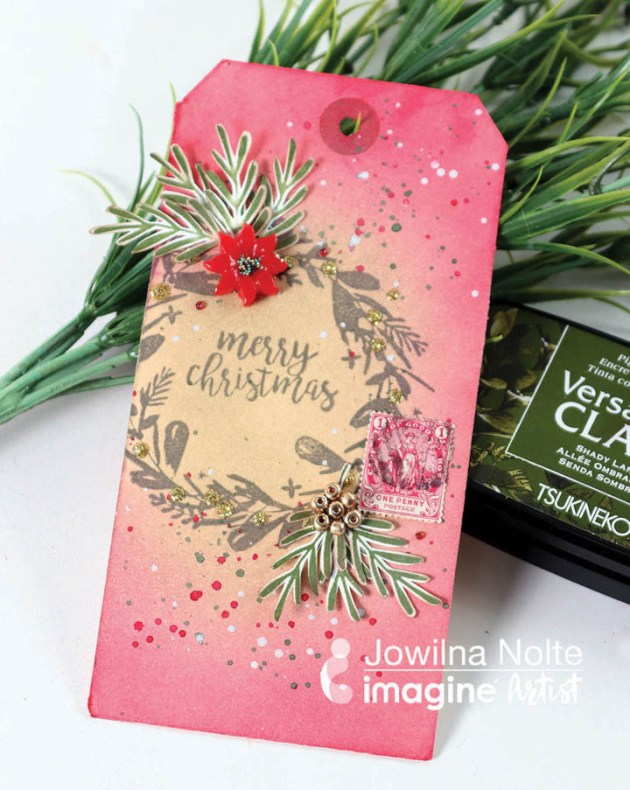
Create an Elegant Christmas Tag with Grey Ink

by Jowilna Nolte

It is that time of the year again when I try and get a head start in making my Christmas cards and tags. This holiday tag is an easy one that I could replicate quickly without making too much of a mess and yet it looks gorgeous. I love the layered look of grey stamping and colorful ink blend for a simple and elegant statement. The grey color from VersaFine Morning Mist is gorgeous and it’s not too harsh making this my perfect go-to ink color for stamping.

Skill: Intermediate
Time: 1 hour

Directions


Step 1

Stamp a wreath and sentiment onto a manilla tag in VersaFine Clair Morning Mist.


Step 2

Use Memento Luxe and a jumbo dauber and blend Love Letter ink around the edges outside of the stamped wreath.


Step 3

Use Memento Luxe Pistachio and blend inside the stamped wreath area.

Step 4

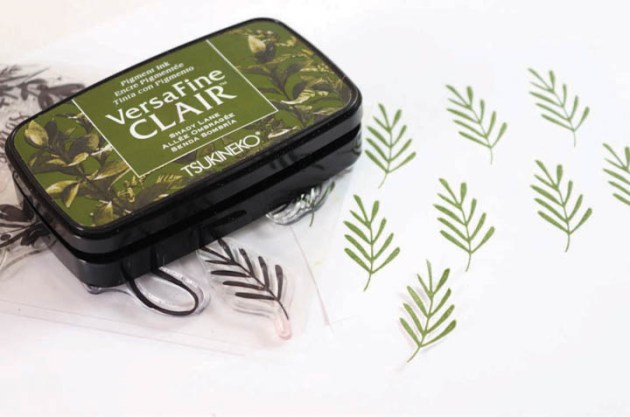
Use VersaFine Clair Shady Lane and stamp several leaves onto smooth white cardstock. Cut out the leaves.

Step 5

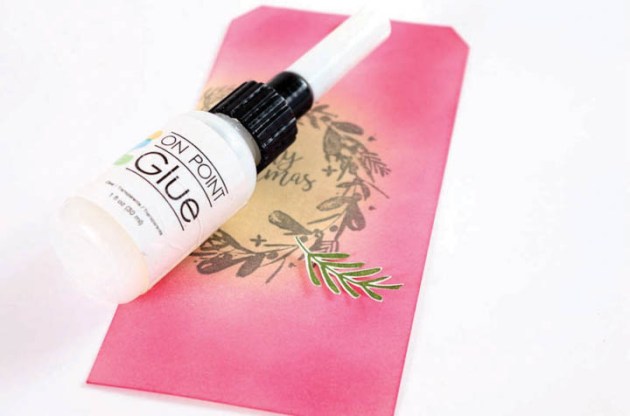
Use On Point Glue and adhere the leaves in clusters in two sections on the stamped wreath.


Step 6

Use On Point Glue and make small drops of glue on the berries and then lightly sprinkle with gold glitter and leave to dry. Shake off the excess glitter and brush clean the tag of stray glitter pieces.

Step 7

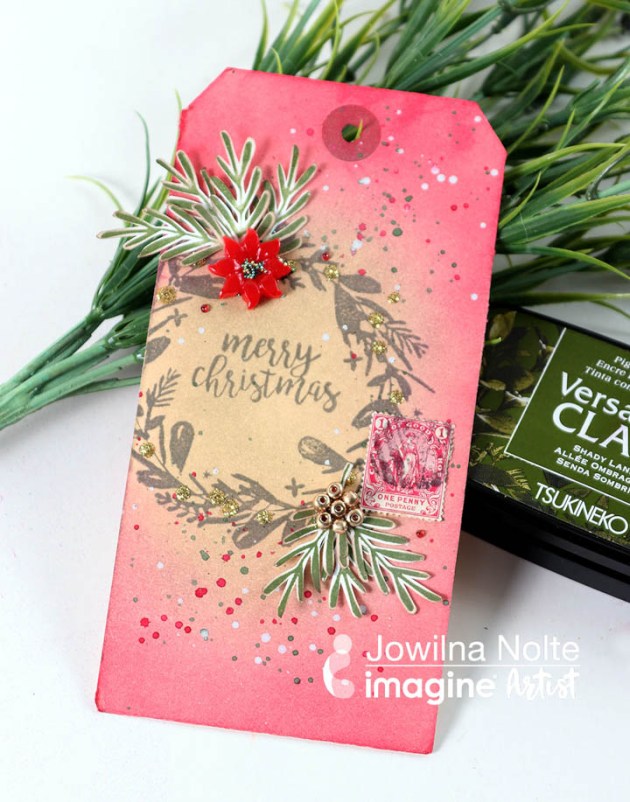
Adhere the leaves, add embellishments as desired and then add some colored ink or paint splats to finish off your tag with some added details.

Supplies

Imagine
Other
  • White cardstock
  • Kaisercraft – Christmas stamps
  • Embellishments
  • Tag
  • Glitter – Gold
  • Microbeads
  • Old Postage stamp
  • Watercolor paint

Create a Matching Envelope and Christmas Card

by Kassy Tousignant

Create a Matching Envelope and Christmas Card

VersaFine Clair Ink and large sponge daubers make great patterned background papers for all of your projects! Check out this video to see how I used them to make a beautiful, distressed background for my Christmas card and matching envelope. The colors are so rich and vibrant and create the perfect matching set.

Skill: Advanced
Time: 1 hour

Supplies

Imagine

• VersaFine Clair – Nocturne, Pinecone, Rain Forest, Morning Mist
• VersaMagic – Cloud White
• All-Purpose Ink – Cool Grey
Embossing powder – Black
Memento Markers – Tuxedo Black, London Fog
• Ink Potion No 9
• Sponge daubers
• Fireworks Shimmery Craft Spray – London Fog
• Walnut Ink – Walnut
• IrRESISTibles Pico Embellisher – Black
GooseBumps – shimmer
• Tear It! Tape

Other

• Prima – Clear gesso
• Black twine
• Cardstock – white
• Envelope
• Stampers Anonymous – Tim Holtz Christmas stamp set

Learn How to Create Christmas Magic

by Kyriakos Pachadiroglou

Learn How to Create Christmas Magic

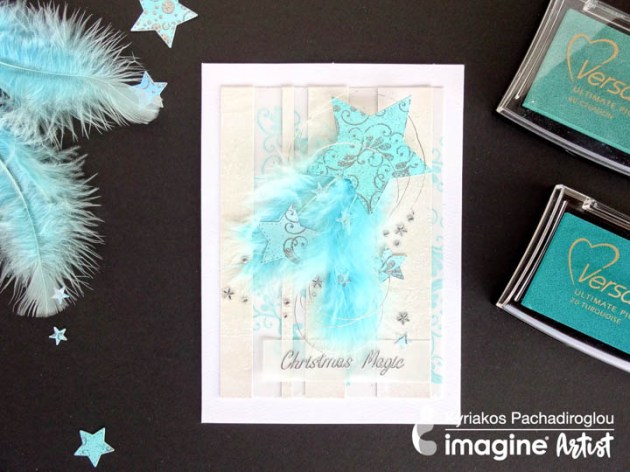
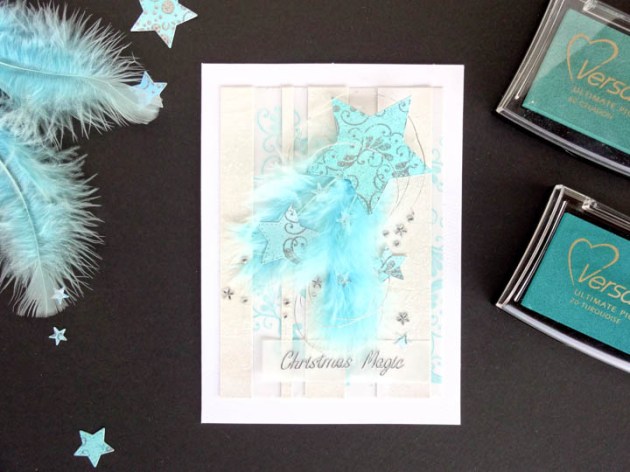
Share the magic of Christmas with silver embossed stars and feathers in a turquoise color. The interchange of stripes covered with Creative Medium and the stamped tracing paper with VersaColor add depth to the background and give a sense of a screen. The multiple layers of the Creative Medium used and then heated, create a rough texture on the paper.

Skill: Intermediate
Time: 1 hour

Directions


Step 1

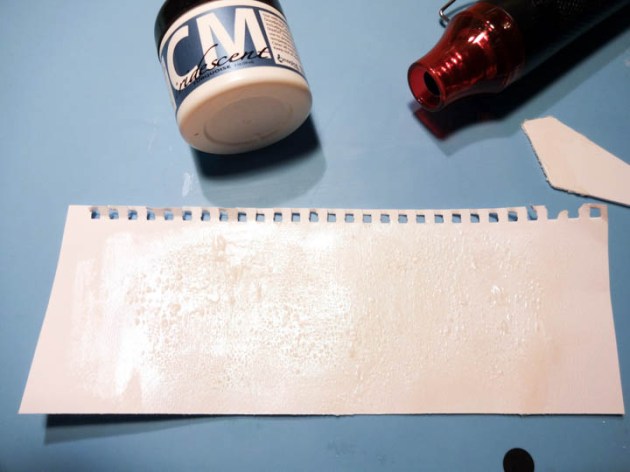
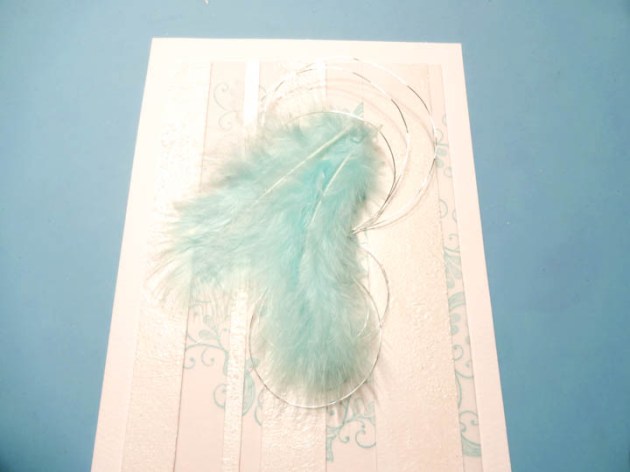
Cover a piece of watercolor paper at least the size of the card will be used with Creative Medium Iridescent Turquoise. Use a heat tool to dry and overheat the paper. The Creative Medium will start making baubles. Repeat the process at least 3 times to give the surface a rough look.


Step 2

Cut stripes of the watercolor paper in various widths and in 6 inch long (one inch less than the card used here).


Step 3

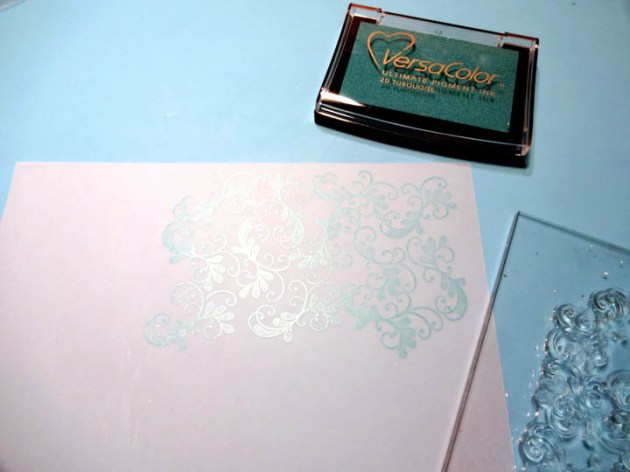
Stamp the tracing paper with the swirls design of the stamp set and the VersaColor Turquoise ink.


Step 4

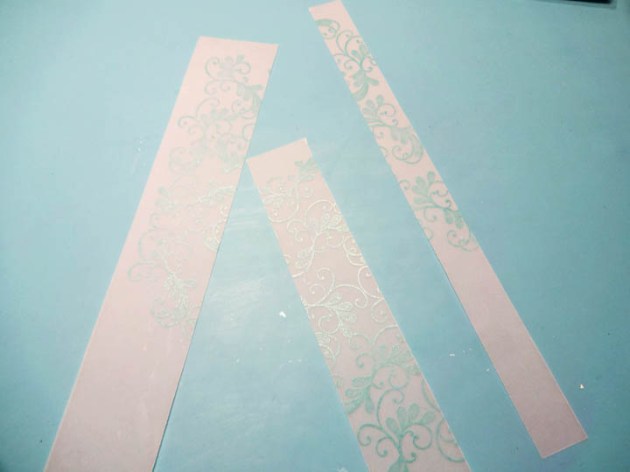
Cut strips of the stamped image in various widths and in 6 inch length.


Step 5

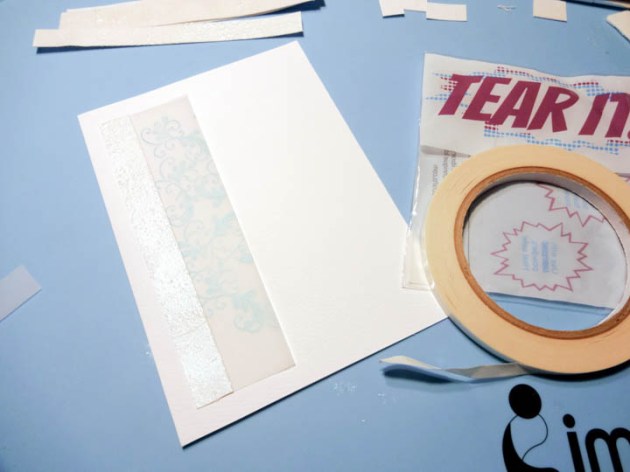
Use Tear It! Tape to set the watercolor and tracing paper stripes on the front of a card base.


Step 6

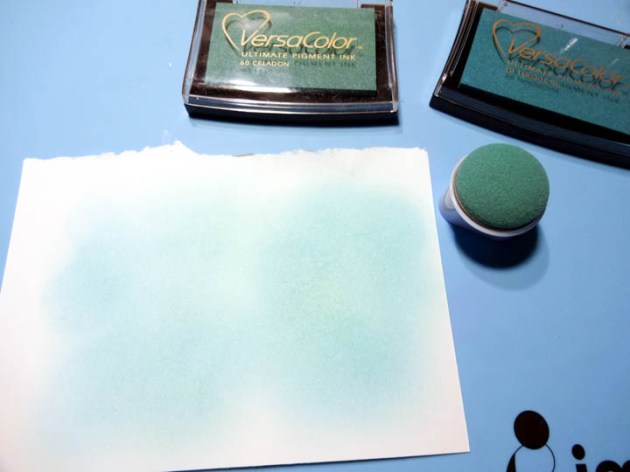
On a piece of watercolor paper, on the smooth side, color with the VersaColor Turquoise and Celadon ink pads.


Step 7

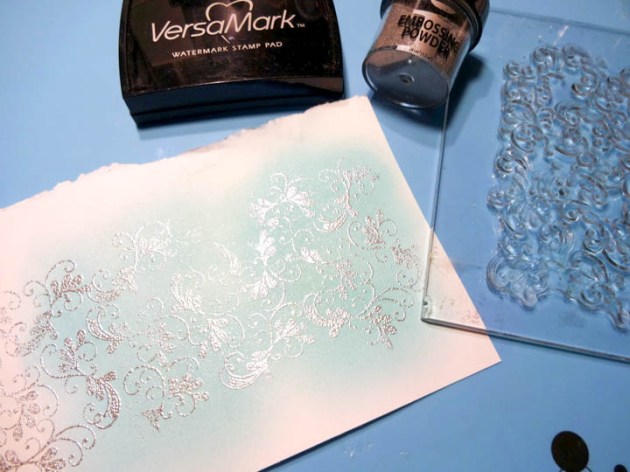
Stamp with VersaMark the same stamp design as above. Cover with Imagine silver embossing powder and heat set.


Step 8

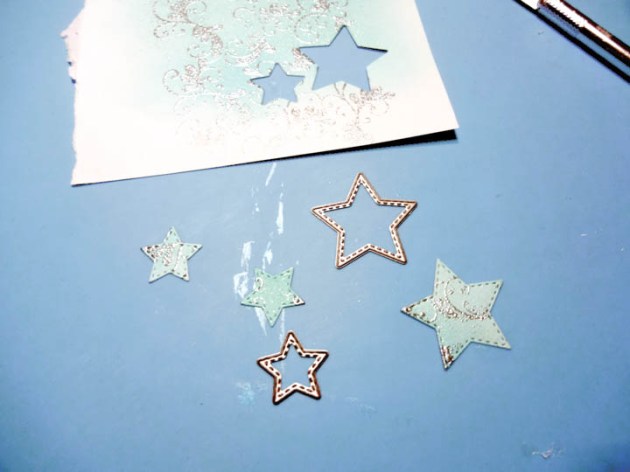
Die cut stars in different sizes from the embossed paper.


Step 9

Make a circle of the craft wire, glue with hot glue and continue with the feathers.


Step 10

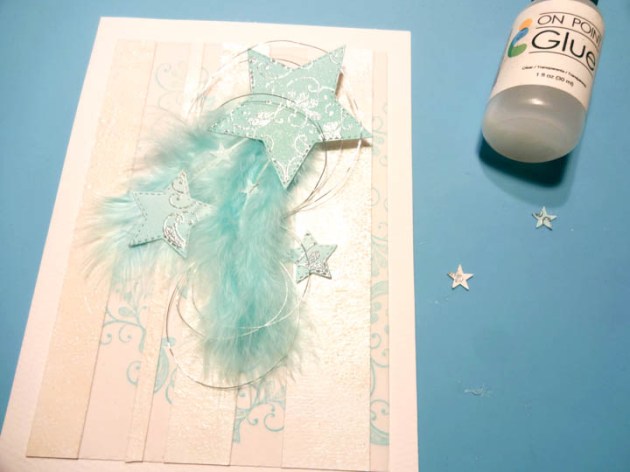
Use the On Point Glue to place the paper stars, while the main star, set it with some foam tape to raise from the front. Add rhinestones with the On Point Glue.


Step 11

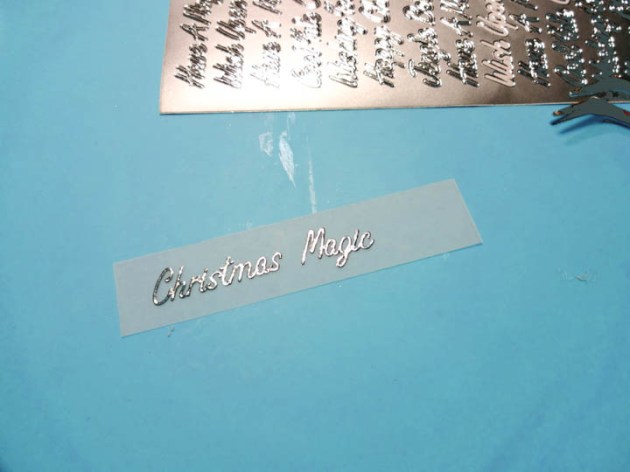
Remove the words from the sticker and set them on a piece of tracing paper and then glue on the card.

Supplies

Imagine
Other
  • Tracing paper
  • Viva Decor – Peacock feathers stamp set
  • Star dies
  • Die cutting machine
  • Heat tool
  • Feathers
  • Jewelry wire
  • Rhinestones
  • Canson watercolor paper
  • Craft creations – Peel off stickers, Christmas words
  • Hot glue gun
  • Foam tape

Create a Mixed Media Holiday Card with Memento

by Melissa Andrew

It’s time to get ready for the holidays! Today Melissa creates a gorgeous watercolor background with Memento and VersaColor Ink. She finishes her holiday card with gorgeous gold embossing powder. This is a quick and easy holiday card that can be mass produced for sending to loved ones this season!

Skill: Advanced
Time: 1 hour

Directions

Supplies

Imagine
Other

Create Quick and Easy Advent Calendar Gifts

by Roni Johnson

Create Quick and Easy Advent Calendar Gifts

It’s never too early to start preparing for the holidays to help avoid the rush. Today I have a fun and easy upcycled project for the little ones in your life – a Toilet Paper Roll Advent Calendar. Now I just have to save up 20 more toilet paper rolls!

Skill: Beginner
Time: 1 hour

Directions


Step 1

Buy or collect 25 paper rolls for the 25 days of the advent calendar.


Step 2

Bend the ends of each roll towards the center to make a “pillow box”.


Step 3

Spritz the rolls with Lady Bug, Bamboo Leaves and Wedding Dress irRESISTible Texture Spray. Let dry before moving on to another color.


Step 4

Dye rayon seam binding with All-Purpose Ink in Spring Green and Red Delicious.


Step 5

Stamp white cardstock with a variety of Christmas-theme images using VersaMagic inks. Die-cut circles from the stamped cardstock. Stamp a large number stamp in the center of each circle using VersaFine Clair ink.


Step 6

Sprinkle the circles with clear embossing powder, shake off excess and set with a heat tool. Die-cut scallop circles from Rinea Foiled Papers.


Step 7

Fill and assemble each pillow box with a treat; affix the ribbon around the box using Tear It! Tape and top it off with the number.

Supplies

Imagine
Other
  • Paper Rolls
  • Rinea Foiled Paper – Ruby/Gold Glossy Foiled Paper, Emerald/Gold Glossy Foiled Paper; Emerald/Emerald Starstruck Foiled Paper
  • Rayon Seam Binding
  • Rubber Stamp Tapestry Peg Stamps – Gingerbread Man, Gift, Candy Cane, Stocking, Holly Club Scrap – Number Stamps
  • Cardstock

Create a Reversible Naughty or Nice Christmas Stocking

by Jennifer Vanderbeek

Create a Reversible Naughty or Nice Christmas Stocking

Getting a head start on the holiday crafting rush, I decided to sew up a quick stocking and decorate the linen cuff with Fabrico markers, All-Purpose Ink, and some heat-embossed accents. While deciding just how I wanted to do the embossing I tried out a lot of products: VersaMark, Delicata, and Creative Medium to name the top three contenders, but I decided that the fine details that On Point Glue afforded made it the best choice for this project. Because of the heat embossing, you want to make sure that the area you’re decorating is a fabric that won’t melt when you hit it with the heat tool. Linen, cotton, canvas, or wool (the natural, sheepy stuff, not the polyester kind) should all work just fine, but you might want to test a small piece before getting too far into decorating your stocking.

Skill: Advanced
Time: 1 hour + dry time

Directions

Supplies

Imagine
Other
  • Stocking blank (or materials to make your own)
  • Pencil
  • Watercolor paper
  • Darice – Heat tool