by Nicole Watt
Celebrate Día de Los Muertos (Day of the Dead) with this beautiful sugar skull thick board tag decor. It’s the perfect combination of dark, distressed, but shimmery and beautiful! If it looks like a difficult project, never fear! Nicole will break it down into bite-sized steps that will have you creating one of your own in no time.
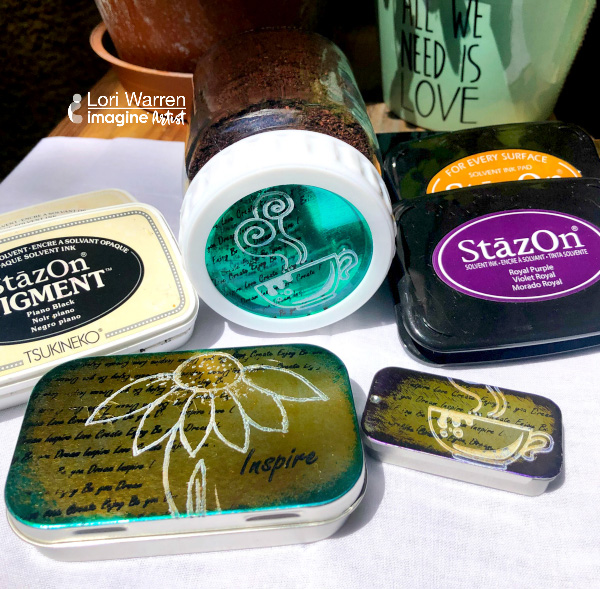
See how to use the new StazOn On-Trend Colors for this project.
Skill: Advanced
Time: varies
Directions
Art Supplies
Imagine
- Memento Ink Pad – Tuxedo Black
- Memento Ink Pad – Lilac Posies
- Memento Ink Pad – Bahama Blue
- Memento Ink Pad – Pear Tart
- Memento Ink Pad – Tangelo
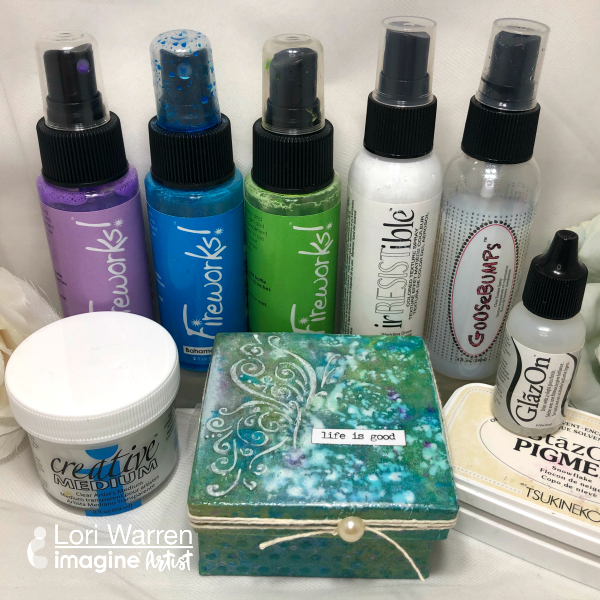
- Creative Medium – Shimmer
- Creative Medium – Gold
- StazOn On-Trend – Bordeaux
- StazOn On-Trend – Plum
- StazOn On-Trend – Caribbean Green
- StazOn On-Trend – Cherry Blossom
- StazOn On-Trend – Scarlet Flame
- irRESISTible Pico Embellisher – Black
- irRESISTible Pico Embellisher – Wedding Dress
- Studio Glaze – Jet Black
- Studio Glaze – Gold
- Ink Blushers
- Sponge Daubers
- On-Point Glue
- VersaMark Pen
- MBoss Embossing Powder – New Year’s Eve
Other
- Altenew Simple Nesting Flowers
- Stamper’s Anonymous #8 Thickboard Tag
- Sugar Skull Digi File
- Strathmore #140 Watercolor paper
- Tim Holtz: Worn Wallpaper
- A Colorful Life Designs: 50 Shades stencil
- A Colorful Life Designs: Damask stencil
- Finnabair glass beads: Peacock Green
- Gauze
- Black thread
- pair of gloves