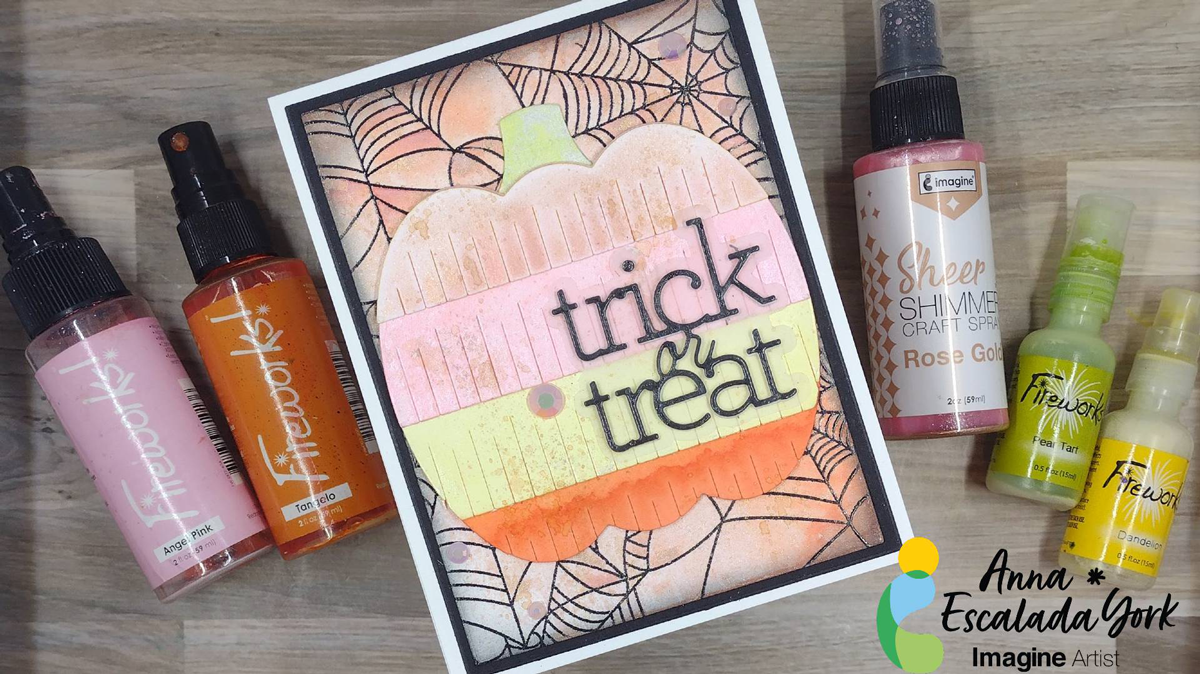
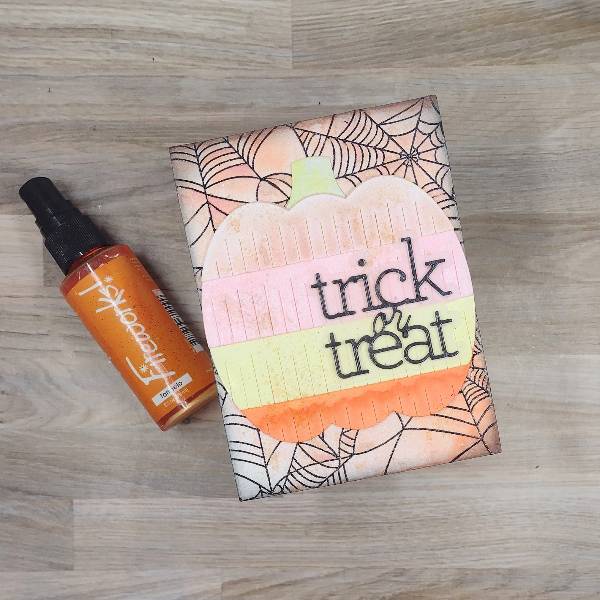
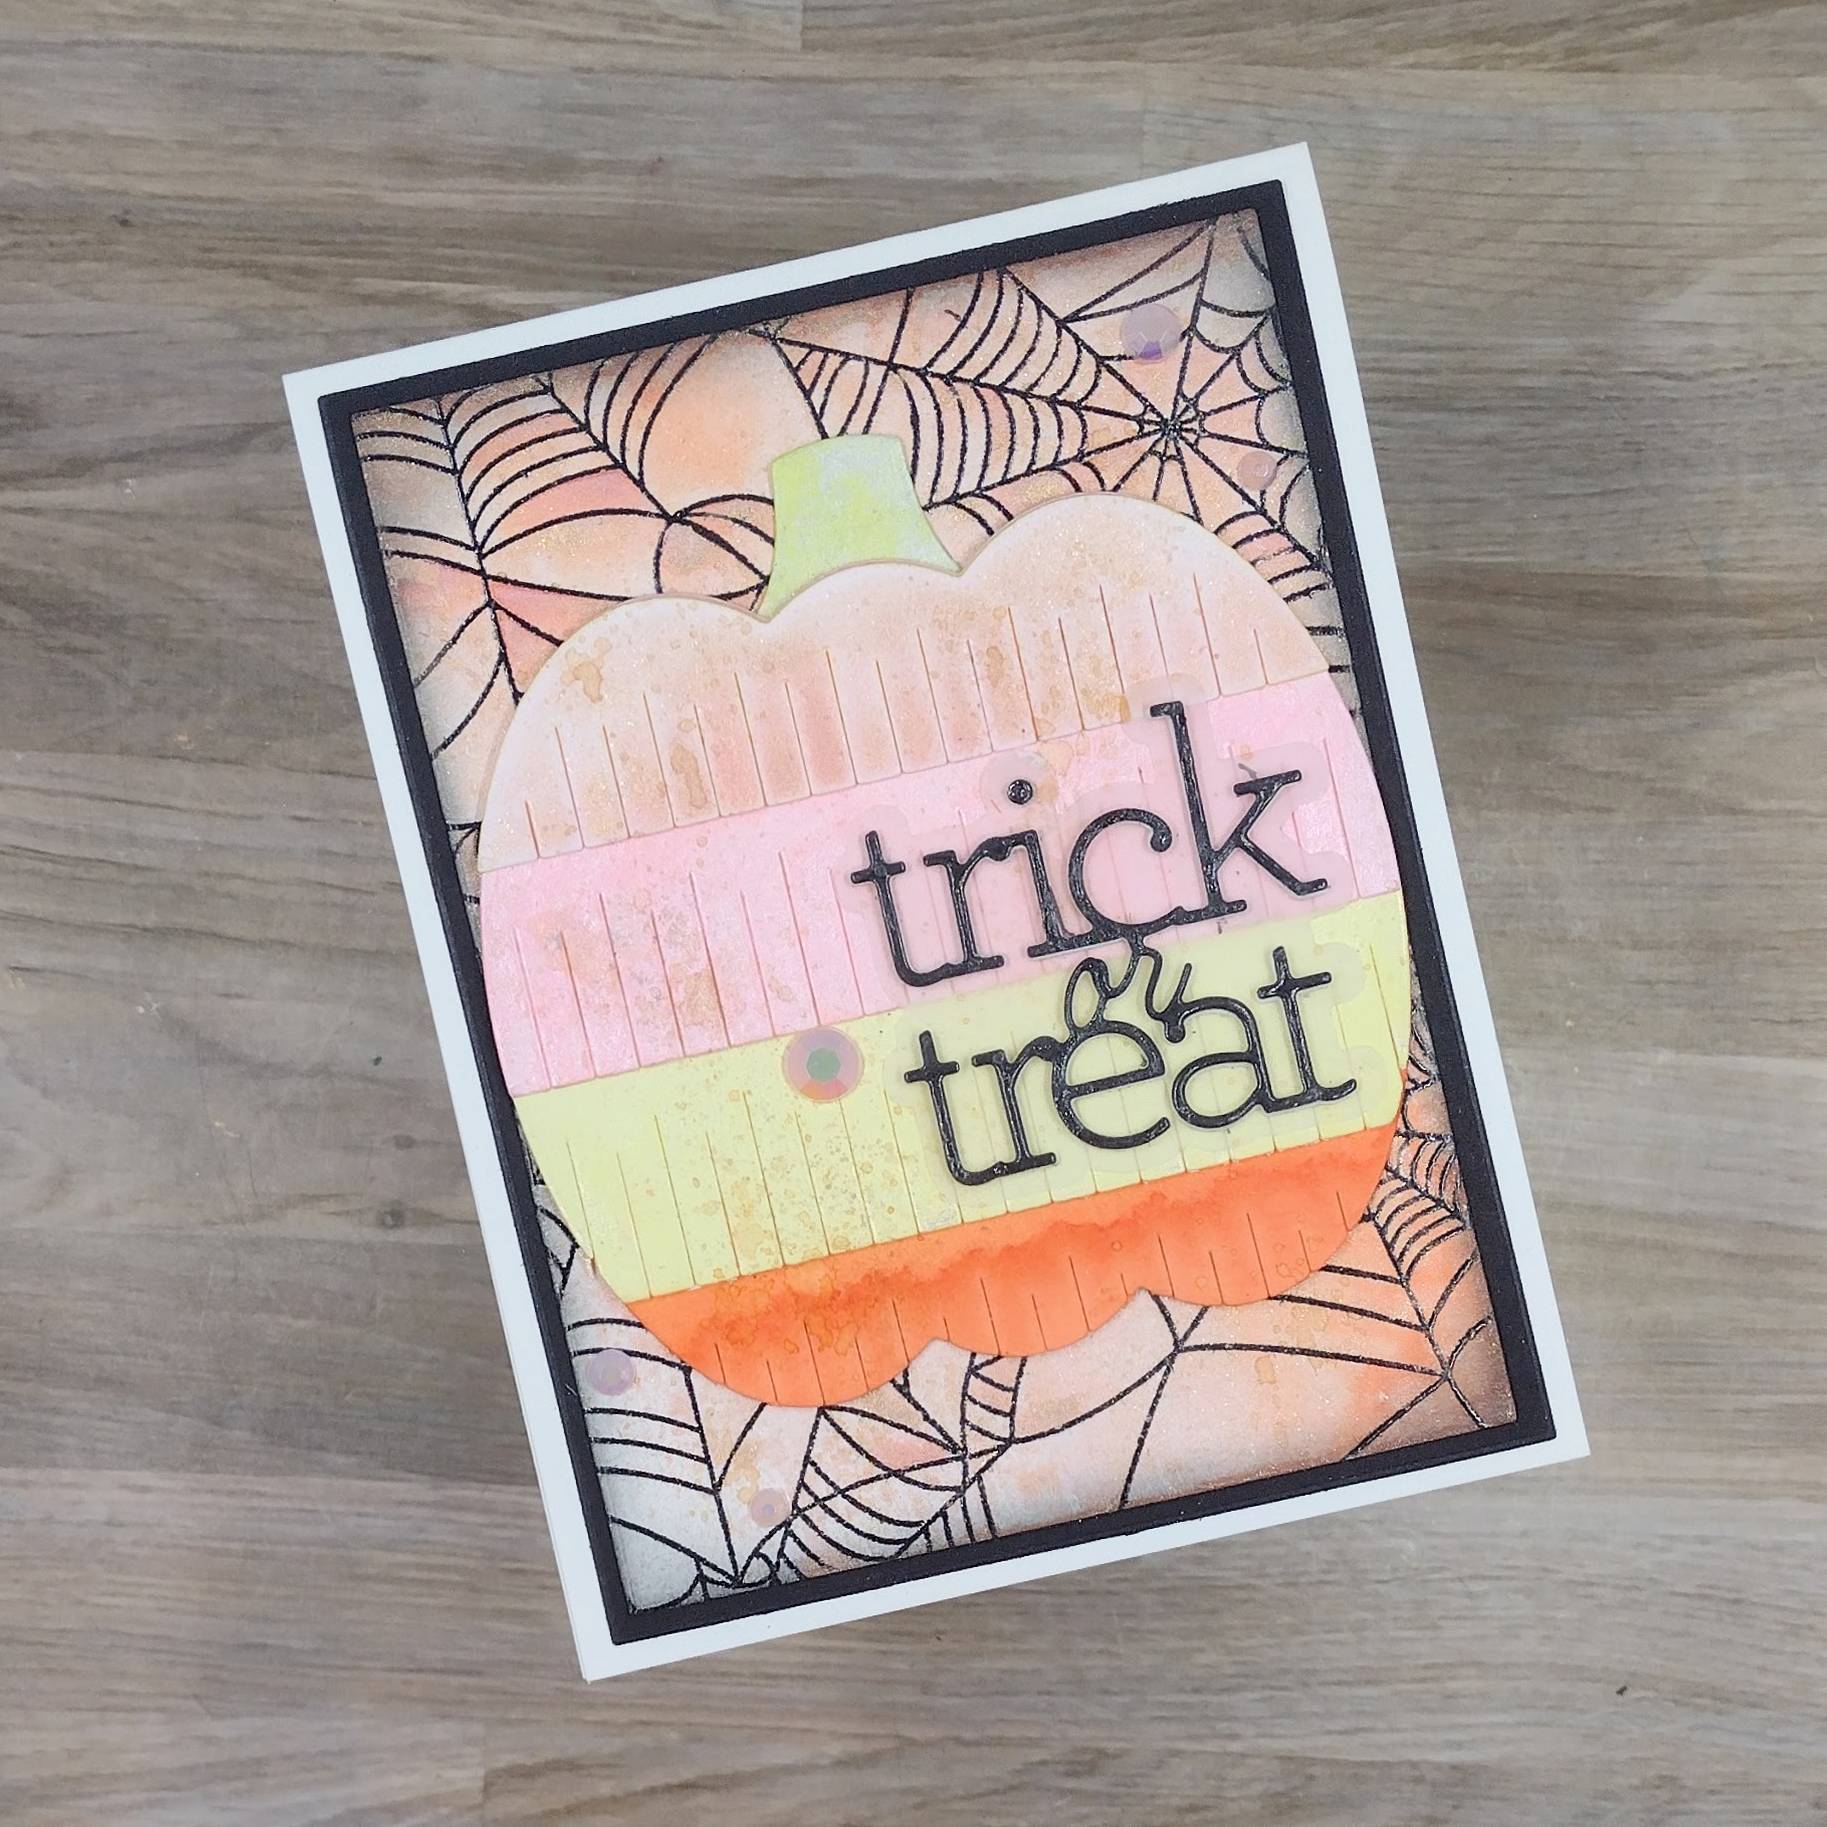
Fall is here! I have been really enjoying making Halloween cards, especially those with non-traditional colors. This card features a pastel color scheme.
Skill: Intermediate Time: 1.5 hours
Directions:
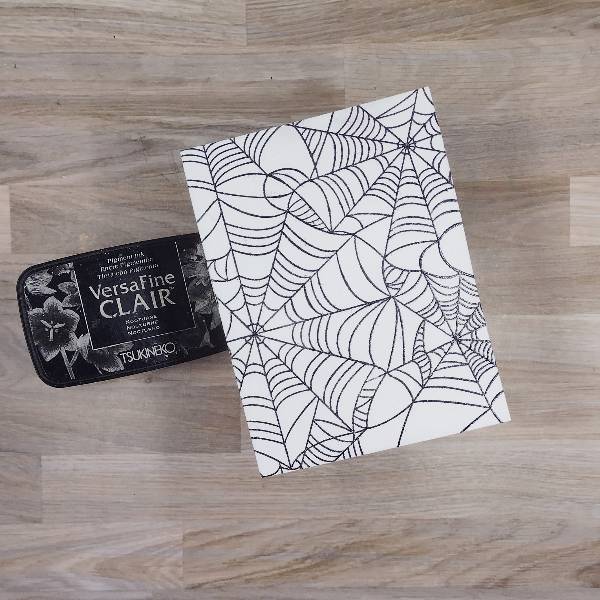
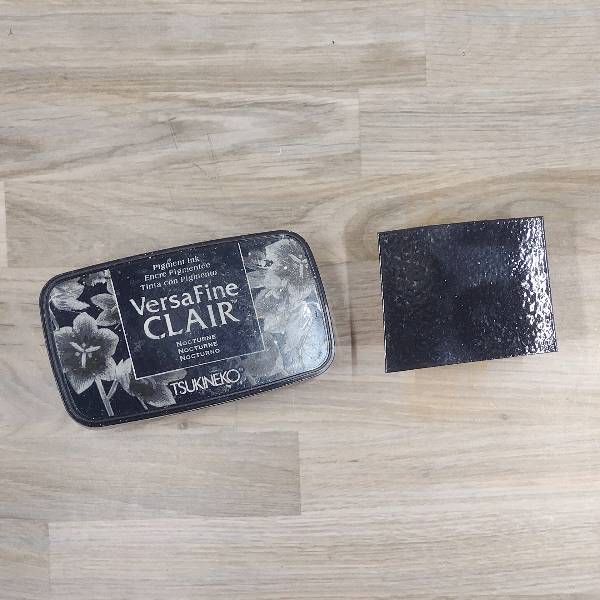
Step 1: Stamp the spiderweb background stamp on watercolor paper with Nocturne VersaFine Clair Ink. If desired, heat emboss with clear embossing powder.
Die cut the panel with a mid-sized A2 nesting die.
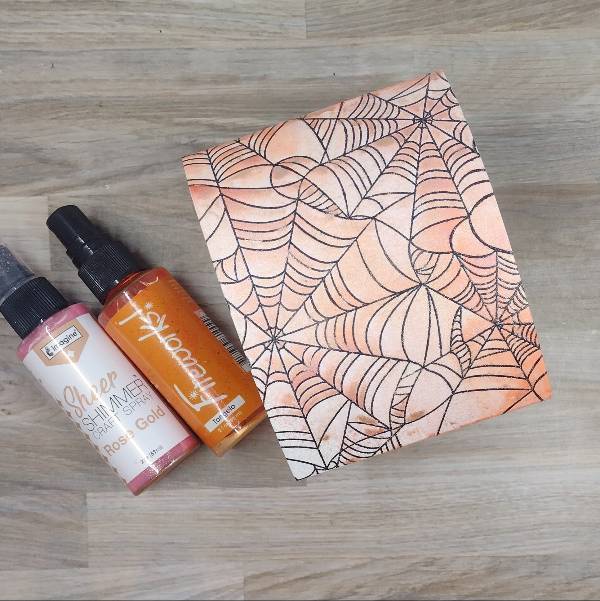
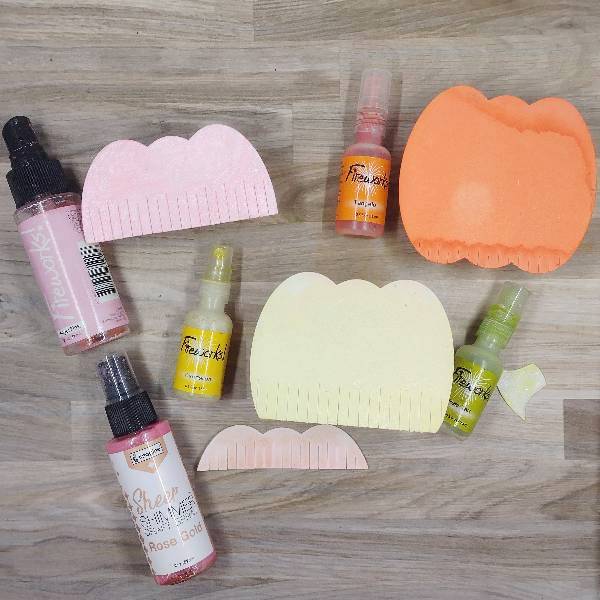
Step 2: Spray the panel with Rose Gold Sheer Shimmer Craft Spray and Tangelo Fireworks! Craft Spray. Make sure that the sprays overlap to blend the two colors together. Allow the panel to dry.
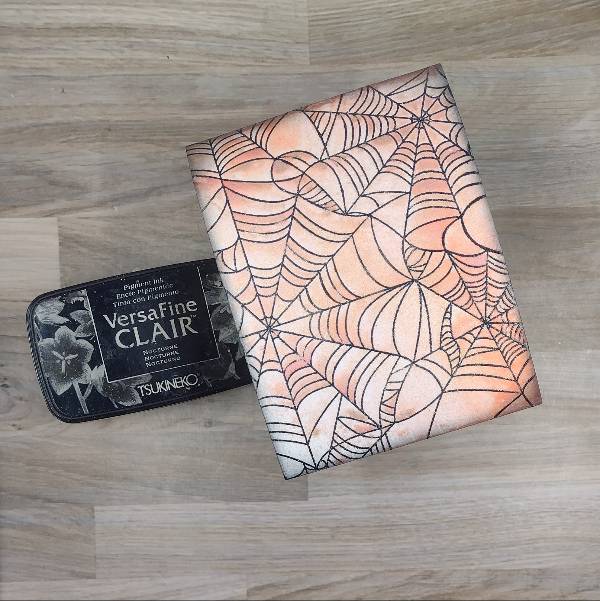
Step 3: Ink blend the edges of the panel with Nocturne VersaFine Clair Ink.
Step 4: Die cut they layers of the pumpkin die cuts out of watercolor paper and spray each piece with different colored sprays:
Stem with Pear Tart Fireworks! Spray
Top layer of the pumpkin with Rose Gold Sheer Shimmer Craft Spray
Second layer with Angel Pink Fireworks! Spray
Third layer with Dandelion Fireworks! Spray
Bottom layer with Tangelo Fireworks! Spray
Step 5: Stamp a piece of watercolor paper with Nocturne VersaFine Clair Ink and heat emboss with clear embossing powder.
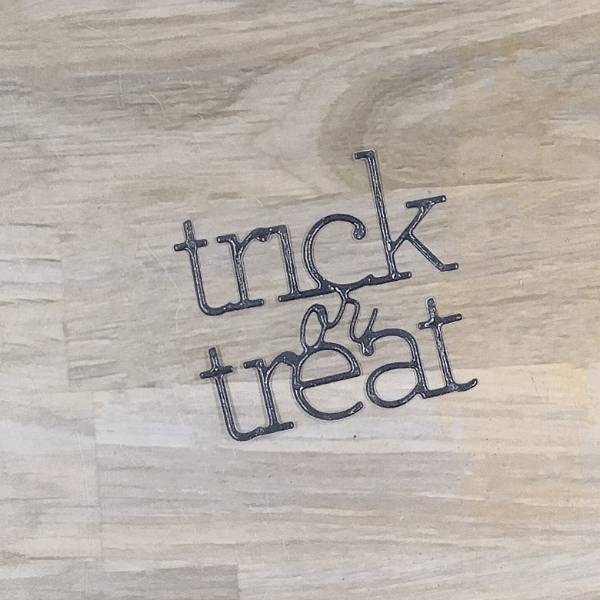
Step 6: Die cut the colored and embossed piece of watercolor paper from step 5 to create the sentiment. Die cut two small pieces of scrap watercolor paper or cardstock to glue behind the black stamped layer to create dimension.
Not pictured: Die cut the sentiment’s shadow layer out of vellum and glue behind the sentiment.
Step 7: Assemble the die cut pumpkin layers and glue them together. Then glue the sentiment onto the die cut pumpkin layers. Glue the pumpkin (and sentiment) onto the spiderweb background panel. Then splatter Tangelo Fireworks! Craft Spray across the panel and pumpkin. Set aside to dry.
Step 8: Die cut a piece of black watercolor paper with the next-largest die from the A2-sized nesting die set. Glue the spiderweb panel onto the black matte layer. Glue light pink embellishments on the lower left and upper right parts of the panel. To finish the card, glue it onto an A2-sized white card base.
Pretty Pink Posh – die set – Fringe Pumpkin Simon Says Stamp and CZ Design – die set – Trick or Treat 2 Taylored Expressions – stamp set – Spiderweb Cling and Clear Combo Trinity Stamps – embellishment mix – Rose Tinted Glasses Waffle Flower – die set – A2 Layers Clear Embossing Powder Heat tool Glue Watercolor paper Black watercolor paper
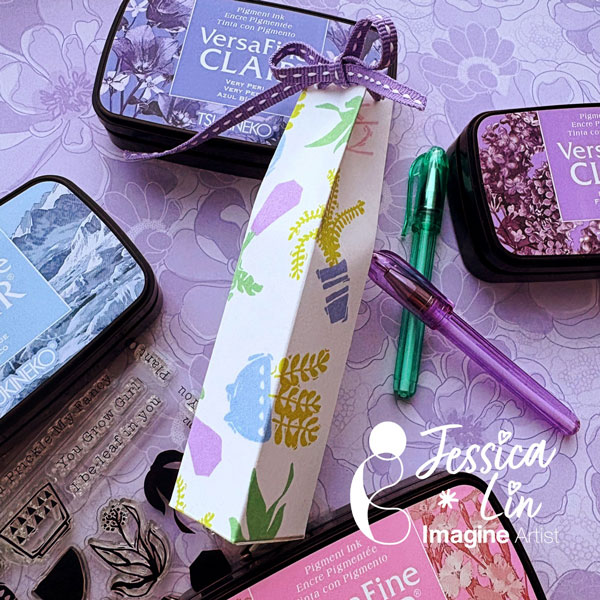
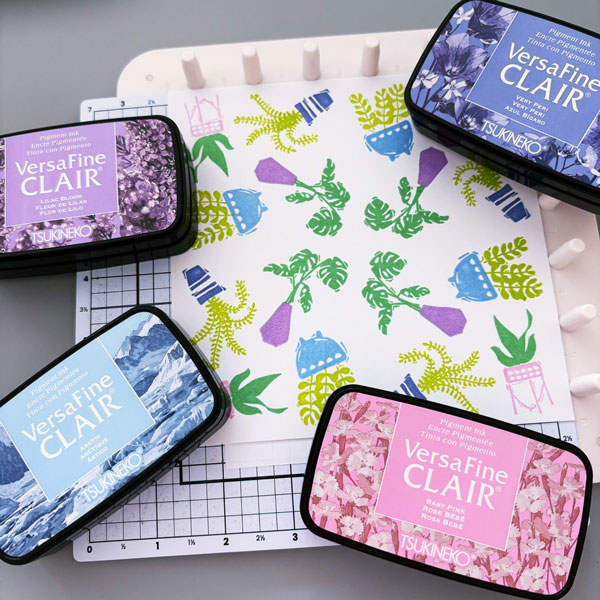
Hi everyone! It’s Jessica here. Have you tried creating your own patterned paper before? It’s truly quite simple and kind of addicting once you get the hang of it! Keep reading to find out a trick using stamp positioning tools.
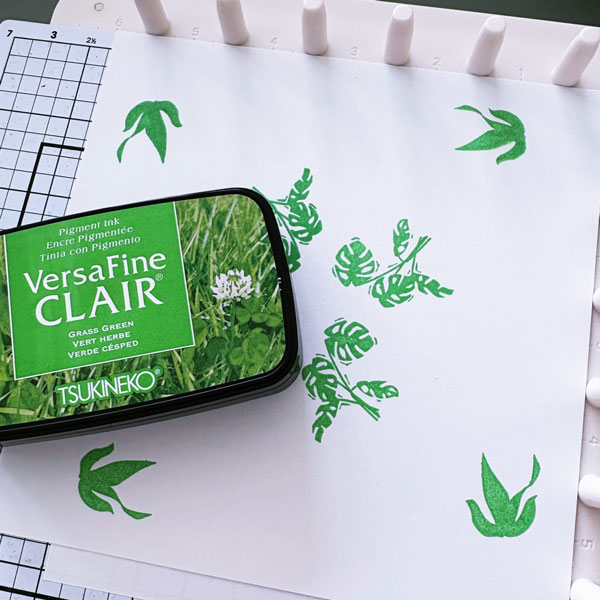
Step 1: I decided to stamp on a piece of 6×6’’ cardstock using the We R Precision Press. This method helps fill up the page quickly with repeated patterns, but you could stamp the images free-hand using an acrylic block as well. With the Precision Press, I placed stamps on the 3×3’’ top-right quadrant and rotated the cardstock 90 degrees each time. This vibrant green color is VersaFine Clair Grass Green ink pad and it really captures the lush, lively green from plants.
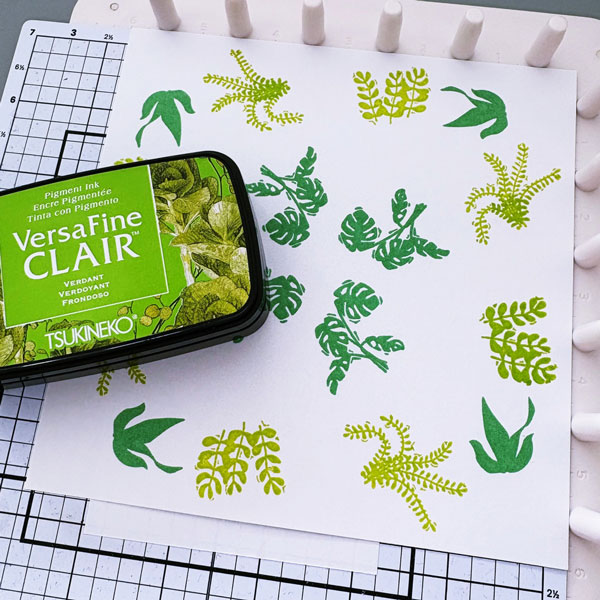
Step 2: I repeated Step 1 with two other succulent stamps. This time, I chose the VersaFine Clair Verdant ink pad.
Step 3: Let’s stamp the plant pots next. I picked a few pastel colors – VersaFine Clair Baby Pink, Lilac Bloom, Arctic and Very Peri. These colors complement each other so well, I think they are becoming one of my favorite color combos.
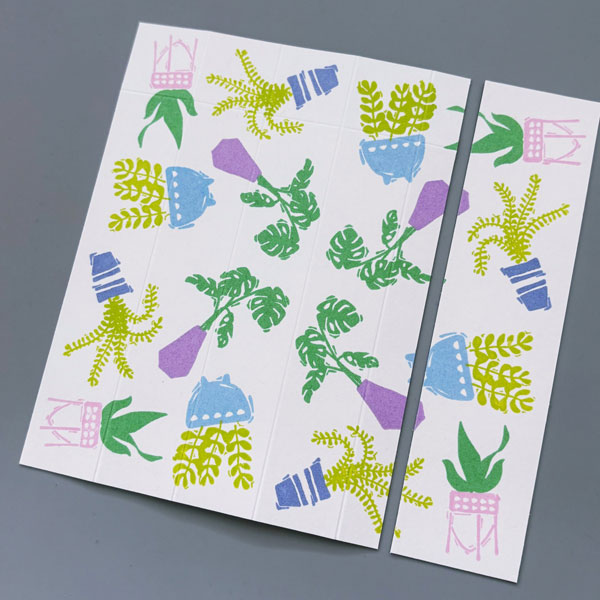
Step 4: Once you are done with creating your own patterned paper, you can trim it however you’d like to decorate cards or scrapbook pages. I want to use it to create a small treat box, so I am cutting it to 4.5 x 6’’. Then, on the short side, score at the 1’’, 2’’, 3’’, and 4’’ marks. On the long side, score at the 1’’ mark. These will be the crease lines for us to fold the box.
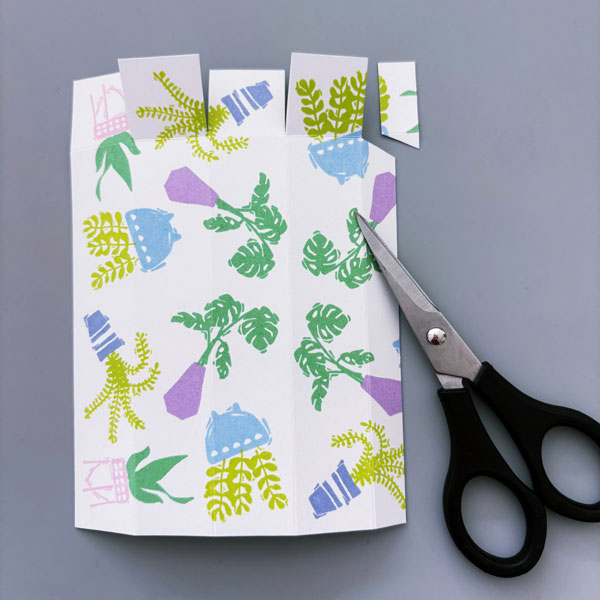
Step 5: After that, cut along the top four squares to make the bottom flaps of the box. I also cut away a small corner so that it’ll be easier to assemble the box later.
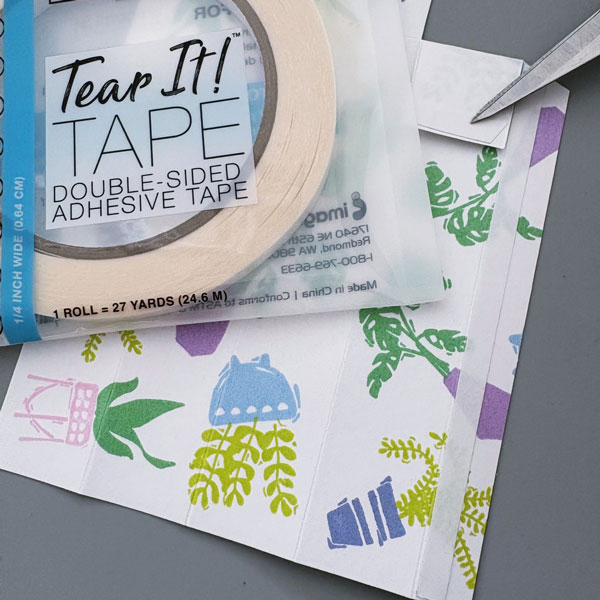
Step 6: Apply Tear It Tape to the 0.5’’ overhang on the right like pictured, and fold along the creased lines to form a box. Fold the square flap on the right downwards and apply Tear It Tape at the bottom edge. Now you can assemble the box by sticking the sides and bottom shut.
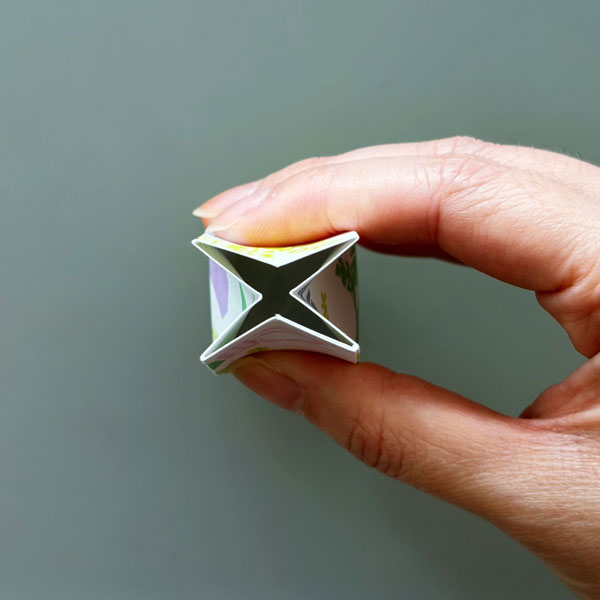
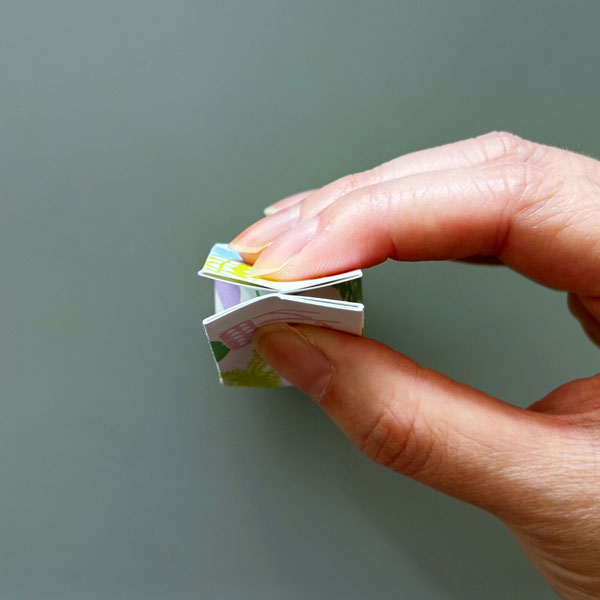
Step 7: To create the box opening, gently press on the sides to make a “X” shape.
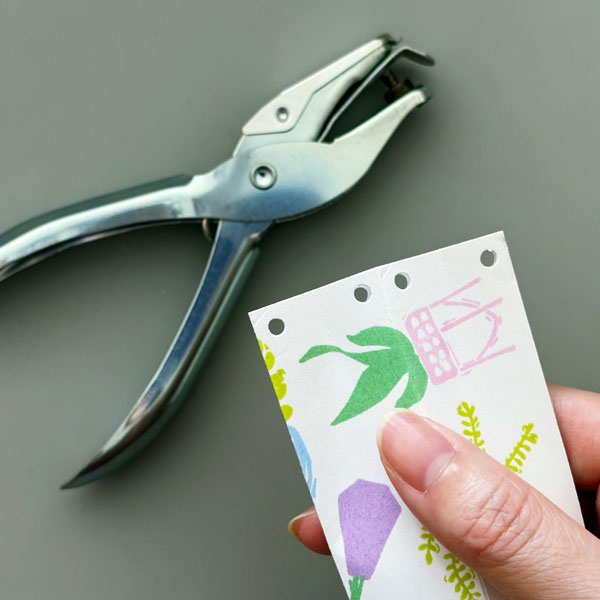
Step 8: For each pinched flap, punch a hole near the corner.
Step 9: This would create holes to thread the ribbon. Once you filled the treat box with goodies, lace the ribbon around the holes and tie a bow to keep the box closed.
I hope this tutorial inspired you to stamp your own patterned paper! It is a fun way to create custom prints and use your stamps creatively. Thanks so much for stopping by, and I’ll see you next time!
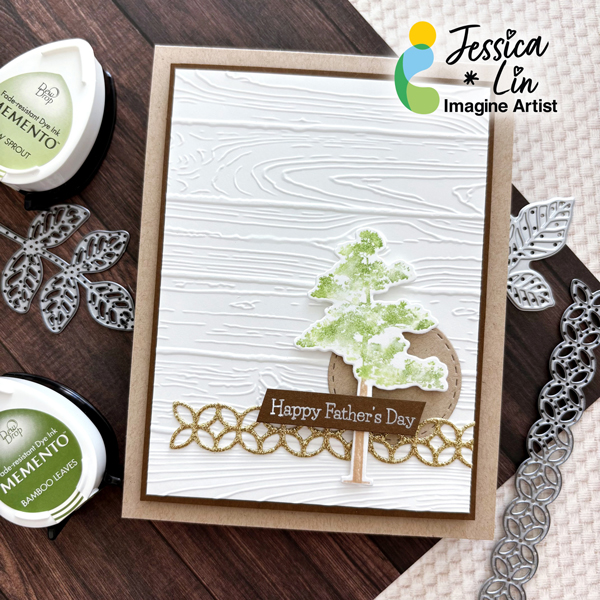
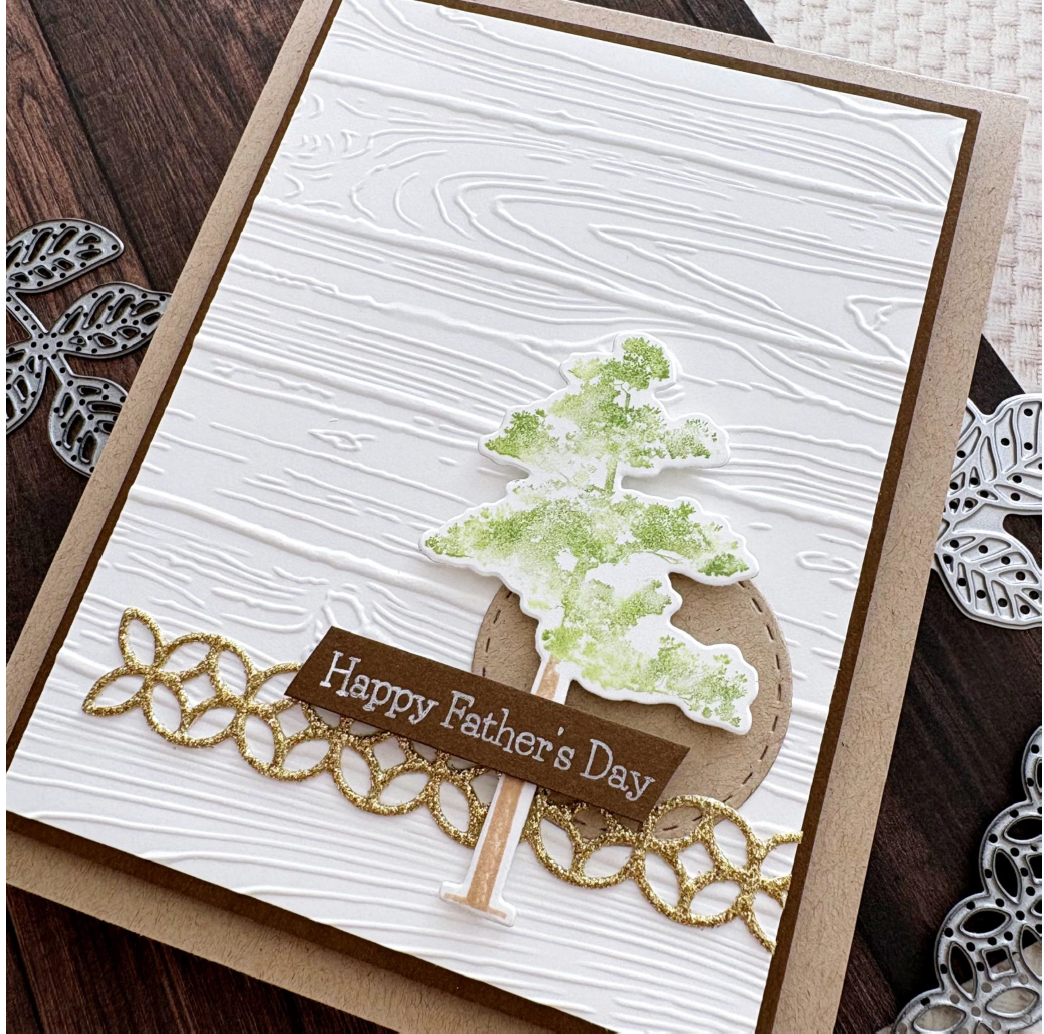
Hi everyone! It’s Jessica here. Previously, I created a nature-inspired all occasions card using a neutral color palette. I liked how it turned out and was inspired to create another version using similar supplies. I decided to turn this into a Father’s Day card since it pairs well with the tall tree image, but it would be great as a thank you or encouragement card as well.
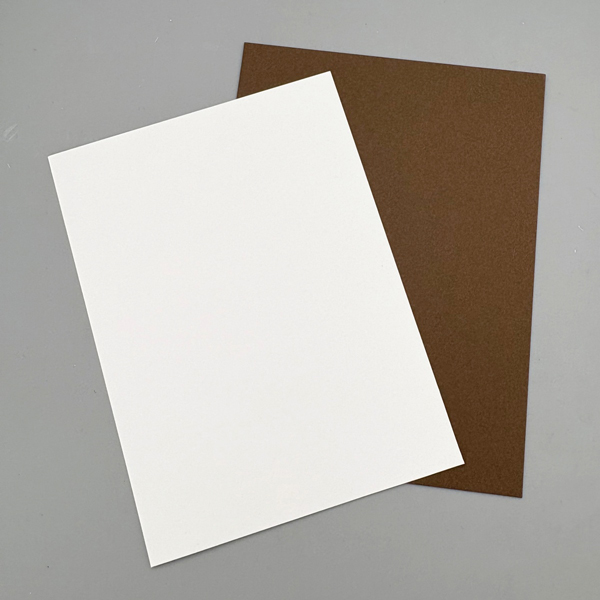
Step 1: Let’s start by trimming a piece of Classic Crest Solar White cardstock to 3 ⅝’’ x 4 ⅞’’. Next, trim Lessebo Colors Coffee Bean cardstock to 3 ¾” x 5” as the mat layer.
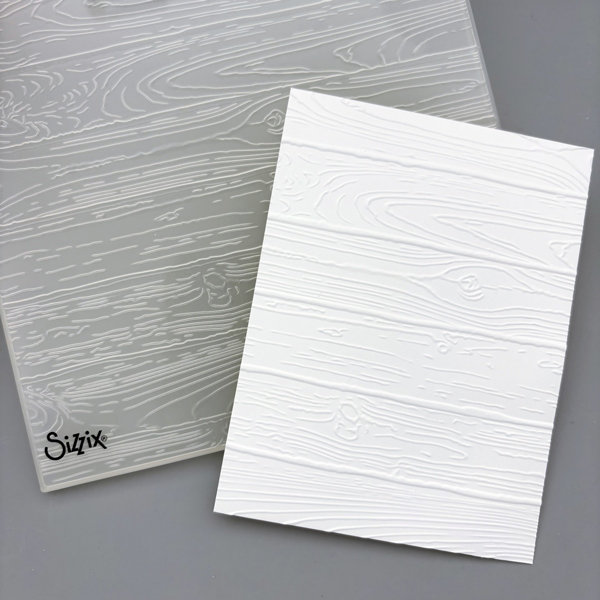
Step 2: Then, emboss the Classic Crest Solar White cardstock panel with Stampin’ Up’s Pinewood Plank embossing folder. Embossing is my favourite way of adding interest to the background, and the Classic Crest Solar White cardstock always embosses beautifully.
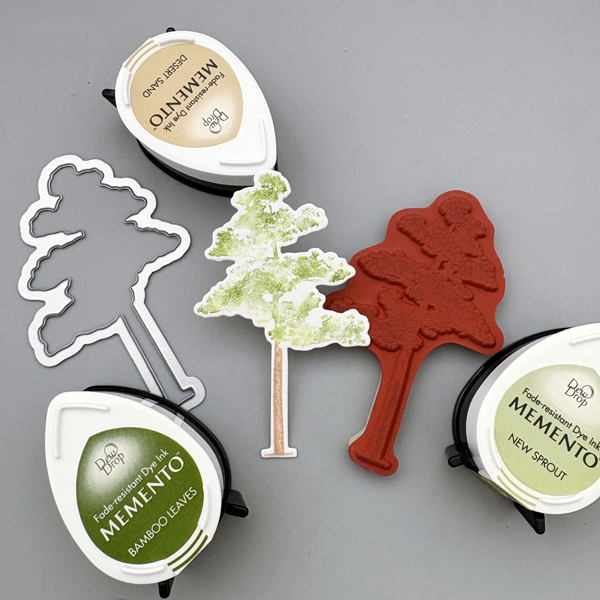
Step 3: The focal point of the card will be this pinetree image from Stampin’ Up’s Rooted in Nature set. I masked the tree trunk with masking tape, and inked the leaves with Memento New Sprout ink pad. To create a shading effect, I tapped Memento Bamboo Leaves ink sparingly onto the stamp, and dabbed the ink with my finger to smooth out the ink edges. Using a stamp positioning tool, I was able to stamp again at the exact spot to create this duo-tone look. Then, I masked the leaves portion of the stamp and ink up the tree trunk with Memento Desert Sand ink. Lastly, die cut the stamped image with the coordinating dies.
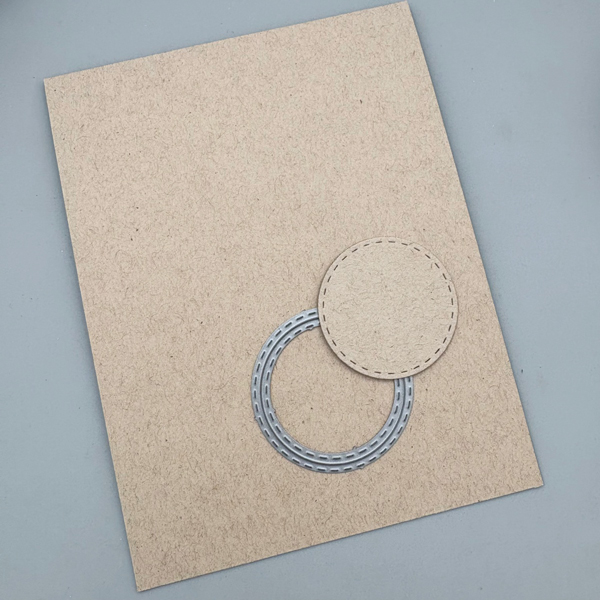
Step 4: The cardbase for today’s project features Environment Desert Storm cardstock. This cardstock, along with the black and white cardstock from Classic Crest, is the paper I use the most for cardbases. The fibers in this paper bring out a natural, organic look, which is perfect for a nature-themed card. I also die cut a circle accent with this cardstock.
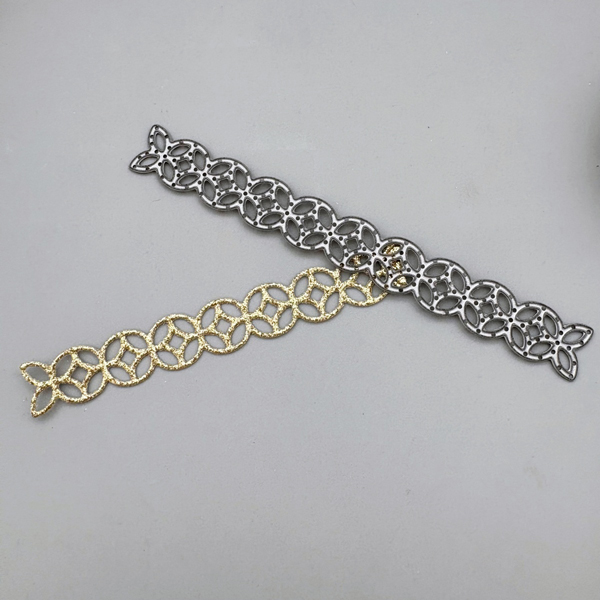
Step 5: Next, die cut a lacey-border element with DCS Gold Glitter Heavyweight 12 x 12 cardstock. This die is from Stampin’ Up’s Flourish Thinlits set and is so versatile.
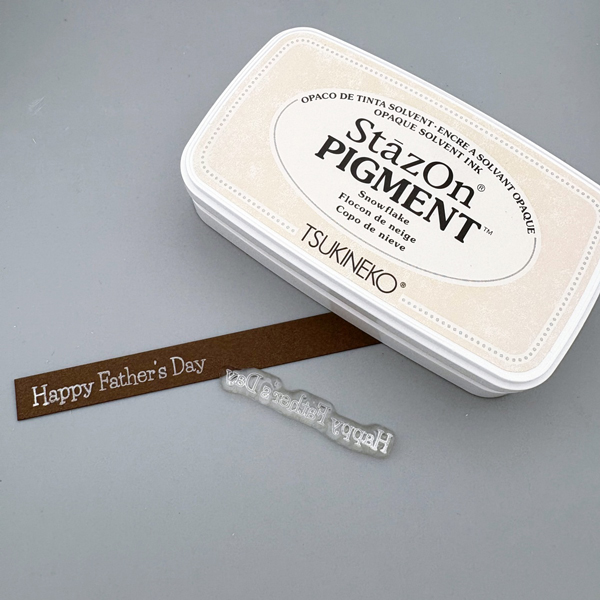
Step 6: As I mentioned before, I picked a Father’s Day sentiment for today’s card and stamped it with StazOn Pigment Snowflake ink. The white sentiment really pops against the Lessebo Colors Coffee Bean cardstock strip.
Step 7: Finally, adhere all of the elements together and this nature-inspired card is complete! I really love the neutral color palette and I hope you do, too.
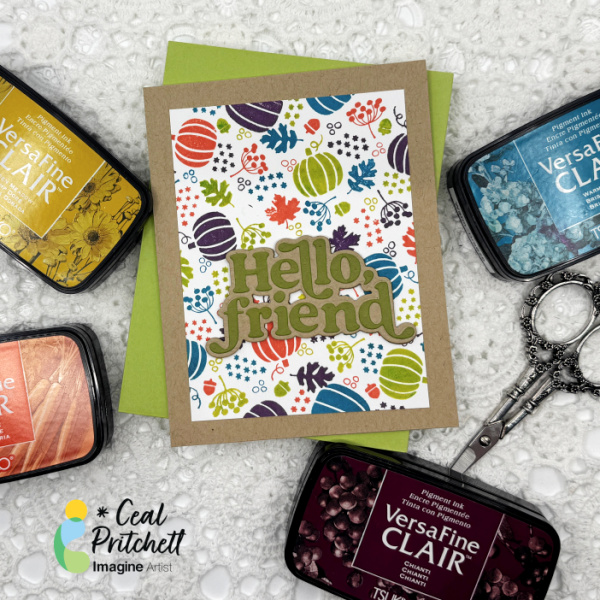
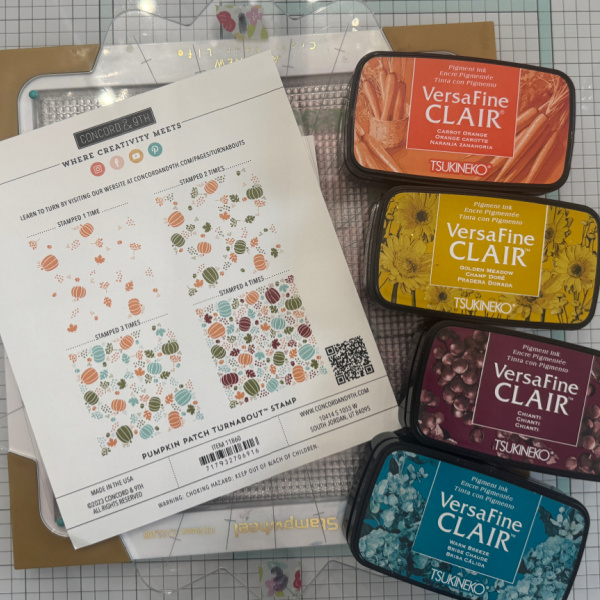
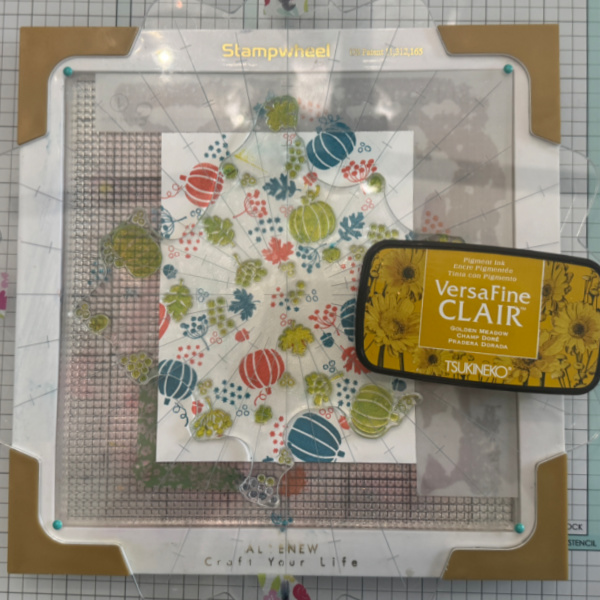
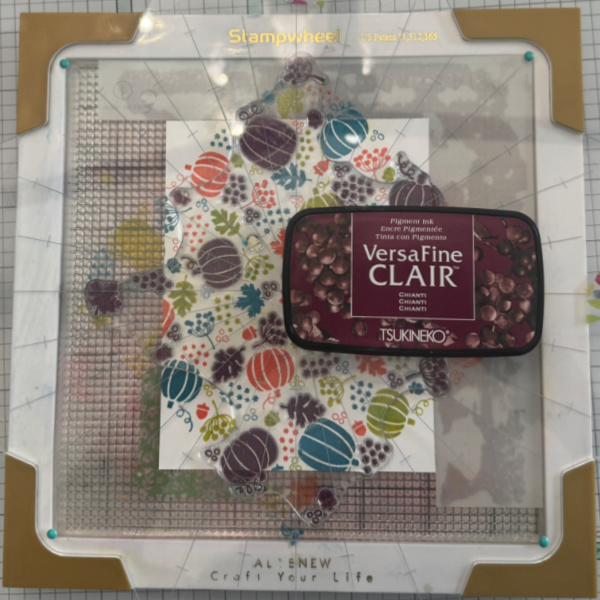
Hey there crafty friends! It’s Ceal, here. Today I am sharing how I made this colorful fall card using a turnabout stamp set, some VersaFine ink pads and the Stampwheel.
Time: 45 Minutes Skill: Intermediate
Directions:
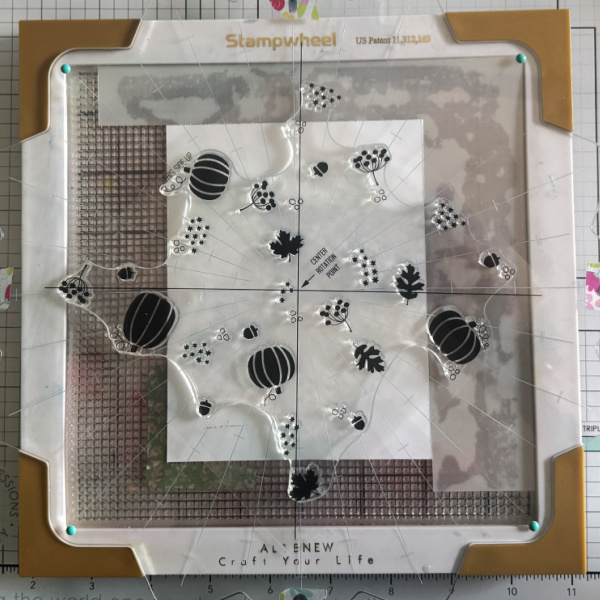
Gather Supplies: I haven’t shared a turnabout card here yet and I wanted to do that because they are my favorites. Gather your supplies, you will need a stamp platform, a Turnabout stamp and some of your favorite inks. I love VersaFine Clair because they are so vibrant.
Step 1: Line up our turnabout stamp using the alignment guide that comes with the stamp. The Stampwheel is easy to line it up because you line up the lines.
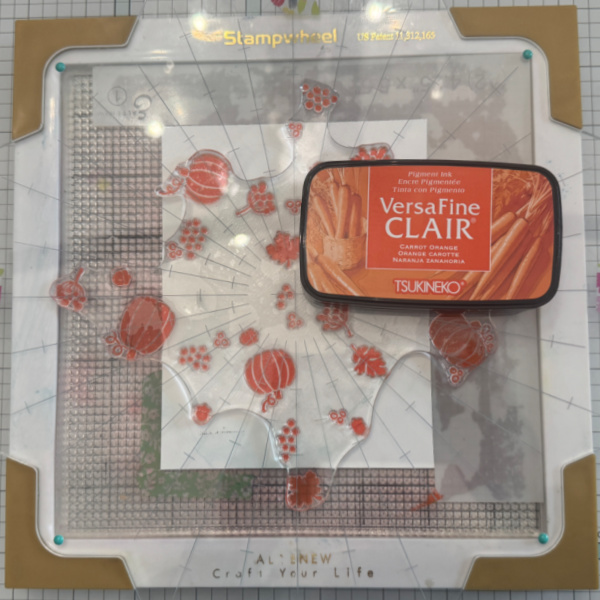
Step 2: Ink up the stamp with the first color, I used Carrot Orange and placed it in the tabs at the top of the stamp wheel. I labeled my stamp wheel 1-4 so I would know where I am when stamping.
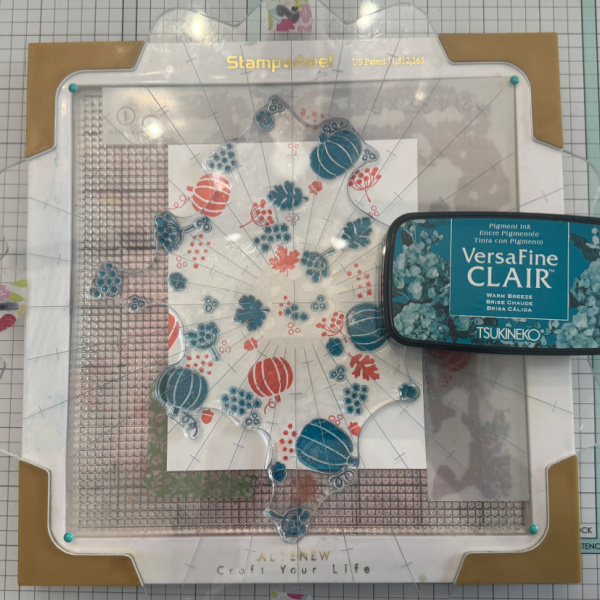
Step 3: Rotate the top, ink up the stamp with the next color (I used Warm Breeze) and place the plate down in the tabs.
Step 4: Rotate the plate and ink up with the next color, I used Golden Meadow (I think I had some blue left on my stamp therefore it turned green).
Step 5: Rotate the plate and ink up the final color, I used Chianti. Next cut down your panel to 5 x 3.5 and adhere to the wheat panel
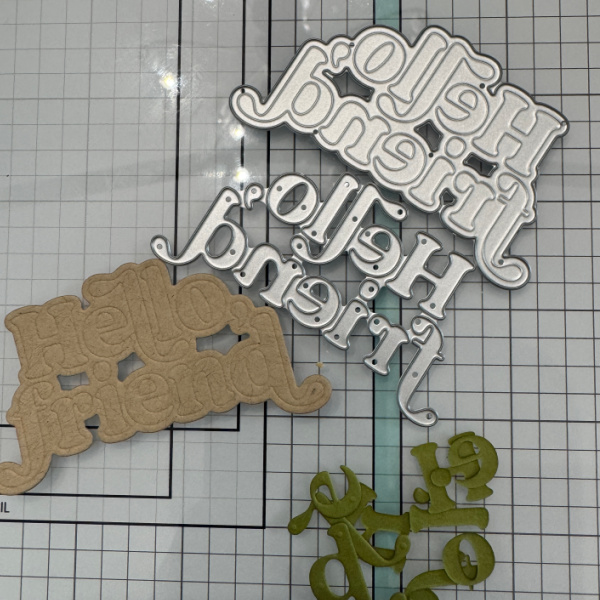
Step 6: Die cut the sentiment and backer panel. I love how the die has where it scores the words into the backer so when you go to add the letters they fit perfectly. To finish the card add the sentiment to the card.
Supplies:
Imagine Products VersaFine Clair – Carrot Orange, Warm Breeze, Golden Meadow and Chianti
Other Products Pumpkin Turnabout – Concord & 9th Hello Friend – Kristina Werner for Concord & 9th
As a coffee addict, I love making coffee-themed cards. I had fun using Memento markers and Fireworks! Sprays to help color the coffee cups and the background.
Step 1: Stamp both coffee cups onto a piece of watercolor paper with Nocturne VersaFine Clair ink. Heat emboss them with clear embossing powder.
Step 2: Use Champagne Delicata Ink to add color to the project.
First, use Champagne Delicata Ink to stamp a larger watercolor panel with a background stamp. Heat emboss the Champagne Delicata Ink with clear embossing powder.
Then, press the Champagne Delicata Ink onto a piece of clear acetate and spray the acetate with water to liquify the ink. Use the shimmery watercolor to paint the lid of the taller (portable) cup as well as the cup and saucer of the smaller cup.
Step 3: Color in the two stamped images with a variety of Memento and Fabrico Markers.
● The orange flowers on the taller (portable) cup and mug: Color the outside petals with Tangelo Memento Dual Marker. Then scribble some Rose Bud Memento Dual Marker on acetate and spray with water. Use the pink watercolor to paint the whole flower (including the outer petals which were already colored).
● The central pink flower on the mug: Color the outer petals with Rose Bud Memento Dual Marker. Then watercolor the center of the flower with more of the pink watercolor used to color the orange flowers (created by mixing water with Rose Bud Memento Dual Marker.
● Leaves: Color the leaves on both images with Emerald Fabrico Dual Marker.
● Portable (taller) cup and the mug’s rim: Scribble Lilac Posies Memento Dual Marker on acetate. Then press Champagne Delicata Pigment Ink onto the acetate next to the
marker. Spray both with water and mix the three to create a shiny light purple color and paint the cup. Then paint the decorative rim of the mug.
● Sleeve: Scribble Pistachio and Desert Sand Memento Dual Marker onto a different part of the acetate and spray with water. Mix the two colors together and mix with more of the Champagne Delicata Pigment Ink mixed with water. Watercolor the sleeve with the resulting mixture.
● Coffee in the smaller mug: Scribble Potter’s Clay Memento Dual Marker on the same acetate and spray with water. Mix with more of the Champagne Delicata Ink and paint the coffee in the cup with the mixture.
Once everything dried, die cut both images with their corresponding dies.
Step 4: Spray the watercolor panel, starting with Potter’s Clay Fireworks! Craft Spray over the majority of the upper half of the panel. While the spray is still wet, lightly spray the panel with Rich Cocoa Fireworks! Craft Spray. Use a paper towel to dab off unwanted spray. Then spray Lilac Posies Fireworks! Craft Spray on isolated areas of the panel. Prop the panel vertically while it dries so some of the spray drips down the panel. Allow to dry.
Step 5: Scribble Lilac Posies Memento Dual Marker on the acetate. Press Champagne Delicata Ink onto the acetate and spray with water again. Mix the two together and watercolor one more time
on the space in between the body and the handle of the cup so that it more closely matches the background panel. Allow to dry.
Step 6: Stamp the sentiment from the same sentiment as the cups with Nocturne VersaFine Clair Ink on watercolor paper. Heat emboss with clear embossing powder. Trim the sentiment strip in the paper trimmer. Then press the sentiment strip’s edges into the Champagne Delicata Ink and heat emboss again with clear embossing powder.
Step 7: Die cut a piece of vellum with a mid-sized circle die. Then die cut a piece of black cardstock or black watercolor paper with a die just a little larger than the sprayed background panel.
Press the edges of the stamped and sprayed background panel into the Champagne Delicata Ink pad and heat emboss with clear embossing powder.
Assemble the card. Glue the larger (portable) cup onto the right side of the vellum circle. Glue one layer of scrap cardstock onto the right side of the smaller mug and add foam tape behind the left side of the smaller mug. Add glue to the right side of backside of the smaller mug. Then attach the mug to the vellum. The left side of the cup (with the foam tape) directly touches the vellum and the right side of the mug overlaps the taller mug. Add glue on the backside of the
vellum, making sure to only add glue to the parts of the vellum that will be covered by the two cups. Then add the vellum and cups to the card. Scribble Tuxedo Black Memento Dual Marker onto acetate and spray with water. Cover the cup and vellum with a scrap piece of paper to protect them. Splatter the panel with the Tuxedo Black marker mixed with water and allow to dry. Adhere the sentiment to the panel with foam tape. Glue the whole thing onto the black matte panel. Then glue the whole thing onto an A2-sized card base. To finish the card, glue embellsihments around the coffee cups.
• Altenew – foam tape – Instant Dimension Foam Tape • Hero Arts – die set – Nesting Circle Infinity Dies • Pink & Main – stamp set – Java Nice Day • Pink & Main – die set – Java Nice Day • Simon Says Stamp – background stamp – Circle Pattern • Studio Katia – embellishments – Icy Sparkle Crystals • Waffle Flower – die set – A2 Layers • Clear Embossing Powder • Heat tool • Glue • Watercolor paper • Black watercolor paper • Vellum • Water
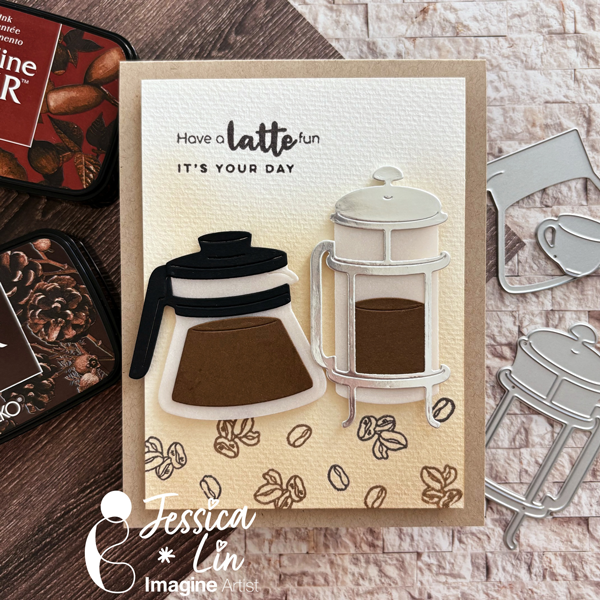
Hi everyone! It’s Jessica here. Today I wanted to share a coffee themed birthday card that would be perfect for any coffee lover. This card is easy to put together but I really love how it turned out. I hope you’ll enjoy today’s tutorial!
Directions:
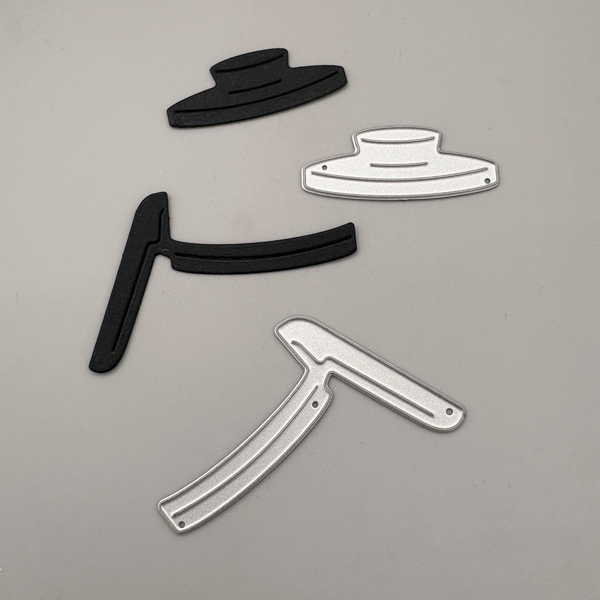
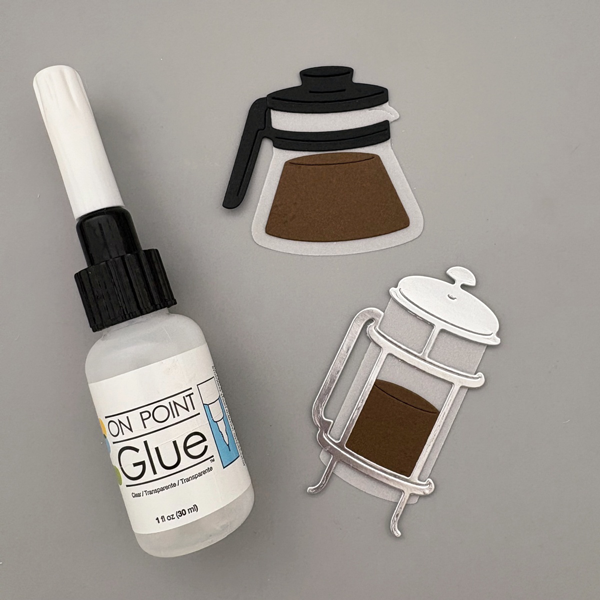
Step 1: Let’s start by die cutting the coffee pots. I used Classic Crest Epic Black cardstock to die cut the pot lid and holder. This is my go-to black cardstock because it’s ultra smooth and super easy to work with.
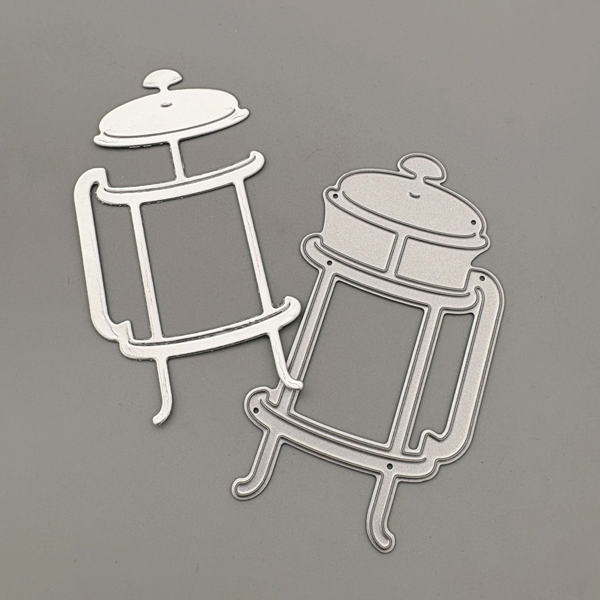
Step 2: For the french press, I decided to use Bright Foil Silver cardstock to mimic the look of stainless steel. This is actually my first time using silver foil cardstock and I am impressed by the final look. The silver foil really adds a metal-like finish to the die cut.
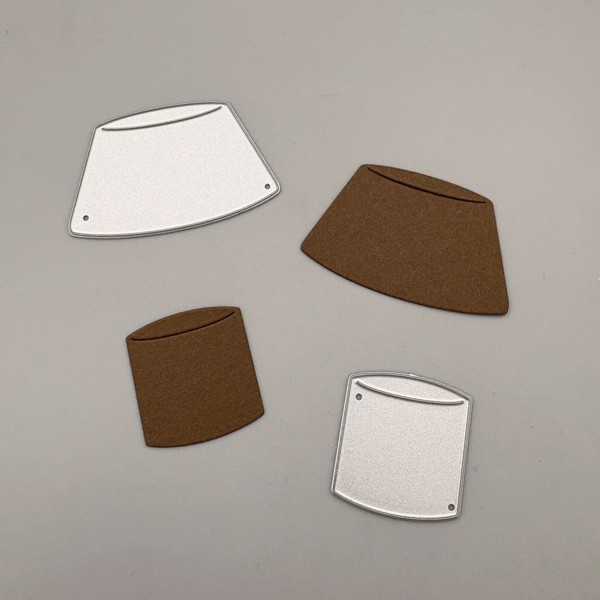
Step 3: For the actual coffee die cuts, I chose Lessebo Colors Coffee Bean cardstock from CutCardstock. It’s the perfect shade for coffee – I have other brown cardstock in my stash but they are either too dark or too light, so I am really glad I picked up this cardstock to add to my stash.
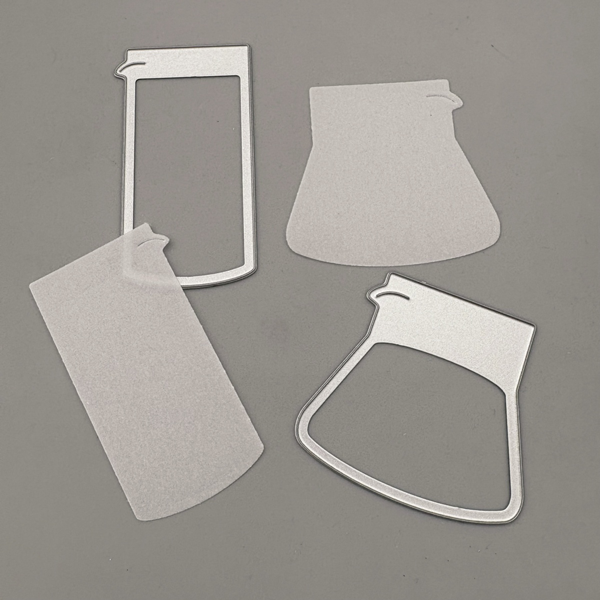
Step 4: Now let’s die cut the glass containers. You could use white cardstock, but I opted for Curious Translucent vellum today instead to create a softer tone. The Curious Translucent vellum I used is 65lb cover weight. It’s a lot thicker than the vellum I typically use so it’s the perfect base layer for our coffee pot die cuts. The heavier weight also feels luxurious and I am sure it would look nice for wedding invitations as well.
Step 5: Once all of the elements have been cut out, I adhered them together with On-Point glue. The fine tip nozzle is so handy for adhering intricate die cuts.
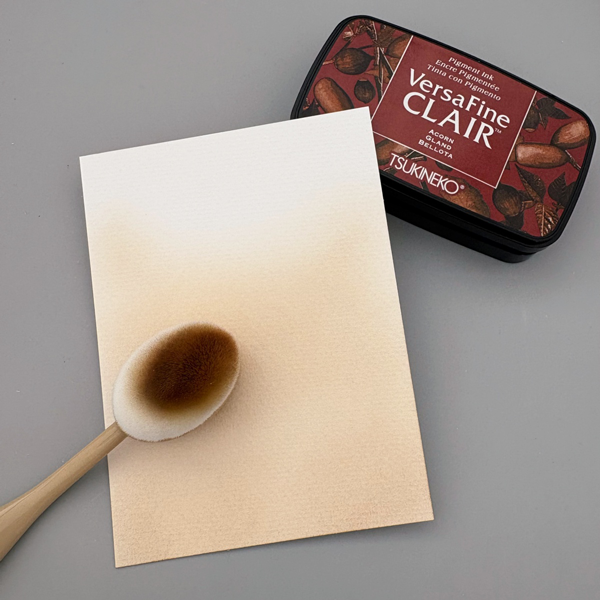
Step 6: Next, I trimmed a piece of Strathmore 100% Cotton Watercolor cardstock to 3 ½’’ x 4¾’’. Then I blended VersaFine Clair Acorn ink for a soft brown background.
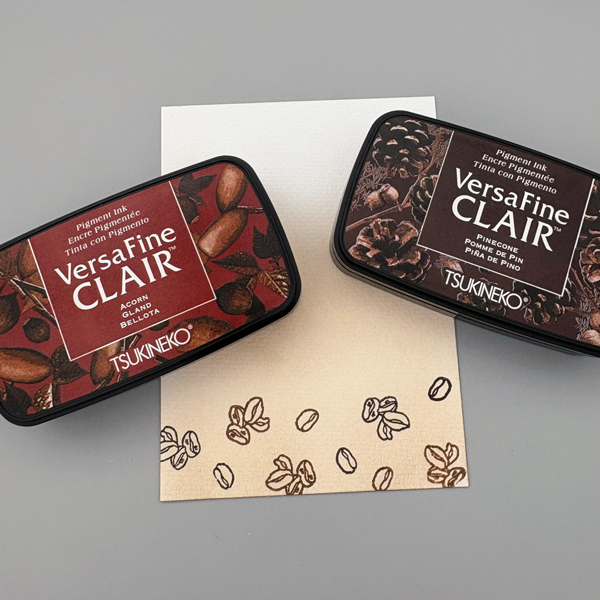
Step 7: Even though the coffee pots are the focal point of today’s card, it doesn’t feel complete without some stamping. I picked the coffee bean stamps from Stampin’ Up’s coordinating Latte Love set and stamped them with VersaFine Clair Acorn and Pinecone ink pads. The VersaFine Clair Acorn ink looked like a soft tan shade when blended, but you can see that it’s closer to an acorn color when stamped.
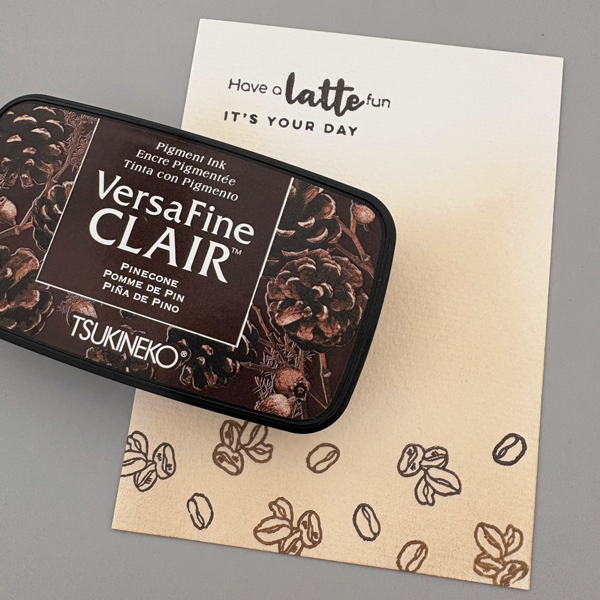
Step 8: Finally, I stamped a punny latte sentiment from iCrafter’s Latte Coffee Sentiments set with VersaFine Clair Pinecone, and the card is ready for assembly. I hope you enjoyed today’s coffee themed birthday card. Thank you so much for stopping by, and I hope I’ll see you soon.