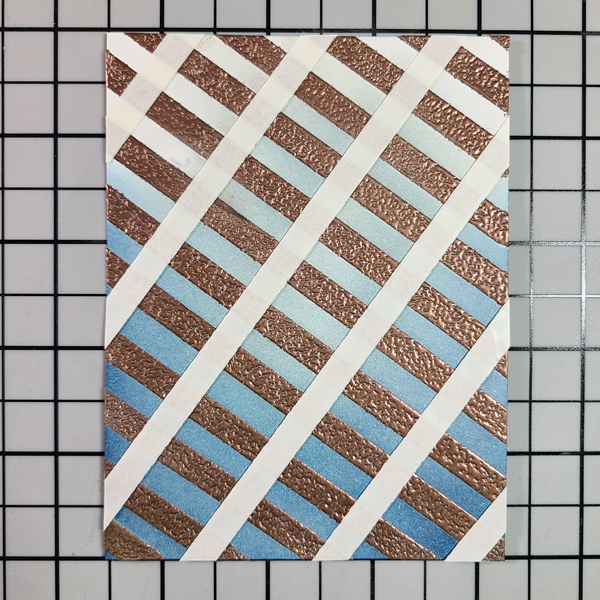
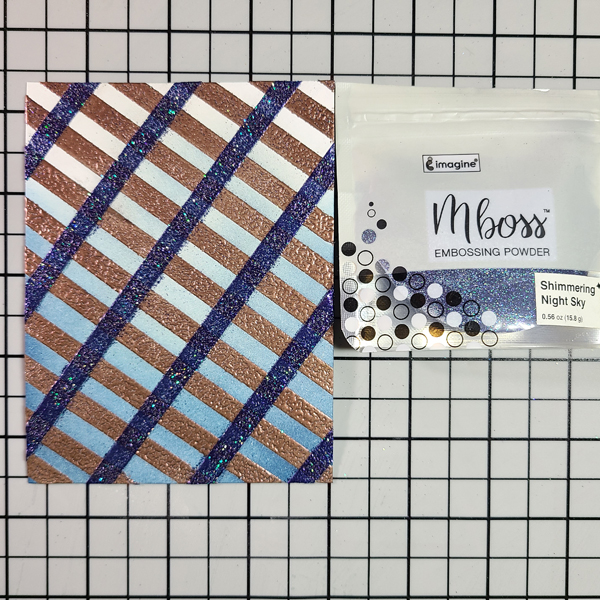
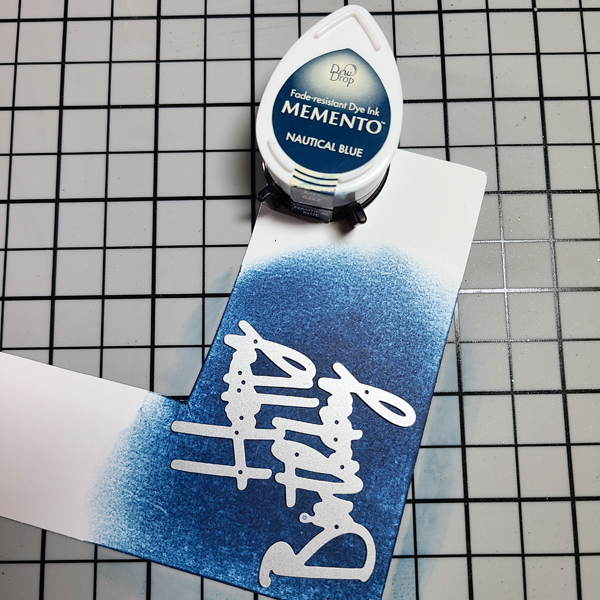
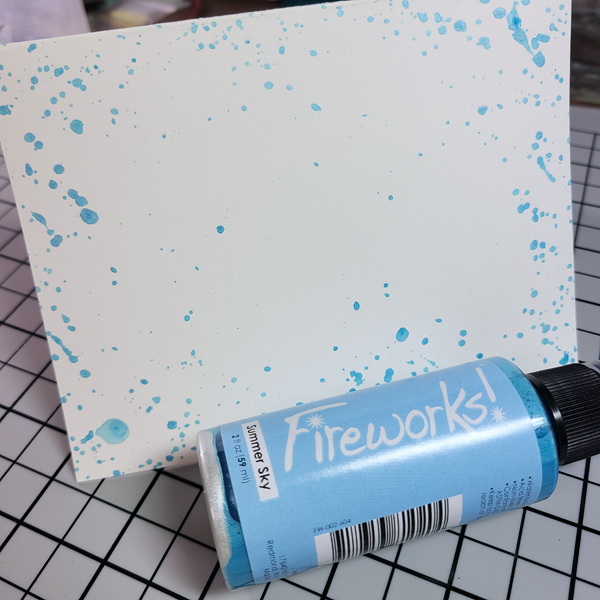
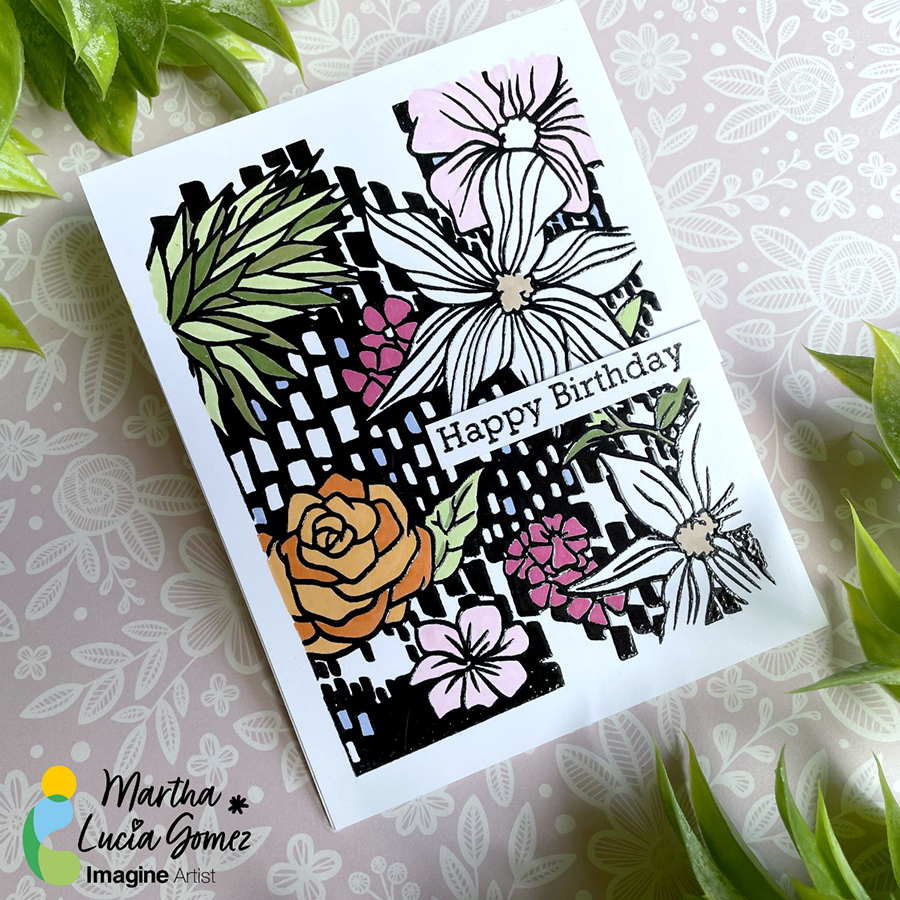
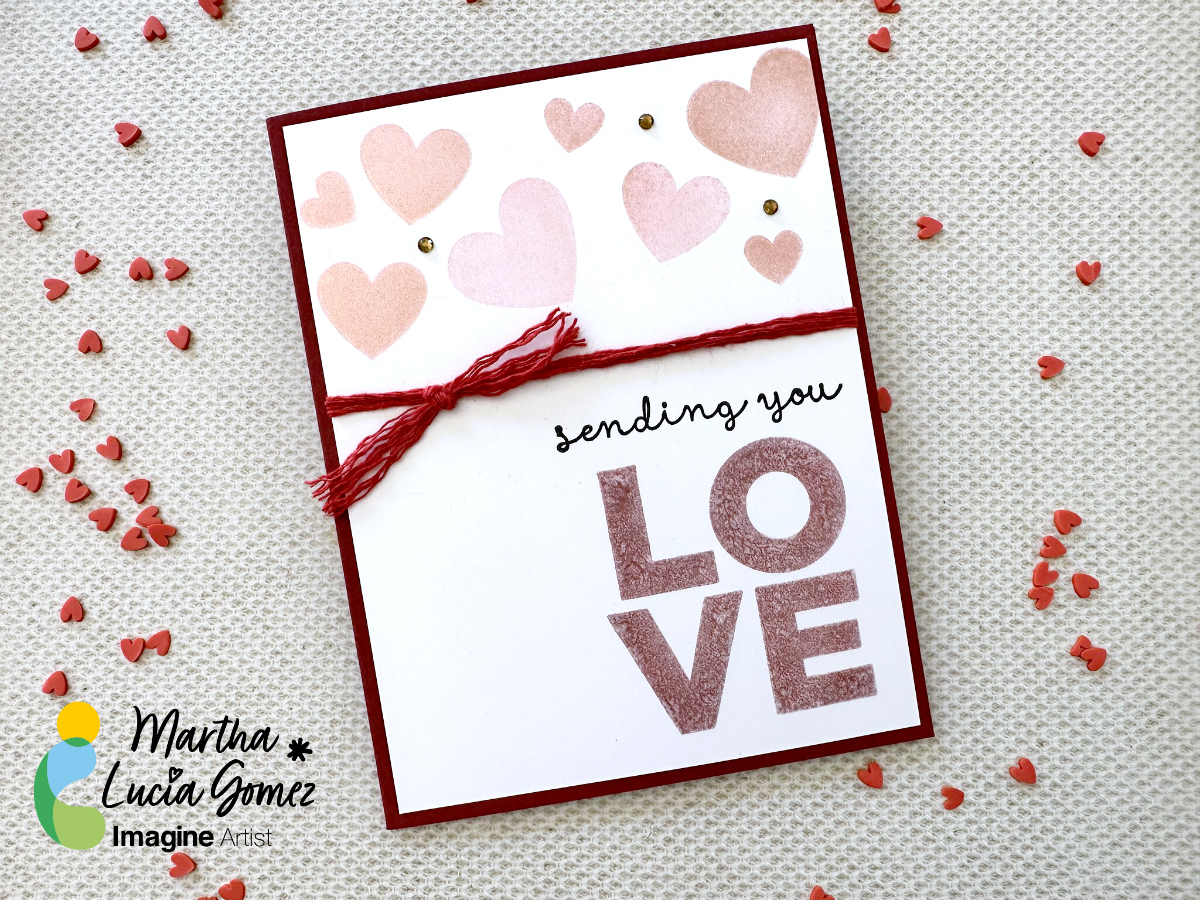
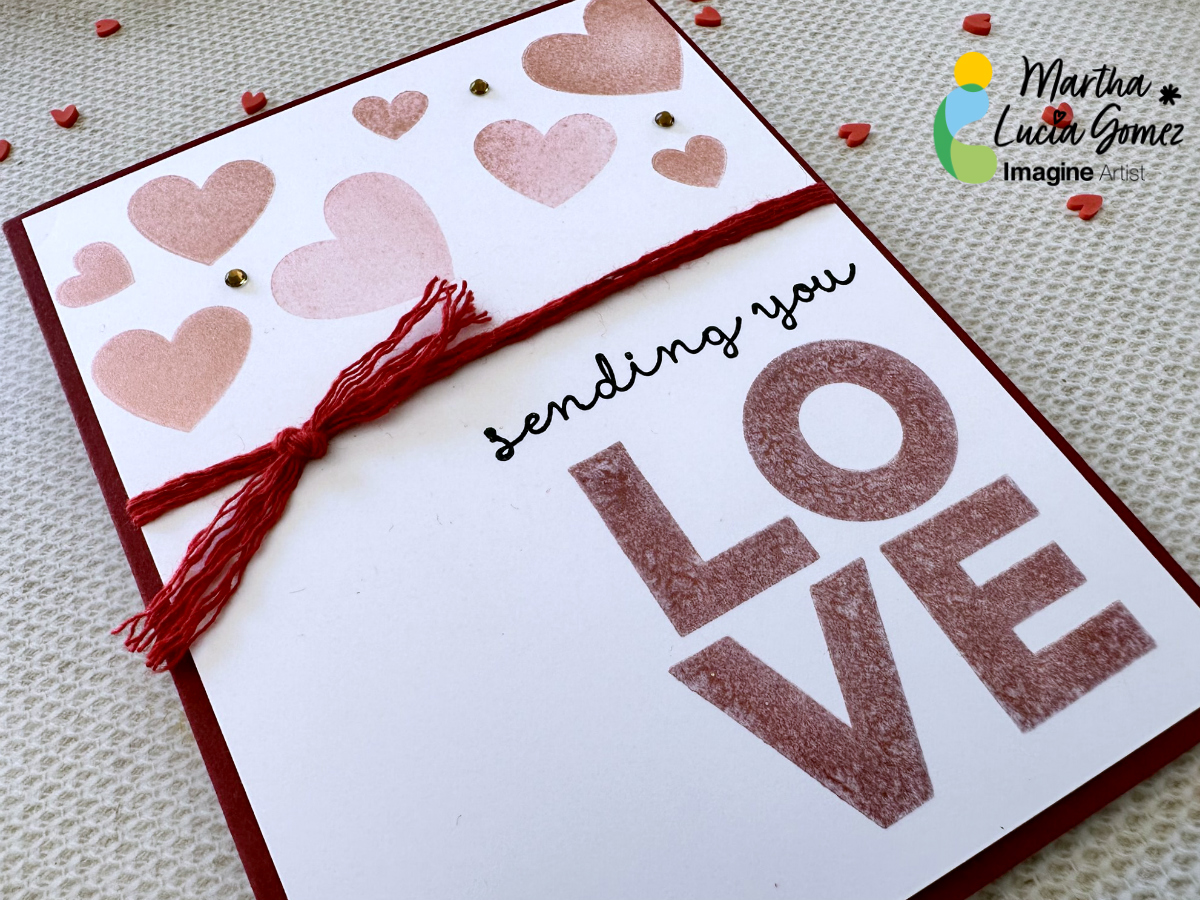
Hello there! Today’s tutorial is using only one type of ink, the Memento. It is one of the most versatile and secure ink that you can use. Memento Ink is ideal to use with alcohol markers or simply to stamp, with solid or lineal stamps. It is also available in markers and liquid, like Fireworks! Shimmery Craft Sprays.
Skill Level: Beginning
Time to Complete: 45 minutes
Directions:
Step 1:
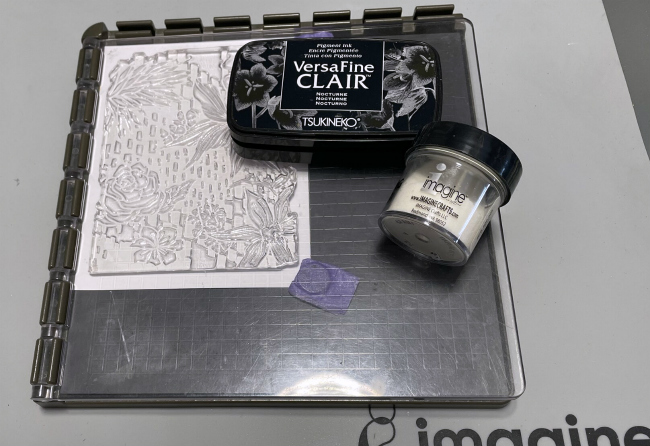
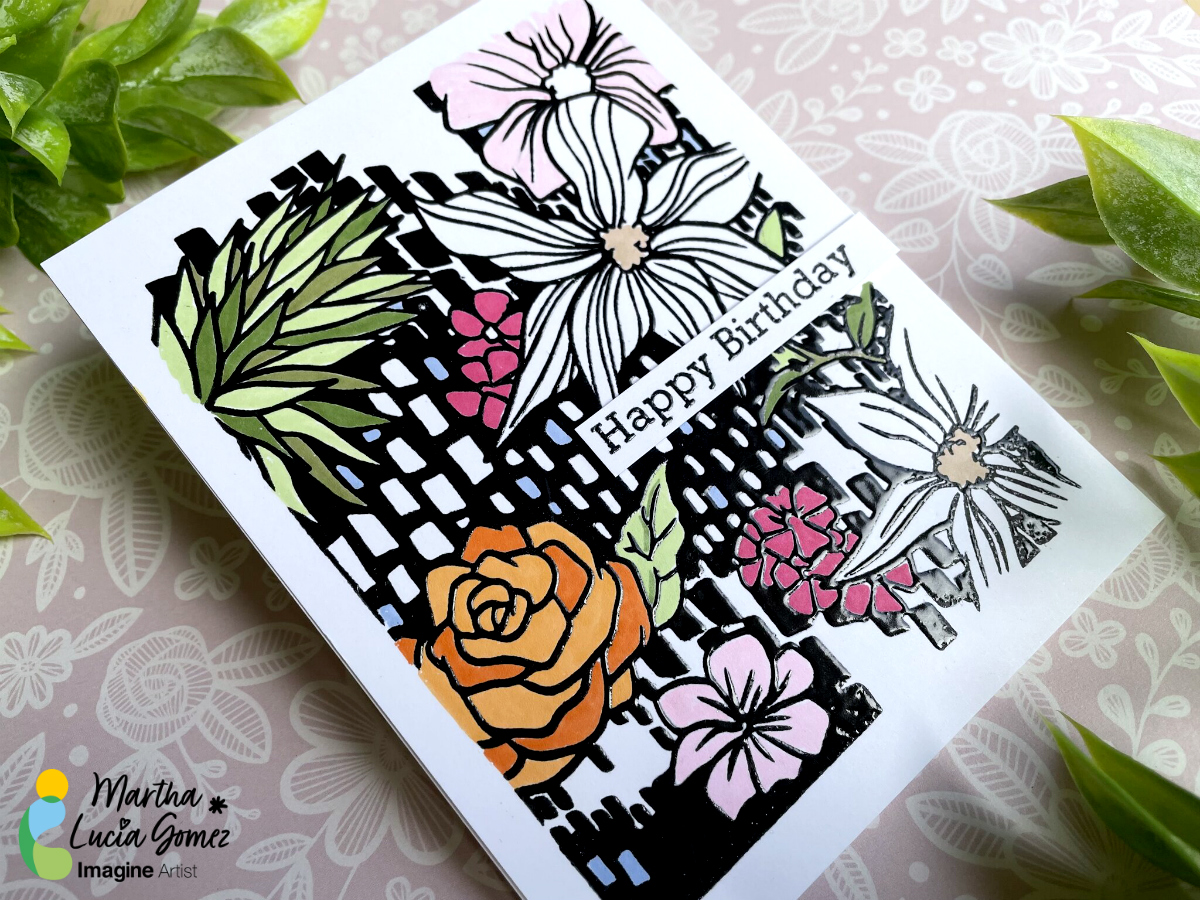
Take a piece of white smooth cardstock and ink well your solid stamp with Memento Ink. In my sample, I am using the Dandelion color. If you want you can use a stamping tool to have a better result or obtain a crispy image.
Step 2:
Select a lineal stamp and place it covering partially the image previously stamped. You can use a different color of Memento Ink to create a contrast. I am using the Rose Bud Memento Ink.
Step 3:
Stamp your sentiment with Memento Tuxedo Black.
Step 4:
To enhance special details of your stamped image you can use Memento Markers. I used the same Dandelion color just in a small spaces on the floral image to enhance the details.
Step 5:
As final step, you can embellish your card using Diamonds on different colors. To paste it, I used On Point Glue.
Step 6:
Resize the decorative layer and paste it over a card base using Tear It! Tape.
We are so excited to announce our 2023 Design Team!
We look forward to sharing all of the creative inspiration that flows from this group of talented designers.
Let’s learn a little bit about them…
Alison Heikkila
Hello! My name is Alison Heikkila and I have been a crafter my entire life. My mom started me off with coloring and stringing beads from a very young age, and I never stopped. I have an art degree with a specialization in jewelry and sculpture, but I love working in many mediums and styles. Getting inky is absolutely one of my favorite things!
I have an amazing husband who loves to see what I create each day (and even crafts along with me sometimes!) and two very creative kids. Sometimes the four of us craft together, which is so much fun. We’ve also got a cat and two dogs, and we reside on Long Island.
I love to create, as I feel it truly feeds my soul. Getting a little “playtime” in my craft room each day is really important to me. I look forward to sharing projects with you.
Hi friends, I am Martha Lucia Gomez. I was born in Colombia, but I live in a paradise called Miami, FL USA. I’ve loved crafts forever. I used to work with metal jewelry, but one day I discovered stamps, ink and paper, and now it is my passion. I’ve realized that working with paper crafts is the best therapy.
I live with my husband and our two daughters. I divide my time between my family, my work in a Public Relations Company and my passions: my blog and crafting on various design teams. I find my inspiration in simple things. My style is clean and simple but don’t misunderstand me – I love the simple things plus the techniques and work involved in it. Experimenting new things is my passion and mixing products is my therapy. I love stamps, die cuts, stencils and of course all type of inks. I can tell you that I work on my crafts every single day and this is one of the ways that I found to give thanks to God for all that He gives me every day.
I love to share my creations, so you will always find me easily on Social Media outlets as Stampartpapel.
Hello Crafty Friends! My name is Katy Ingram. I am a wife and mama to 1 son and 6 kitties. I live in southeastern North Carolina and I LOVE making handmade cards. I started card making back in 2016 and in 2019 I started my youtube channel and blog Eastwicks Paper and Ink. I wanted an outlet to share and hopefully inspire your creativity with my card making as well as give some tips and tricks along the way. I am excited to be back with Imagine’s 2023 Design Team and I look forward to meeting and crafting with you!
I’m a cat-loving card maker who also creates tags, art journals, and home décor pieces. I love stamping, mixed media, and experimenting with different supplies and techniques. I love to paper craft because there’s something so oddly calming about focusing on a project. My favorite part is when a project comes out the way I had envisioned it in my mind’s eye. I also like to share my creations online and always include full supply lists and detailed instructions on my blog posts.
Hello crafty friends! My name is Kathy Pisupati. I have always loved art and crafting. I think my love for arts & crafts started the day someone gave me a “how to draw” book when I was 7 or 8. I have tried it all but cardmaking is my true happy place. I majored in Fine Arts & Communications in college. I love designing and blogging. I love all art mediums and cardmaking allows me to create mini masterpieces of all sorts!
I live in Arizona with my husband but grew up in the Midwest. I have been blessed to have traveled all over the globe with my family and live overseas. I also love dogs!
I love sharing my creations with you and can be found in the following sites and would love for you to follow me on my creative journey.
Hi! I’m Linh – or LV Handcrafted on social media. I live in Seattle, WA with my husband and our two dogs. I started crafting in high school as a scrapbooker but these days I also make cards, mini-albums, notebooks and all sorts of crafts. I’m excited to join such a talented team of artists here at Imagine Crafts, which I absolutely love. It’s such an honor to join this team. There’s always so much to learn in paper crafting and I find these challenges are always an inspiration. I look forward to sharing and interacting with you on all the socials!
Hi there friends and fellow crafters, my name is LeeAnn McKinney and I live with my wonderful crafty enabling husband, our 2 pups JJ and Chase, along with our kitty Kit Kat.
We have our “swimmers” as well… Koopa is our turtle, Silver and Apricot our goldfish, Cory and Cody are our cory fish, Gilligan the minnow and Picasso the plecko.
I have 3 daughters, 5 grandchildren and so far my 6 yo granddaughter loves stamping/crafting when I visit.
I am so excited to bring my clean and simple projects and tutorials to you throughout 2023.
I can be found all over social media as LeeAnnGetsCrafty!!!
Hi, I’m Nancy May, mother, sister, friend, licensed clinical social worker, creative, but you might know me as Handi Scandi. I have been crafting for many years – since my adult children were littles. It started as an inexpensive way to decorate my home to make it cozy for my family, and when my children loved to get messy with me in the process it became so much more. All of my children are creatives and creativity manifests itself differently in each of us. Stamping became my safe space, if you will, shortly after my youngest daughter passed away. I needed something to focus on rather than grief, and I remembered how much I loved stamping and card making. This crafty life has taken on a life of its own and I have been introduced to the wonderful world of card making on a much grander scale. As I learn more and more about art and the creative process I find myself drawn to mixed media, art journaling, grunge, stencils, sprays, pastes, and inks…glorious inks! I am an intuitive crafter who rarely has a plan, loves to get messy and inky and shows myself grace throughout the process. I reframe mistakes as opportunities and almost never throw things away. Through all of this I am developing my own style that I have coined grungy elegance. I am so excited to be a part of the Imagine Crafts team as it opens another door of exploration, creativity and discovery.
Hello there! Today’s tutorial is a shaker ornament created with embossing powders and using different colors in a single piece. To make this, I used the MBoss in Blue Icicle, Sapphire and White. To create this type of embellishments or ornaments for your cards, gifts or Christmas Trees, you can also use our traditional Embossing Powders in any color.
Skill Level: Medium
Time to Complete: 45 minutes
Directions:
Step 1:
Apply a layer of ink to your Shaker Base or Chipboard piece directly with the ink pad of VersaMark. You can also use the small size or cube of VersaMark Ink if you are using a small piece of shaker card or chipboard. Make the emphasis on the center if it has the designed part.
Step 2:
Cover the center of your ornament with the light color of MBoss or embossing powder. In my sample, I am using the Blue Icicle.
Step 3:
Melt the MBoss or Embossing Powder with the heat tool. Don’t worry if the powder covered some parts of the border.
Step 4:
Repeat steps 2 and 3 if you want a thick effect or want better coverage.
Step 5:
Ink the border or the chipboard ornament or shaker piece with the VersaMark Ink Pad, taking care not to cover the center of the piece.
Step 6:
Cover the inked area with the dark color of MBoss. I am using the Sapphire.
Step 7:
Melt the powder with the heat tool. Then, add some touches of MBoss White to create more dimension over it. Melt the MBoss White or White Embossing Powder with the heat tool.
Step 8:
Assemble your shaker card or finish the ornament by adding some sprinkles or small sequins and adding a piece of ribbon to tie it.
Voila! Our ornament is finished and can be used to decorate a card, a gift or to be handled on a Christmas Tree.
Remember that you can use this idea for any type of chipboard piece or for any occasion, not only for Christmas.
Good morning! Kathy here, creating art for Imagine Crafts! Today I have a new tutorial for you. Have you tried the VersaMark Frost ink? This was the perfect ink to provide a sugar-like coating to today’s Gingerbread card. The VersaColor inks make your die-cutting easy and stop the search for the perfect colored scraps!
So today I have a project for you that uses the VersaMark Frost and VersaColor Inks. So, let’s make a card.
Skill Level: Intermediate
Time to complete: 1 hour
Step 1
You will need a top-folding card base measuring 4 1/4 x 5 1/2“. You will also need a piece of colored card stock measuring 4.25” x 5.5” and another piece of white, layering card stock the same size.
Using Maker’s Movement A2 Sweater Cover plate, die-cut the white card stock and and adhere to the colored card with On-Point liquid glue. Adhere the entire panel to the card base with Tear-It! Tape.
Step 2
I inked a piece of scrap card stock with a variety of VersaMark Inks. I allowed this panel to dry. This is a quick way to small pieces of colored card stock for small die-cutting.
Step 3
Cut the Gingerbread House from a piece of Kraft colored card stock. Then use the VersaMark Frost ink to apply a “sugar coating”. This is what I am calling it. The picture doesn’t do it justice but it sure looks sugar coated in real life!
Step 4
Now it’s time to cut all the cute little pieces from this Gingerbread House set. I added some Glossy Accents to some pieces, some shimmer pen to others and did a little ink blending around the house and the gingerbread man. I also added a glitter glue to the snow on the roof and the ground.
Step 5
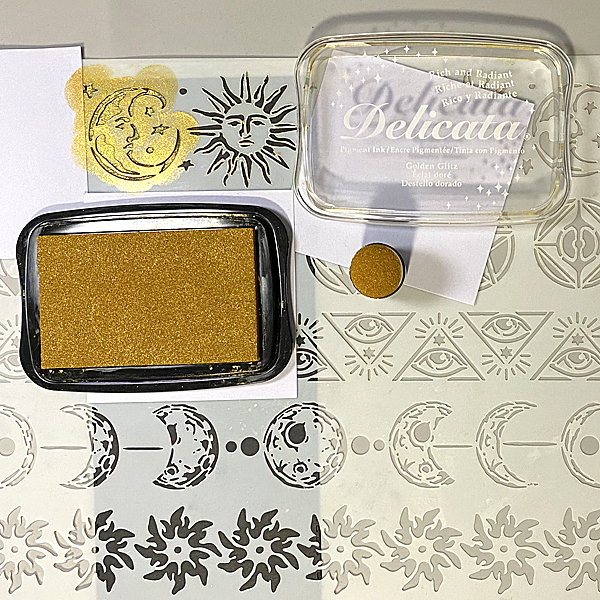
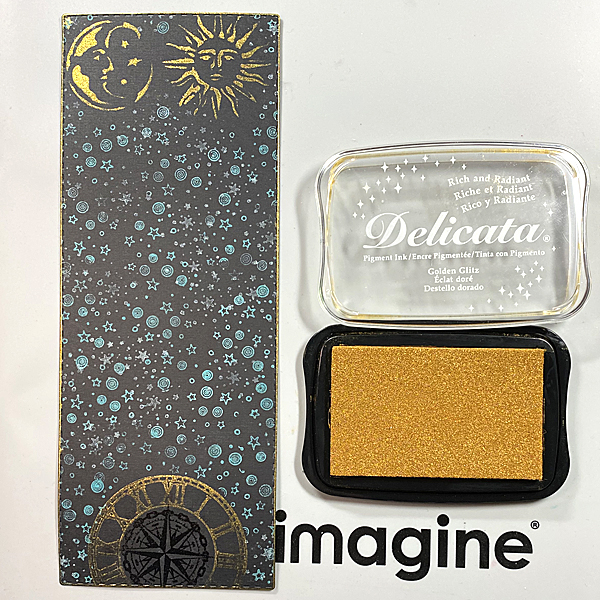
Stamp a sentiment and add a shadow to the strip. I used Delicata Golden Glitz ink for my sentiment. Now you can assemble your card. The house, gingerbread man and sentiment were all adhered with foam tape.
I hope you enjoy this card and the tutorial. Thanks for stopping by I appreciate all of you!