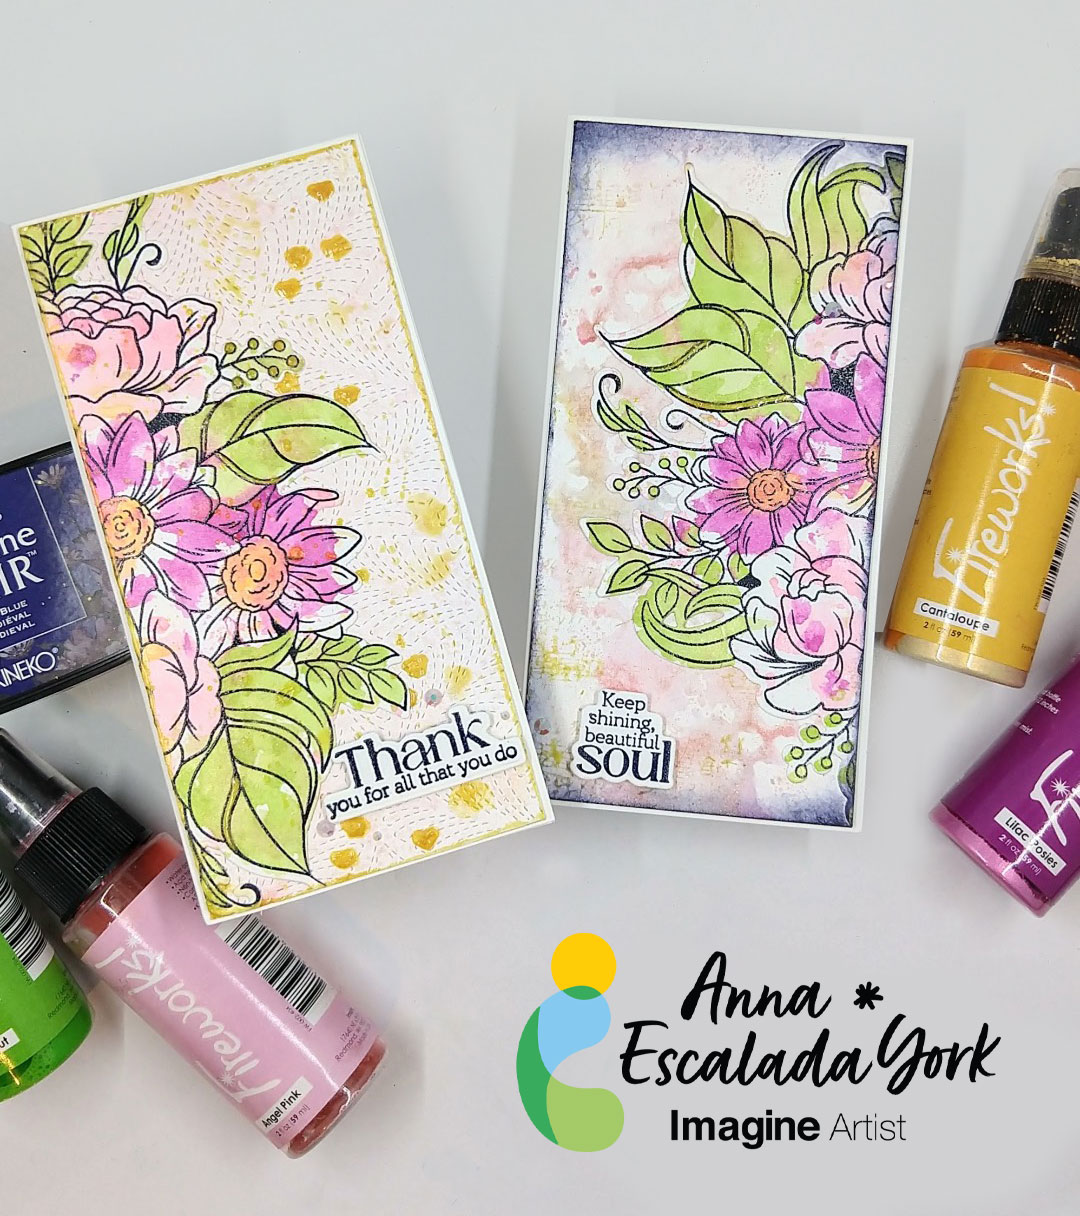
By Anna Escalada York
– I had an old clipboard that I wanted to decorate and was able to make it work with some of my Imagine Craft supplies.
Skill: Intermediate
Time: 2.0 hours (includes drying time)
Directions:

Step 1:
Paint a thin layer of thin layer of white gesso onto an old clipboard and set aside to dry. (I used some old spools of washi tape to hold open the metal clip so that it wouldn’t get stuck in the drying gesso.)

Step 2:
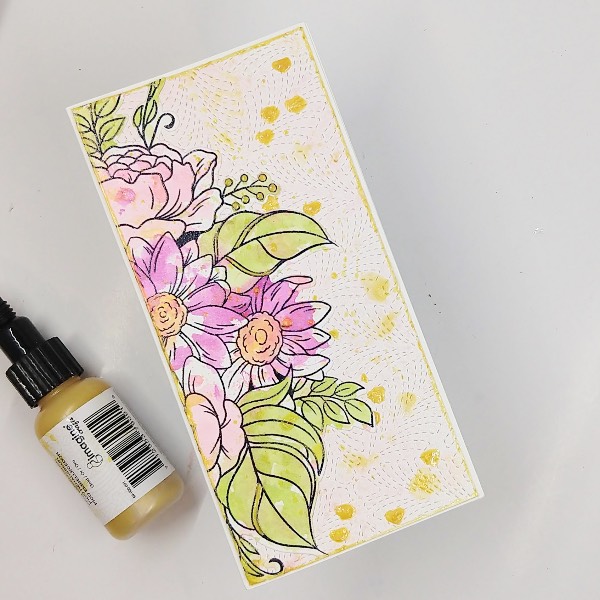
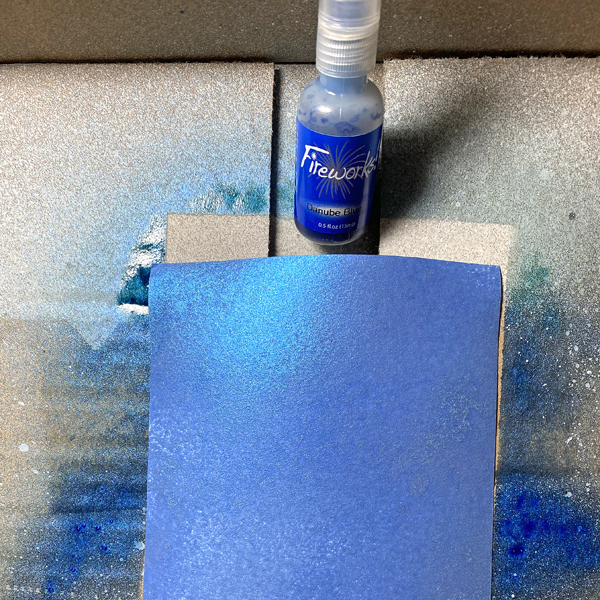
Spray Pear Tart Fireworks! Craft Spray through a detailed heart stencil on the lower left corner of the clipboard. Emboss with clear embossing powder to set the spray.

Here is a closeup of Step 2:

Step 3:
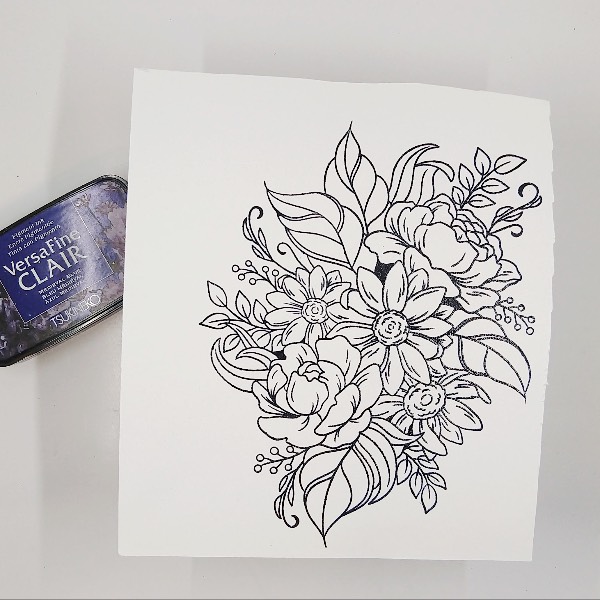
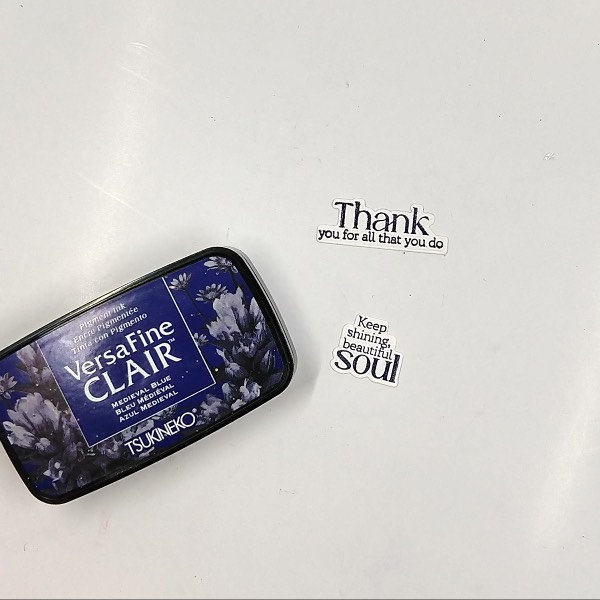
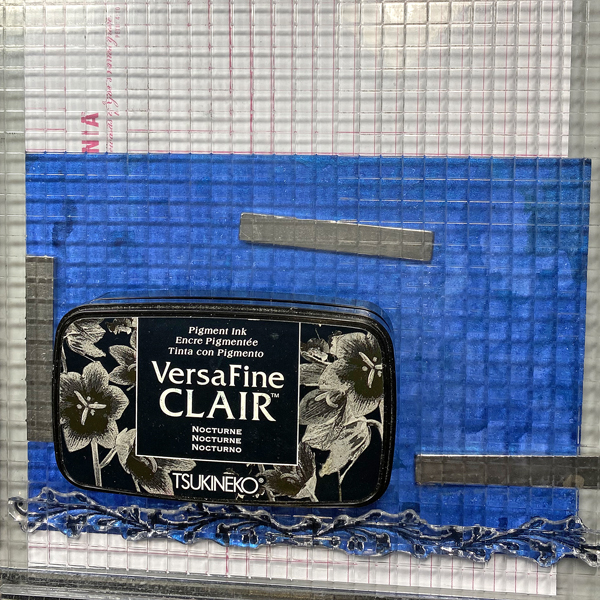
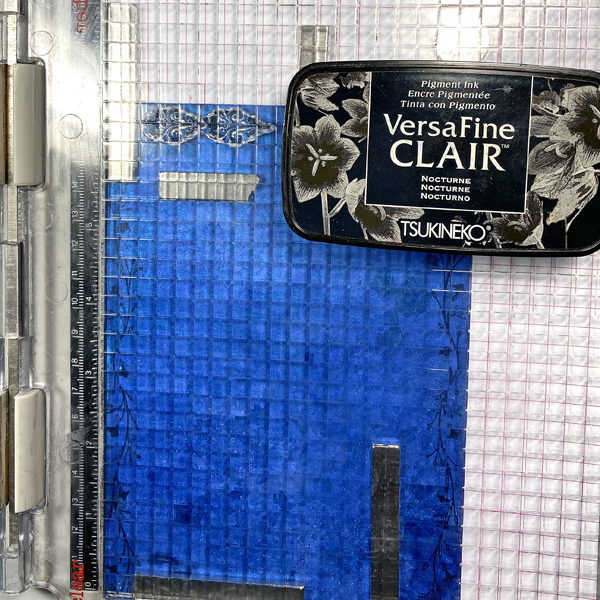
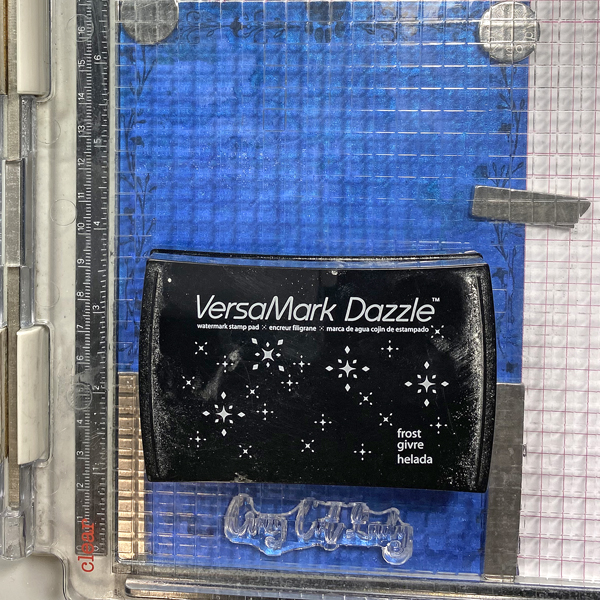
Stamp a large butterfly in the upper left part of the clipboard base and a sentiment (or maybe in this case affirmation) in the lower right corner with Nocturne VersaFine Clair ink and then heat emboss both with clear embossing powder.

Step 4:
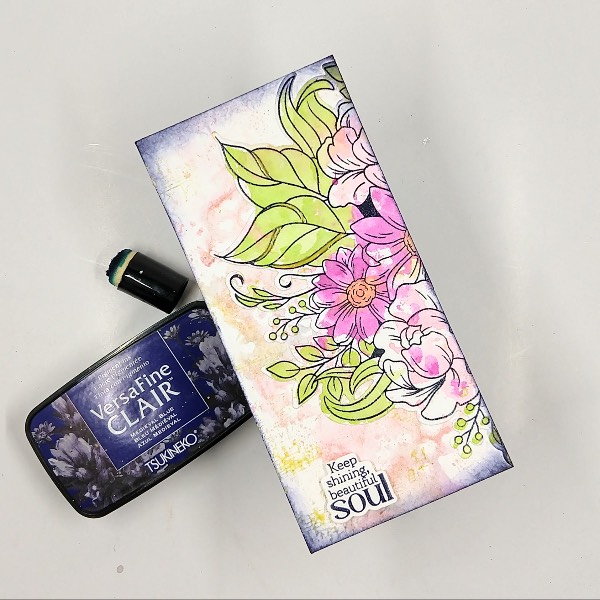
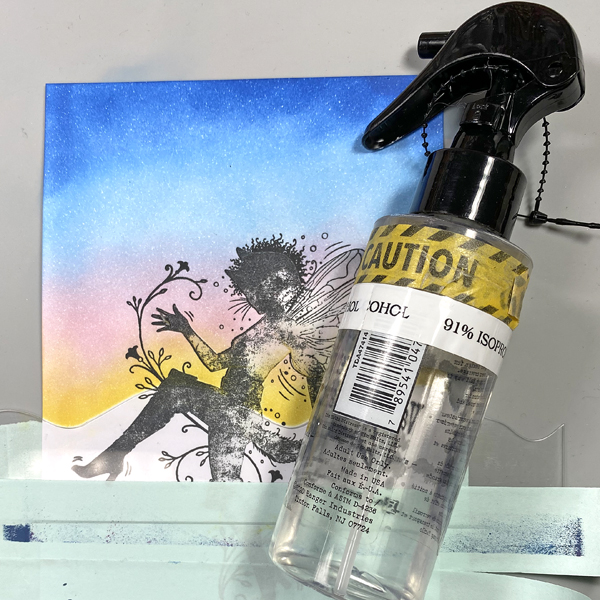
Watercolor smoosh the clipboard with a variety of blue, green and black watercolor in layers.
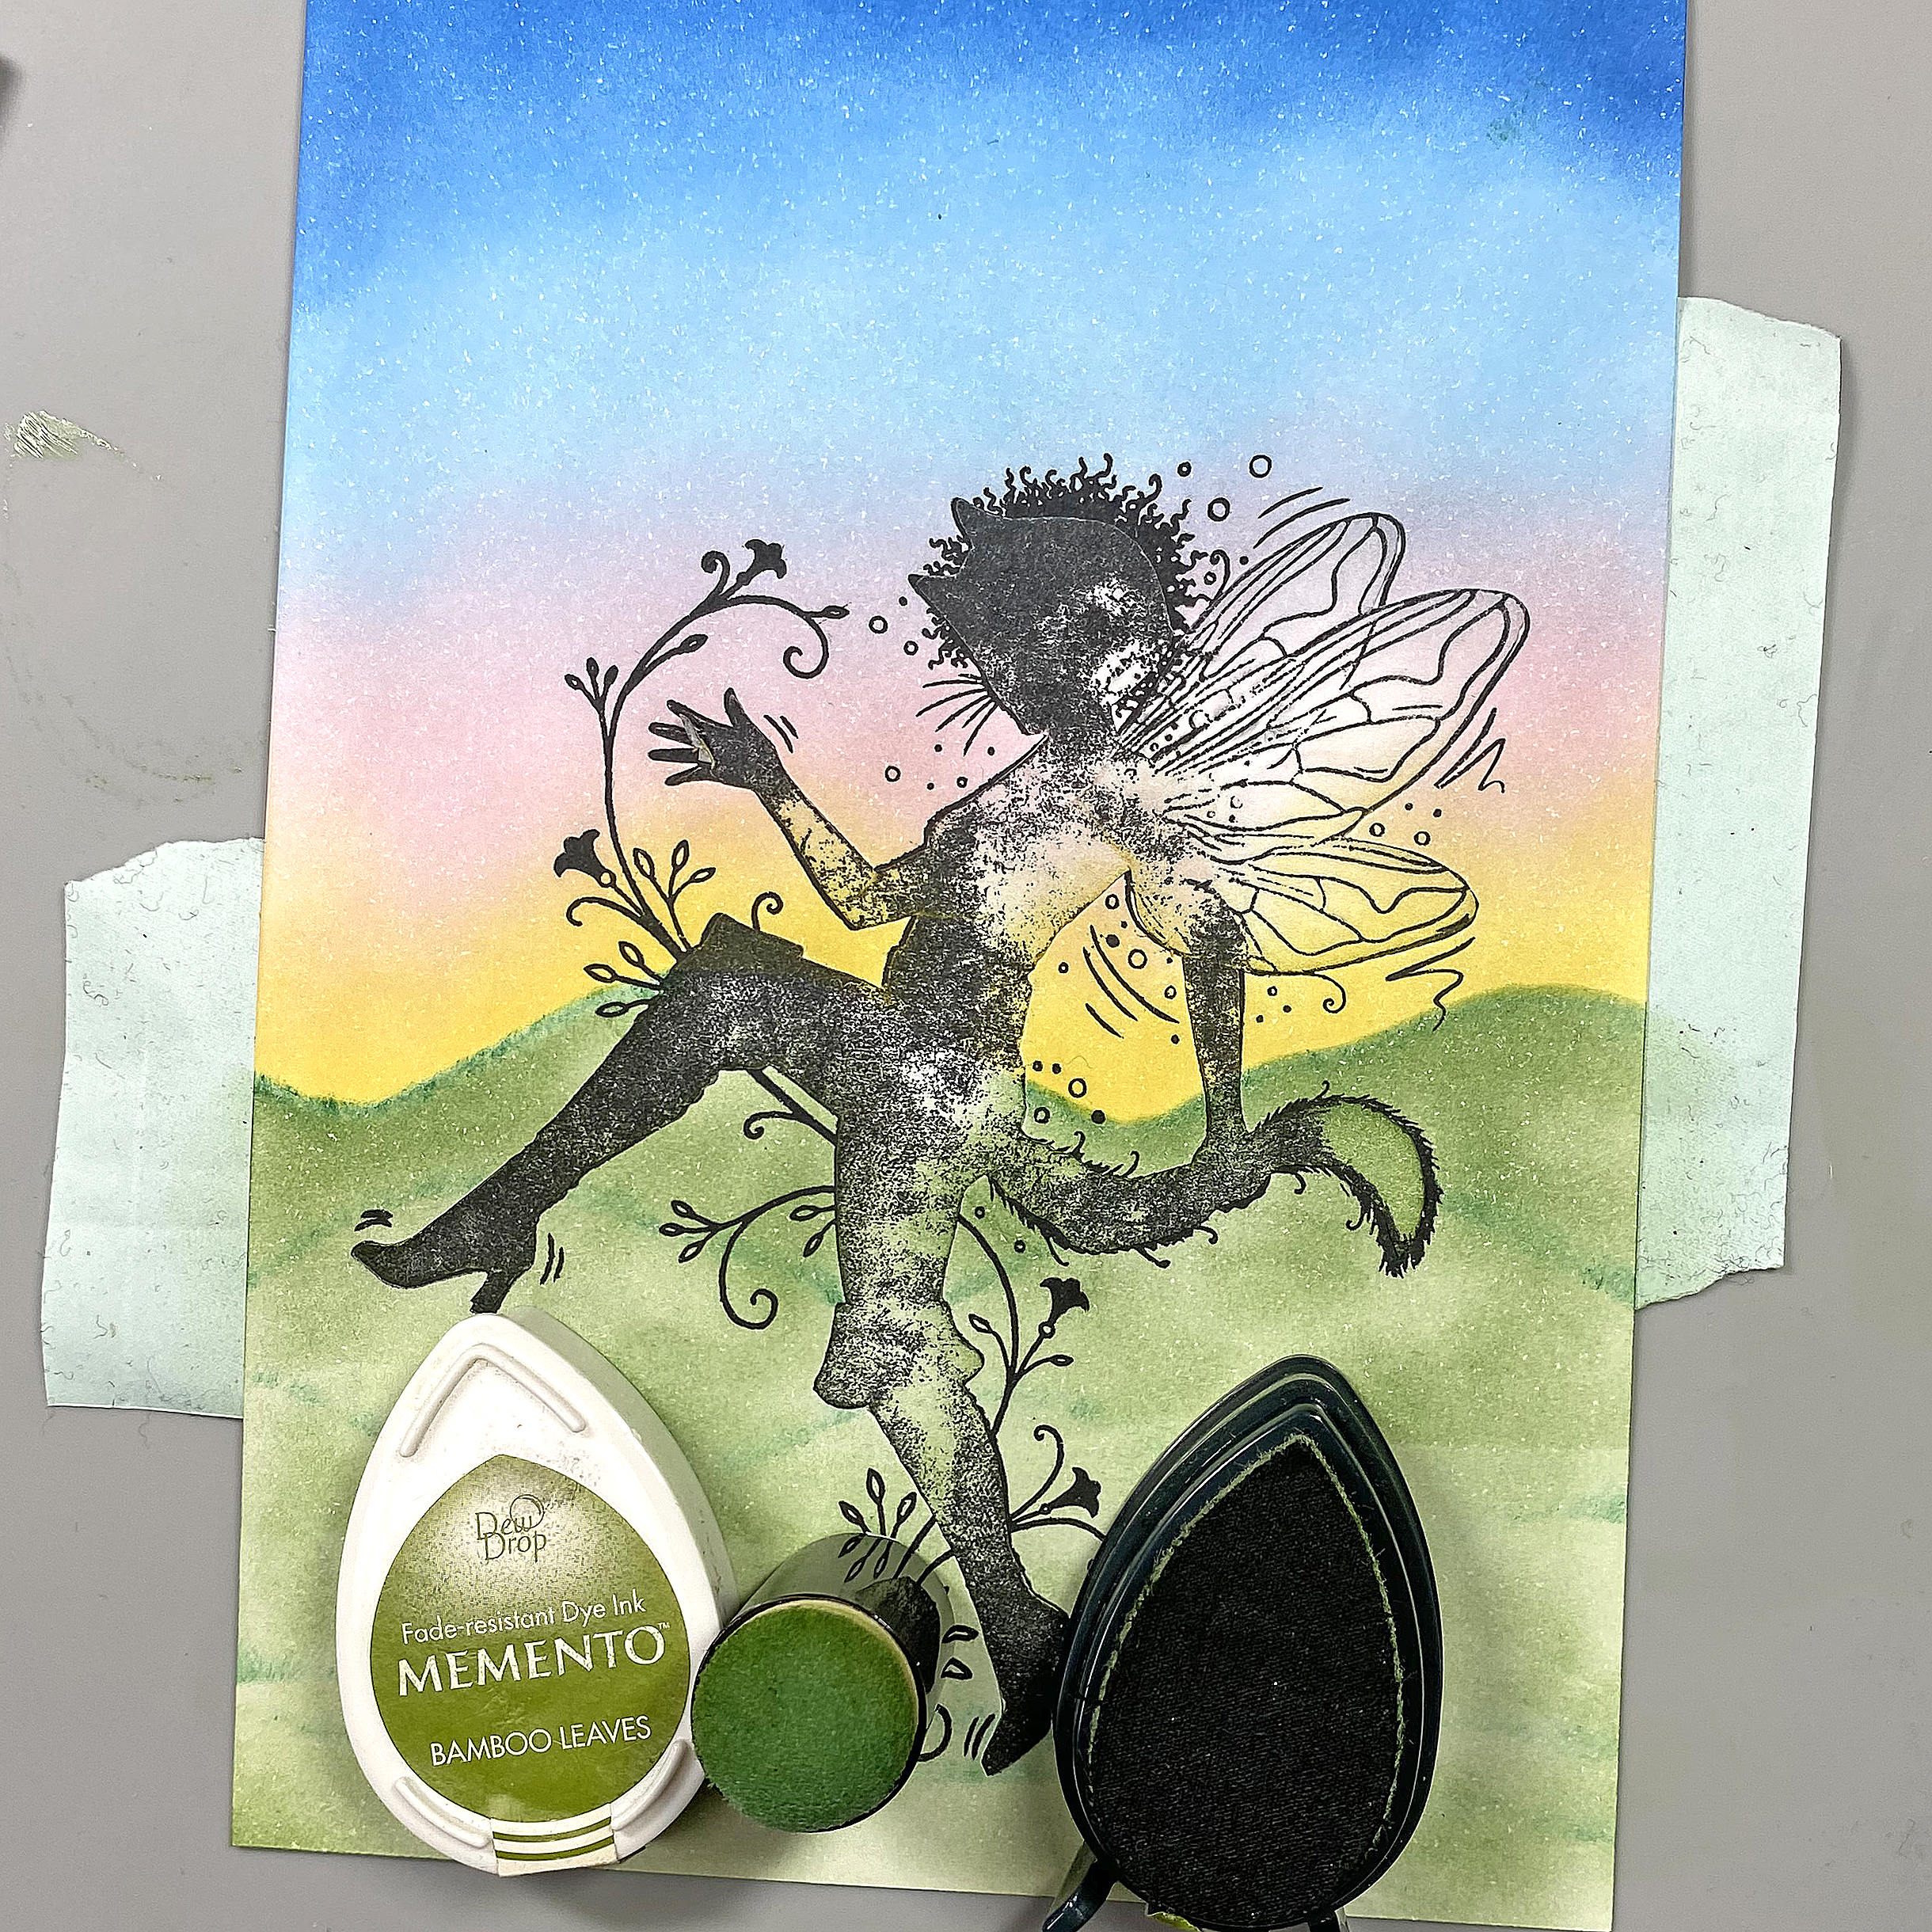
- Starting out with Turquoise Gem VersaMagic Chalk Ink, press the ink pad onto a scrap piece of acetate packaging and spray with water. Then press the acetate over the butterfly to create a light blue area around the butterfly. Press the remaining color from the acetate in a diagonal line across the clipboard from the upper left corner to the lower right corner into the stamped sentiment.
- Repeat the process with Hint of Pesto VersaMagic Chalk Ink.
- Then draw on the acetate with Danube Blue Memento Dual Marker and spray with water; this time focus most of this darker color around the butterfly and splatter the clipboard with the remainder of the dark blue watercolor.
- Finally, draw on the acetate with Tuxedo Black Memento Dual Marker and spray with water. Use the black watercolor to splatter the butterfly (and to cover up any blemishes left behind when stamping).
Let everything dry.
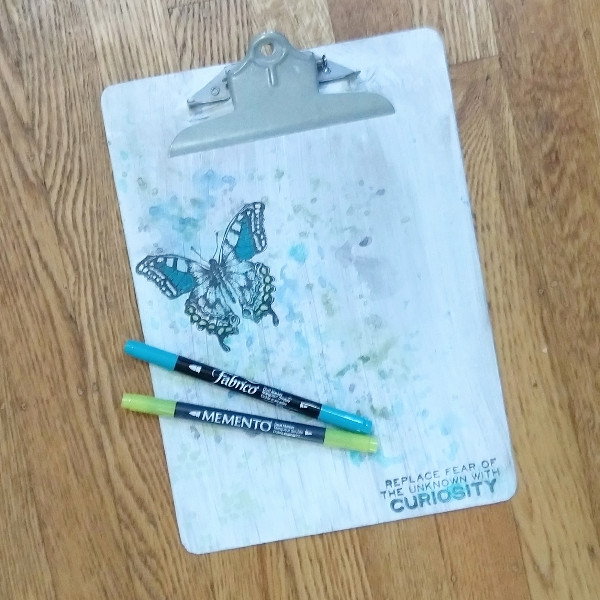
Step 5:
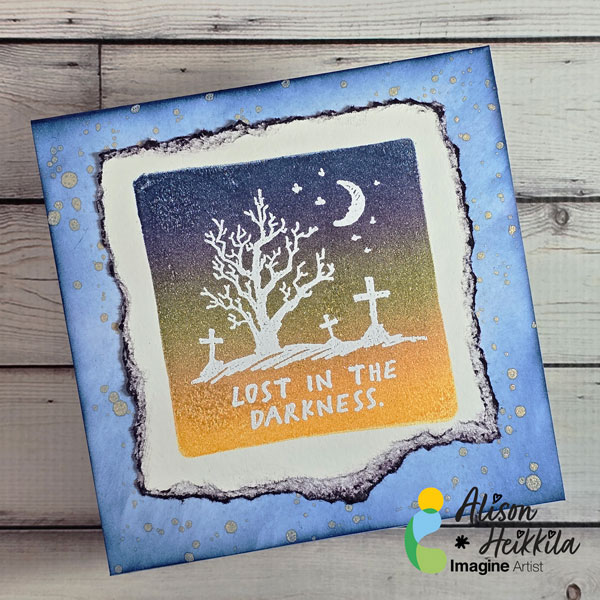
Color in parts of the butterfly image with Tropical Lagoon Fabrico Dual Marker (center of the upper wings) and Pear Tart Memento Dual Marker (small circles on the edge of the lower wings). Color in the word curiosity in the sentiment with more of the Tropical Lagoon Fabrico Dual Marker. Heat emboss with clear embossing powder.
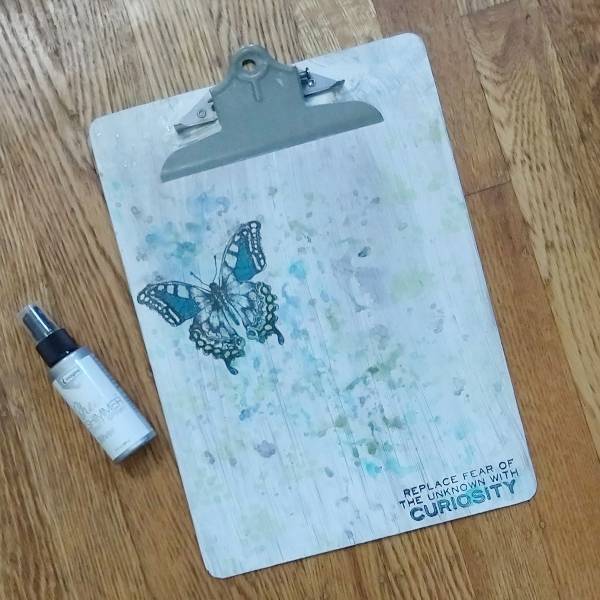
Step 6:
Spray Silver Sheer Shimmer Craft Spray onto the acetate and watercolor smoosh it onto the clipboard. Splatter any remaining spray on the acetate onto the clipboard. If larger individual splatters are desired, unscrew the top and use the tube/straw from the spray bottle to dab large blobs of Silver Sheer Shimmer Craft Spray onto the clipboard and finish the project.
Art Supplies
Imagine
• Fabrico Dual Marker – Tropical Lagoon
• Fireworks! Craft Spray – Pear Tart
• Memento Dual Markers – Danube Blue, Pear Tart and Tuxedo Black
• Sheer Shimmer Craft Spray – Silver
• VersaFine Clair ink – Nocturne
• VersaMagic Chalk ink – Hint of Pesto and Turquoise Gem
Other
• Golden – Gesso Semi-Opaque Acrylic Primer
• Stampers Anonymous and Tim Holtz – stamp set – Perspective CMS213 Clear Embossing Powder
• Foam paint brush (for the gesso) Thin paint brush (for splattering) Small detail stencil in my stash