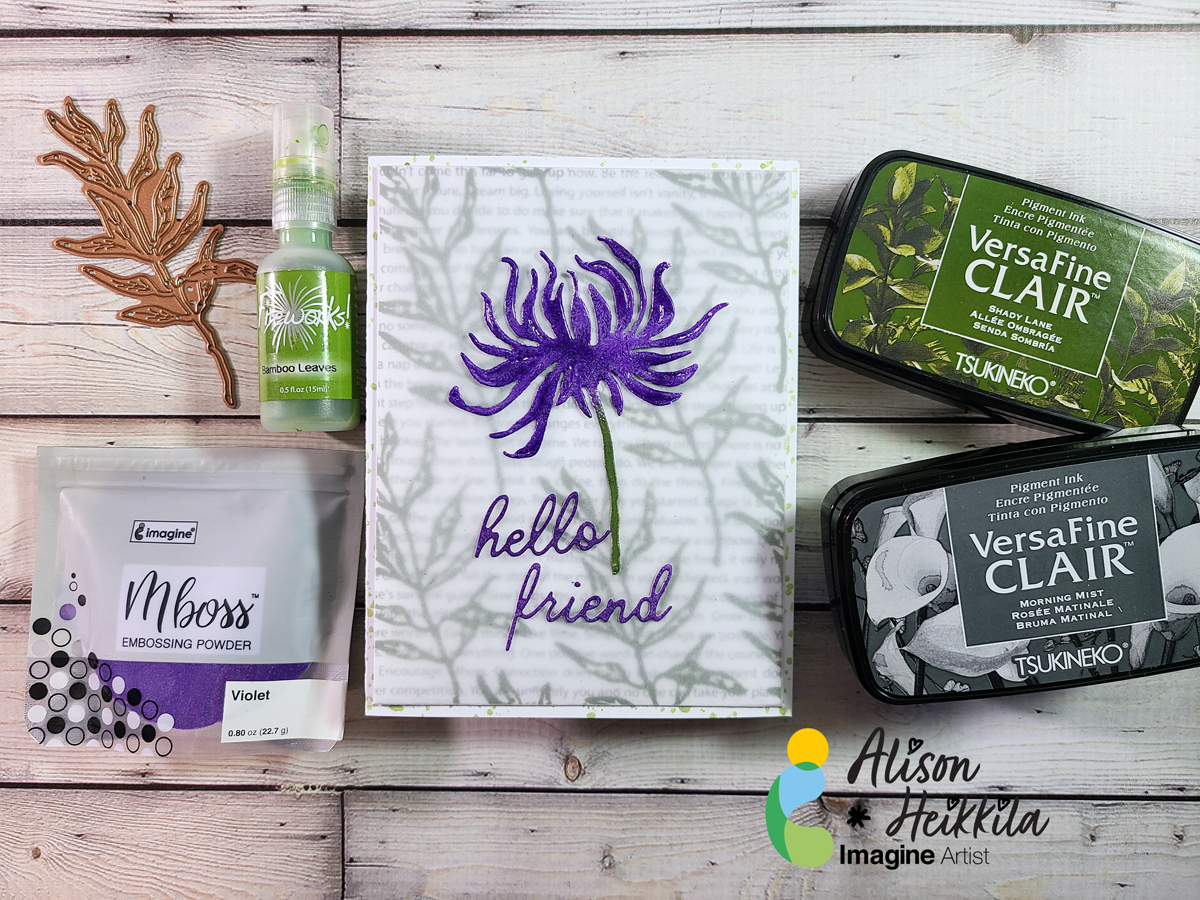
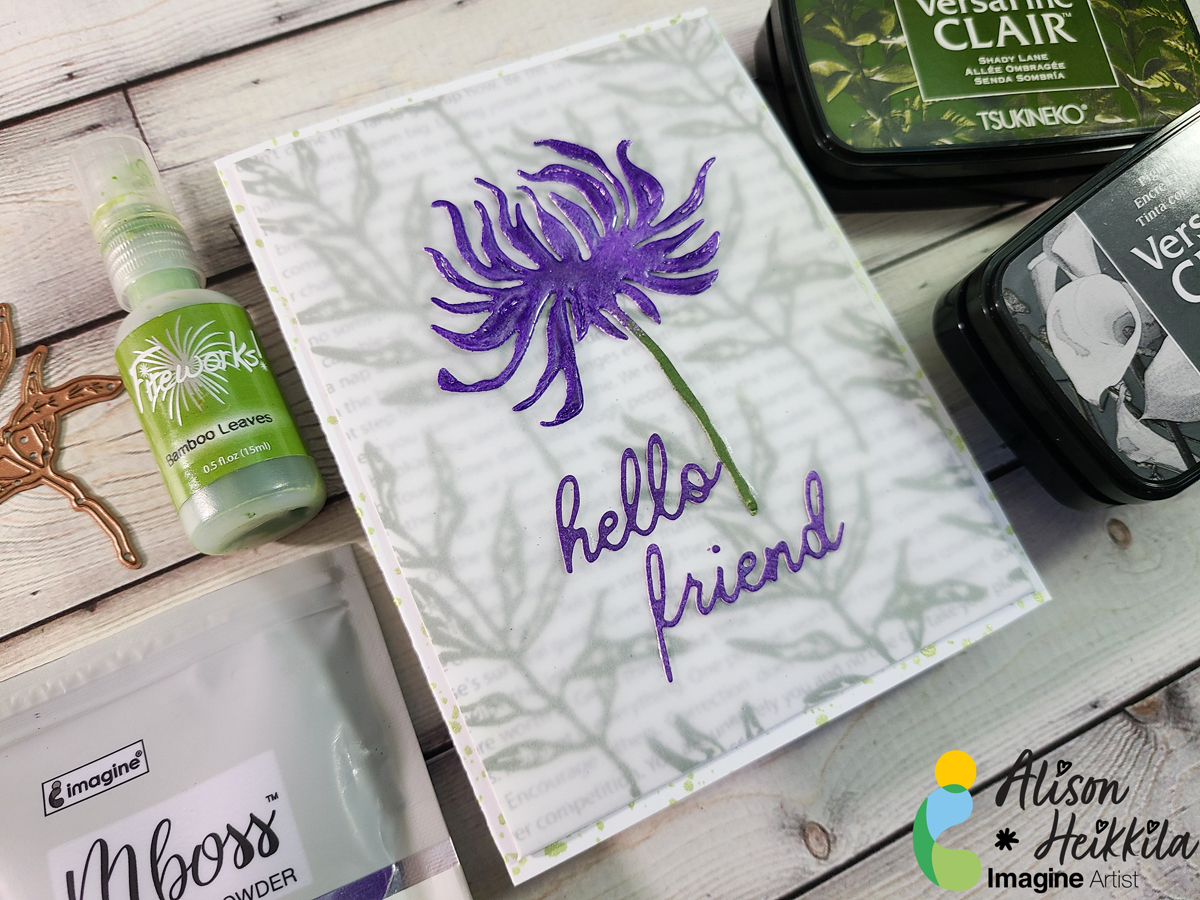
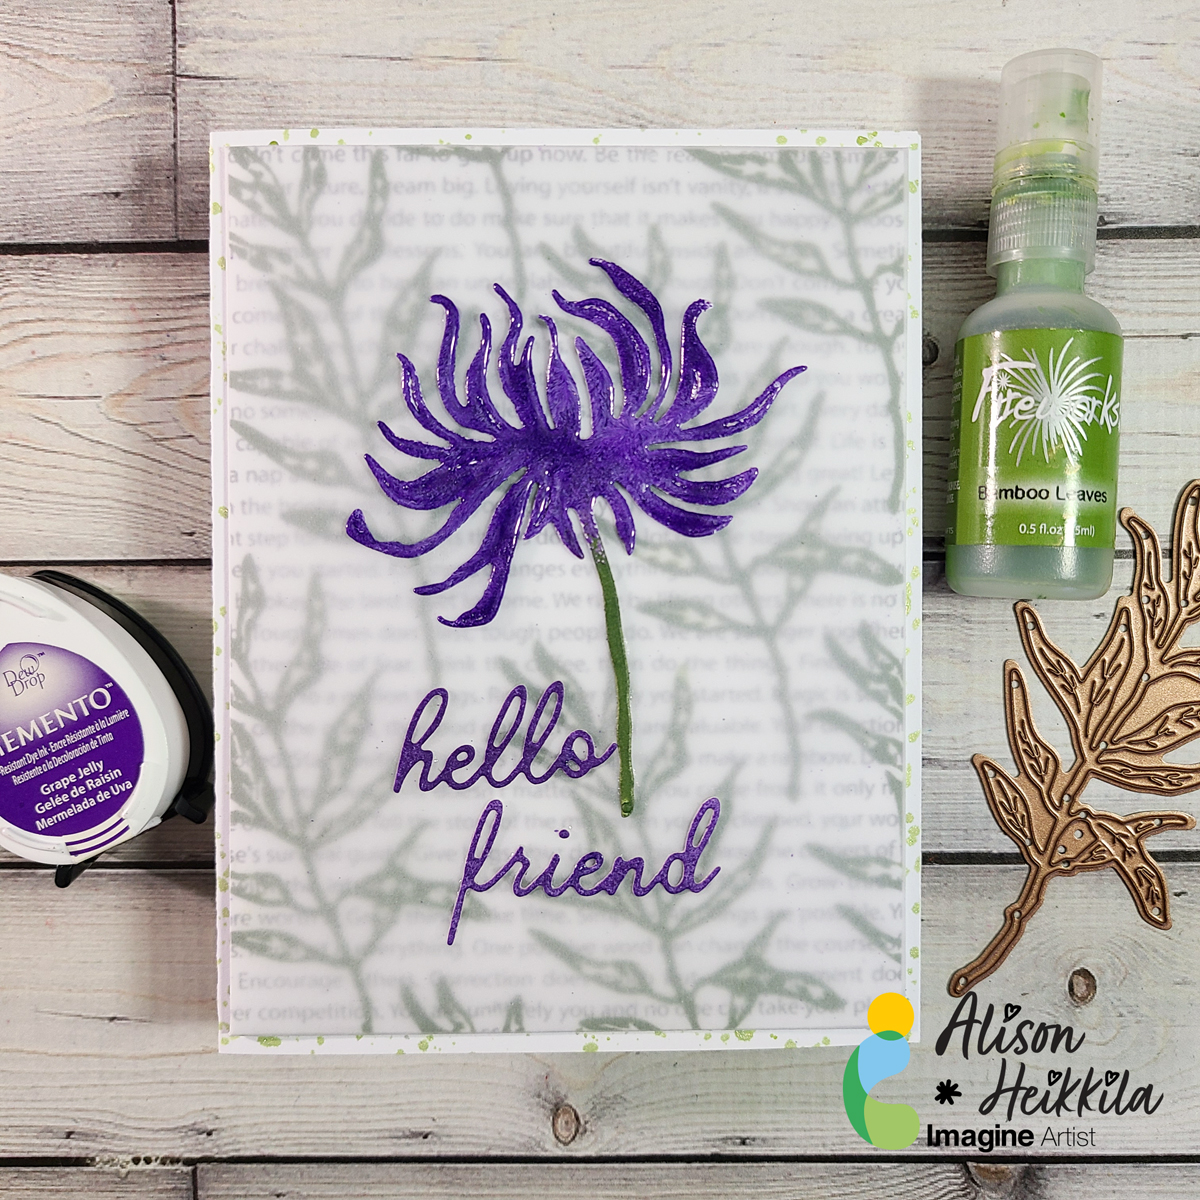
Hello! This is Alison Heikkila. My second video for Imagine this month once again focus on dies and how to use them creatively with inks. We’re making a pretty floral encouragement card, and I hope it gives you some ideas on how to use your dies and inks together.
*Some affiliate links are used in this post. That means that if you shop through these links, I may receive a small compensation, at no cost to you.
Skill Level: Intermediate Time to Complete: 20-30 minutes
I hope this inspires you to make stamps out of your dies. And don’t forget to try double-dipping into embossing powder! The effect is so pretty. Thanks so much for stopping by. Have an inspiring day!
Hello crafty friends! Today, I have a different way to use your VersaMagic Ink Pads. You only need a embossing folder and different colors of ink to create a colored background.
Skill: Intermediate Time: 60 minutes
Directions:
Select an embossing folder of your preference. If you use a 3D Embossing Folder, you will note a bigger difference in the background.
Step 1:
Select the colors of VersaMagic Ink that you want to use. In today’s card, I am using Purple Hydrangea, Red Magic, Mango, Ocean Depth and Turquoise Green. Also select the embossing folder that you wanted to use.
Step 2:
Place the piece of cardstock behind your embossing folder before applying the ink to the embossing folder. With this you will see clearer how the colors will look on your background. Apply the ink directly with the ink pad over one of the sides of your folder. Remember that it has an embossing side and a debossing side. In my sample, I used the debossing side.
Insert the piece of cardstock inside of your embossing folder and pass it through the die cut machine before the ink dries.
Step 3:
To enhance the details that were not covered by the ink, you can use the Sheer Shimmer Stix Dauber. Just softly press the dauber directly over the details where you want to add the shimmer look. I used the Frost color to keep it neutral.
Step 4:
Now is the time to add the sentiment. I didn’t want to cover the colorful background, so I went for a large die cut sentiment. First, I inked a piece of white smooth cardstock with one of the colors used in the background. In my model it is the Turquoise Green. I applied it directly with the ink pad and let the paper dry naturally before the die cut the sentiment.
To add more contrast, I also die cut a tiny complement of the sentiment in a coordinated card stock. I pasted it directly over the large die cut sentiment using the OnPoint Glue.
Step 5:
Resize your layer and paste it directly over the card base using Tear it Tape. Paste the large sentiment over the colored background using crafty foam tape to add more dimension to the card.
Thanks for stopping by and remember, you don’t need to create complicated projects. Just use the best inks and let your creativity shine!
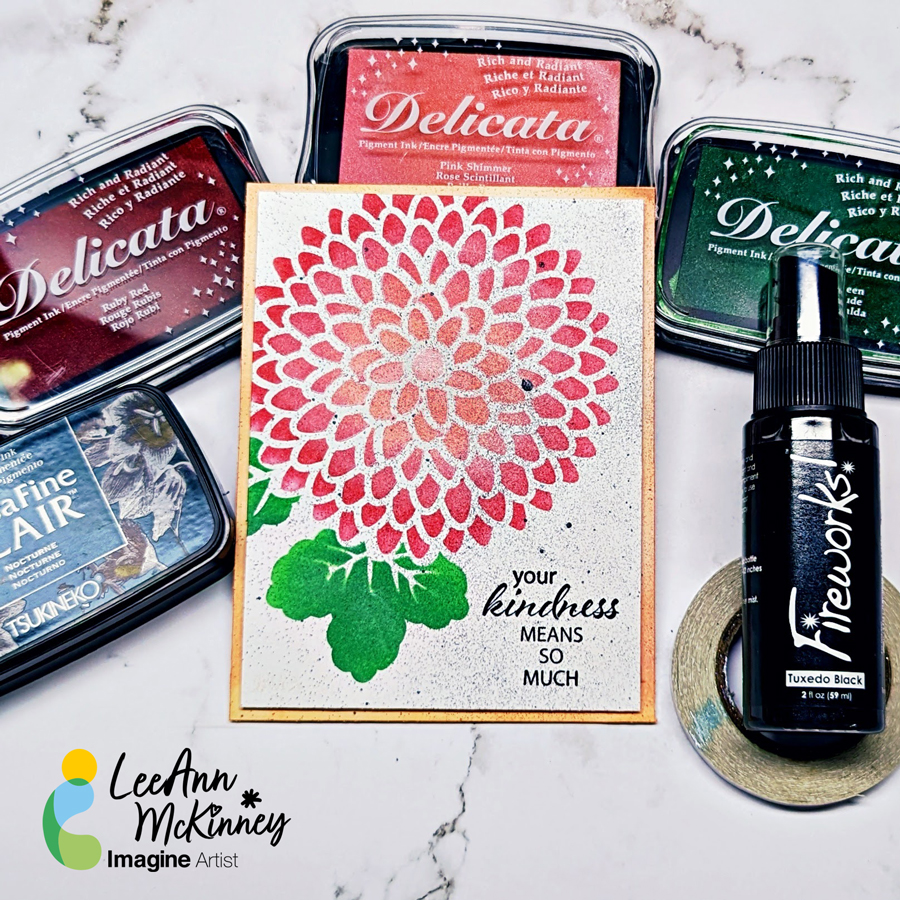
Hi there friends and fellow crafters, LeeAnn here with a fairly easy, beginner level card that anyone can do with a stencil, some inks and a few blender brushes.
I love stamps as much as the next crafty person. Sometimes, I like to hand draw my own images though. Did you know you can draw your images with Imagine’s irRESISTible Pico Embellisher? IrRESISTible is a texture medium; which adds dimension to your project. It comes with a fine-tipped applicator for writing or making doodles. For the background, I used various All-Purpose Inks to create a watercolor painted look and then drew on top with the Pico Embellisher.
Skill: Beginner/Intermediate Time: 30 minutes
Directions
Step 1
Determine how many colors of All-Purpose Ink. Prepare a water container for each color, so that you do not contaminate the colors; also, avoids running the risk of your ink turning into a mud color. Use a different for each color, or wash the brush between each color if using the same brush.
Step 2
First, wet the area with plain water. Place a small amount of ink into one of the ink wells. Add water to the ink and brush onto the paper.
Step 3
Repeat the same process for each color. Do not blend the colors; just lay them next to each other. Dry the paper.
Step 4
Brush on Creative Medium in order to seal in the All-Purpose Ink. Draw your image using Zeal Teal irRESISTible Pico Embellisher. If you are not used to this medium, first practice drawing on a piece of scratch paper. Always squeeze out the Pico Embellisher onto scratch paper to eliminate the bubbles, before applying to your project. Finally, stamp on sentiment and assemble the card.