Hello Friends! Katy here with another quick project. In today’s video I create a simple Thanksgiving card and I share with you an easy way to ink blend directly on your stamp. This is a great technique to use on your silhouette stamps and a great way to change up the color from just basic black.
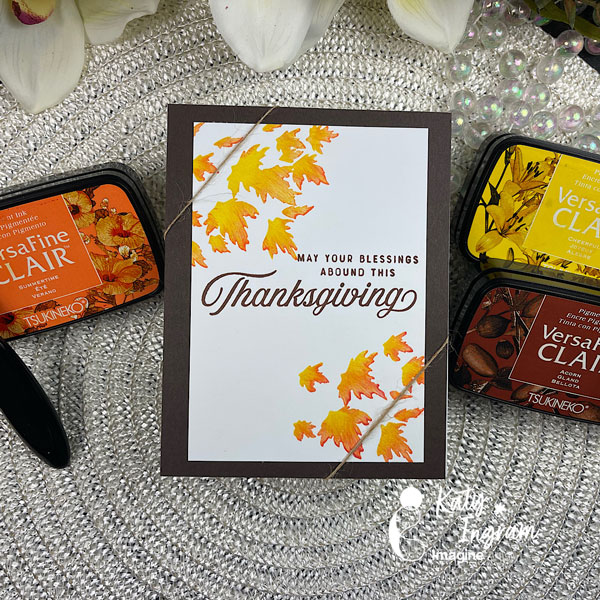
Hi everyone! It’s Jessica here. Fall is right around the corner and I have a fall floral card to share with you today. I decided to do some layered ink blending using shimmery Delicata ink pads. They are pigment-based and mostly used for stamping. However, they ink blend beautifully, too! Be sure to check out the shimmery effects of these ink pads at the end of this post.
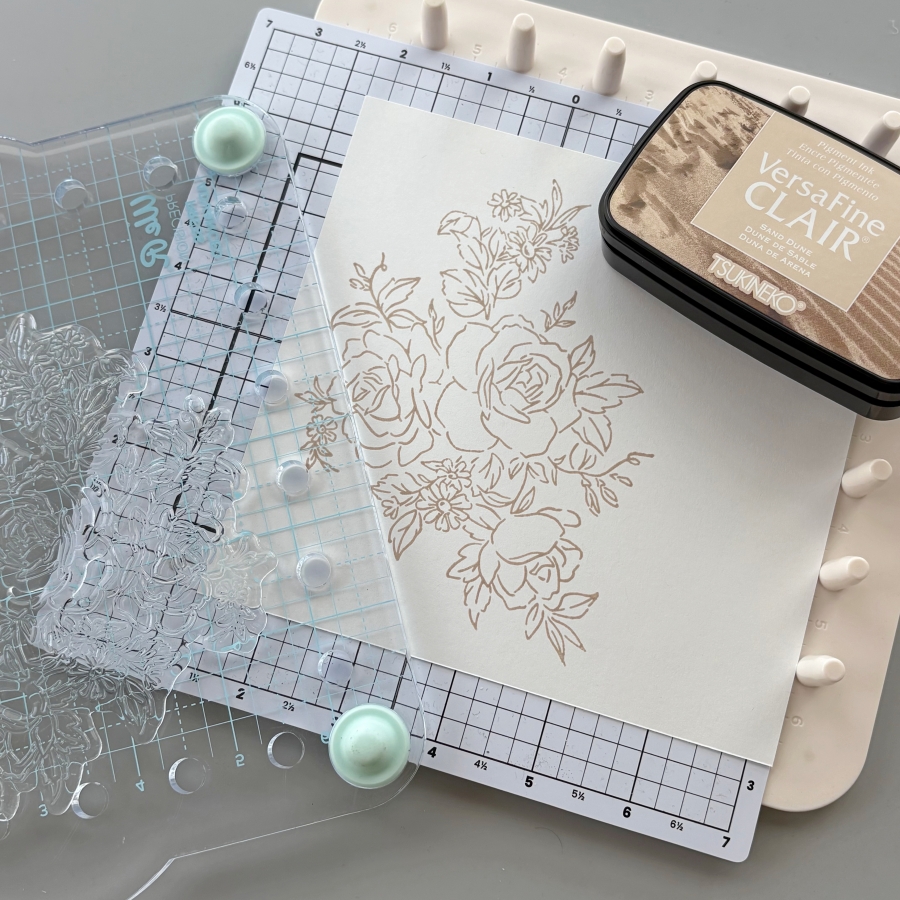
Step 1: Stamp the large floral image from Stampin’ Up’s Layers of Beauty set with VersaFine Clair Sand Dune ink pad. This color is becoming my favorite for stamping outlines. The soft, neutral tone creates an entirely different feel compared to black image outlines.
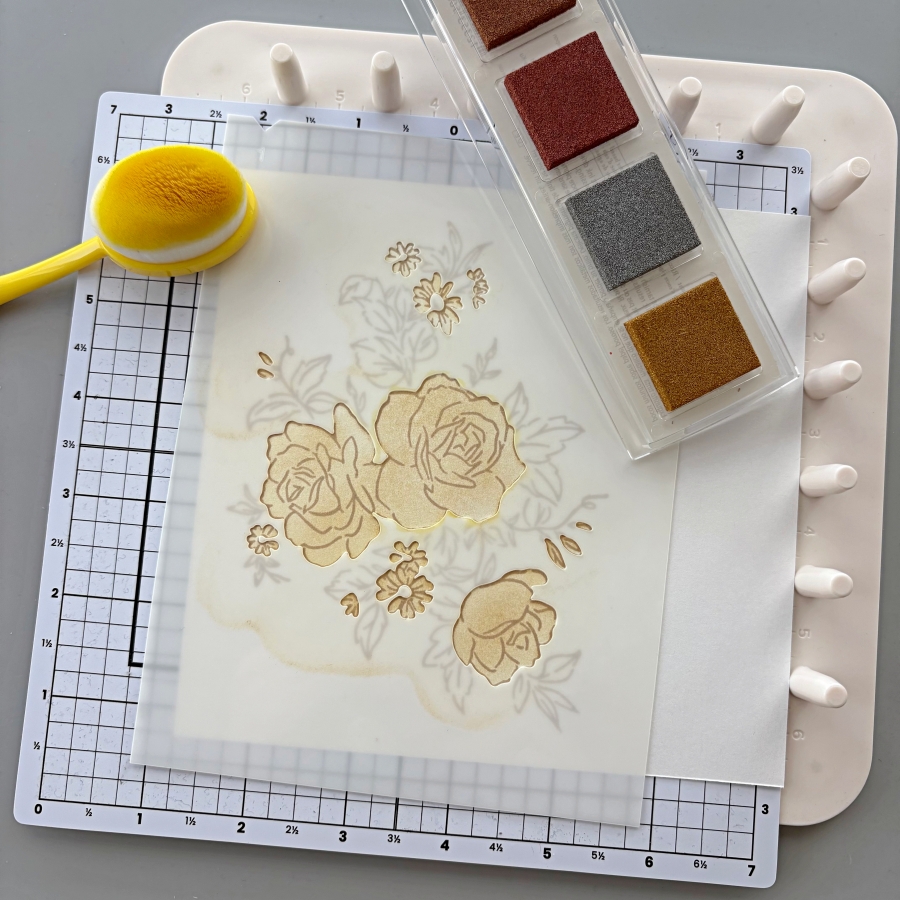
Step 2: This particular stamp set coordinates with the Layers of Beauty decorative masks. I started with stencil 1 and ink blended with Delicata Golden Glitz. You could use the full size ink pad or the Quartet ink pad, which includes Golden Glitz, Silvery Shimmer, Celestial Copper, and Bronze Burst.
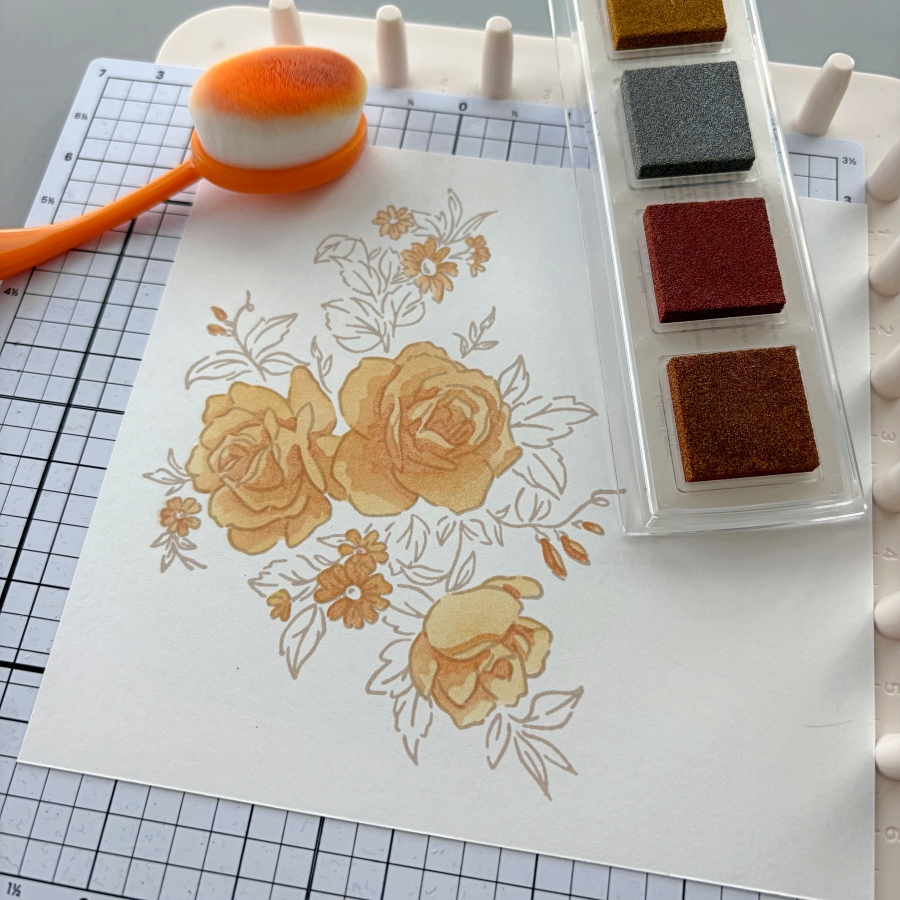
Step 3: For stencil 2 and 3, I ink blended Bronze Burst and Celestial Copper. These two shades are similar, with Celestial Copper having a redder hue. I thought they contrasted too strongly against the golden base layer, so I ink blended Bronze Burst lightly to the base layer as well.
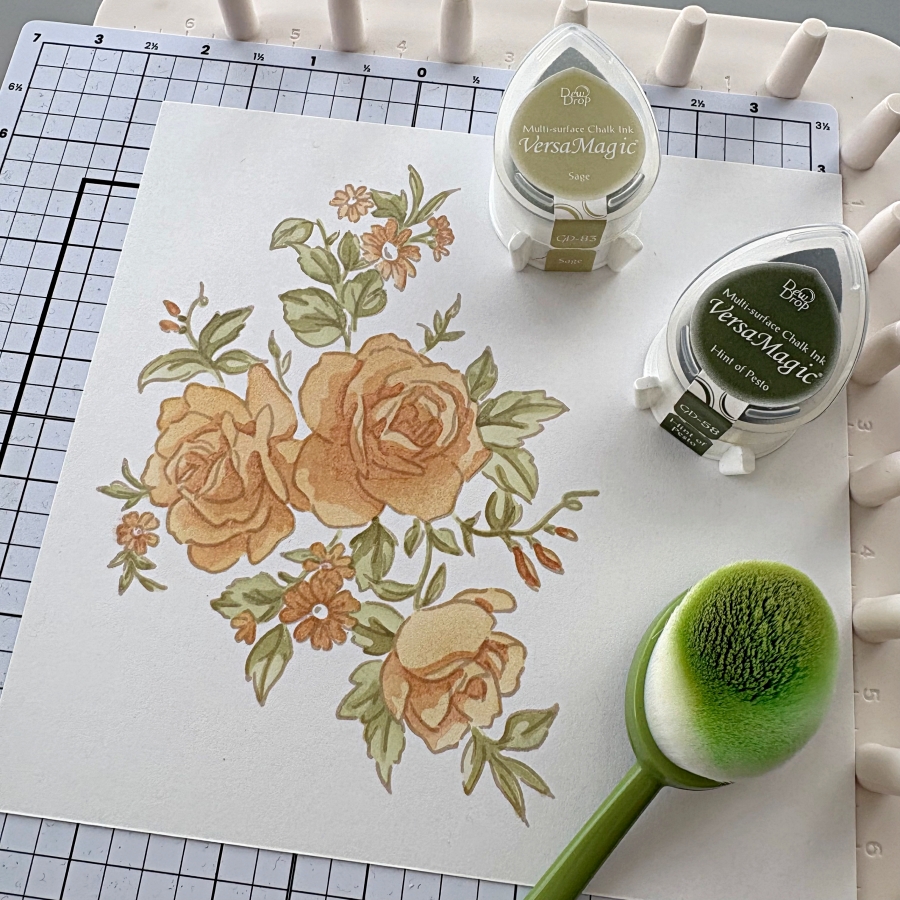
Step 4: For the leaves, I ink blended VersaMagic Sage for stencil 4 and Hint of Pesto for stencil 5. Once the ink blending is completed, I die cut the floral image and mounted the back with foam tape.
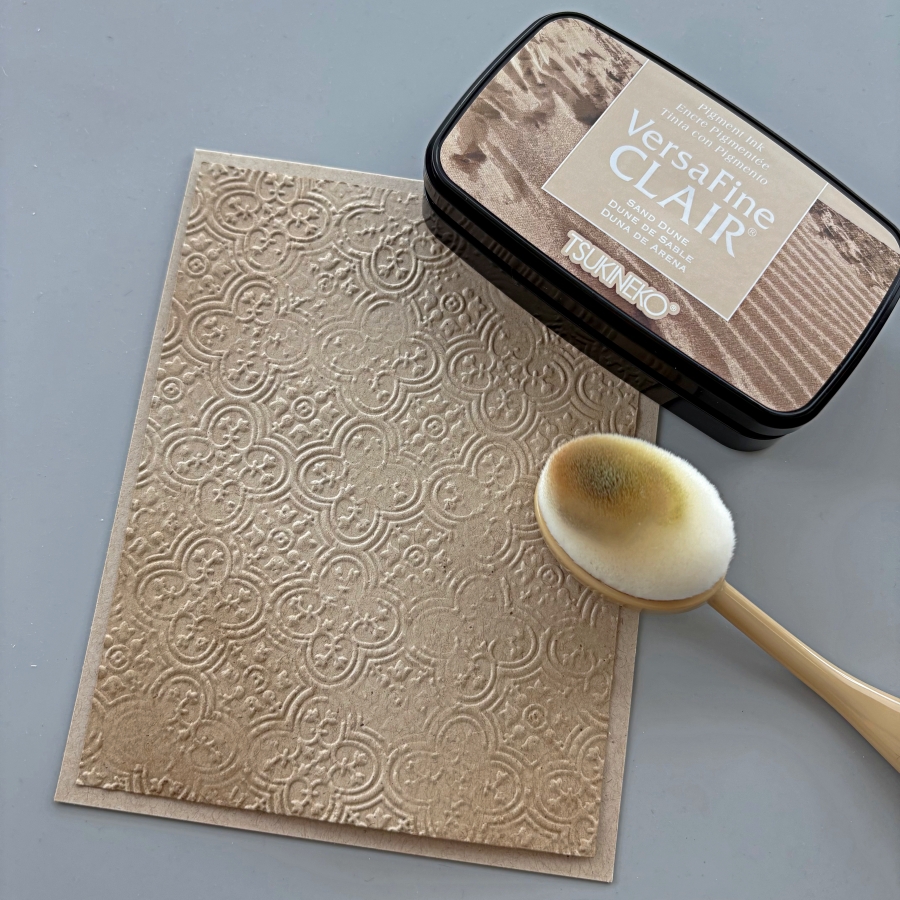
Step 5: I prepared a card base using Neenah Desert Storm cardstock. Then I embossed a 4’’ x 5 ¼’’ panel with Stampin’ Up’s Distressed Tile embossing folder. To create some background depth, I ink blended the corners of the embossed panel with VersaFine Clair Sand Dune ink pad.
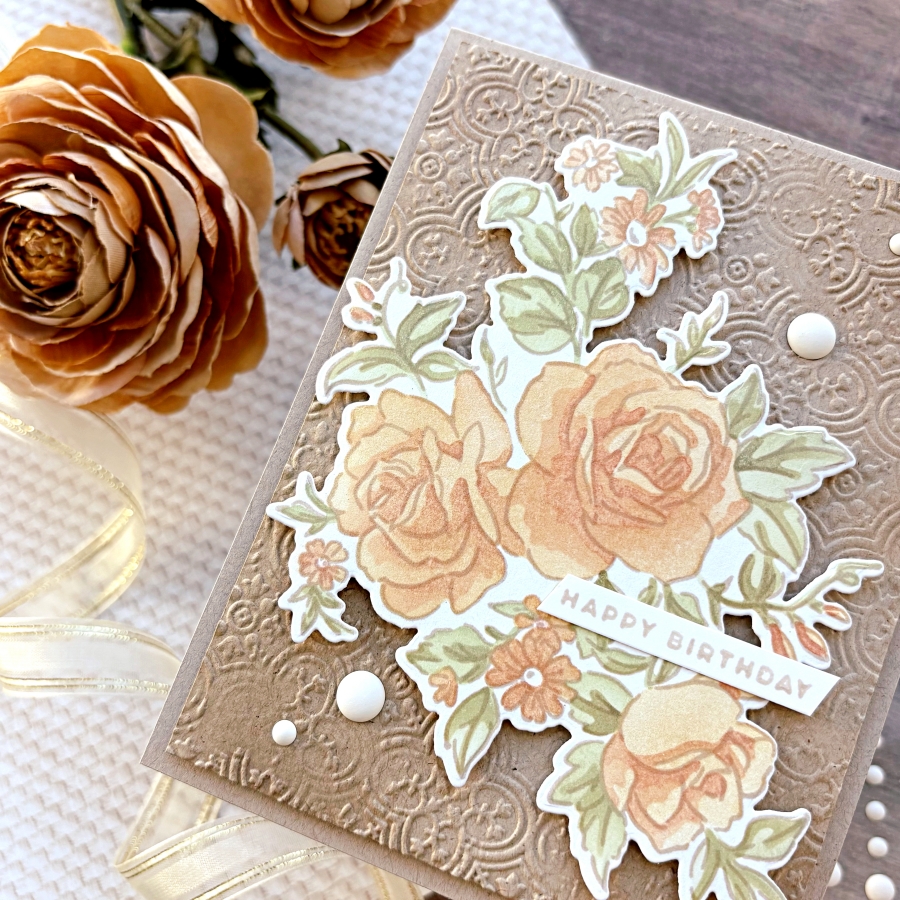
Step 6: Finally, I stamped the sentiment with VersaFine Clair Sand Dune ink pad and added matte white enamel dots from The Rabbit Hole Designs.
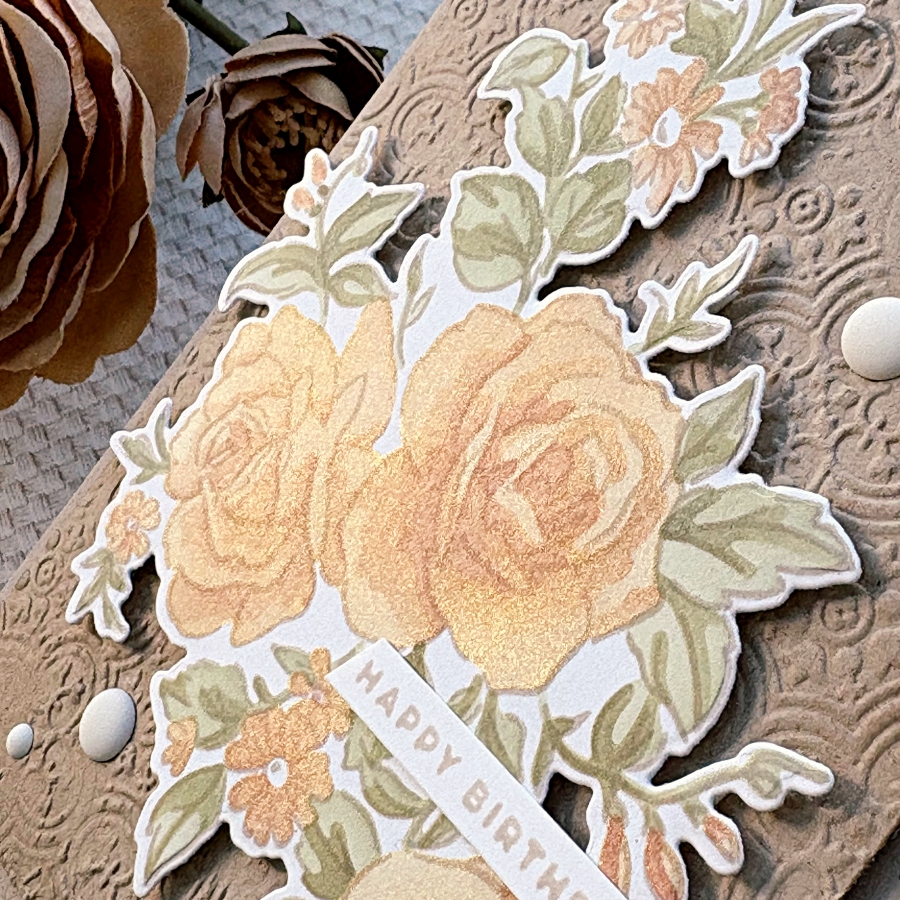
Here’s the finished card! I tried to capture the shimmery effects of the Delicata ink pads but the photo does not do it justice. It’s mesmerizing and so pretty in real life, I hope you will give ink blending with Delicata ink pads a try!
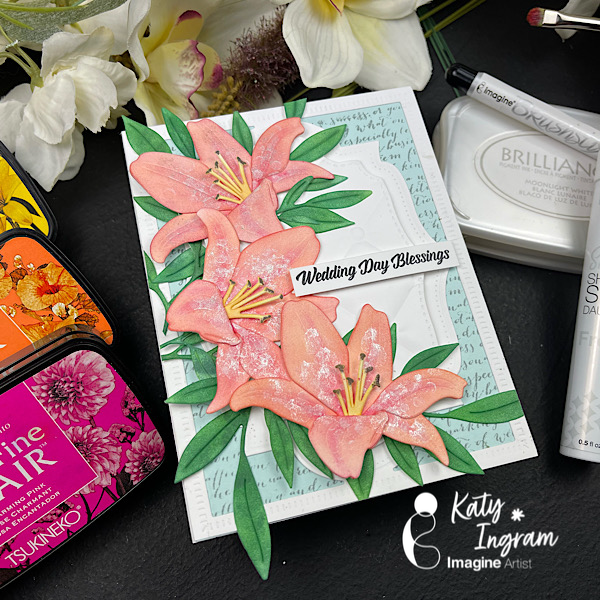
Hello Friends! Katy here with another project for you. Today’s card features a wedding day theme, but as always you can use this design for what ever you need! In fact, I used it for a sympathy card when I first designed it.
In todays video I share how I used detail blending brushes to create a peach blend on some Lily florals using VersaFine Clair in Summertime and Charming Pink. I also add a bit of shimmer using Sheer Shimmer Stix Dauber in Frost. Check out the video below for all the details.
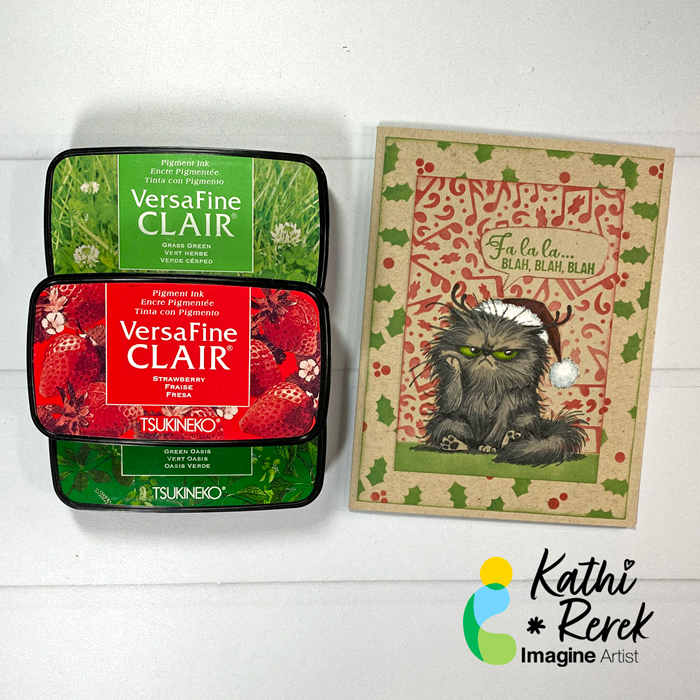
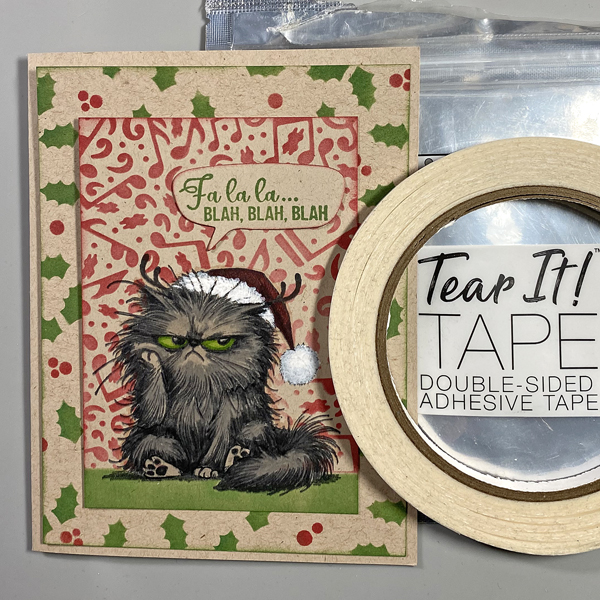
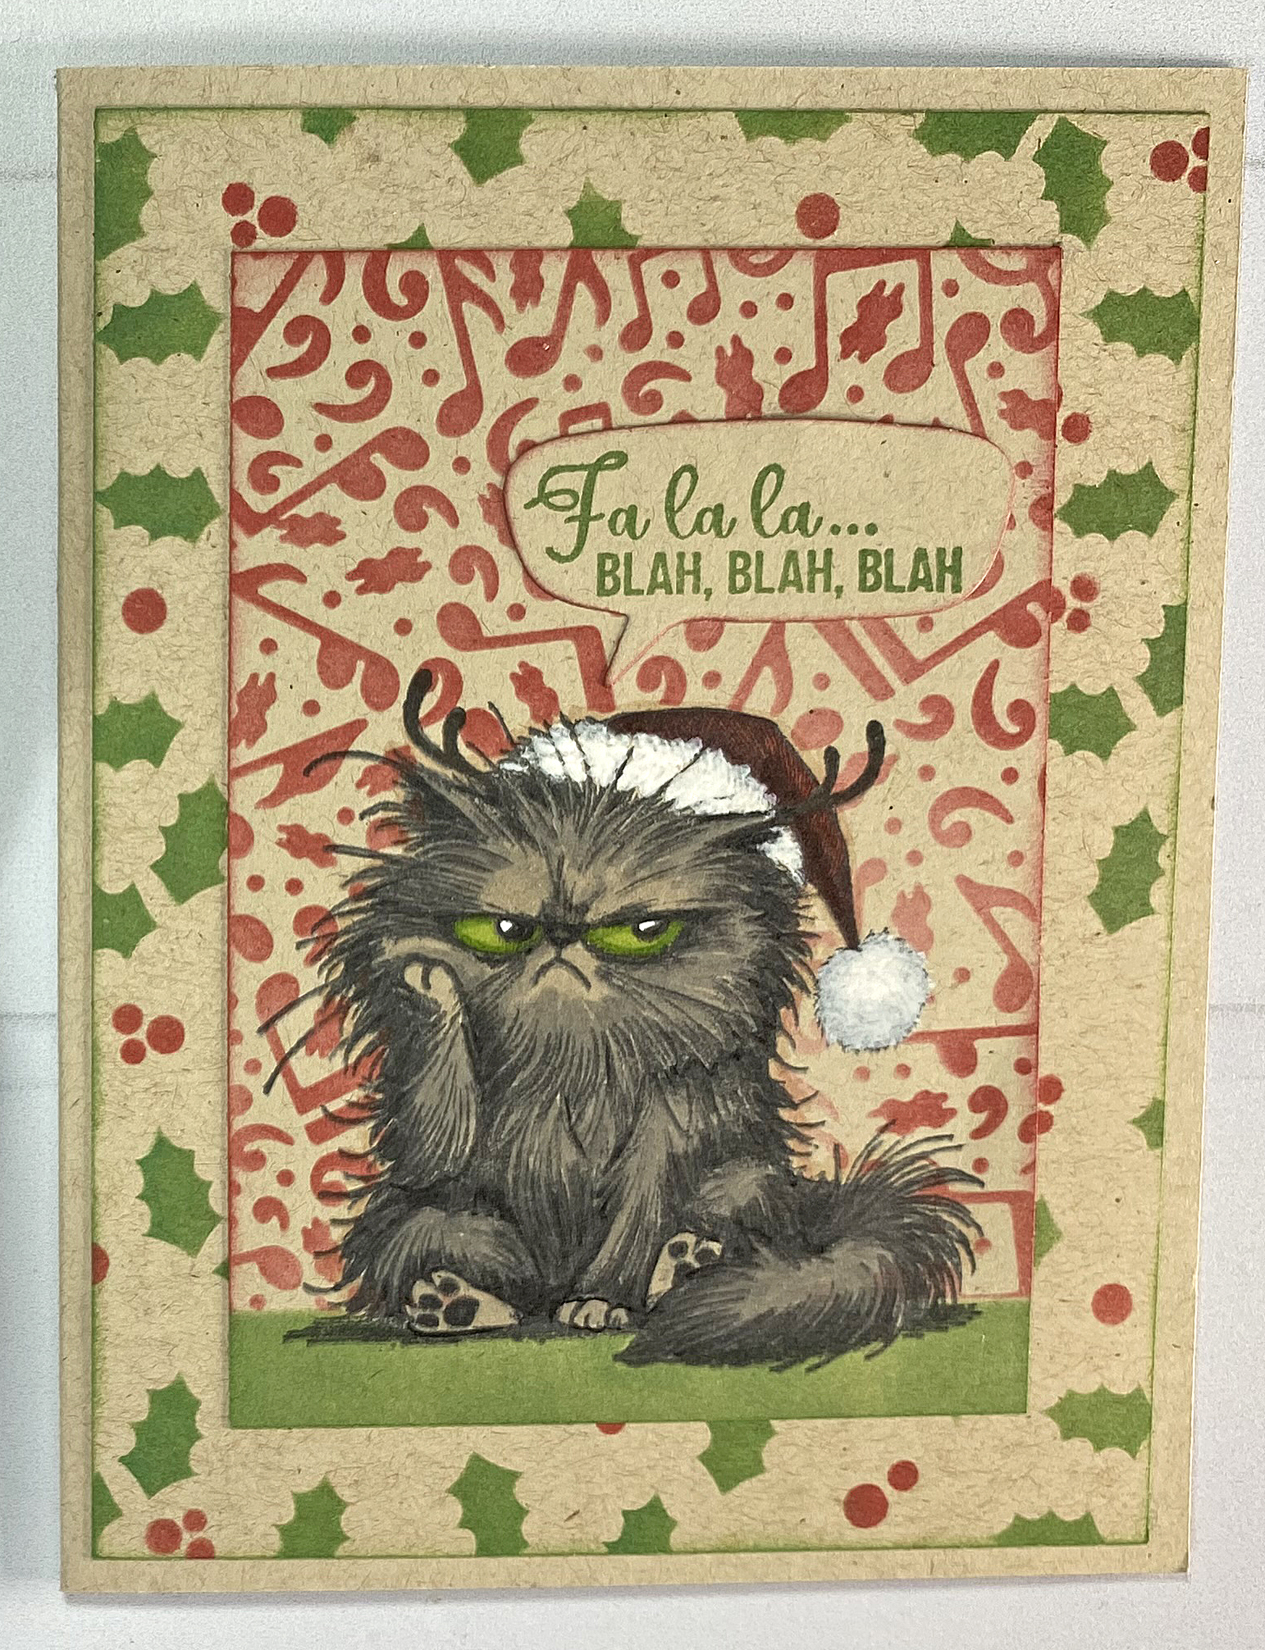
Here’s a snarky and fun Christmas card that shows how well VersaFine Clair Inks work on Kraft Cardstock!
Skill Level: Beginner Time: 45 minutes
Instructions:
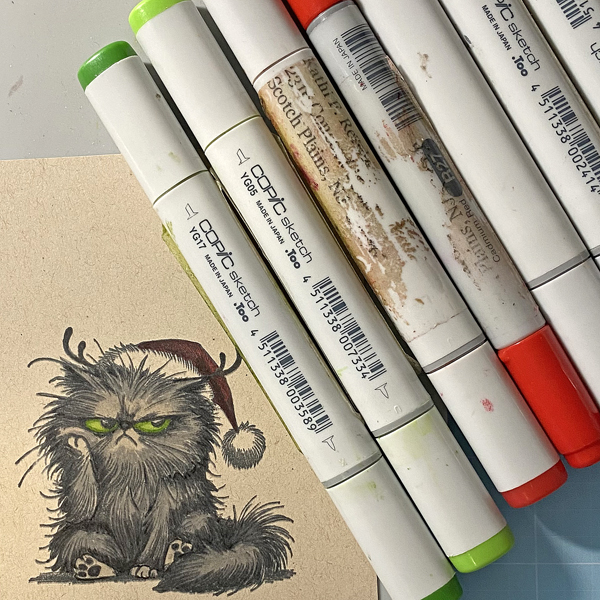
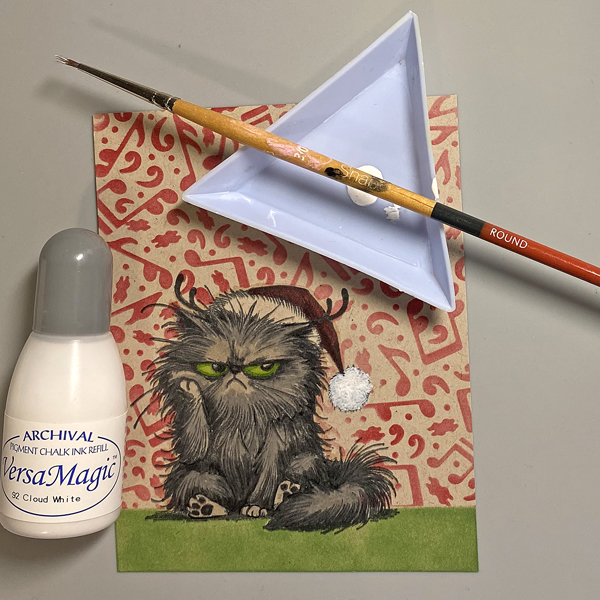
Step 1: Use Tuxedo Black Memento Ink to stamp the Pissy Kitty twice — once onto Kraft cardstock and once onto repositionable sticker paper.
Step 2: Use Copic markers to color the kitty. Use white gel pen to add highlights to his eyes.
Step 3: Fussy-cut the sticker paper version of the kitty and place it over its counterpart as a mask.
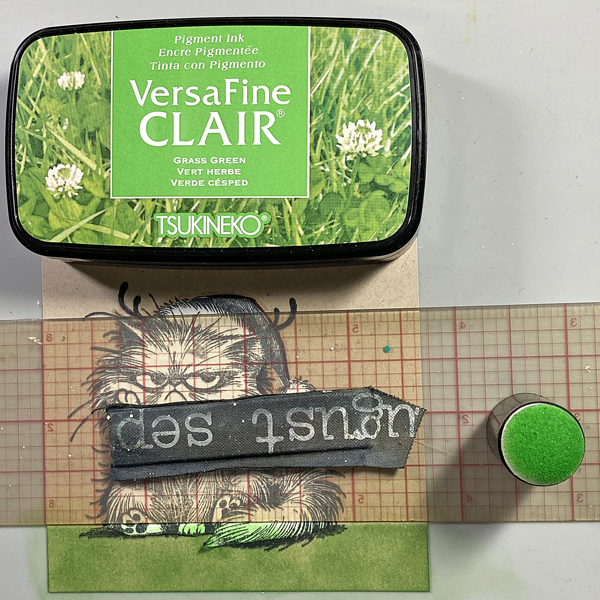
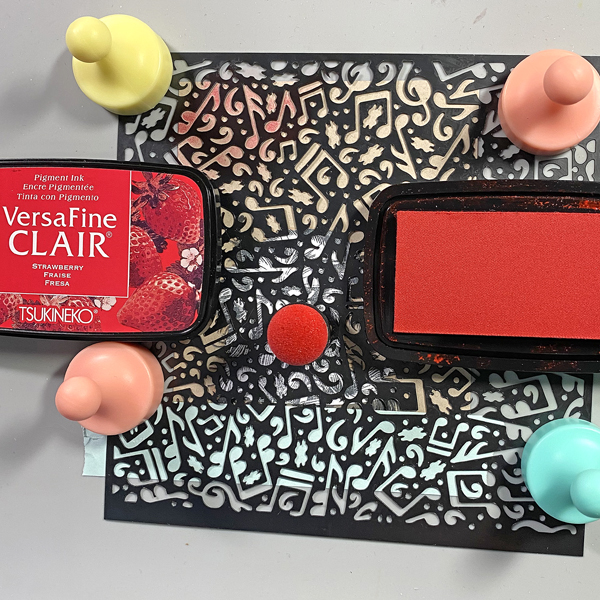
Step 4: Place a ruler horizontally across the image panel, right below the masked cat. Use a Sponge Dauber to apply Grass Green VersaFine Clair Ink over the ruler onto the bottom of the image panel.
Step 5: Use low tack tape to secure the image panel to the back of the Grunge Notes Stencil. Secure the stencil to the craft mat with magnets. Use a Sponge Dauber to apply Strawberry VersaFine Clair Ink over the stencil onto the image panel. Remove the stencil and the masks, edge the panel using both Strawberry and VersaFine Clair Inks, then heat set the image panel.
Step 6: Squeeze a few dollops of Cloud White VersaMagic Ink into a little dish. Use a paint brush to apply white paint to the pom-pom and brim of the Santa hat. Use both Strawberry and VersaFine Clair Inks to edge the image panel.
Steps 7: Cut a 4” x 5.25” panel from Desert Storm Cardstock to create your own patterned background. Use low tack tape to secure the image panel to the back of the Holly Background Stencil. Secure the stencil to the craft mat with magnets.
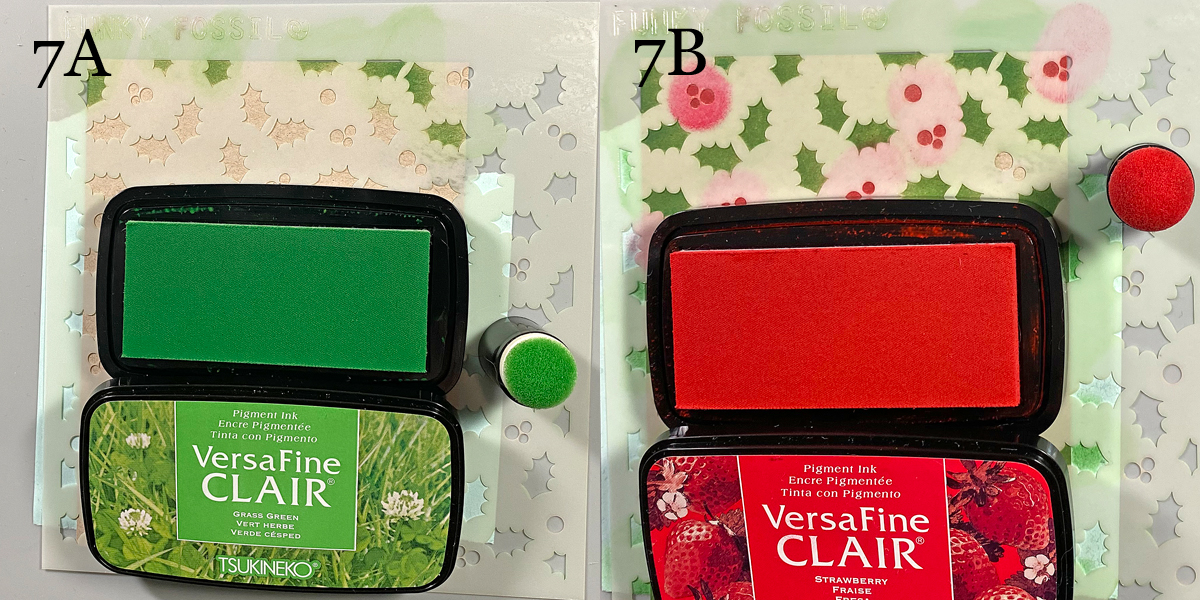
Use a Sponge Dauber to apply Grass Green VersaFine Clair Ink over the holly leaves of the stencil onto the background panel (7A). Use a small brush to apply Green Oasis VersaFine Ink, which is a slightly darker green, to the outside of the holly leaves on the stencil to add a touch of shading (Sorry. No photo).
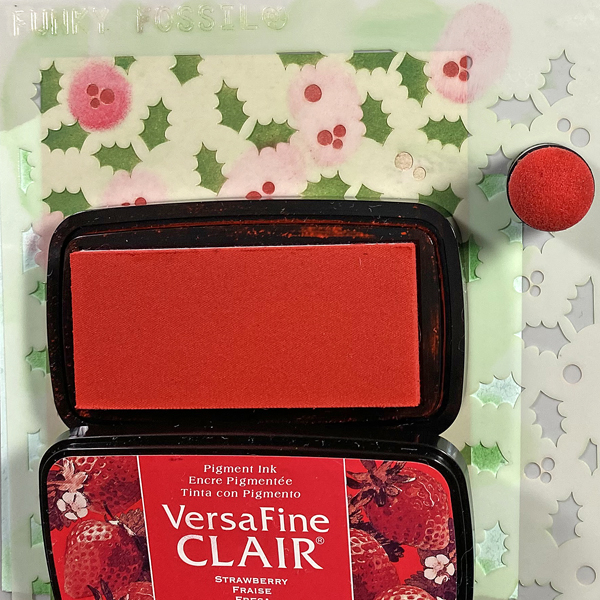
Use a Sponge Dauber to apply Strawberry VersaFine Clair Ink over the stencil’s holly berries onto the background panel (7B). Remove the stencil, edge with Grass Green VersaFine Ink, and heat set.
Step 8: Use Grass Green VersaFine Clair Ink to stamp the “Fa La La” sentiment onto a scrap of Kraft cardstock. Remove the stamped scrap from the stamping platform. Heat set.
Use a speech bubble die to cut the sentiment. Edge the die-cut with Strawberry VersaFine Clair Ink.
Step 9: Use Tear It! Tape to adhere the sentiment, image panel, and background panel to an A2 Kraft card.
I love to color! I am an avid Copic marker fan and adore using watercolor on stamped images. Sometimes I like taking a more liberal rather than literal approach to coloring images. If you do not like to color this is the video and project for you! Find some simple lined floral images and use sponge daubers to daub, rub, smear or pounce color on. Versacolor inks are blendable and provide jut the right dry time to create a smooth finish to your design. I used heat embossing with white MBoss powder on white cardstock so the outline would stand out but not overpower. This created a soft feminine hue to the image. This would also look great in black ink. Give it a try!
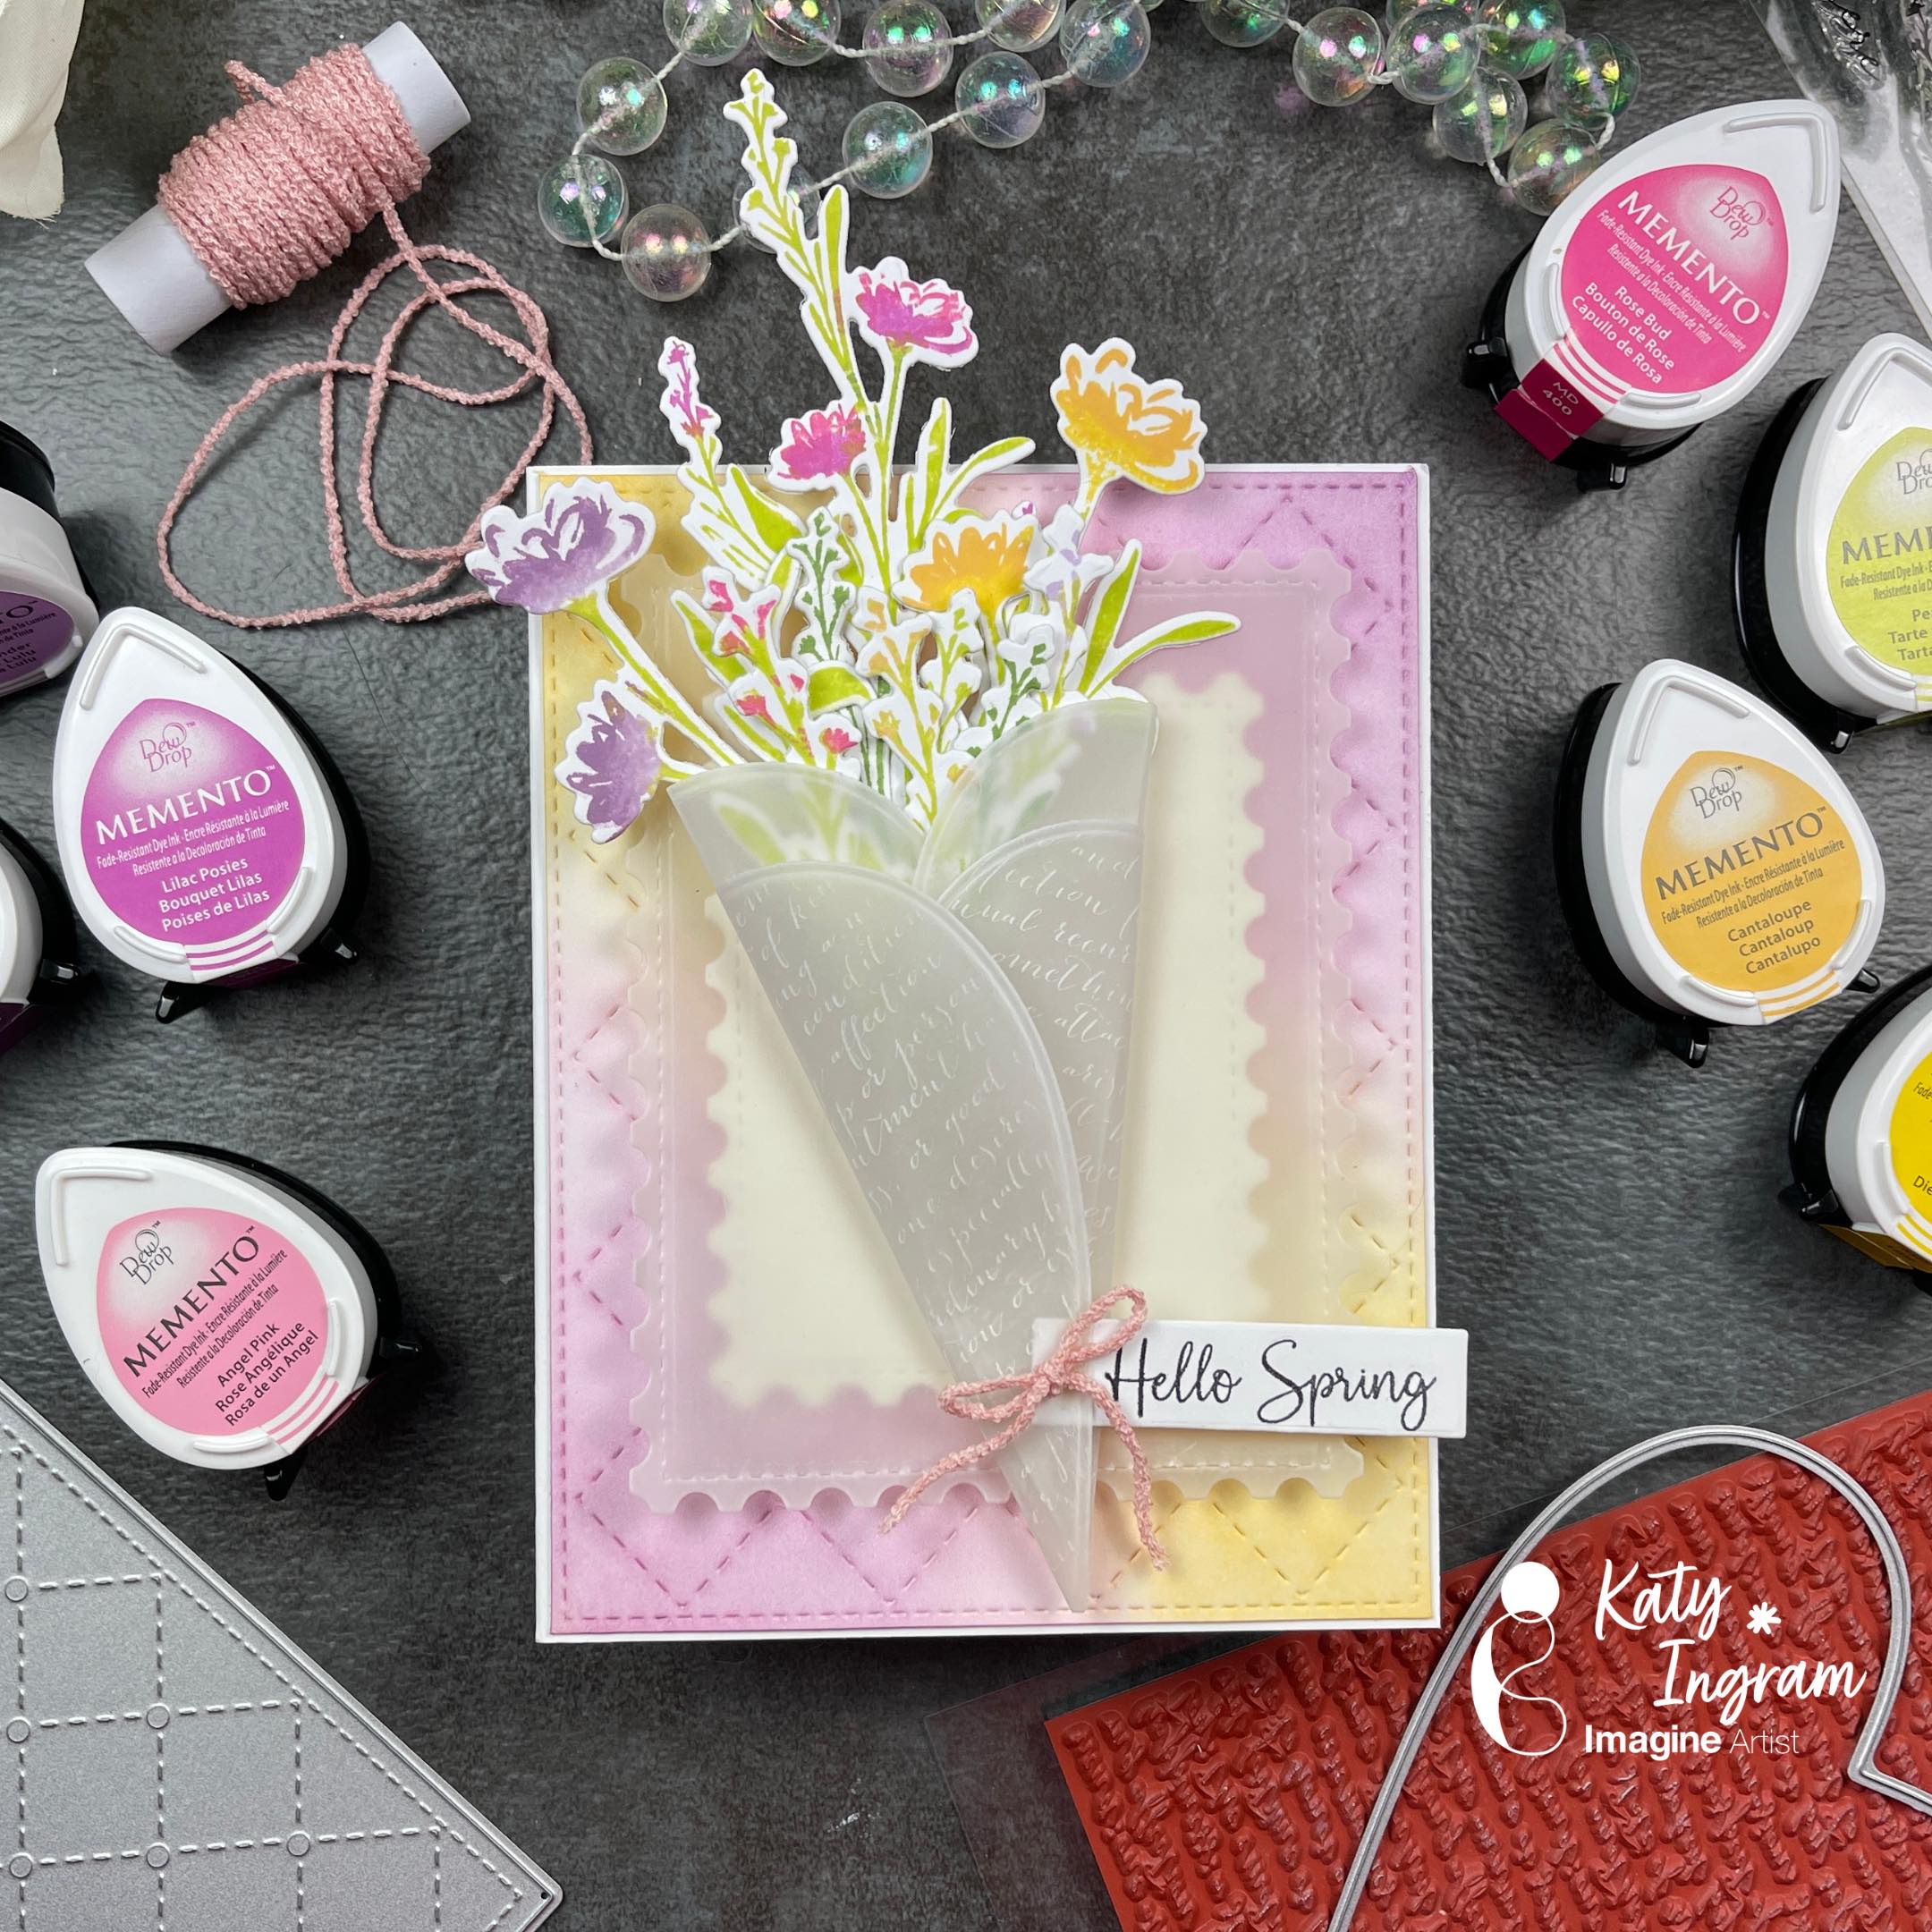
Hello Friends! Katy here and today I am sharing how I used Memento Dew Drop Inks to create a dimensional Spring bouquet.
In todays video tutorial I am sharing how I use the perfectly pointed end of the Memento Dew Drop Inks to layer ink colors on a silhouette stamp. I then die cut them out and create a vellum wrap to go around my bouquet. In the video I also follow up on the Press n Seal barrier that I added to my StazOn Pigment ink pad to see if it keeps it from drying out. It has been about three months since I added the barrier, watch the video below to see if it worked.