By Katy Ingram –
Hello Friends! Katy here and today I am creating place cards for my Thanksgiving table. Now I know some people may not do this, but I have added a bit of a twist to mine. On the inside I have included some encouraging and uplifting sentiments to let my loved ones know I appreciate and love them and that I am thankful and grateful to have them at my table for the holidays. Just a little something to make them smile this holiday season.
In today’s video tutorial you will see how easily these cards came together using some Memento Inks and I also share where my inspiration came from. I also mention these would be great tombstones for Halloween!
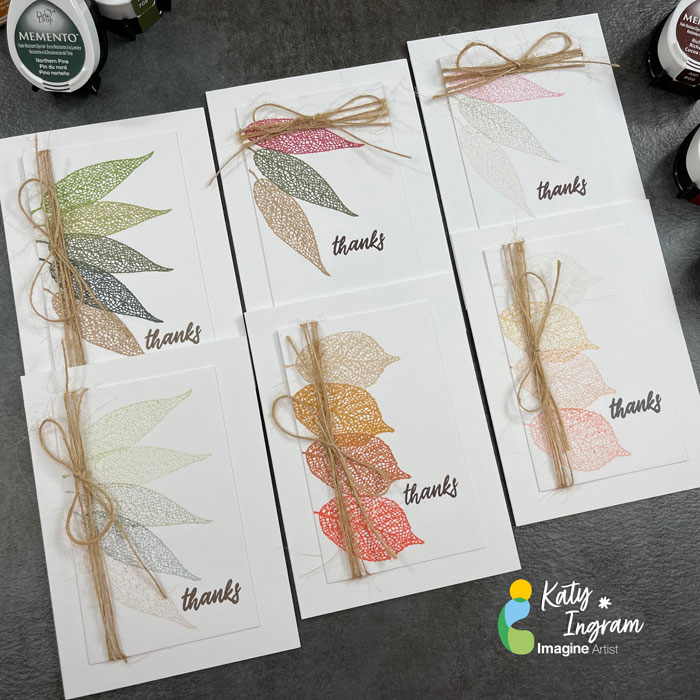
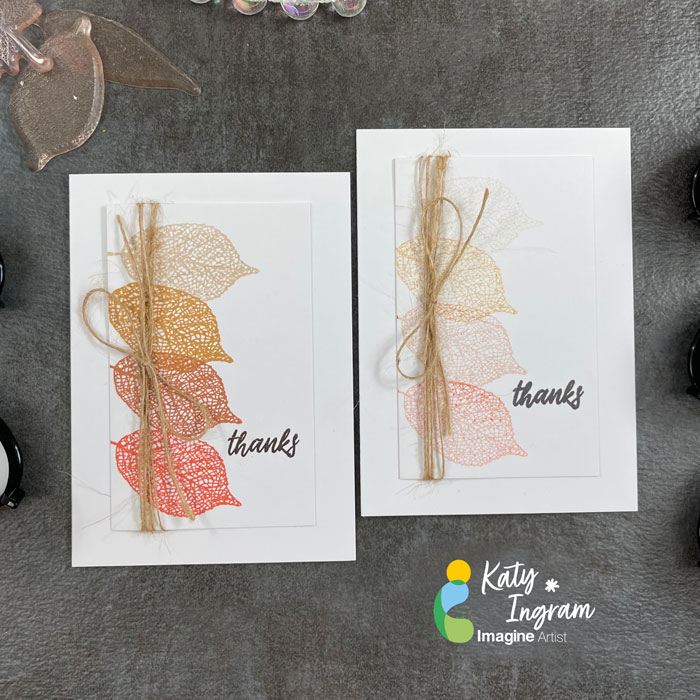
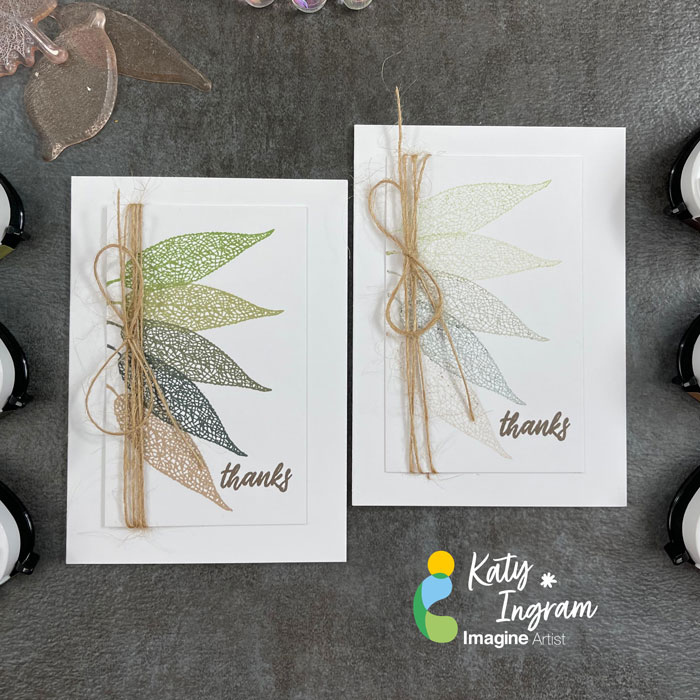
I cut a piece of heavyweight white card stock 2 3/4 inches wide by 8 inches long and scored at 4 inches and then used the number 8 arch die within the Spellbinders Essential Arches layering dies.
To create the card simply fold the card at the score line and place the arch of the die a bit above that folded line so the die is off the top of the card stock and then run it through your die cutting machine.
The video below has all the details. I hope you enjoy and are inspired to add some inspirational place cards at your table this holiday season.
Skill: Beginner, Intermediate, Advanced
Time: 10 minutes


Art Supplies:
Imagine:
– Northern Pine
– Peanut Brittle
– Rhubarb Stalk
– Angel Pink
– Sweet Plum
– Elderberry
– Cantaloupe
– New Sprout
Other Products Used
• Spellbinders Essential Arches Die Set
• The Greenery Color Spots Stencil Set
• The Greenery Lovely Silhouettes Stamp Set
• Concord & 9th Perfectly Penned Stamp Set
• Blending Brushes
Other Products Used:
Follow Katy Here:
Youtube: https://youtube.com/c/eastwickspaperandink
facebook: fb.me/eastwickspaper