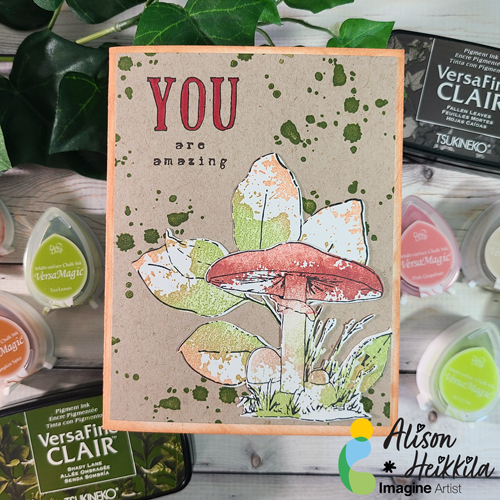
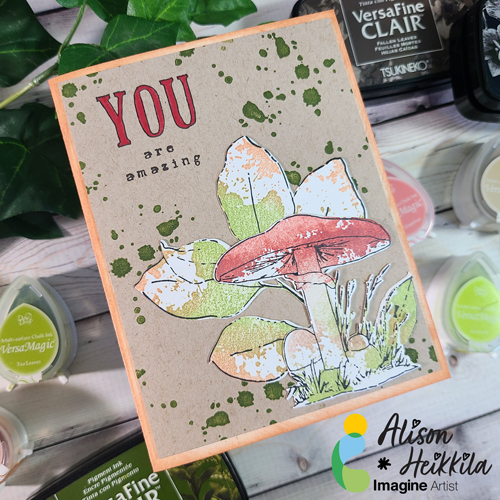
By Jessica Lin
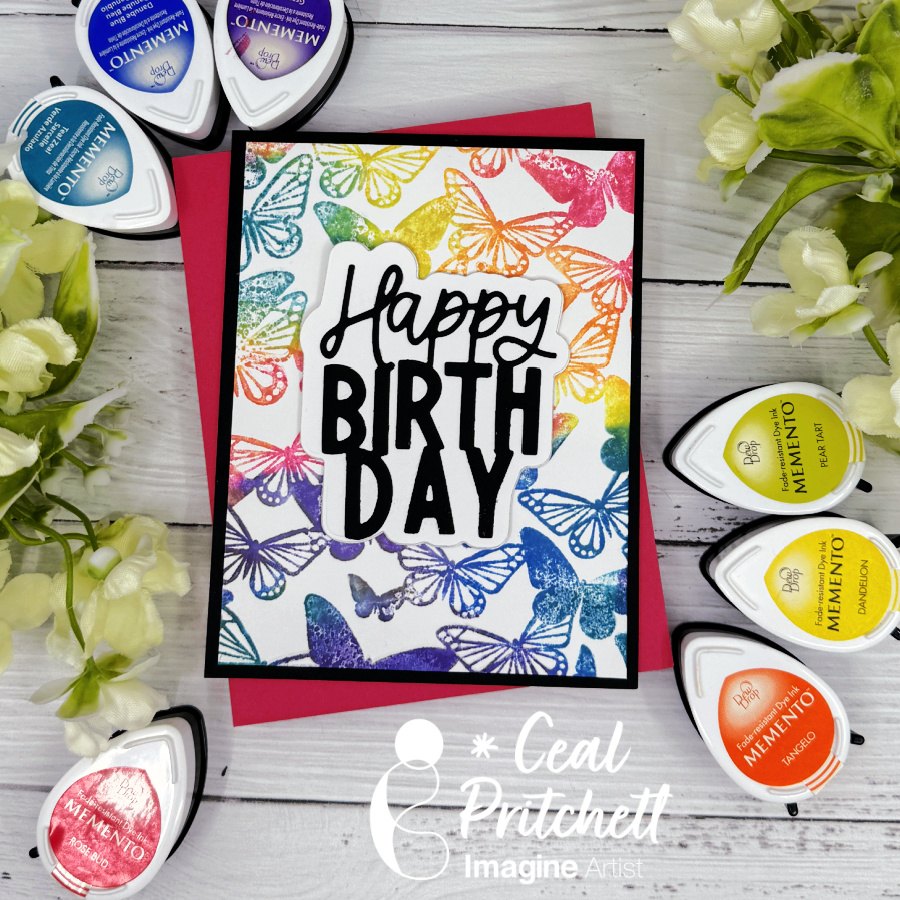
Have you ever tried inking stamps with markers instead of ink pads? It has been a long time since I used this technique, so I decided to revisit it again today. To blend the colors and achieve a watercolor look, you can spritz on the stamp before stamping. I love the result and I hope you do, too!
Skill: Intermediate
Time: 45 minutes

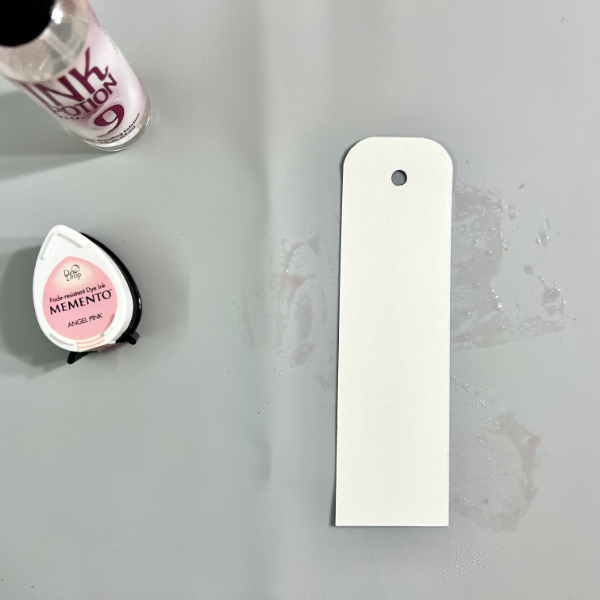
Step 1:
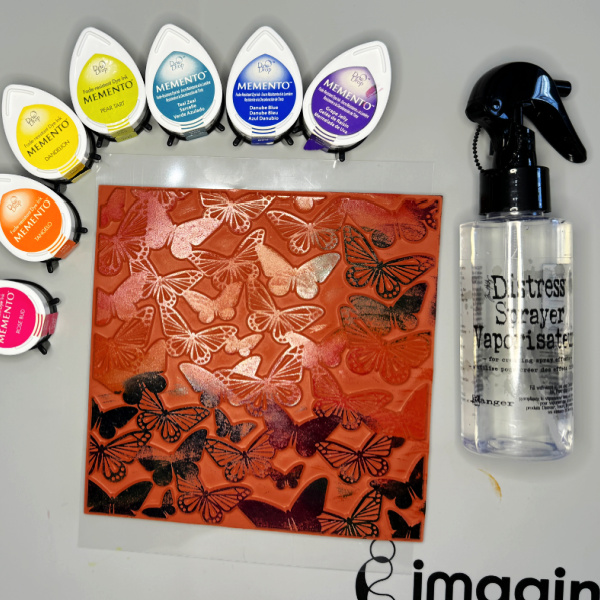
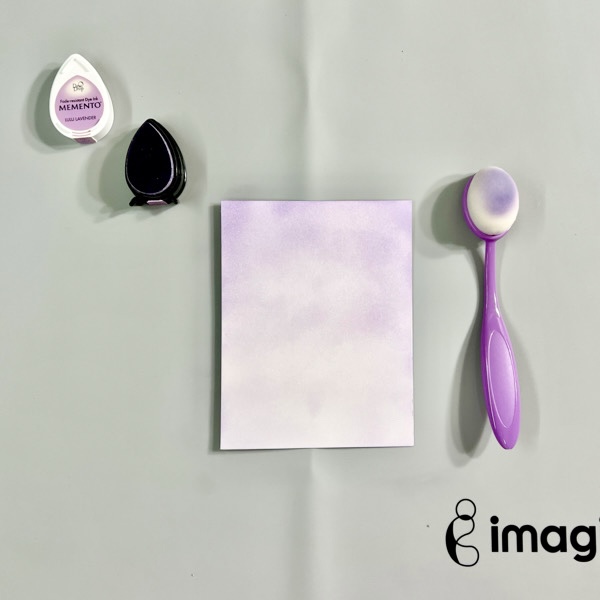
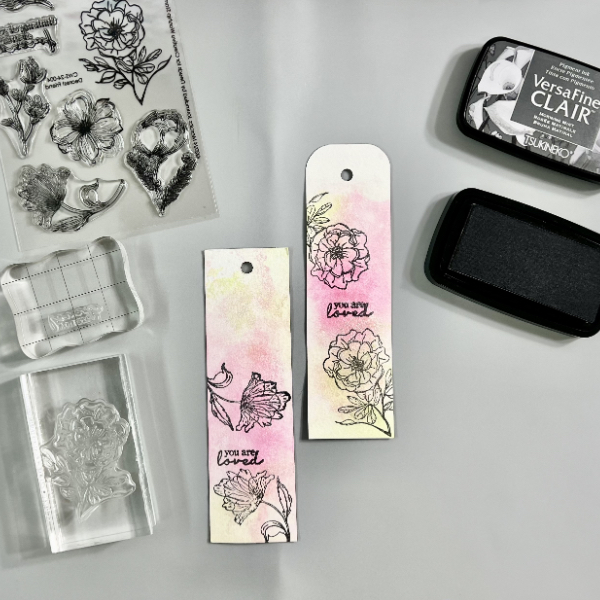
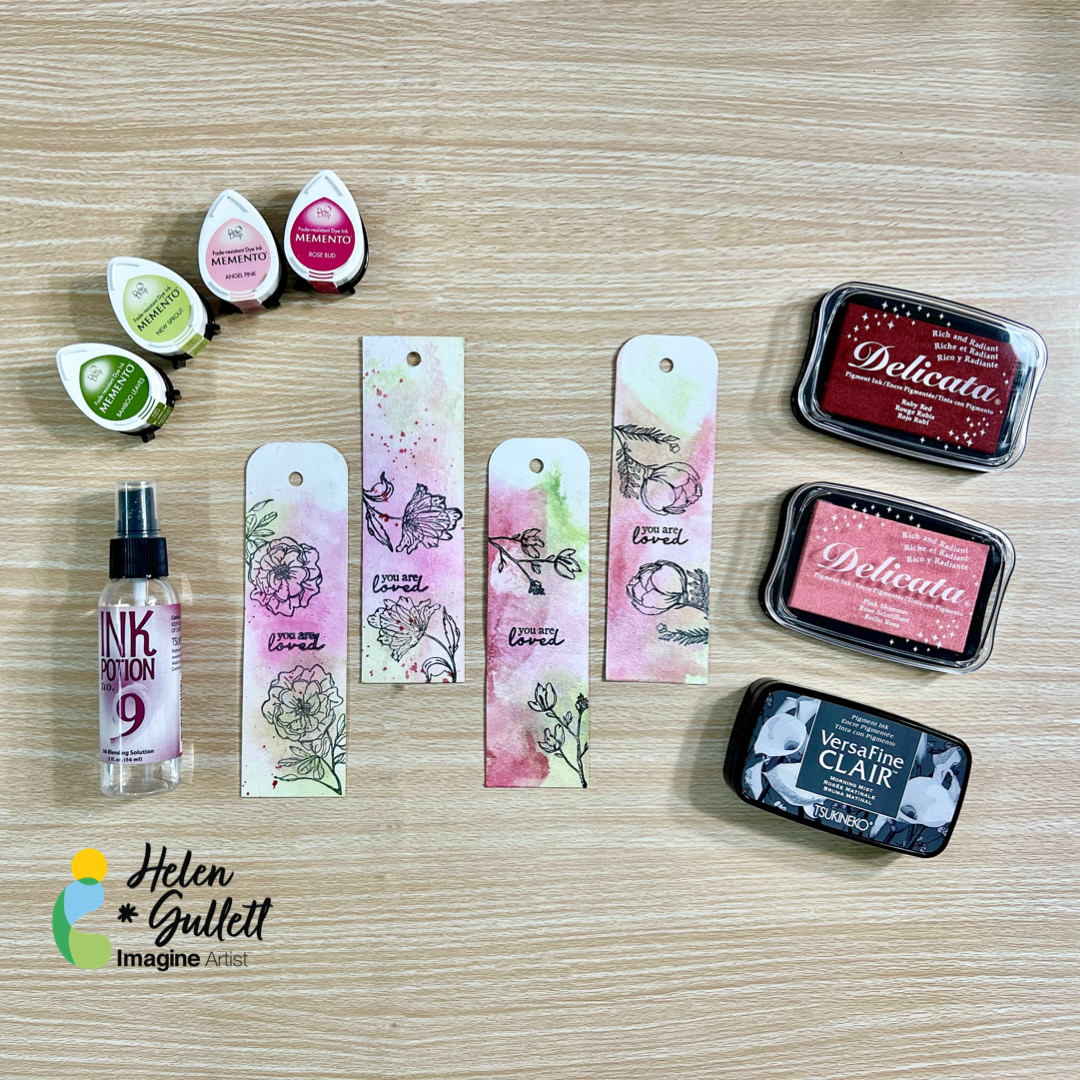
Color the stamps with Memento markers (tip: use the broader tip of the marker to easily cover a large area). I used three sets of colors today: Green House, Juicy Purples, and the light pink marker from Girl’s Night Out. The floral stamp is from Stampin’ Up!’s Good Morning Magnolia set. It’s a red rubber stamp and the colors may not be fully visible after you color, so I would recommend starting with the lighter shades and adding the bolder colors afterwards.

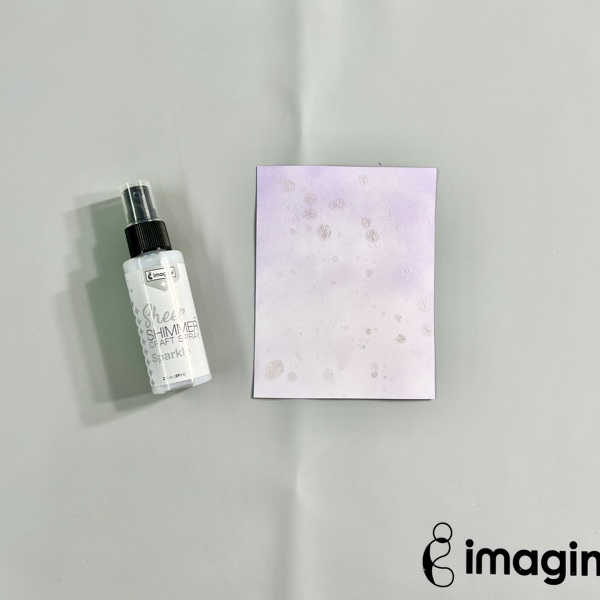
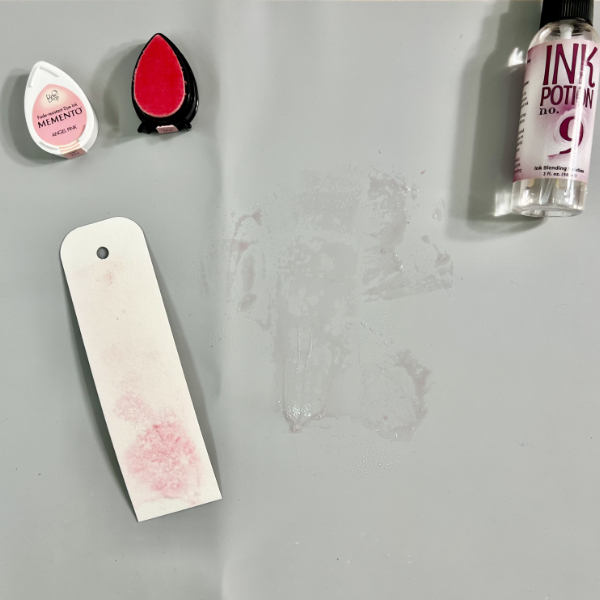
Step 2:
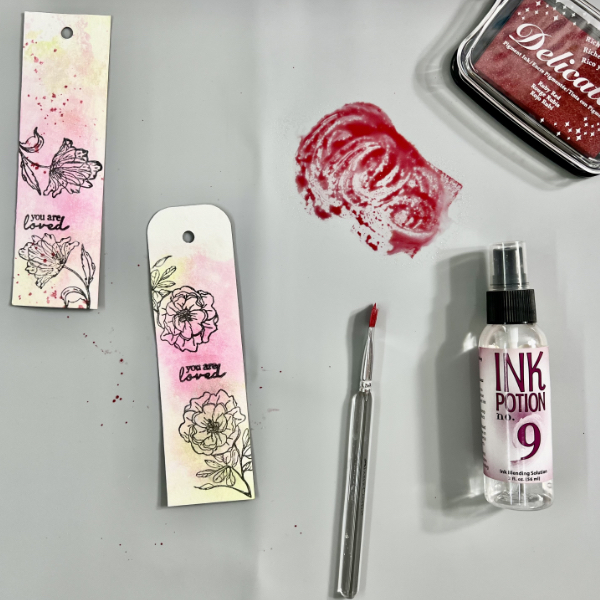
Spritze Sheer Shimmer Sparkle spray onto the stamp before stamping onto your card. This would blend the colors together to create a watercolor look.

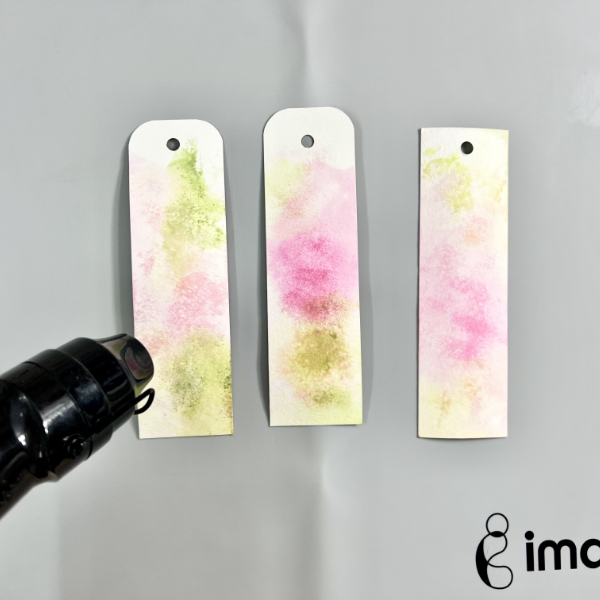
Step 3:
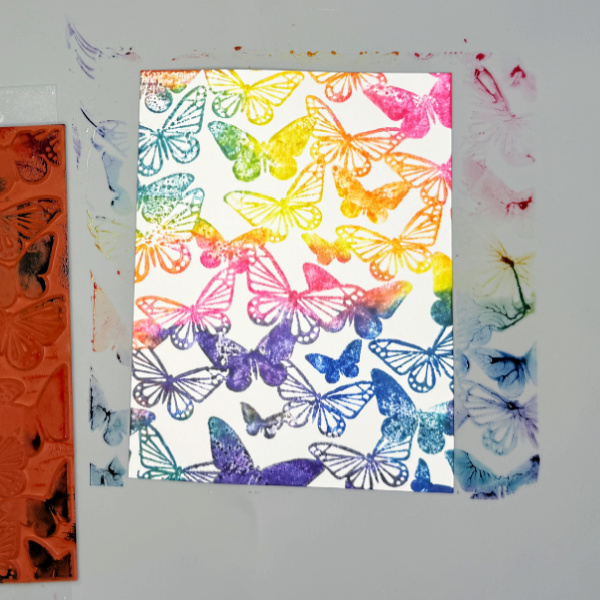
Stamp onto the card. For the flower image, I may have used too much purple so it’s harder to see the transition from purple to pink. The leaves turned out perfectly; I really like the faux watercolor effect.

Step 4:
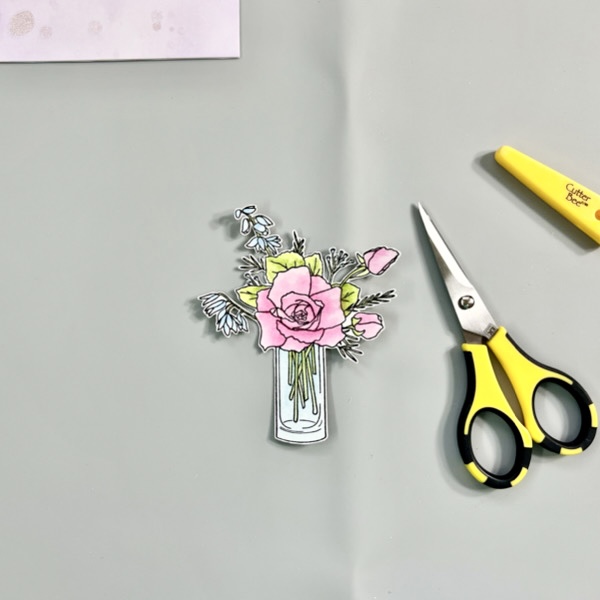
Use a pair of paper snips to cut along the edge of the magnolia flower. I then added a piece of Fresh Freesia cardstock to the inside of the card. The Fresh Freesia cardstock peeks through the bottom cutout edge and complements purple flower nicely.

Step 5:
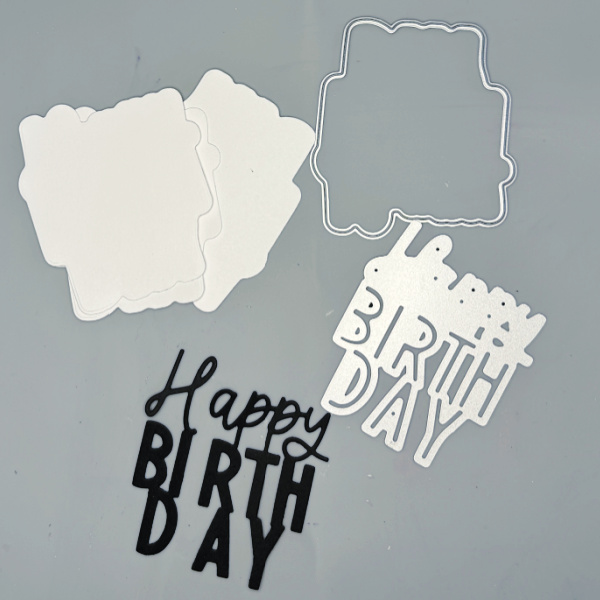
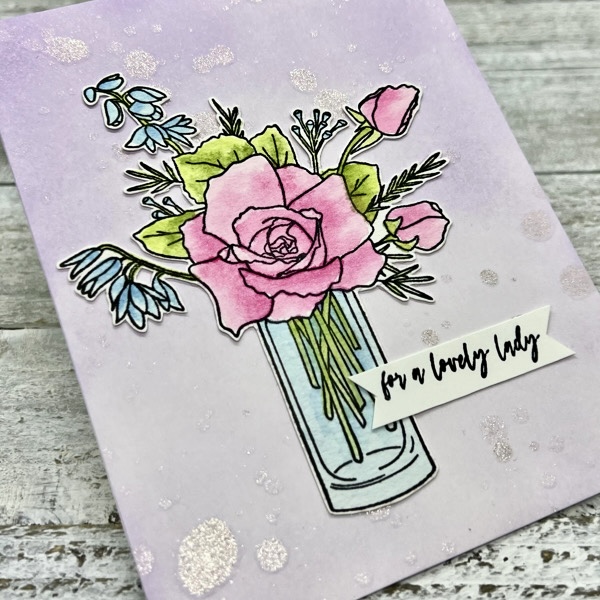
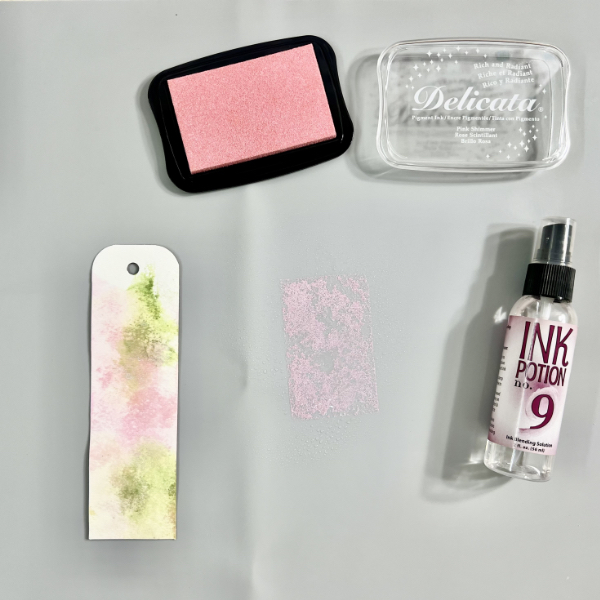
Stamp a “Happy Mother’s Day” sentiment with Brilliance Purple pigment ink. I also die cut a vellum decorative strip to embellish the simple sentiment but it’s totally optional. And that completes the card! I hope you enjoy this simple technique and would give these Memento markers a try!
Products Used:
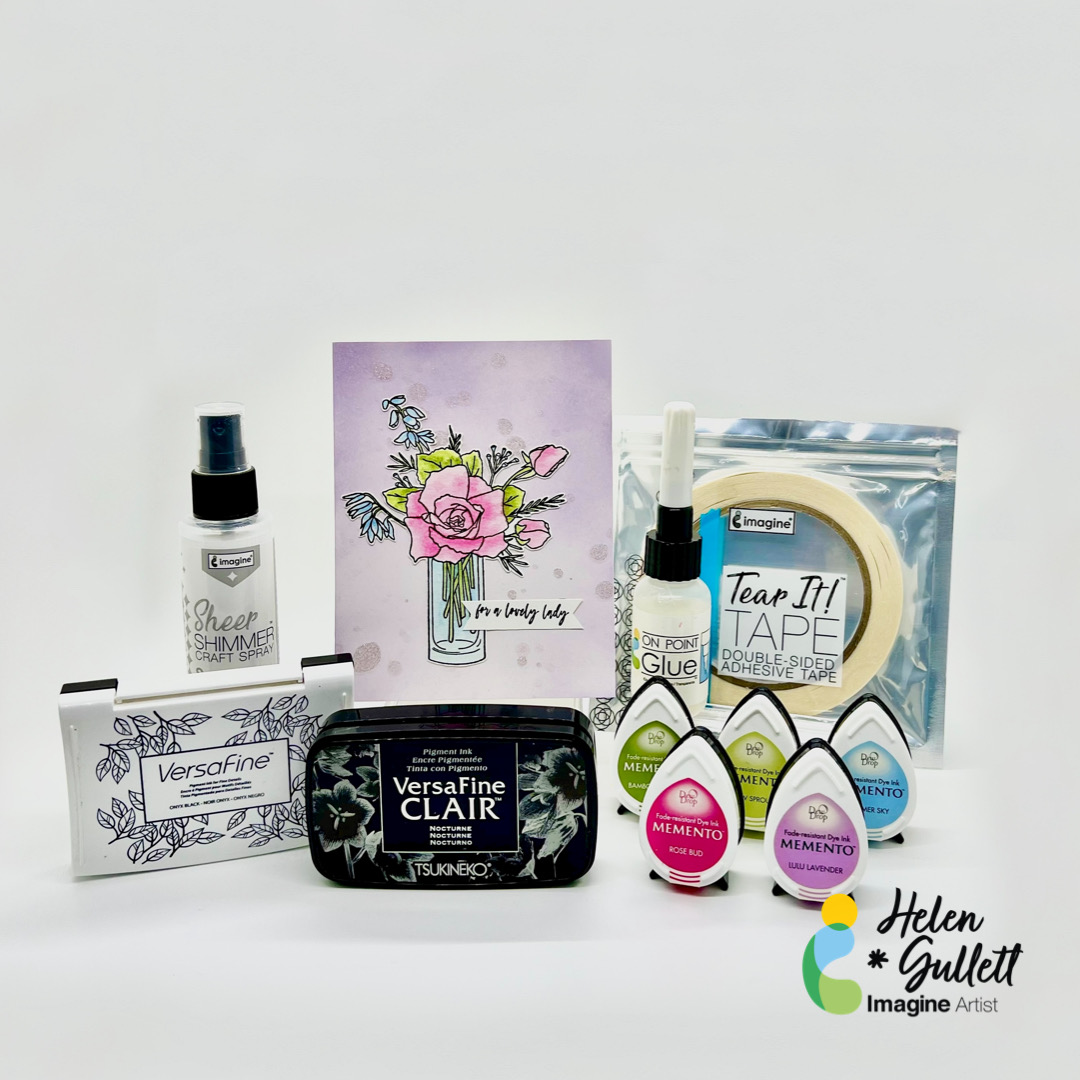
Imagine Supplies:
- Memento Marker set – Green House, Juicy Purples, Girl’s Night Out
- Sheer Shimmer Craft Spray – Sparkle
- Brilliance ink pad – Purple
- Tear-It! Tape
- StazOn Cleaner
- Craft Mat
Other Supplies:
- Stampin’ Up! – Stamps and Dies – Good Morning Magnolia bundle
- https://jessiehandmade657.blogspot.com/2024/02/my-crafty-shop.html
- We R – Tool – Precision Press
- Stampin’ Up! – Tool – Paper Snips
- Stampin’ Up! – Paper – Fresh Freesia