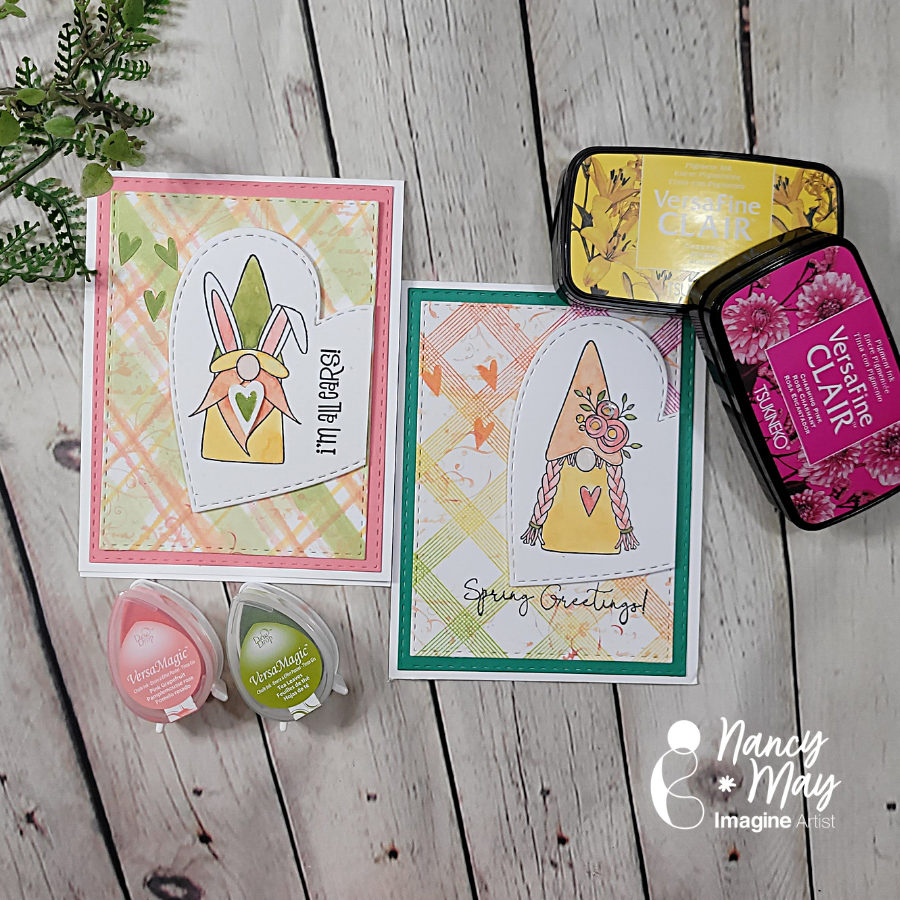
Hey y’all. We are going to make two very different fun, bright Spring plaid backgrounds. One is very controlled, precise, and clean, stamped in VersaFine Clair inks with a fun color gradient; the other is much looser and more organic, hand painted with VersaColor inks for a more painterly look.
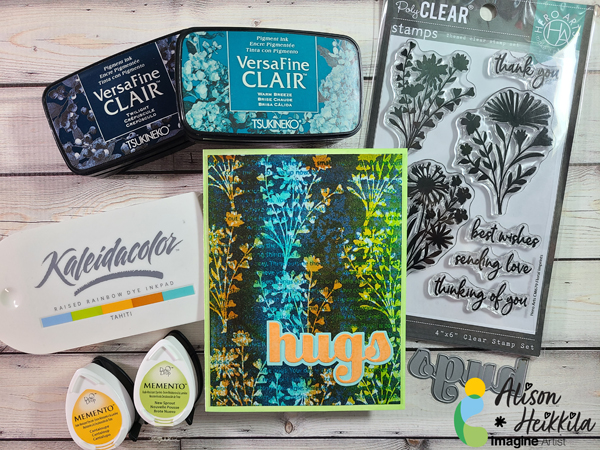
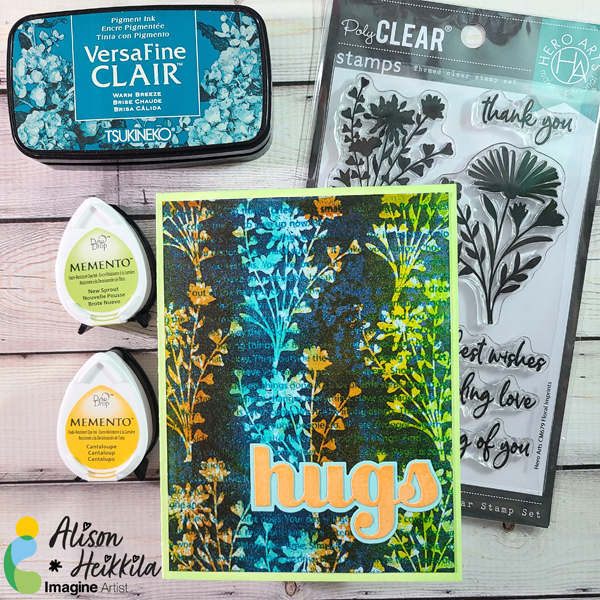
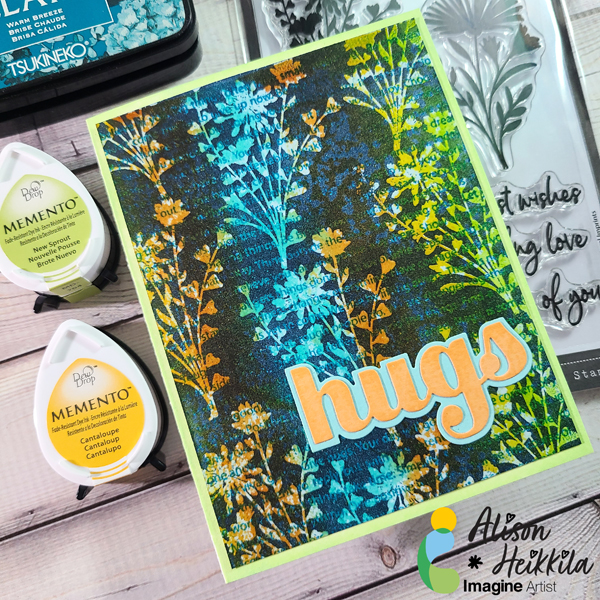
Hello! I have a new tutorial for Imagine today and it uses some of my favorite types of inks: Kaleidacolor and VersaFine Clair. I’m going to show you how to use bold silhouette stamps, along with a detail stamp to get a unique “trapped rainbow” effect.
*Some affiliate links are used in this post. That means that if you shop through these links, I may receive a small compensation, at no cost to you.For more information, please see my Affiliates page, where I also have some coupon codes.
Difficulty: Intermediate Time to Complete: Approx. 45-60 Minutes
Step 1:
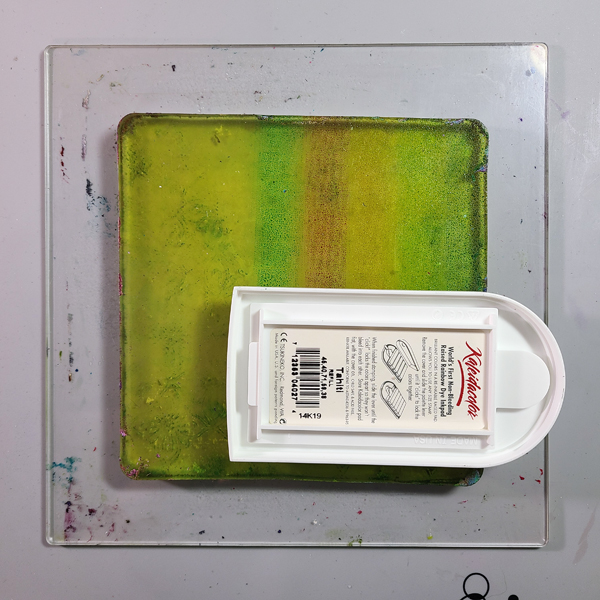
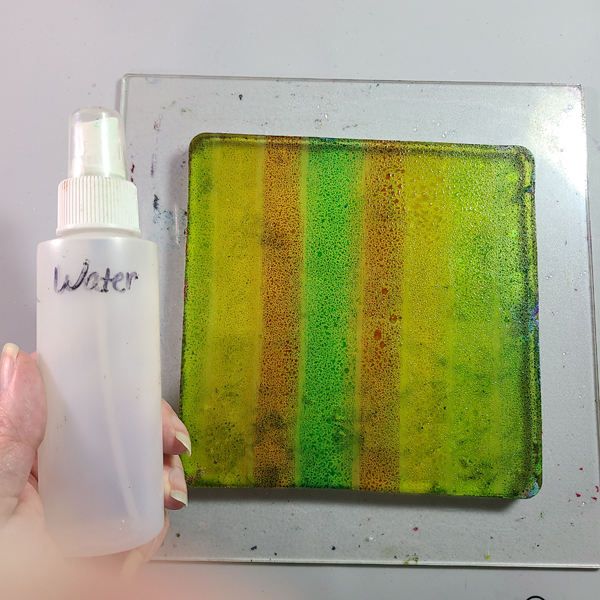
Apply Tahiti Kaleidacolor Ink to a 6×6 Gel Press Plate. Gently tap the color. You don’t need much.
Pro Tip: The Kaleidacolor Inks do not need to be clicked together. The pad does not reach across the entire surface, and the little area for your finger to click the colors together can get in the way of inking the Plate. I have mine hang over the edge, as seen above, then I flip the pad around to the other side of the Plate to finish inking it.
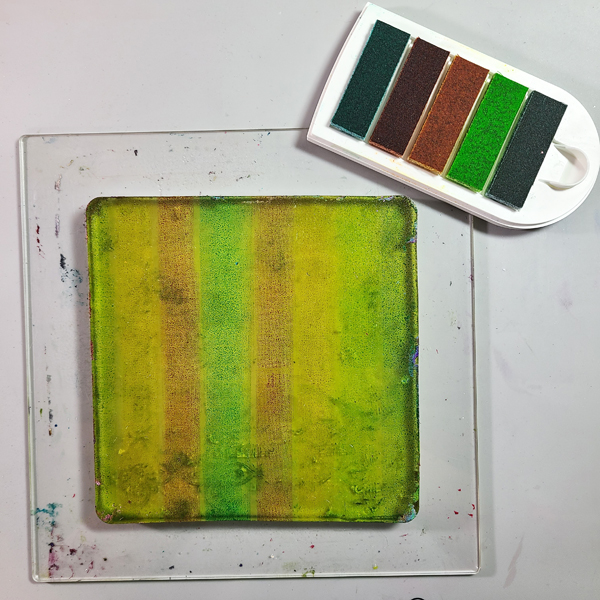
Your Gel Press Plate will look like this when you are done inking.
Step 2:
Spray the Plate lightly with water.
Step 3:
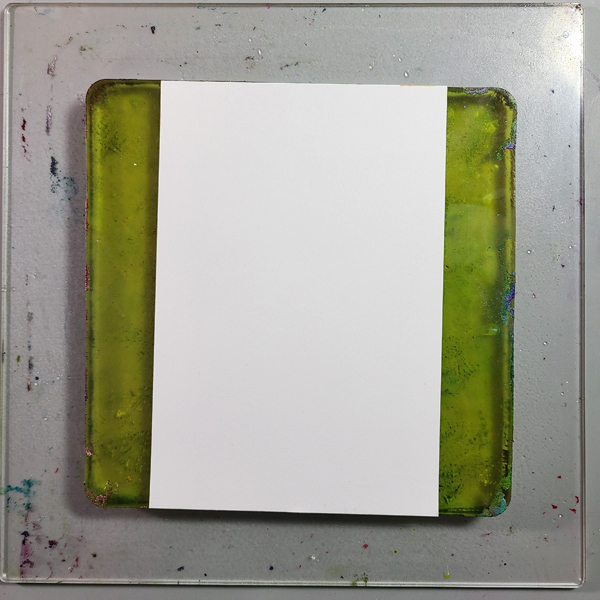
Lay a piece of cardstock on to the Plate. Gently rub your hand across the back of the cardstock. If you are worried about getting ink on your hands, cover the whole plate with a piece of copy paper and rub.
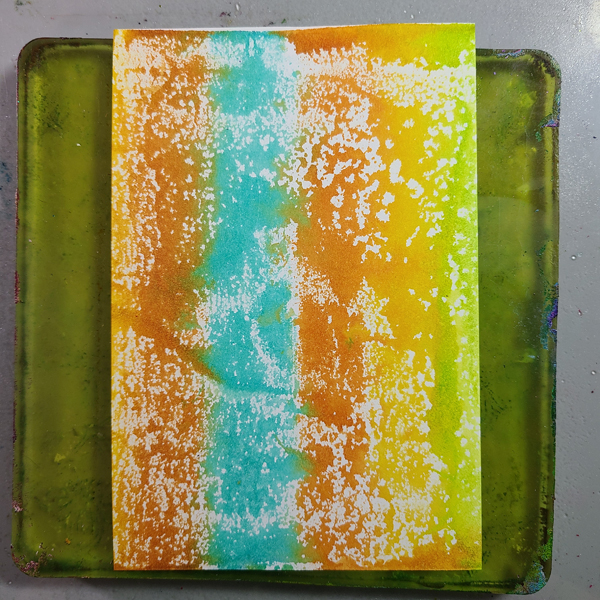
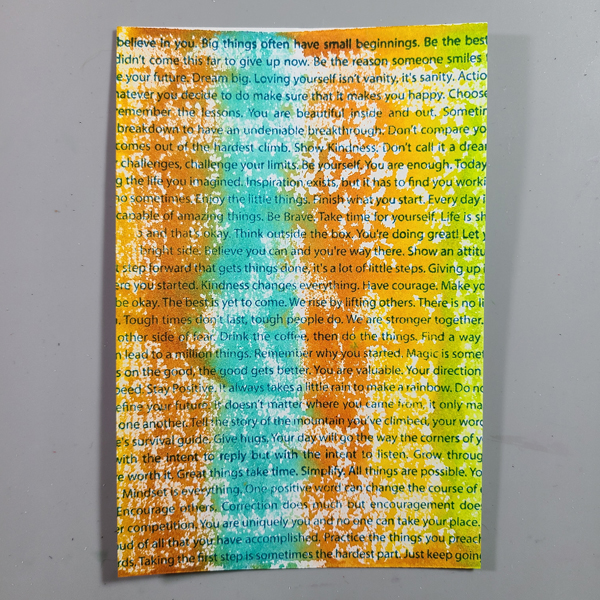
This is what the monoprint, or “pull” will look like. I love the bits of white showing…it makes it look grungy.
Step 4:
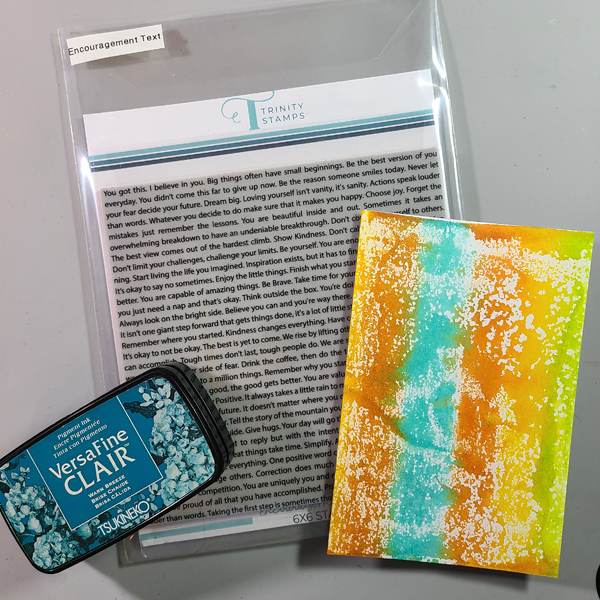
Let’s add some more interest by stamping a large text stamp on to our background. I inked this stamp up with Warm Breeze. Don’t worry about what the stamp says, you won’t be able to read much of it when we’re finished.
Step 5:
Dry the panel completely with a heat tool or embossing gun. VersaFine Clair ink stays wet for a long time, and we don’t want embossing powder to stick anywhere just yet.
Step 6:
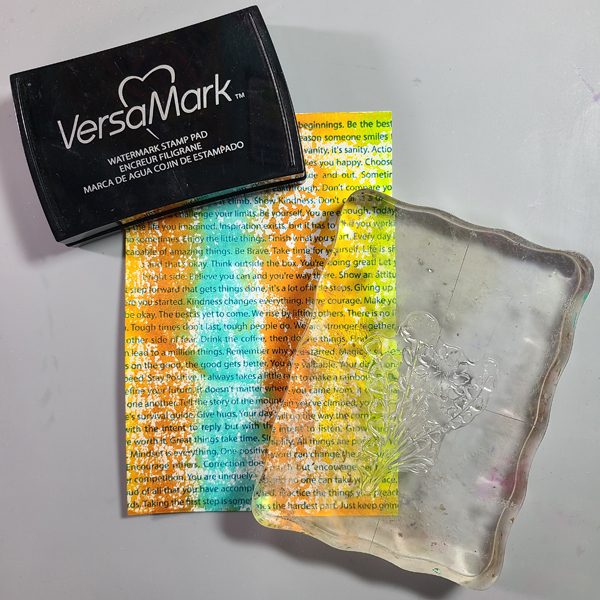
Apply your silhouette stamp to an acrylic block. Stamp it all over the panel, without overlapping the images. It will be hard to see, so if you are having trouble, go back and forth between this step and the next.
Step 7:
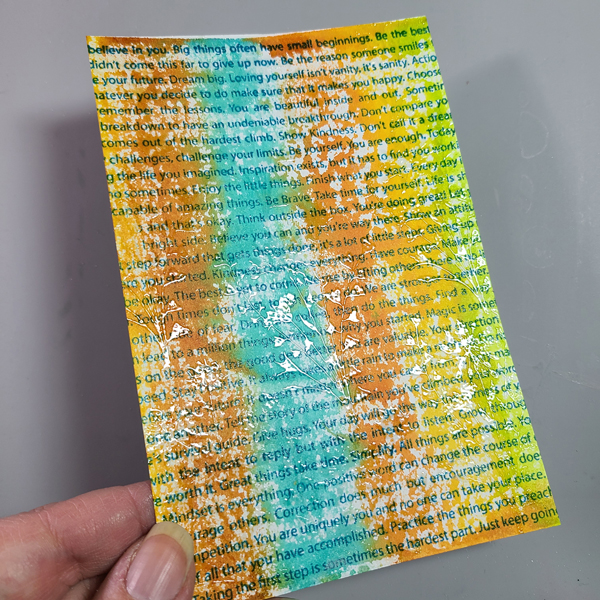
Sprinkle Clear Embossing Powder on to the stamped images and heat set.
You can see some of the shine from the embossed florals above. Don’t worry, with the next step, they will be much easier to see.
Step 8:
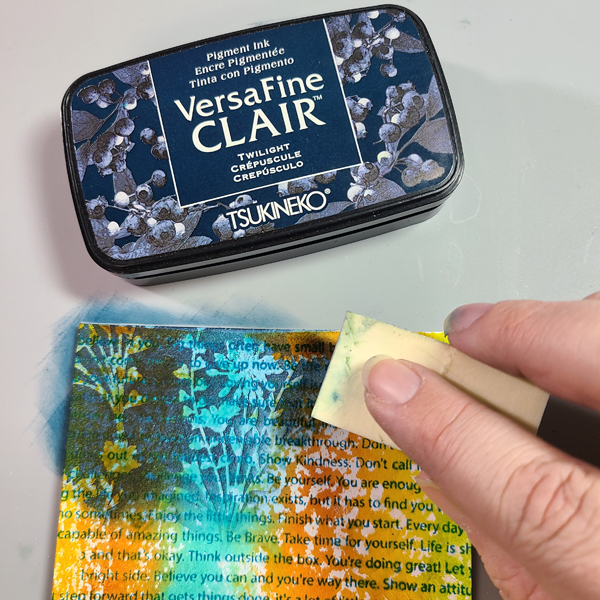
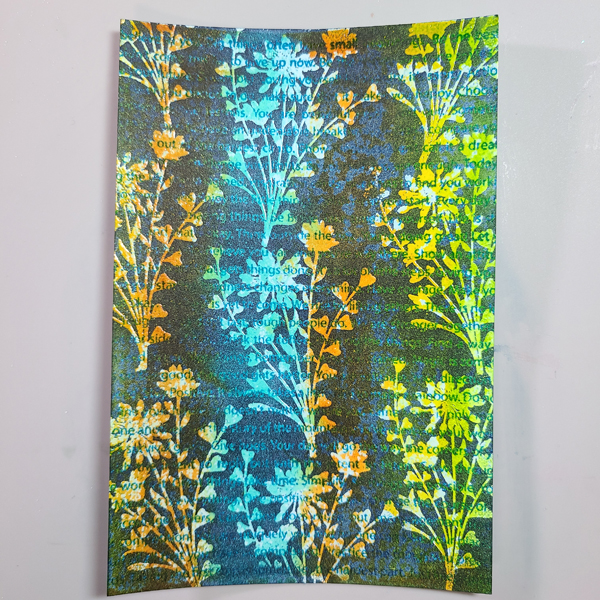
Using a cosmetic sponge (which gives a nice heavy application), apply Twilight Ink across the entire panel. You will see that the areas that have been embossed will resist the ink.
Step 9:
When you are done inking the panel, buff off the excess with a dry cloth or paper towel. Trim the panel down to 4″ x 5 1/4.”
Step 10:
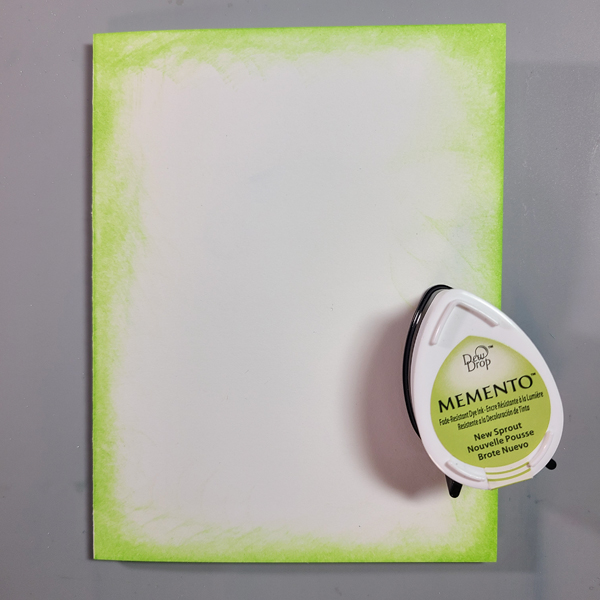
Apply New Sprout ink to your white card base, just around the perimeter.
Step 11:
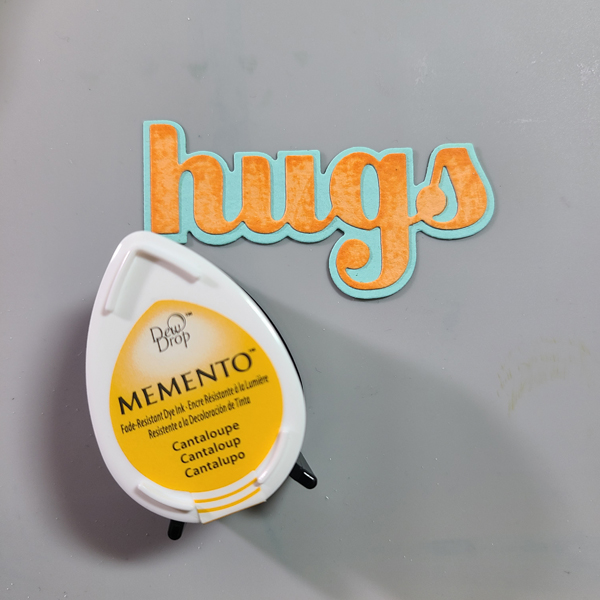
Die cut your sentiment. To grunge it up a bit, lightly apply Cantaloupe Ink to the top layer, which will bring out the texture in the cardstock.
You can of course change up the colors however you like! Kaleidacolor Inks come in a wide range of palettes. I hope you will try this technique for yourself. Thanks so much f stopping by. Have an inspiring day!
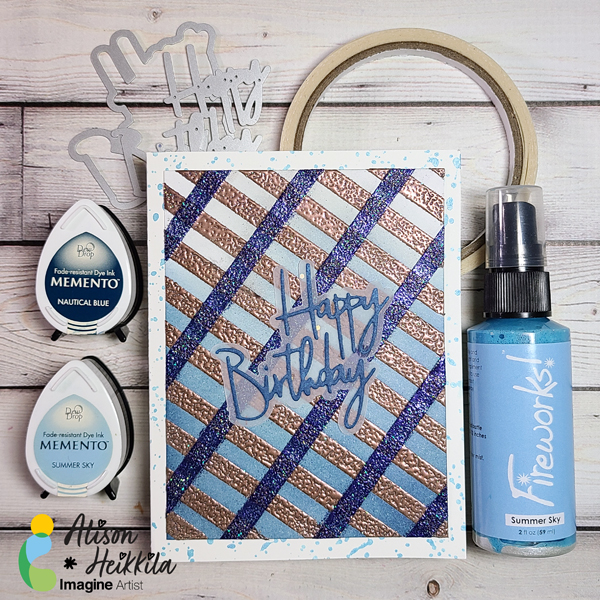
Greetings! One of my favorite products from Imagine is Tear It Tape. That may be surprising, considering all of the fantastic inks and colors they offer. But, Tear It! Tape is an exceptional adhesive that has some cool properties you may not be aware of, namely the fact that it is heat safe. That means you can emboss right on top of it, so I decided to make a plaid, embossed background using it. This doesn’t take too long, but you do need to be precise, which is something I don’t normally try to be when I’m crafting.
*Some affiliate links are used in this post. That means that if you shop through these links, I may receive a small compensation, at no cost to you.For more information, please see my Affiliates page, where I also have some coupon codes.
Time to Complete: Approx. 30-45 Minutes Skill Level: Intermediate to Difficult
Step 1: Lay your Craft Mat with the grid side up. It’s going to be necessary to use it to not only make sure our lines are straight, but also evenly spaced.
Step 2: Lay your cardstock at an angle on the grid. The angle doesn’t really matter.
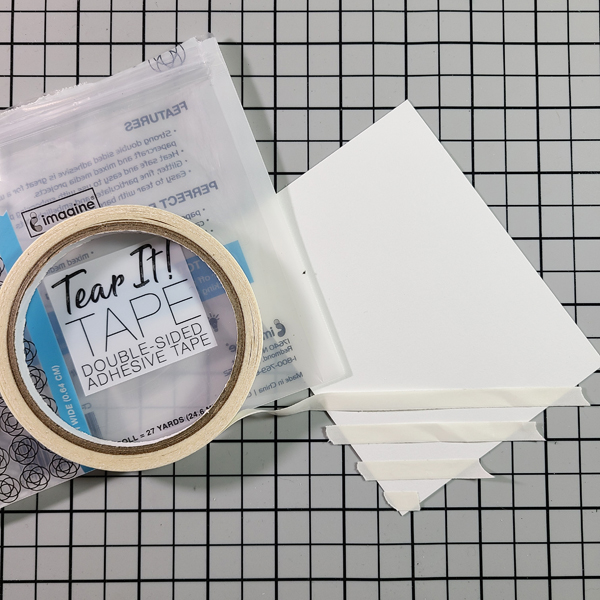
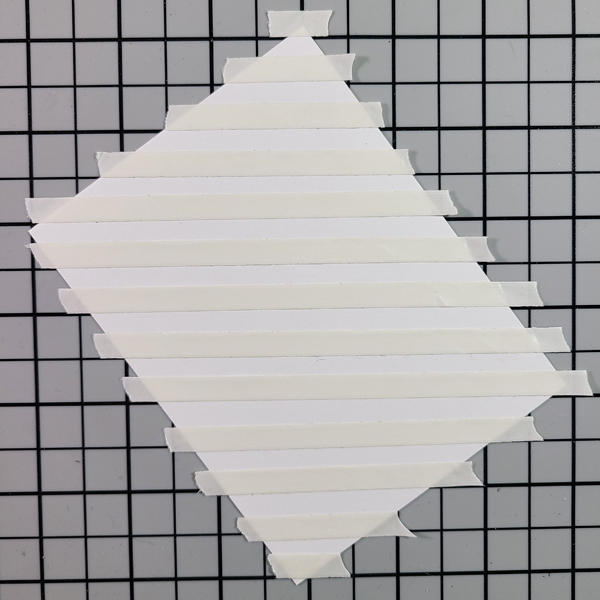
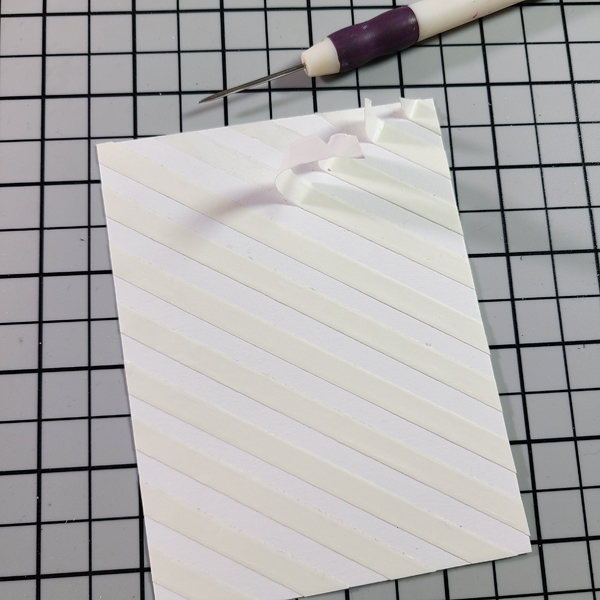
Step 3: Apply a strip of Tear It! Tape at every horizontal grid line. I placed mine above the line consistently.
The panel will look like this when you’re done.
Step 4: Cut off the excess ends to make the tape flush with the edge of the panel.
Step 5: Begin to partially remove the release paper from the Tear It! Tape. I found it to be easier to only pull it off part of the way, so that I could still move the card around without getting my fingers on the sticky tape. When you finish lifting a bit of each strip, finish pulling off the release paper.
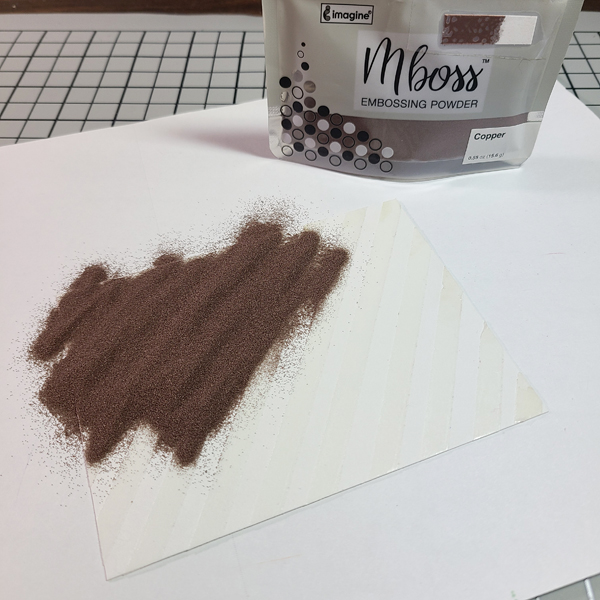
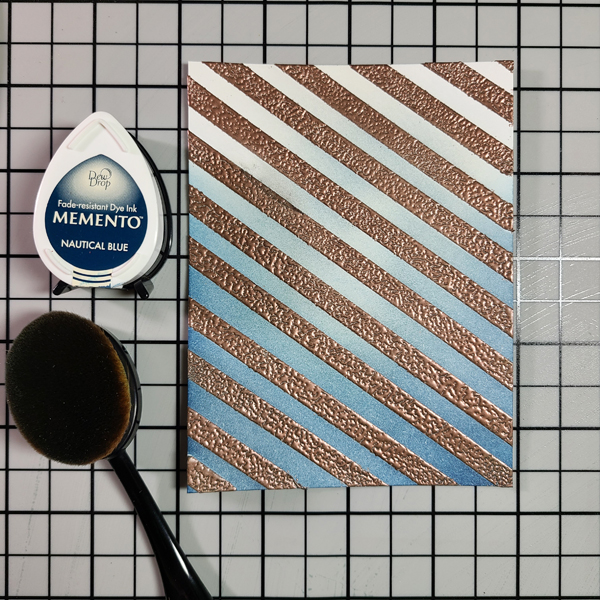
Step 6: Pour Copper MBoss embossing powder on to the panel. I put a piece of copy paper underneath so that I can pour the excess back into the bag. I recommend rubbing your finger across the panel to ensure good coverage of the powder.
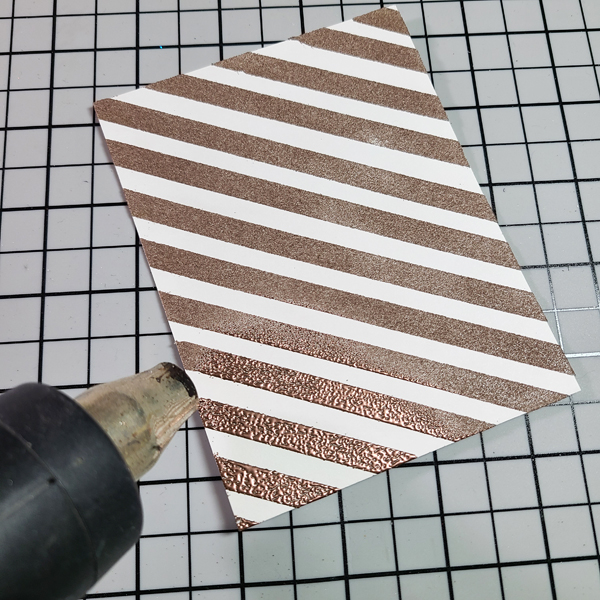
Step 7: Shake off the excess powder on to the copy paper, and heat set the powder that’s on the panel.
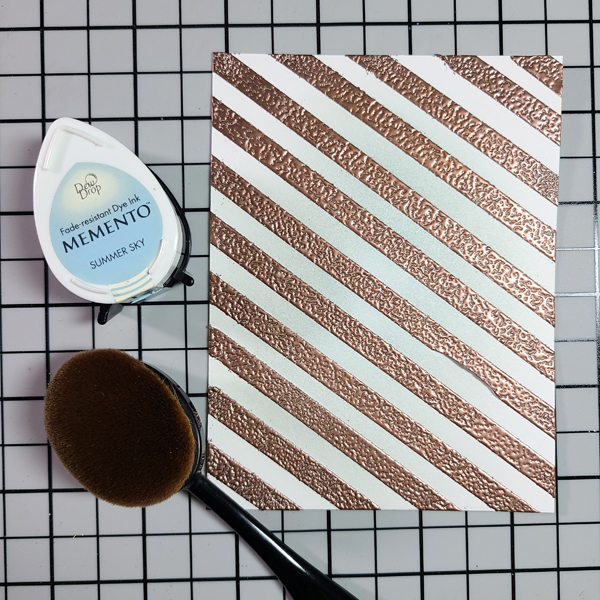
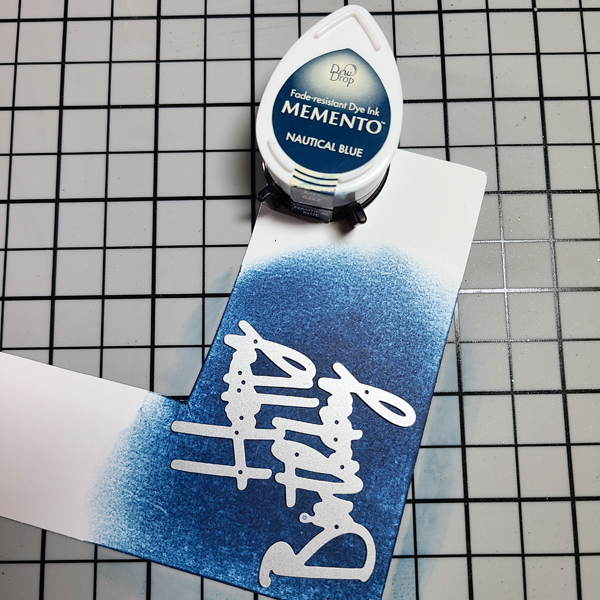
Step 8: Begin applying Summer Sky Memento Ink in the middle of the card panel using the applicator of your choice. Admittedly, my brush wasn’t thoroughly clean, so my inking doesn’t look exactly like the ink color.
Step 9: Apply Nautical Blue Memento around the Summer Sky Ink, in a “U” shape.
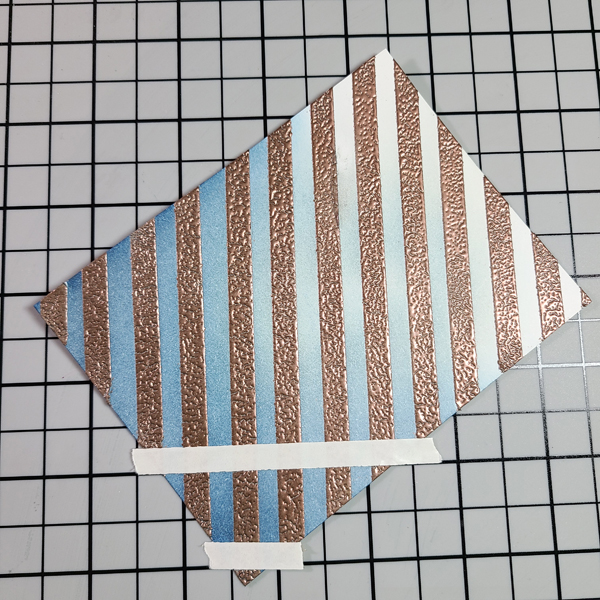
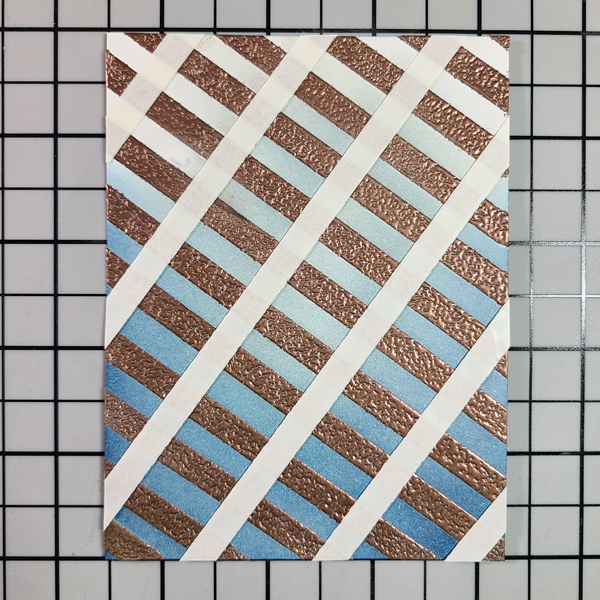
Step 10: Lay the inked panel back on to the grid at a different angle from before and begin laying down more Tear It! Tape. This time, I only applied the tape where the lines were bold, so every inch.
When done applying the tape, this is what the panel should look like.
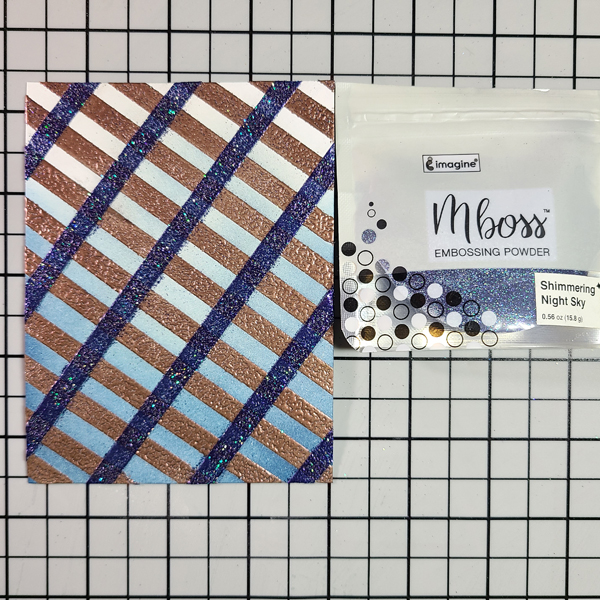
Step 11: Remove the release paper, sprinkle on Shimmering Night Sky MBoss, shake off the excess, and heat set.
Pro Tip: You may be wondering why we didn’t ink the panel after the second layer of MBoss was applied, instead of before. The Shimmering Night Sky powder has glitter in it, which could cause some drag or pulling on your ink applicators when you blend the ink. To avoid that, inking before applying a sparkly powder is advised. The Copper powder is metallic, so there’s no drag, and excess ink can be buffed away with a cloth or paper towel.
Step 12: To make perfectly coordinated cardstock for your sentiment, ink up a piece of white with Nautical Blue. Die cut the sentiment. Cut the shadow layer from vellum.
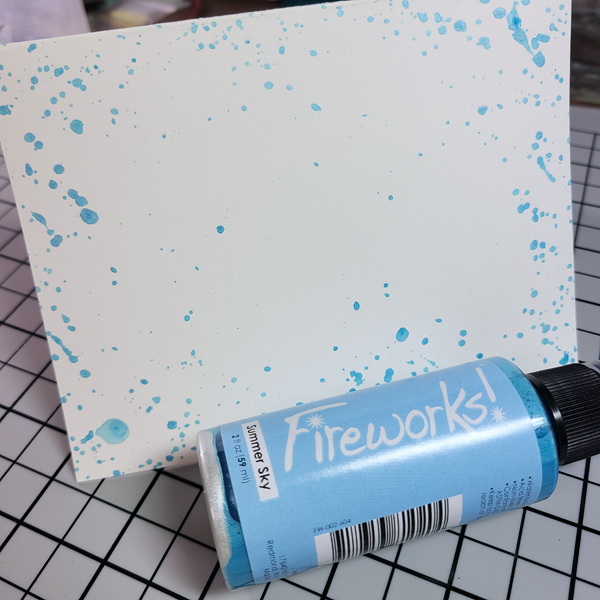
Step 13: Shake up the Summer Sky Fireworks Spray, unscrew the bottle and flick the straw on your card base to create splatters. Let dry.
Step 14: Assemble your card with Tear It Tape for the panel, and On Point Glue for the die cut sentiment.
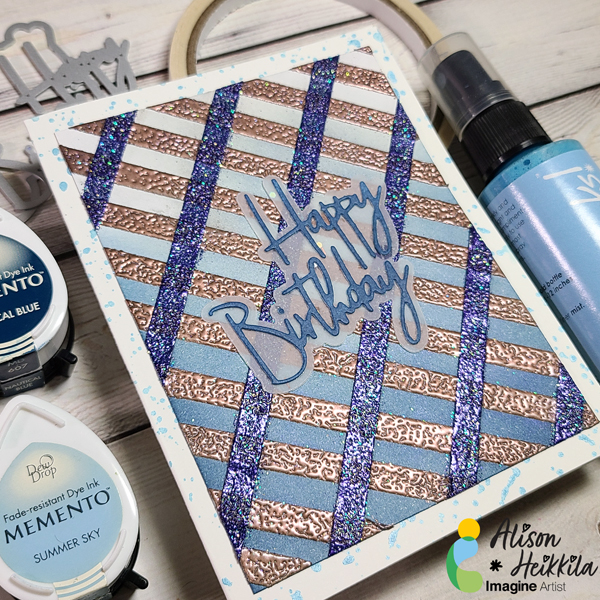
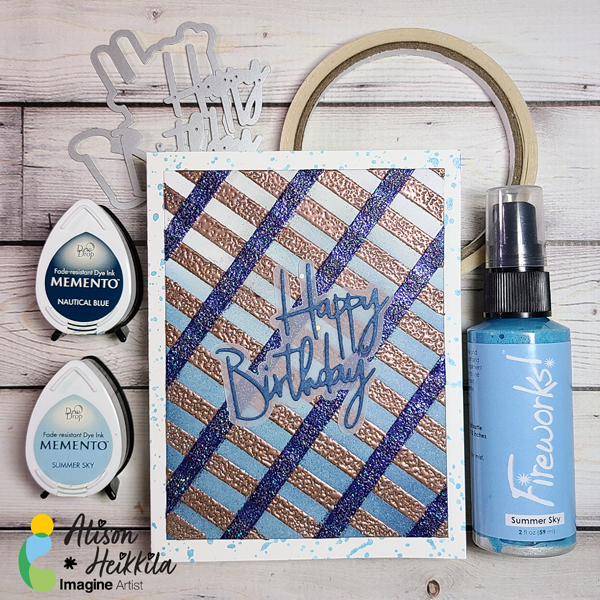
I love how this card came out! It’s got lots of shine, but with a masculine vibe. You can change the powders and ink colors however you like to suit your needs. I love the indigo tones we’ve got going here. I hope that you’ll try making your own plaid. Thanks for stopping by. Have an inspiring day!
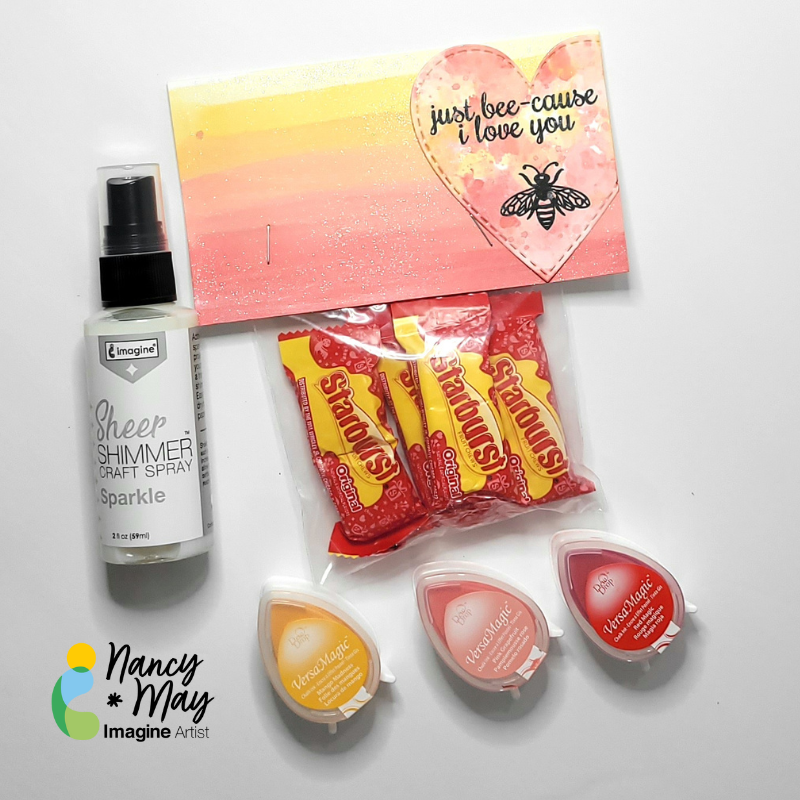
In today’s crafting tutorial, we are going to take a quick look at the faux dip dying technique we have been seeing everywhere. We will use VersaMagic Dew Drop ink pads in three analogous colors to obtain that lovely ombre. I love this project for Valentine’s Day but really you can use it for any day, theme, and you can use the technique for a variety of projects.
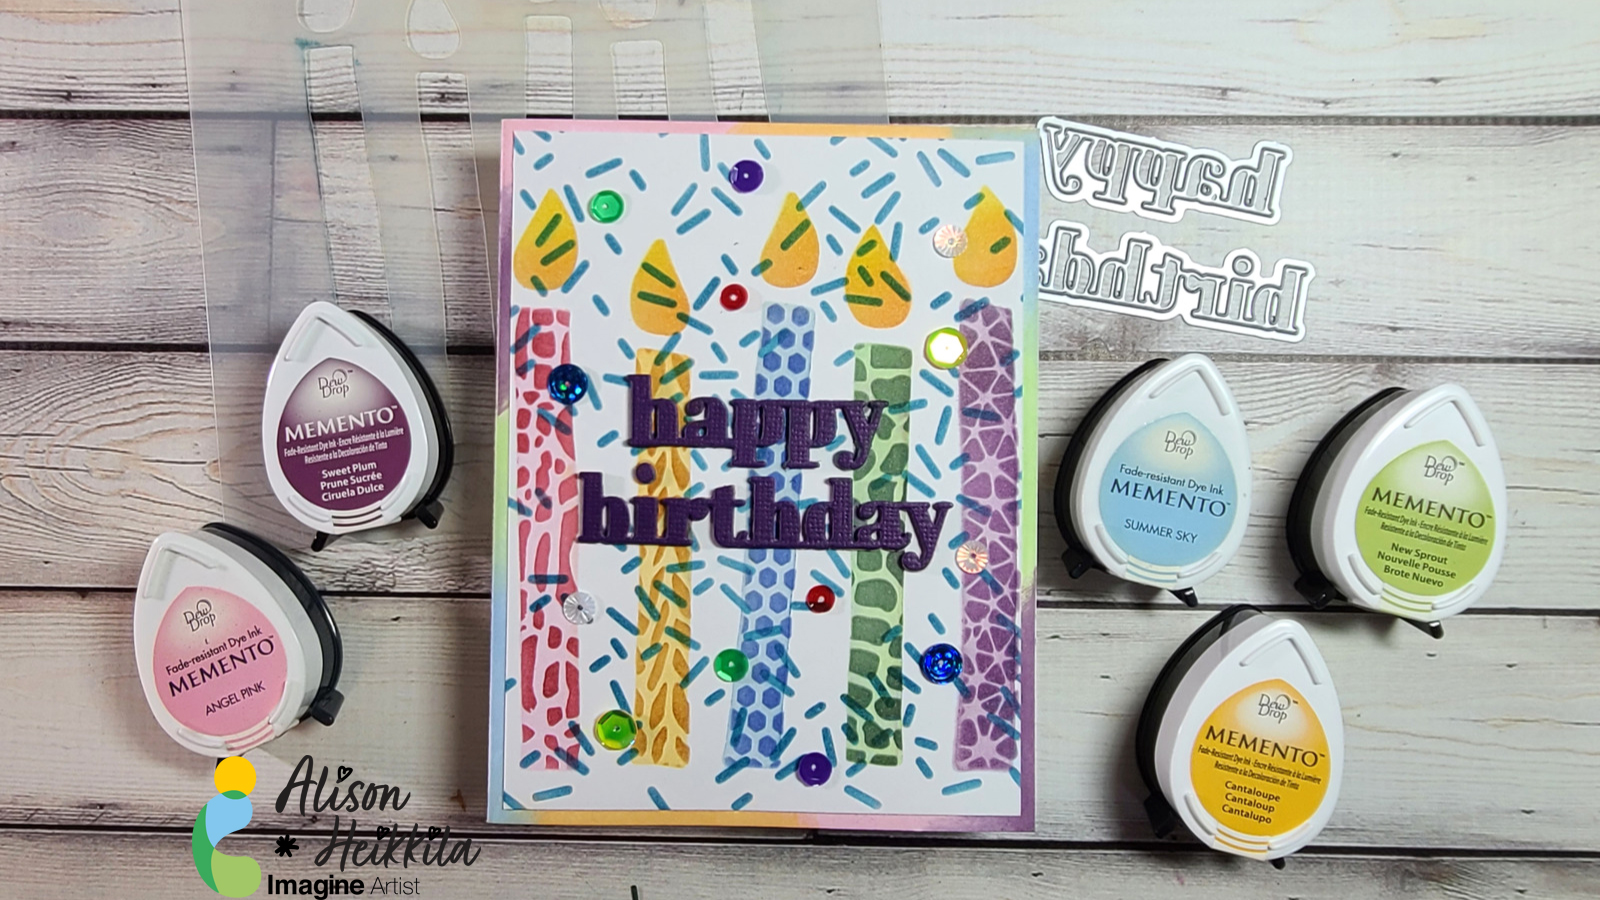
Hello! Since birthdays happen all year, it’s good to have a big stash of birthday cards at the ready for whenever you need one. Since I love to use stencils, I thought I would use a bunch of them together with many colors of Memento Inks from Imagine.
*Some affiliate links are used in this post. That means that if you shop through these links, I may receive a small compensation, at no cost to you.For more information, please see my Affiliates page, where I also have some coupon codes.
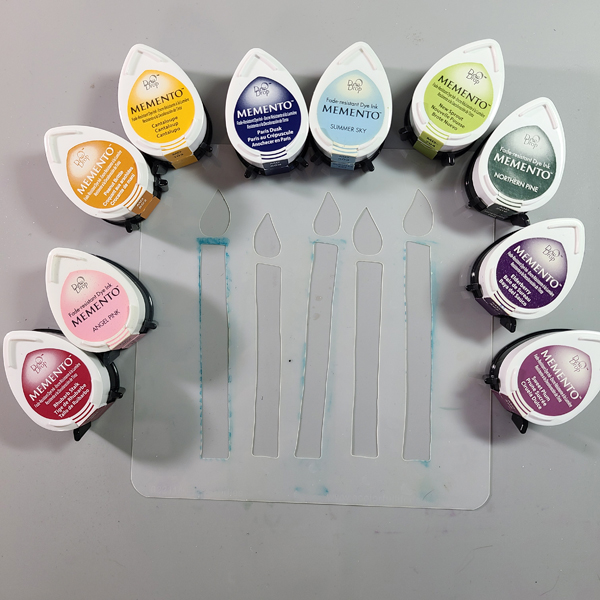
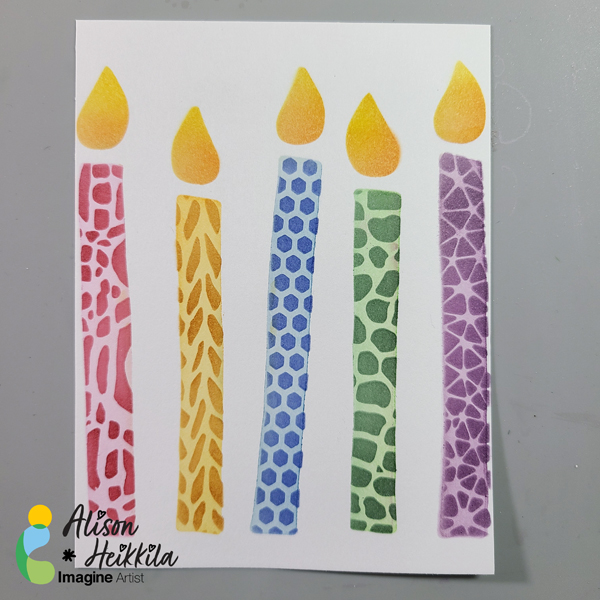
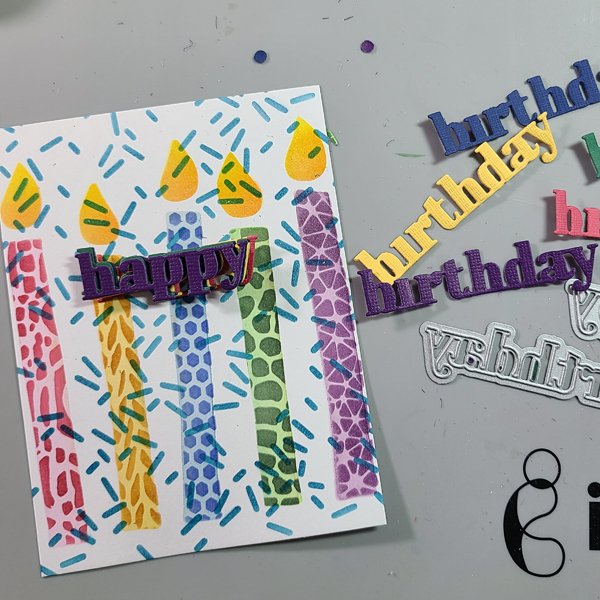
I chose a light color and a dark color Memento Ink for each candle of the Big Candle stencil.
Step 1:
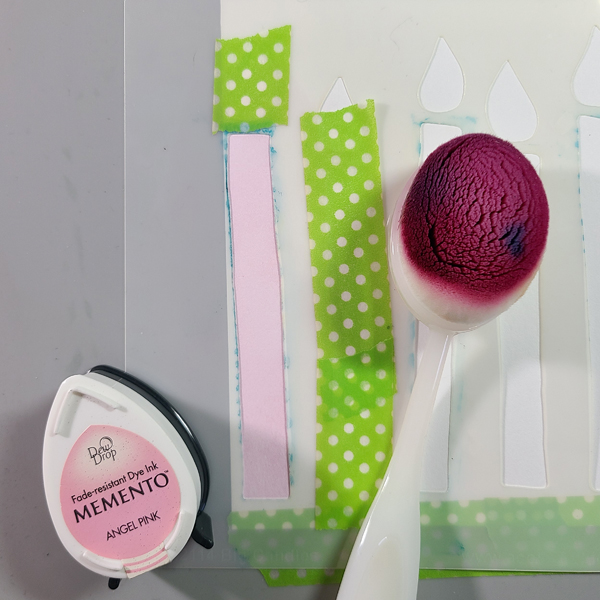
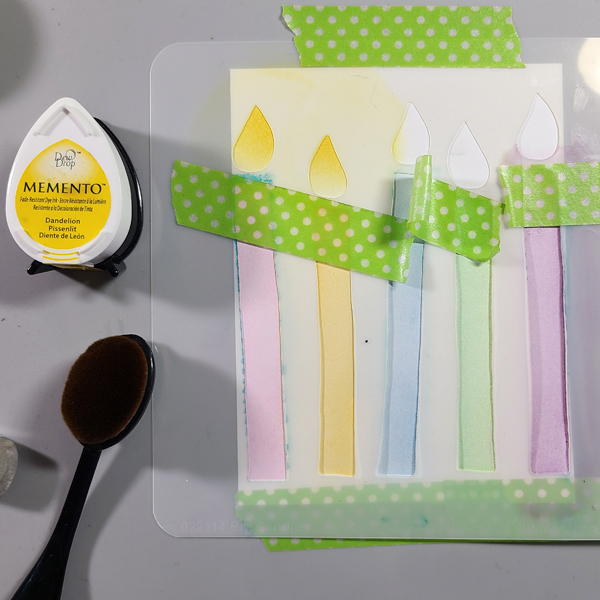
Step 1: Use washi or low tack tape to stick down your cardstock and stencil. Mask off any areas that you don’t want your first color of ink on. I masked off the second candle and the flames.
Step 2:
Ink the candles with the lighter color from the pairs you chose. Be sure to mask off the areas that you don’t want your ink to go.
Step 3:
Mask off the candles so that you can ink the flames. I used Dandelion on the entire flame, and then Tangelo on the lower area of the flame.
Step 4:
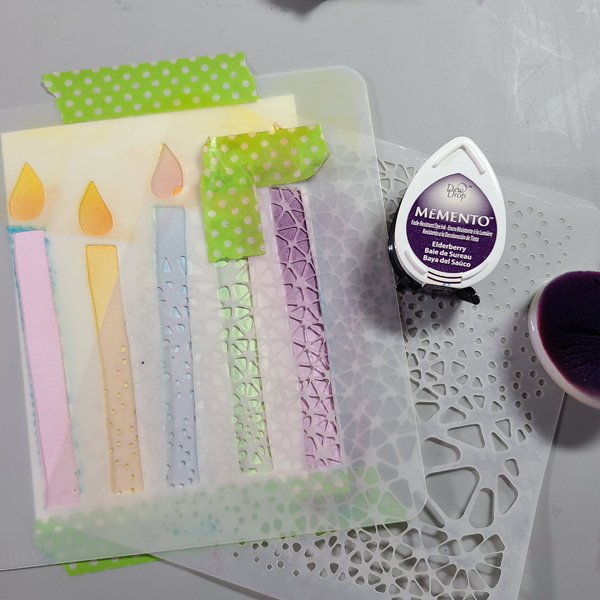
Choose the stencils you want to decorate each candle with and ink with the darker shades you chose. You must keep the original candle stencil in place so that you only ink the candle. Slip the patterned stencil under the candle stencil to make inking easy. Be sure to mask off the other areas again!
This is what the completed candles look like. You can stop here, if you want, but I kept going to make it even more festive!
Step 5:
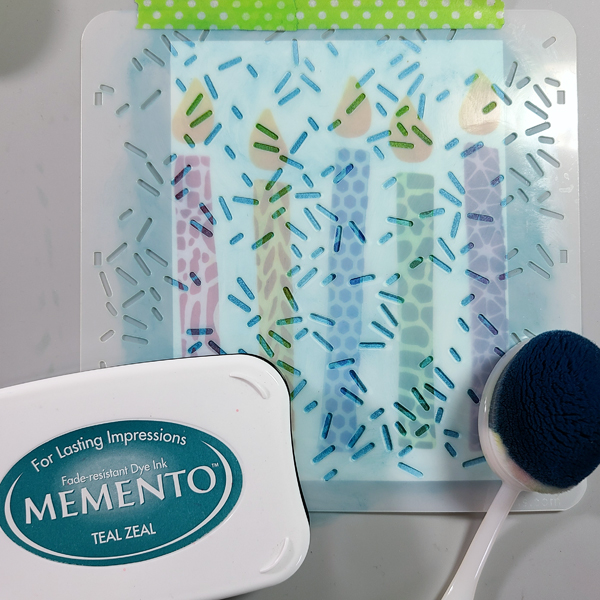
Ink a stencil that looks like confetti or sprinkles on top of the entire panel.
Step 6:
Die cut your sentiment. First, I was only going to die cut my “happy birthday” out of purple, but I decided to cut one sentiment out of each main candle color so that I can have a stacked, 3D embellishment. You can glue these together with On Point Glue.
Step 7:
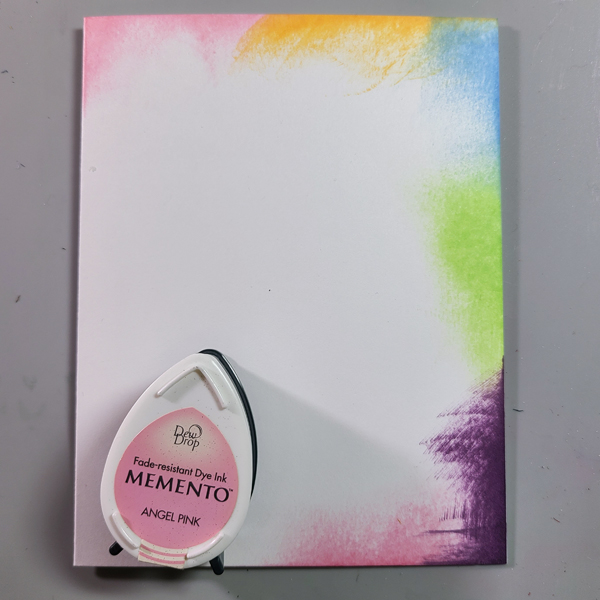
Ink your card base using the lighter colors of Memento Ink, directly from the pad. I worked my way around my palette of colors two times.
Step 8:
Glue the card front and sentiment on to the card base. Optional: Add sequins or rhinestones to the card front with On Point Glue.
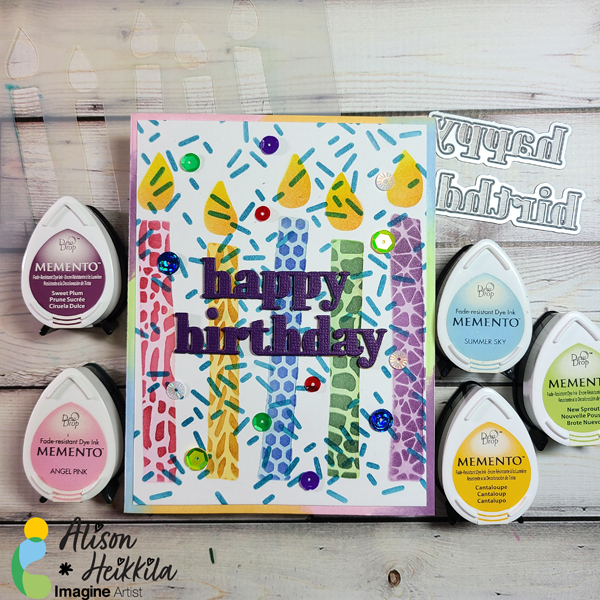
Here is the finished card! I love how happy it is, and it can easily work for anyone. It’s fun to work with so many colors and so many patterns of stencils, all on one project. I hope that you break out some of your stencils and try this technique! Thanks for stopping by. Have an inspiring day!
Hello there! Today’s tutorial is using only one type of ink, the Memento. It is one of the most versatile and secure ink that you can use. Memento Ink is ideal to use with alcohol markers or simply to stamp, with solid or lineal stamps. It is also available in markers and liquid, like Fireworks! Shimmery Craft Sprays.
Skill Level: Beginning
Time to Complete: 45 minutes
Directions:
Step 1:
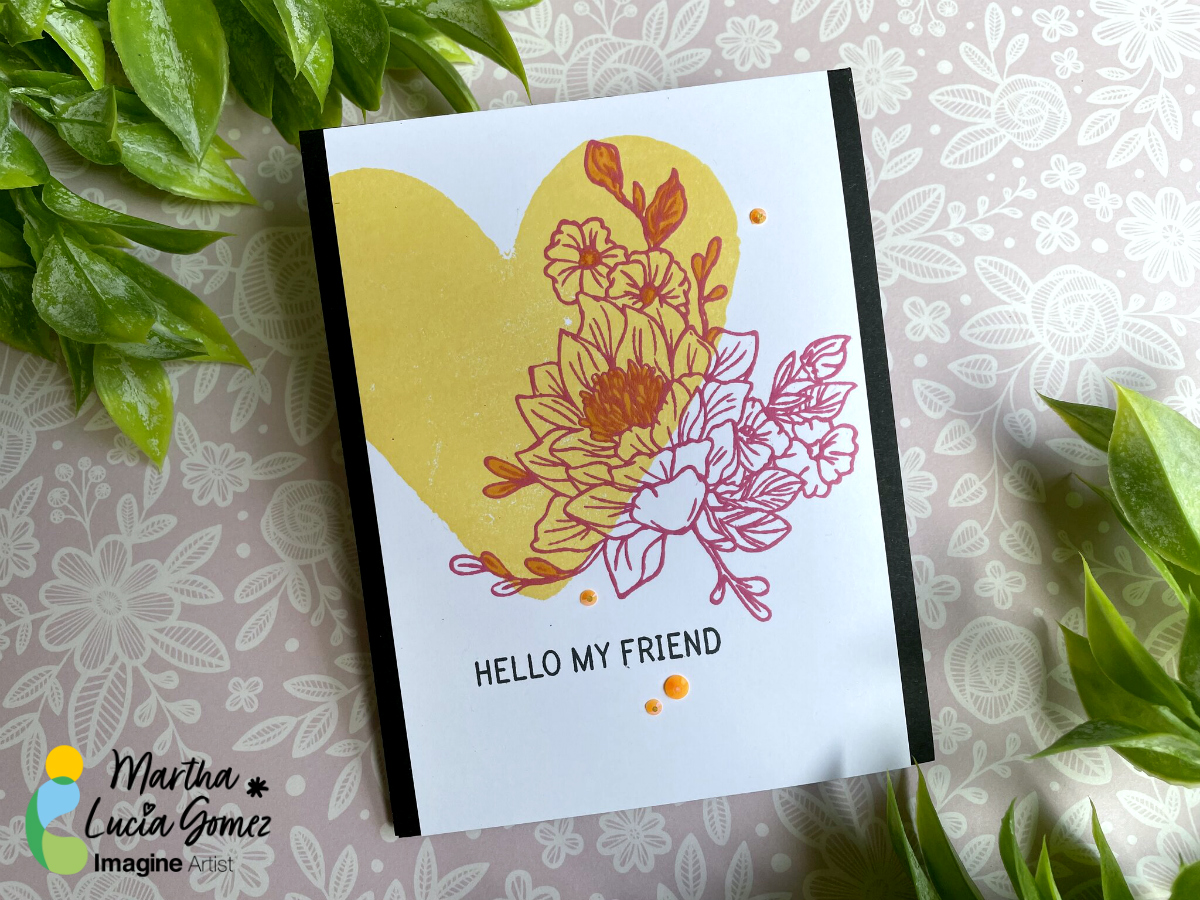
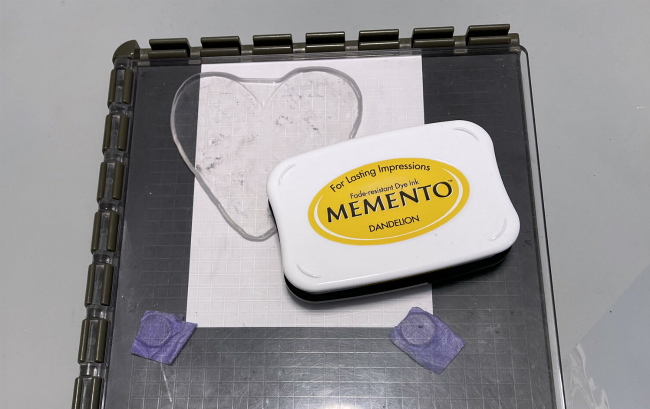
Take a piece of white smooth cardstock and ink well your solid stamp with Memento Ink. In my sample, I am using the Dandelion color. If you want you can use a stamping tool to have a better result or obtain a crispy image.
Step 2:
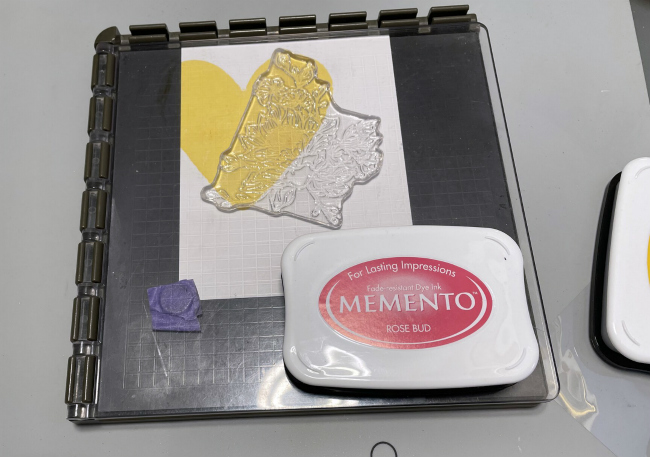
Select a lineal stamp and place it covering partially the image previously stamped. You can use a different color of Memento Ink to create a contrast. I am using the Rose Bud Memento Ink.
Step 3:
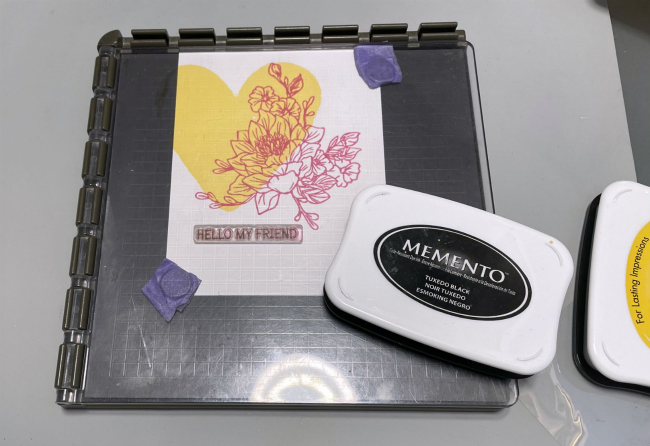
Stamp your sentiment with Memento Tuxedo Black.
Step 4:
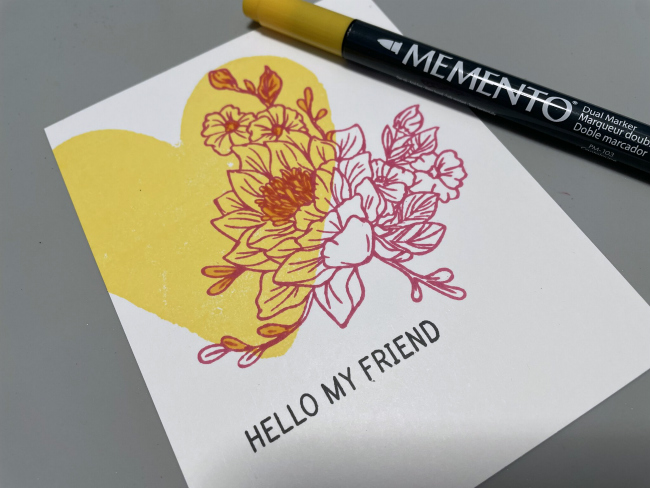
To enhance special details of your stamped image you can use Memento Markers. I used the same Dandelion color just in a small spaces on the floral image to enhance the details.
Step 5:
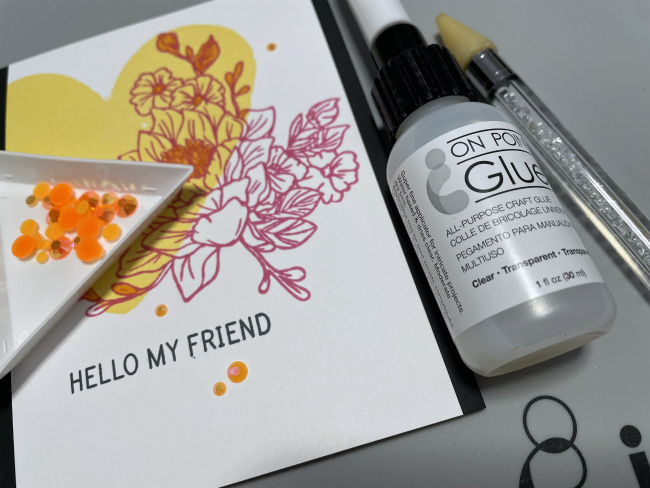
As final step, you can embellish your card using Diamonds on different colors. To paste it, I used On Point Glue.
Step 6:
Resize the decorative layer and paste it over a card base using Tear It! Tape.