Use Simple Shapes to Make Holiday Cards

by Jennifer Vanderbeek

Use Simple Shapes to Make Holiday Cards

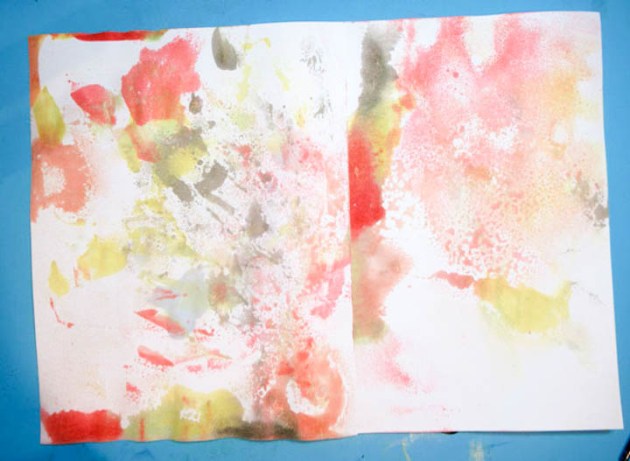
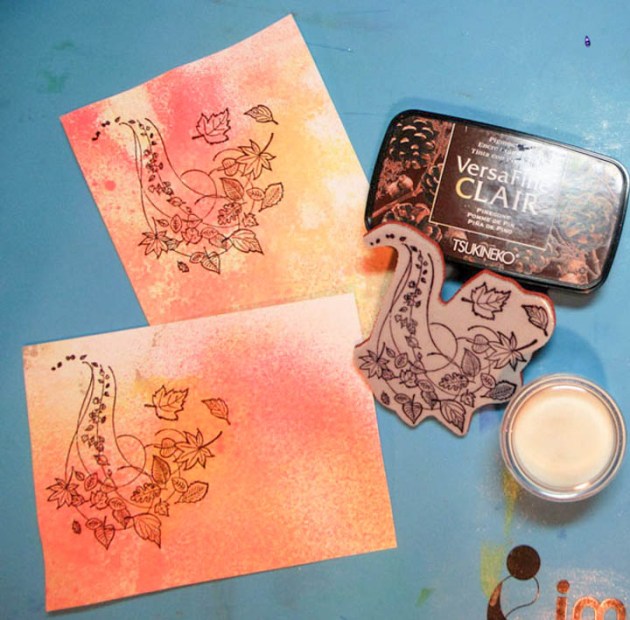
There are so many cute and fun stamps and dies on the market these days for the holidays that it’s truly tough to resist them. I don’t know about you but there’s only so much room in the budget and the stamp storage to go around, so I’m always happy to come up with ways to use the things I already have and getting more mileage out of my tools and supplies. To that end, these cards use patterned stamps that are not holiday-specific and simple shapes you can cut with basic dies, punches, or even just scissors. These simple shape cards are also perfect for crafting with kids in preparation for the holidays!

Skill: Intermediate
Time: 1 hour depending on the number of cards

Directions

Supplies

Imagine

• Delicata – White Shimmer, Pink Shimmer, Ruby Red
• VersaFine – Olympia Green
• VersaMark – Champagne Dazzle
• Embossing Powder – Gold, Clear
• All-Purpose Ink – Vegas Gold
• StazOn Studio Glaze – Claret
• irRESISTibles Spray – Wedding Dress
• Fantastix – Brush Tip
• Creative Medium – Shimmer
• Palette Knives
• Tear It! Tape
• On Point Glue

Other

• Cardstock – Dark green, Green, Royal Blue, Burgundy, Cream, Yellow
• Patterned Paper – Red with White Dots
• Pencil
• Fiskars – Scissors
• Darice – Heat Tool
• Acrylic Blocks
• Stampers Anonymous – Doily Stamp
• Studio Calico – Make a Wish stamp set
• Joy Clair Stamps – Lovely Swirl Background stamp
• Our Daily Bread – Vine Background stamp
• Simon Says Stamp – Merry and Bright stamps
• Bo Bunny – Sentiments Stamp
• Marvy Uchida – Star Punch
• My Favorite Things – Pierced Oval Stax dies
• Lawn Fawn – Stitched Circle Frames dies
• Sizzix – Big Shot Plus
• Bone Folder
• Ribbons & Threads

Create Shimmery Greetings From Outer Space

by Jennifer Vanderbeek

How about a little out-of-this-world fun while playing with the color of the month: Pebble Grey. While deciding what to do for this prompt I was reminded of the aliens known as Greys, so created this sky scene with shades of grey and silver and drew up some simple saucers to decorate the skies. In the video, you’ll also see how I fixed a goof and rescued the card front from a galactic disaster!

Skill: Advanced
Time: 1 hour

Directions

Supplies

Imagine
Other
  • Watercolor Paper
  • Cardstock – Pale Green
  • Paintbrushes
  • Staedtler – Combo Circle Template
  • Pickett – Isometric Ellipse Inking Template
  • Pencil
  • White Eraser
  • Acrylic Block
  • Studio Calico – Make a Wish stamp set
  • Uniball – Signo White Gel Pen
  • Fiskars – Paper Trimmer, Scissors
  • Wooden spoon
  • Post-It Tape

Prepare for Thanksgiving with a Cardmaking Tutorial

by Steph Ackerman

Prepare for Thanksgiving with a Cardmaking Tutorial

It’s October but before you know it you will be packing away the costumes and preparing for Thanksgiving. Why not be ready by delving into the colors, signs, and beauty of the season. Selecting 4 – 5 colors of Fireworks Shimmery Craft Sprays you can easily achieve amazing color combinations that set the stage for your projects. See how quickly and easily these Fall cards go together using backgrounds created with Fireworks Sprays.

Skill: Intermediate
Time: 1 hour

Directions


Step 1

Spritz assorted colors of Fireworks! Shimmery Craft Spray on the craft mat. Be sure not to mix the colors – spritz them about the mat.


Step 2

Drag white cardstock across the craft mat. Spritz additional Fireworks on craft mat if necessary until the cardstock is covered.


Step 3

Allow the cardstock to dry, then spritz with Dandelion Fireworks adding color to the white spaces.


Step 4

Cut cardstock into 2 panels, each 4″ x 5″. Stamp leaf flourishes on both panels with VersaFine Clair in Pinecone. Add clear embossing powder and heat set.


Step 5

Ink the edges of the panels with Brilliance Pearl Beige Ink, then mat with brown cardstock. Add the panels to the cards. Add color to some of the leaves using Memento Markers.


Step 6

Stamp Happy Thanksgiving on leftover strips of the cardstock with VersaFine Pinecone Ink. Add Clear Embossing Powder and heat set. Mat with cardstock.


Step 7

Adhere Happy Thanksgiving to the vertical card with foam adhesives. Cut apart Happy Thanksgiving for the horizontal card and adhere with foam adhesives.


Supplies

Imagine
Other
  • Stamps – So Suzy/Crackerbox Stamps
  • Cardstock – brown, white
  • Foam adhesives

Create a Reversible Naughty or Nice Christmas Stocking

by Jennifer Vanderbeek

Create a Reversible Naughty or Nice Christmas Stocking

Getting a head start on the holiday crafting rush, I decided to sew up a quick stocking and decorate the linen cuff with Fabrico markers, All-Purpose Ink, and some heat-embossed accents. While deciding just how I wanted to do the embossing I tried out a lot of products: VersaMark, Delicata, and Creative Medium to name the top three contenders, but I decided that the fine details that On Point Glue afforded made it the best choice for this project. Because of the heat embossing, you want to make sure that the area you’re decorating is a fabric that won’t melt when you hit it with the heat tool. Linen, cotton, canvas, or wool (the natural, sheepy stuff, not the polyester kind) should all work just fine, but you might want to test a small piece before getting too far into decorating your stocking.

Skill: Advanced
Time: 1 hour + dry time

Directions

Supplies

Imagine
Other
  • Stocking blank (or materials to make your own)
  • Pencil
  • Watercolor paper
  • Darice – Heat tool

Bring in the Fall Season with a “Blessings” Card

by Martha Lucia Gomez

Bring in the Fall Season with a "Blessings" Card with Memento in Rhubarb Stalk

The Fall Season has officially arrived and what better way to celebrate this change than to switch inks colors to rich tones and hues. In today’s card making tutorial, I am sharing a fall card created with an embossing folder, Memento ink and die cuts.

Skill: Intermediate
Time: 1 hour

Directions


Step 1

Select your favorite design of the embossing folder and ink the debossing part using Memento Ink. I am using the Leaf Swirl from Darice and Memento Ink in Desert Sand. Insert a piece of cardstock in your inked folder and pass the complete piece through your big shot or die cut machine. Open the folder and take out the inked, embossed layer. If you want to intensify the color, just re-ink the embossing folder and use the texture created on the cardstock to align the piece.


Step 2

Now take the embossed layer and rub softly with Memento Rhubarb Stalk – a fantastic color that matches perfectly. Let the ink dry.


Step 3

Resize your inked embossed piece using a die cut. I used the Stitched Rectangle Frame Die Cut from Cottage Cutz. The idea is to have a central embossed panel to decorate the top of your card.


Step 4

Using the same die cut, cut several layers of Very Vanilla cardstock. In my project, I used four layers. Paste one of the frames created over the card base. Then paste the rectangle inked panel inside of the frame and paste all the additional frames. For this step, the On Point Glue works wonderfully. Select a die-cut word (here I used “blessings” from Gina Marie Designs) and cut out as many words as you have frames. Stack the word die-cuts to match the frame height. See photo above for an example. This effect makes the card look like a box frame.

Supplies

Imagine
Other
  • Big Shot or any die cut machine
  • Darice – Embossing Folder Leaves Swirl
  • Cottage Cutz – Stitched Rectangle Frame Dies
  • Gina Marie Designs – Blessings Die
  • Stampin Up – Very Vanilla cardstock

Chills & Thrills Halloween Shaker Card

by Nadine Carlier

Halloween Shaker Card by Nadine Carlier IC main

I love shaker cards but I really don’t make them all that often. I was looking around my craft room and found some googly eyes and thought those would be fun in a shaker card. Plus I was thinking this months color, Sangria would make a really cool eery sky.
Watch my video below to see how I used Delicata, VersaColor and Sheer Shimmer Spitz to create my eery sky and how I put together my shaker card.  Enjoy!

Skill: Intermediate
Time: 45 minutes

Supplies

Imagine
Other

Visit our YouTube Channel for more inspirational videos and subscribe to get updates when we post new videos.