Create a Fun St.Patrick’s Day Card with Fireworks Spray, a Delicata Reinker and Shaving Cream.

By Katy Ingram

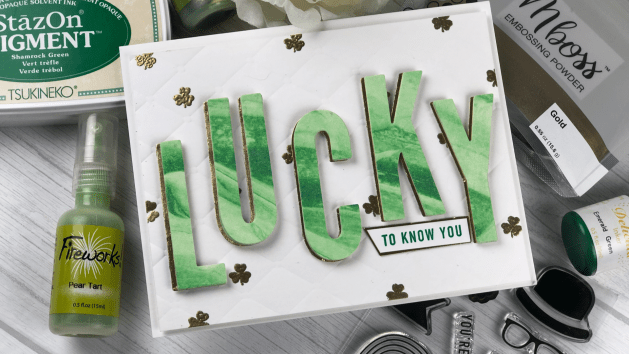
Hello my friends! Katy here and today we are going to create a fun St. Patrick’s Day card. In the video tutorial, I show you how to use your Fireworks Sprays and a Delicata Reinker with some shaving cream to create some cool backgrounds. Once the backgrounds are complete, we will use one of them to create a card. I hope you enjoy it.


Art Supplies

Imagine

Fireworks Spray – Pear Tart

Fireworks Spray – Bamboo Leaves

Delicata Reinker  – Emerald Green

Stazon Pigment Ink Pad – Shamrock Green

VersaMark

Mboss Embossing Powder – Gold

Tear it! Tape

Imagine Craft Mat


Other

Kat Scrappiness  – Condensed Uppercase Alphabet Die set

Simon Says Stamp- Lucky Stamp Set

Tim Holtz – Gold Kraftstock

Shaving Cream – Any brand

Stampin Up – Tufted 3D embossing folder

Neenah – Classic Crest Solar White 110 lb Card stock

Double Sided Foam Tape – Any Brand

How to Create a Faux Stained Glass Window Using StazOn Studio Glaze

By Jowilna Nolte 

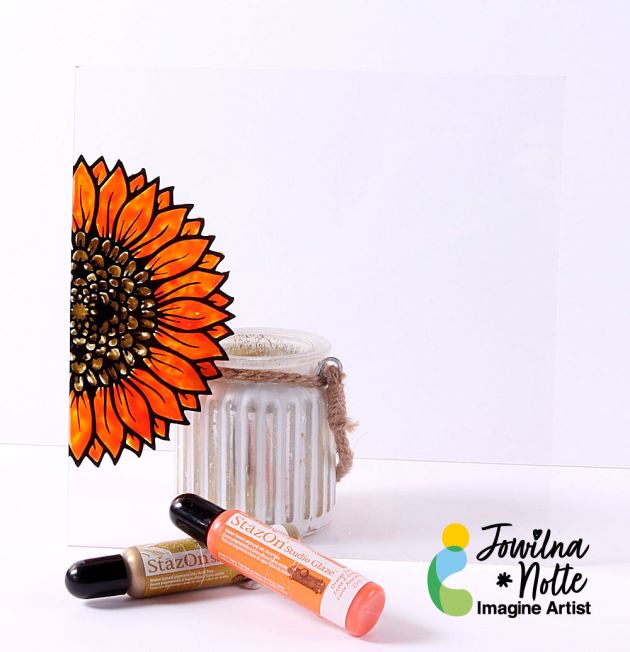
There are so many ways you can use your crafting supplies to create fabulous home décor elements and to alter things around the house. One thing I have always wanted to try is making a stained glass window but without all the really hard work – so I grabbed some StazOn Studio Glaze Gold and Orange Zest and made my own faux window.


Skill Level: Beginner

Time: 15 minutes plus drying time left overnight.


Directions:
 

Step 1

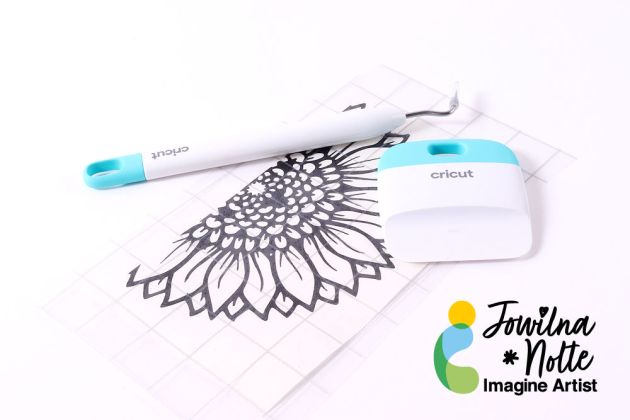
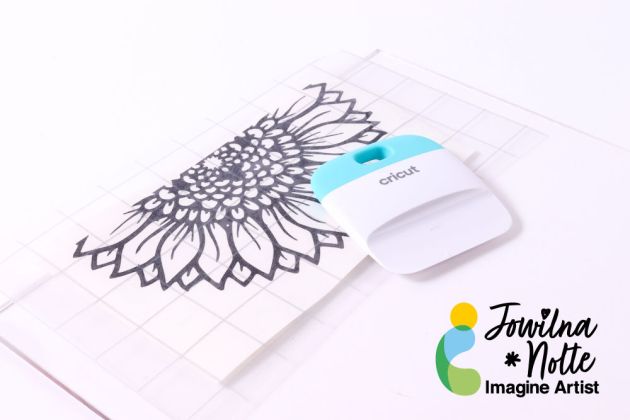
I cut a sunflower to mimic spring on my Cricut Maker machine out of black permanent outdoor vinyl. Weed the design and add transfer tape.
 

Step 2

Place the design onto a sheet of clear acrylic cut to size. Mine measures 8×8”. Then burnish the design onto your acrylic sheet to transfer the design.

TIP: If you don’t have a cutting machine you could do this step by stamping a large image onto your acrylic sheeting using Black StazOn ink instead. Then proceed to finish the same way I did. I wanted bold black lines, but the StazOn stamped images are great if you have a bold stamp design.


Step 3

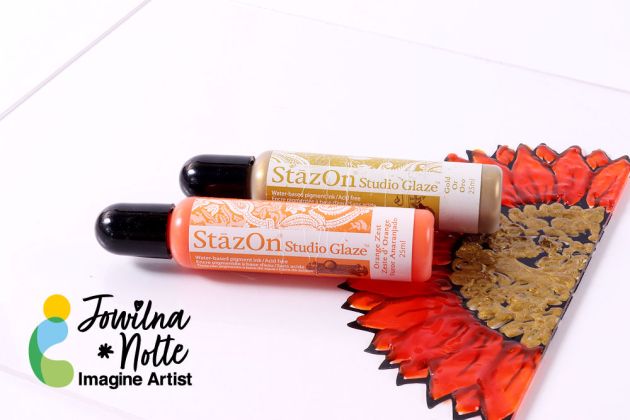
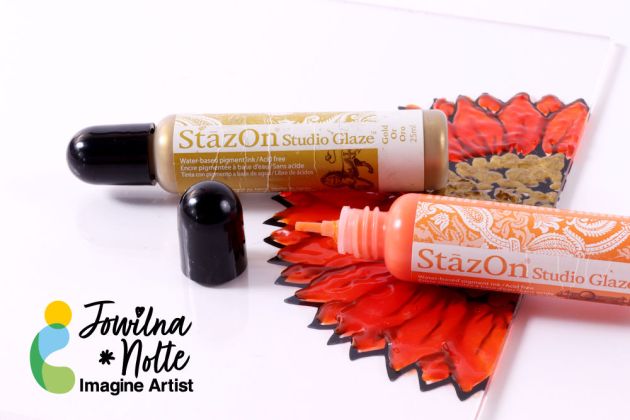
I selected two colors of StazOn Glaze and started coloring my design on the back of the acrylic sheet. I did this really roughly. It doesn’t matter that you go over the lines since the black lines will hide that.
 

Step 4

Once the first layer StazOn is dry, you can go back and add another layer to fill in any other areas that may still be open or exposed as the glaze dries and settles. I may skip this step since I am quite happy with how it turned out.

And there you have a really pretty faux stained-glass window – or in my case, I think I pop it into a frame and hang it up on a white wall – I rather like the look of this quick and easy project.
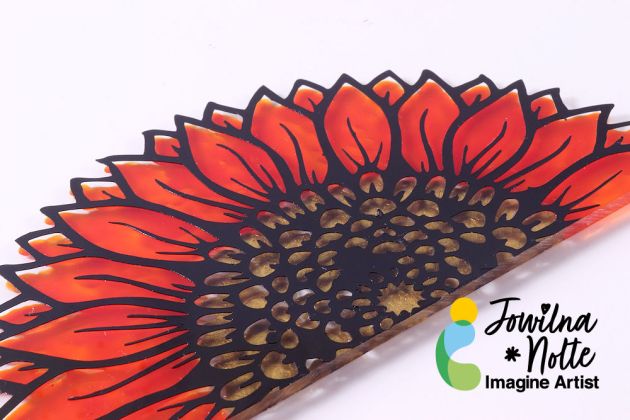
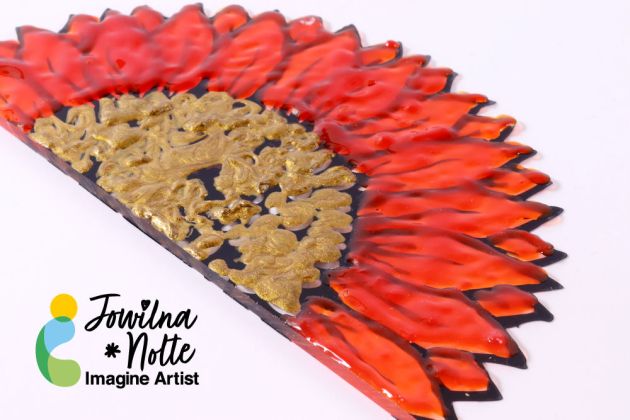
 

Note that the back of the image will have loads of texture and be uneven, and the front will be perfectly smooth and looks amazing.

Now go have fun with your StazOn Studio Glaze.


Art Supplies:


Imagine:

StazOn Studio Glaze Gold
StazOn Studio Glaze Orange Zest

Other:

Acrylic sheet
Cricut maker cutting machine
Cricut Tools
Black Vinyl

How to Create Some Fresh and Funky Cards for Valentine’s Day

By Jowilna Nolte 

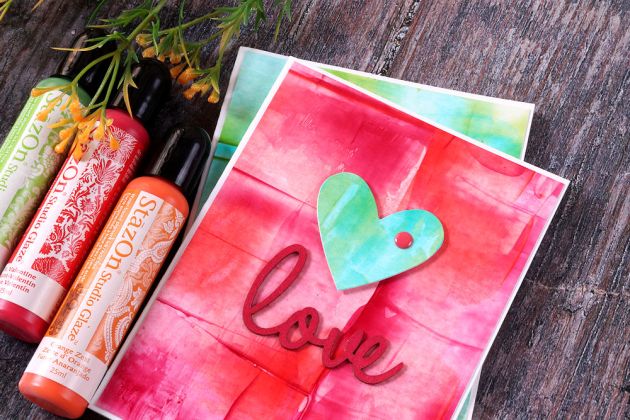
Hi everyone, on today’s blog, I am sharing some fun cards I created using StazOn Studio Glaze.
I love this stuff for the fun effects you can achieve as well as the vibrant and amazing colors in the range.

Skill Level: Beginner

Time: 20 minutes

Directions:

Step 1
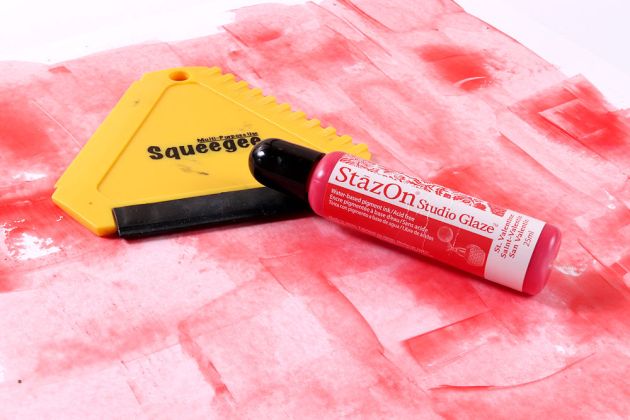
Squeeze some glaze onto your squeegee and swipe your first color over a sheet of smooth white cardstock.
You can leave this to dry for a few minutes.


Step 2
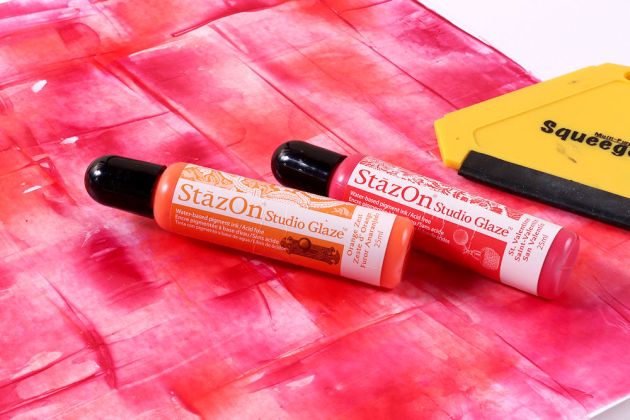
Apply a second color to your squeegee and swipe it over the first color. I use the rubber side on my squeegee but also sometimes use one of the other edges.
Both edges work perfectly, and you can always create some effects using the textured sides.


Step 3

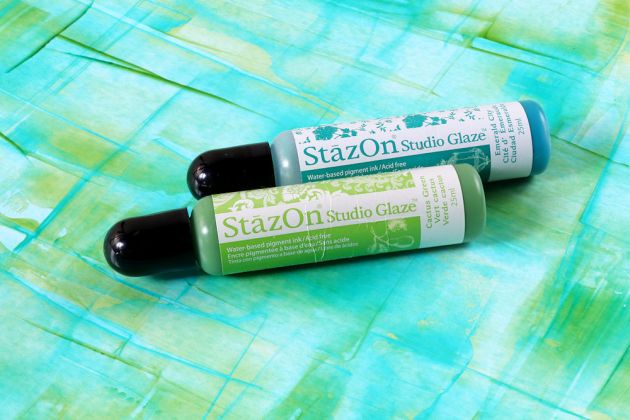
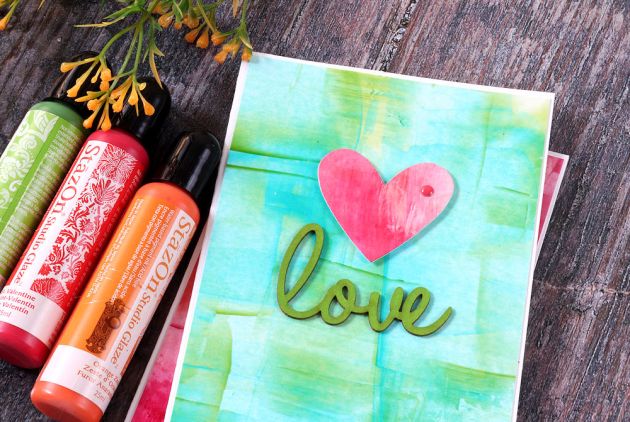
I also used a second color combination and created another sheet for a fresh spring look.


Step 4

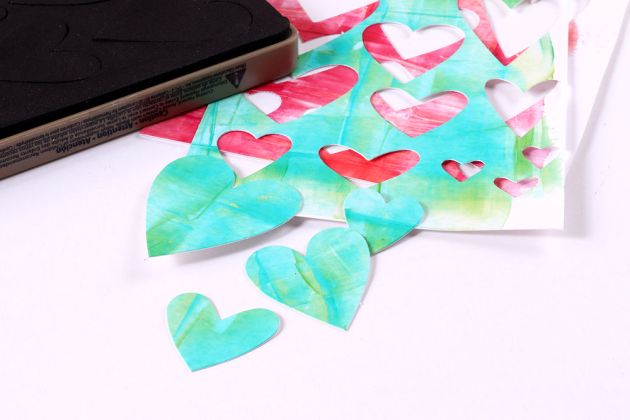
Once your background is dry, use a heart or flower die-cut and die-cut some shapes using your die-cutting machine.


Step 5

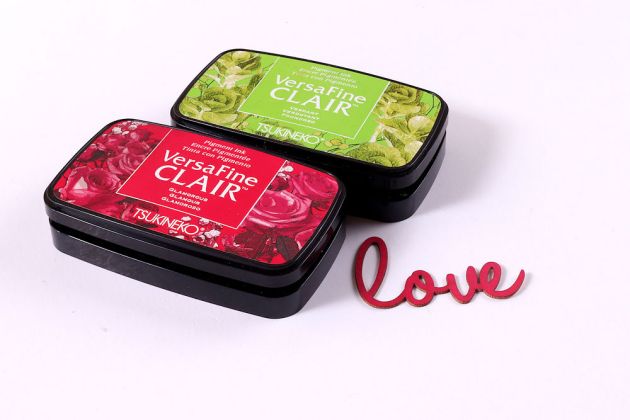
Use your VersaFine Clair ink and color some chipboard words by directly inking the words.
Once dry, you can adhere them to your card.


Step 6

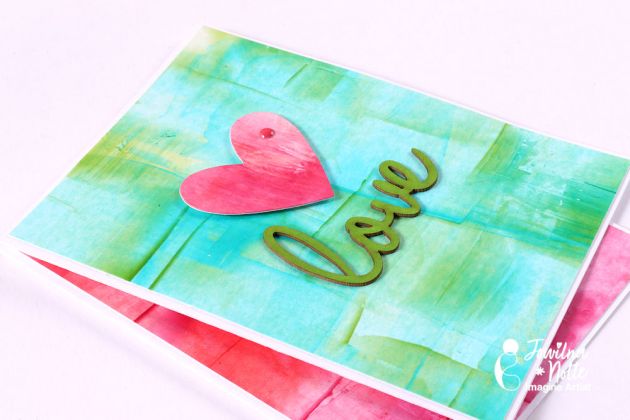
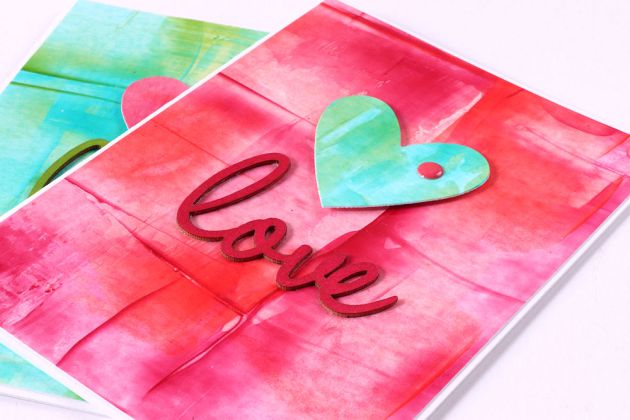
Assemble your card by adhering the hearts to your background using foam tape.
Adhere the “love” word using On Point Glue and finish off your card with an enamel dot.


And in a few easy steps, you have a gorgeous set of cards using some fun backgrounds and hearts.

For me the shine, texture, and patterns achieved are what makes these cards so special, and I just love using these glazes.

Until next time – keep on creating!

Art Supplies

Imagine

• StazOn Studio Glaze Orange Zest
• StazOn Studio Glaze St. Valentine
• StazOn Studio Glaze  Emerald City
• Multi-Purpose Squeegee Blue
• On Point Glue
• VersaFine Clair Glamorous
• VersaFine Clair Verdant 


Other 

• White Cardstock
• Heart Die-Cut: Tim Holtz
• DIY Cuts Machine: Kaisercraft
• Chipboard Word: Kiriche Laser
• Enamel Dots
• Foam Tape
• Smooth White Cardstock

Learn How to Make Decorative Tea Light Candle Holders

By Kyriakos Pachadiroglou


Skill: Beginner, Intermediate, Advanced

Time: 45 min

Directions:

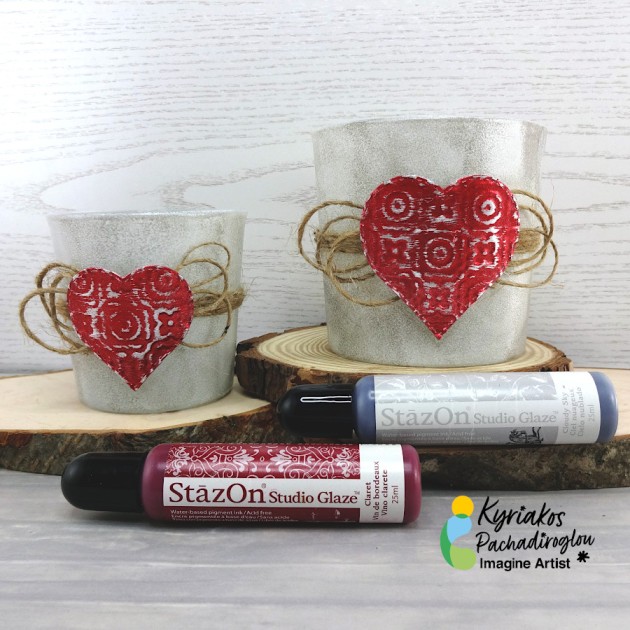
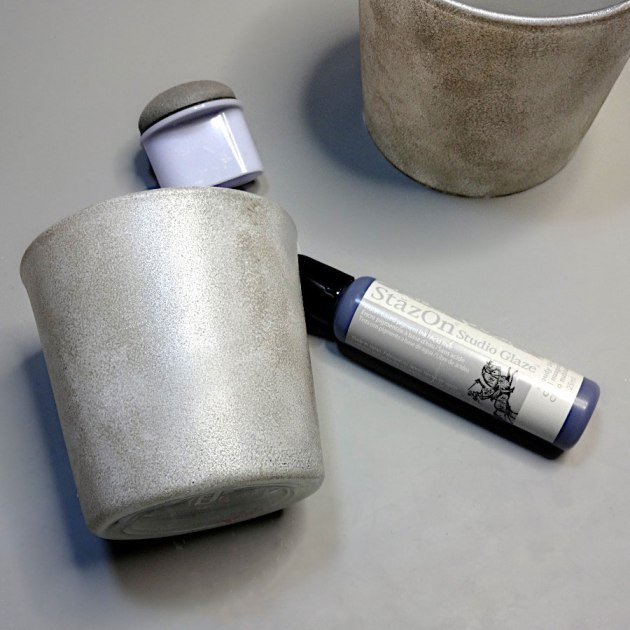
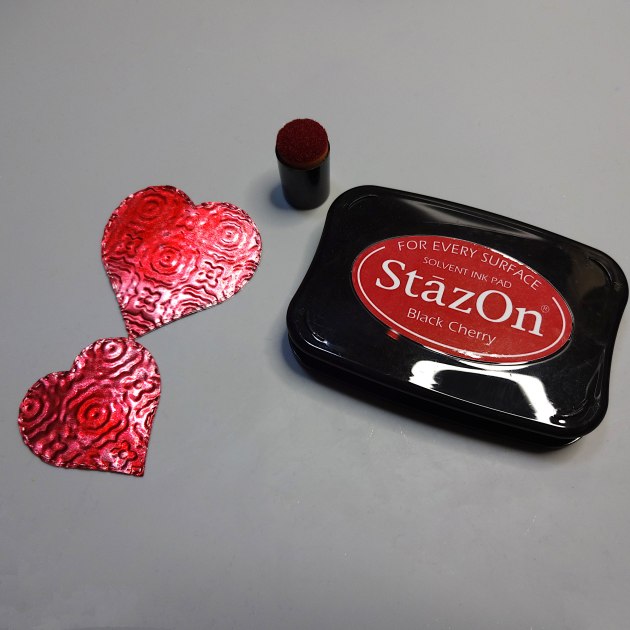
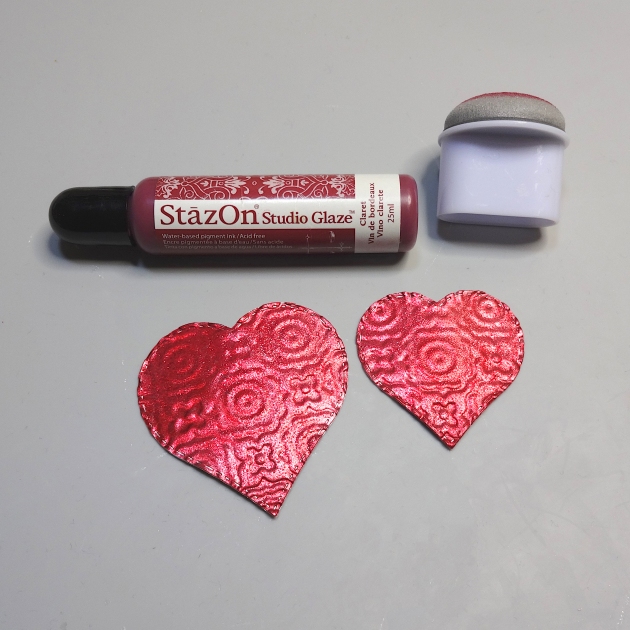
Cover glasses with All-Purpose ink and StazOn Studio Glaze to create frost and smoke effects. Die-cut and emboss SHEET metal to make embellishments that are covered with StazOn colors.


Step 1

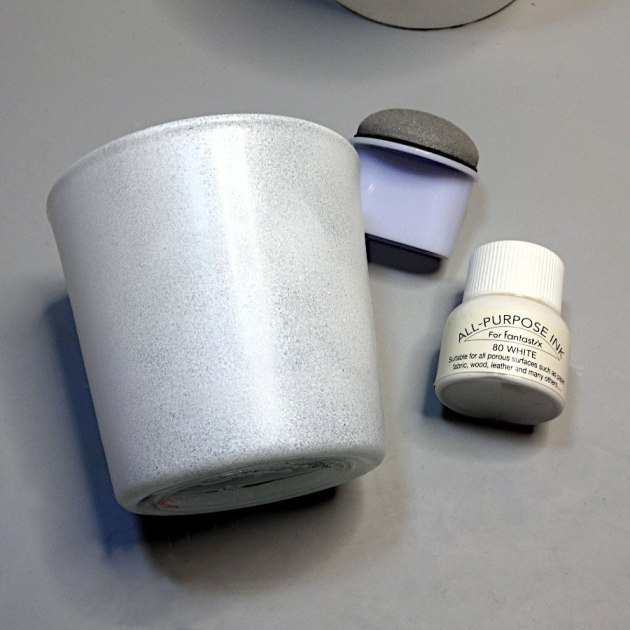
Cover the glass surface with All-Purpose Ink white using a Sponge Dauber and lightly pressing on it creating a frost effect. Let it dry. (Use a heat tool to speed up the process)


Step 2

With a Sponge Dauber repeat the above using the StazOn Studio Glaze Cloudy sky.


Step 3

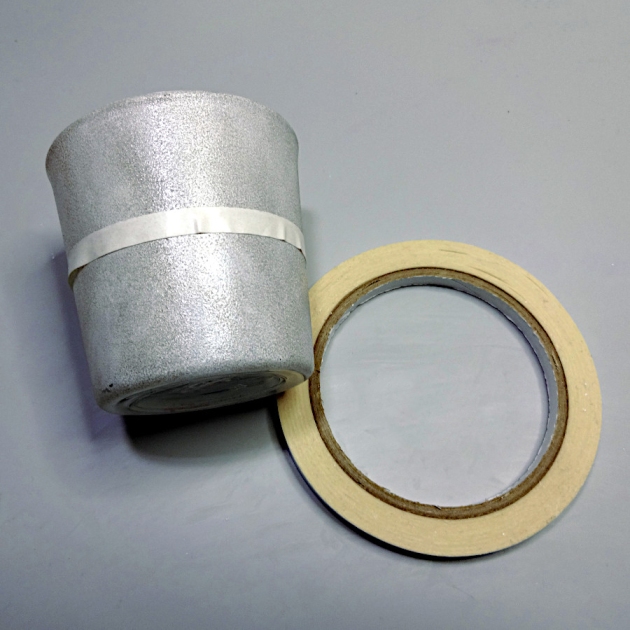
Place Tear It! Tape around the mid section of the glasses.


Step 4

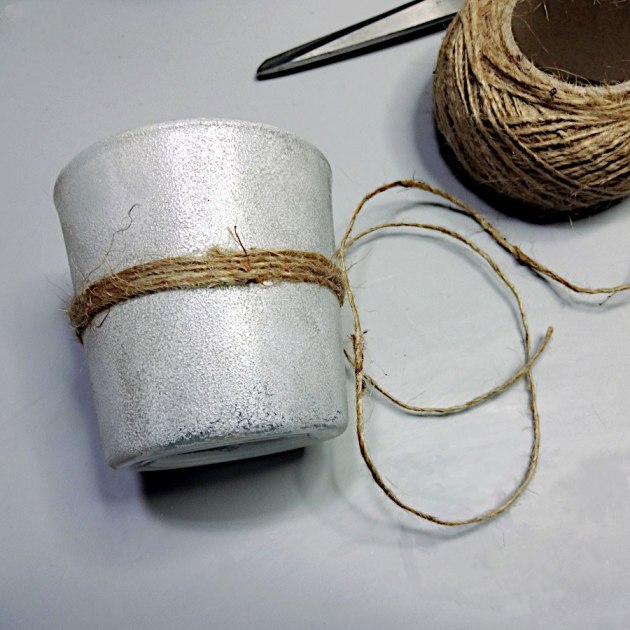
Place the jute cord over the Tear It! Tape and wrap around to cover.


Step 5

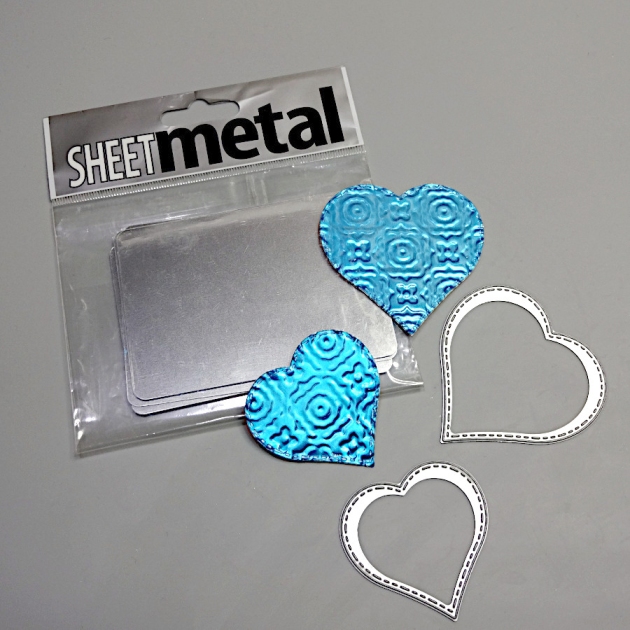
Die-cut heart shapes of the SHEET metal in two different sizes. (If you don’t have a die cutting machine, use scissors to easily cut heart shapes of the SHEET metal).


Step 6

Cover with the StazOn Black Cherry using a Sponge Dauber.


Step 7

Continue with the StazOn Studio Glaze Claret.


Step 8

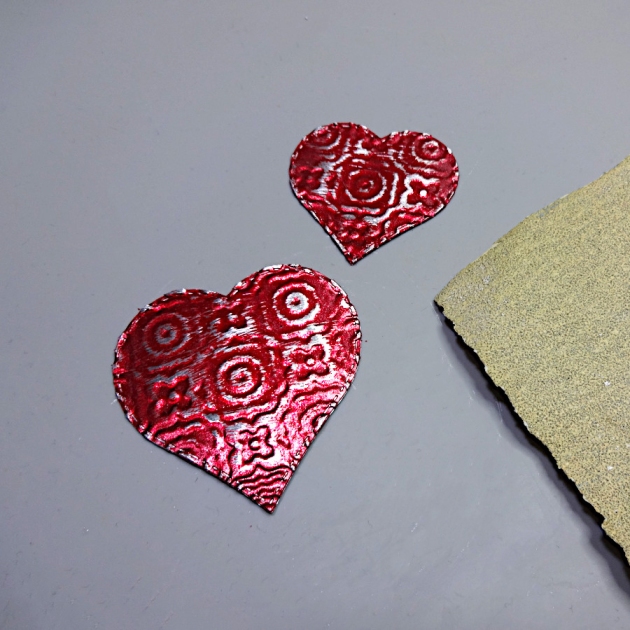
Lightly sand the SHEET metal hearts to reveal the silver color.


Step 9

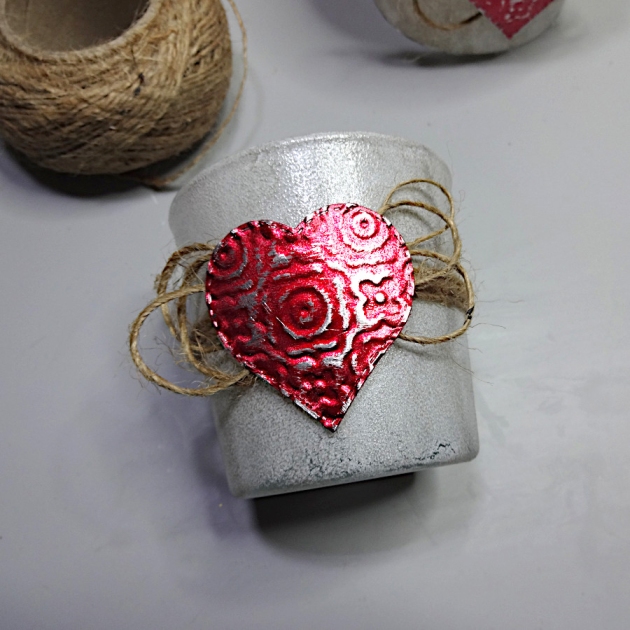
Make some loops with the jute cord, glue them on the glasses and add the hearts.

Art Supplies

Imagine

SHEET Metal – ATC card 

All-Purpose Ink – White

StazOn Studio Glaze – Cloudy Sky, Claret 

StazOn – Black Cherry

Sponge Daubers

Tear It! Tape


Other

Heart Dies and die-cutting machine

Embossing folder

Glasses

Sanding paper

Jute cord

Hot glue

Make a Card Using Recycled Plastic

By Baerbel Born

Skill: Beginner

Time: 30 Minutes

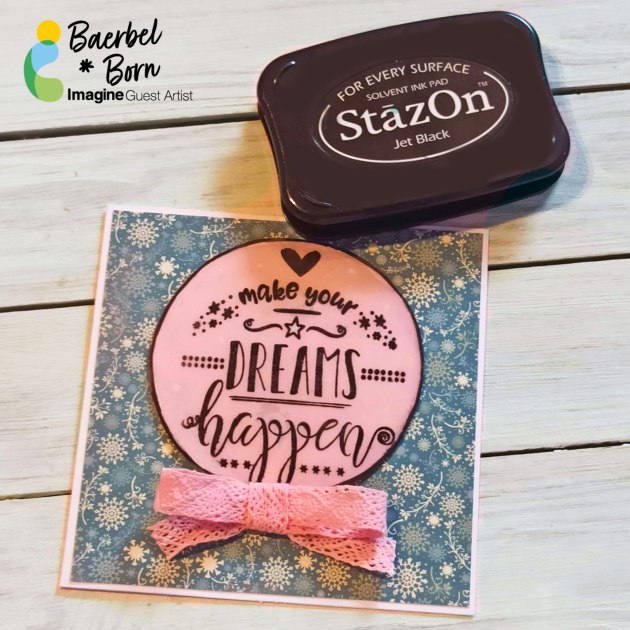
Stamping on a budget doesn’t have to look ordinary, in fact, it can have a spectacular shiny and elegant look.
Join Guest Designer Baerbel Born from Germany as she teaches us how to craft using recycled materials.
StazOn Ink on a plastic lid is almost free and so much fun!


Art Supplies:

Imagine:

StazOn Ink Pads and Refills

• StazOn Stamp Cleaner


Other:

• Stamp and Acrylic Paint: Rayher Craft Supplies

• Paper: BoBunny

• Ribbon: May Arts

• Plastic Lid


Easy to Make Lightweight Sparkling Earrings

By Kyriakos Pachadiroglou

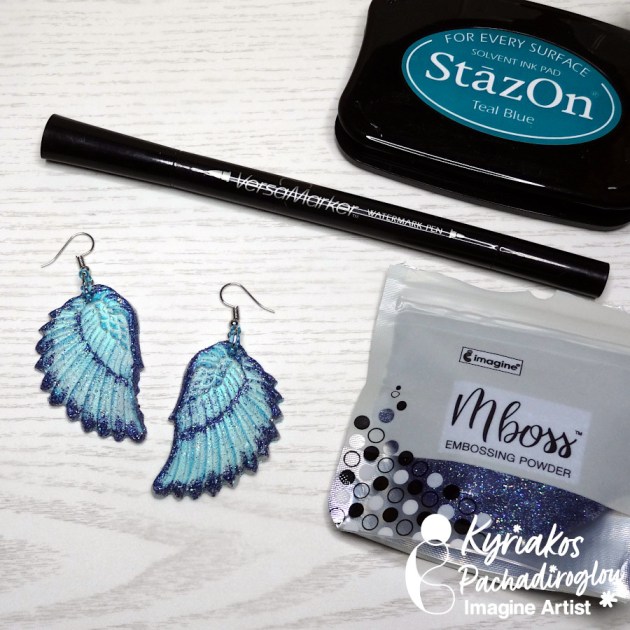
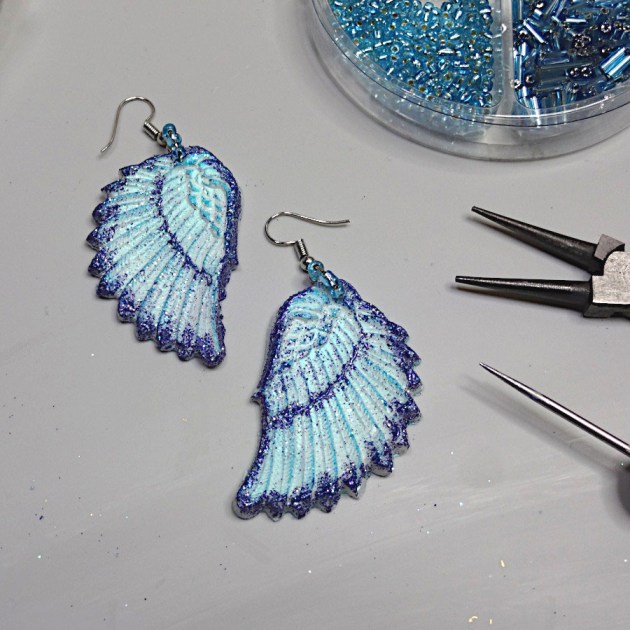
These lightweight earrings in wings shapes that are covered with sparkling Mboss embossing powder are easy to make with few steps using Creative MEDIUM. Match them to your favorite outfit or give them as a gift.


Skill: Beginner

Time: 30 minutes plus drying time


Directions:

Step 1

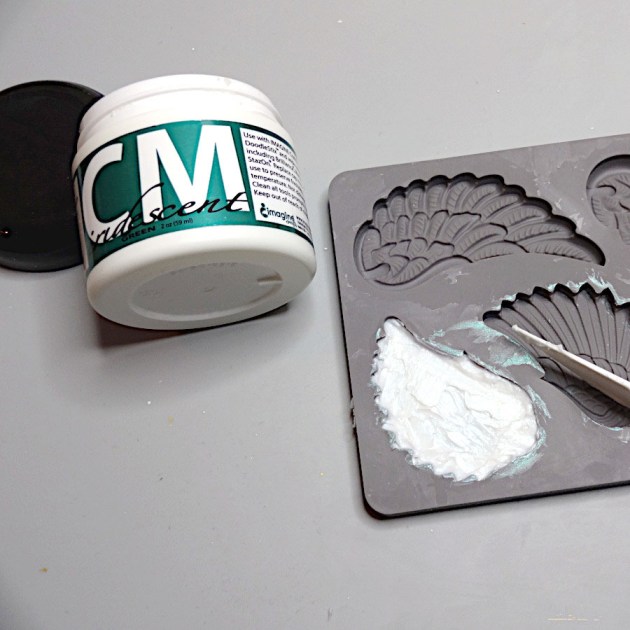
Place a thick layer of Creative MEDIUM in the wings molds, covering the area well.

Let it dry.


Step 2

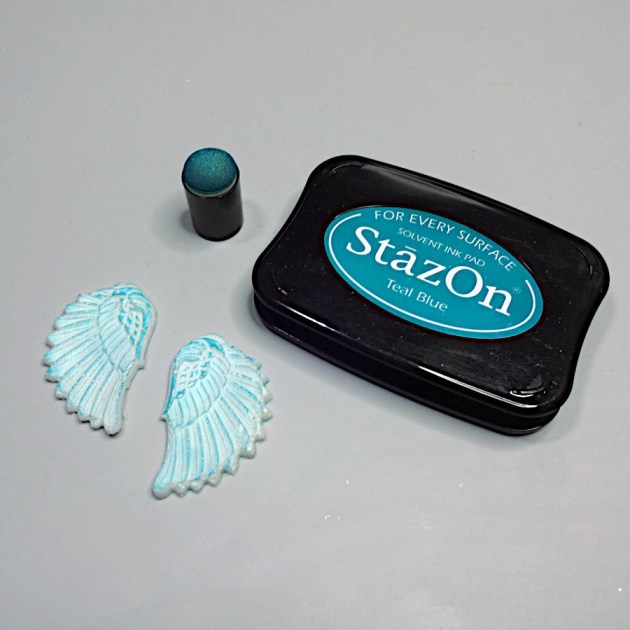
Remove the wings and lightly color them with StazOn Teal Blue. Repeat process on wings backs side.


Step 3

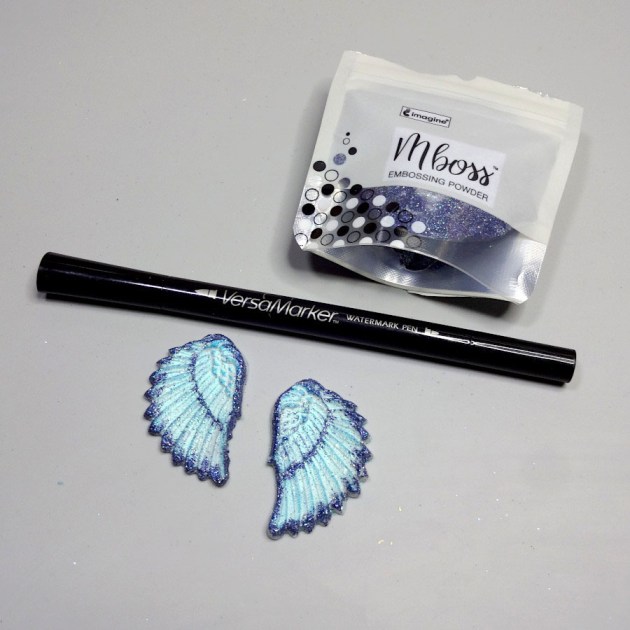
Use your VersaMarker to mark around the wings and in the middle. Cover with Mboss embossing powder and heat set. The Creative MEDIUM will get soft with the heat at this point, but it will not affect the end result.


Step 4

Pinch a small hole to the top of the wings, add a jump ring with some beads and finish with the earring hook.

Art Supplies:

Imagine
Other
  • Prima – wings silicone mold
  • Heat tool
  • Earring hooks and jump rings
  • Beads