Make a Modern Wedding Card for a Fun and Vibrant Couple

2021_April_JN_WeddingCard_5

By Jowilna Nolte 

Recently I had to make a quick wedding card for a fun and vibrant couple. Instead of going the traditional route I opted for just having fun – mimicking their personalities.

Skill Level: Beginner

Time: 20 minutes

Directions:

2021_April_JN_WeddingCard_step1

Step 1

On a smooth white background panel used your StazOn ink Cherry Blossom and swipe the ink pad across the panel.

2021_April_JN_WeddingCard_step2

Step 2
Repeat the process this time using Versamagic ink to swipe across the background.

2021_April_JN_WeddingCard_step3

Step 3

Stamp a sentiment across the bottom of the panel using VersaFine Clair Nocturne.

2021_April_JN_WeddingCard_step4

Step 4

Emboss a scrap cardstock strip using Indigo Pealr Mboss embossing powder and VersaMark Frost. Then cut the strip with a scallop edge. Emboss a chipboard heart using the same Indigo Pearl Mboss embossing powder.

2021_April_JN_WeddingCard_1

Step 5

Assemble the card by adhering the panel to a folded card. Then adhere the embossed heart using On Point glue as well as the embossed strip and embellishments to finish off your card.

2021_April_JN_WeddingCard_step4

The embossing powder adds some glamour and shine to this simple yet fun card. Just like the couple – fun colours combined together with a touch of glam and pizazz.
Mboss embossing powder really takes any project t the next level. Available in a  huge variety of colours they truly are amazing.

Art Supplies

Imagine

VersaFine Clair Nocturne
Mboss Indigo Pearl
VersaMark Frost
On Point Glue
Tear it! Tape
StazOn Cherry Blossom
VersaMagic Mango Madness

Other

White cardstock
Chipboard: Celebr8
Stamps: Visible Images
Embellishments
Learn How to Stamp on Tyvek Flowers with StazOn Inks

By Baerbel Born

2021_Baerbel_tyvek_flowers_02

Skill: Beginner

Time: 30 Minutes

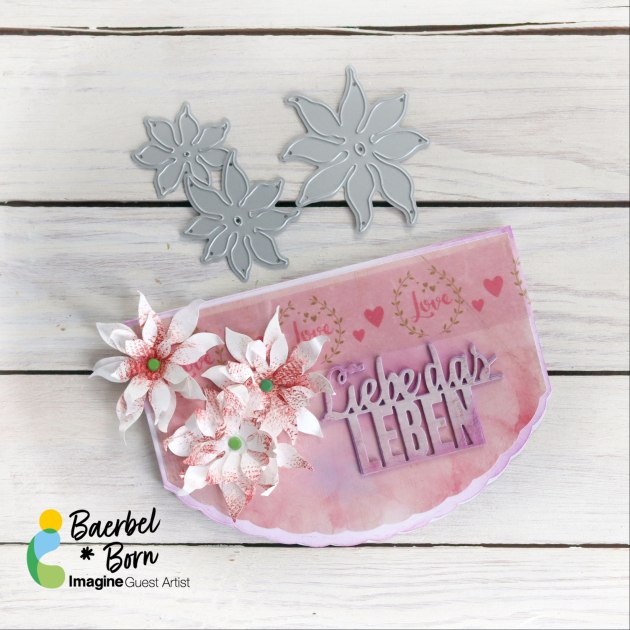
In this video guest designer, Baerbel Born shows you how you can create a pastel look on any surface with a bright StazOn ink pad by using a background stamp. The sentiment in German “Liebe das Leben”  means “Love Life”.

Art Supplies

Imagine :

• StazOn  Mini Ink Pad St. Valentine (or any other color of your choice)

Other supplies:

• Flower die cut by Elisabeth Craft Design

• Tyvek envelope A4

• Face scrubber pad

• Brads (We R Memory Keepers)

• Design paper

• Love Washi Tape (Rayher)

• “Liebe das Leben” die from Kulricke (German Company)

Learn How to Stamp Clay to Make a Jewelry Charm

2021-apr-kyriakos-stamped-clay-charm-main-wm

By Kyriakos Pachadiroglou

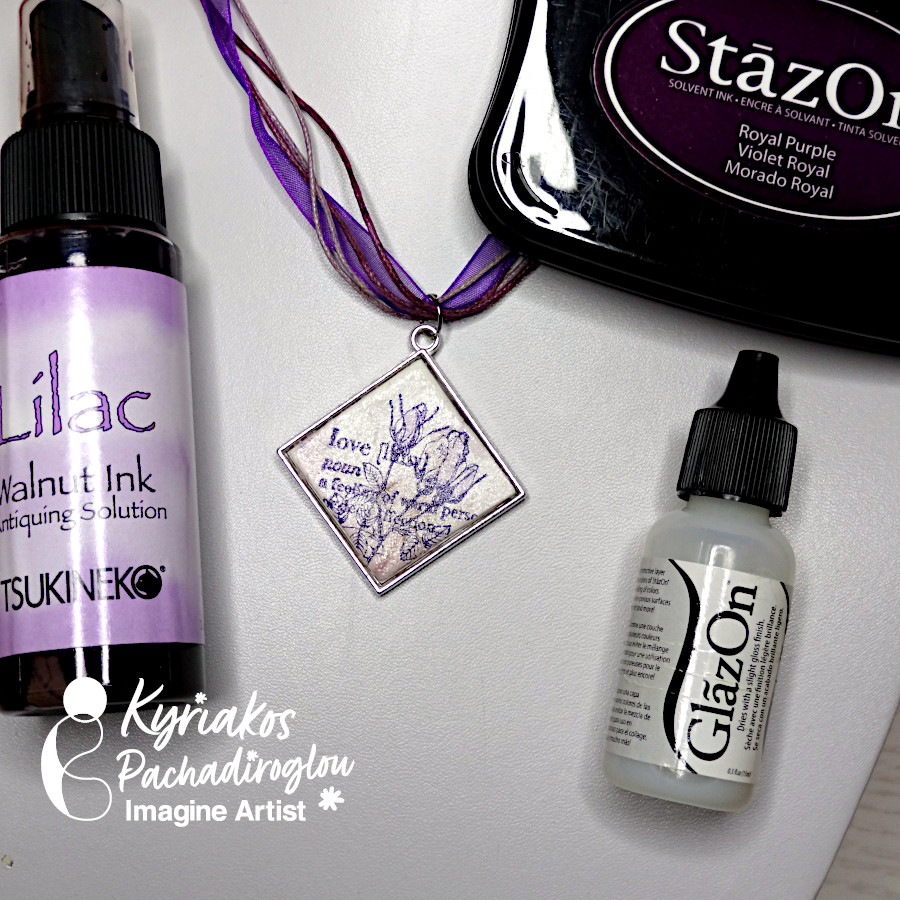
Metallic frames, usually used for epoxy, can work nicely to form clay and make jewelry pieces. Mix Walnut ink for a soft, pale shade to create a marble effect ink to the clay. Then stamp with any design using StazOn ink pads that will quickly dry, won’t bleed and give a sharp outcome. StazOn will also allow you to use markers and won’t mix with them. Add some sparkle with SHIMMER Spritz and secure the result with a coating of GlazOn. Use the charm as a jewelry piece or to decorate your cards and crafts.


Skill: Beginner

Time: 30 minutes plus drying time


Directions:

2021-apr-kyriakos-stamped-clay-charm-step1

Step 1

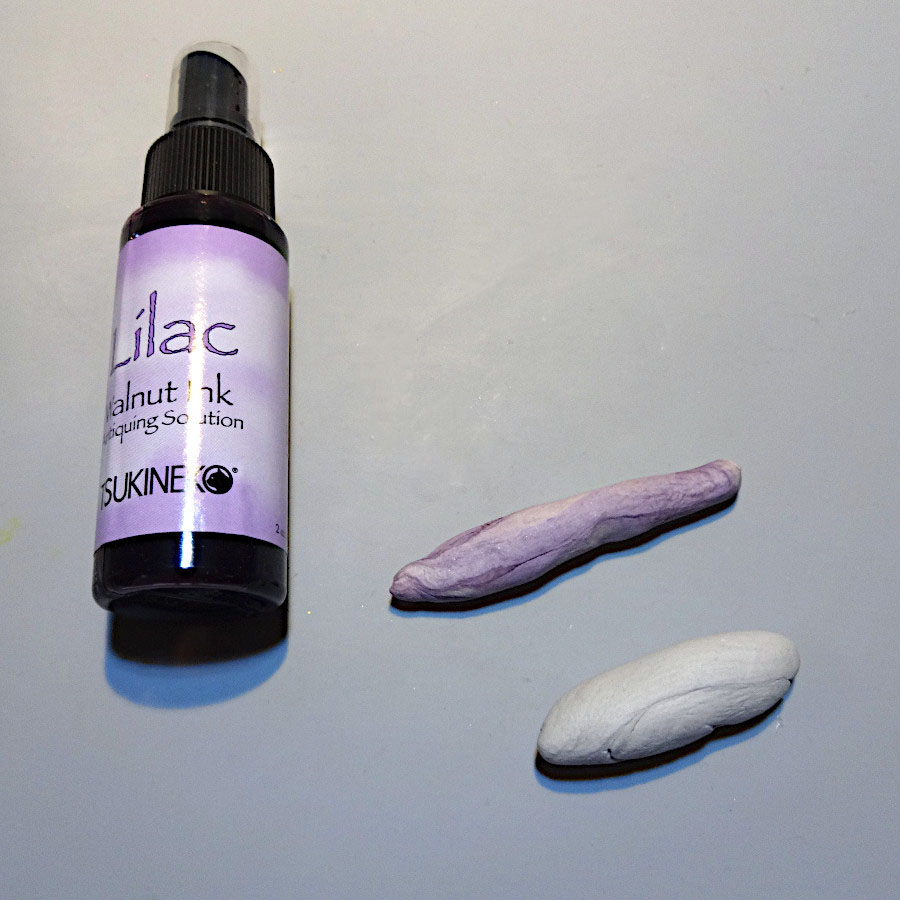
Separate two pieces of clay and color the one with Walnut Ink. Mix together.


2021-apr-kyriakos-stamped-clay-charm-step2

Step 2

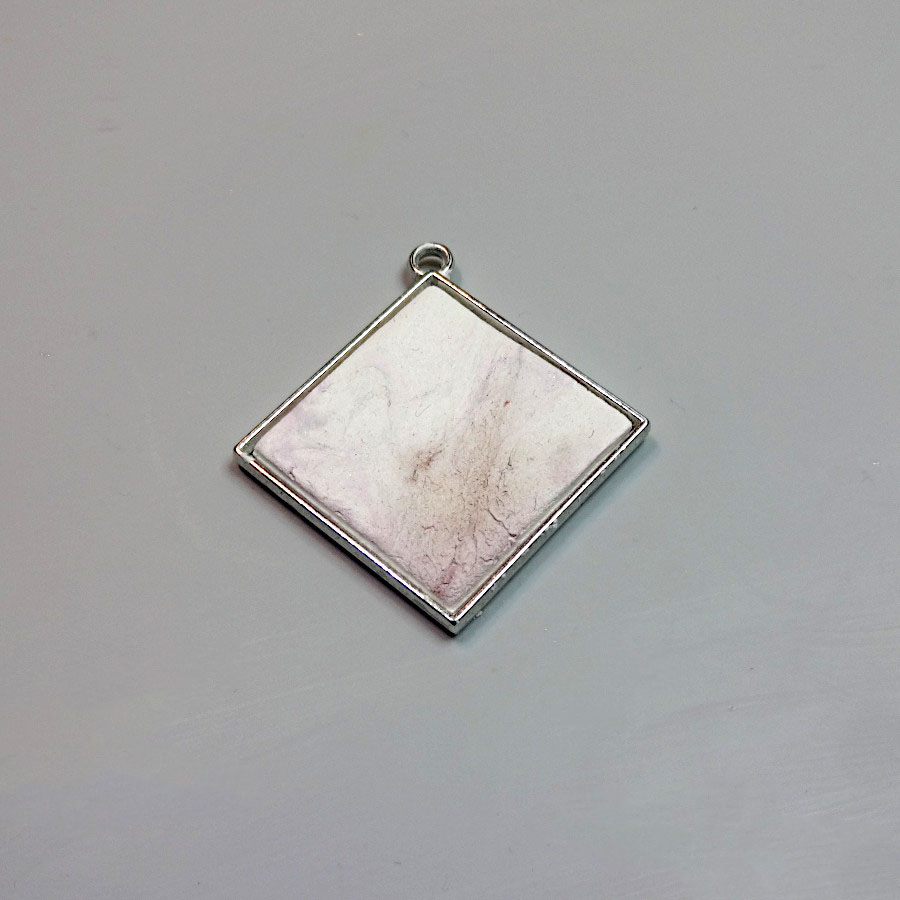
Lay flat  the clay and place the frame. Remove the excess and let it dry.


2021-apr-kyriakos-stamped-clay-charm-step3

Step 3

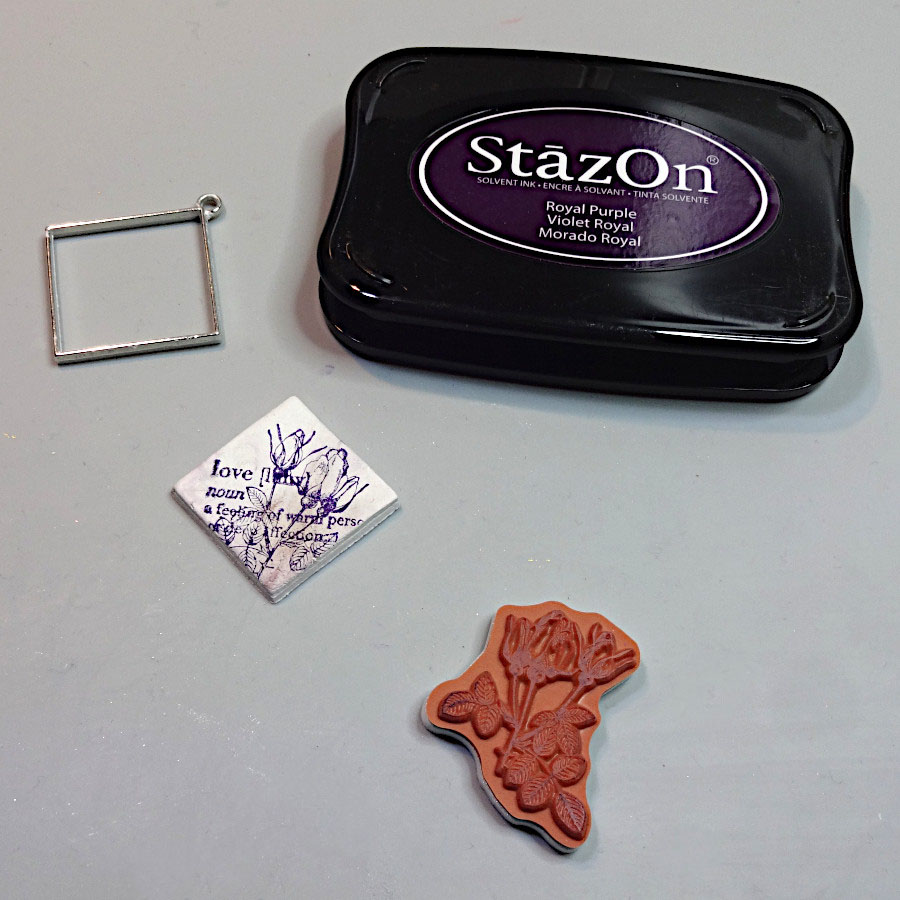
Remove the clay from the frame and stamp with StazOn ink pad.


2021-apr-kyriakos-stamped-clay-charm-step4

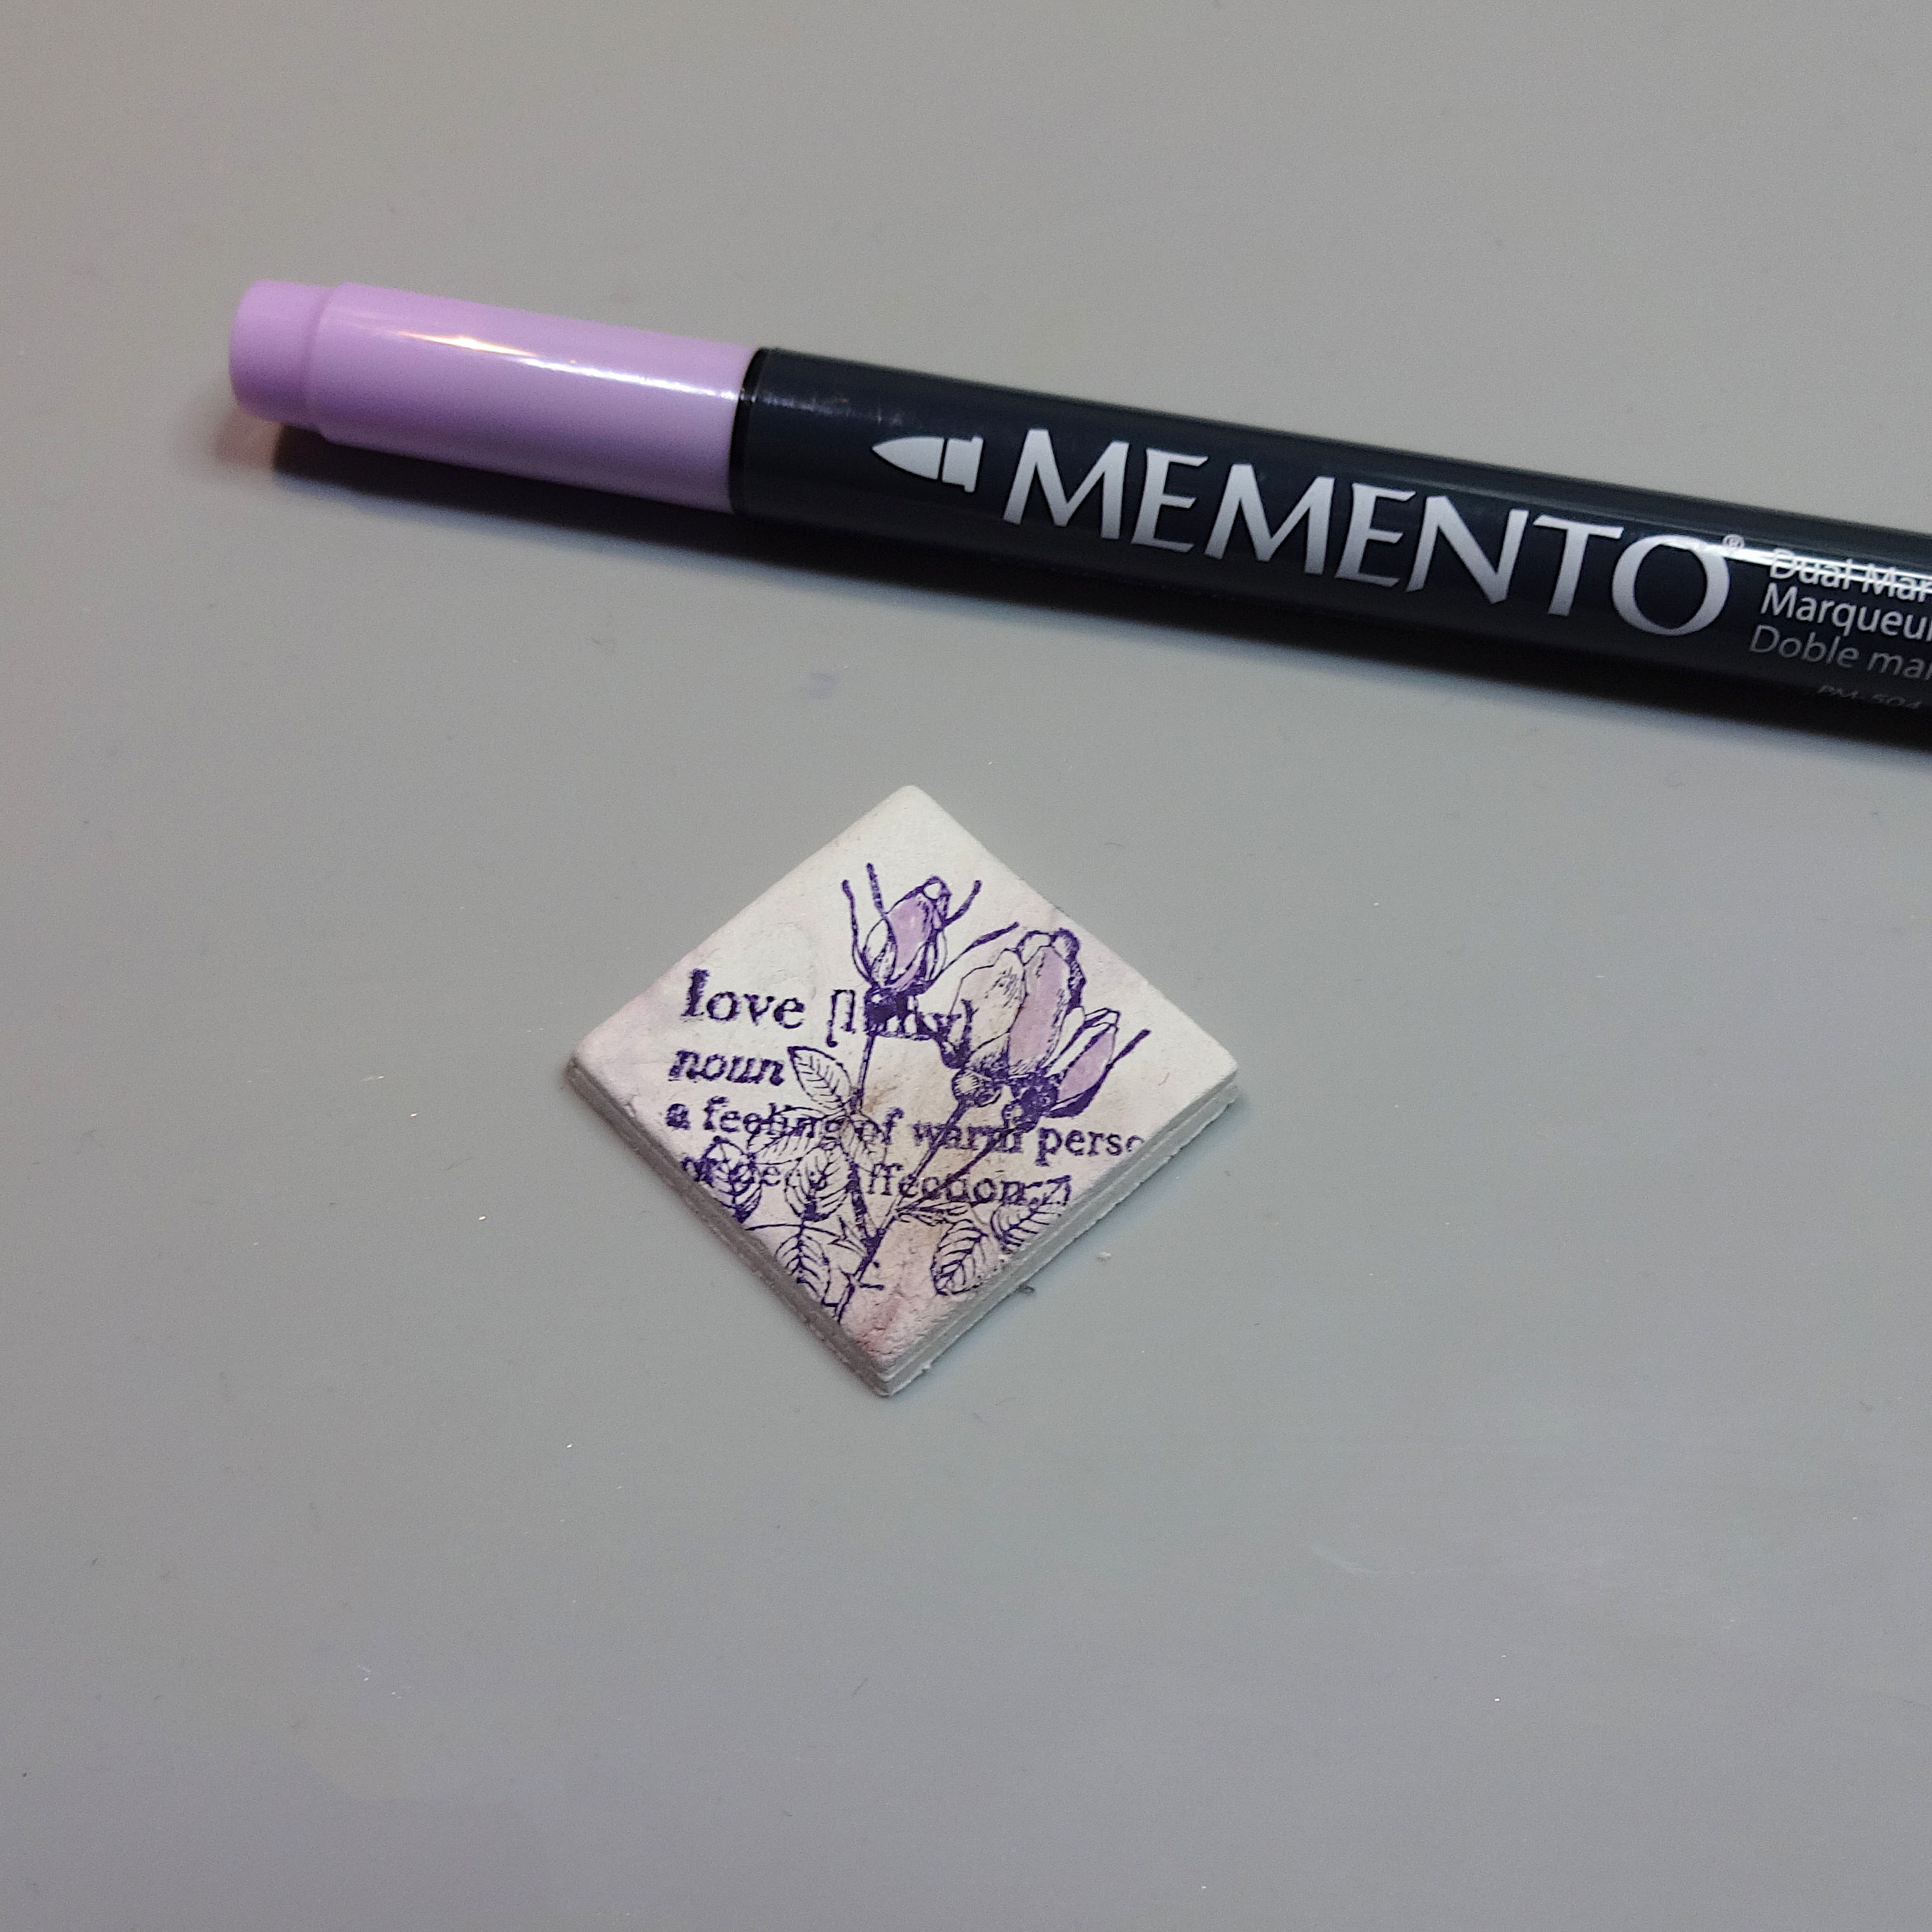
Step 4

Add some color with a MEMENTO marker (or none, if you want to leave it just with the stamped image).


2021-apr-kyriakos-stamped-clay-charm-step5
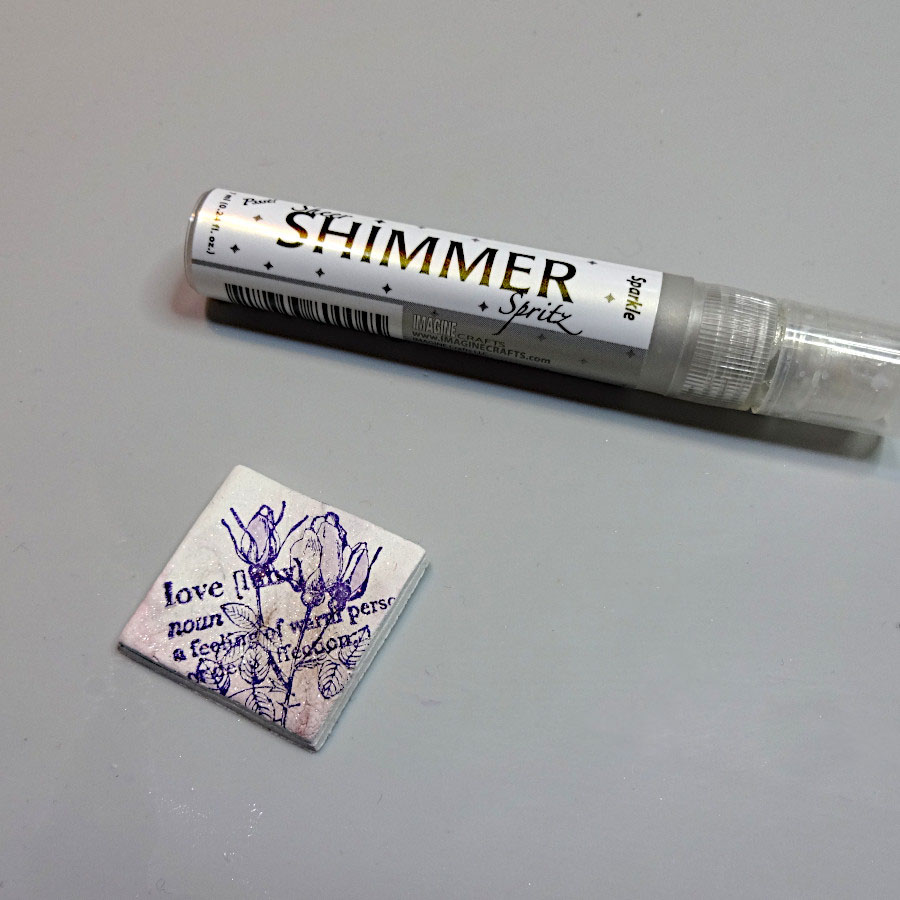
Step 5

Spray with the SHIMMER Spritz Sparkle and let it dry.


2021-apr-kyriakos-stamped-clay-charm-step6
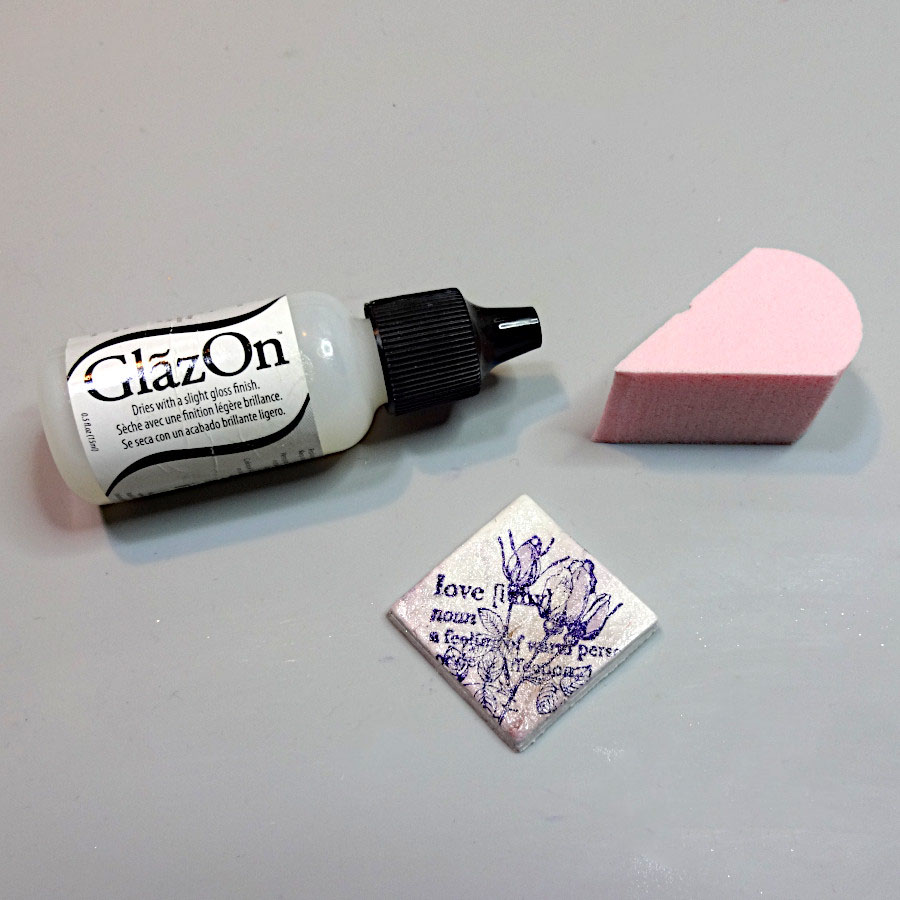
Step 6

Secure the result and add some shine with GlazOn.


2021-apr-kyriakos-stamped-clay-charm-step7

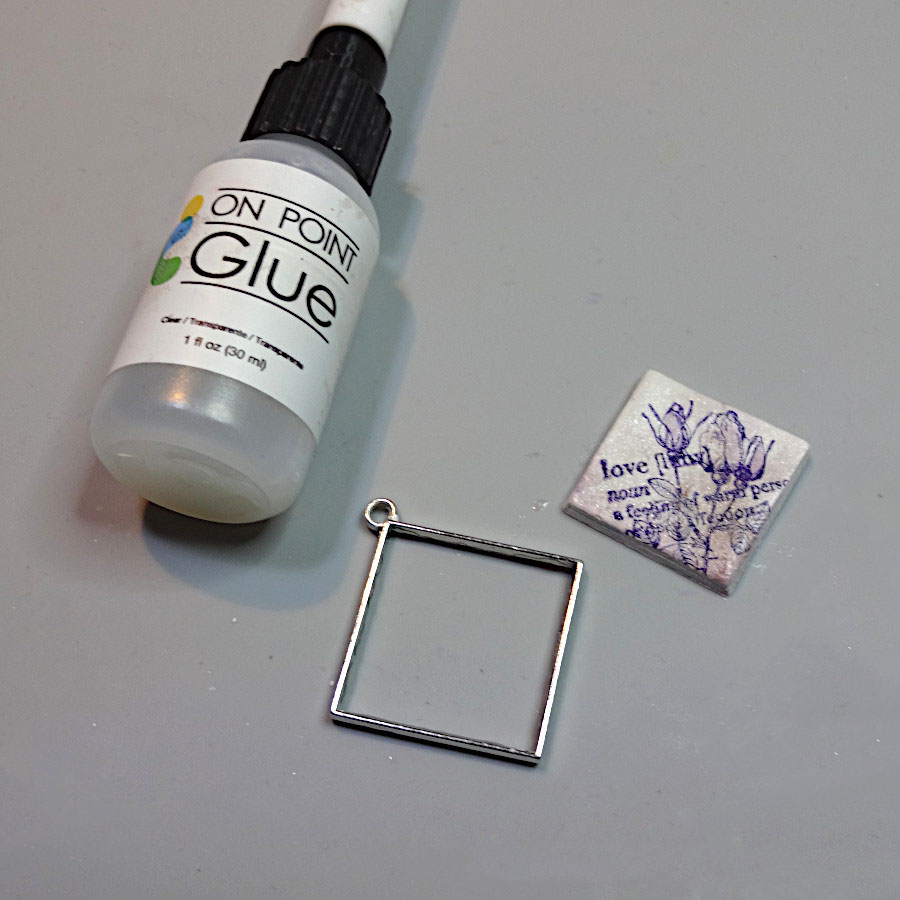
Step 7

Place On Point Glue to the inner sides of the metal frame. Let it sit for a few minutes and place the stamped clay. Add cord or chain according to your style.


Art Supplies:


Imagine

Walnut Ink – Lilac

StazOn – Royal Purple 

MEMENTO Marker – Lulu Lavender

SHIMMER Spritz – Sparkle

GlazOn – Clear

On Point Glue

InkBlushers


Other

Jewelry Metal Frame

Air Dry Clay

Rubber Stamps of your Choice

  •  


Learn How to Make a Spring Color Blocking Card

By Jowilna Nolte 

Celebrating Spring with an easy to create color blocker card using stamps and inks only – such a quick way of creating a fun effect without a lot of effort. Anyone can create this with only a few supplies.


Skill Level: Beginner

Time: 20 minutes


Directions:

Step 1

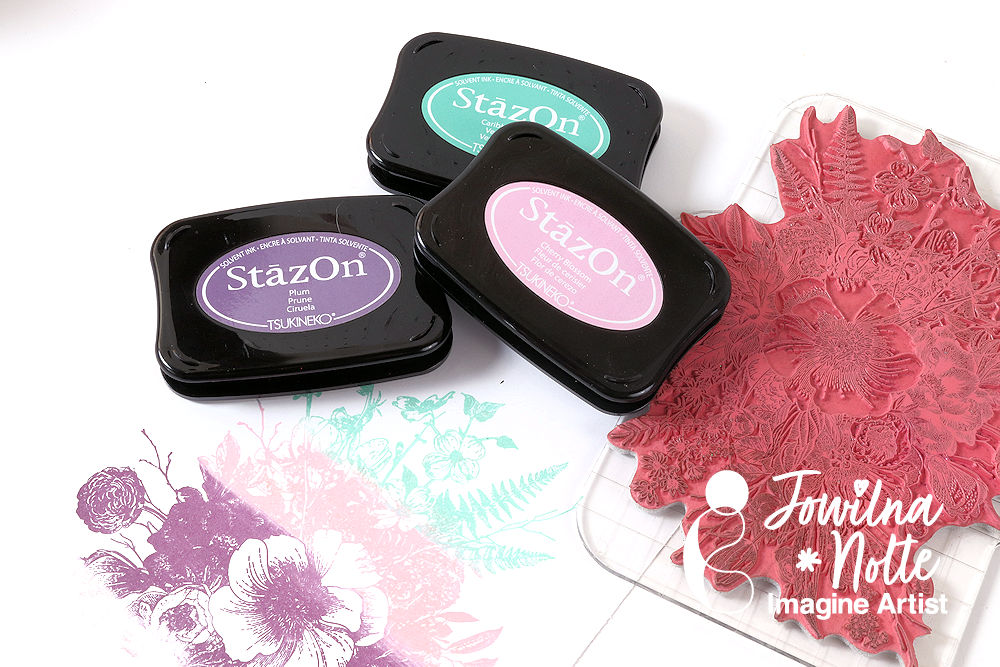
Ink a large floral background stamp using 3 ink colors. I am using ink pads from Imagine’s latest StazOn On Trend Collection in Cherry Blossom, Plum and Caribbean Green. Swipe the lightest color across your stamp in a straight line. Then use your second color and your third color and swipe over your stamp as well.


Step 2

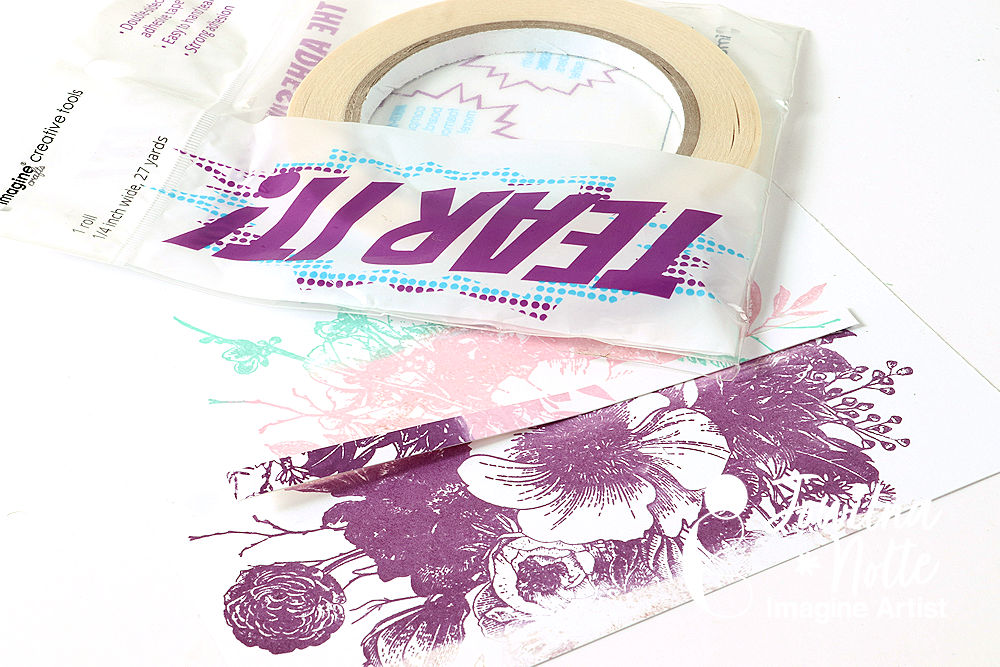
Immediately stamp the image onto smooth white cardstock. Trim your image to fit into the front of a card panel. Keep a small piece of the edge that you cut off.


Step 3

Use Tear It! Tape and adhere the thin strip to the bottom edge of the stamped panel and adhere to your card base.


Step 4

Stamp your sentiment onto your card panel using VersaFine Clair and finish off with diamante and embellishments.


Art Supplies

Imagine

StazOn full-size inkpad Cherry Blossom
StazOn full-size inkpad Caribbean Green
StazOn full-size inkpad Plum
VersaFine Clair Full-size Inkpad Nocturne (black)
Tear It! Tape

Other

Stamp: Stampers Anonymous, Joy Clair
Smooth white cardstock
Enamel dot and diamante


How to Make Clay Easter Egg-Shaped Ornaments

By Kyriakos Pachadiroglou

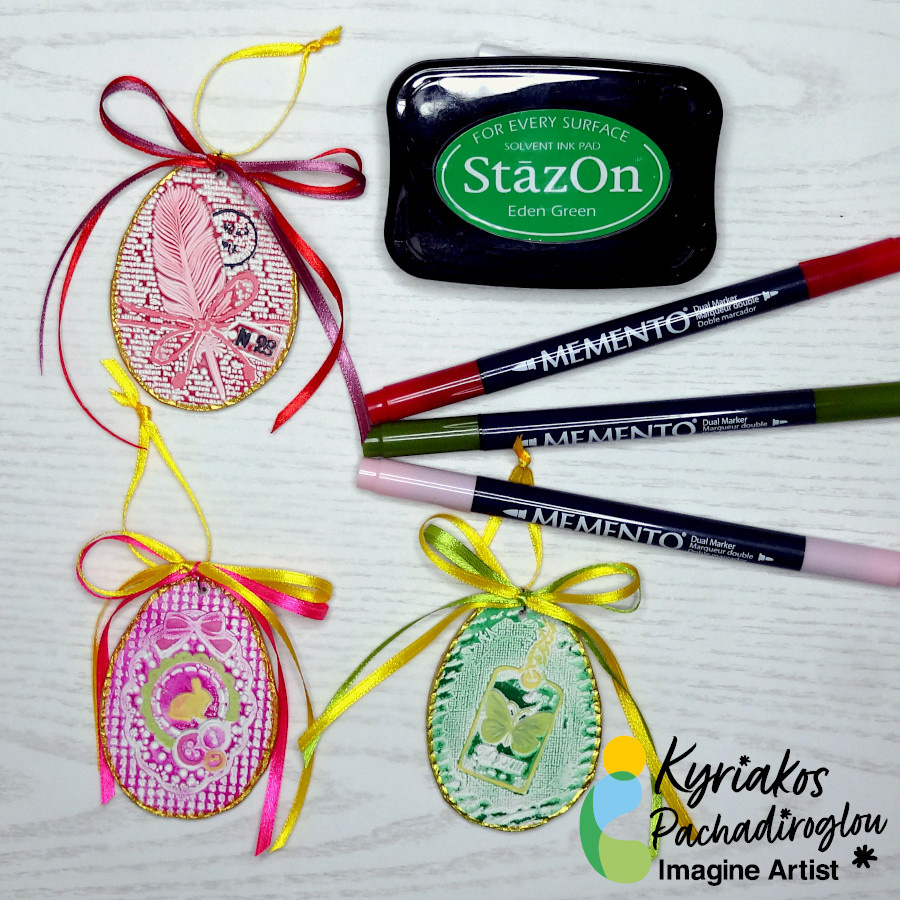
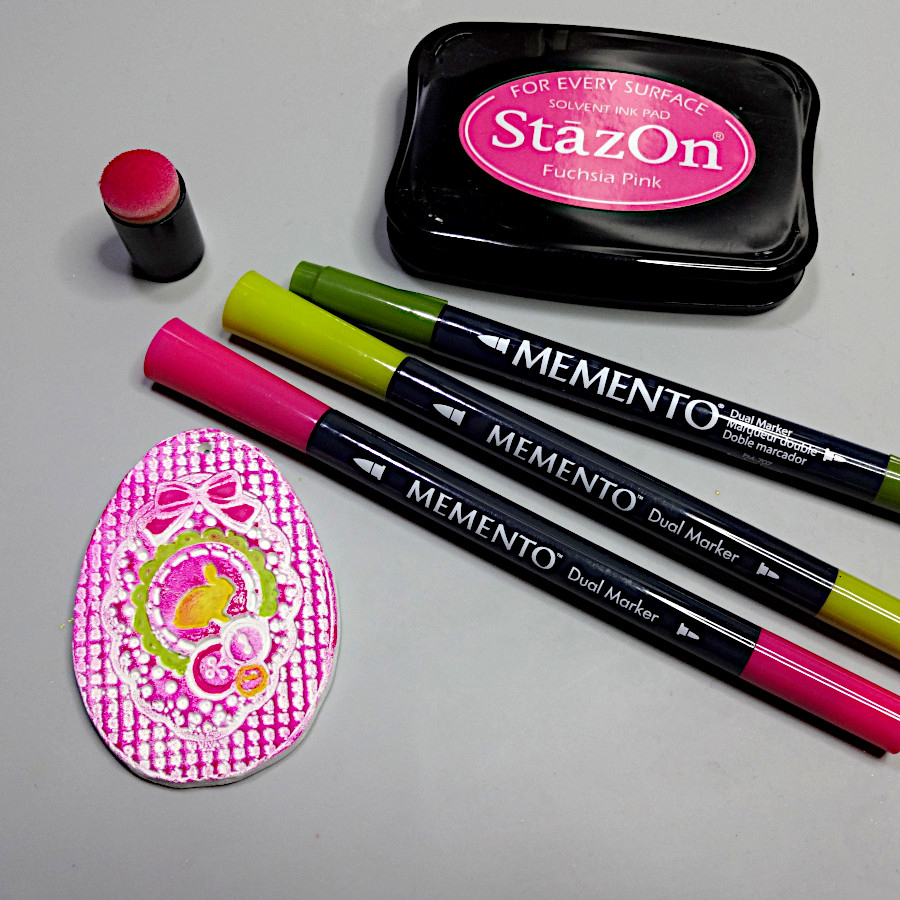
Stamp Easter egg designs on clay and color them with StazOn inks and Memento Dual Tip Markers to make Easter ornaments. Decorate tree branches in a vase for a Spring and Easter theme or add them to gift packages and bags.

Skill: Beginner

Time: 30 min + drying time

Directions:

Step 1

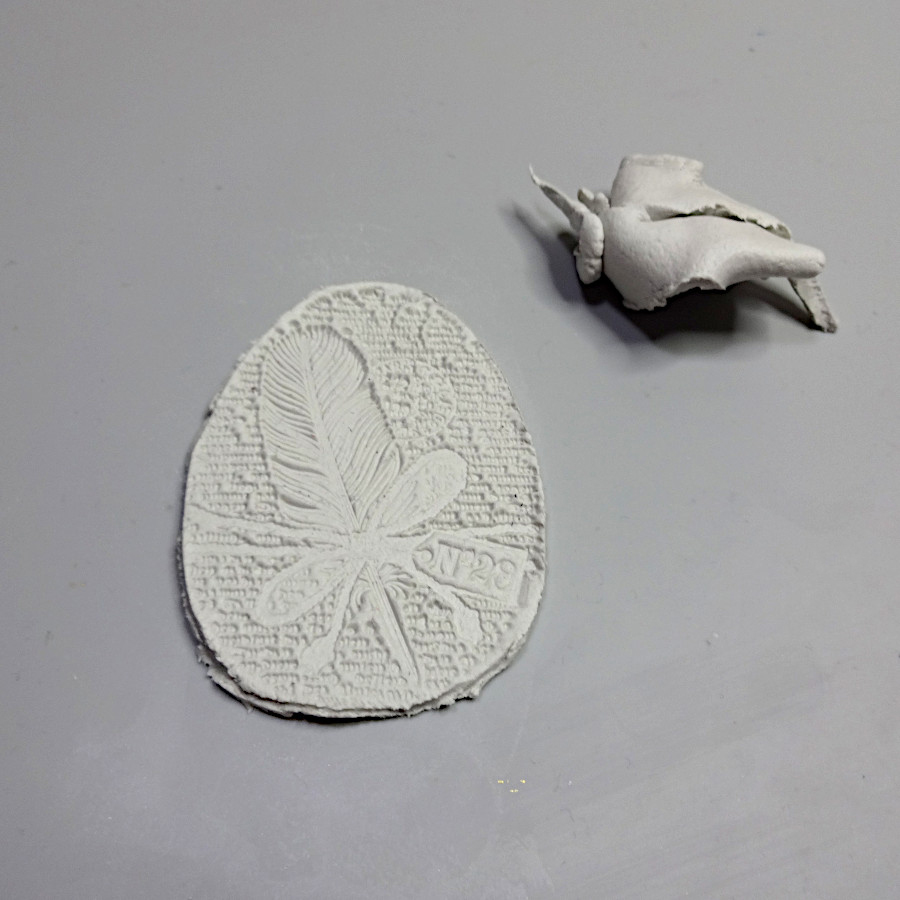
On a flat piece of clay, press the egg design stamp.


Step 2

Remove the stamp and cut around the design with a pointed tool (a pallet knife, a piercing tool, etc). Don’t forget to open a hole on the top of the shape. Let the clay cure.


Step 3

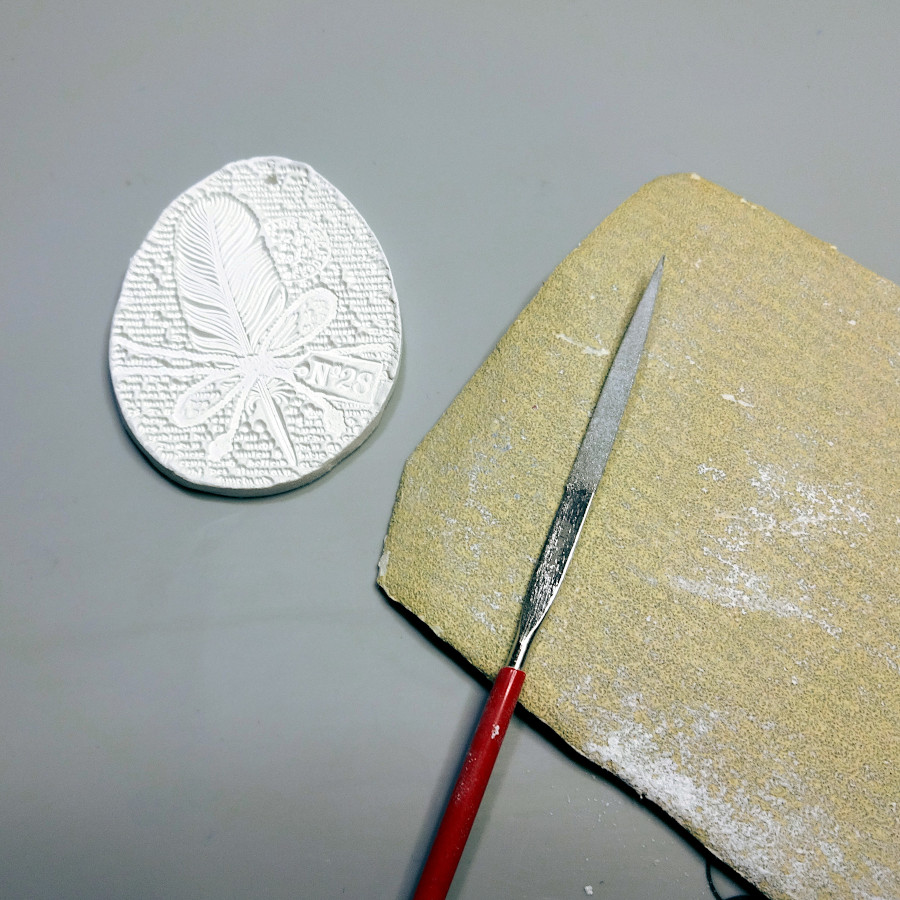
When the clay shapes are ready use a filling tool or some sanding paper to smooth the edge of the clay eggs.


Step 4

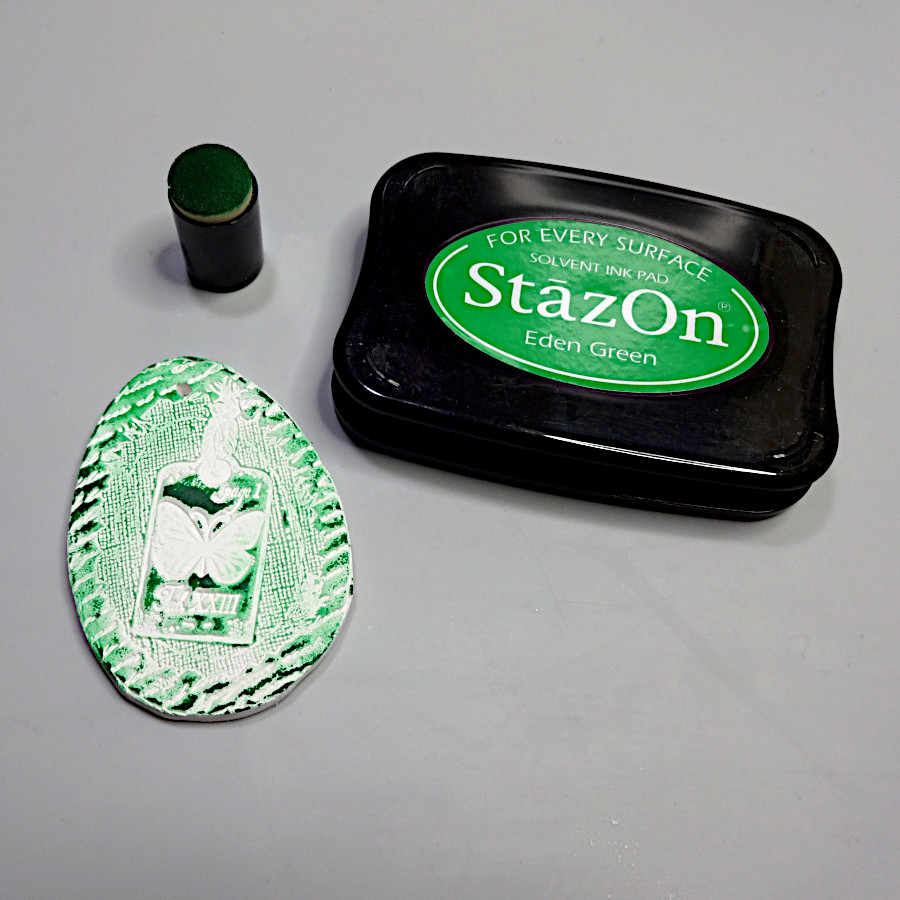
Use a Sponge Dauber and the StazOn Eden Green to color the embossed designs. You can press the ink pad directly on the clay egg to add more color strength to the embossed design.


Step 5

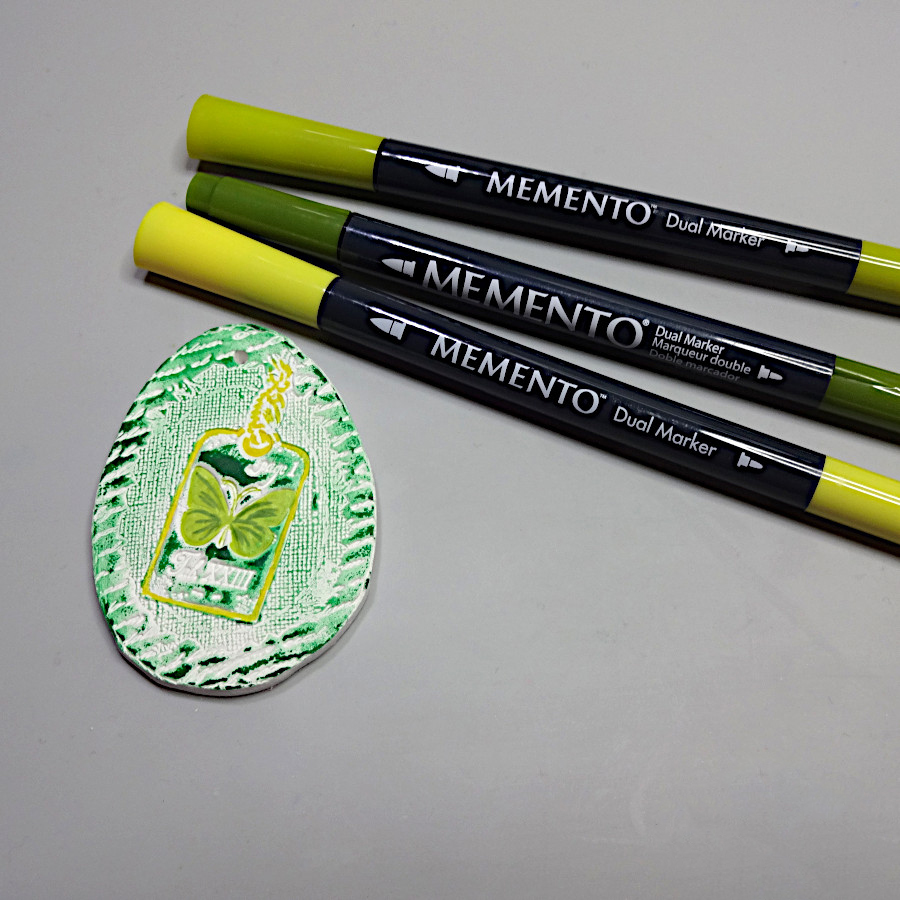
Color parts of the stamped design with the MEMENTO Dual Tip Markers in greenish shades.


Step 6

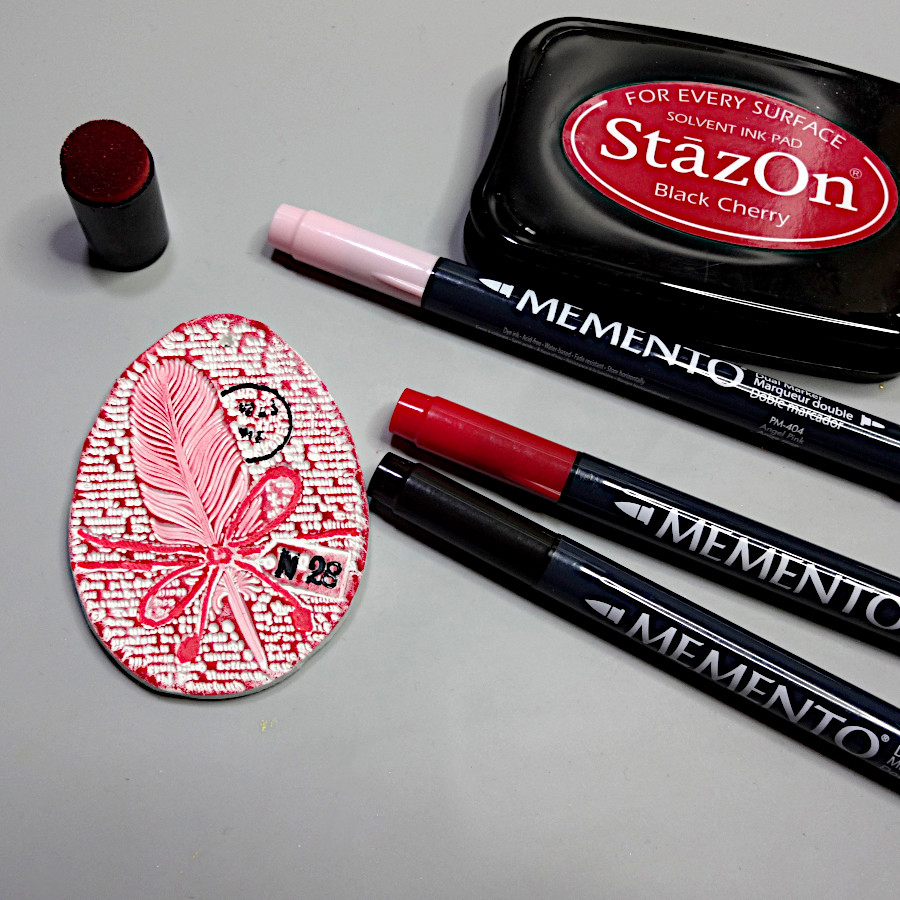
For the next design use the StazOn Black Cherry and the MEMENTO Dual Tip Marker Tuxedo black, Angel Pink and Lady Bug to color it following the same procedure as above.


Step 7

Finally, use StazOn Fuschia Pink and MEMENTO Dual Tip Markers Pear Tart, Rose Bud and Bamboo Leaves to color the clay egg.
You can color around the edges of the clay eggs with the All-Purpose Ink Vegas Gold and add ribbons.


Art Supplies

Imagine

StazOn – Eden Green, Black Cherry, Fuchsia Pink 

MEMENTO Dual Tip Markers – Angel Pink, Dandelion, Rose Bud, Bamboo Leaves, Pear Tart, Tuxedo Black, Lady Bug 

Sponge Daubers 

All-Purpose Ink – Vegas Gold

Other materials

Air-Dry Clay – White

Viva Decor Stamps – Easter Eggs

Satin Ribbons Various Colors

Sanding Paper


Learn How To Make Easter Gift Tags

By Jowilna Nolte 

Today I am sharing a quick Easter Tag using some fun splats stamps and the gorgeous range of StazOn ink colors. Plain stamped images in bright and fun colors are a classic look and so versatile – making Easter decorations extra special with a touch of handmade.


Skill Level: Beginner

Time: 20 minutes


Directions:


Step 1

Use a splat stamp and stamp a sheet of white cardstock using different colors of StazOn ink. Stamp one color at a time and then clean your stamp using StazOn Stamp cleaner before inking your stamp with the second color. Repeat and stamp your third color.


Step 2

Once you have stamped all your StazOn colors, use a yellow VersaFine Clair ink and fill in any gaps on your cardstock.


Step 3

Cut your cardstock sheet into tag sizes measuring 3×6”. Then stamp your bunny and wording in VersaFine Clair Nocturne ink.


Step 4

Use Rose Gold Sheer Shimmer Spritz to add some ink splats across the tag and leave to dry. Tie onto a gift bag using baker’s twine.


Art Supplies

Imagine

StazOn full-size inkpad Cherry Blossom

StazOn full-size inkpad Caribbean Green

StazOn full-size inkpad Plum

Sheer Shimmer 7ml Spritzer Rose Gold

VersaFine Clair Full-size Inkpad Nocturne (black)

Other

White cardstock

Stamps: Joy Clair, Stampers Anonymous

Enamel dots